
Country Kitchen Designs: Hidden Modern Features & Specs
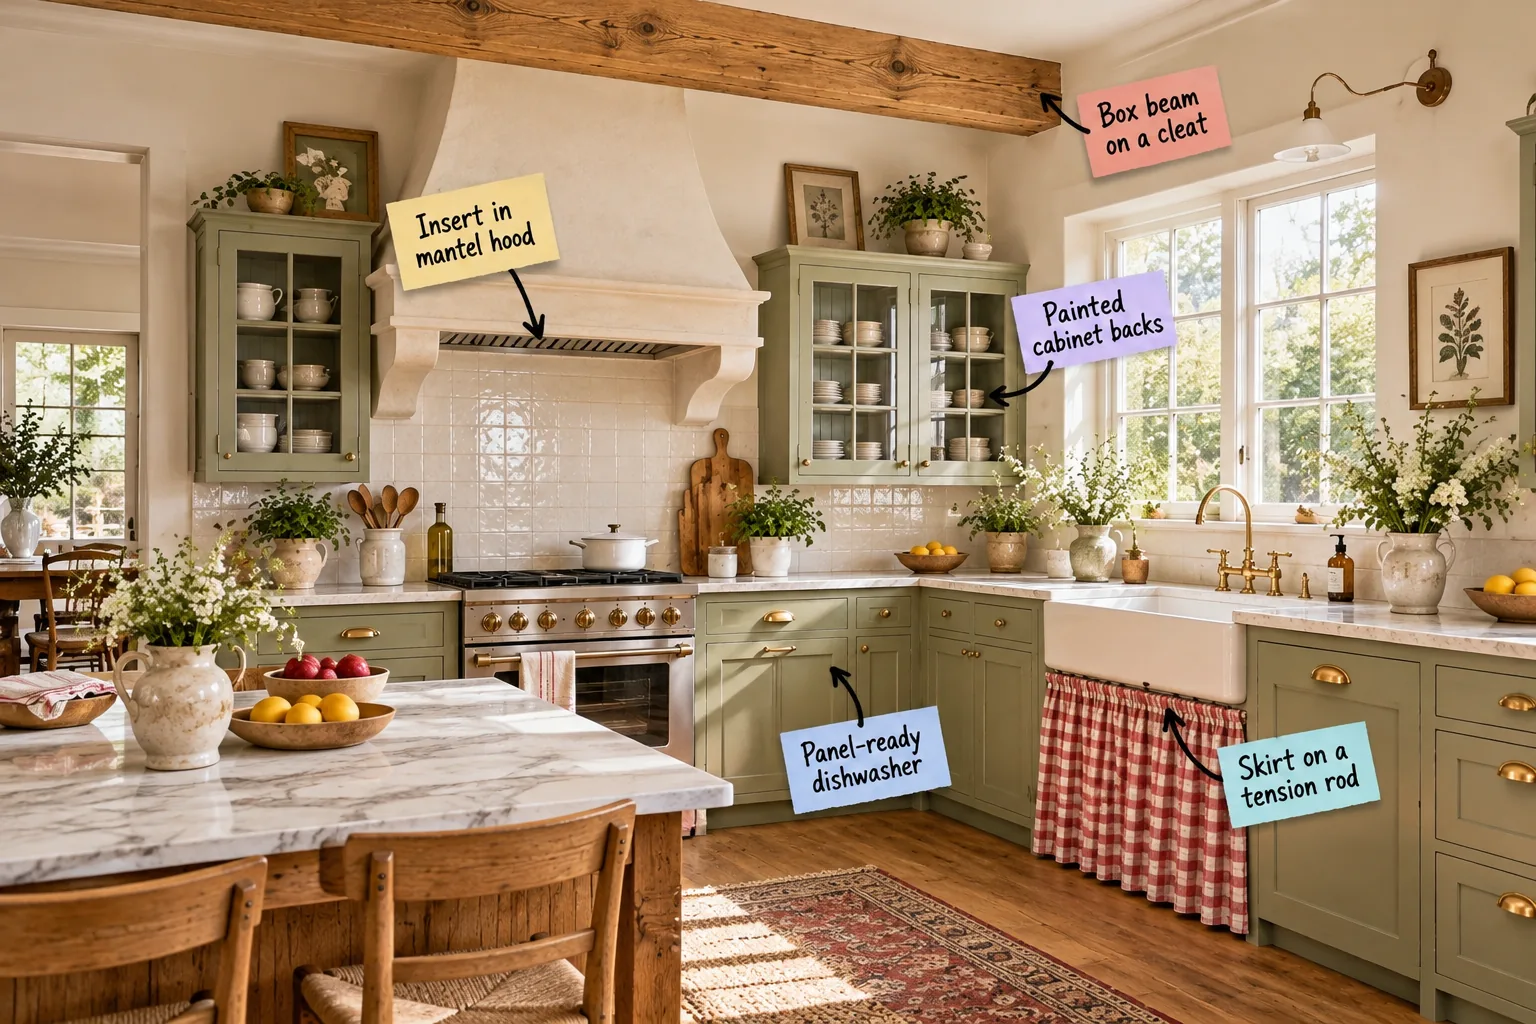
You can seamlessly hide modern kitchen functionality behind traditional finishes when you download our complete two-page Country Kitchen Hidden-Modern Spec Sheet. I use this exact measurement guide to size mantel hood inserts, hollow box beams, and panel-ready appliances for a flawless fit.
Hollow Box Beams on Ceiling Cleats
Solid timber is often too heavy for standard ceiling joists, so I frame a U-shaped hollow box beam from warm oak instead. This lightweight structure slips perfectly flush against the plaster ceiling over a standard 2×4 ceiling cleat bolted into the joists.
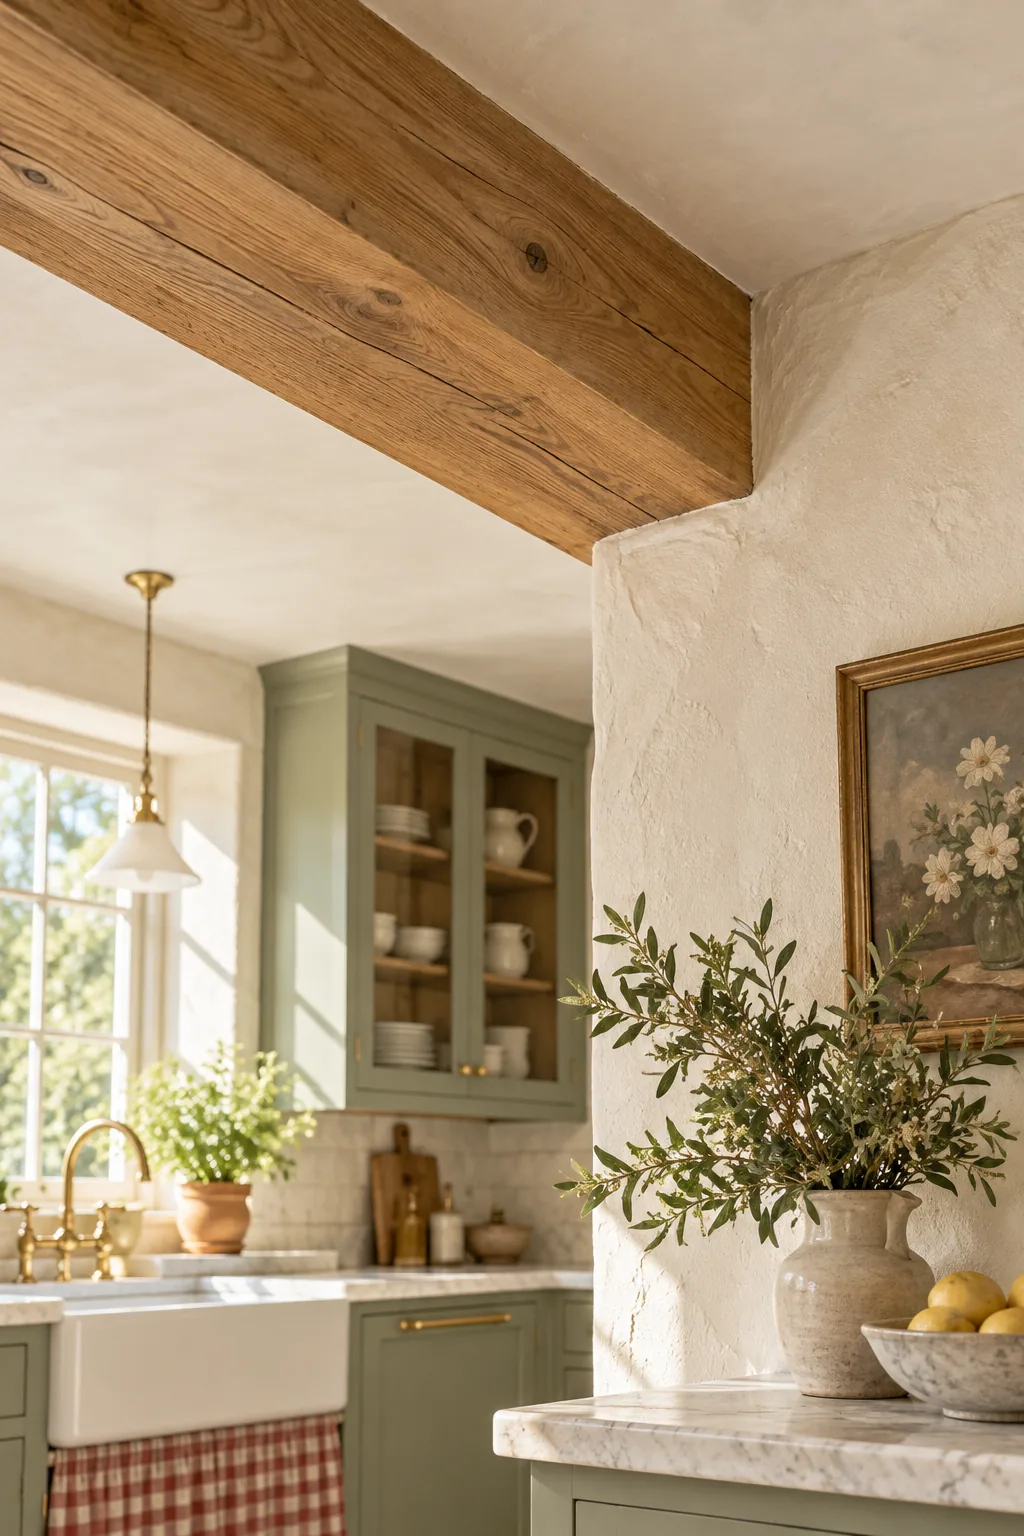
Securing the beam to the cleat requires precise fastening along the upper edges where the wood meets the plaster. Drive your finishing nails horizontally through the oak box directly into the hidden pine cleat to conceal the structural connections.
Routing Wiring Through Hollow Beams
A major benefit of the U-shaped beam is the internal channel it provides for hardwired electrical fixtures. You can easily run romex cable through this hollow cavity to support pendant lights over your island without tearing into the finished ceiling plaster.
| Beam Outer Width | Cleat Size Required | Internal Cavity Space |
|---|---|---|
| 6 inches | Standard 2×4 | 2.5 inches |
| 8 inches | Standard 2×6 | 4.5 inches |
| 10 inches | Standard 2×8 | 6.5 inches |
Concealing the Mantel Hood Insert
When I built my own Denver kitchen, leaving a one-inch clearance between the metal hood insert and the plaster mantel was crucial for fire safety. A cream plaster mantel hood provides classic architectural weight, but it requires that hidden metal blower insert to function safely.
Always size the insert to match your exact cooking surface width to capture steam effectively. You should mount the blower 30 to 36 inches above the range to ensure optimal ventilation while keeping the modern mechanics tucked neatly out of sight.
Sizing the Ventilation Ductwork
Moving air effectively requires rigid metal ductwork running from the hood insert straight up through the roof. A high-capacity blower typically demands an eight-to-ten-inch round duct to prevent noisy air turbulence inside the plaster mantel cavity.
- Verify that your roof cap matches the diameter of your rigid ductwork.
- Tape all metal seams with foil tape to prevent grease leaks.
- Install a backdraft damper to keep cold air from dropping into the kitchen.
Contrasting Painted Cabinet Backs
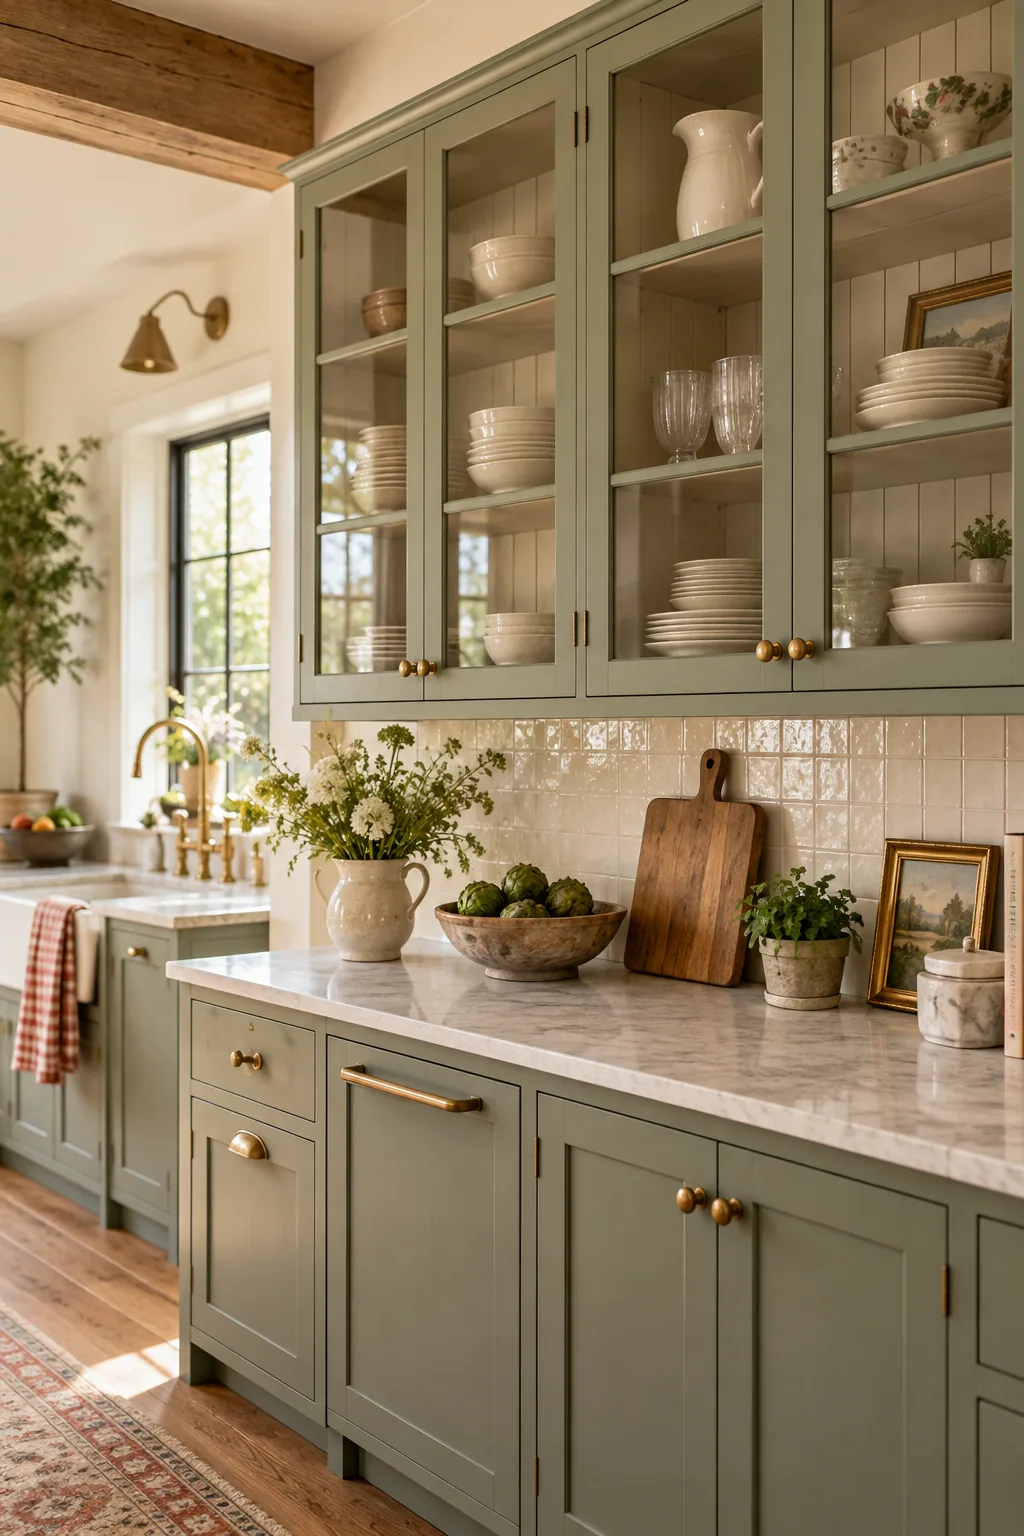
Glass-front upper cabinets feel intentionally styled when the interior back panel is painted to highlight your white ceramic dishware. In my recent foothills project, we used a soft sage green to ground the room and make the everyday plates pop.
You only need one quart of paint to cover the backs of two to three standard upper cabinets. This small investment transforms a basic storage box into a custom display case that draws the eye upward.
Choosing the Right Interior Sheen
Matte or eggshell paint finishes work best inside glass-front cabinets because they absorb ambient light gracefully. A glossy interior will create harsh reflections behind the glass panes, distracting from the beautifully curated ceramics you want to display.
Styling the Glass-Front Displays
Once the painted backs dry completely, arrange your dishware thoughtfully to maximize the contrasting background. Stack everyday white plates on the lower shelves for easy access, and reserve the upper tiers for uniquely shaped serving bowls or vintage ironstone pitchers.
Specifying the Panel-Ready Dishwasher
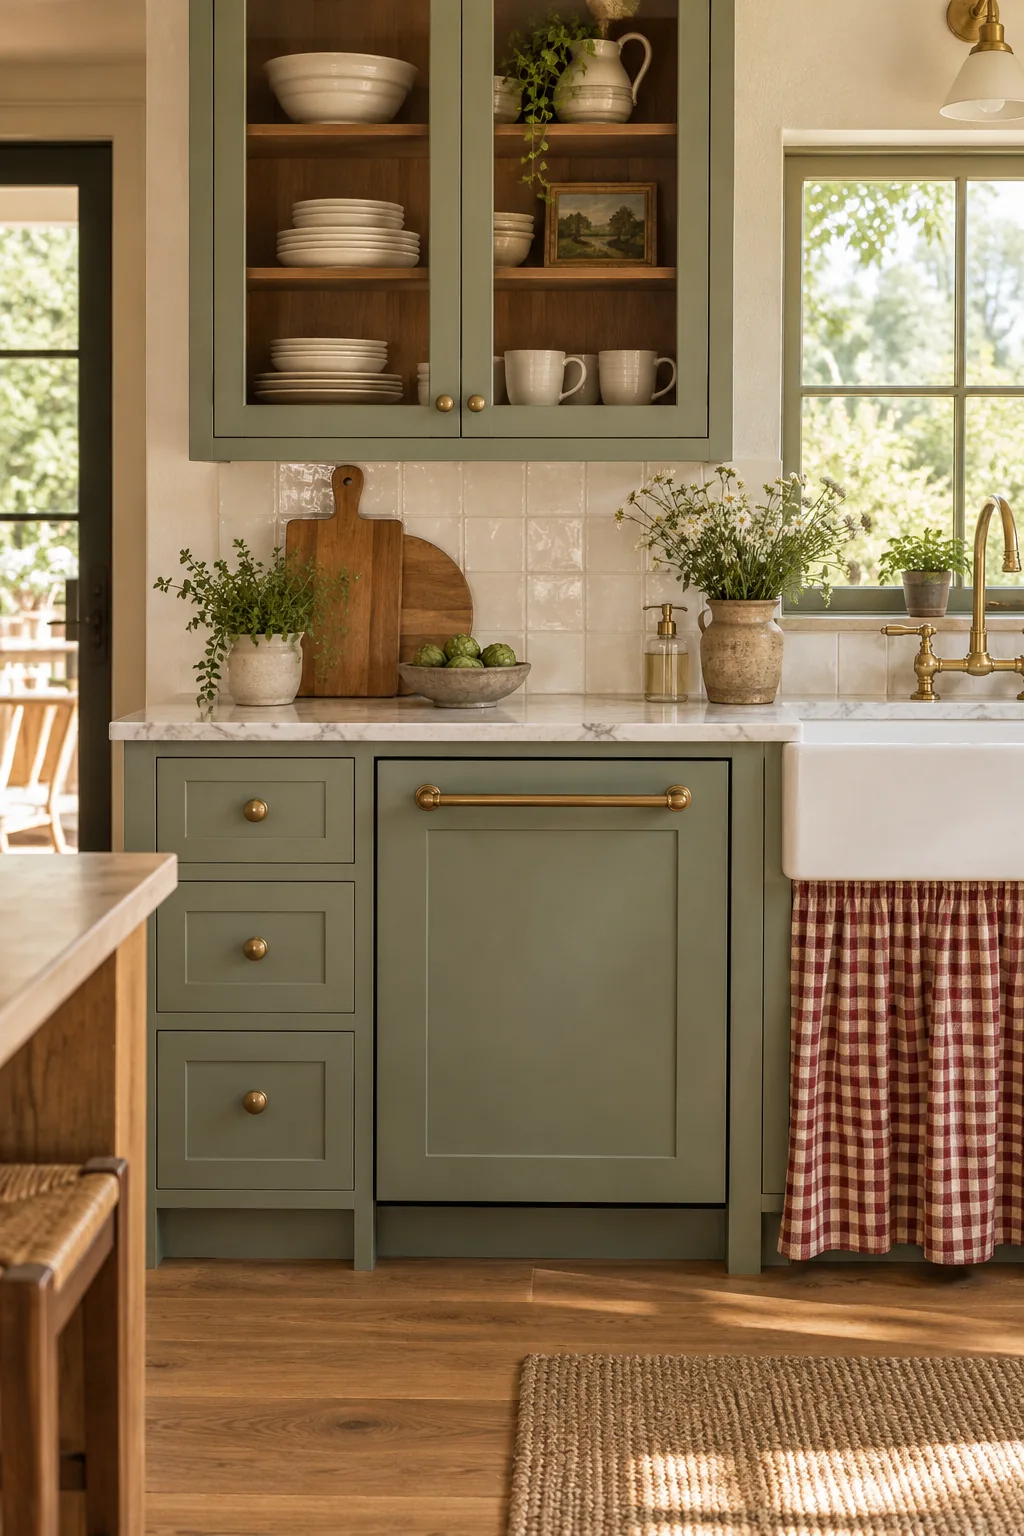
Maintain an uninterrupted run of lower cabinets by specifying a panel-ready dishwasher that aligns seamlessly with your adjacent doors. The custom shaker panel is typically 3/4-inch thick and must be routed perfectly to accommodate the appliance’s hidden hinges.
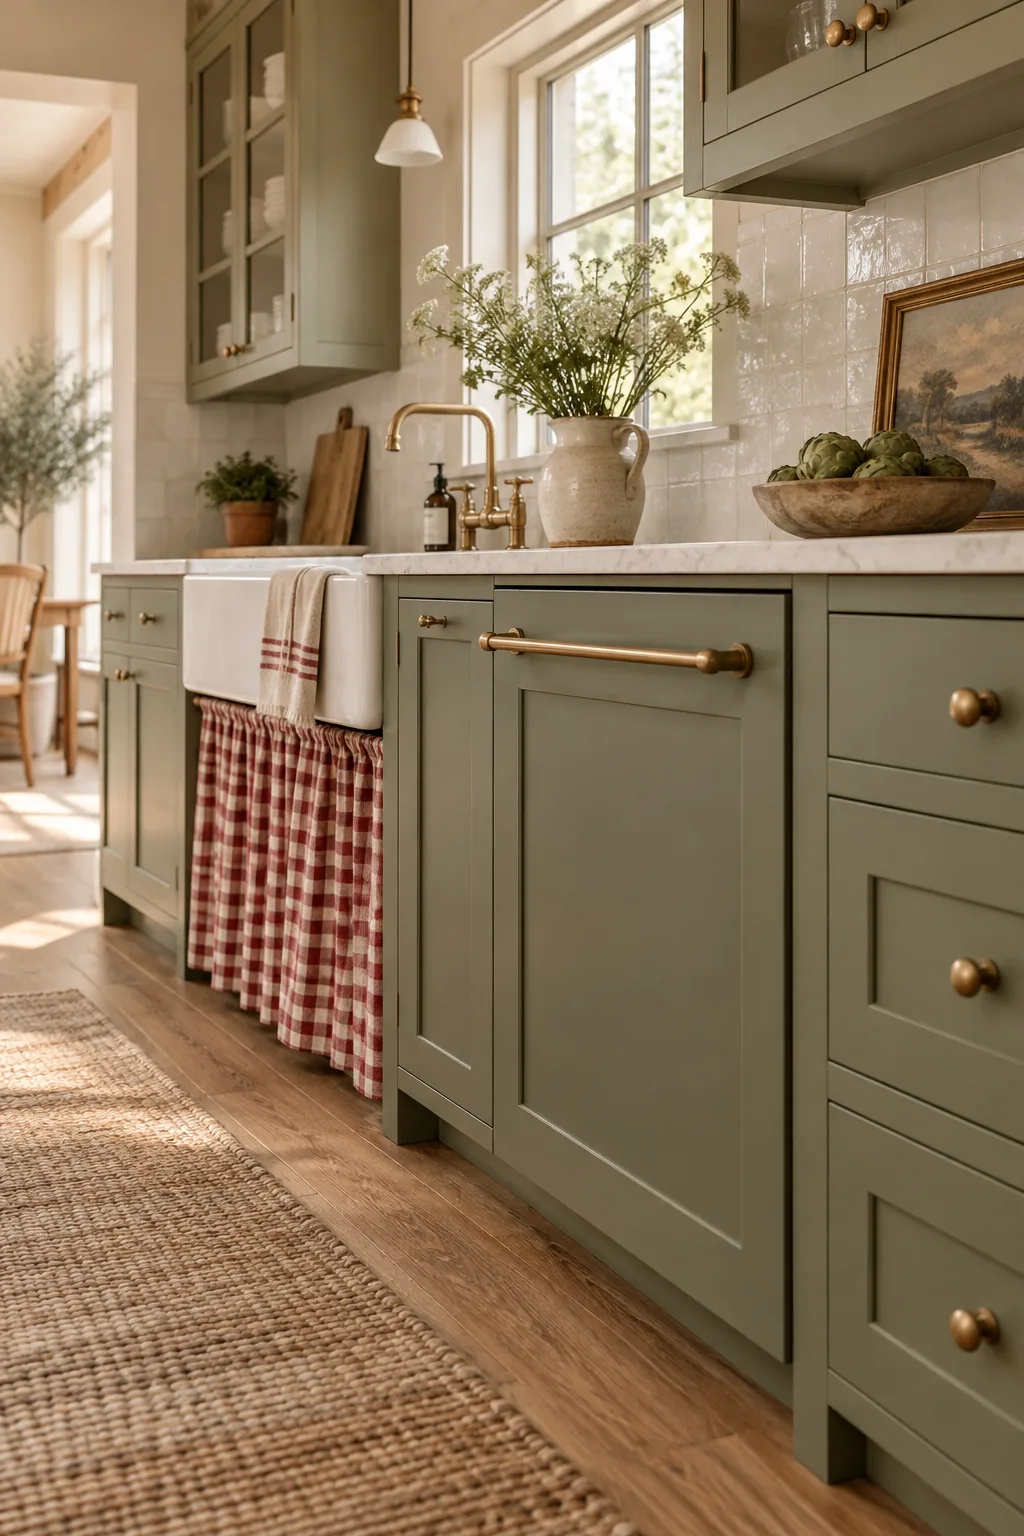
Before attaching your custom shaker panel to the dishwasher door, double-check your hardware and clearances to avoid these common installation errors.
Aligning the Toe-Kick Depth
A panel-ready appliance only disappears if its base matches the surrounding cabinetry base perfectly. You must measure the exact recess of your standard cabinets to ensure the dishwasher toe-kick sits at the identical four-inch depth.
Hardware Placement for Appliance Panels
A heavy dishwasher door combined with a solid wood panel requires substantial leverage to open smoothly. You must install an oversized appliance pull rather than a standard cabinet knob to ensure the hardware can handle the daily weight.
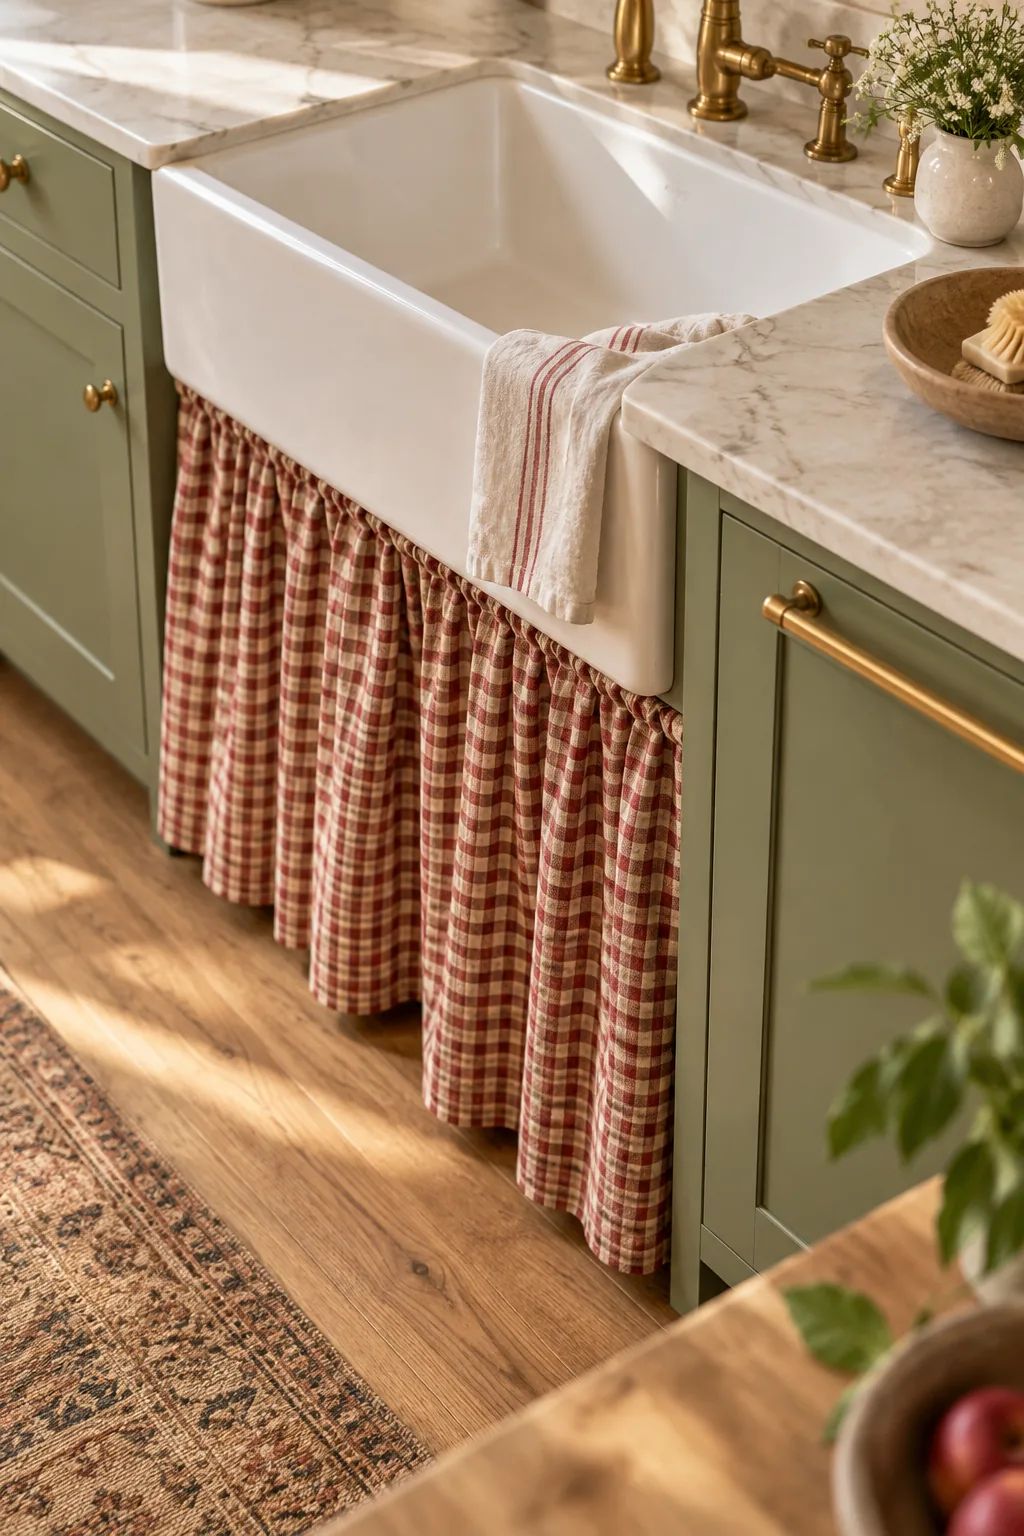
Position the heavy-duty pull horizontally along the top rail of the shaker panel for the most ergonomic grip. Center the hardware precisely so the downward pulling force distributes evenly across the internal appliance hinges.
Securing Appliance Pulls Safely
Because the combined door is exceptionally heavy, standard mounting screws will eventually strip out of the wood. Always use the extended machine screws provided with your appliance pull, ensuring they bite deeply into the thickest part of the shaker frame.
Balancing Heavy Appliance Doors
Adding a solid wood panel fundamentally alters the factory weight balance of the dishwasher door. You will need to adjust the internal spring tension on the appliance hinges so the heavy door does not drop open too quickly and damage the floor.
Tailoring the Tension-Rod Sink Skirt
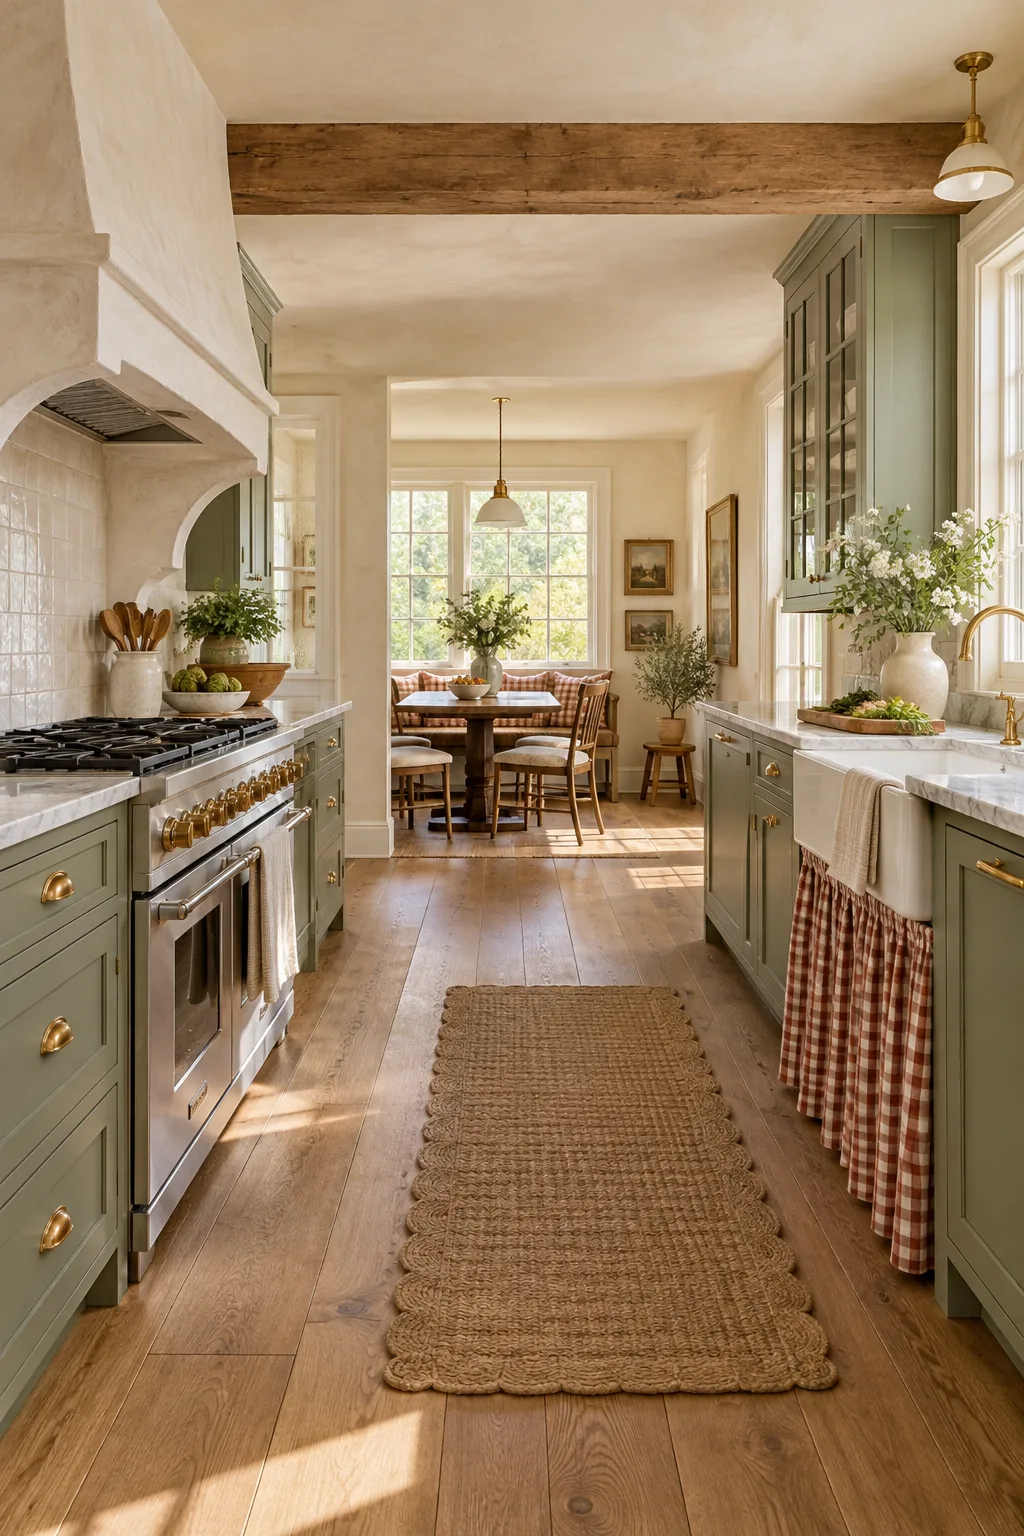
Soften the lower cabinet run with a red-and-cream gingham sink skirt that drops precisely below the fireclay apron. Mount the tension rod 1/2-inch below the apron lip, allowing the gathered fabric to hang beautifully without exposing the hardware.
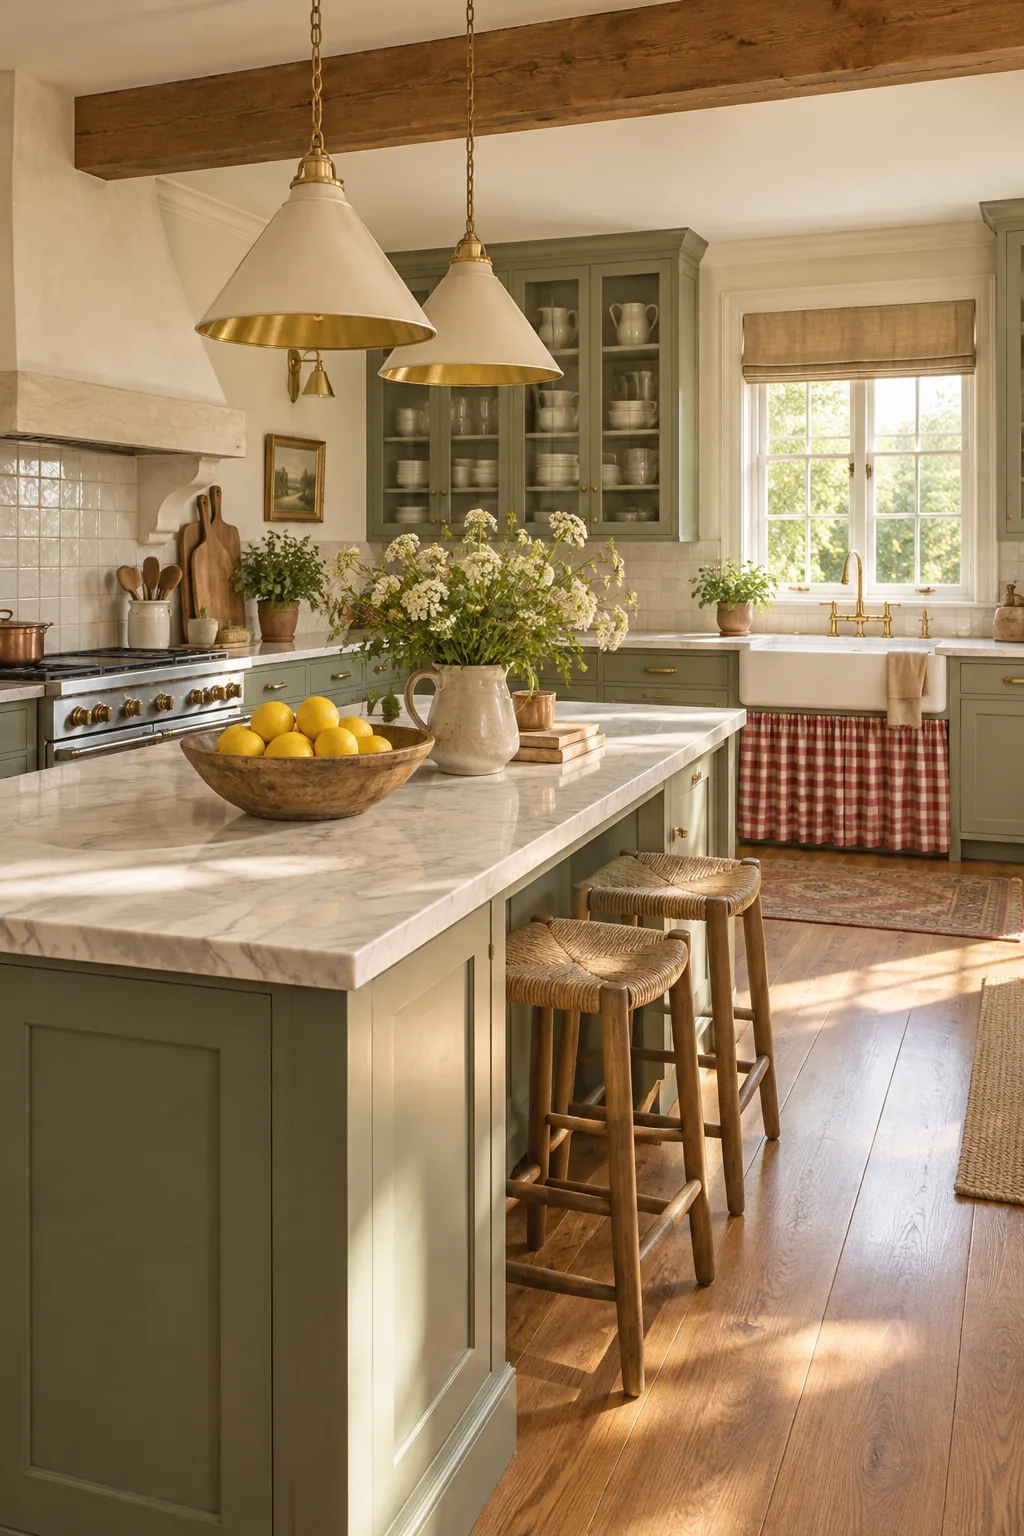
Hem the fabric carefully so the bottom edge hovers exactly 1/2-inch above the finished floor. This precise clearance prevents the cotton from sweeping up dust while maintaining the traditional farmhouse illusion across the lower cabinets.
Selecting the Right Skirt Fabric
Heavy upholstery fabrics will not gather elegantly on a standard tension rod, leaving the skirt looking rigid and bulky. Choose a lightweight cotton or linen blend that falls softly and can withstand the frequent washing required in a busy prep zone.
Get the Hidden-Modern Spec Sheet
Translating traditional aesthetics into modern dimensions requires precise planning, which is much easier when you clear your island surface. I lay out my blueprints on a clean marble counter to visualize exactly how every clearance and cabinet depth interacts.
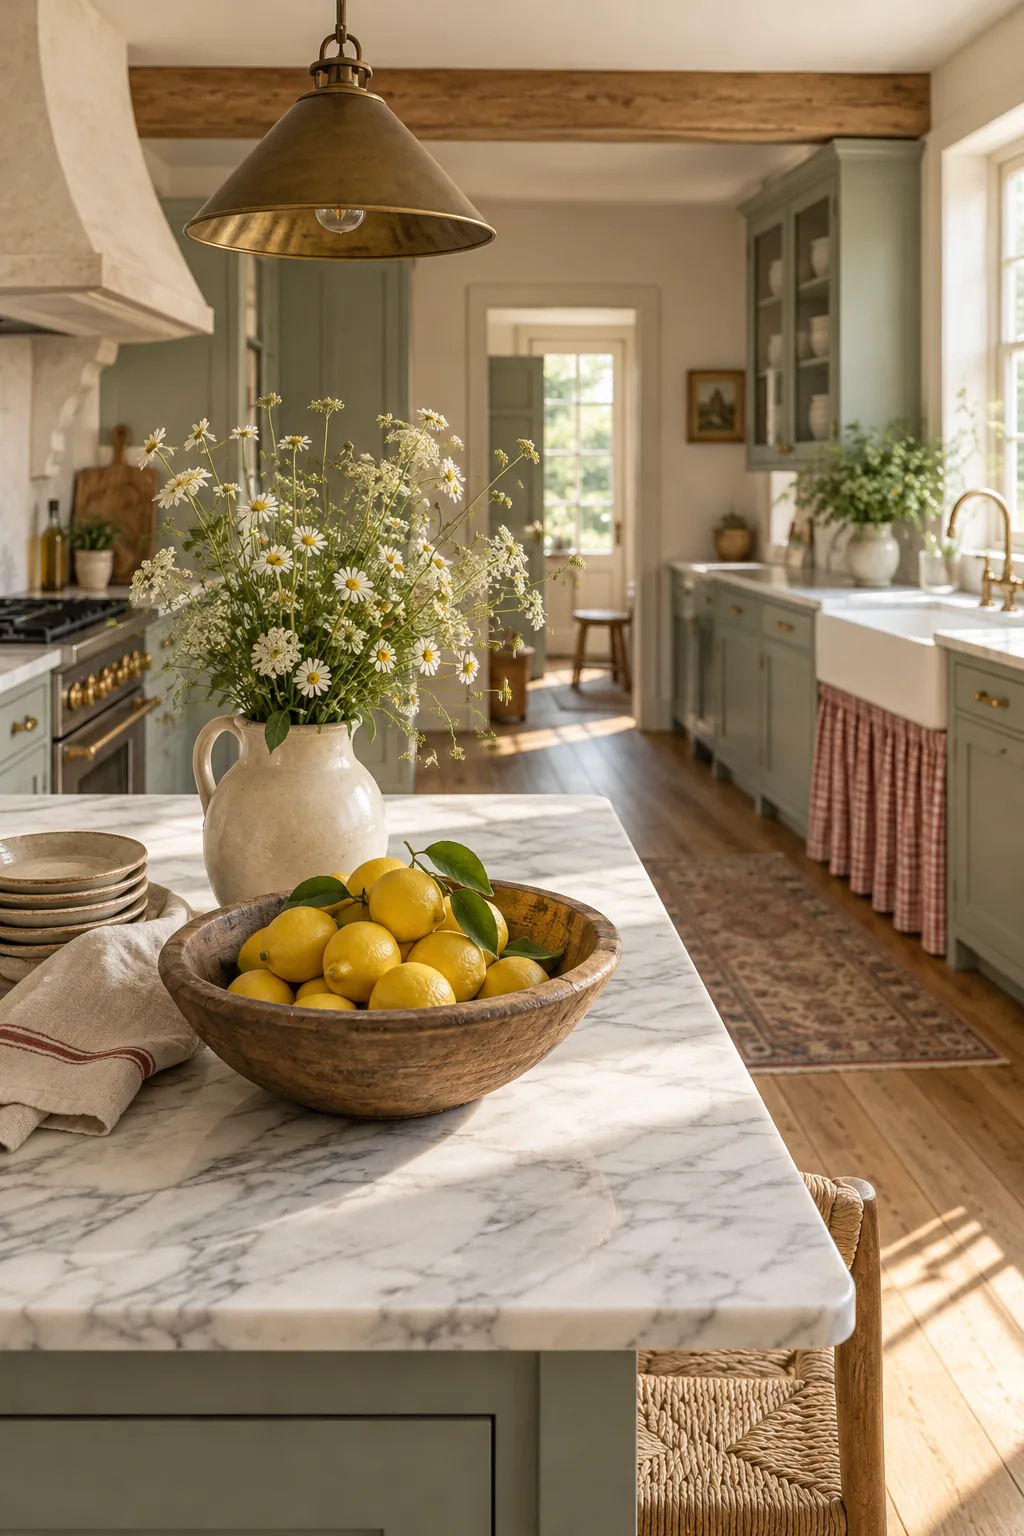
Grab your tape measure and jot down these four quick dimensions before you download the Country Kitchen Hidden-Modern Spec Sheet to ensure a perfect fit.
Three Ways to Style a Hidden-Modern Kitchen
Explore how these concealed modern features adapt perfectly to different heritage aesthetics.
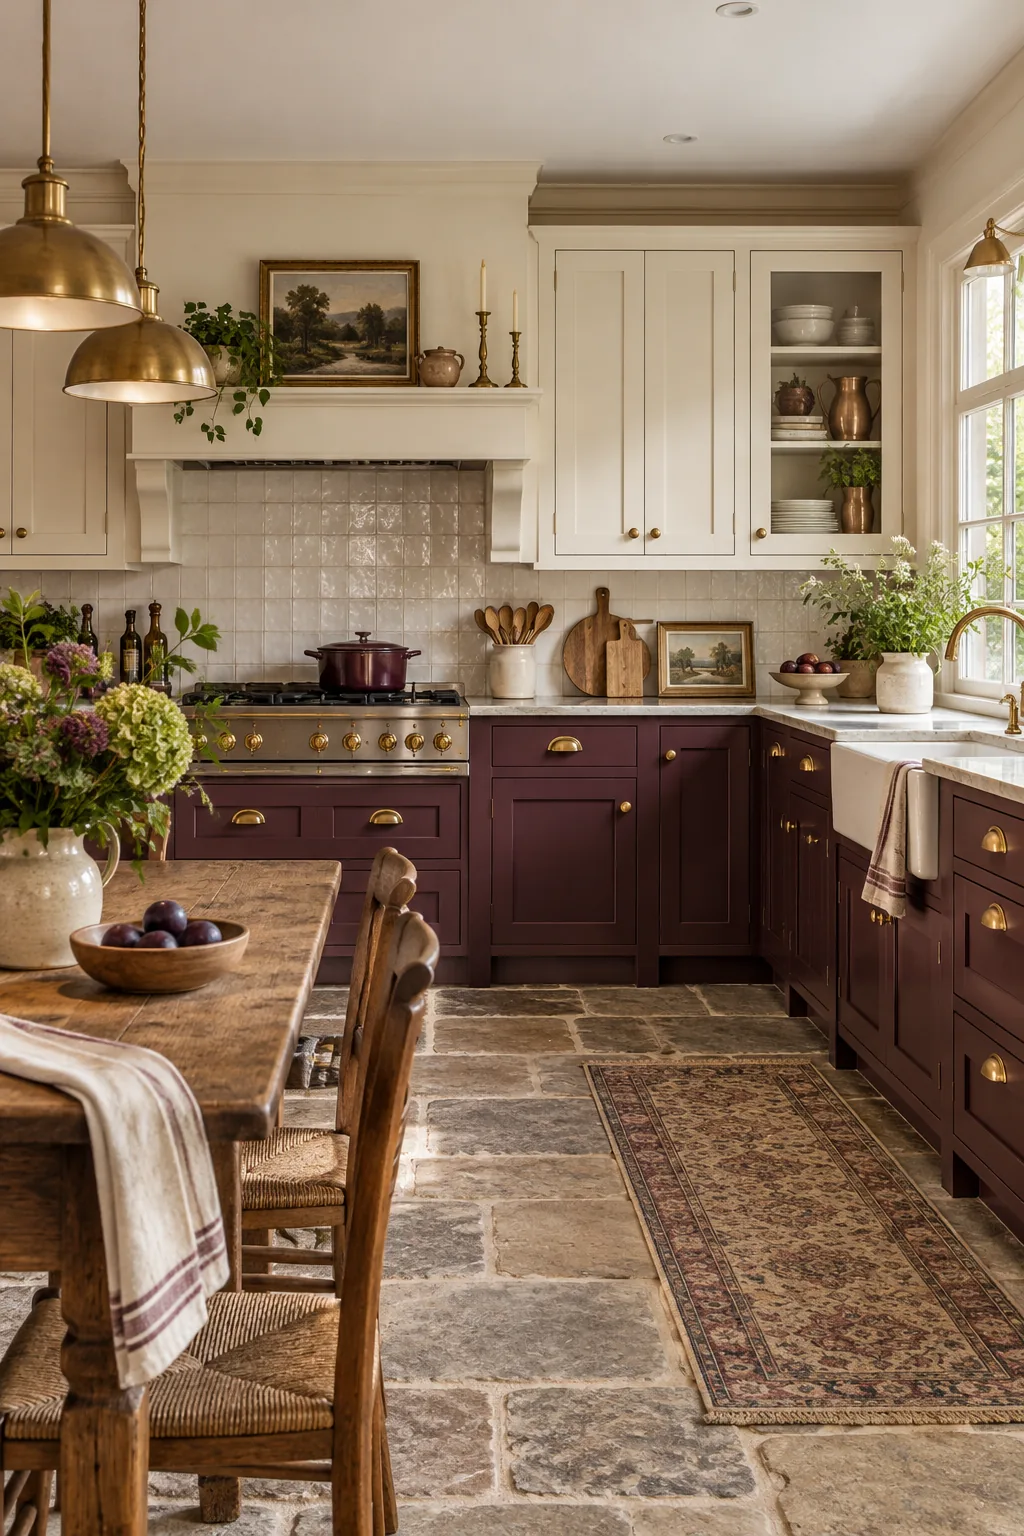
English Cottage In Plum: Deep plum lower cabinets ground the space, while a rustic flagstone floor adds centuries of instant character.
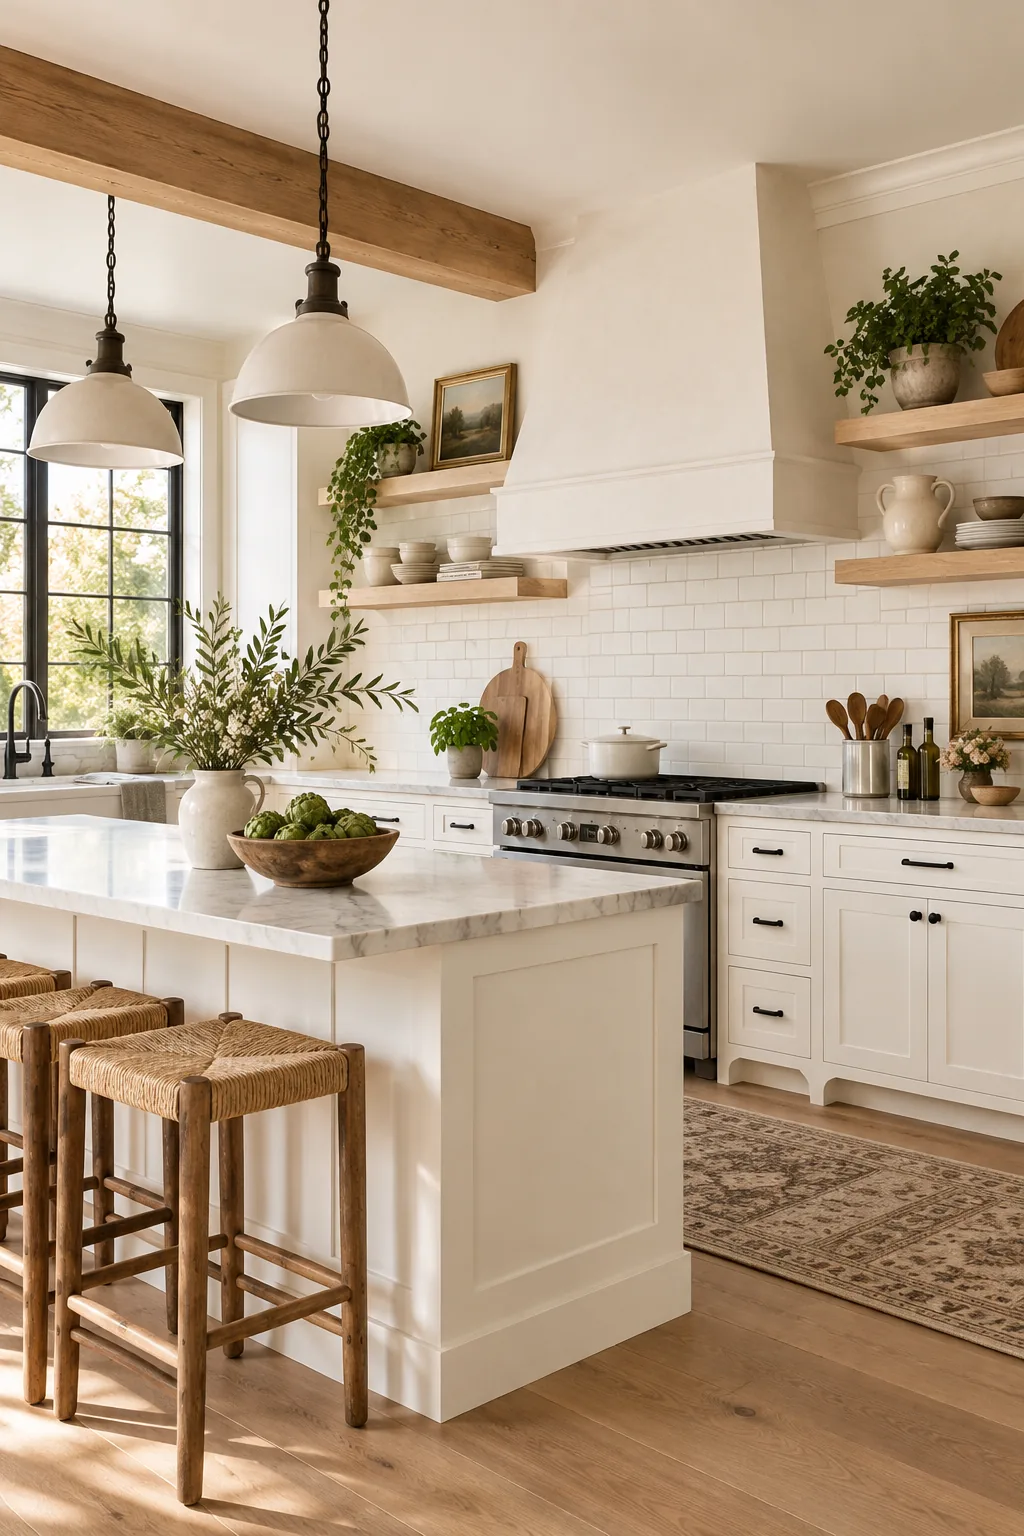
Modern Farmhouse In Ash: Crisp white shaker profiles paired with matte black hardware create a high-contrast foundation that feels remarkably fresh.
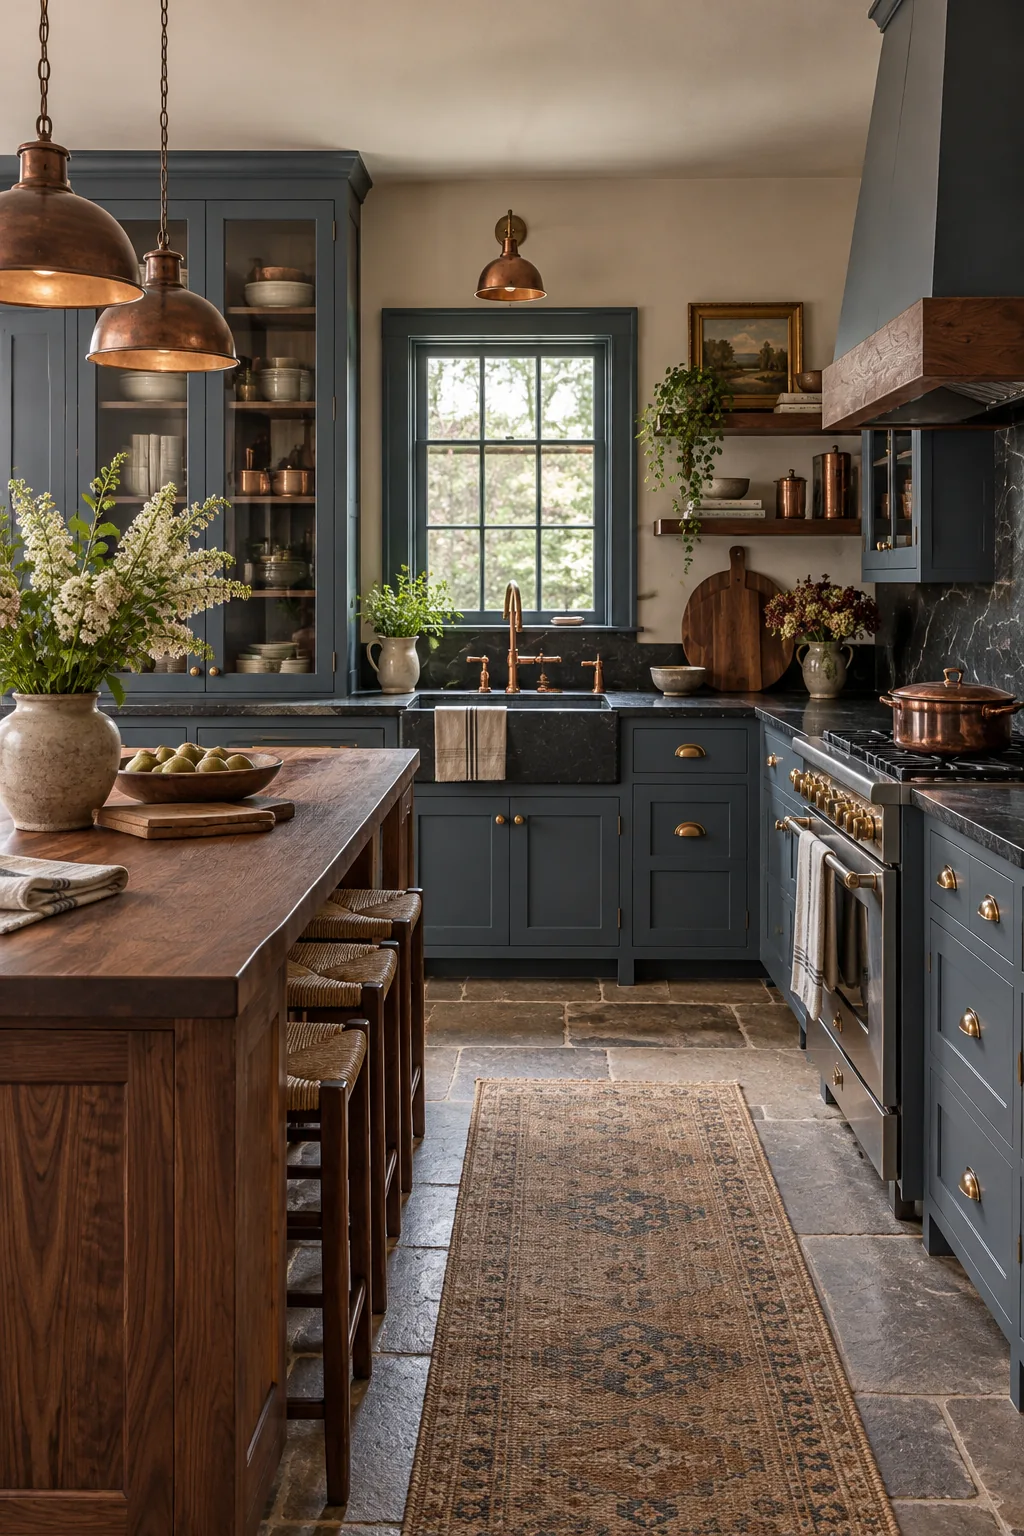
Moody Heritage In Slate: Slate blue cabinetry paired with dark soapstone countertops creates an intimate, historic atmosphere that hides messes beautifully.
Maintaining the Country Kitchen Illusion
When the modern mechanics are properly hidden, consistent brass accents will unify the diverse finishes across your lower cabinets. Thoughtful material transitions ensure the hardworking kitchen remains a relaxing, sunlit retreat that feels effortlessly timeless.
Step back and review the entire elevation to ensure the sightlines remain uncluttered. The true success of a hidden-modern kitchen lies in how quietly the advanced functionality serves the serene, traditional atmosphere.