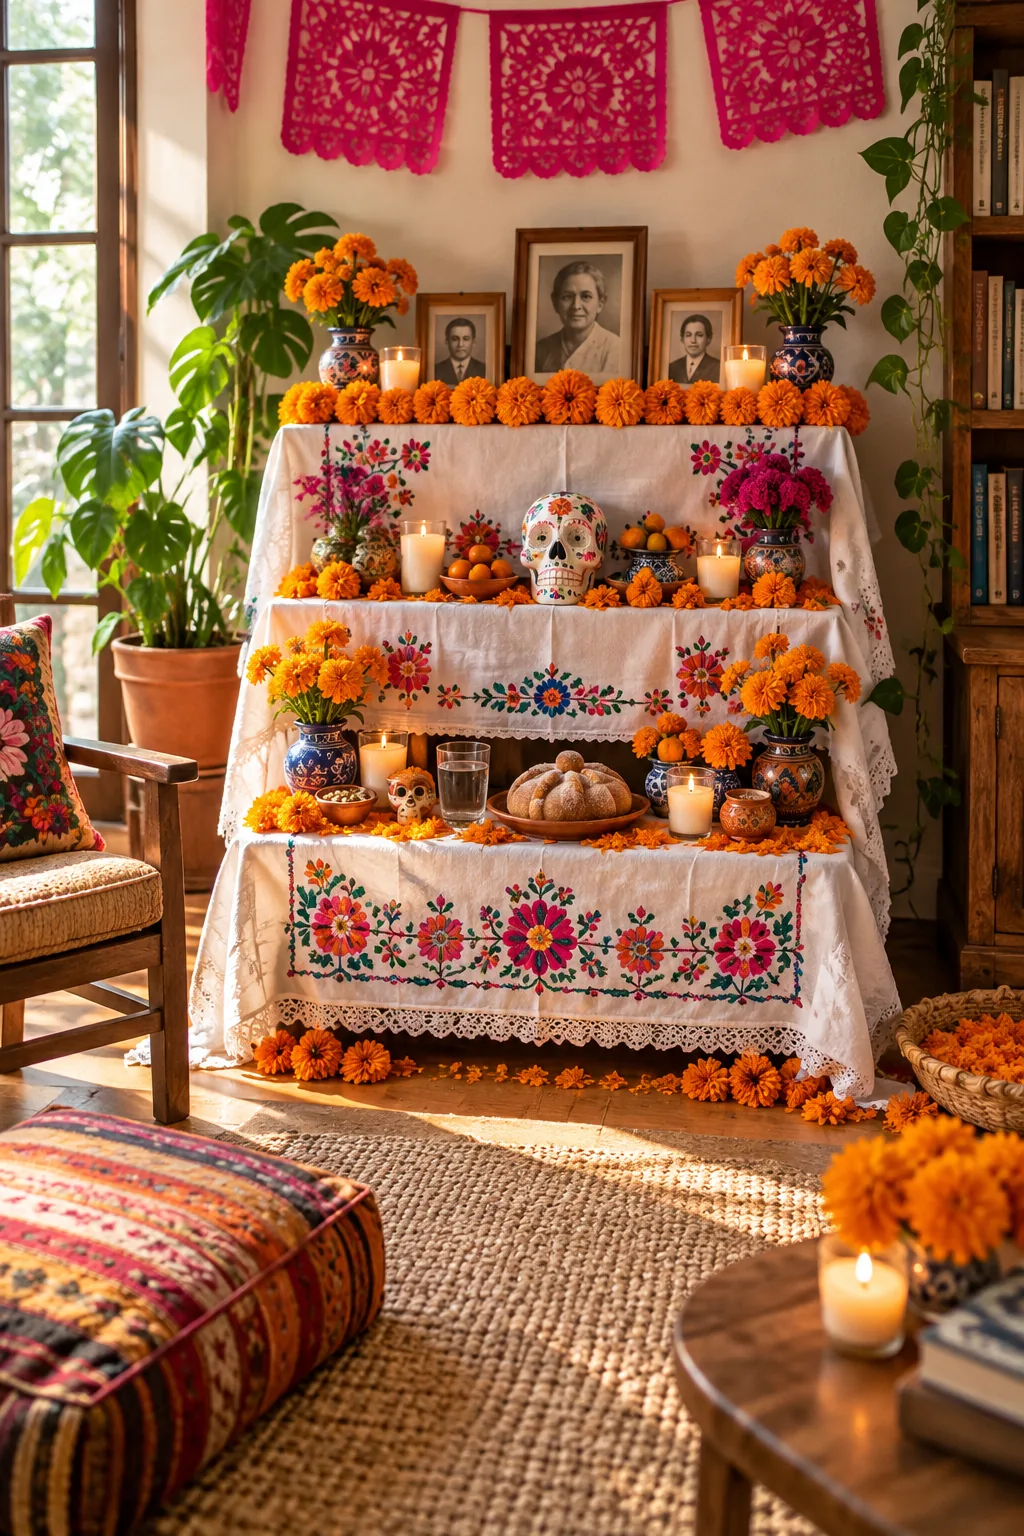
How to Build a 3-Tier Ofrenda on a Bookshelf
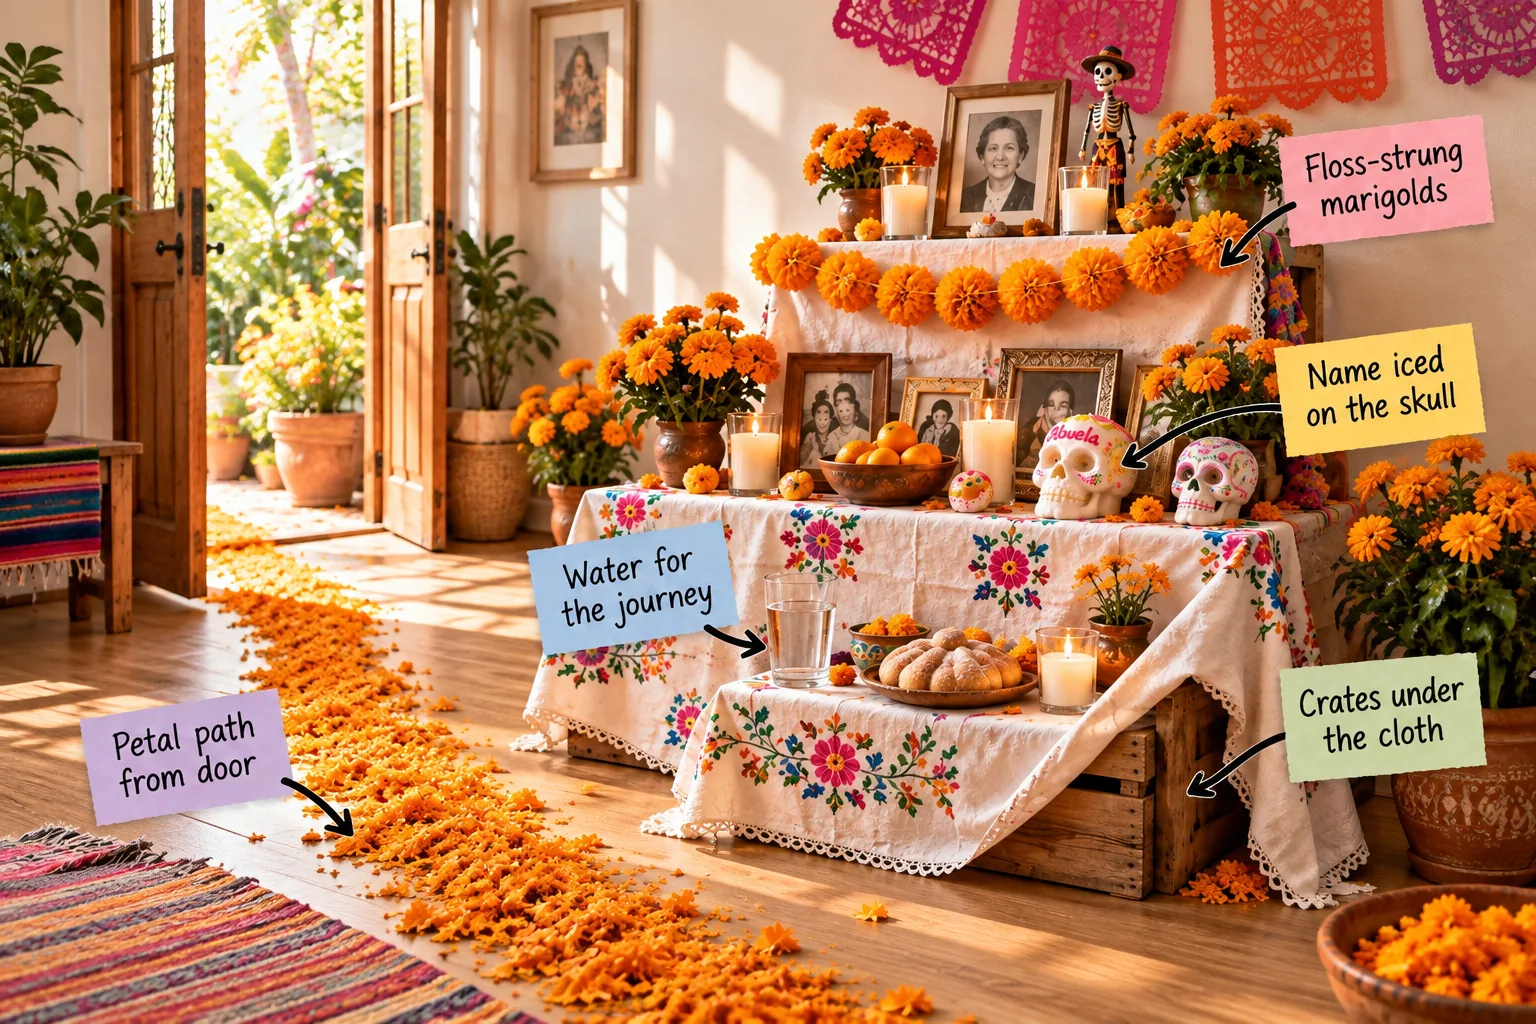
You will be able to assemble a beautiful, traditional three-tier ofrenda right at home using standard household furniture and our printable two-page Ofrenda Build Sheet. This free guide comes complete with a detailed tier-by-tier placement checklist and an easy October 28 to November 2 setup schedule.
Stacking the Bookshelf Foundation
Convert a standard low bookshelf into a three-tier altar by stacking two wooden crates on top, creating a solid architectural base that supports your delicate tributes. Standard wooden crates perfectly provide stable 10-inch deep steps for each distinct level of your offerings, ensuring nothing tips over.
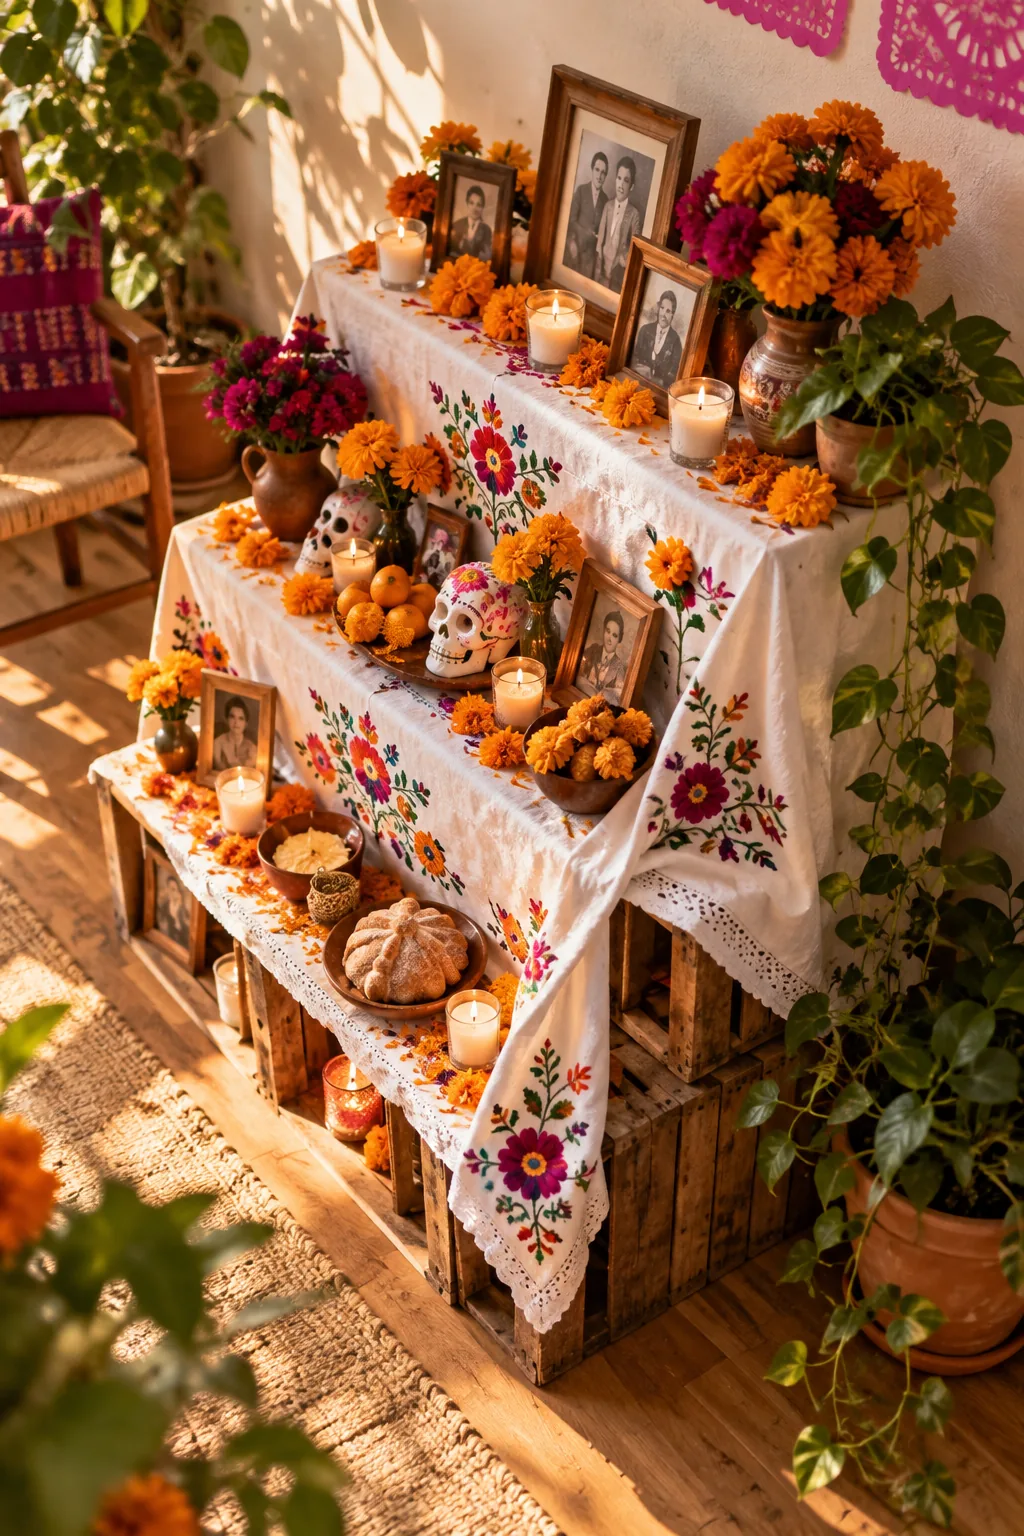
Drape a crisp white embroidered cloth over the entire stepped structure, intentionally leaving the front corner slightly lifted to acknowledge the humble structural foundation of crates under the cloth. Before placing any fragile items, ensure the draped fabric sits completely smoothly across every wooden edge.
Selecting the Best Room Location
Choose a quiet, low-traffic corner of your living room against a blank wall where the altar can remain completely undisturbed. The ideal location provides enough floor space for the petal path while keeping the delicate paper decorations safely away from strong drafts and heating vents.
Guiding the Way With a Petal Path
Lay a continuous, vibrant trail of loose cempasúchil petals from the room’s main entrance directly across the floor to the base of the altar. The intense orange color and strong, earthy floral scent act as a powerful sensory beacon to effectively guide the wandering spirits back home.
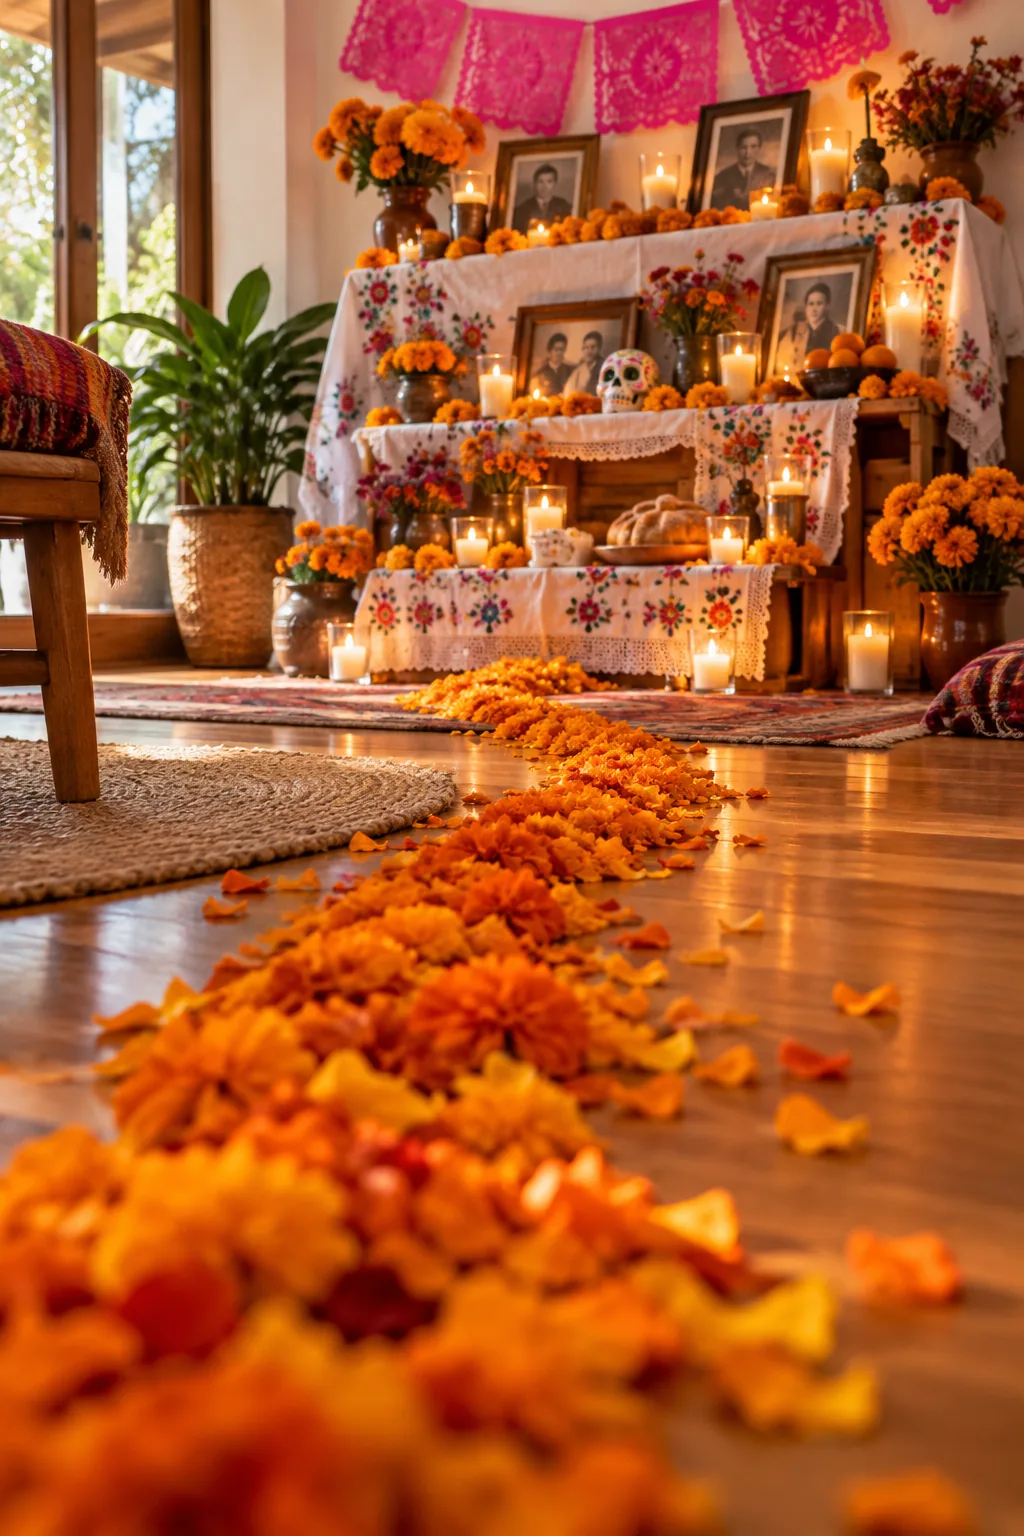
In my own Boston apartment, I intentionally scatter about 3 to 4 cups of loose petals to create a thick, unbroken petal path from door to the lowest tier along our narrow entry hallway, ensuring the visual line remains completely clear.
The Lower Tier: Sustenance for the Journey
Dedicate the first and most accessible level strictly to refreshing the weary spirits immediately after their long, arduous journey from the beyond. You must ensure these foundational elements are placed within easy reach at the very front edge of the altar so they do not have to search.
Position a clear, unsmudged glass of water for the journey near the center, flanked by a fresh, sugar-dusted pan de muerto resting beautifully on a traditional terracotta plate. This simple presentation immediately signals a warm, hospitable welcome to the arriving souls.
Purifying the Space With Essential Elements
Add small, shallow clay bowls of coarse sea salt nearby to fully purify the space before the spirits move higher up the structure. Incorporating these natural earth elements balances the spiritual energy and beautifully grounds the entire visual composition of your display.
| Purification Element | Placement Zone | Symbolic Purpose |
|---|---|---|
| Coarse Sea Salt | Front corners of lowest tier | Purifies the spirit for the coming year |
| Copal Incense | Floor level beside the path | Transmits prayers upward through the smoke |
| Fresh Spring Water | Center of the lowest tier | Quenches spiritual thirst after the journey |
| White Ash | Small dish near the salt | Represents the physical body left behind |
The Middle Tier: Sweet Remembrances
Fill the wide second tier with the deceased’s favorite earthly foods, vibrant seasonal fruits like bright mandarin oranges, and highly specific personal mementos. This central layer bridges the physical and spiritual realms by anchoring the display with profoundly sweet, recognizable memories.
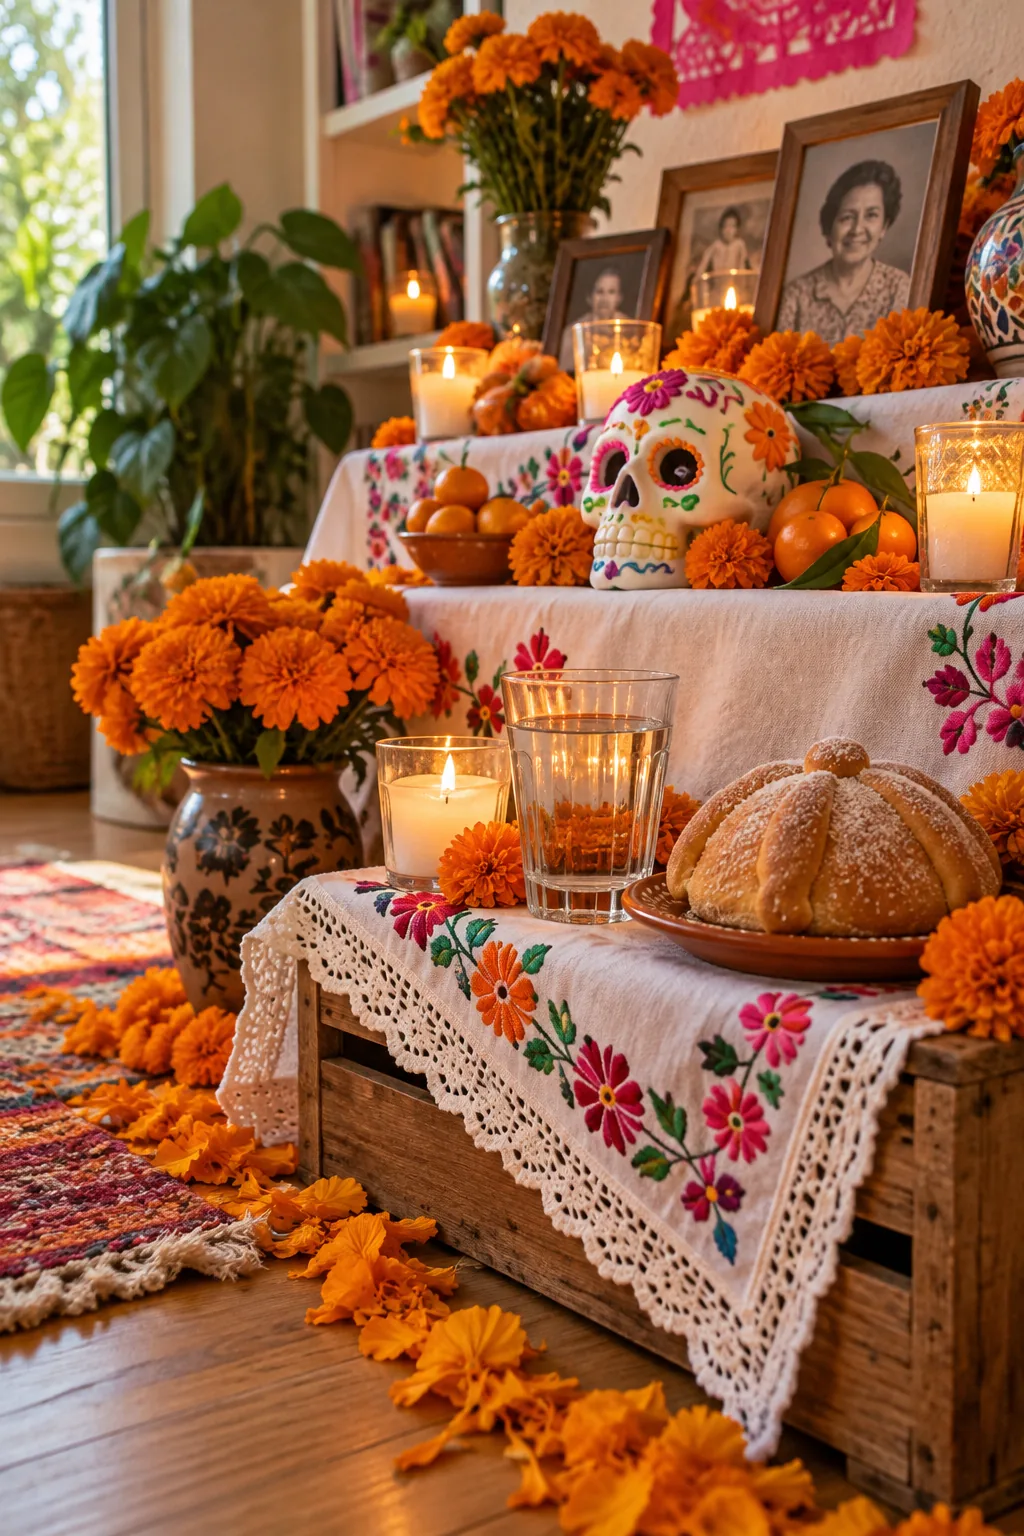
Personalize the tribute by piping a loved one’s specific name iced on the skull in bright pink royal icing across the forehead of a traditional sugar skull. Group these personalized skulls alongside their favorite wrapped candies and small wooden toys.
Arranging the Personal Mementos
Surround the decorated sugar skulls with carefully selected objects that instantly recall the unique personality, daily habits, and earthly joys of the individuals you are honoring. This thoughtful curation transforms a generic display into a deeply meaningful, highly specific family tribute.
- Place small, cherished items like a favorite deck of worn playing cards or a beloved pocket watch near the front edge.
- Position their preferred wrapped candies or small savory snacks in shallow clay dishes alongside the vibrant seasonal fruits.
- Tuck handwritten notes or small, meaningful letters under the edges of the terracotta plates to keep the messages private.
The Top Tier: Honoring Their Memory
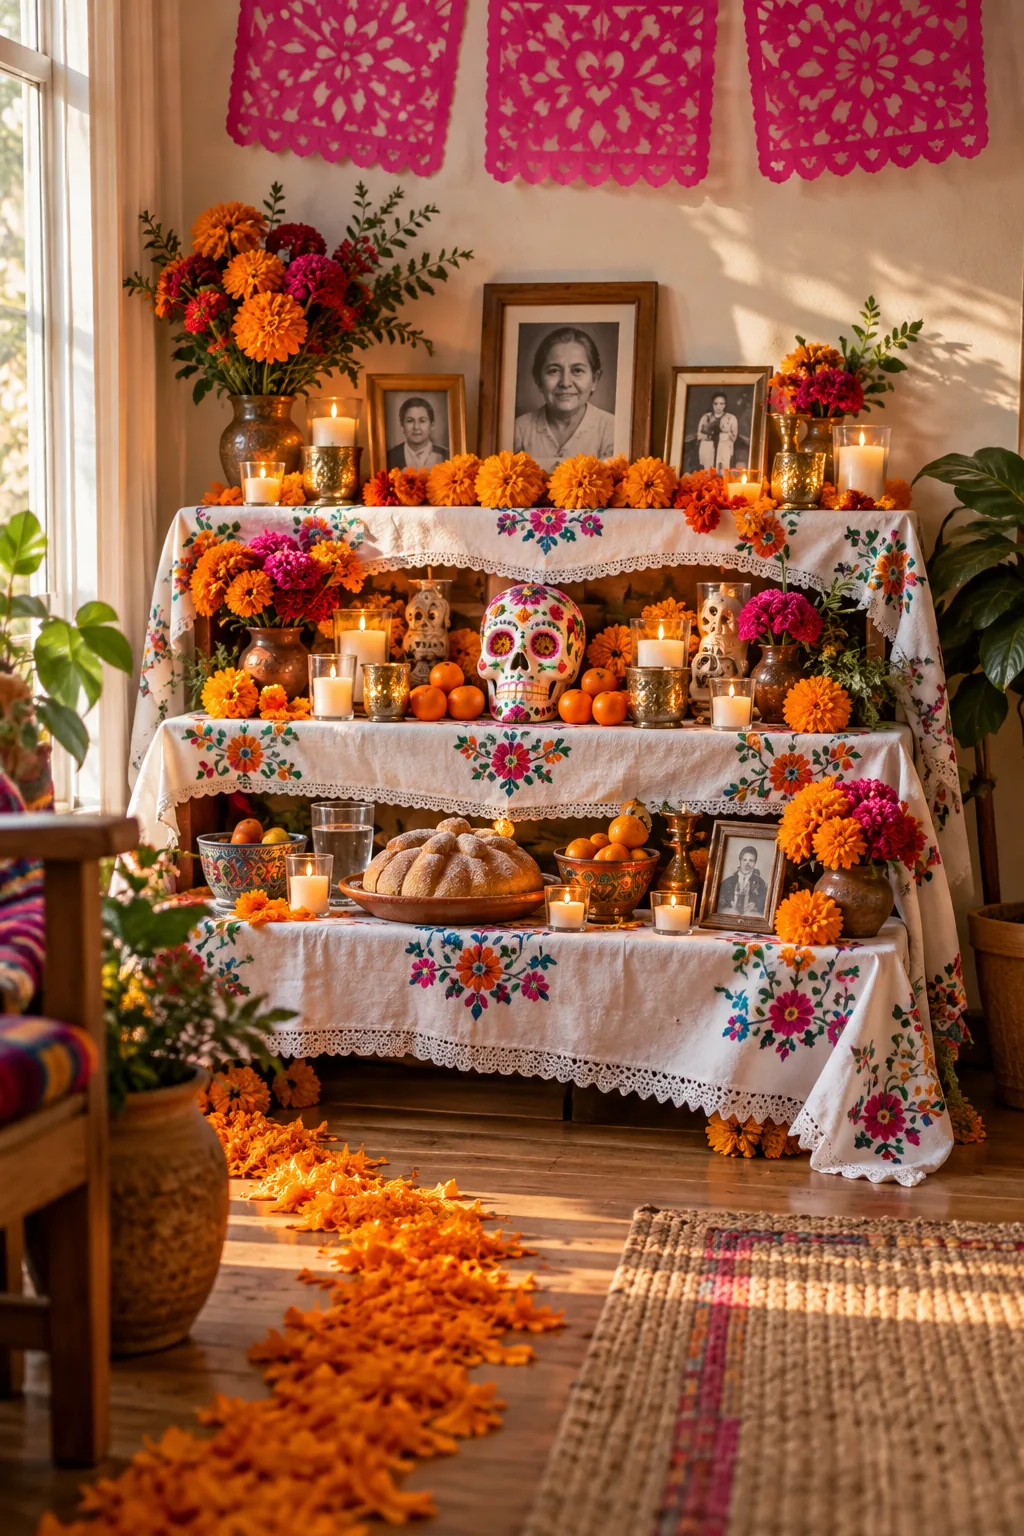
Reserve the highest tier exclusively for framed photographs of the specific loved ones being honored, elevating their spiritual presence above all earthly offerings. I always use simple, matching silver frames for my own family photos so the vibrant orange marigolds remain the dominant color.
Sourcing the Traditional Flowers
Procure your fresh cempasúchil blooms no more than two days before your final setup to ensure they remain brightly colored and fully open. If traditional marigolds are completely unavailable in your area, brightly colored calendula or robust chrysanthemums offer an acceptable visual substitute.
Stringing the Marigold Garlands
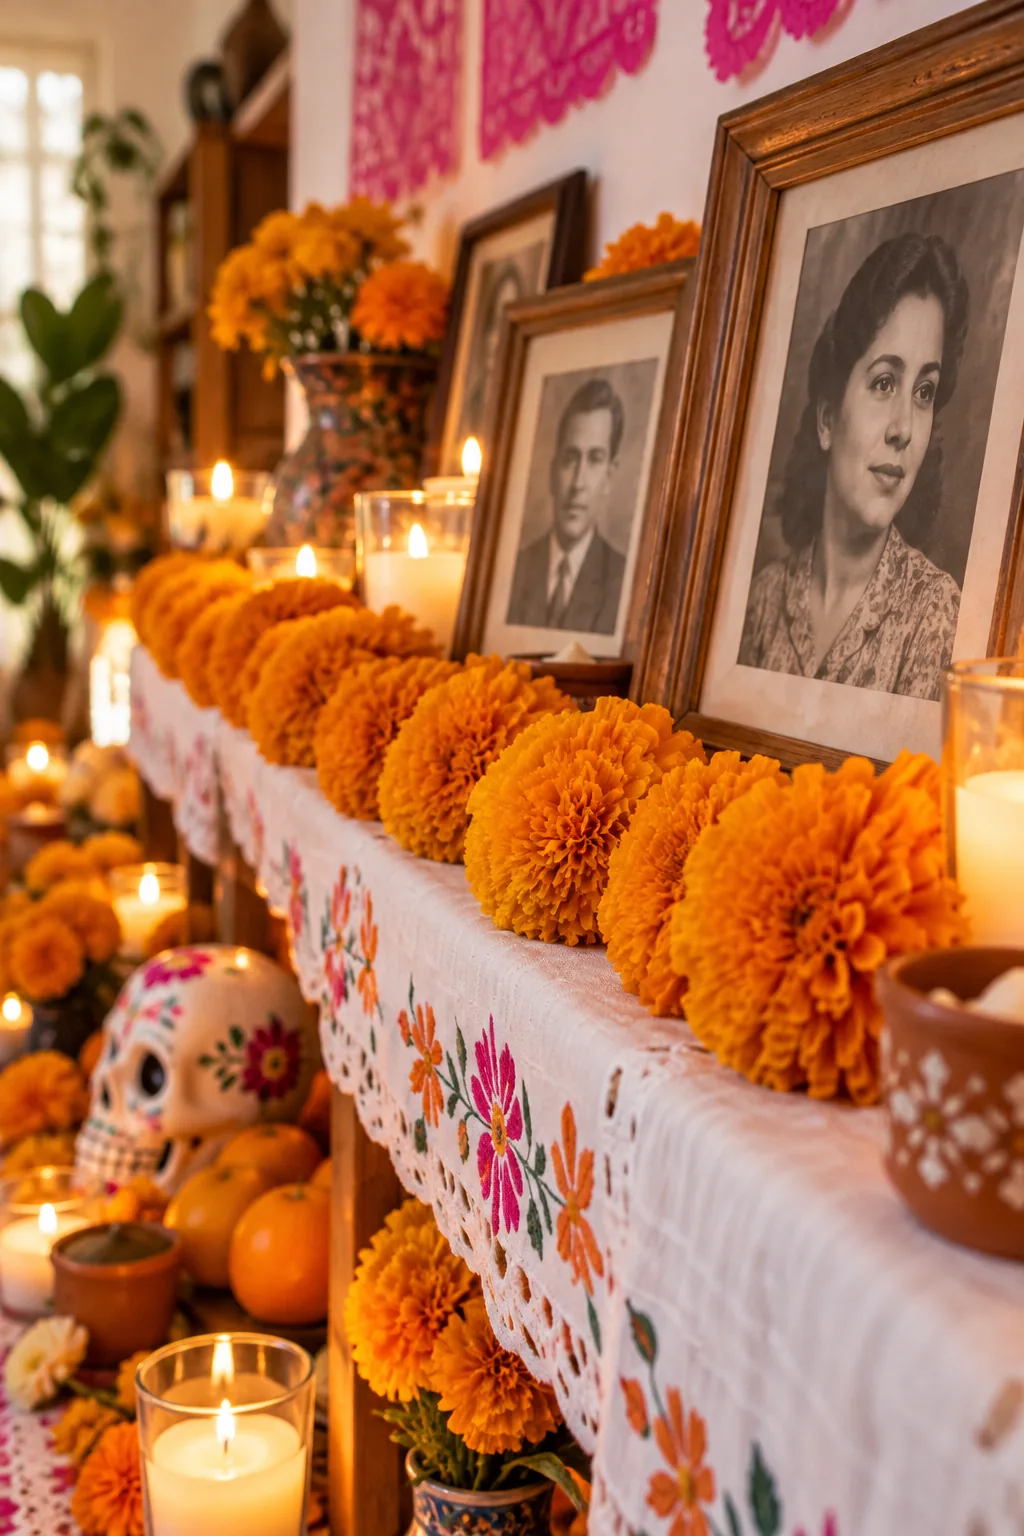
Create a luxuriously thick, continuous swag of fresh marigolds by threading whole, fully opened flower heads closely together in a tight sequence. This dense floral rope beautifully frames the upper portraits in a bright, joyful burst of traditional orange.
Using heavy-duty material ensures the floss-strung marigolds easily hold their considerable moisture weight without snapping mid-celebration. You can then confidently drape this lush, heavy garland elegantly along the front wooden edge of the top tier.
Managing the Candlelight Safely
Flank the central portraits with your tallest, most substantial white pillar candles to establish a strong vertical visual boundary that draws the eye upward. Position the candle flames slightly in front of the picture frames to cast a warm, flickering glow directly onto the glass.
- Trim every candle wick to exactly one-quarter inch before lighting to prevent excessive smoking and dangerous, uncontrolled flaring.
- Place all thick pillar candles on heat-resistant ceramic or metal coasters to protect the delicate embroidered cloth underneath.
- Never leave the illuminated altar completely unattended, especially if you have incorporated dry paper decorations or loose dried petals nearby.
Illuminating the Papel Picado
Hang traditional pierced tissue paper banners flat against the wall directly above the bookshelf to represent the delicate element of wind. Position the fragile papel picado high enough that the ambient candlelight flickers beautifully through the intricate geometric cutouts, maintaining an absolute minimum of 18 inches of vertical clearance above any open flame.
The Oct 28–Nov 2 Setup Schedule
Building a complex, multi-layered altar is significantly easier when you intentionally space the required tasks over several consecutive days. This structured approach allows you to methodically gather supplies, iron linens, and arrange delicate flowers without feeling rushed before the spirits arrive.
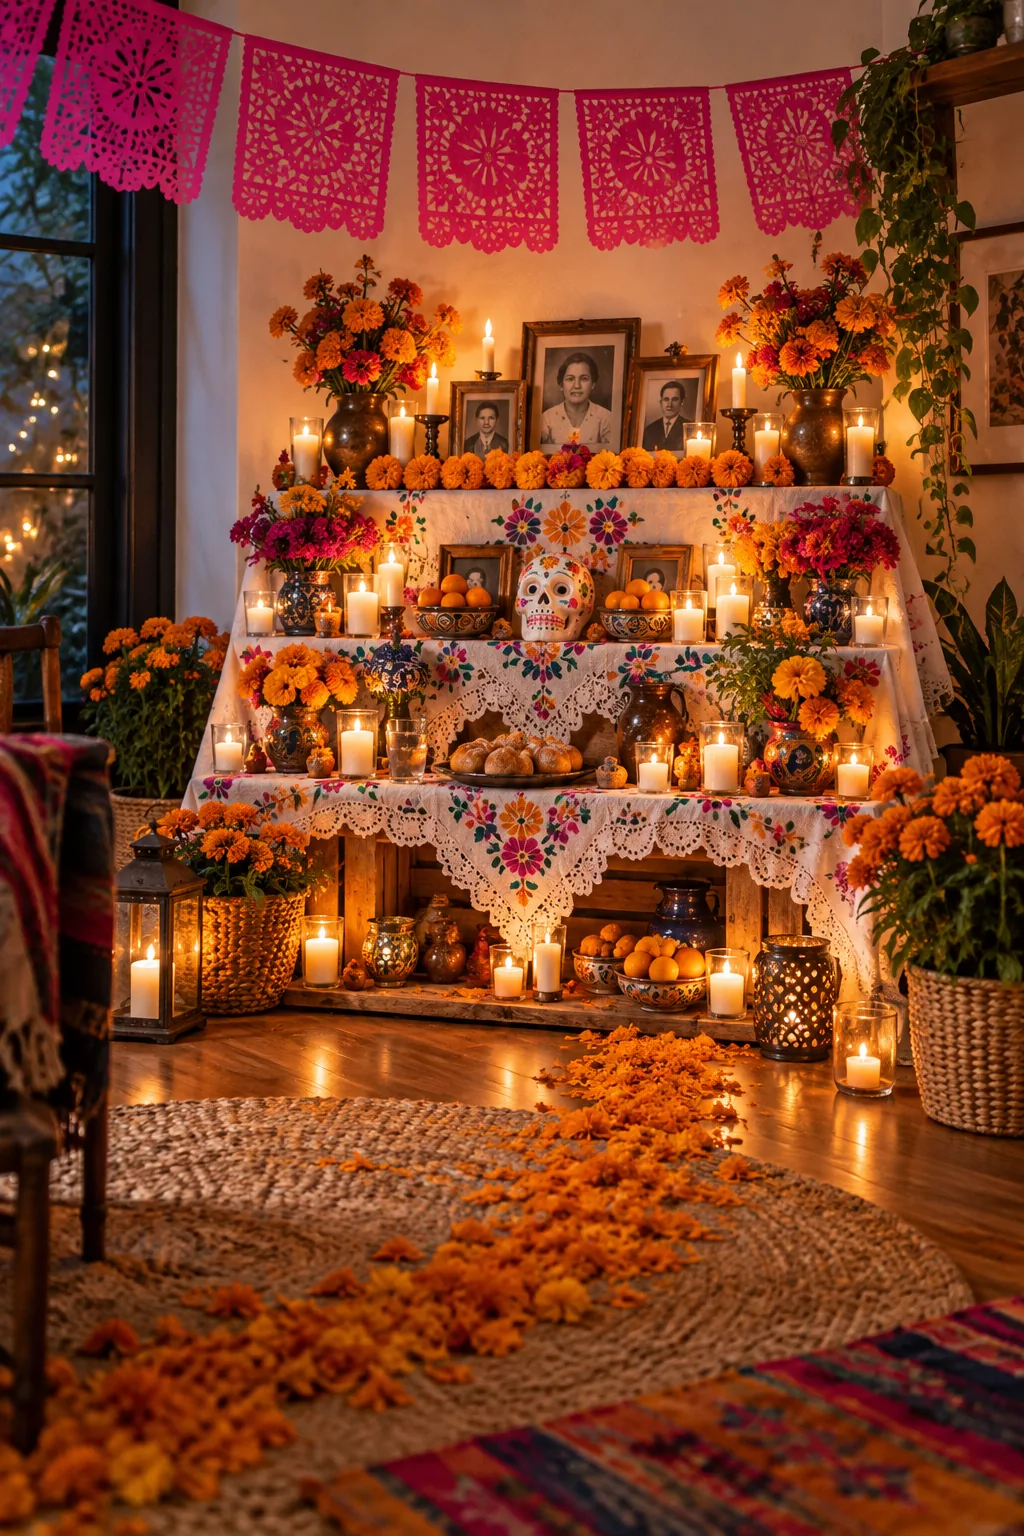
Download and immediately print our two-page Ofrenda Build Sheet to access the complete tier-by-tier placement checklist and the essential day-by-day setup schedule starting October 28. Following this exact timeline keeps my own annual setup completely stress-free and glowing perfectly by November 2.
More Ways to Style Your Home Ofrenda
Explore these different approaches to fit the altar perfectly into your own space.
Modern Entryway Console: A sleek wooden console table keeps the footprint small, using a single row of pale marigolds and simple white pillar candles for a quiet, contemporary tribute.
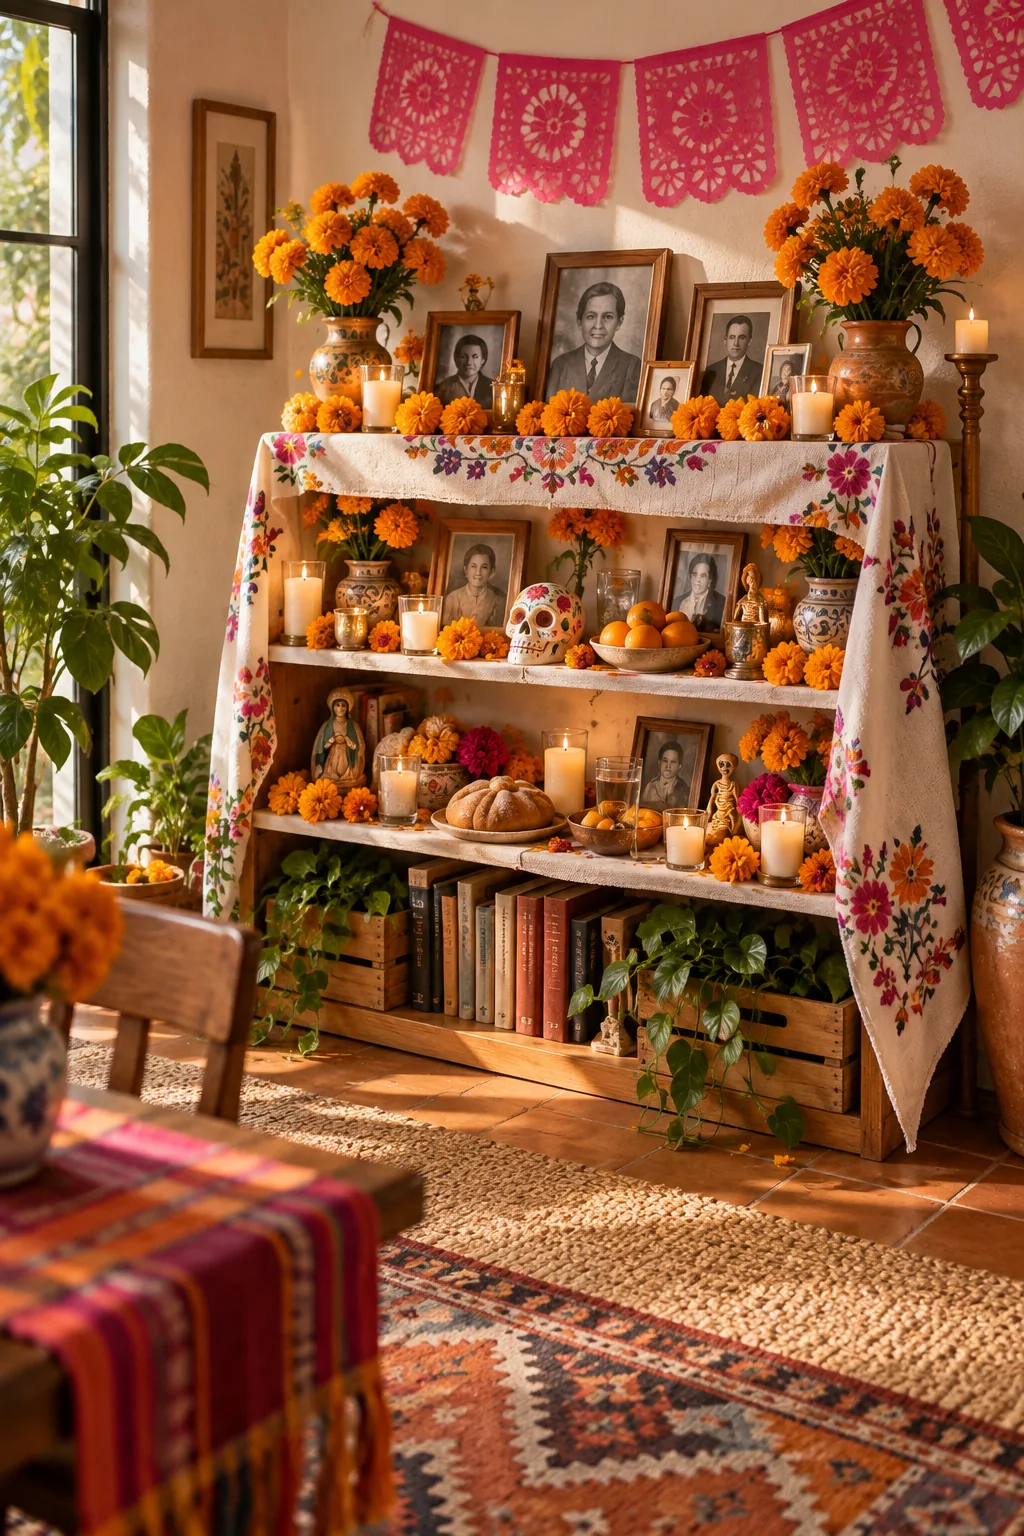
Vibrant Dining Room Sideboard: Layer a bright magenta serape over a dining room sideboard to anchor a dense, joyful collection of painted pottery, vibrant sugar skulls, and overflowing floral vases.
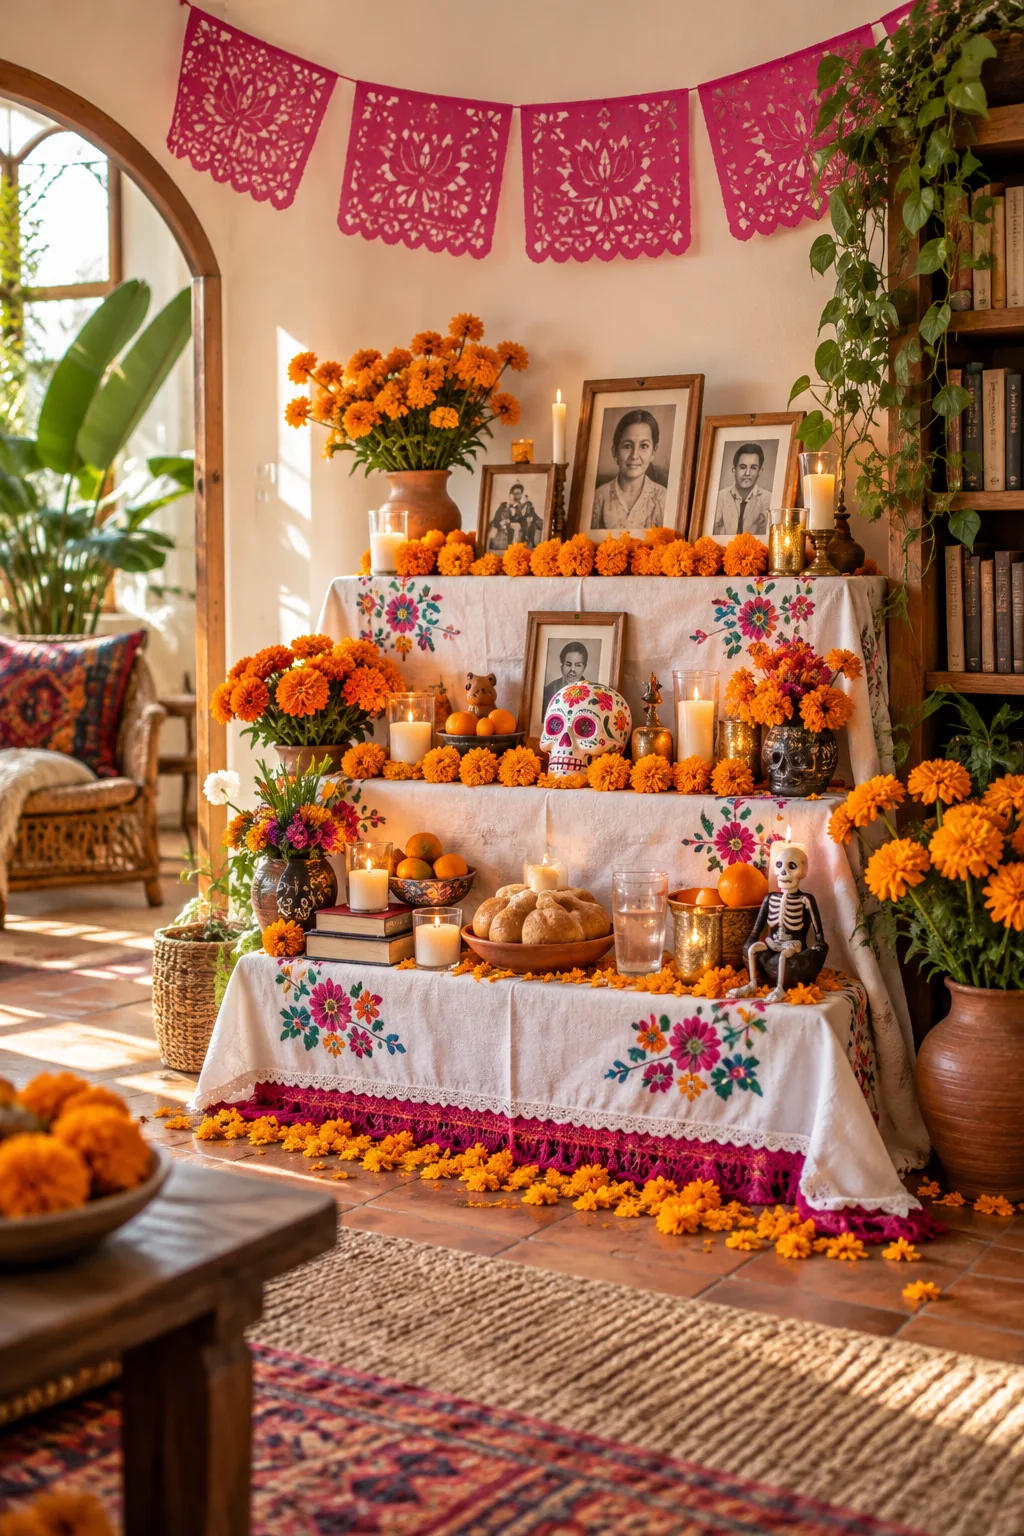
Rustic Covered Patio: Take advantage of a covered courtyard by stacking weathered wooden benches, using large terracotta pots for the marigolds, and placing heavy hurricane lanterns to protect the flames.
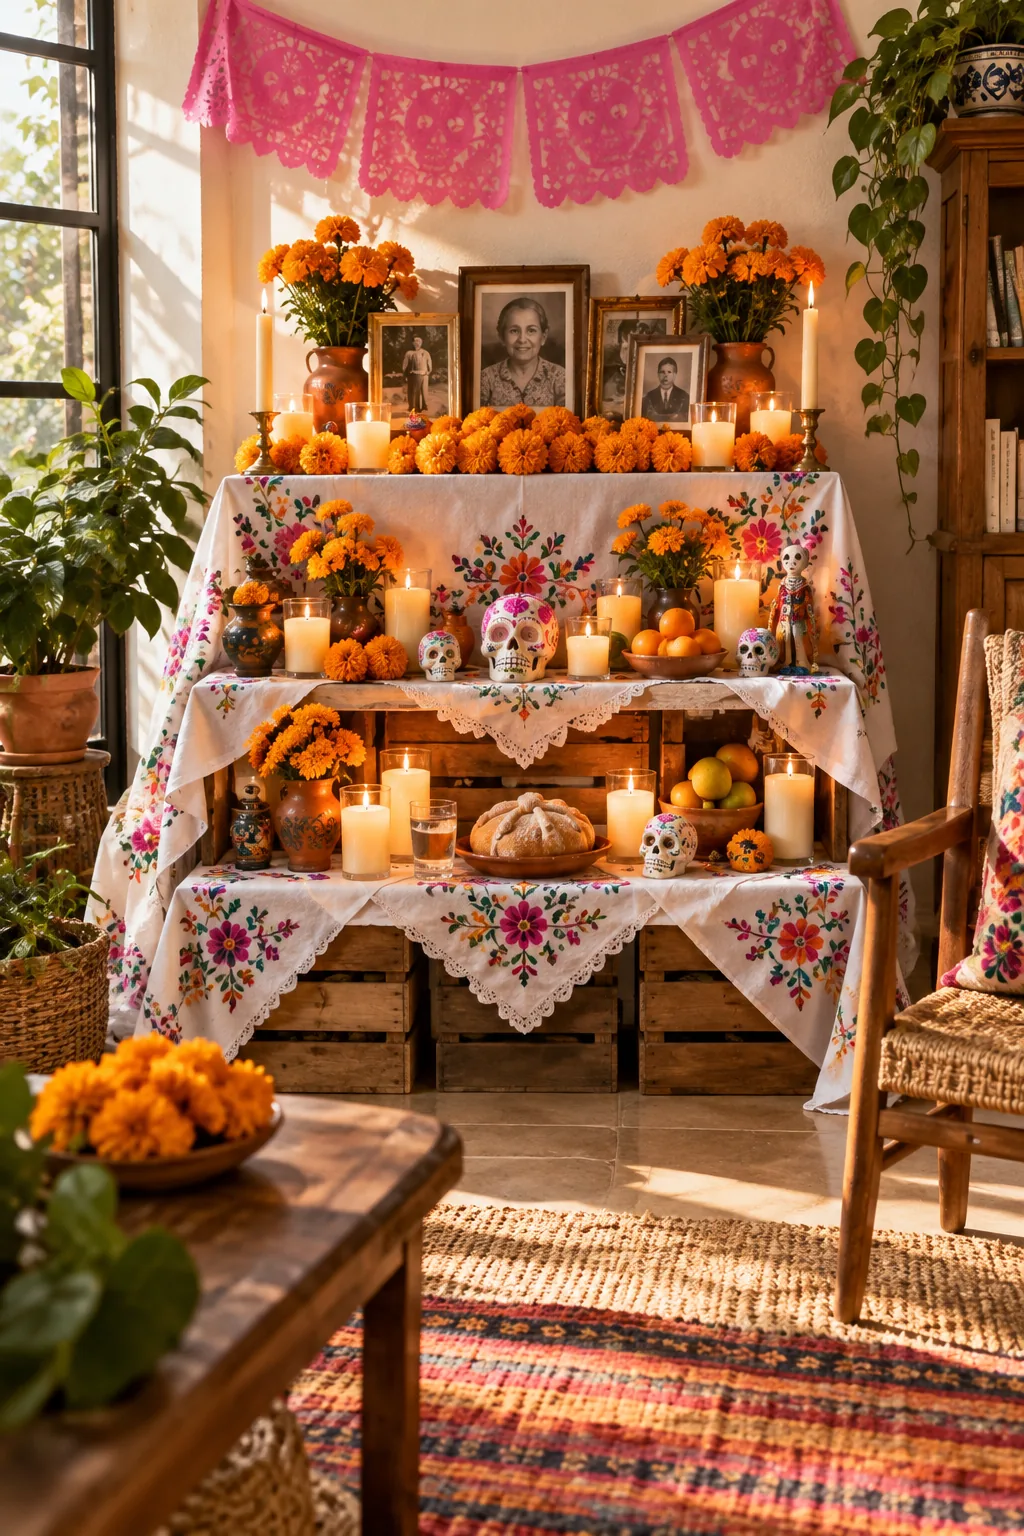
Floating Wall Shelves: When floor space is tight, dedicate three floating wall shelves to the tiers, using miniature sugar skulls, brass frames, and battery-operated tealights for safety.