DIY Built-in Bookshelves: The Trim & Cut Measurement Guide
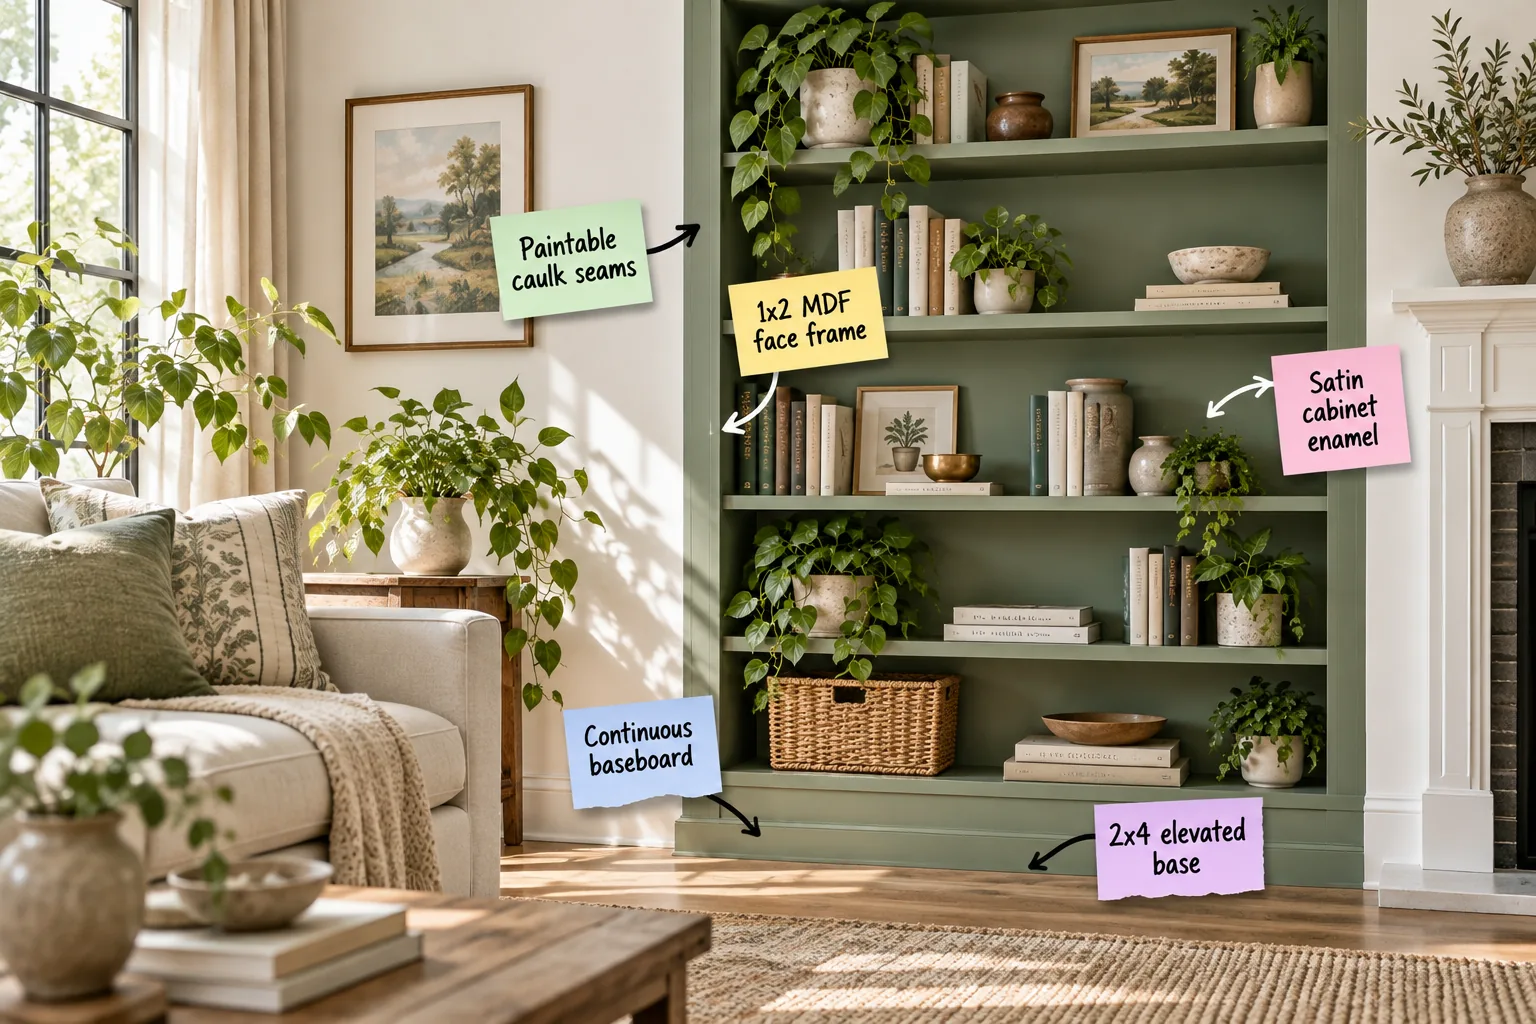
Grab our exact DIY trim and cut measurement guide to seamlessly transform basic plywood shelves into a custom floor-to-ceiling built-in. You will be able to calculate your base framing, size your face trim, and cut your baseboards for a flawless, high-end finish.
Your DIY Trim and Cut Measurement Guide
To ensure precise alignment, standardizing your vertical shelf gaps makes the final math significantly easier before you make a single cut. Calculating equal 12-inch spacing allows you to batch-cut your side supports and guarantees your face trim aligns perfectly across the entire unit.
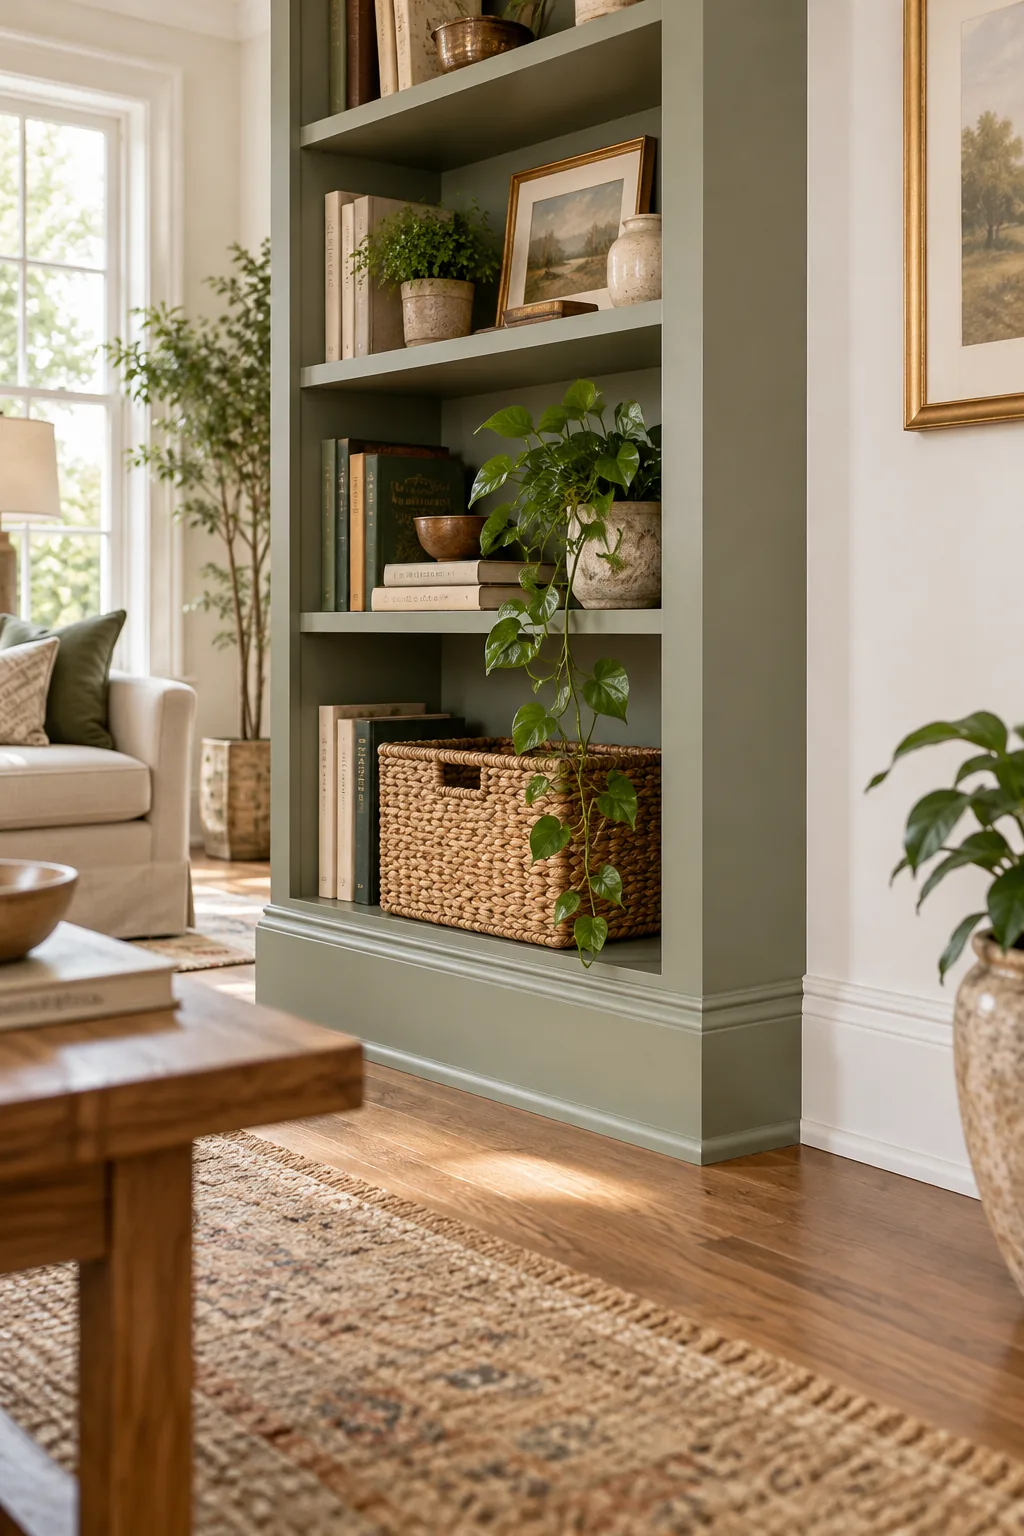
Calculate your trim pieces using these exact formulas to guarantee a tight, professional fit. Subtract exactly 1/4 inch from your total shelf width for wall clearance, and plan for 45-degree miters on all outside baseboard corners to maintain a continuous visual line.
- Measure the inner width: Record the exact distance between your vertical plywood supports to determine the true horizontal shelf span.
- Size the face frames: Cut your horizontal 1×2 MDF strips exactly to that inner width measurement minus 1/16 inch for easy insertion.
- Calculate the vertical trim: Measure the full floor-to-ceiling height and subtract the baseboard height to find your vertical face frame length.
- Determine the baseboard cuts: Add 1.5 inches to the total unit width to account for the 45-degree mitered returns on both outside corners.
Elevating the Structure with a 2×4 Base
Build a sturdy ladder-style base out of standard 2×4 lumber to lift the entire shelving unit safely off the floor. This critical step raises the bottom shelf exactly 3.5 inches, providing a solid, perfectly level nailing surface for your continuous bottom trim.
| Component | Lumber Size | Cut Length | Purpose |
|---|---|---|---|
| Front/Back Rails | 2×4 | Unit width minus 3 inches | Main horizontal support |
| Cross Braces | 2×4 | 8.5 inches | Prevents base sagging |
| Wall Cleat | 2×4 | Match rail length | Anchors base to studs |
| Shims | Cedar | As needed | Levels base on uneven floors |
Securing this 2×4 elevated base directly into the wall studs ensures the massive weight of your books transfers into the home’s framing. Double-check your level across both the width and depth before attaching the first piece of vertical plywood.
Wrapping a Continuous Baseboard for a Built-In Look
Carry the room’s existing molding directly across the front of your 2×4 base to ground the unit beautifully. Miter the outside corners at 45 degrees to wrap the continuous baseboard seamlessly from the drywall onto the new shelf structure.
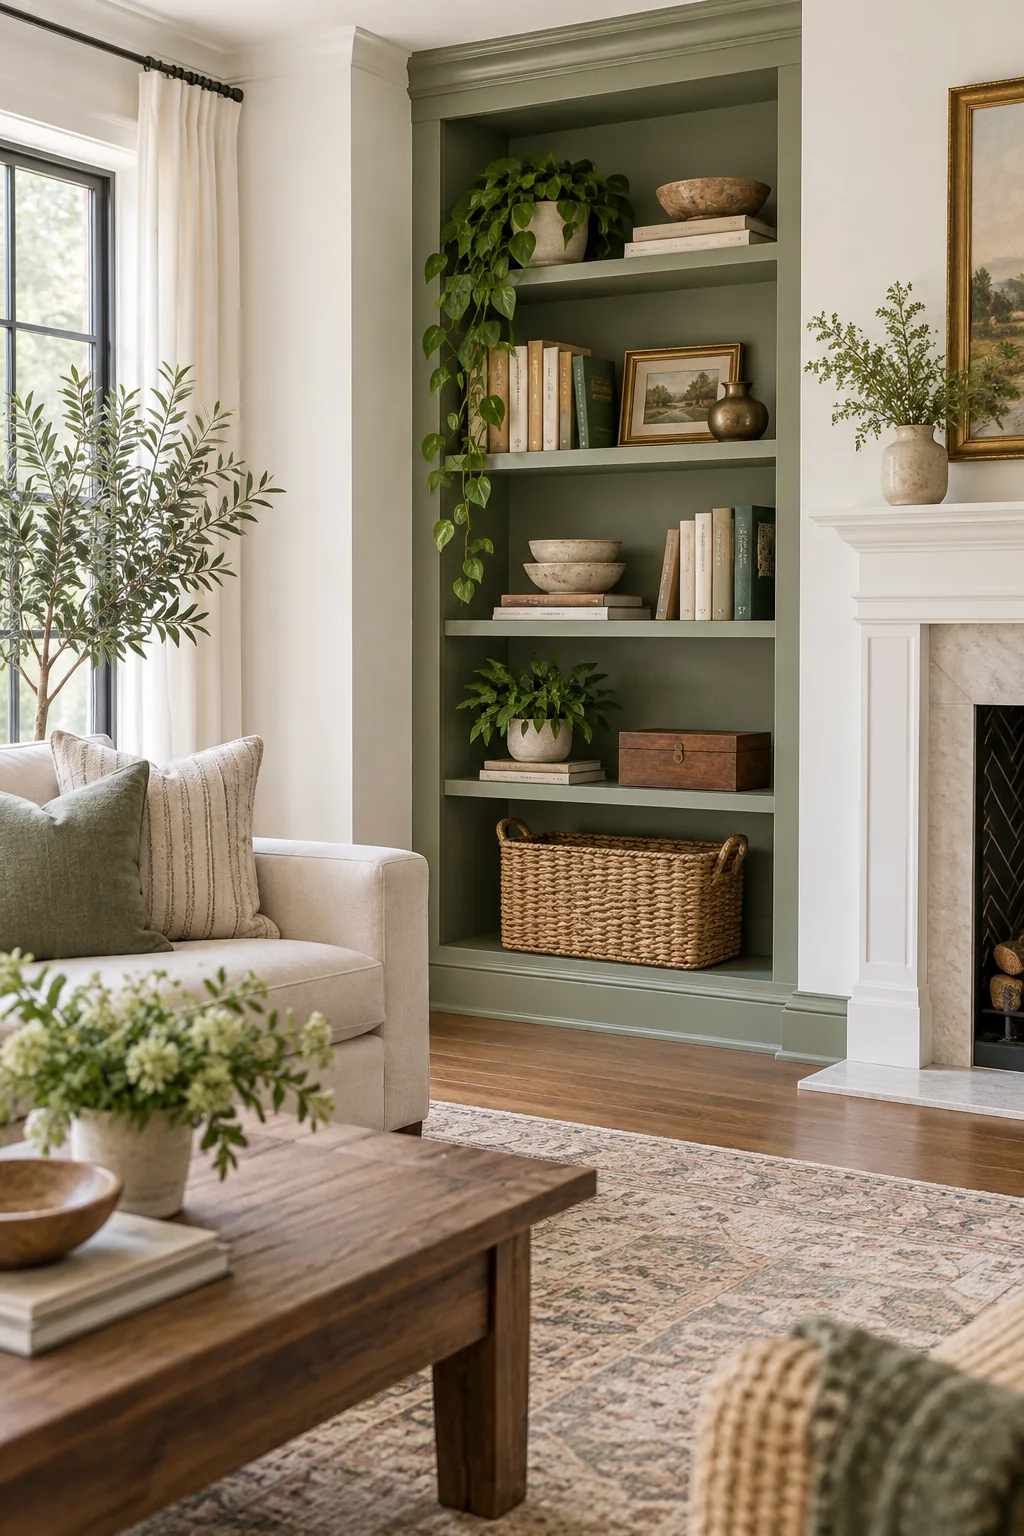
When installing the baseboard, you might notice the floor isn’t perfectly level, which can leave a small, unsightly gap beneath the molding. Trimming the bottom edge to match the floor’s exact slope creates a flawless transition that looks entirely original.
Planning Your Shelf Spacing
Standardize your vertical shelf heights based on the specific items you plan to display to maintain balanced proportions. Leave 12 inches of clearance for standard novels and up to 16 inches for oversized art, ensuring every horizontal level serves a distinct purpose.
Adding the 1×2 MDF Face Frame
Nail 1×2 MDF strips directly across the front edge of every horizontal shelf to completely cover the raw plywood. Thickening the visible profile to a substantial 1.5 inches instantly mimics the luxurious look of solid, high-end wood construction.
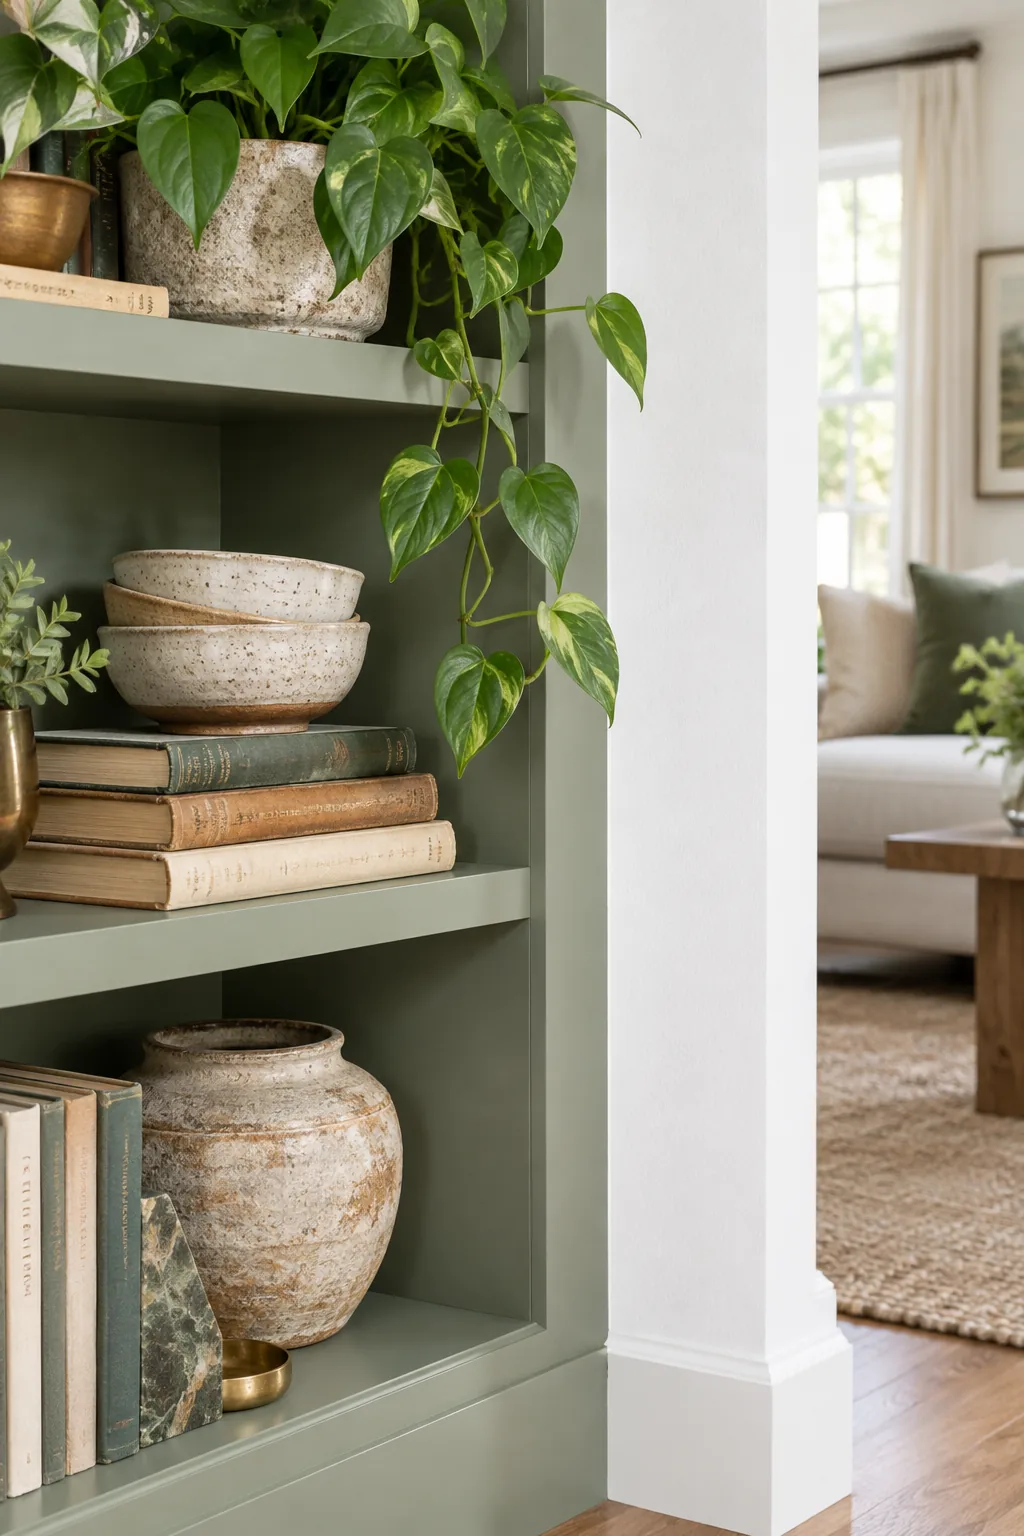
I used my trusty brad nailer to attach this 1×2 MDF face frame, and the transformation in my own living room was immediate. The thickened edges completely hid the inexpensive plywood layers, making the entire structure look incredibly custom and incredibly expensive.
Prepping the MDF for Paint
Because MDF edges are highly porous, they will absorb paint rapidly and swell if left untreated. I learned the hard way on a previous build to always sand cut edges with 220-grit paper before applying a dedicated wood primer.
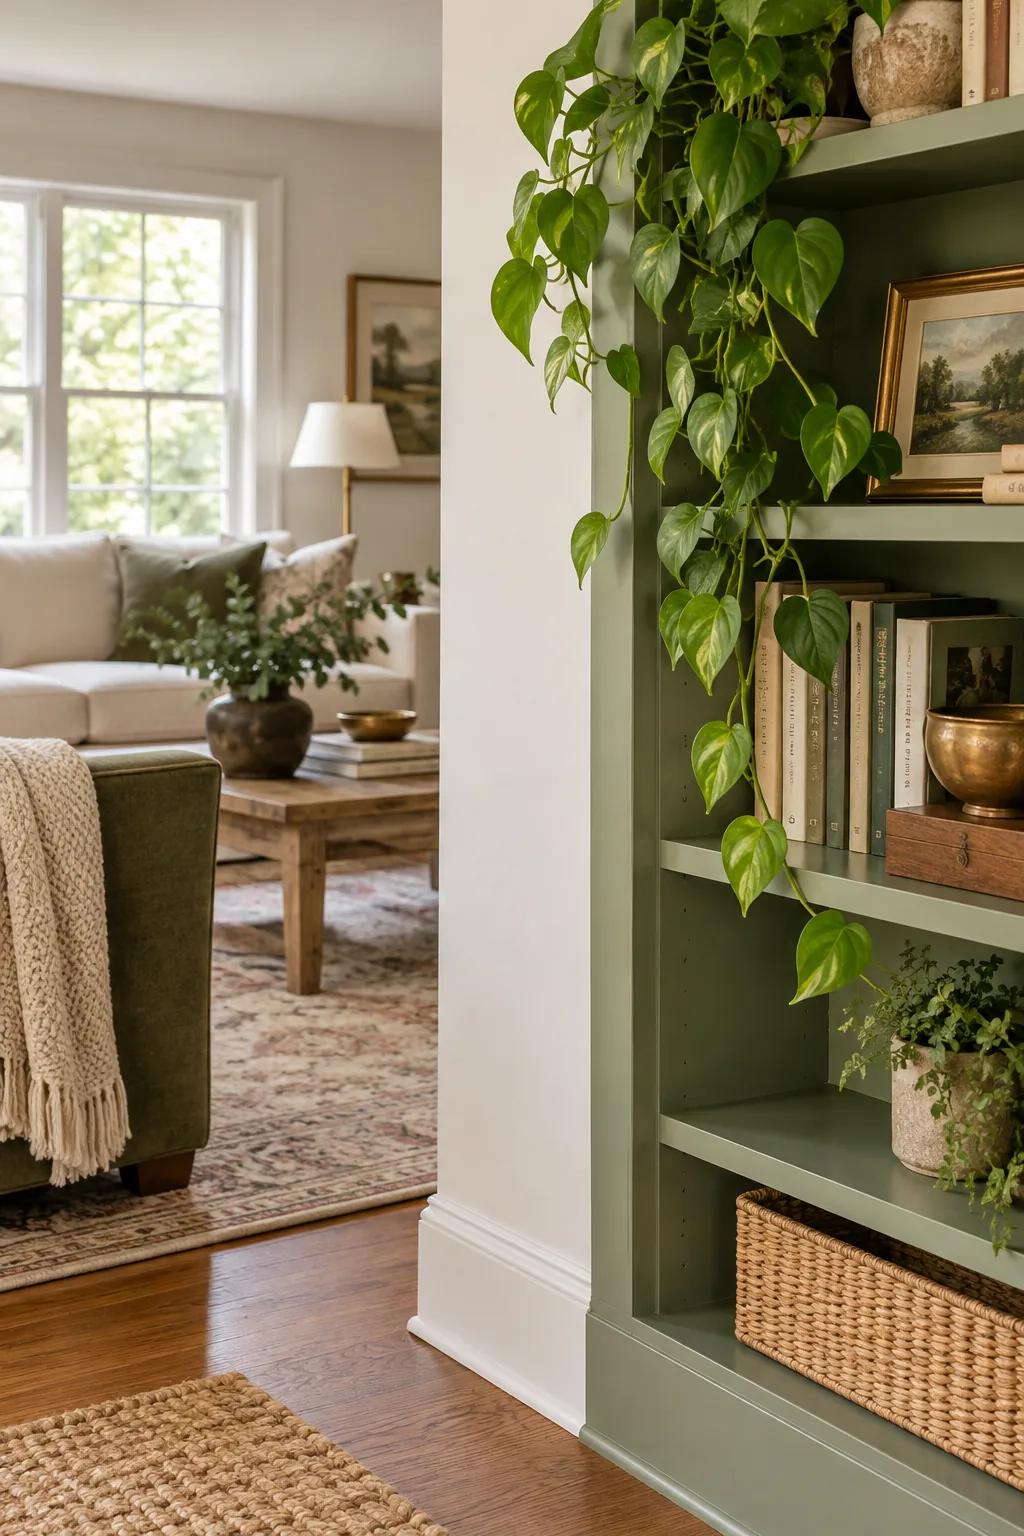
Achieving a glass-like finish on these porous surfaces requires meticulous preparation, as the manufactured material behaves very differently from solid wood. Taking the time to properly seal every exposed edge ensures your topcoat glides on smoothly without sinking into the fibers.
Flawless Edges with Paintable Caulk Seams
Run a thin bead of high-quality acrylic latex caulk down every joint where the shelf sides meet the room’s walls. Wiping the paintable caulk seams smooth with a damp finger completely erased the dark shadow lines in my own space.
The Secret to a Smooth Satin Cabinet Enamel Finish
Finish the entire completed unit with two even coats of high-quality satin cabinet enamel to protect your hard work. This specific sheen offers a slight, elegant reflection that beautifully bounces room light while resisting scratches from sliding books and heavy decor.

Using a flocked foam roller for the final coat leaves a perfectly smooth surface without any visible brush strokes. Allowing the enamel to cure fully for at least five days prevents your styled books from sticking to the freshly painted shelves.
5 Custom Bookshelf Looks to Inspire Your Build
Before you cut your first piece of trim, explore these distinct built-in styles to find the perfect match for your space.
Moody Plum Library: Deep plum paint and vintage brass sconces transform standard shelves into a dramatic, cozy home library.

Coastal Sand Built-Ins: Warm beige paint and natural driftwood accents give these living room built-ins a breezy, relaxed coastal vibe.

Slate Modern Minimalist: Crisp slate gray paint and sparse, monochromatic styling turn these shelves into a sleek architectural feature.

Earthy Clay Office: Warm terracotta tones and handmade pottery create an inspiring, organic backdrop for a creative home office.

Classic Navy Traditional: Rich navy blue paint and symmetrical styling around a fireplace offer a timeless, elegant traditional aesthetic.