8 Christmas Tree Themes: Print the Complete Ornament Count Chart
Decorate a stunning Christmas tree that looks gorgeous even with the lights off, and immediately download our complete Tree Theme Count Chart for your exact ornament needs. You will be able to style a richly layered tree using exact ball counts, ribbon yardage, and pick quantities.
The Secret to a Gorgeous Lights-Off Tree
Relying on string lights can leave a tree looking flat during the day, so we build volume from the inside out using tactile materials. By layering rich velvet and reflective warm-brass metals, a standard 7-foot green tree gains immense visual volume and daytime impact.
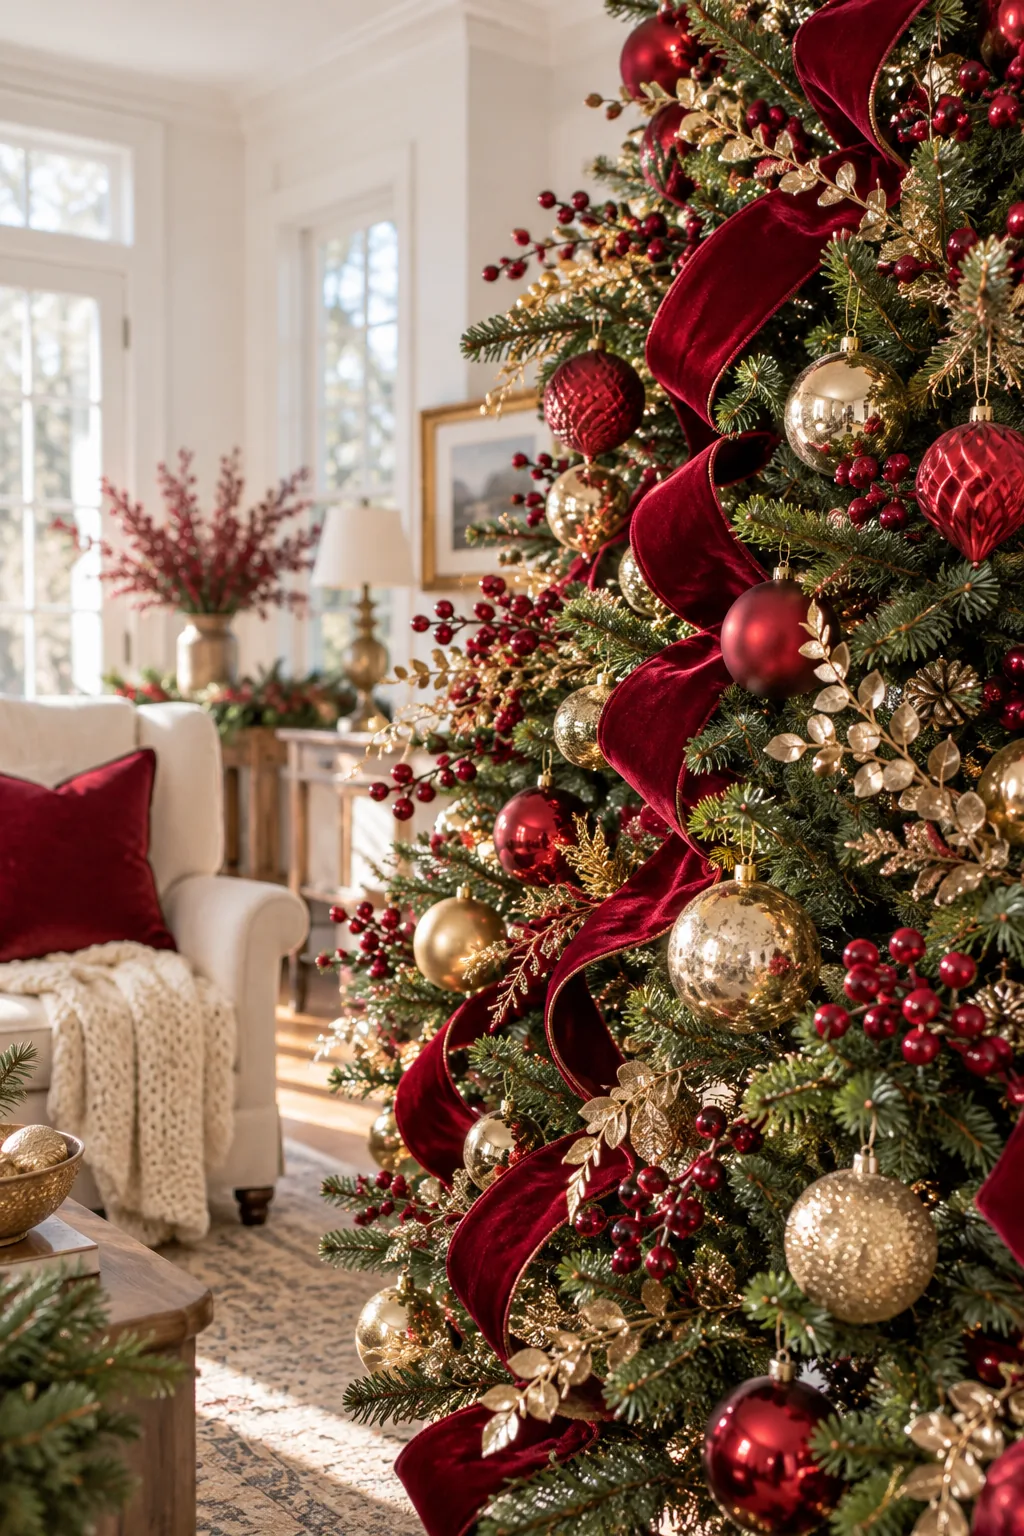
Ambient room lighting catches these varied materials, making the entire silhouette feel intentionally designed rather than just wrapped in cords. You can replicate this designer look by focusing on physical contrast and precise placement rather than simply adding more bulbs.
Hang Plain Ornaments Deep Near the Trunk
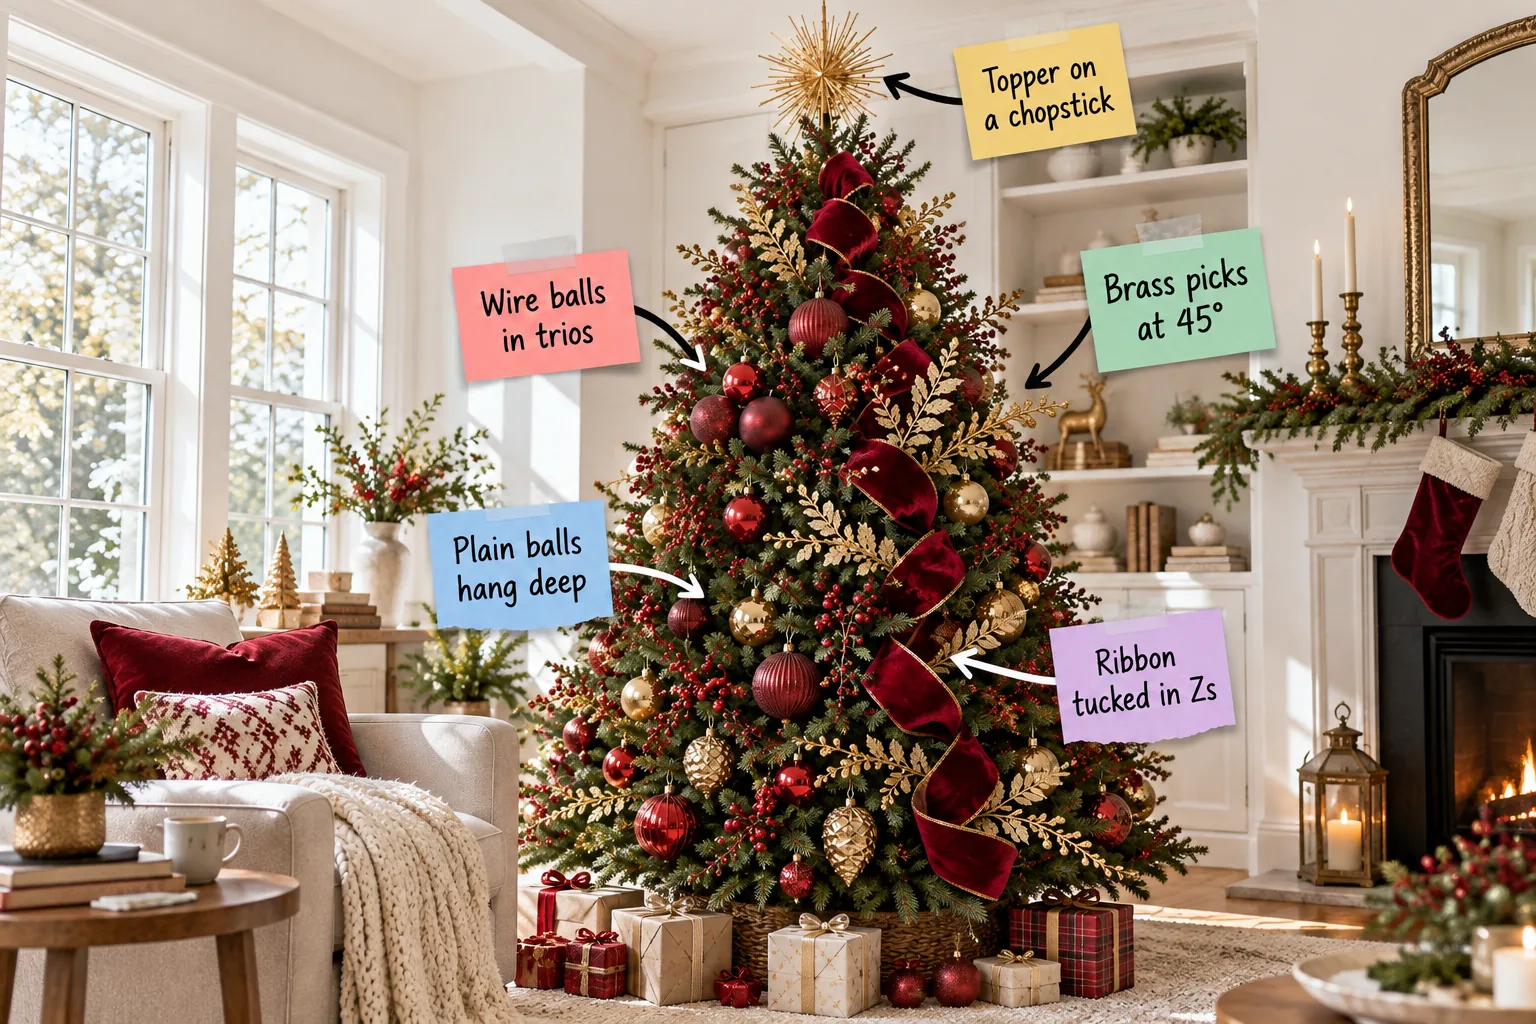
I always start my own apartment’s tree by pushing inexpensive plain red and brass balls 6 to 8 inches deep into the interior branches. This creates a solid, reflective backdrop of color that makes the tree look impossibly full from the inside out.
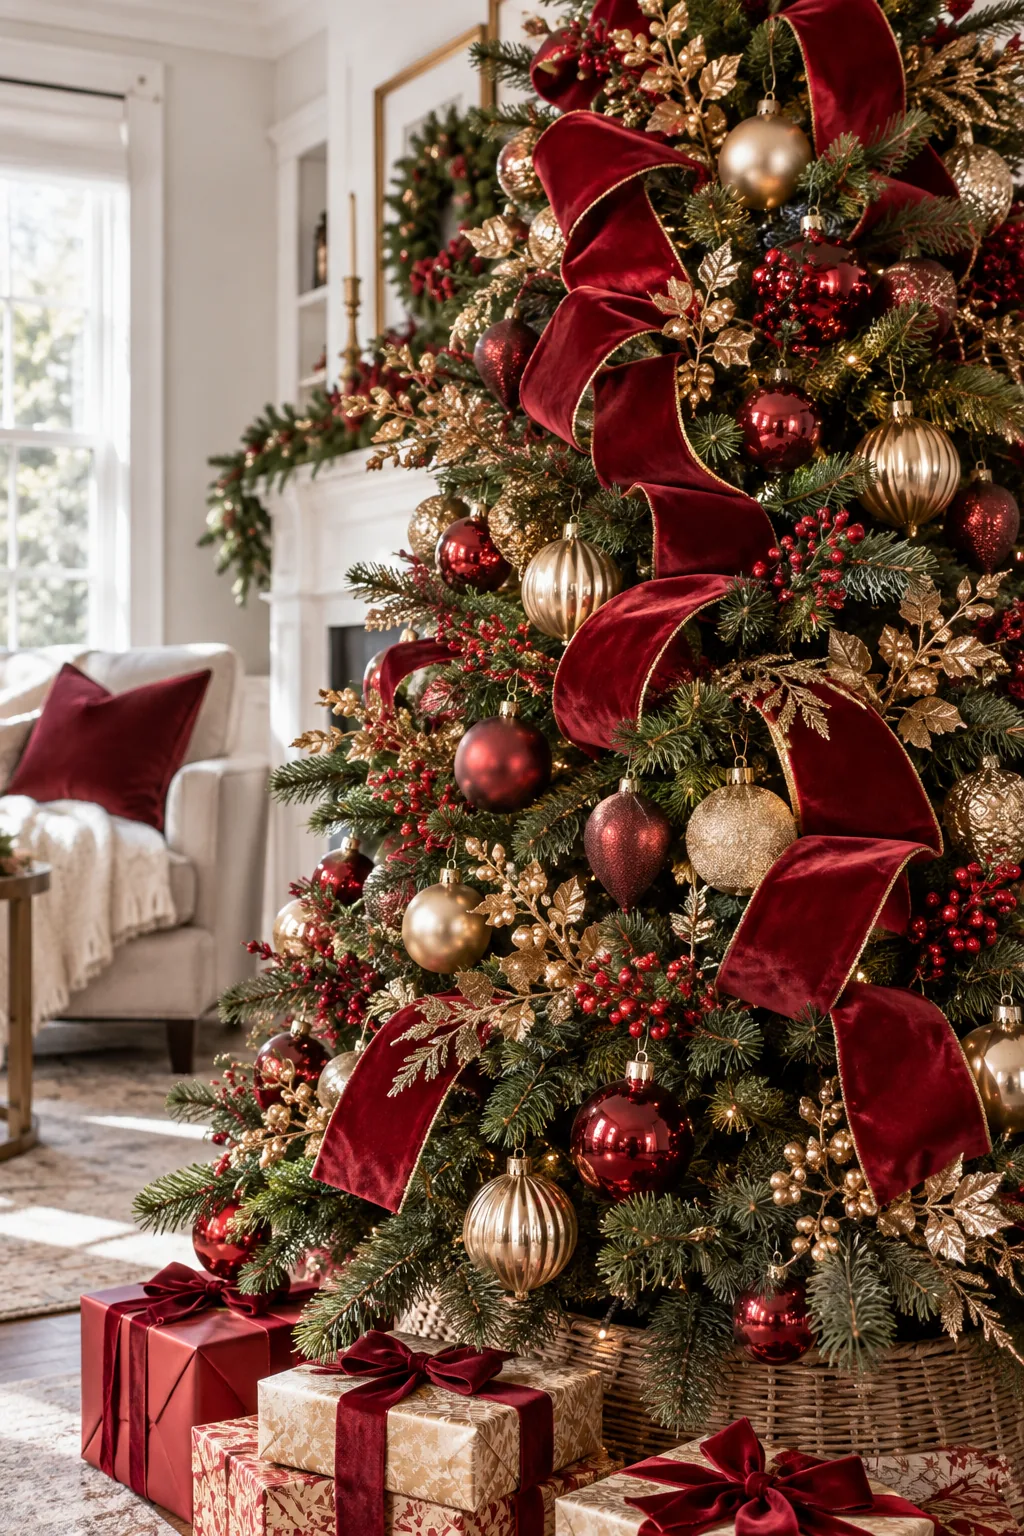
Anchoring the core with these durable spheres completely hides the bare central pole while establishing your foundational color story. This crucial first step builds depth before you even touch the more expensive specialty ornaments or delicate glass finials.
- Sort your plain filler balls by size, reserving the absolute largest ornaments for the bottom third of the tree to ground the visual weight.
- Nestle each ornament directly against the trunk where the branch is thickest to guarantee it stays perfectly in place all season.
- Use dark green floral wire instead of standard silver hooks so these interior anchors remain completely invisible against the pine needles.
Tuck Velvet Ribbon in Diagonal Z-Patterns
After struggling with messy spirals in my early staging projects, I now weave 4-inch wide cranberry velvet ribbon in short, diagonal pleated loops. A standard 7.5-foot tree requires roughly 10 to 15 yards of ribbon to achieve this tailored, tucked effect.
Pinching the heavy fabric at regular intervals creates natural tension, allowing the velvet to cascade beautifully down the profile without overwhelming the delicate outer pine needles or looking overly stiff.
- Cut your continuous ribbon spool into manageable three-foot sections to prevent frustrating tangles while working your way around the tree.
- Pinch the top edge of a fabric strip and wire it securely to a sturdy branch near the upper crown.
- Billow the fabric outward, angle it diagonally downward in a Z-shape, and tuck the next pinch deep into the foliage.
Wire Statement Balls into Tight Trios
Grouping three cranberry-red balls in varied sizes is a trick I use to create massive focal points that instantly elevate basic greenery. Bind them tightly with floral wire and attach the cluster to a single mid-height branch on the front.
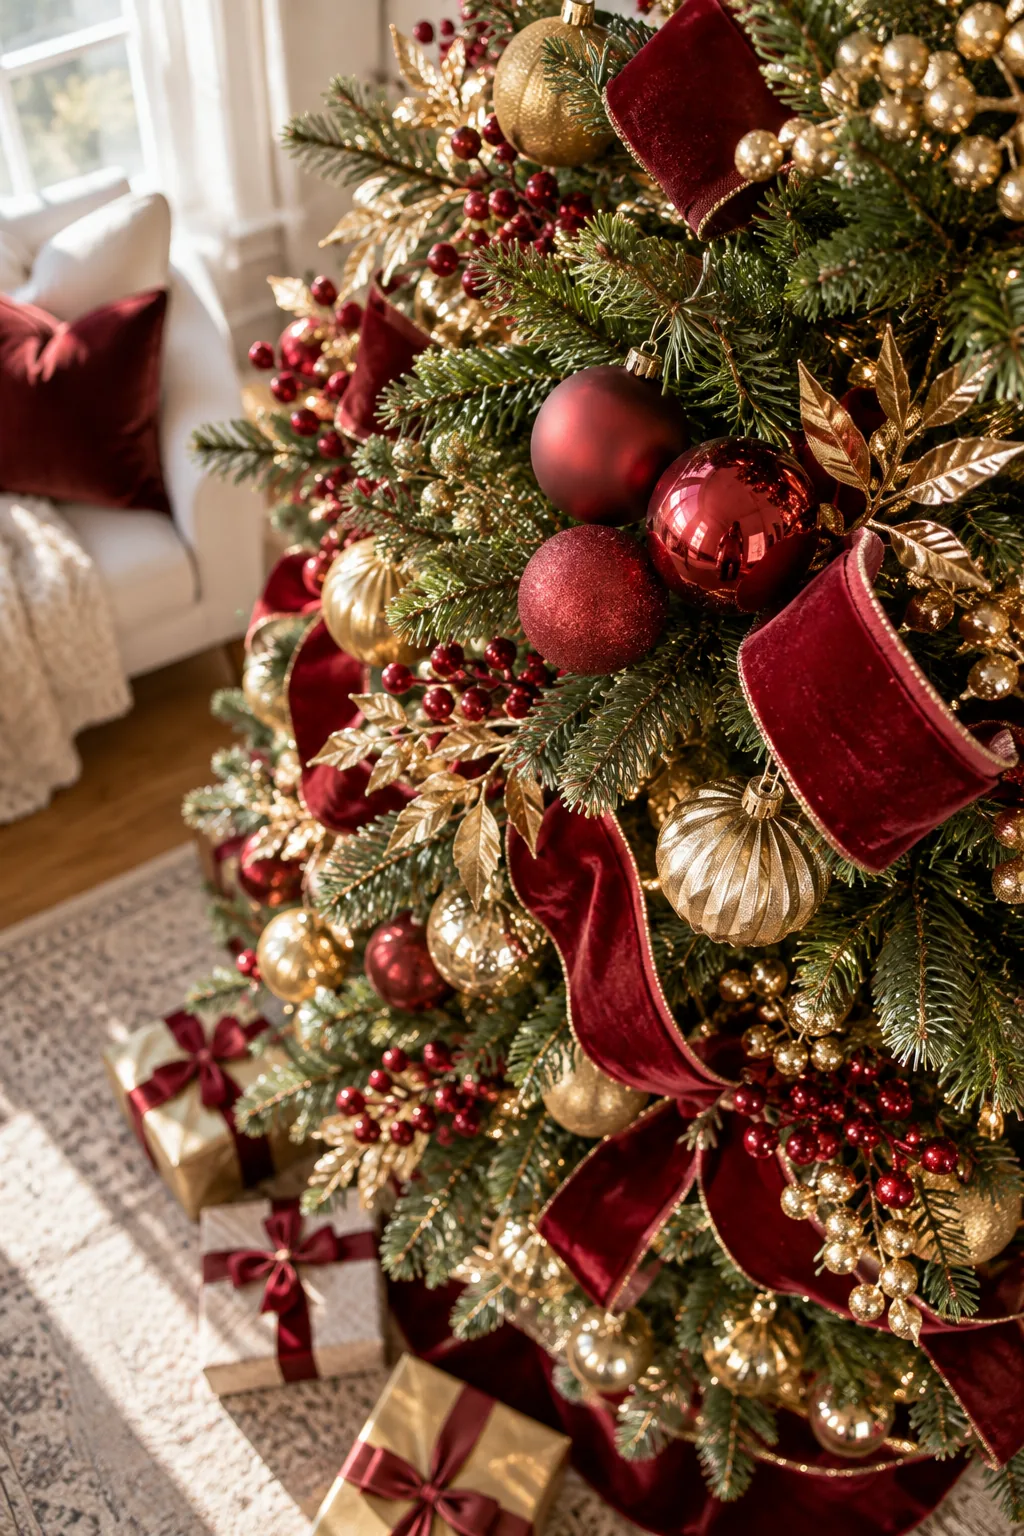
Creating these custom clusters ensures your statement pieces never get lost among the background filler. This specific grouping technique instantly mimics the lush, overflowing look of a high-end boutique display using completely standard retail ornaments.
Angle Glittered Brass Picks at 45 Degrees
Insert glittered brass berry and leaf stems along the outer edges of the right side to break up the rigid triangular shape. Angling them outward and upward at exactly 45 degrees extends the tree’s visual width and catches the bright morning light.
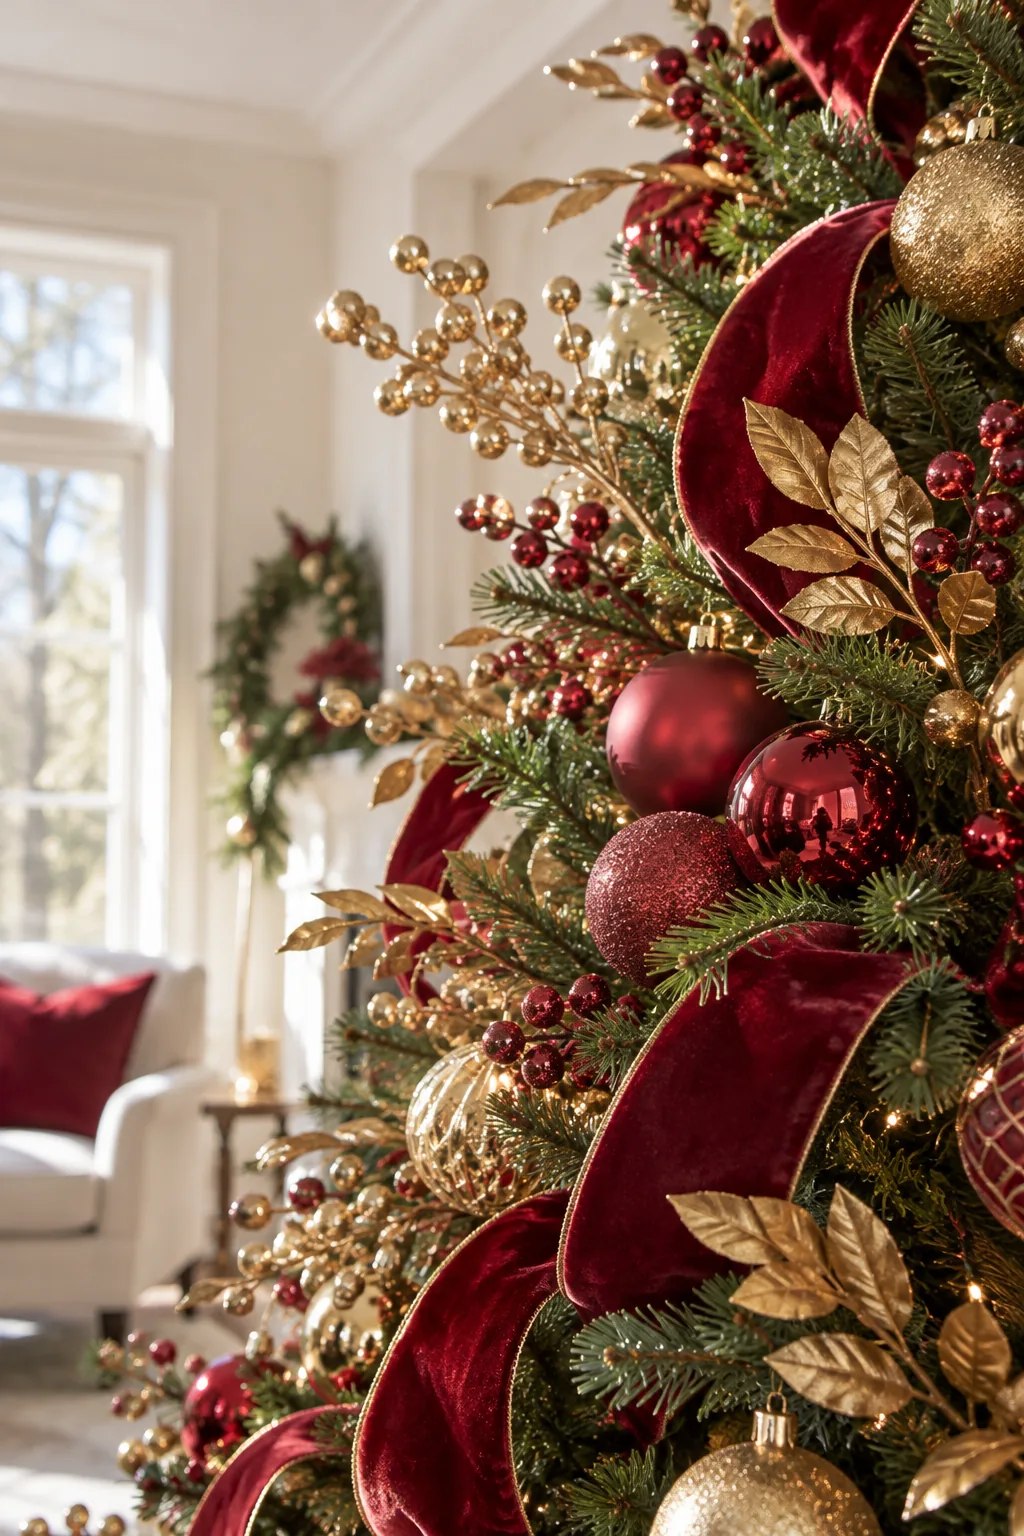
Following the natural structure of real pine branches keeps the metallic extensions looking intentional. This specific angle prevents the heavy decorative picks from looking like they were haphazardly stuck into the sides of the tree.
Secure the Starburst Topper on a Chopstick
Because heavy metal toppers notoriously lean on weak upper branches, I finally solved this disaster in my own living room using basic takeout supplies. This hidden support structure takes less than two minutes to build but permanently solves the leaning topper problem.
Print the 8-Theme Ornament and Ribbon Chart
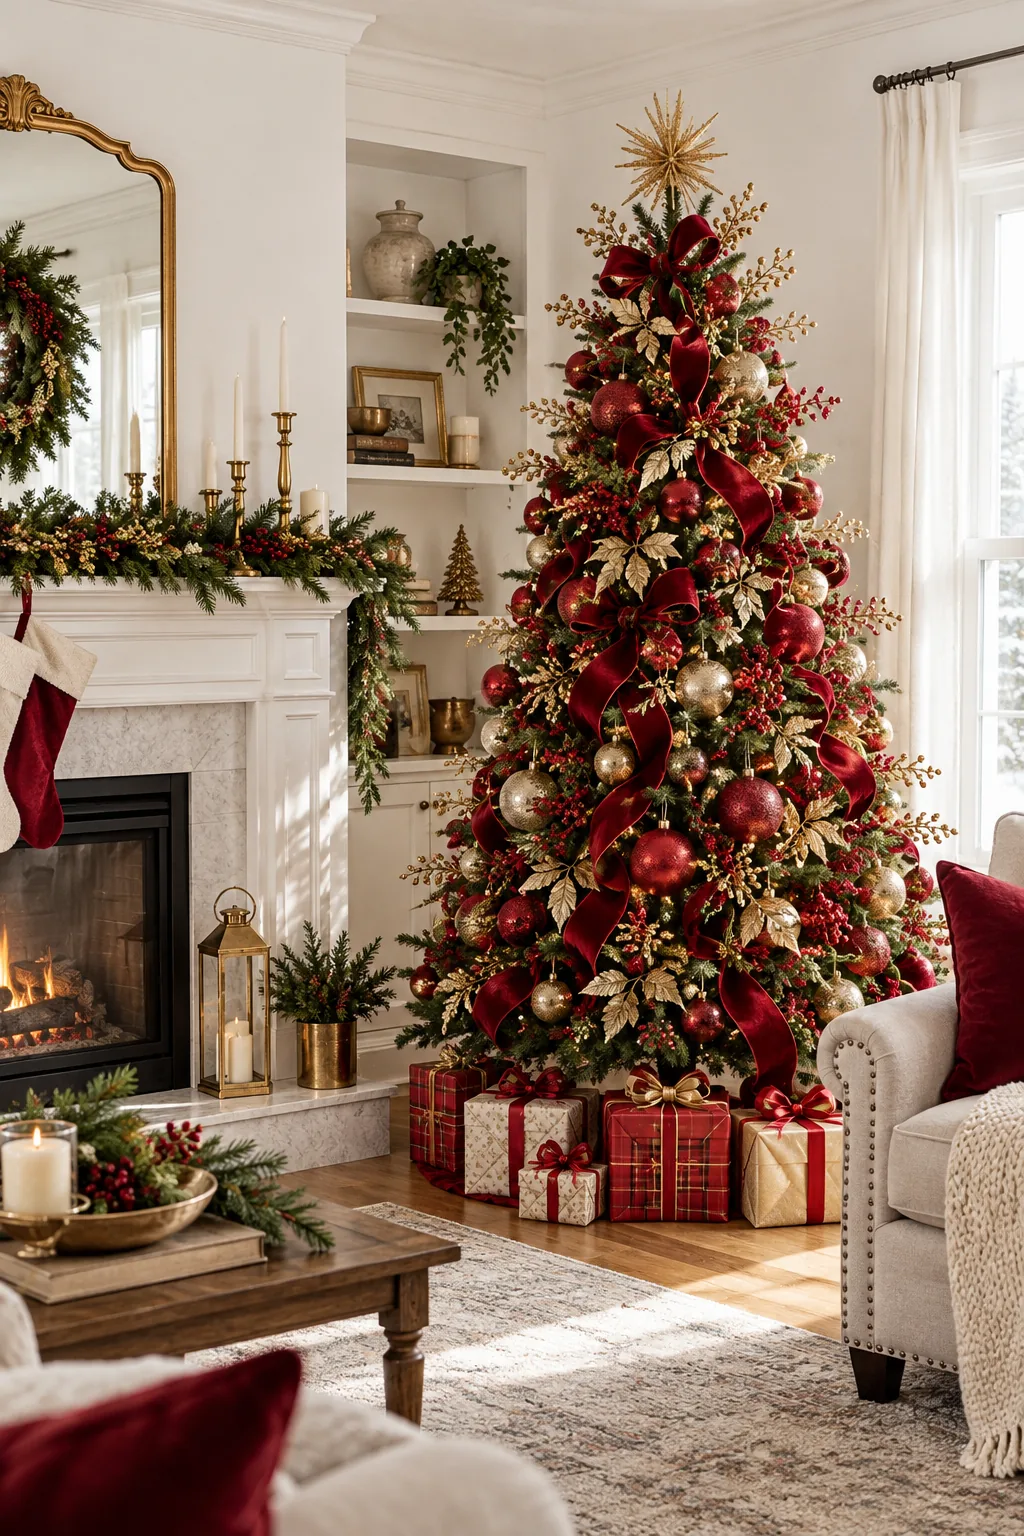
Take the guesswork out of holiday shopping with our printable two-page reference sheet, which details exact ball ornament counts by size and ribbon yardage. It provides precise pick quantities for 8 distinct themes, each featuring a curated two-color-plus-metal palette.
| Tree Height | Large Balls (4″+) | Medium Balls (3″) | Ribbon Yardage |
|---|---|---|---|
| 6-Foot Tree | 12 to 15 | 35 to 40 | 8 to 10 yards |
| 7.5-Foot Tree | 18 to 22 | 55 to 60 | 10 to 15 yards |
| 9-Foot Tree | 28 to 32 | 85 to 90 | 18 to 22 yards |
Keep this chart handy on your phone while browsing the craft store to ensure you purchase the perfect ratio of statement pieces to filler. Following these exact measurements prevents overspending on unnecessary decorations while guaranteeing a perfectly balanced final design.
Adjust Quantities for Your Tree Height
The printable chart breaks down exact material counts for 6-, 7.5-, and 9-foot trees because a tree’s surface area increases exponentially. A 9-foot tree requires nearly double the ornaments of a 6-foot tree to achieve the exact same luxurious density.
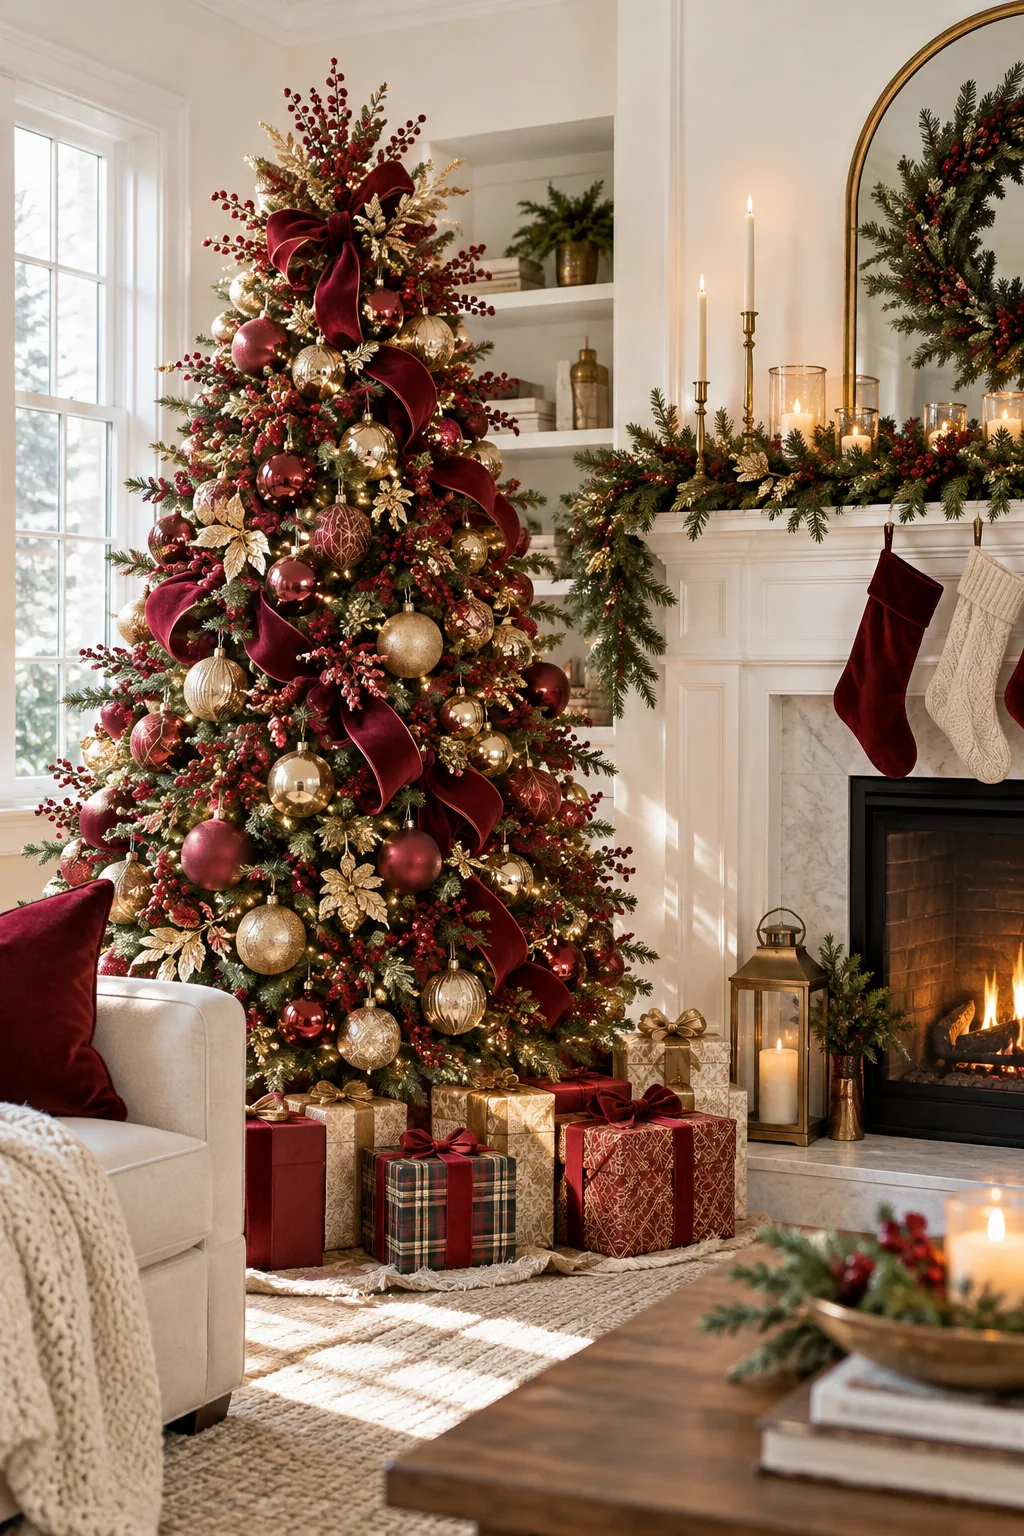
Before buying new materials to match one of the eight themes, verify your exact tree dimensions to avoid falling short on ribbon.
3 More Lights-Off Themes to Try
Explore how changing the palette and textures completely transforms the room.
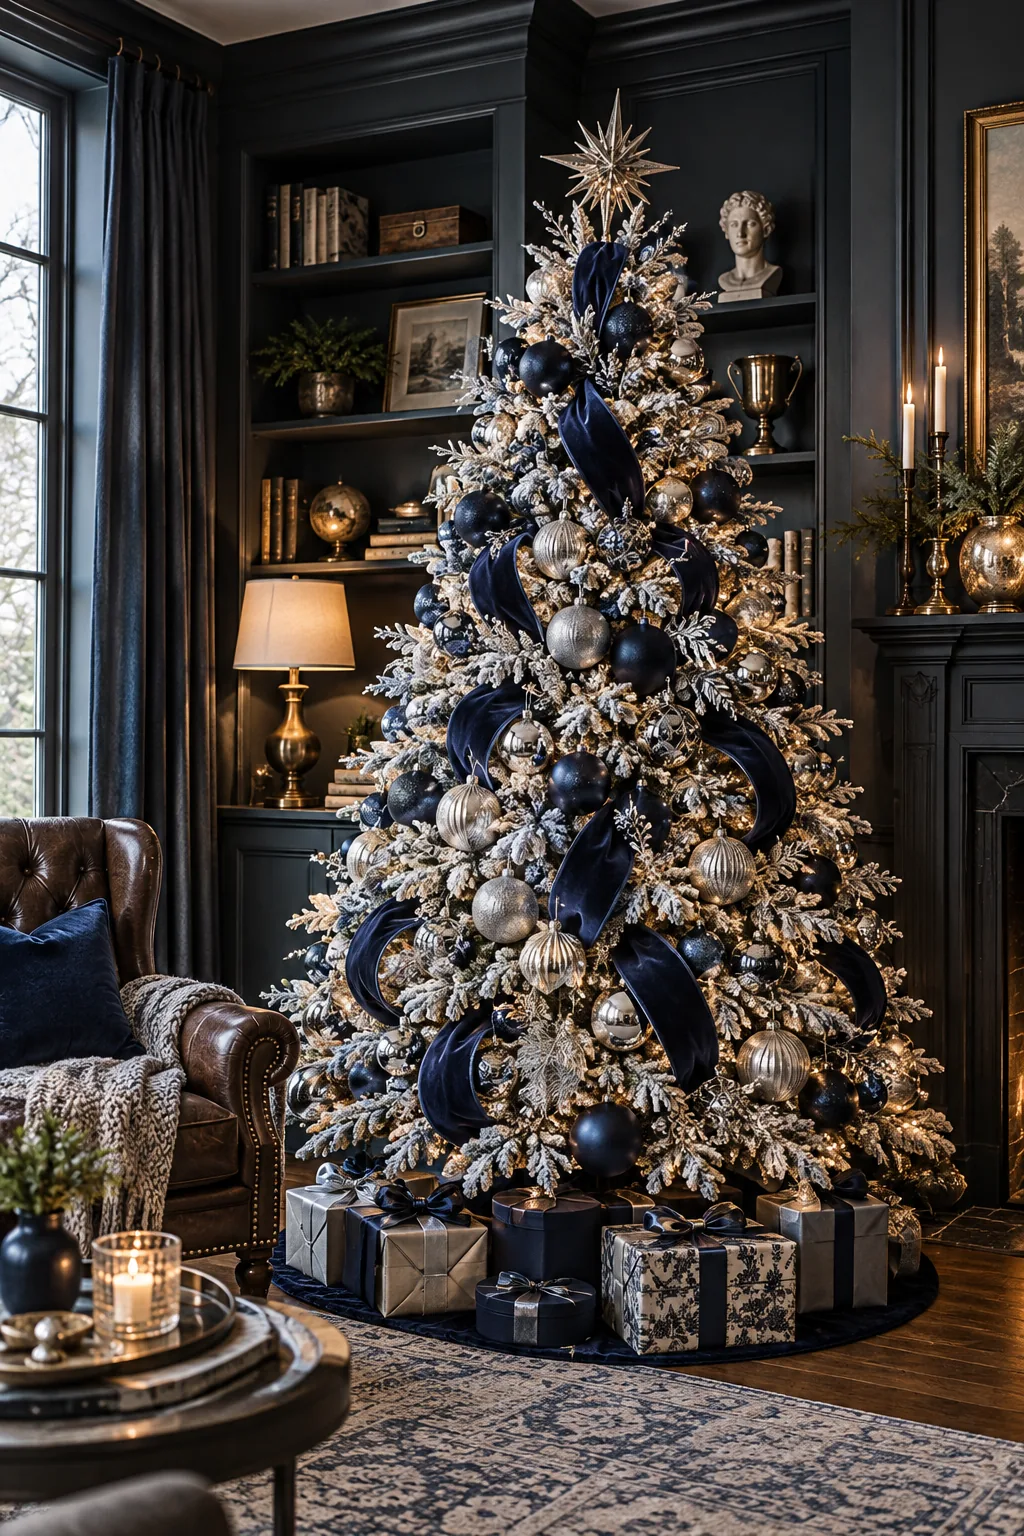
Midnight Blue & Silver: Deep navy velvet pops beautifully against heavily flocked white branches, creating a sophisticated evening mood.
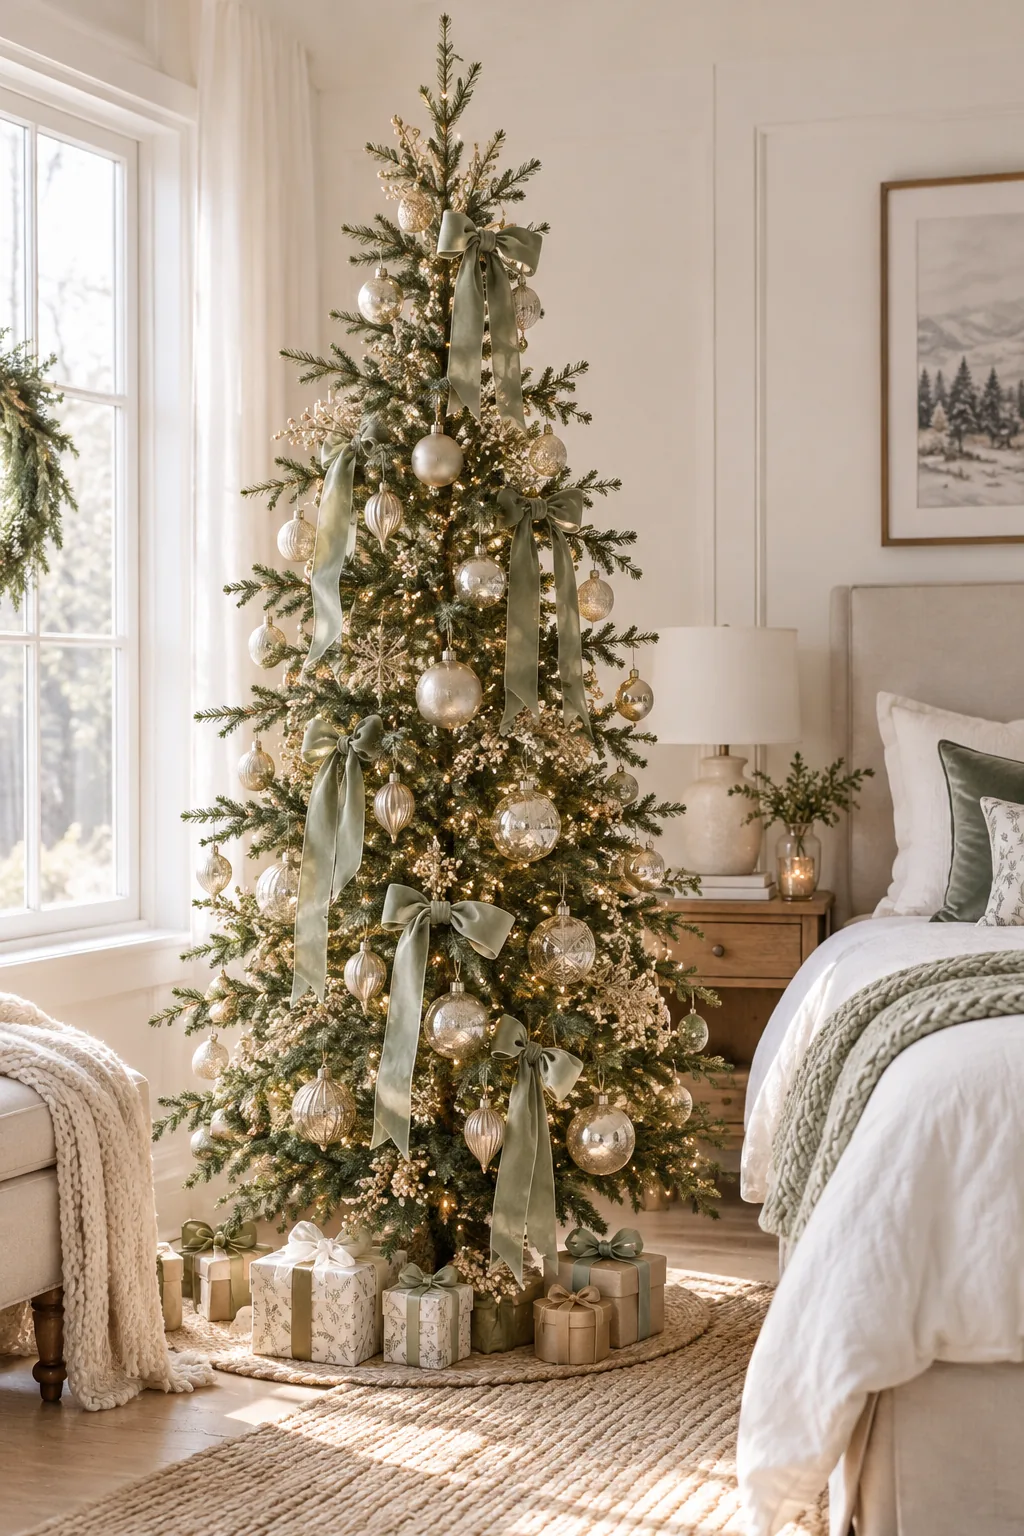
Champagne & Sage: A sparse alpine silhouette allows delicate sage silk ribbons and warm champagne glass to take center stage.
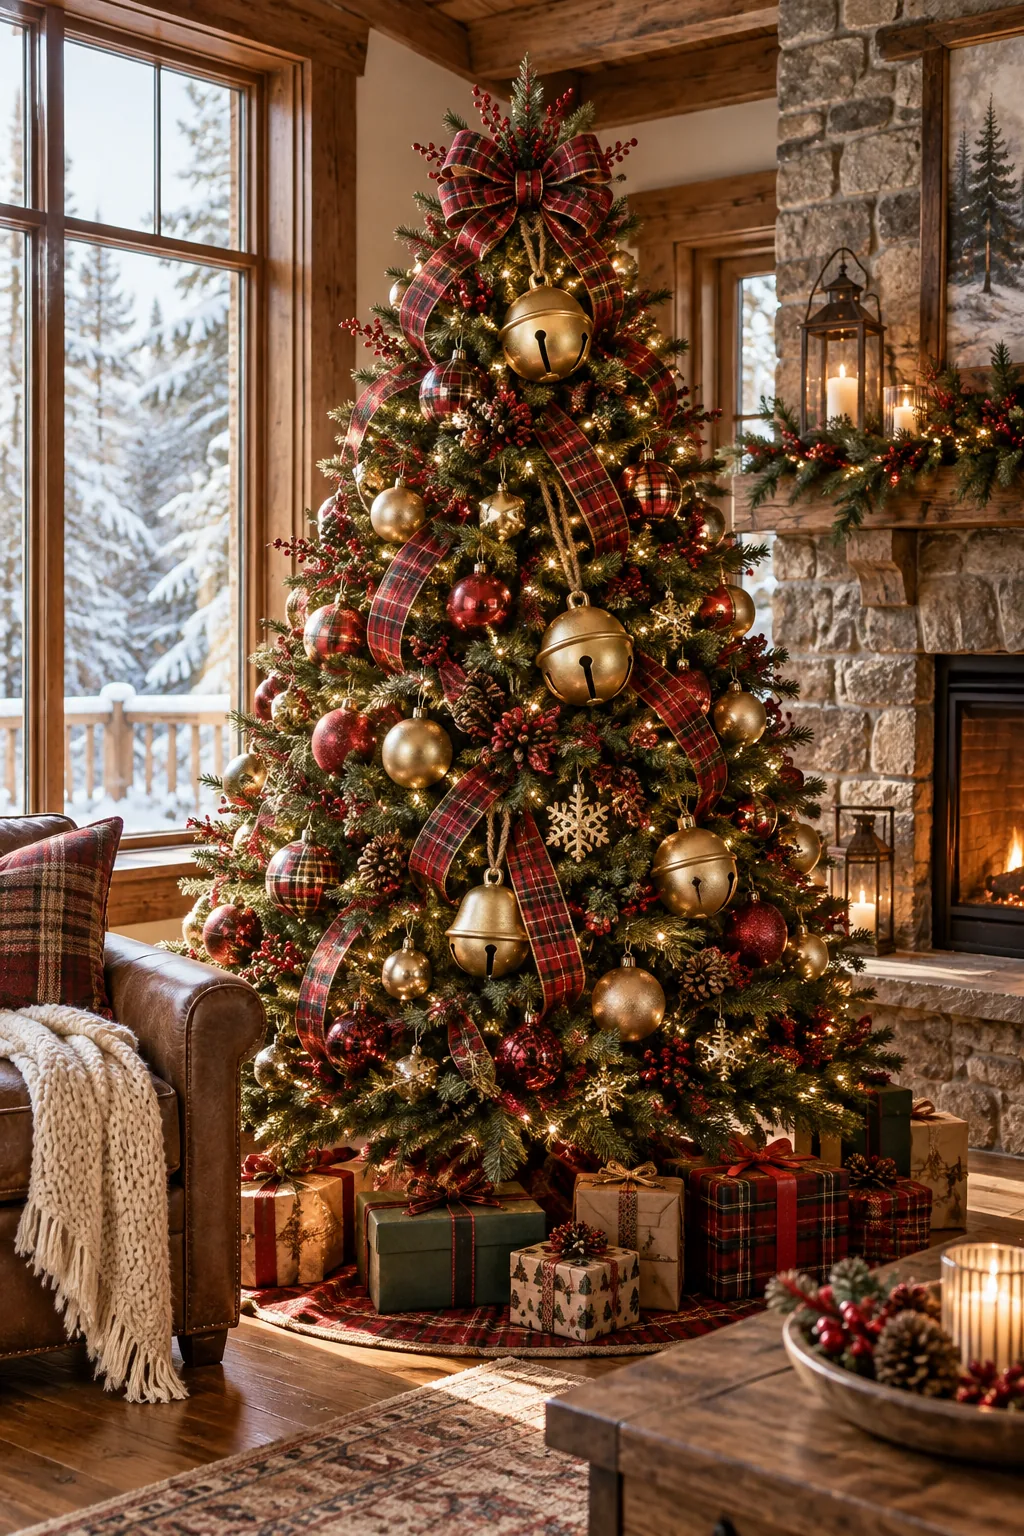
Classic Tartan & Gold: Oversized gold bells and structured tartan plaid ribbon bring nostalgic warmth to a traditional cabin setting.