How to Decorate a Black Christmas Tree: High-Contrast Guide
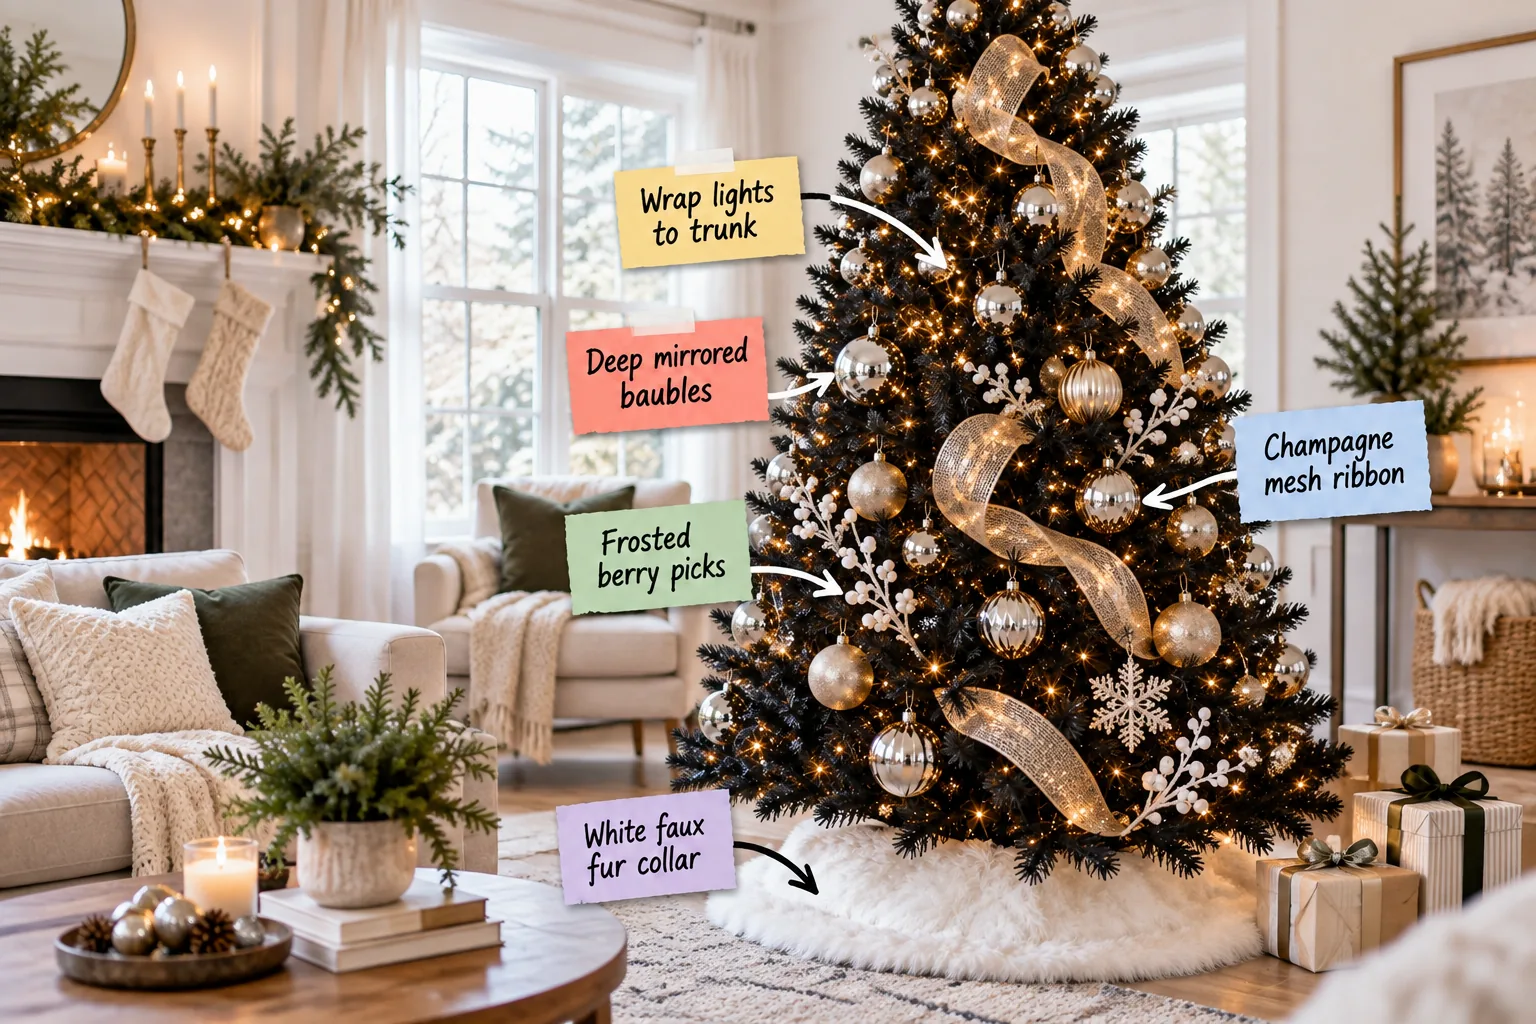
Master the moody holiday look with our step-by-step layering technique and complete high-contrast ornament checklist to build a glowing, professionally styled black Christmas tree. You will be able to layer lights, ribbon, and ornaments starting from the illuminated trunk and working outward.
Prepping the Black Canvas
Before adding a single light, you must properly shape your artificial tree to eliminate obvious gaps. Taking the time to fan out every branch ensures your decorative layers have a solid, supportive foundation.
- Separate the back branches into a V-shape near the central pole.
- Pull the side tips outward horizontally to build width.
- Angle the front tips slightly upward to support heavy ornaments.
Lighting a Dark Canvas
Start by pushing warm white string lights deep into the tree, wrapping them securely around the central pole and the base of each branch. Use a standard ratio of 100 lights per foot of tree height to ensure the dark core glows from within.
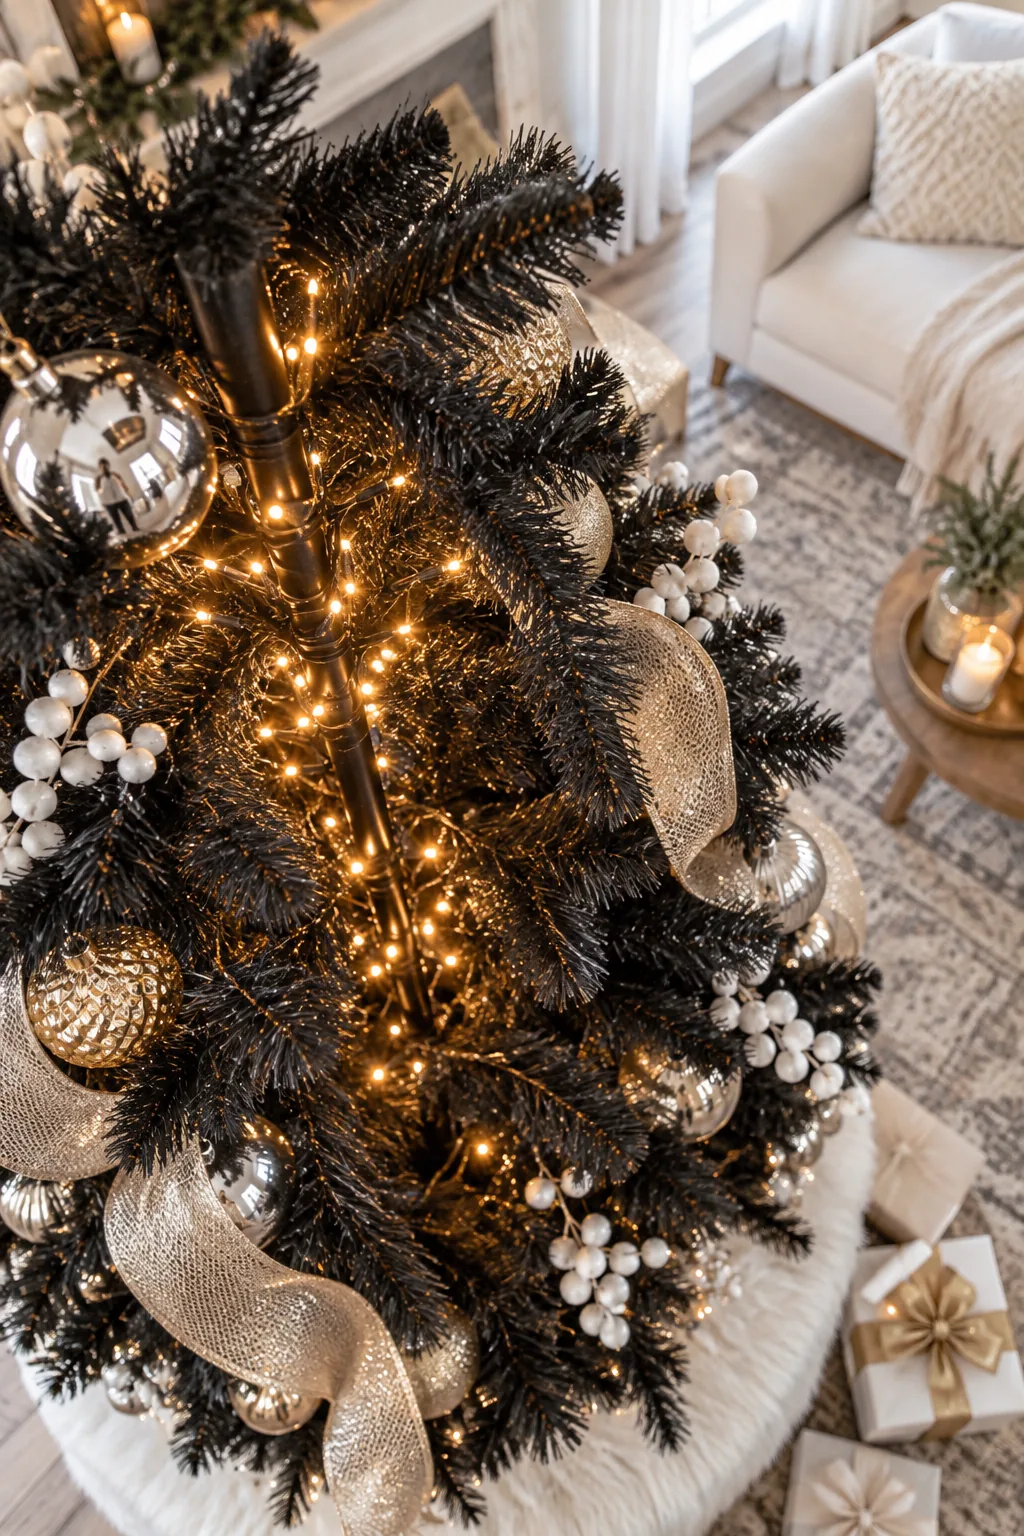
To keep the focus entirely on the glow rather than the hardware, pay close attention to your light strands before stringing.
Selecting the Right Wire Color
Using standard green wire lights on a black tree creates a messy, visible web that ruins the sleek modern aesthetic. Always match your hardware to your canvas.
Testing the Inner Glow
Once the trunk is wrapped, step back and turn off all overhead room lighting to evaluate your progress. Look for any dark voids near the center pole and shift your wrapped branches slightly to distribute the illumination evenly.
Placing Deep Mirrored Baubles
Before decorating the outer tips, tuck 12 to 15 large, highly reflective shatterproof baubles deep inside the dark branches. These hidden ornaments act as mirrors, catching the interior lights and bouncing them outward to eliminate dark voids.
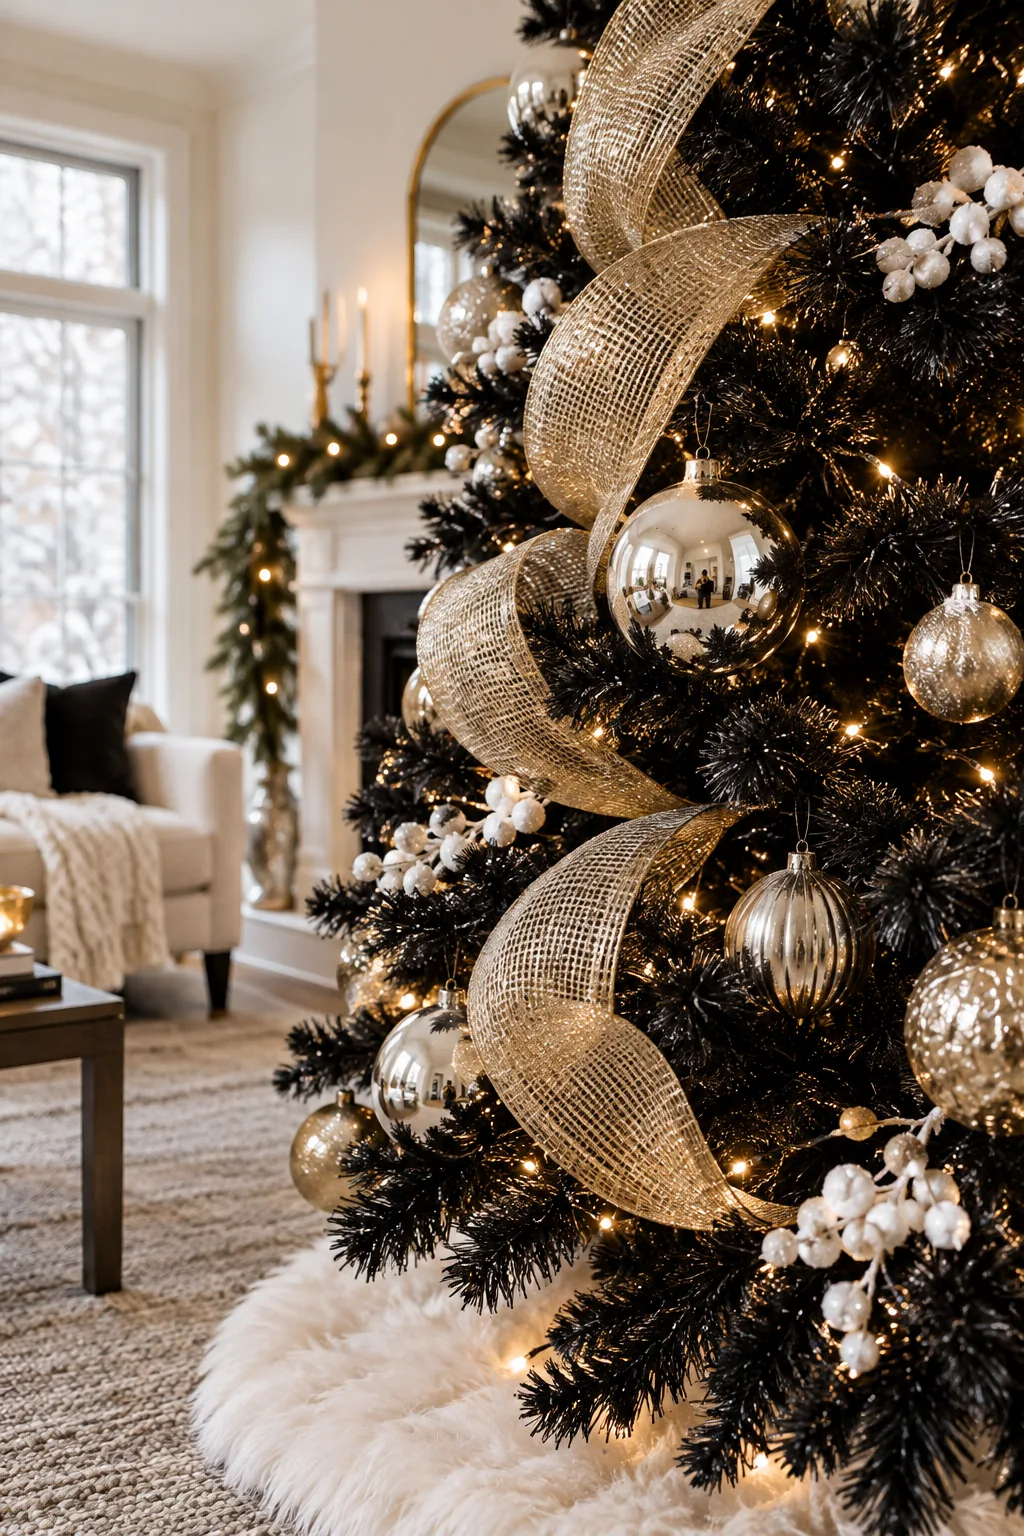
Pushing these reflective spheres all the way to the trunk ensures the entire tree structure appears softly illuminated from the inside out.
Anchoring the Core Reflectors
Because these interior baubles sit so close to the trunk, standard wire hooks will leave them dangling awkwardly. Twist the flexible artificial pine needles directly through the ornament caps to lock them firmly against the central pole.
Calculating the Core Ratio
Scaling this reflective core layer correctly depends entirely on the height of your tree. Follow these standard interior bauble counts to guarantee enough light bounces through the dark foliage.
| Tree Height | Minimum Baubles | Recommended Size |
|---|---|---|
| 6 feet | 10 baubles | 3-inch diameter |
| 7.5 feet | 15 baubles | 4-inch diameter |
| 9 feet | 24 baubles | 4-inch diameter |
Weaving Champagne Mesh Ribbon
Cascade a 2.5 to 3-inch wide champagne mesh ribbon diagonally down the tree to build your next layer. Pinch and tuck the ribbon every 12 inches into the branches to create voluminous loops that contrast beautifully against the black needles.
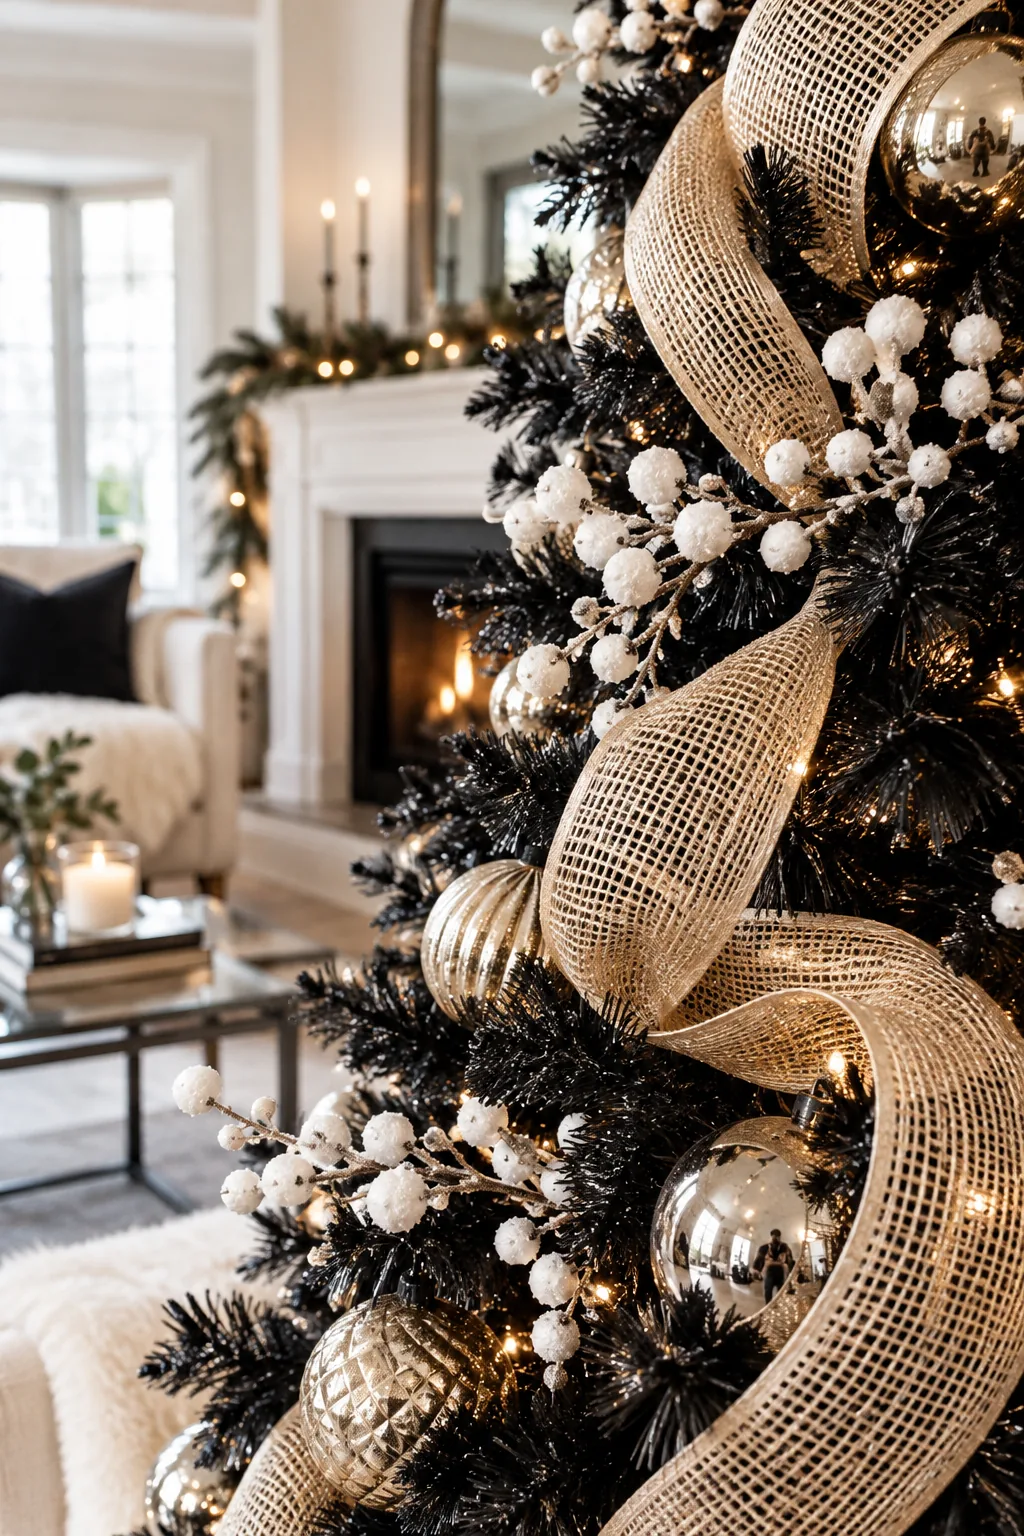
This continuous sweeping motion guides the eye downward while the metallic mesh catches the interior light.
Shaping the Ribbon Loops
Mesh ribbon requires tension to hold its voluminous shape against the stiff synthetic needles. Pull each loop outward to create a three-dimensional bubble before securing the next pinch point.
Securing Mesh to Branches
Never use zip ties or separate wire to attach your ribbon layer. Simply cross two small artificial branch tips over the pinched mesh and twist them together twice to hold the ribbon securely in place.
Spacing the Ribbon Diagonals
Maintain a strict 10-inch gap between each cascading ribbon row as you work your way around the tree. Leaving enough negative space allows the interior glow and the black needles to frame the metallic mesh properly.
Layering Frosted Berry Picks
Before moving to the outer ornaments, prepare your white frosted floral picks to break up the dark silhouette. In my own Boston brownstone, I always fluff these stems flat on the table before inserting them into the tree.
Directing the Floral Accents
Avoid pointing all your floral stems straight out toward the room. Angling them slightly upward mimics natural plant growth and helps fill the vertical gaps between your heavy ribbon loops.
Balancing Metallic Outer Ornaments
Inserting white floral picks at a sharp angle breaks up the rigid dark silhouette of the tree before you hang the final layer. Extending these frosted elements beyond the natural branch tips adds essential textural contrast and visual width to the arrangement.
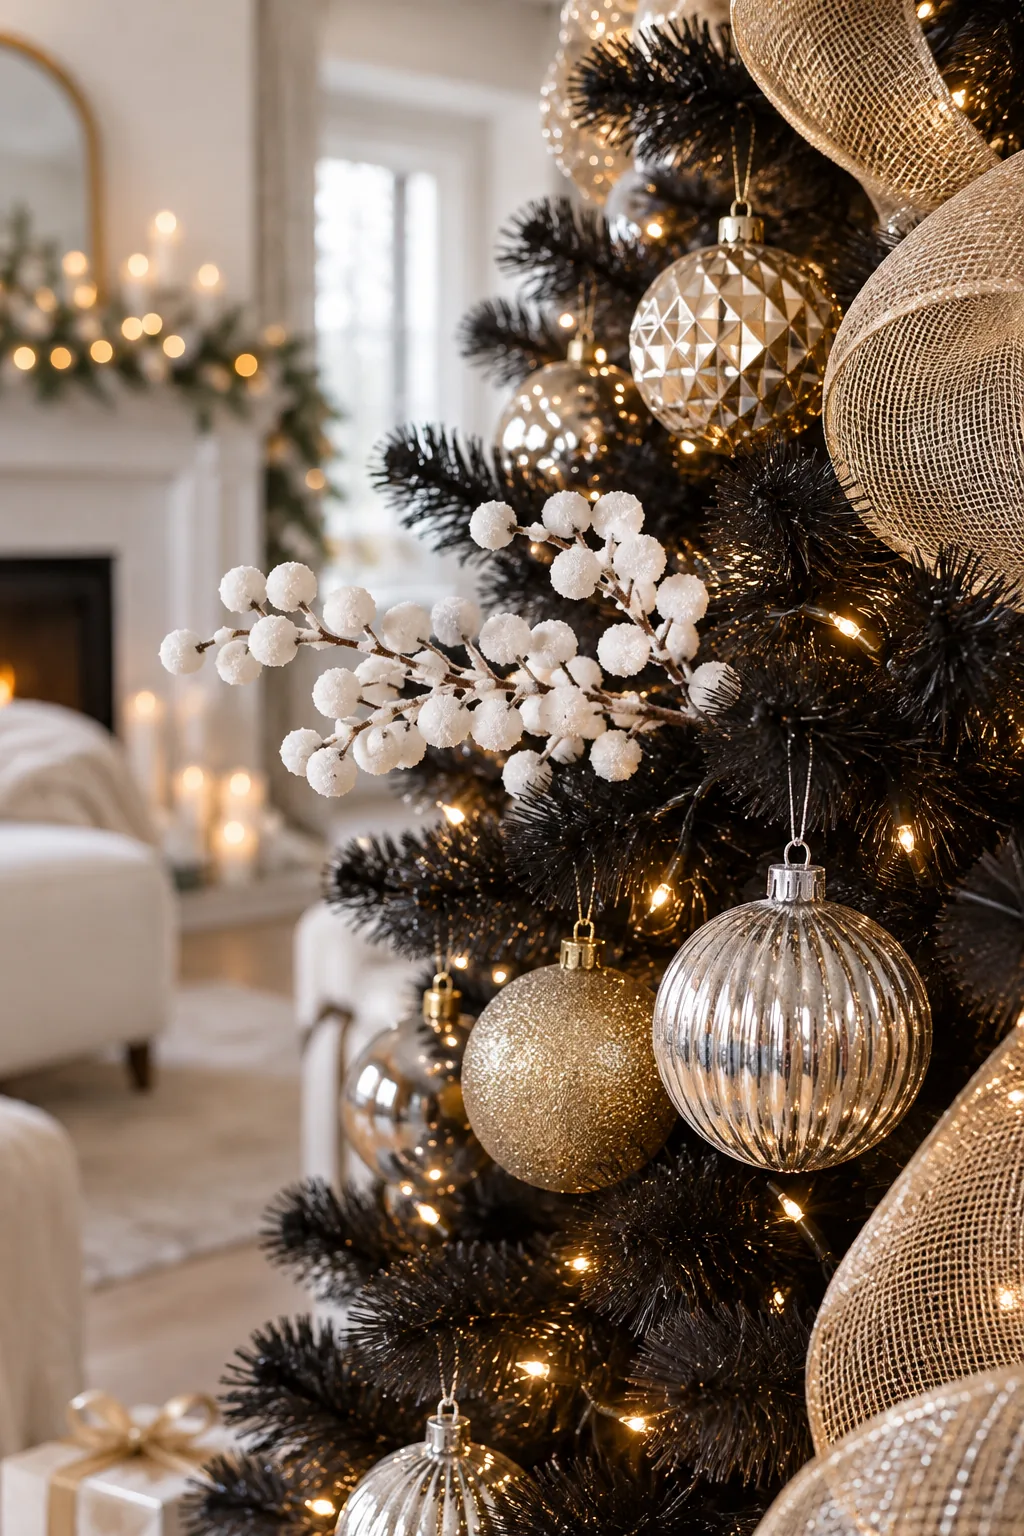
Once the picks are set, you can safely hang your remaining gold, silver, and champagne ornaments on the outer branch tips without crushing the delicate frosted stems.
Mixing Finishes for Depth
A high-contrast tree relies on texture just as much as color. Ensure your outer ornament layer includes an equal split of matte, ribbed, and heavily glittered finishes to catch the light differently at every angle.
Hanging Heavy Ornaments Safely
When placing dense glass or oversized ornaments on the outer perimeter, always hook them over a branch junction rather than a single tip. This prevents the synthetic branches from drooping under the extra weight.
Grounding with a Faux Fur Collar
Hanging varied sizes of metallic ornaments on the outer branches creates perfect visual balance across the upper tree. Mix 3-inch and 4-inch sizes, keeping heavier ornaments near the bottom and smaller ones toward the top.
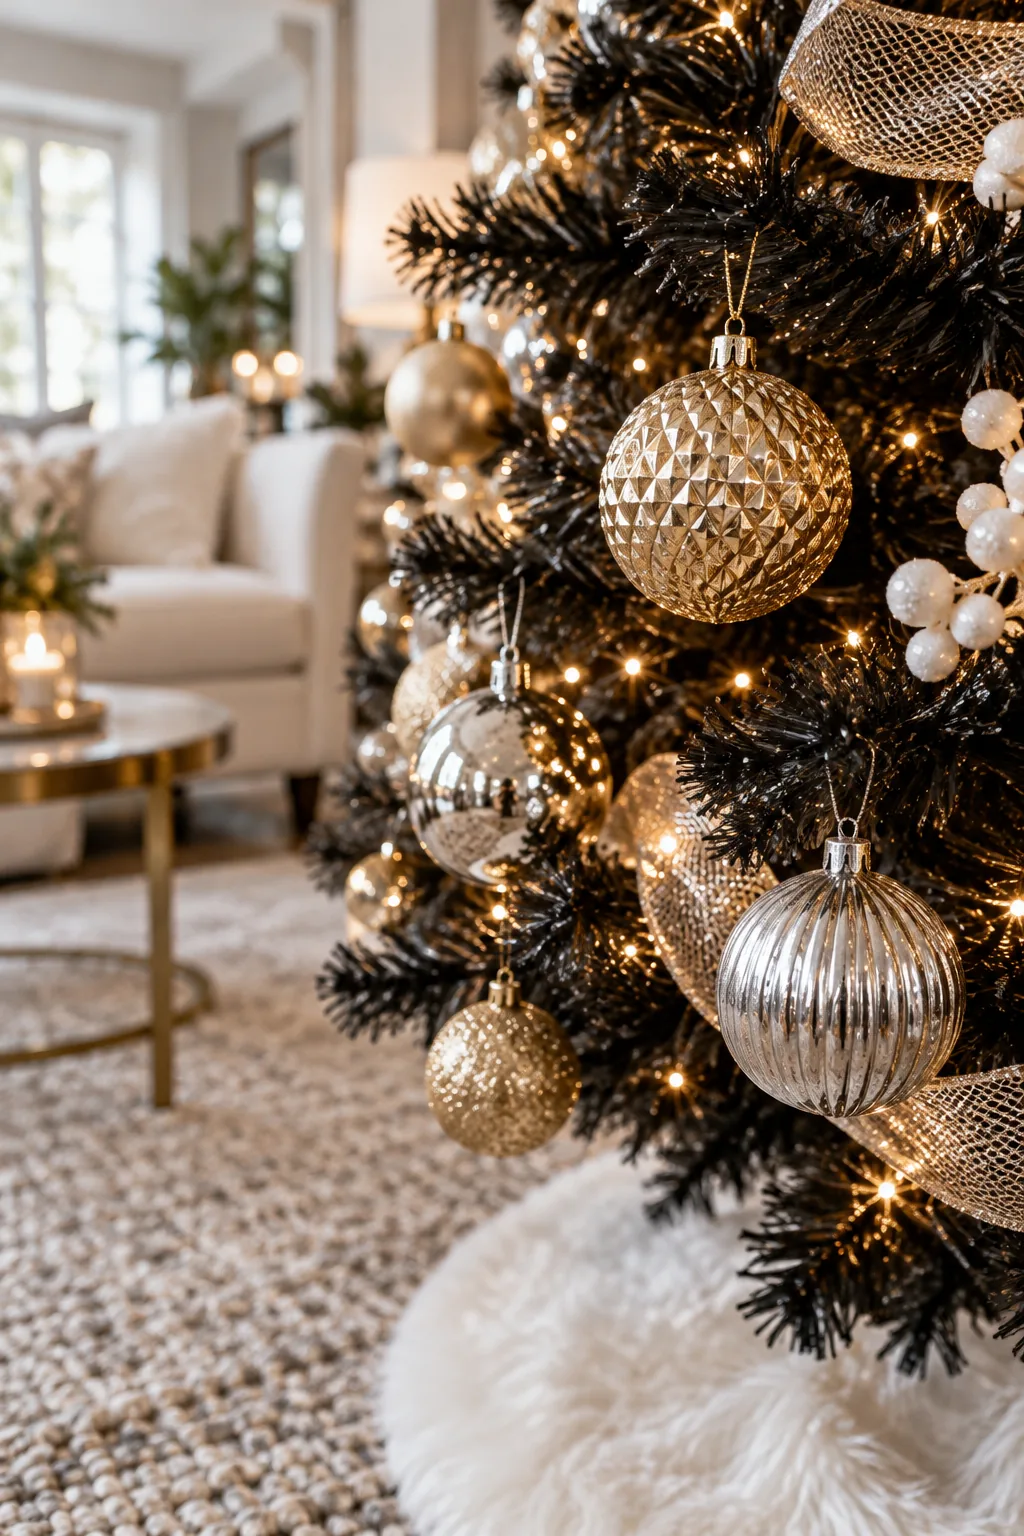
With the heavy ornament layers balanced, you can finally wrap the base of the tree with a plush, bright white faux fur collar to visually anchor the dark foliage.
Securing the Tree Base
Most rigid collars come in multiple curved pieces that latch together. Assemble the back panels first, slide the collar around the metal stand, and snap the final front panel into place for a seamless circle.
Adjusting the Collar Overlap
If you are using a flexible faux fur wrap instead of a rigid metal ring, overlap the ends at the back of the tree. Pin the fabric securely with safety pins to prevent it from sagging or exposing the metal stand.
Maintaining the High-Contrast Palette
Wrapping the tree base with a bright white collar delivers a tailored, high-contrast finish that seamlessly hides the structural supports. This bright foundation emphasizes the stark modern contrast of the entire display.
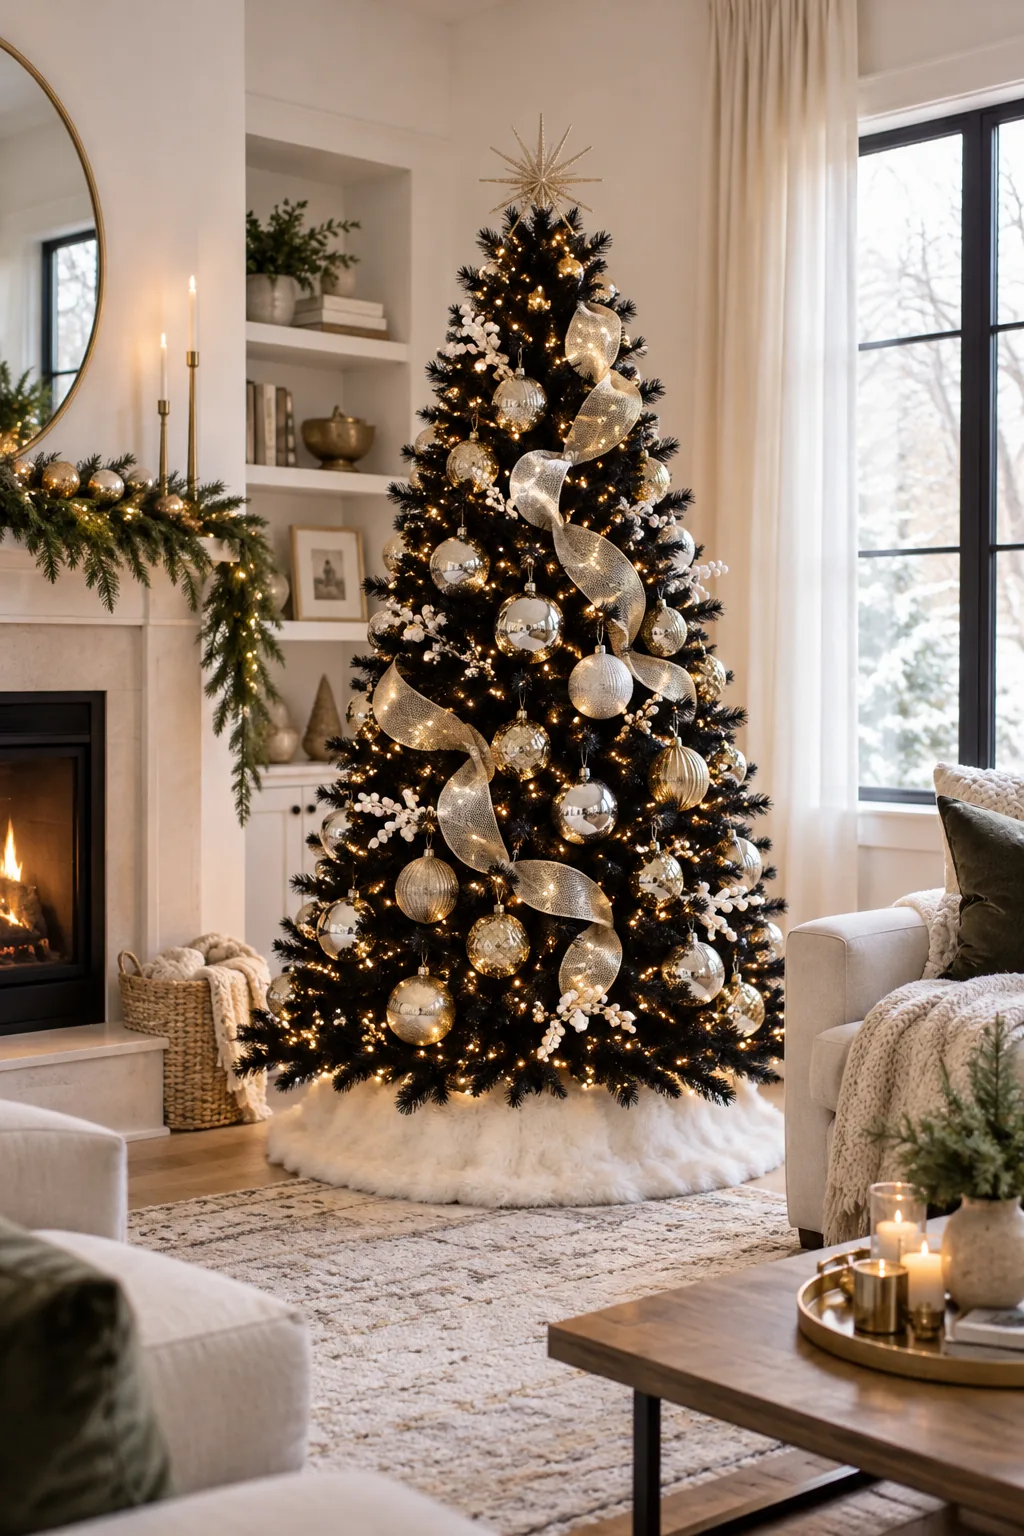
Keep the overall color ratio strict to maximize this impact, aiming for 70 percent bright metallics and white against the 30 percent visible black background.
Avoiding Color Mud
Introducing the wrong accent shades will instantly dull the sharp, sophisticated look of your black tree. Stick exclusively to elements that reflect light.
Finalizing the Visual Weight
Take one final step back to squint at the fully decorated tree. Squinting blurs the individual details and immediately highlights any dark gaps or clustered clumps of bright metallic ornaments that need adjusting.
The High-Contrast Ornament Checklist
Providing the exact quantities of lights, ribbon, and ornaments needed for the look ensures your tree feels full, bright, and intentionally designed. When I styled a 7.5-foot black artificial tree for a client last year, gathering these specific numbers made the process effortless.
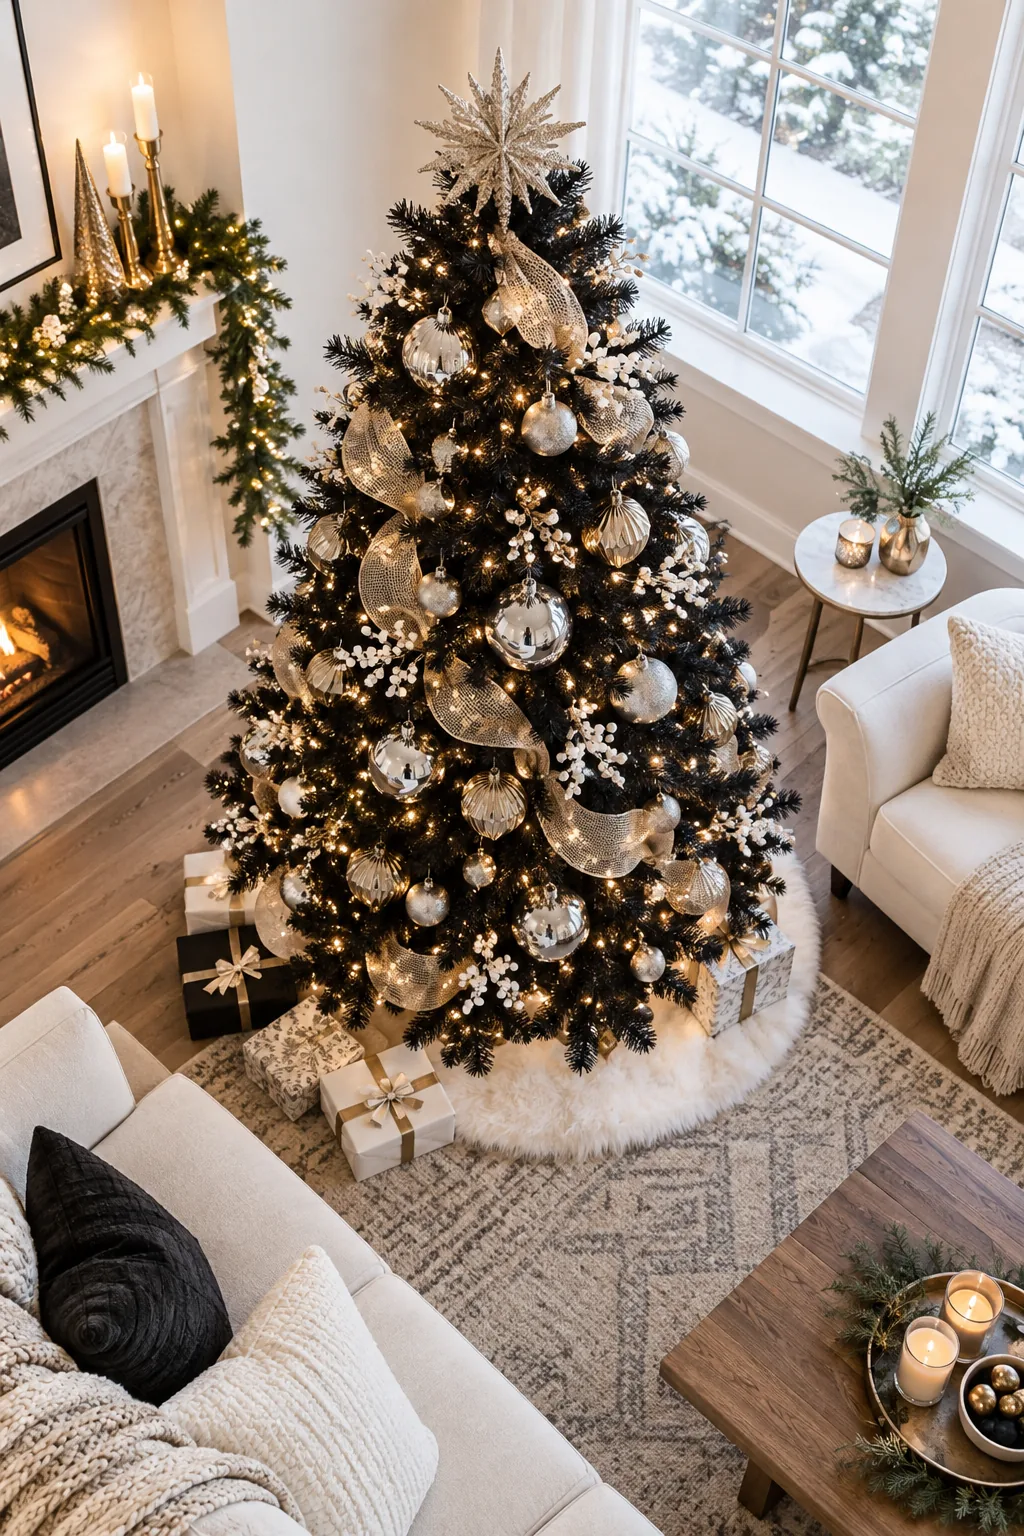
Use this exact shopping list to guarantee your tree has enough high-contrast materials to stand out.
More Ways to Style a Black Christmas Tree
Explore these distinct variations to find the perfect mood for your dark holiday centerpiece.
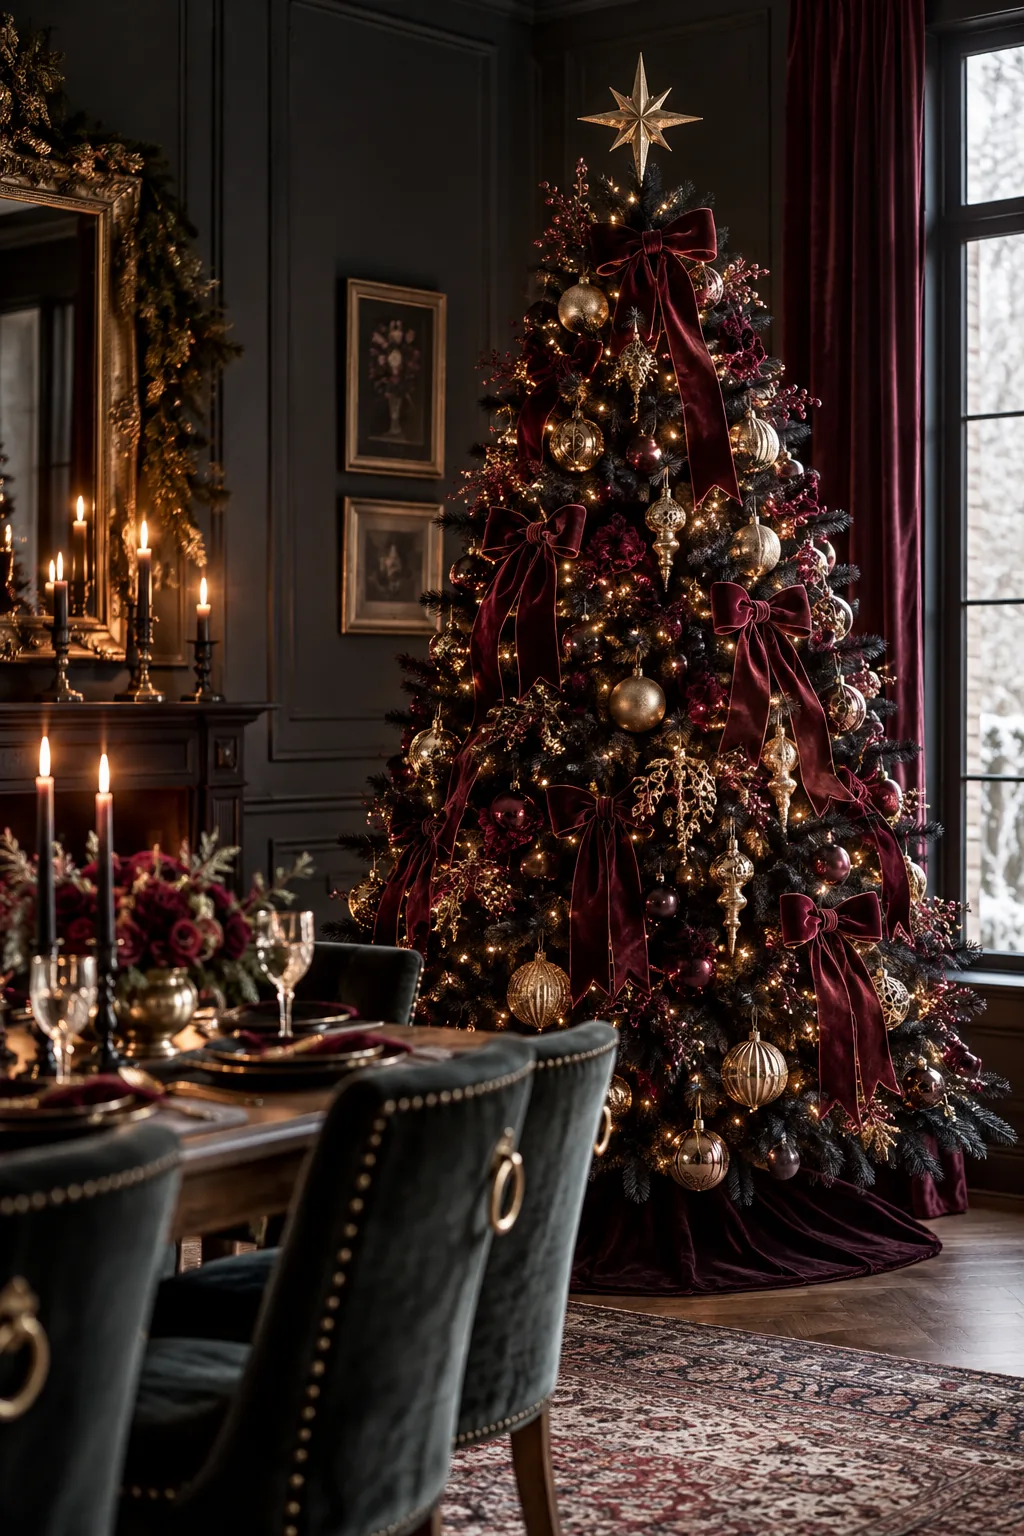
Moody Gothic Glam: Lean into the drama with deep burgundy velvet and antique gold finishes for a rich, sophisticated aesthetic.
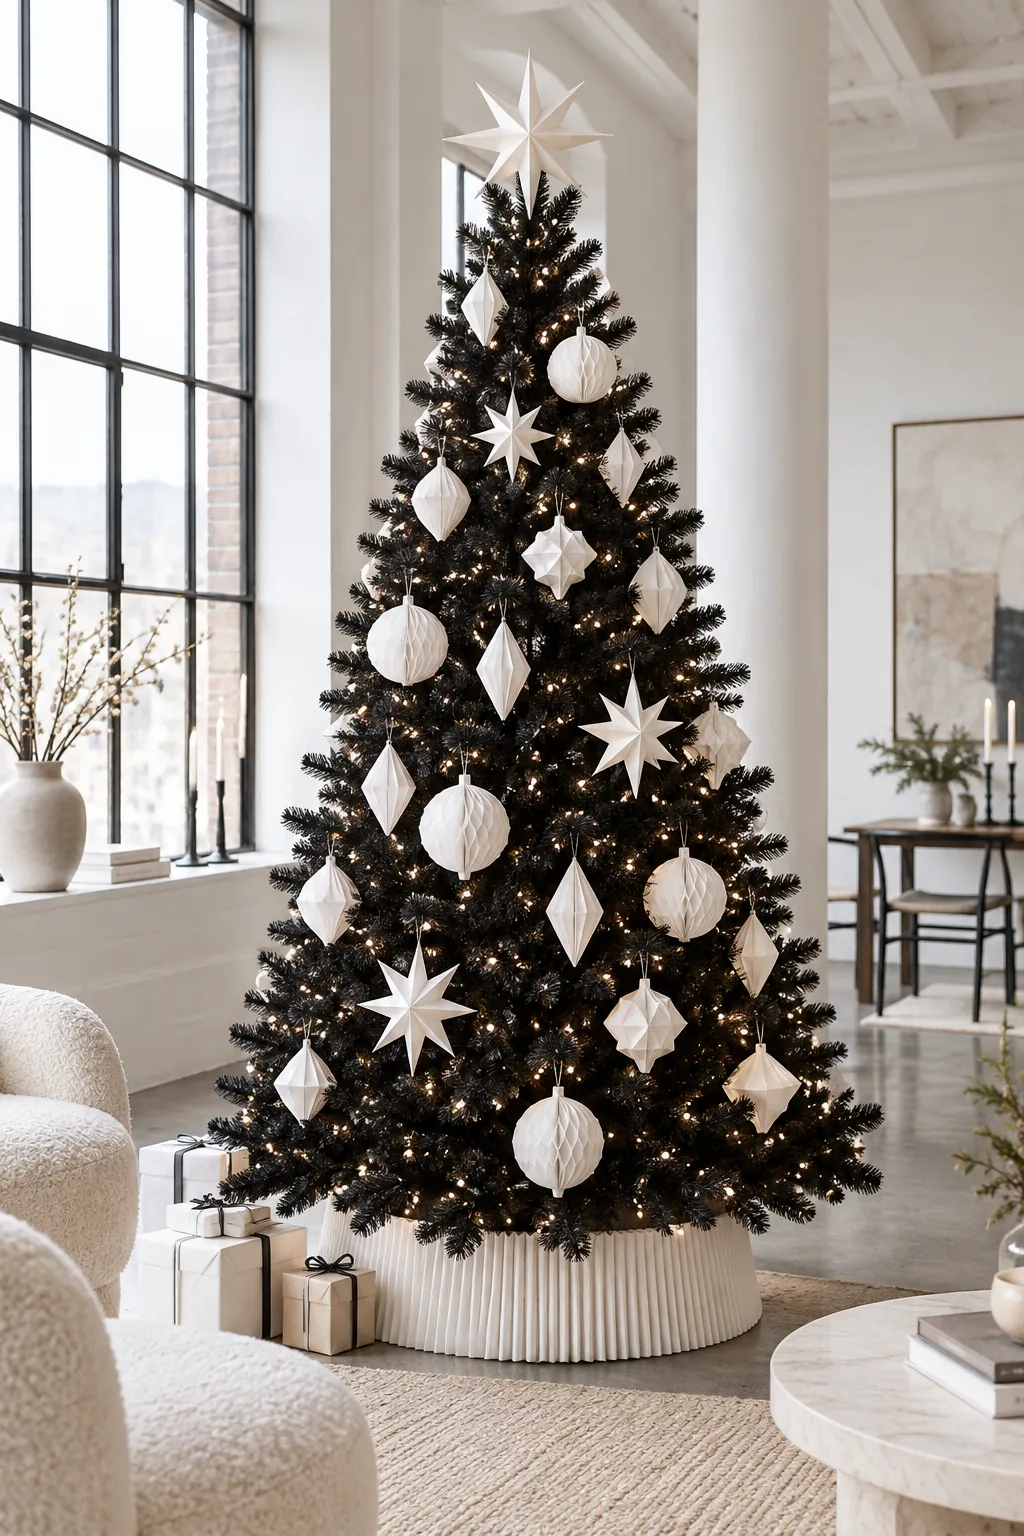
Modern Minimalist White: Keep it strikingly simple by pairing the dark branches entirely with stark white geometric paper ornaments.
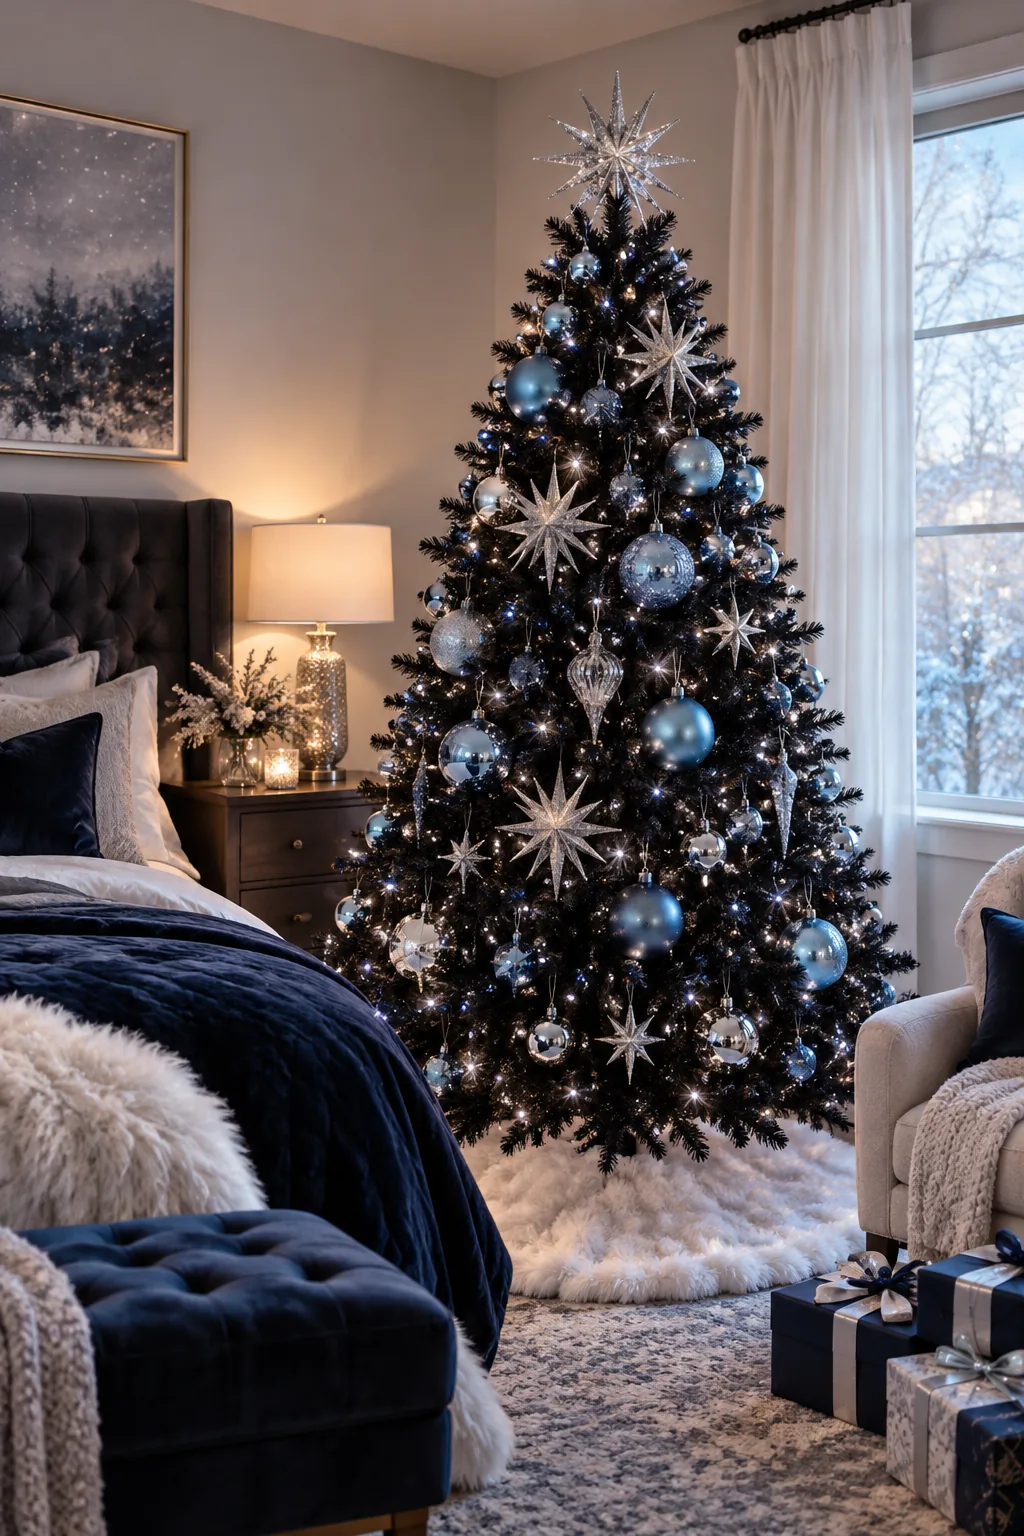
Winter Night Sky: Transform the tree into a night sky using cool white lights, silver starbursts, and icy blue glass.
Vintage Colorful Maximalist: Let bright neon and pastel retro ornaments pop instantly against the dark, receding background.
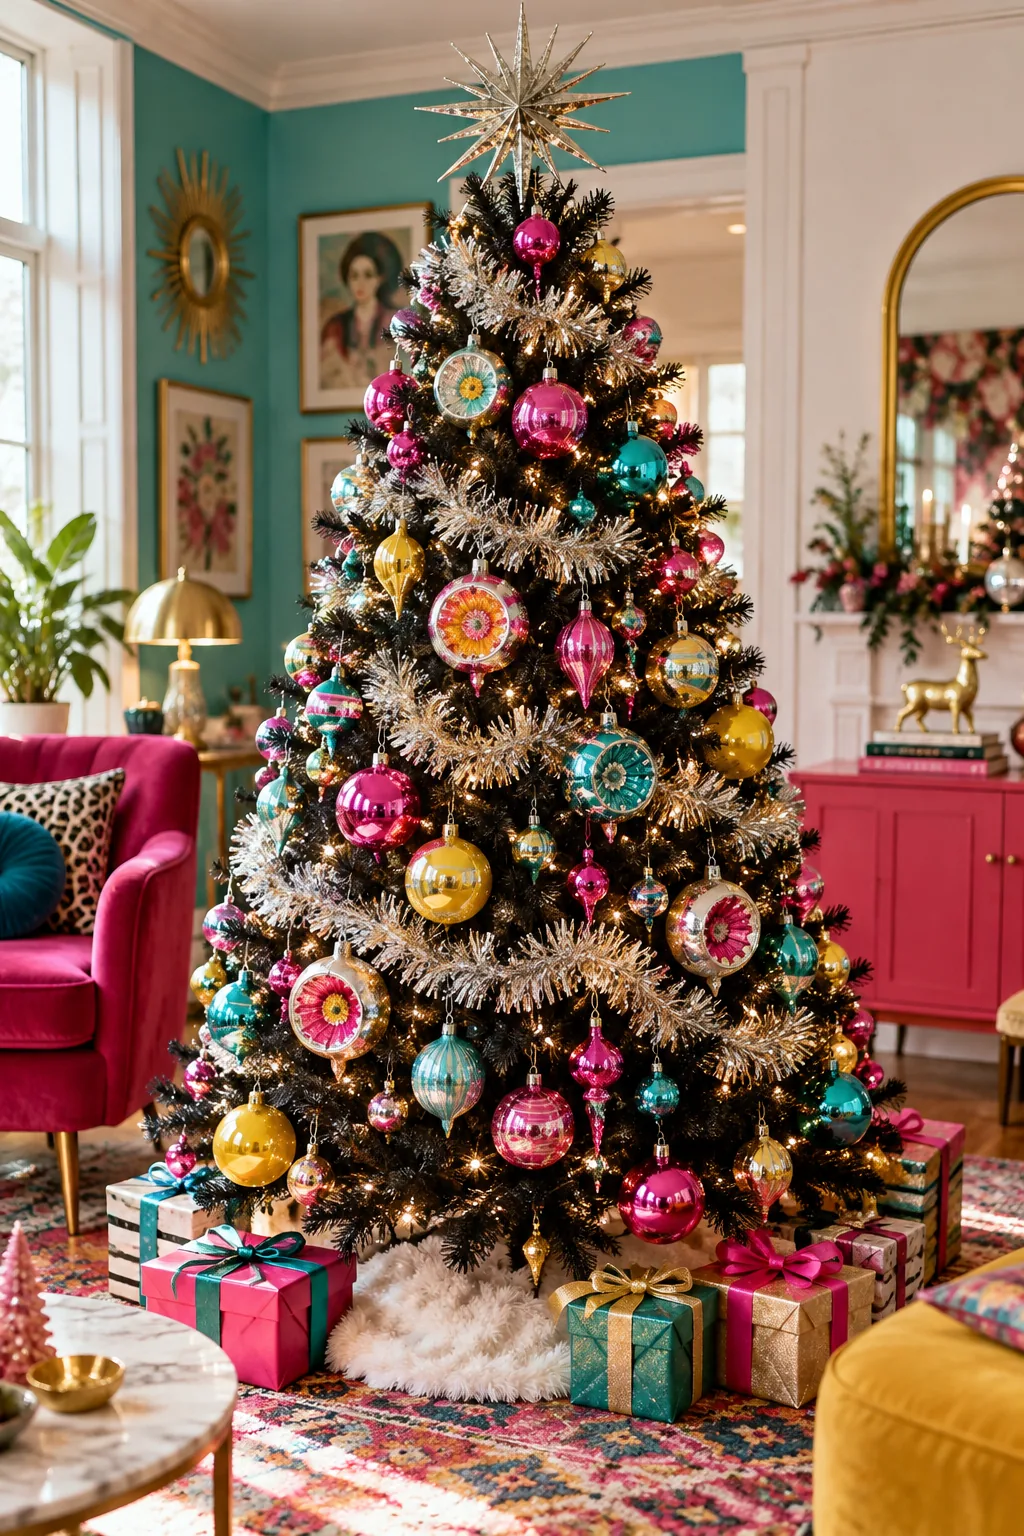
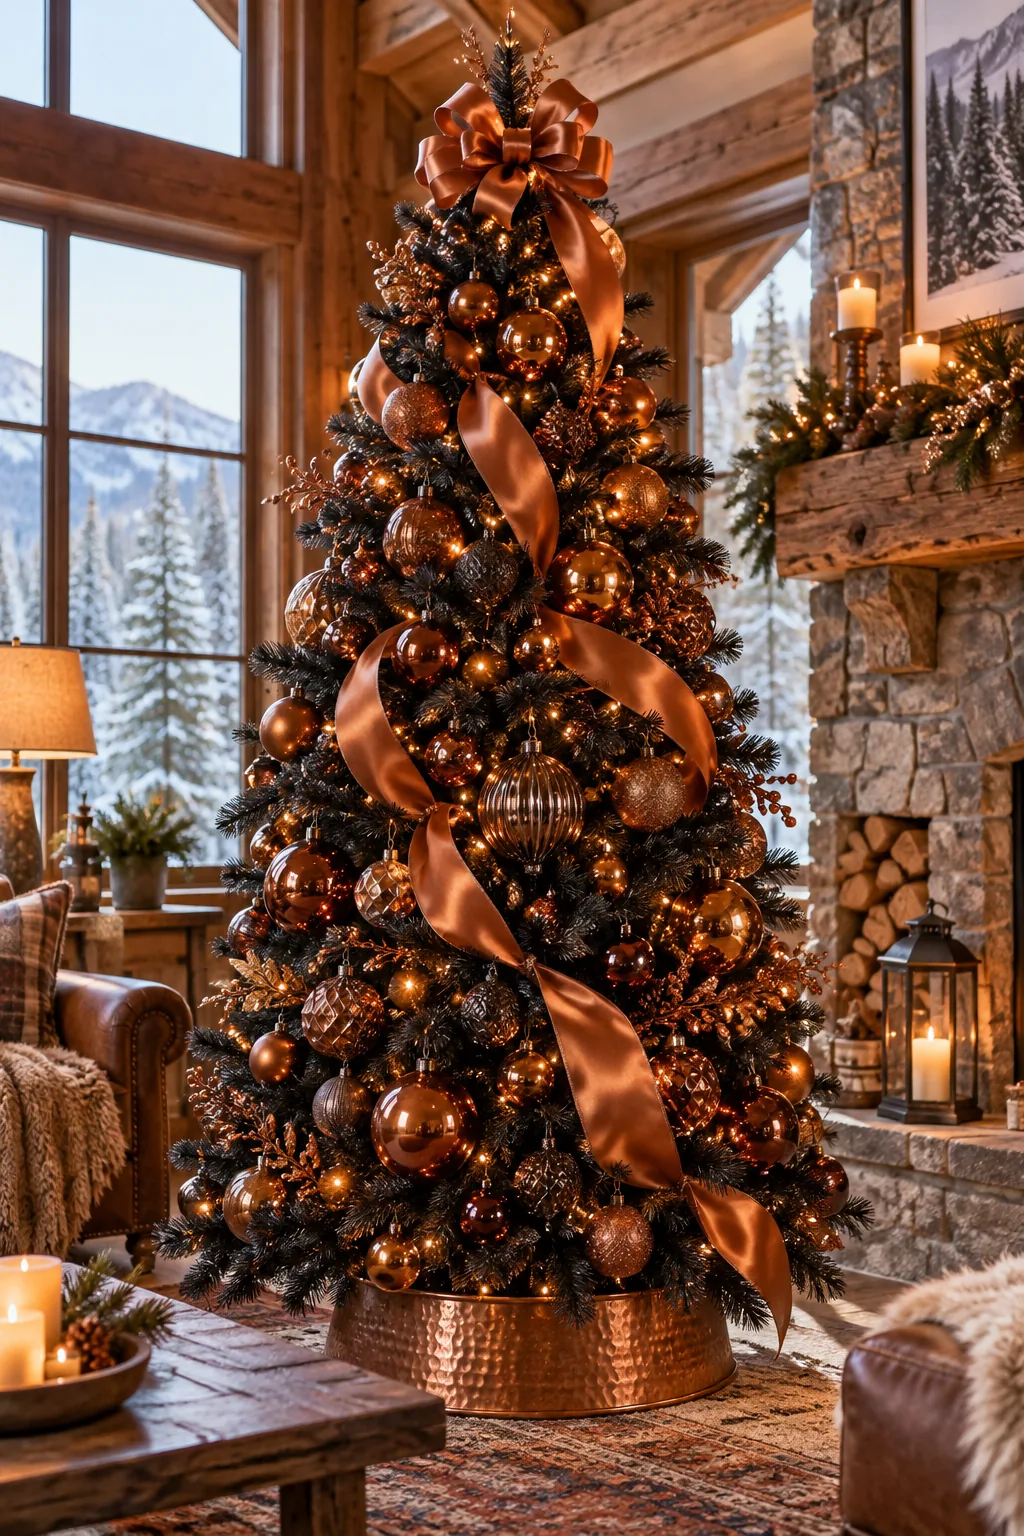
Rich Copper and Amber: Warm up the black foliage with glowing amber lights and luxurious wide copper satin ribbon.