
How to Make Professional Balloon Centerpieces (with Chart)
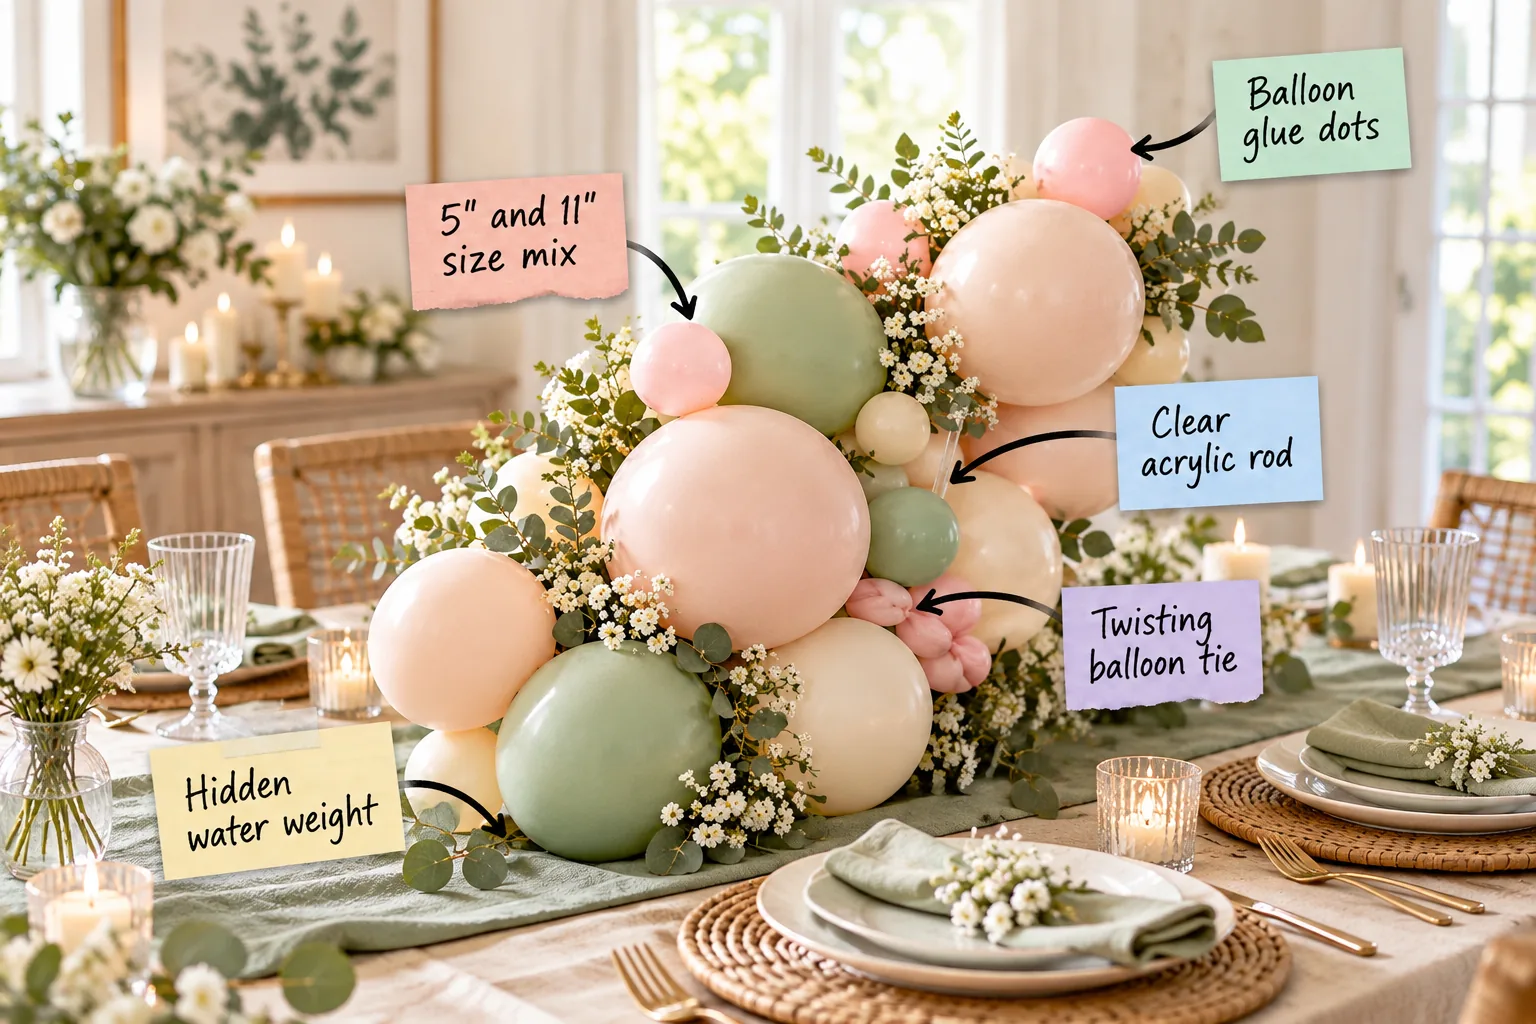
You can build secure, organic-style balloon centerpieces that look professionally installed using the exact size mix and quantities from our printable sizing and quantity chart per table. Master this bottom-up assembly method to create perfectly scaled table arrangements that never droop or look sparse.
Anchoring with a Hidden Water Weight
A professional arrangement needs a heavy, low-profile base to stay upright, and I rely on this trick constantly when styling drafty dining rooms in historic Boston brownstones. Instead of bulky sandbags, fill a standard latex balloon with half a cup of tap water.
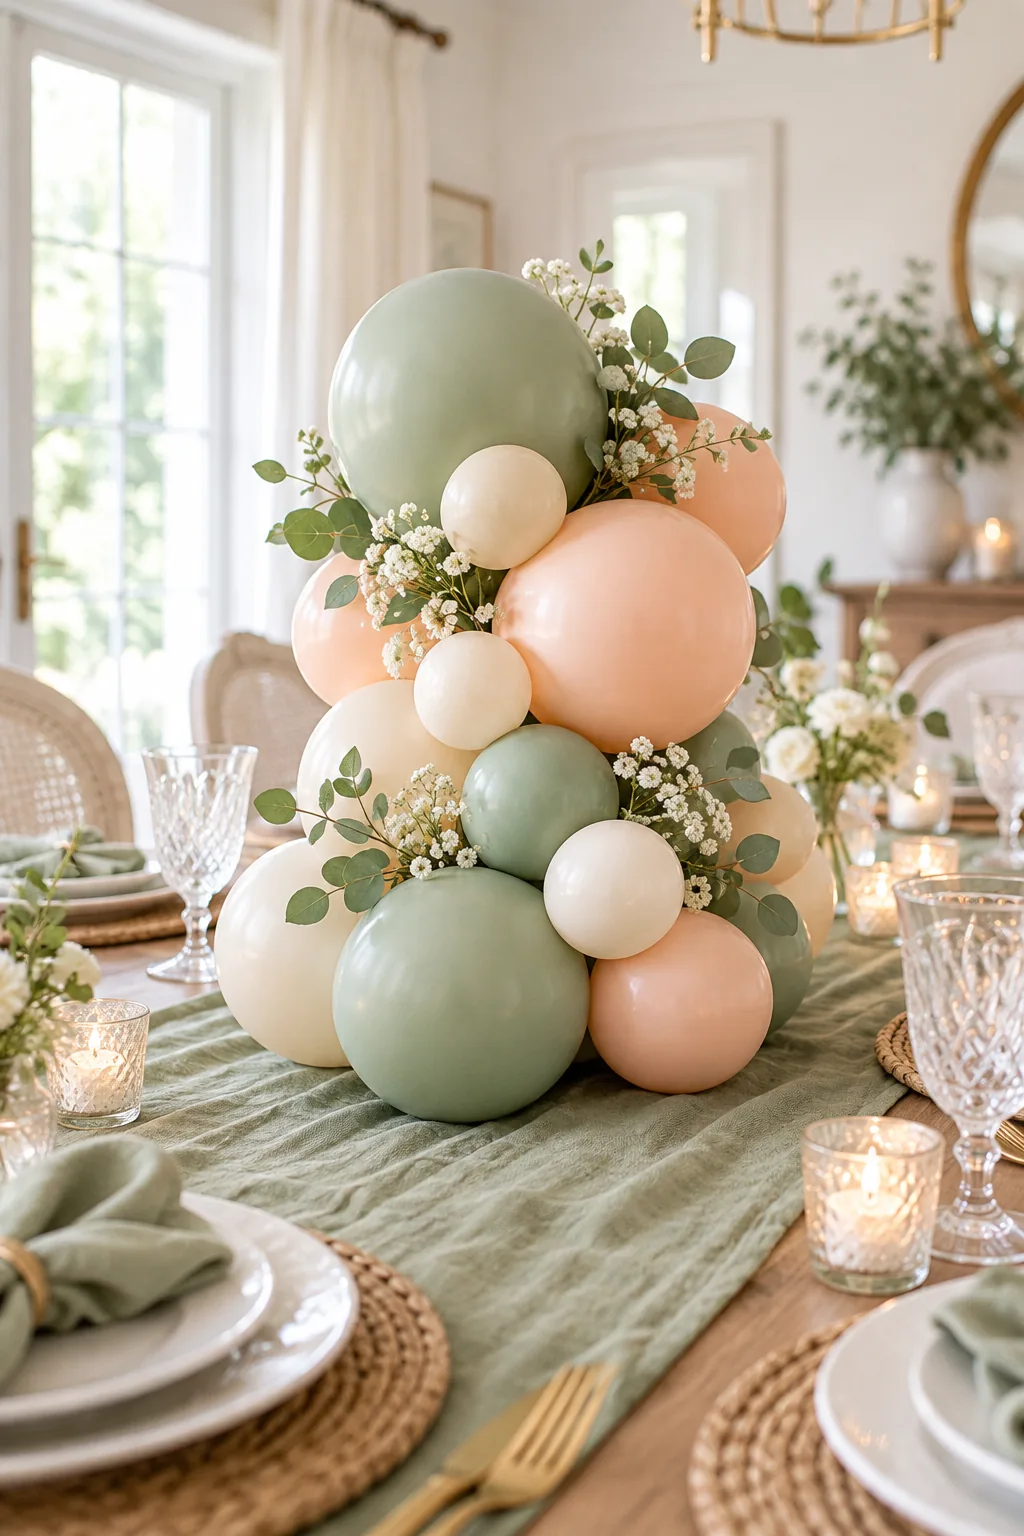
Creating your own water weight is simple, but protecting your tablescape is the priority before you nestle it completely invisibly beneath the lowest layer of 11-inch balloons.
Why Water Weights Outperform Sandbags
Traditional weights often peek through the bottom of the arrangement, ruining the seamless organic illusion you worked so hard to create. A custom water balloon matches your color palette perfectly while conforming to the tight spaces between your foundational clusters.
- Insert an uninflated balloon over the nozzle of your sink tap.
- Slowly add four ounces of cold water until it forms a dense sphere.
- Tie the neck tightly, ensuring no air bubbles remain trapped inside the latex.
This targeted weight distribution prevents top-heavy centerpieces from tipping over when guests bump the table or when the venue runs strong air conditioning.
Supporting the Shape with a Clear Acrylic Rod
To achieve vertical height without relying on expensive helium, the centerpiece requires a rigid spine built from a 12-inch clear acrylic rod. This provides the perfect invisible support structure that keeps the entire display standing tall throughout a long evening.
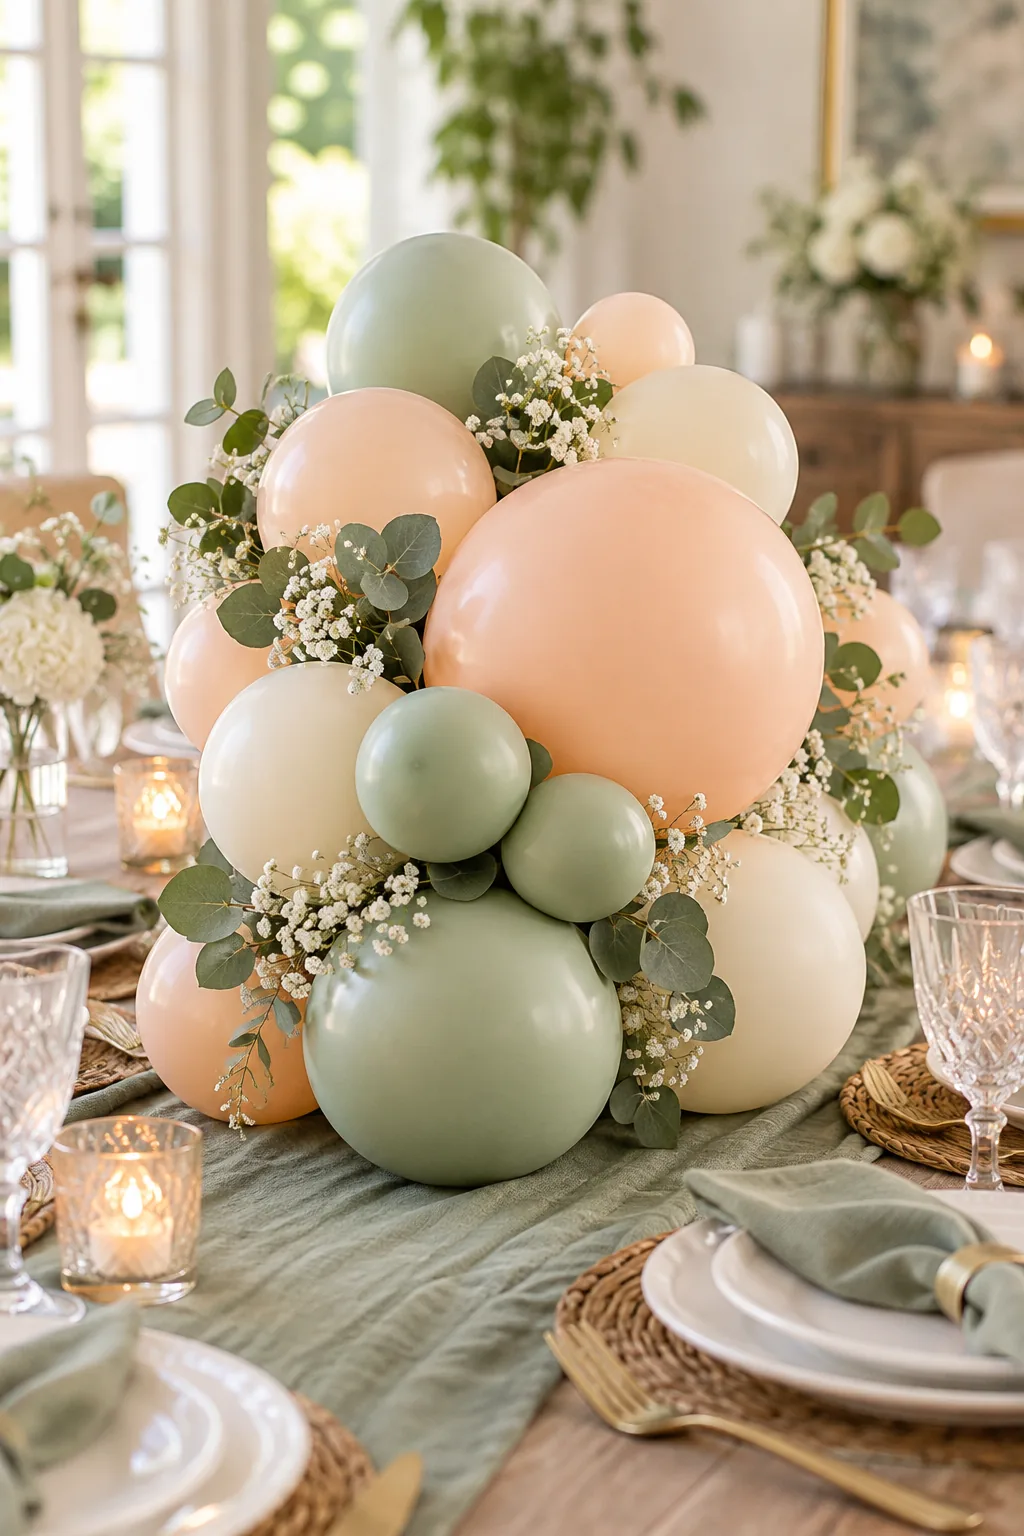
Secure the rod directly to the water weight base, then thread it upward through the center of the balloon clusters so it practically vanishes between the inflated layers.
Sizing Your Central Support Rod
Using a support rod thicker than a quarter-inch forces the balloons too far apart, creating unwanted visible gaps in your finished design. Stick strictly to a quarter-inch diameter acrylic dowel, which offers plenty of stability while remaining slender enough to weave through tightly packed latex necks.
Nailing the 5-Inch and 11-Inch Size Mix
The secret to an organic, professional look is extreme visual contrast, relying exclusively on a mix of 5-inch and 11-inch balloons. Avoiding medium sizes altogether prevents the design from looking muddy or resembling a standard, dated balloon column.
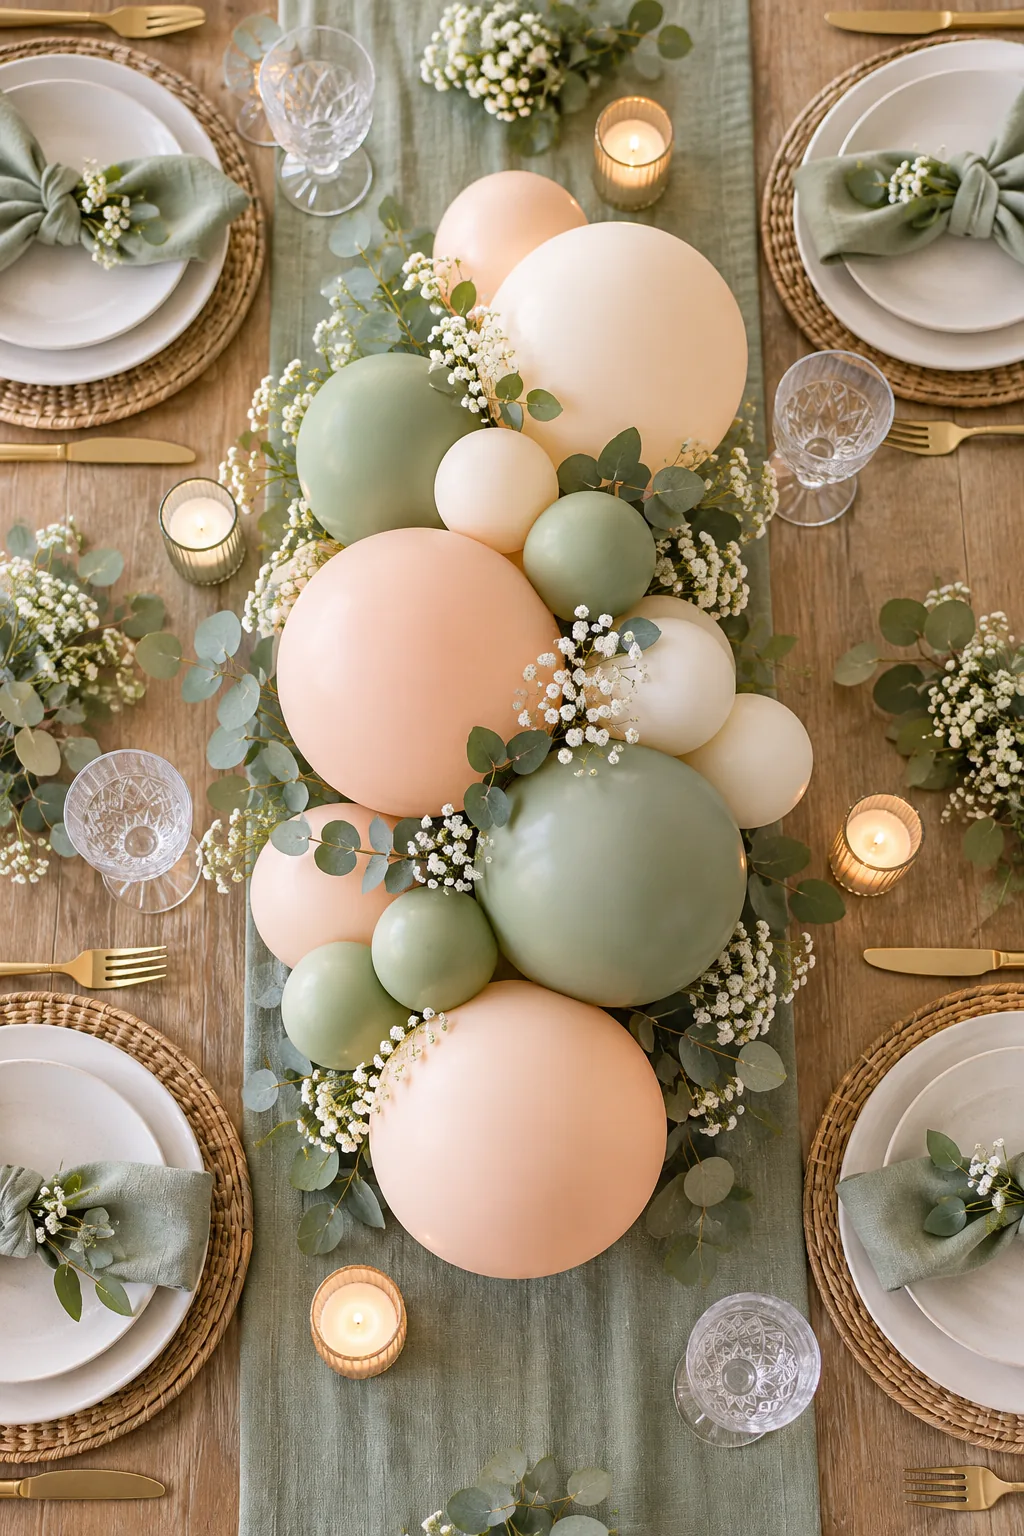
Under-inflate the 11-inch balloons to about 8 or 9 inches in diameter so they remain perfectly round rather than taking on a stretched, pear-shaped profile.
Controlling the Balloon Profile
Achieving that highly sought-after spherical shape requires pushing the air toward the very top of the balloon before tying it off. Press the inflated balloon gently against your torso to round out the bottom, then knot the neck as close to the lip as possible.
Balloon Size and Quantity Chart per Table
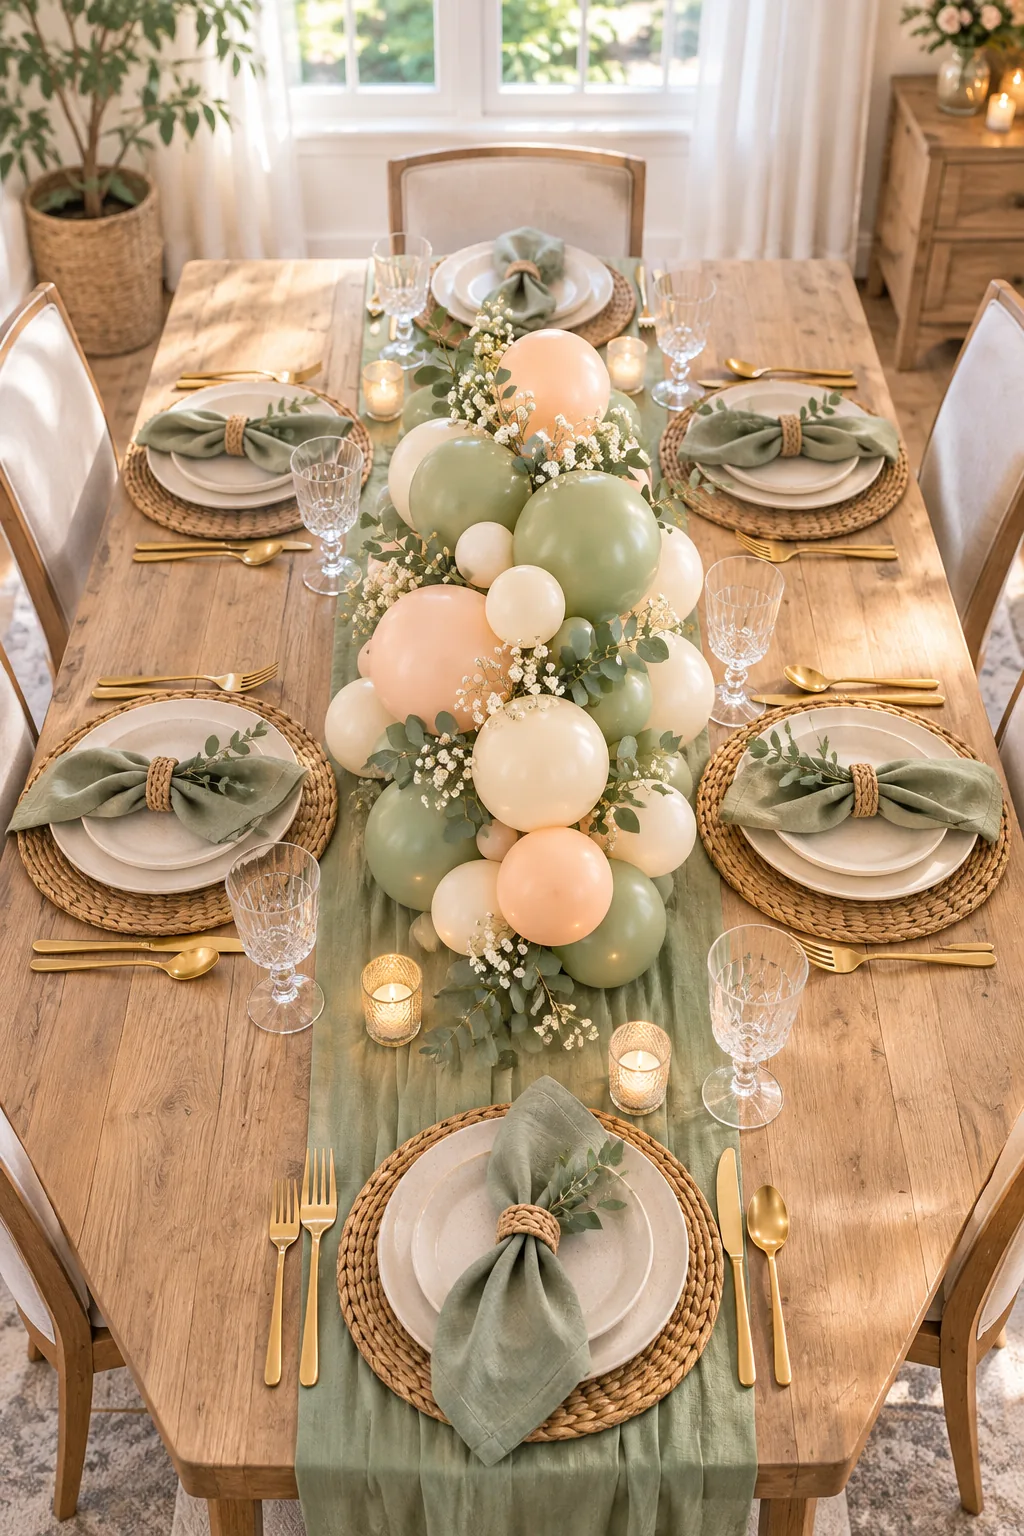
Guessing quantities often leads to sparse centerpieces or wasted materials, so planning your exact counts per table shape is essential. For a standard 6-foot round table, plan for exactly six 11-inch balloons and twelve 5-inch balloons per arrangement.
| Table Type | Table Size | 11-Inch Count | 5-Inch Count |
|---|---|---|---|
| Round | 6-foot diameter | 6 | 12 |
| Round | 72-inch diameter | 7 | 14 |
| Rectangular | 6-foot length | 5 | 10 |
| Rectangular | 8-foot length | 8 | 16 |
| Square | 60-inch width | 5 | 10 |
Print this chart and organize your materials accordingly before you start up the electric pump to keep the assembly process smooth and efficient.
Grouping your balloon counts ensures you never run out of a specific hue or size halfway through building your elegant tablescape.
Color Distribution Across Your Clusters
When mixing your palette, anchor the bottom of the arrangement with your darkest shades to create visual weight. Transition to lighter, pastel hues near the top of the acrylic rod to draw the eye upward and keep the centerpiece feeling airy.
Binding Clusters with Twisting Balloon Ties
Standard string or fishing line can easily slice through delicate latex and pop your work mid-party. Instead, use uninflated 260Q twisting balloons to gently bind the clusters together without creating friction points.
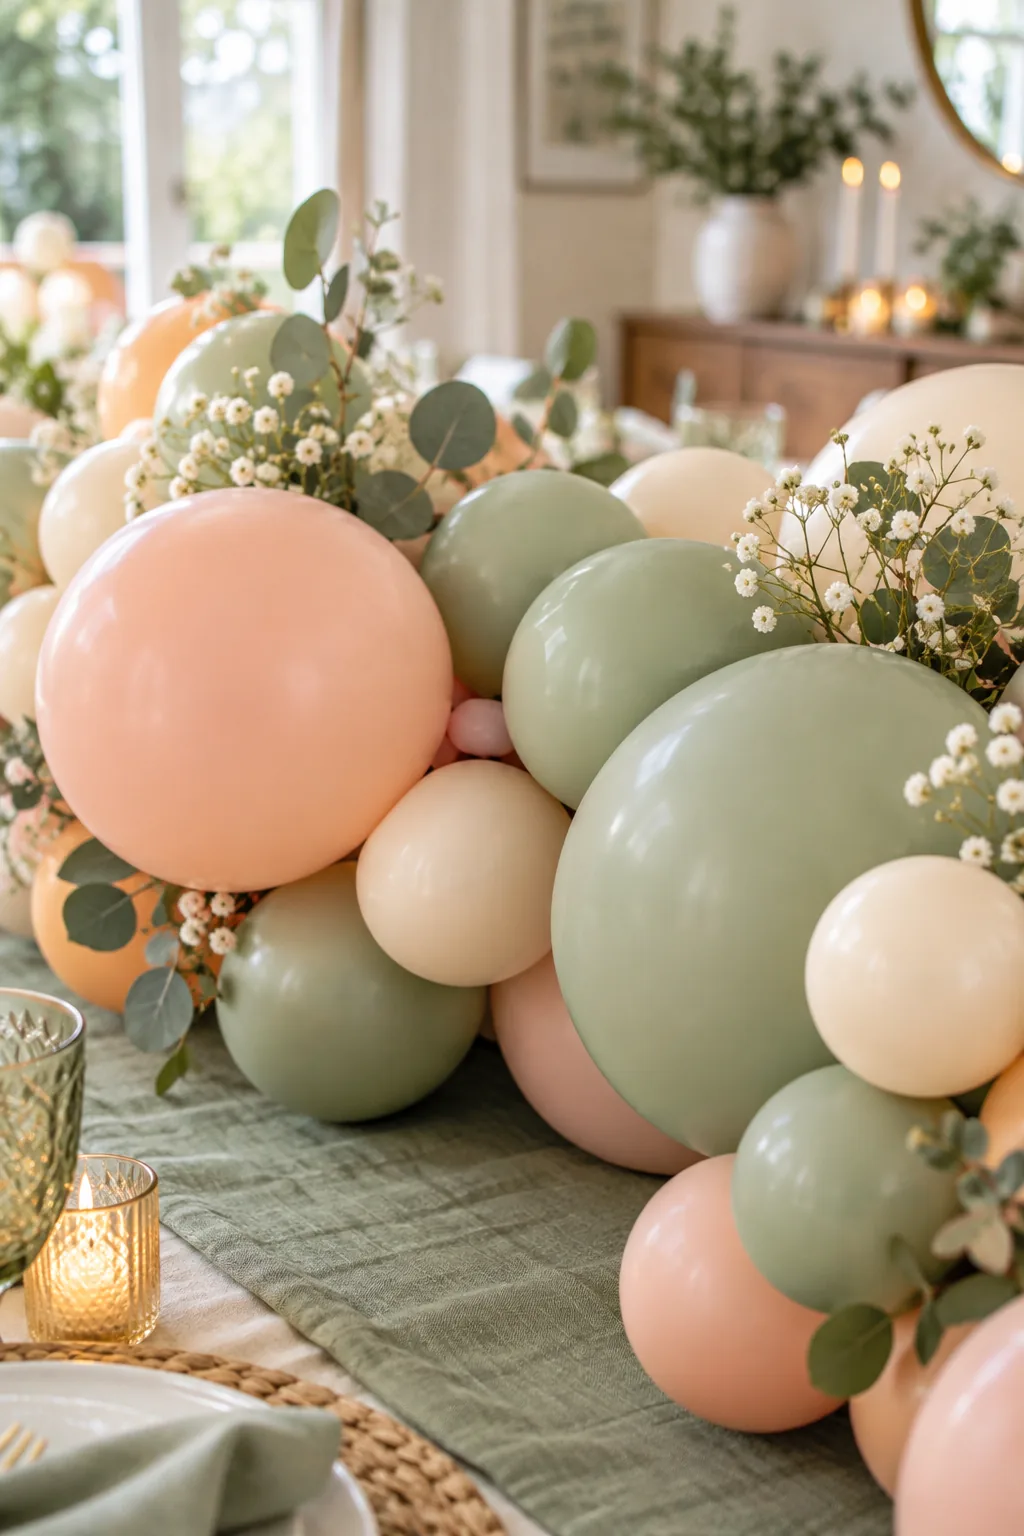
Stretch the twisting balloon and wrap it in a tight figure-eight pattern around the acrylic rod and the necks of the inflated balloons for a secure, flexible hold.
Executing the Figure-Eight Wrap
The natural elasticity of a twisting balloon allows you to reposition clusters slightly without undoing your hard work. This technique is far superior to rigid plastic zip ties, which lock your design in place permanently and risk puncturing the surrounding latex as they tighten.
Attaching Accents with Balloon Glue Dots
Once the main structure is built along the rod, the arrangement will inevitably have visible gaps. Fill these structural holes by attaching individual 5-inch balloons using specialized balloon glue dots.
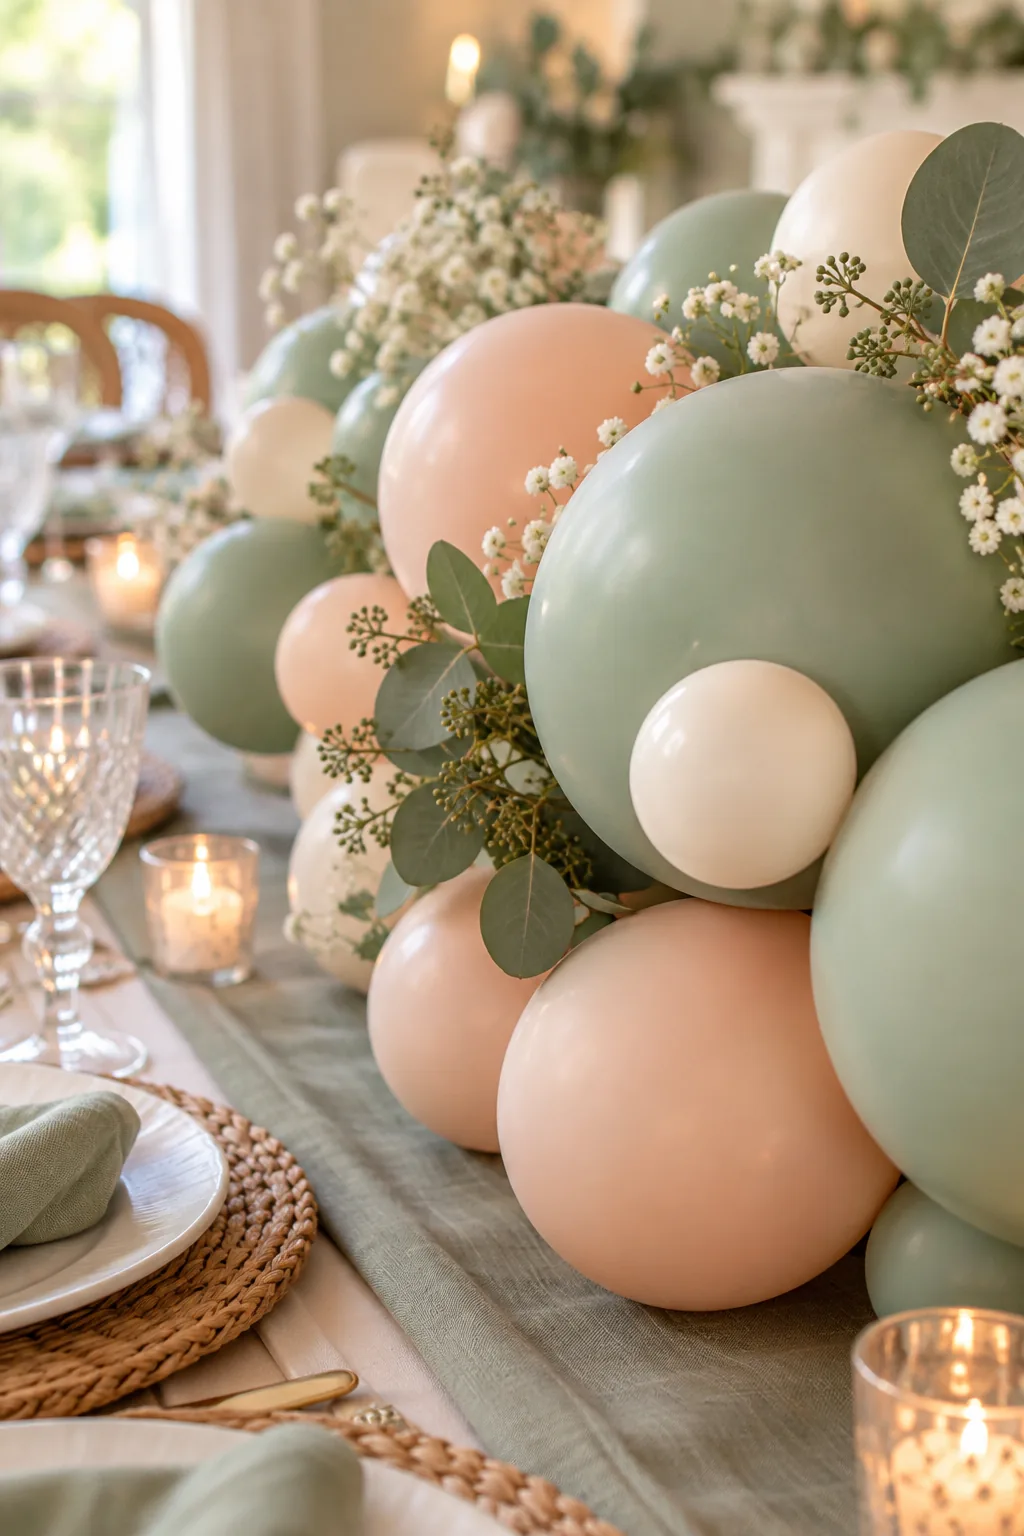
Apply two glue dots per accent balloon, pressing them firmly against the larger base balloons to create a lush, overflowing silhouette that hides all internal mechanics.
Placing Accents for Maximum Impact
Always apply the adhesive dots directly from the paper roll onto the uninflated tail of the smaller accent balloon. Touching the glue with your fingers degrades the tackiness instantly, causing your carefully placed accents to roll off the centerpiece before dinner even begins.
Weaving in Fresh Greenery and Florals
Latex alone can feel heavy on a formal dining table, but adding fresh or faux botanicals softens the entire look beautifully. Tuck small sprigs of baby’s breath and seeded eucalyptus directly into the natural crevices between the balloons.
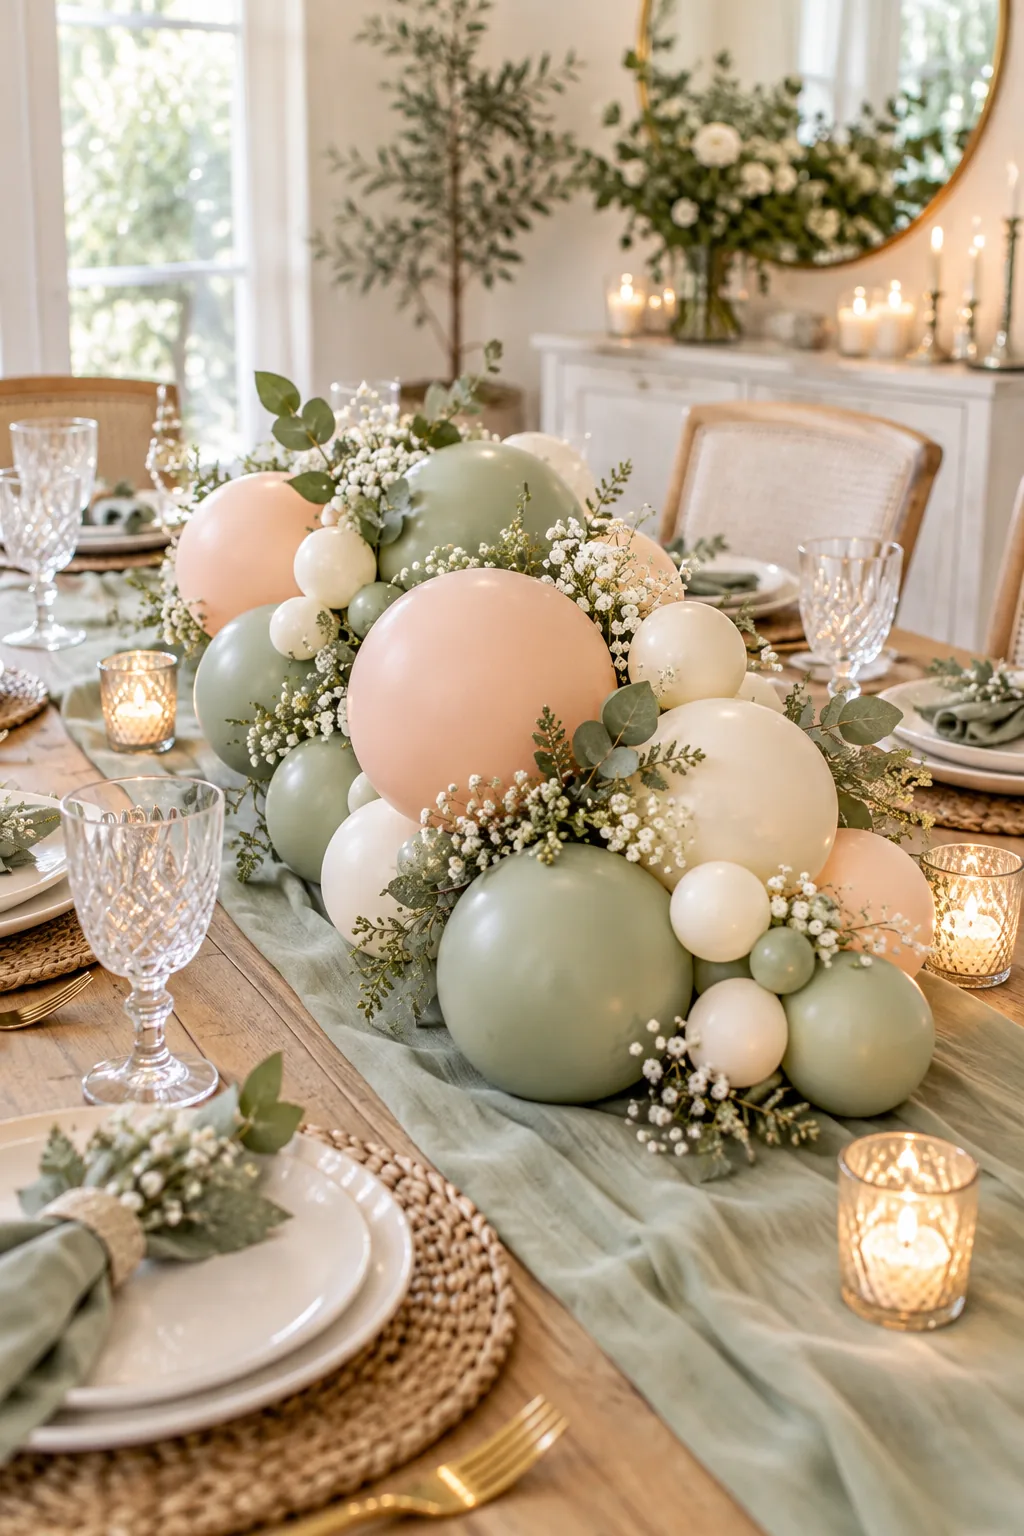
The natural tension of the tightly packed balloons will hold the lightweight stems securely in place without the need for any additional floral wire or messy tape.
Selecting Hardy Botanicals
Because these stems will not have access to a water source, you must choose varieties that dry elegantly. Olive branches, ruscus, and statice maintain their structure and color for days, ensuring your centerpiece looks just as vibrant during dessert as it did during cocktails.
Managing Floral Stem Lengths
Trim your greenery stems to no more than four inches long before attempting to insert them into the centerpiece. Longer branches will poke through the opposite side of the balloon clusters, potentially popping the hidden 5-inch balloons that give your arrangement its volume.
Stripping the Lower Foliage
Strip all the lower leaves off each botanical stem to create a smooth, clean insertion point. This bare stem slides effortlessly past the tense latex, ensuring your delicate foliage stays exactly where you place it without requiring any damaging force or floral picks.
Scaling the Arrangement to Your Tablescape
A centerpiece fails its primary purpose if guests cannot see over it to converse. I learned this early on while styling intimate dinner parties in my own apartment; the finished balloon arrangement should sit no higher than 14 inches from the tabletop.
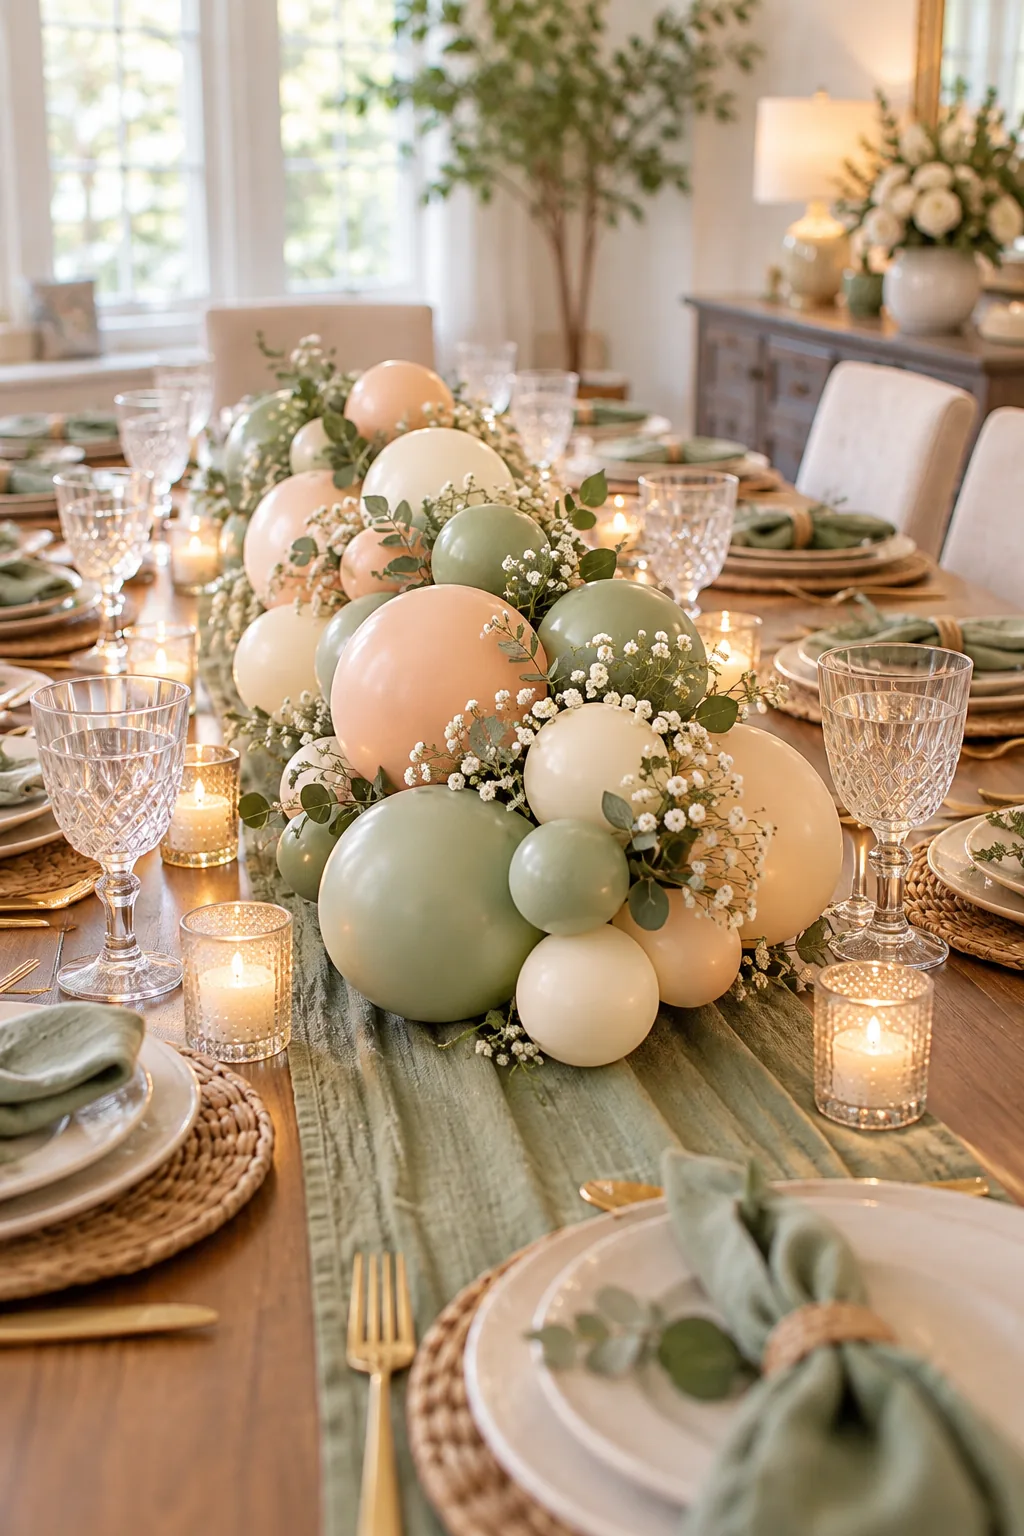
More Balloon Centerpiece Ideas
Explore these different color palettes and styling variations for your next event.
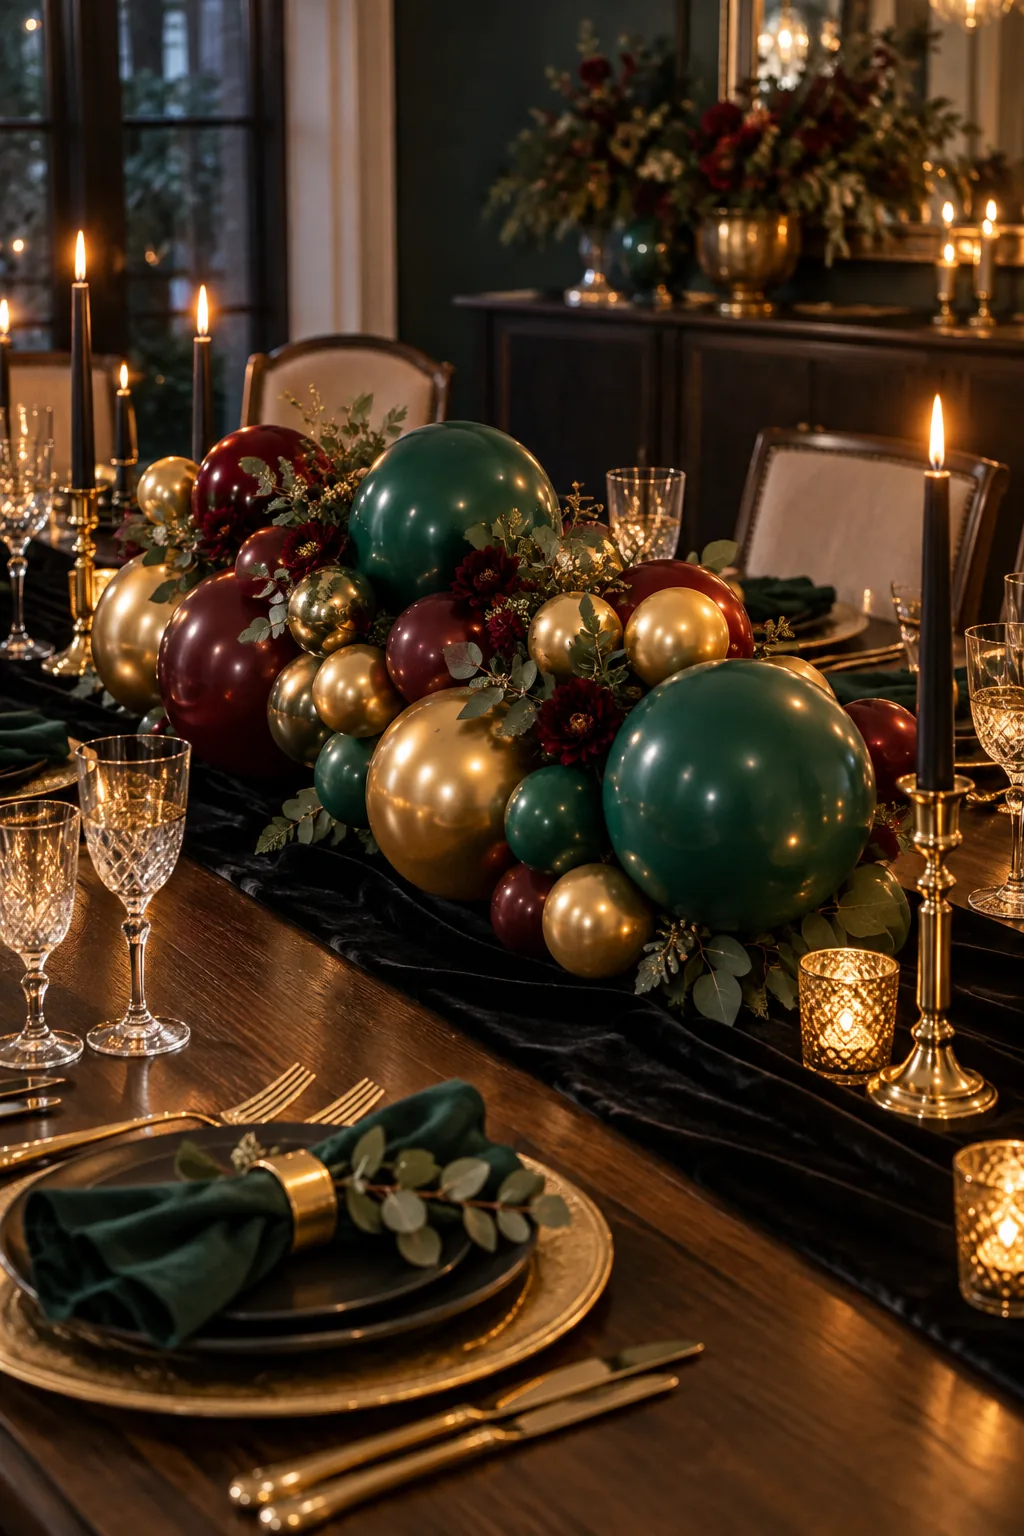
Moody jewel-toned evening elegance: Deep emerald and burgundy balloons create a dramatic, sophisticated atmosphere perfect for formal evening dinners.
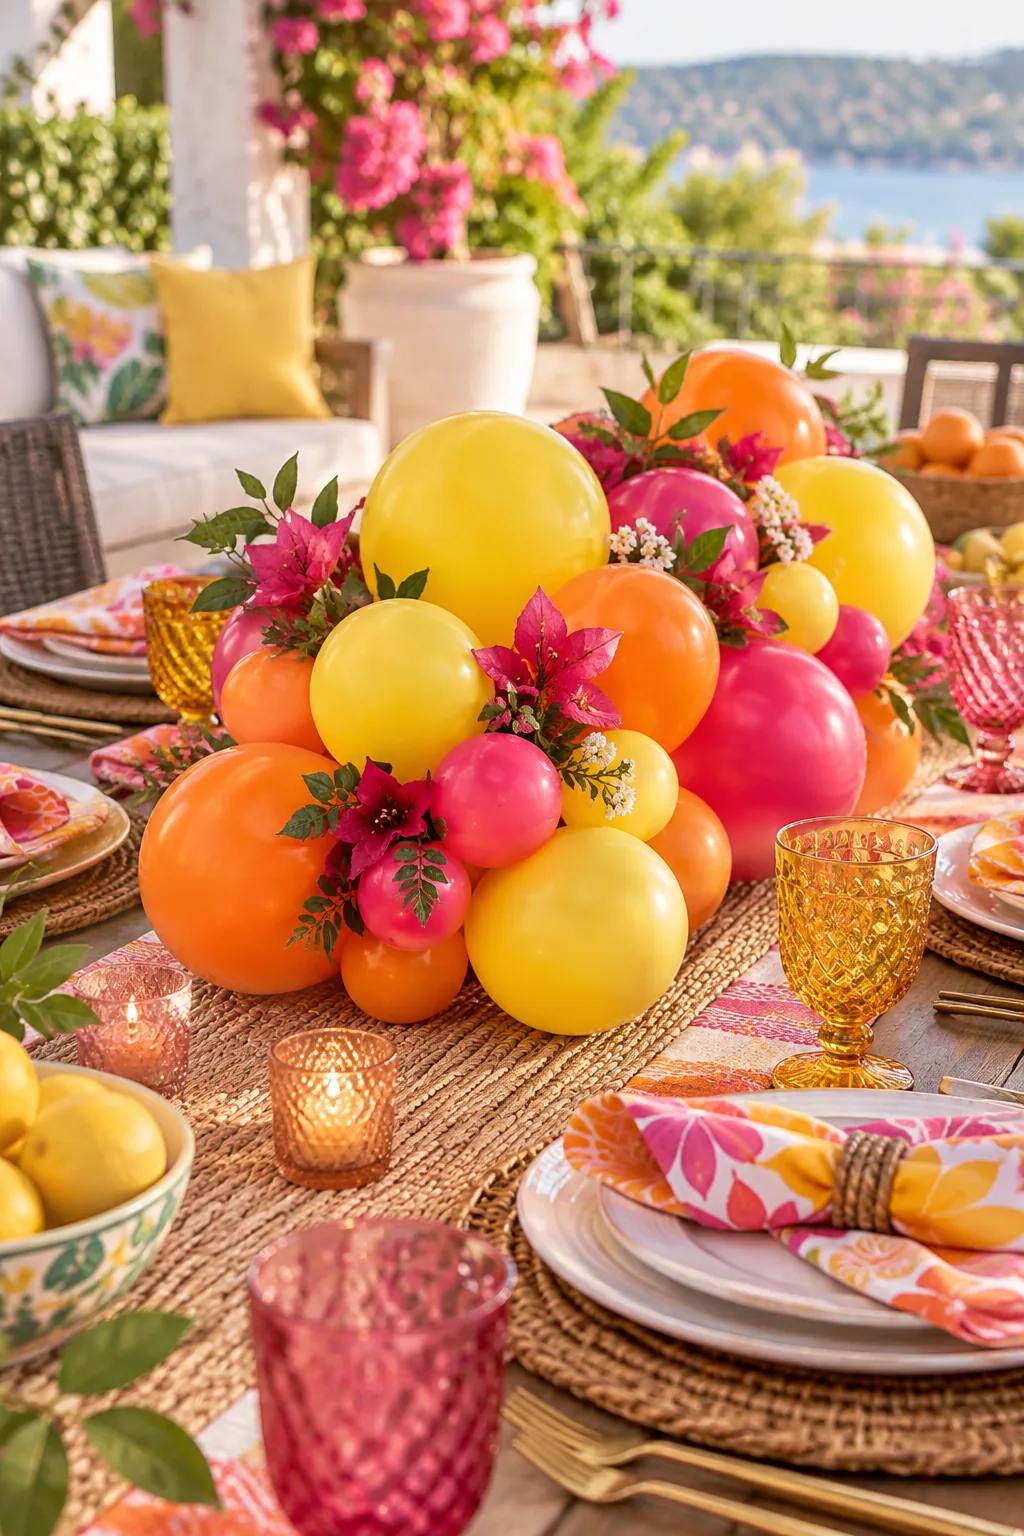
Bright citrus summer patio brunch: Vibrant lemon and hot pink balloons bring instant energy to an outdoor summer brunch setting.
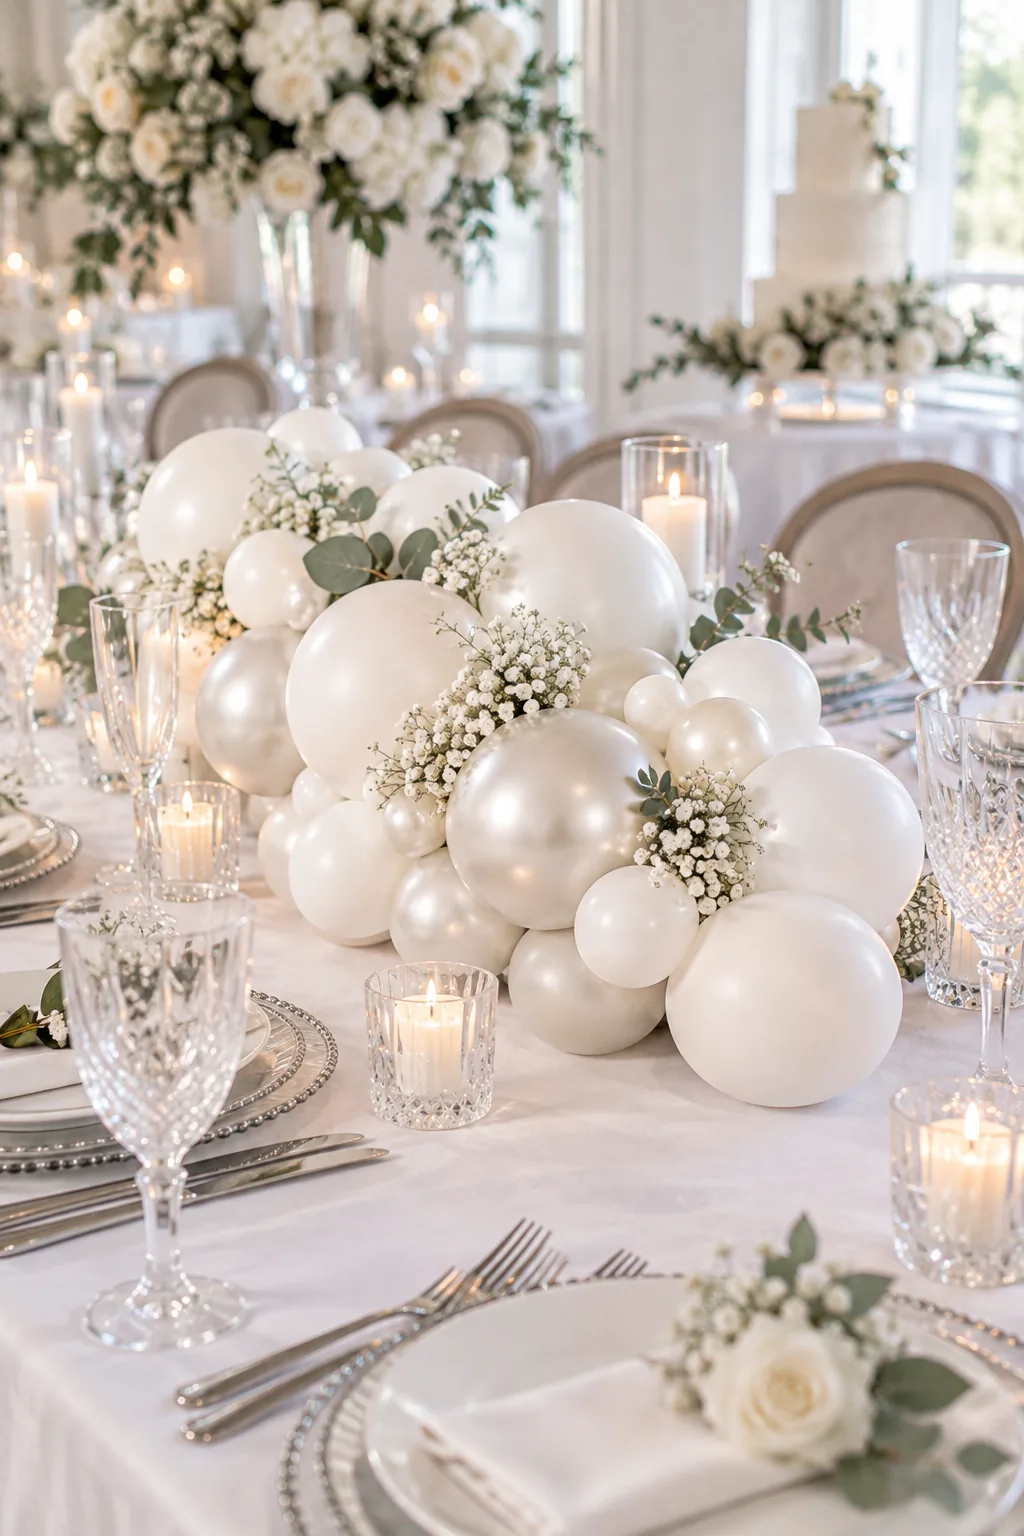
Monochromatic white formal wedding reception: A purely white and pearl palette offers a modern, textural alternative to traditional floral wedding centerpieces.
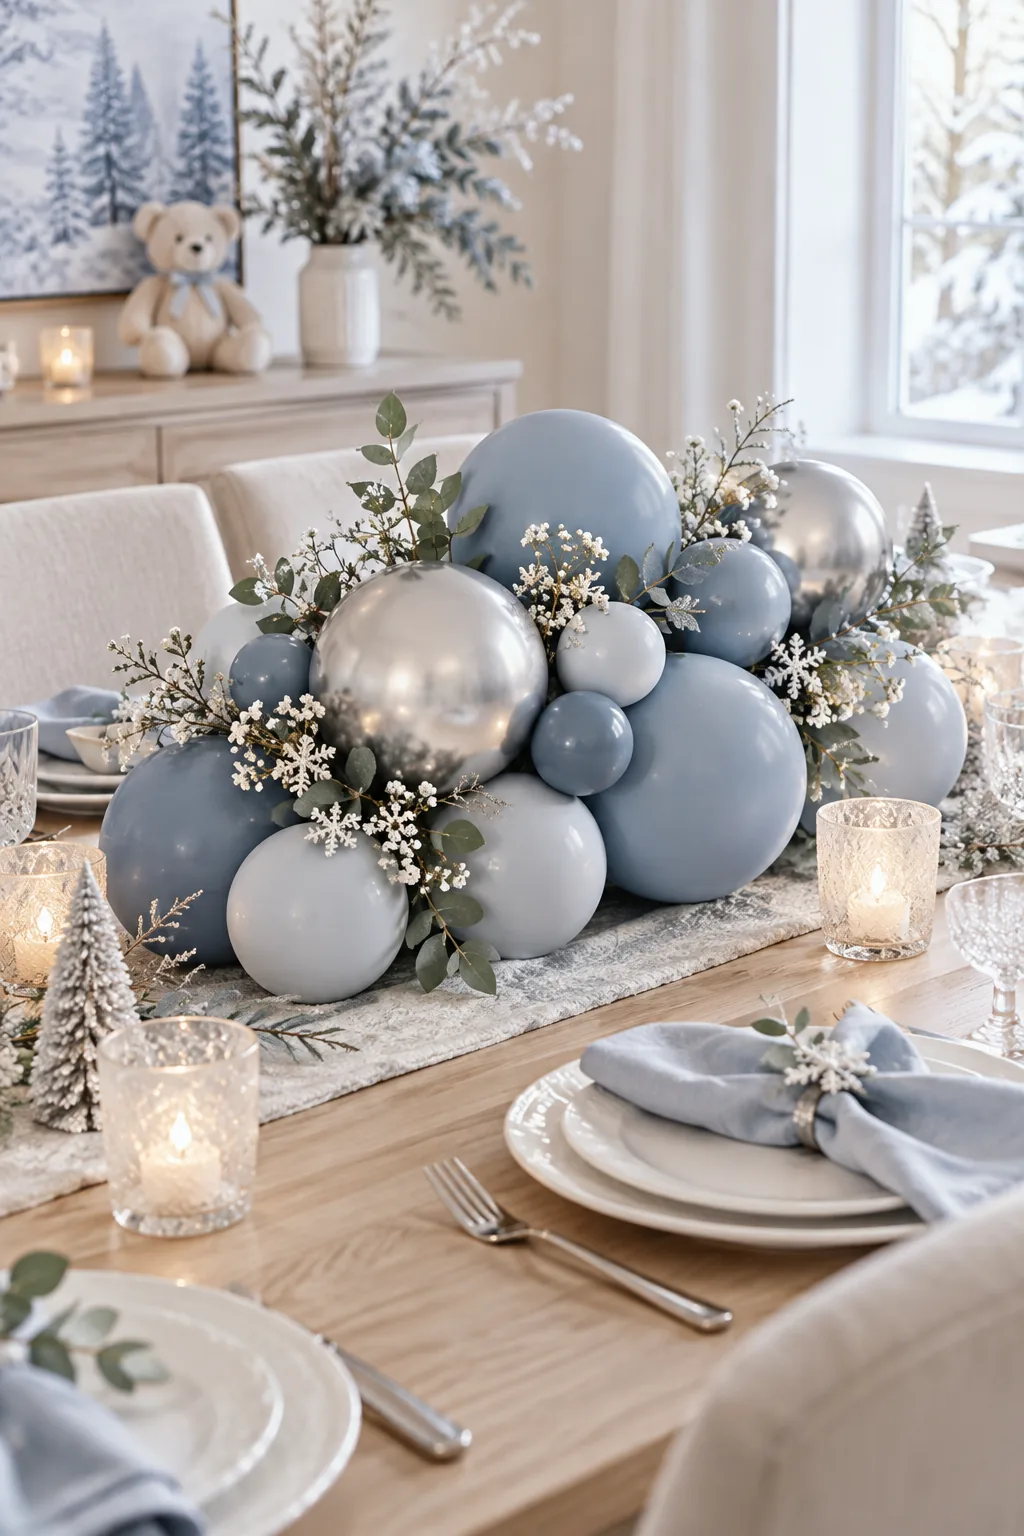
Dusty blue winter baby shower: Cool dusty blues mixed with metallic silver create a soft, welcoming look for a winter baby shower.
Positioning on the Table Runner
Placing the arrangement directly on a textured runner provides subtle friction that prevents the water weight from sliding on polished wood while anchoring the table visually.
This final touch grounds the whimsical balloons, seamlessly integrating them into your sophisticated dining room decor without crowding the place settings.