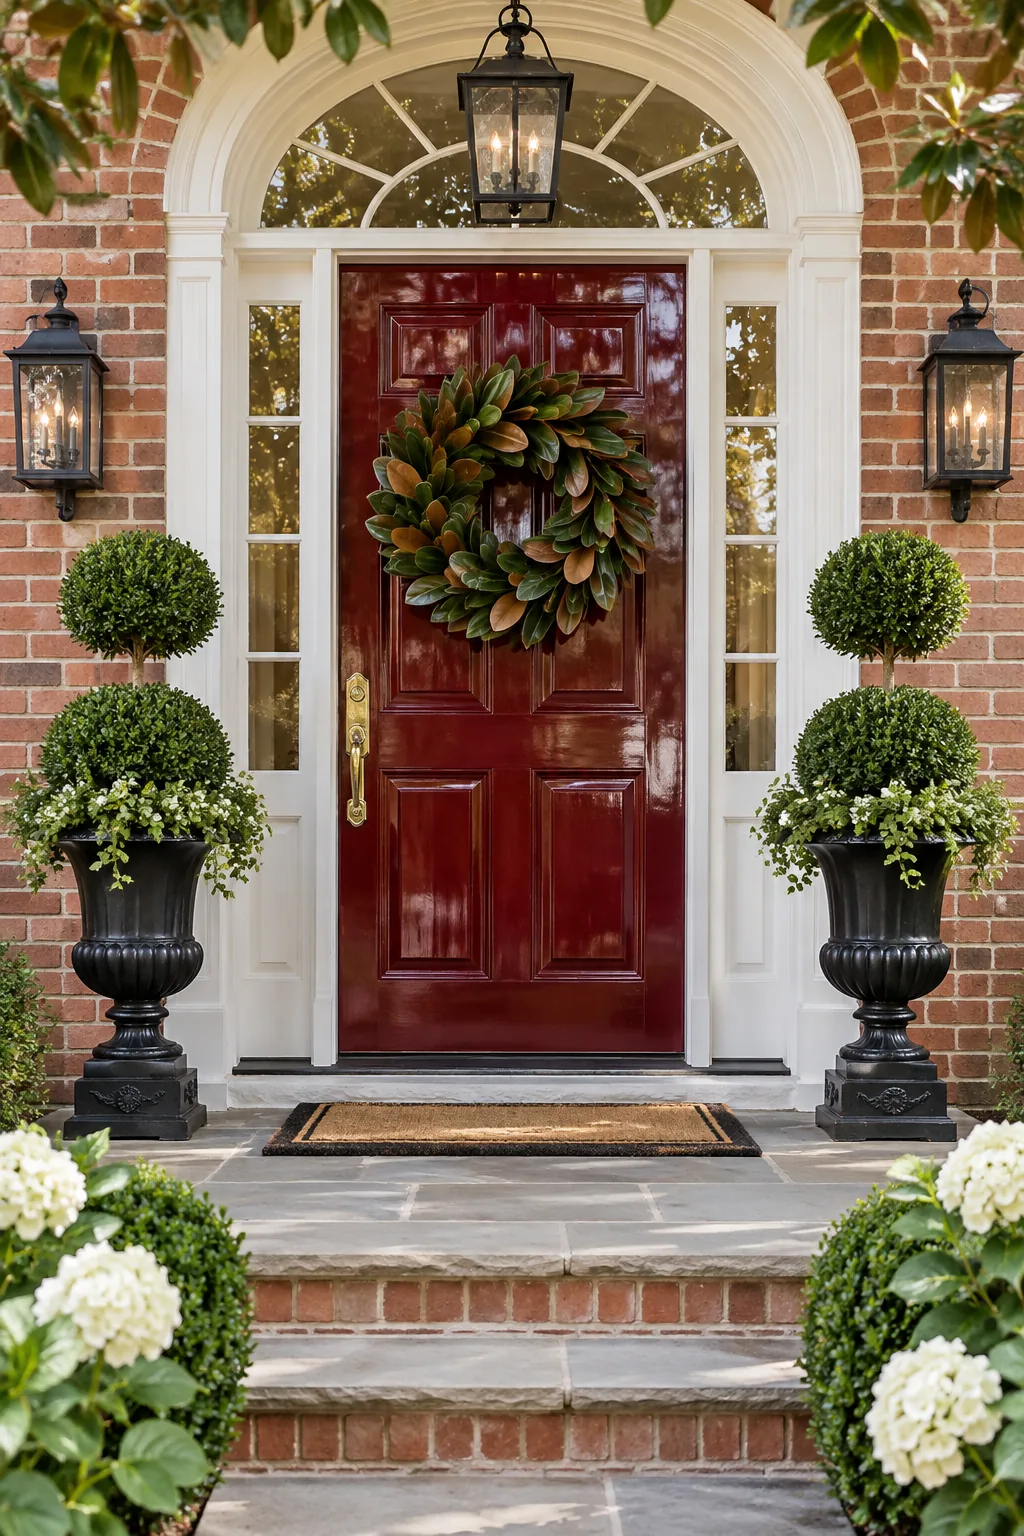
Flawless Front Door Makeover: Paint Sequence and Porch Styling
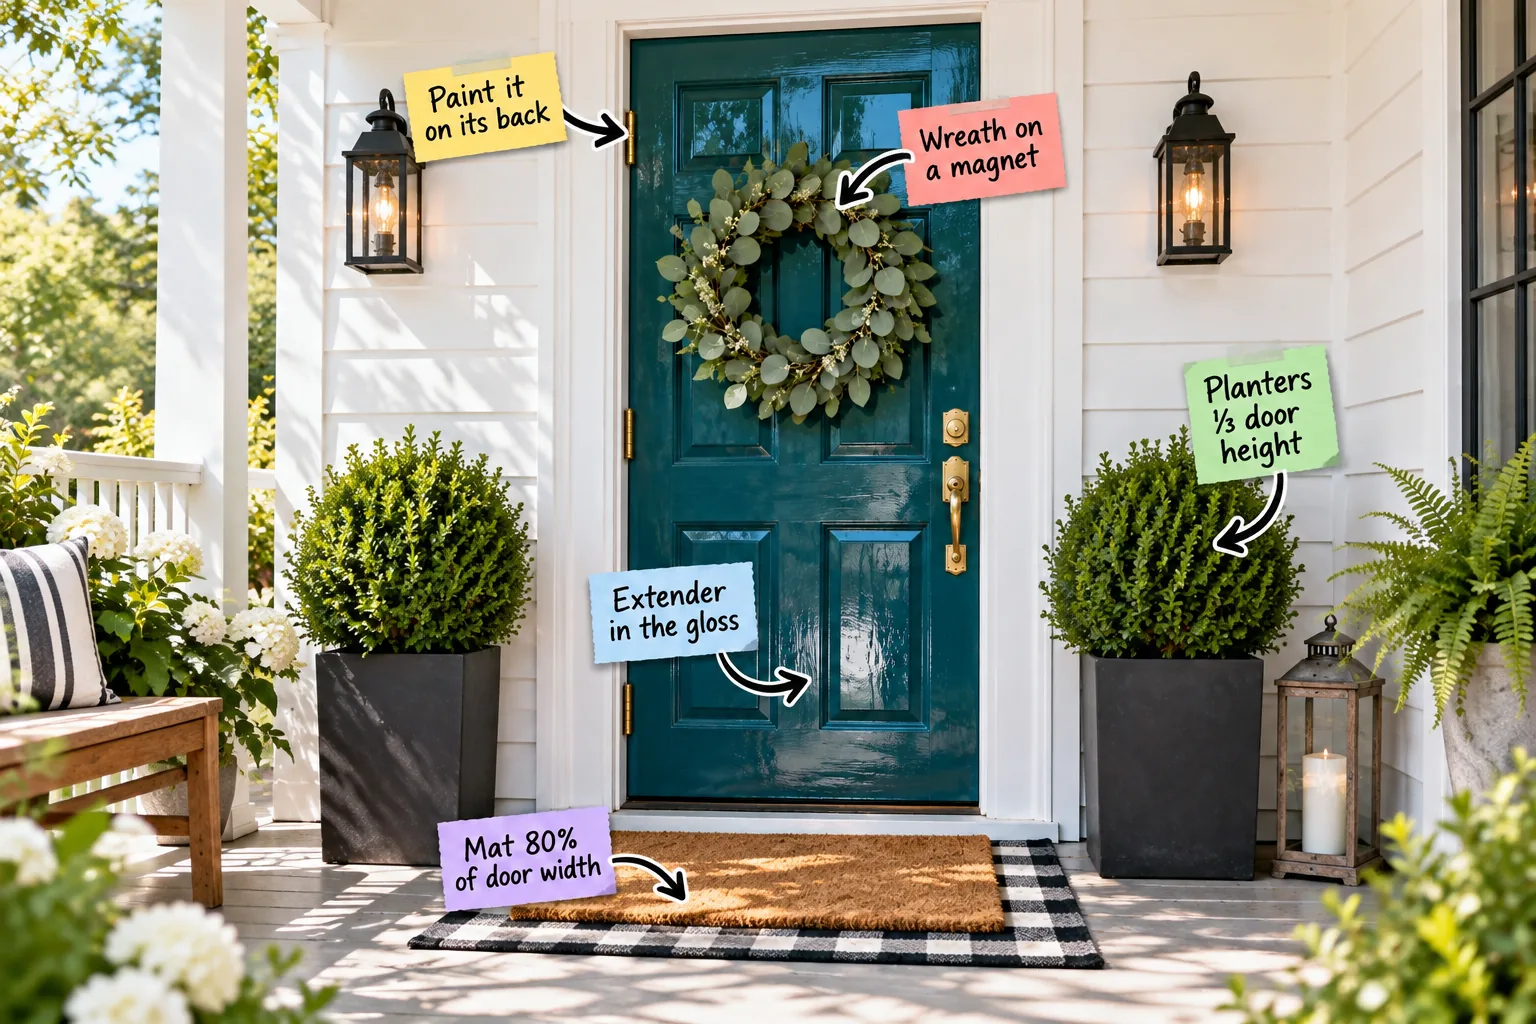
Grab our printable two-page Front Door Paint-Day Sequence to master the panel-by-panel painting order, and use the included door-to-porch sizing sheet to achieve a perfectly scaled entryway.
Assessing Your Entryway Architecture
Before touching a paintbrush, evaluate how your entryway handles natural daylight and weather exposure. A high-gloss finish reflects its surroundings like a mirror, so understanding your porch lighting conditions helps you select a color that truly shines.
Choosing the Right High-Gloss Enamel
Standard exterior paints simply cannot produce a glass-like sheen. You need a premium marine-grade enamel or a specialized European gloss to ensure the finish remains flexible, durable, and brilliantly shiny through changing seasons.
Setting Up the Padded Sawhorses
Creating a stable, horizontal workspace is the foundation of a flawless finish. Wrap two sturdy sawhorses in thick moving blankets to protect the unpainted interior side of your door from deep scratches and pressure dents.
Removing the Door for a Gravity-Defying Cure
When I painted my first Austin bungalow door, I learned quickly that tapping out the hinge pins to lay the door completely flat is the ultimate secret. Gravity allows high-gloss enamel to self-level like glass, eliminating the risk of runs.
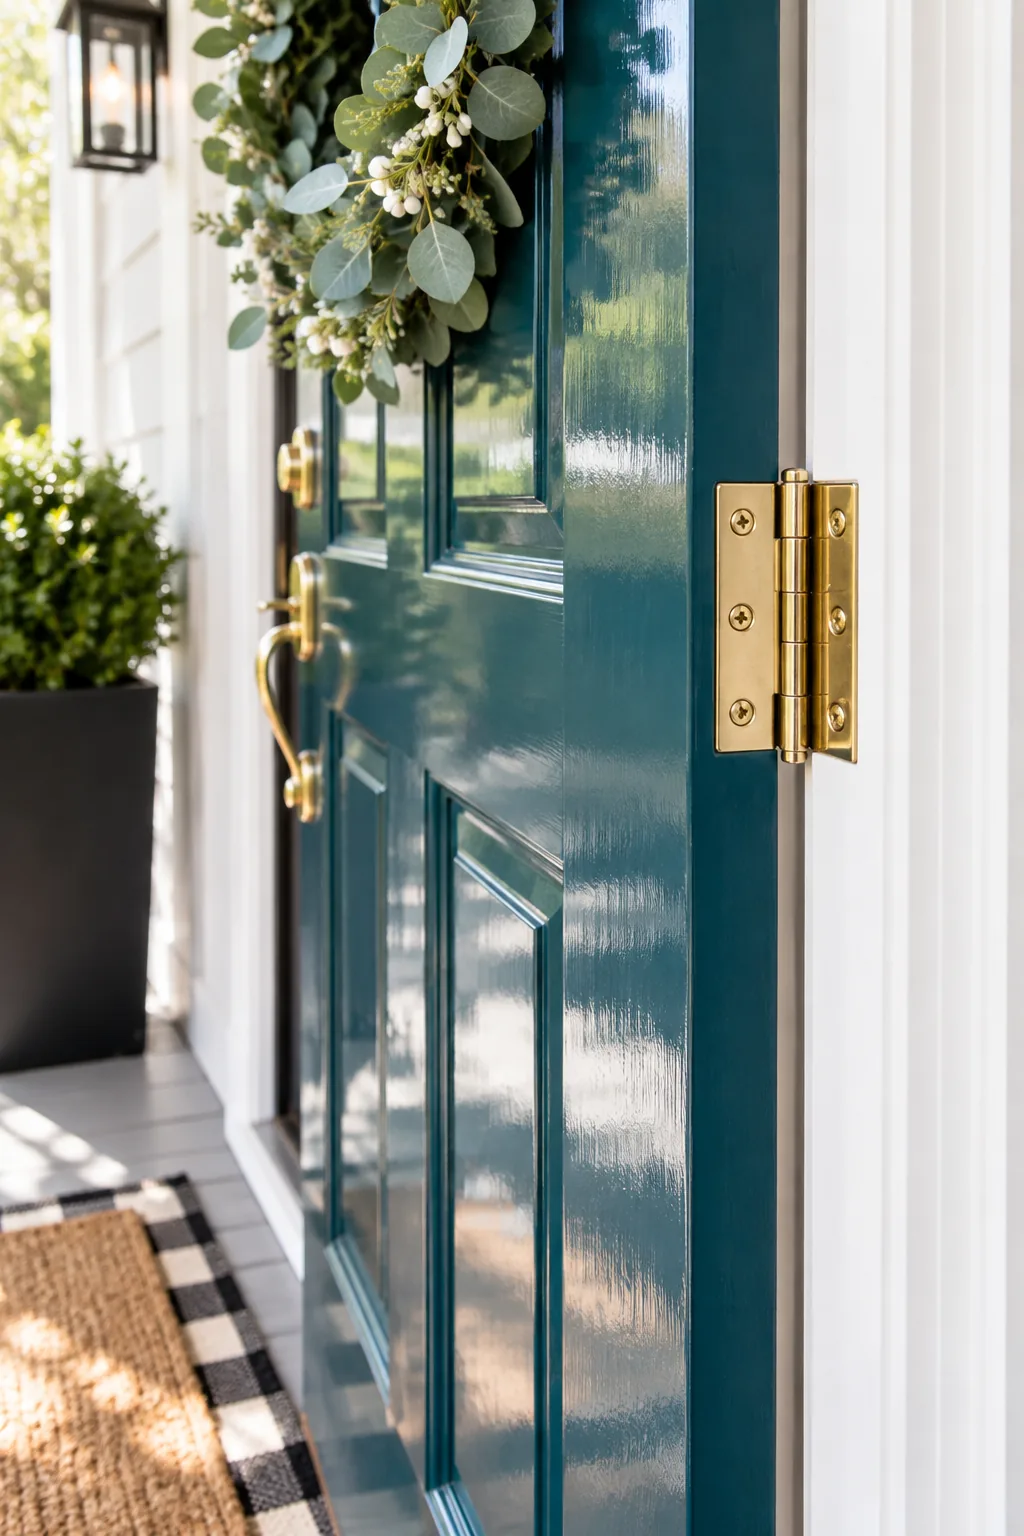
Leaving the heavy door on its hinges might seem like a smart time-saver, but it introduces several frustrating risks to a delicate high-gloss finish.
Stripping Old Flaking Paint
If your current finish is chipping, applying new enamel over it will only magnify the damage. Use a citrus-based chemical stripper and a plastic putty knife to gently lift away failing layers without gouging the underlying wood.
Prepping the Surface for High Gloss
High-gloss finishes highlight every underlying imperfection, making a meticulously smooth base non-negotiable. Instead of relying on vague grit numbers, let your fingertips guide you until the wood feels completely frictionless.
- Sand the flats: Use a random orbital sander to level the wide vertical stiles and horizontal rails perfectly smooth.
- Detail the profiles: Fold a flexible sanding sponge to reach deep into the intricate panel moldings without flattening their crisp edges.
- Remove the dust: Vacuum the entire surface thoroughly, then wipe it down twice with a fresh tack cloth.
After prepping the surface, adding a specialized liquid paint extender slows the drying process so brush marks disappear seamlessly before the enamel tacks up.
Mixing Extender into the Gloss
Stirring a liquid paint extender into your high-gloss enamel is the crucial step for a mirror finish. The extender increases the paint’s open time, allowing the heavy liquids to melt together seamlessly.
| Enamel Volume | Extender Amount | Working Time |
|---|---|---|
| 1 Quart | 2 Ounces | 15 Minutes |
| 1 Gallon | 8 Ounces | 20 Minutes |
| 1 Pint | 1 Ounce | 10 Minutes |
Loading the Brush Correctly
Dipping your brush too deeply introduces air bubbles that will ruin the glass-like surface. Only submerge the bottom third of the bristles into the extended enamel, gently tapping the sides of your bucket to release excess paint.
The Six-Panel Painting Sequence
Download our printable Front Door Paint-Day Sequence to master the exact panel-by-panel painting order, complete with crucial coat and recoat timings, the extender mixing step, and your door-to-porch sizing sheet.
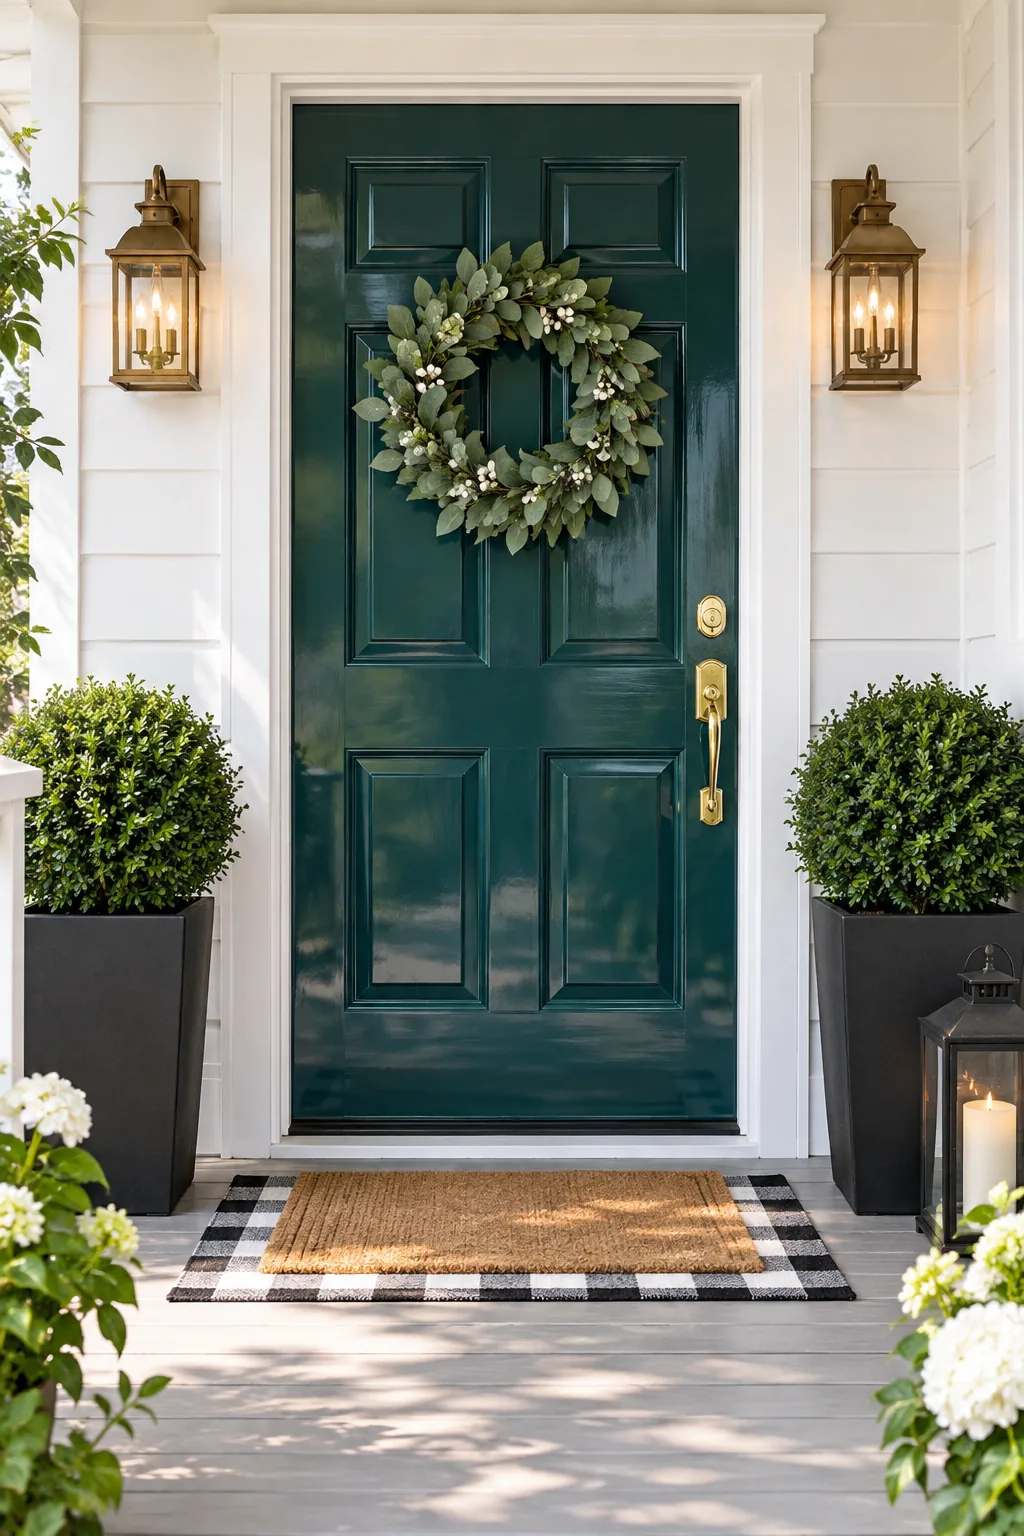
Following a strict structural painting order ensures that wet edges always meet wet edges across the complicated intersections of the six panels.
Timing the Recoat Window
Rushing the second coat will reactivate the semi-dry first layer, creating a sticky, ruined mess. Always wait the full 24 hours recommended for high-gloss enamels to ensure the surface is hard enough to accept more paint.
Allowing the Enamel to Cure
Dry to the touch does not mean ready for weather. Keep the door flat on your padded sawhorses for at least three full days so the enamel can fully harden and resist accidental fingernail scratches.
Evaluating the Final Sheen
Once the door has rested horizontally, check the surface from multiple angles under bright natural light. The finish should look incredibly deep and completely free of brushstrokes, confirming that your extender and gravity did their jobs perfectly.
Rehanging and Hardware Polish
Carrying my freshly painted door back to the porch frame was terrifying, but gripping it only by the unpainted back edges kept the finish pristine. Once secured, calculating the 80 percent width rule ensures your doormat visually anchors the threshold.
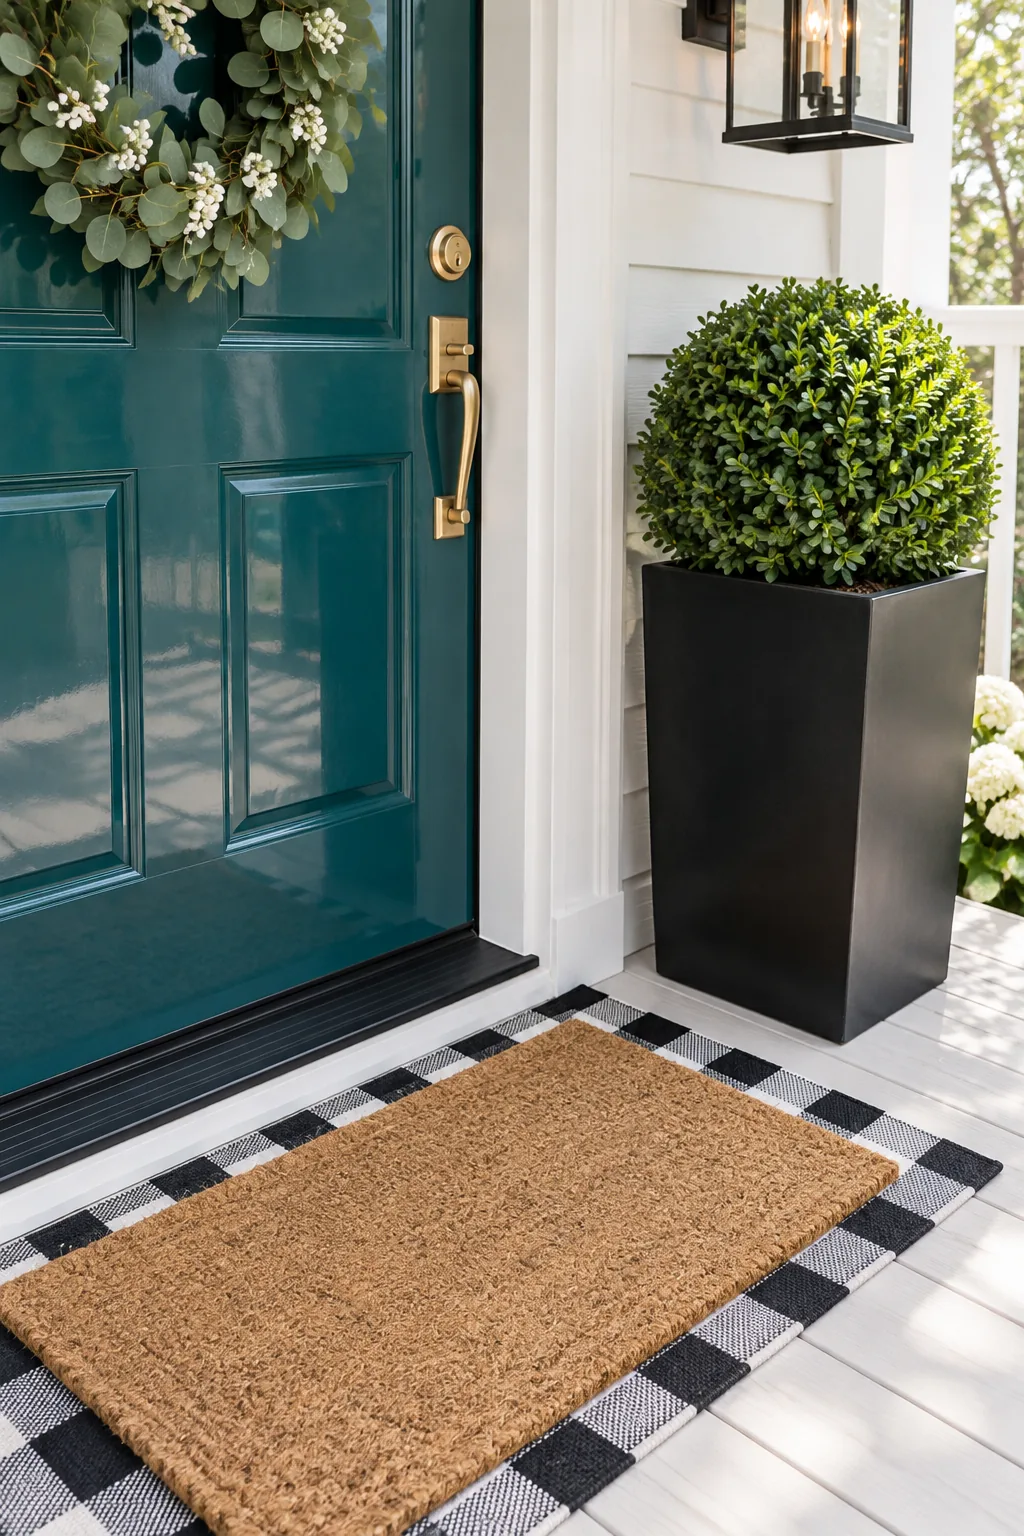
Selecting an Outdoor Rug Base
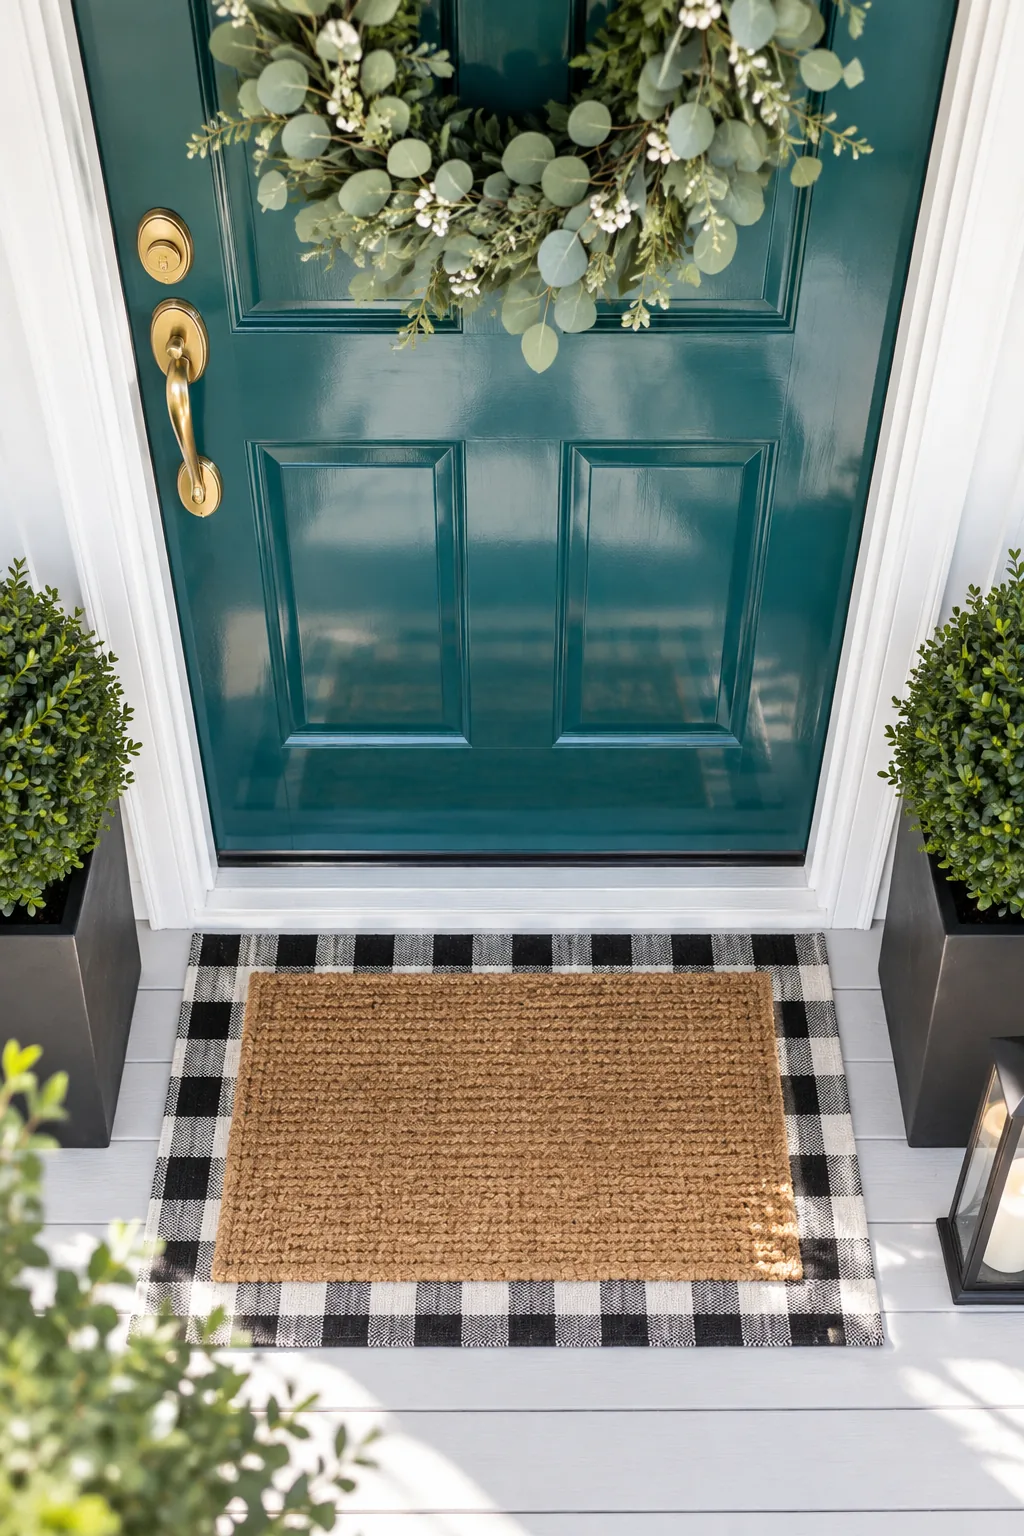
Layering starts with a foundational outdoor rug that defines the landing zone. Choose a flat-weave synthetic base that resists mildew and extends just slightly beyond the edges of your primary coir doormat.
Layering a Mat at 80 Percent Width
A tiny doormat makes an entryway feel pinched and unwelcoming. For a standard 36-inch front door, your top mat should be roughly 29 to 30 inches wide to properly cover 80 percent of the visual width.
Balancing the Porch Symmetry
Symmetrical styling brings architectural order to a busy exterior. Placing identical, substantial elements on both sides of the door frame creates a calm, welcoming boundary between your home and the outside world.
Choosing the Right Boxwood Shrubs
Real boxwoods require constant pruning, but high-quality artificial topiary spheres offer year-round structure without the maintenance. Look for UV-treated faux greenery to prevent the leaves from fading to an unnatural blue-green in the sun.
Scaling Planters to One-Third Height
Planters must have enough visual presence to balance the architecture without dwarfing the entryway. For a standard 80-inch door, flanking planters should sit around 26 to 27 inches tall to hit the perfect one-third height ratio.
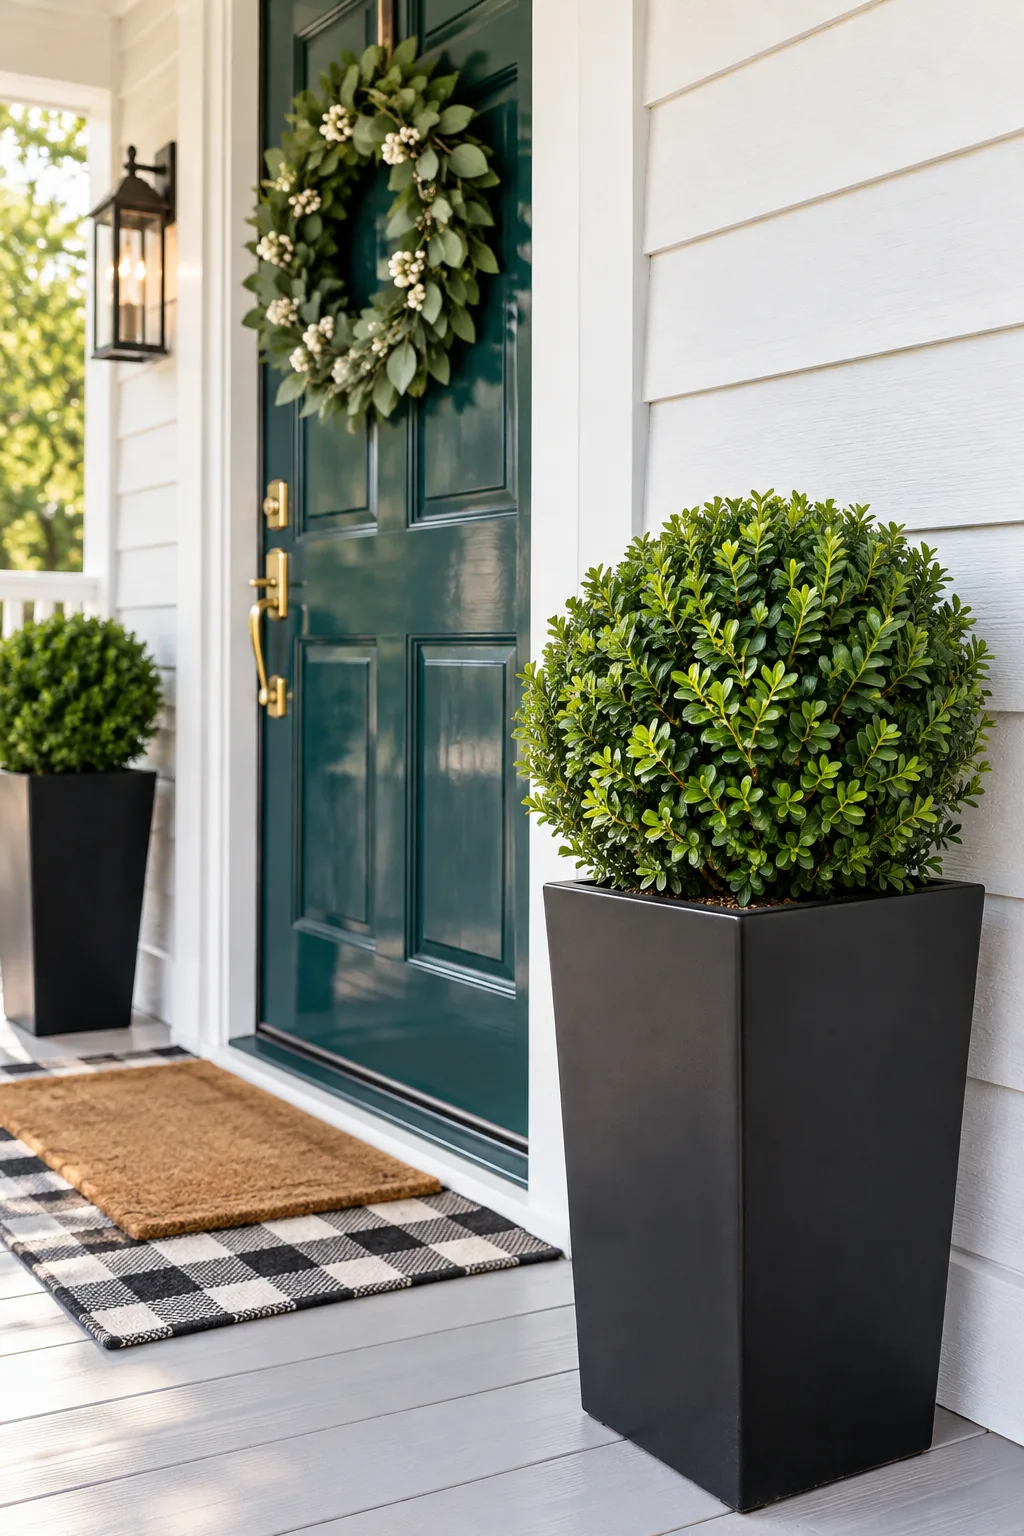
Before heading to the garden center, grab your tape measure to ensure your new porch accents will look proportional.
Protecting the Fresh Porch Decor
Even the most durable outdoor rugs and faux boxwoods benefit from an extra layer of defense against the elements. Spraying your textiles and greenery with a UV-resistant fabric guard prevents the harsh afternoon sun from bleaching out those vibrant colors.
Measuring the Upper Door Rail
Finding the exact center of your upper door rail is crucial for placing seasonal greenery. Measure horizontally between the vertical stiles to locate the true midpoint, ensuring your wreath hangs in perfect architectural alignment.
Securing the Wreath with a Magnet
I used to ruin my paint jobs with over-the-door metal hangers until I discovered heavy-duty magnetic hooks. This two-piece system floats the wreath securely on steel or single-pane doors, completely protecting the delicate fresh enamel from permanent scratches.
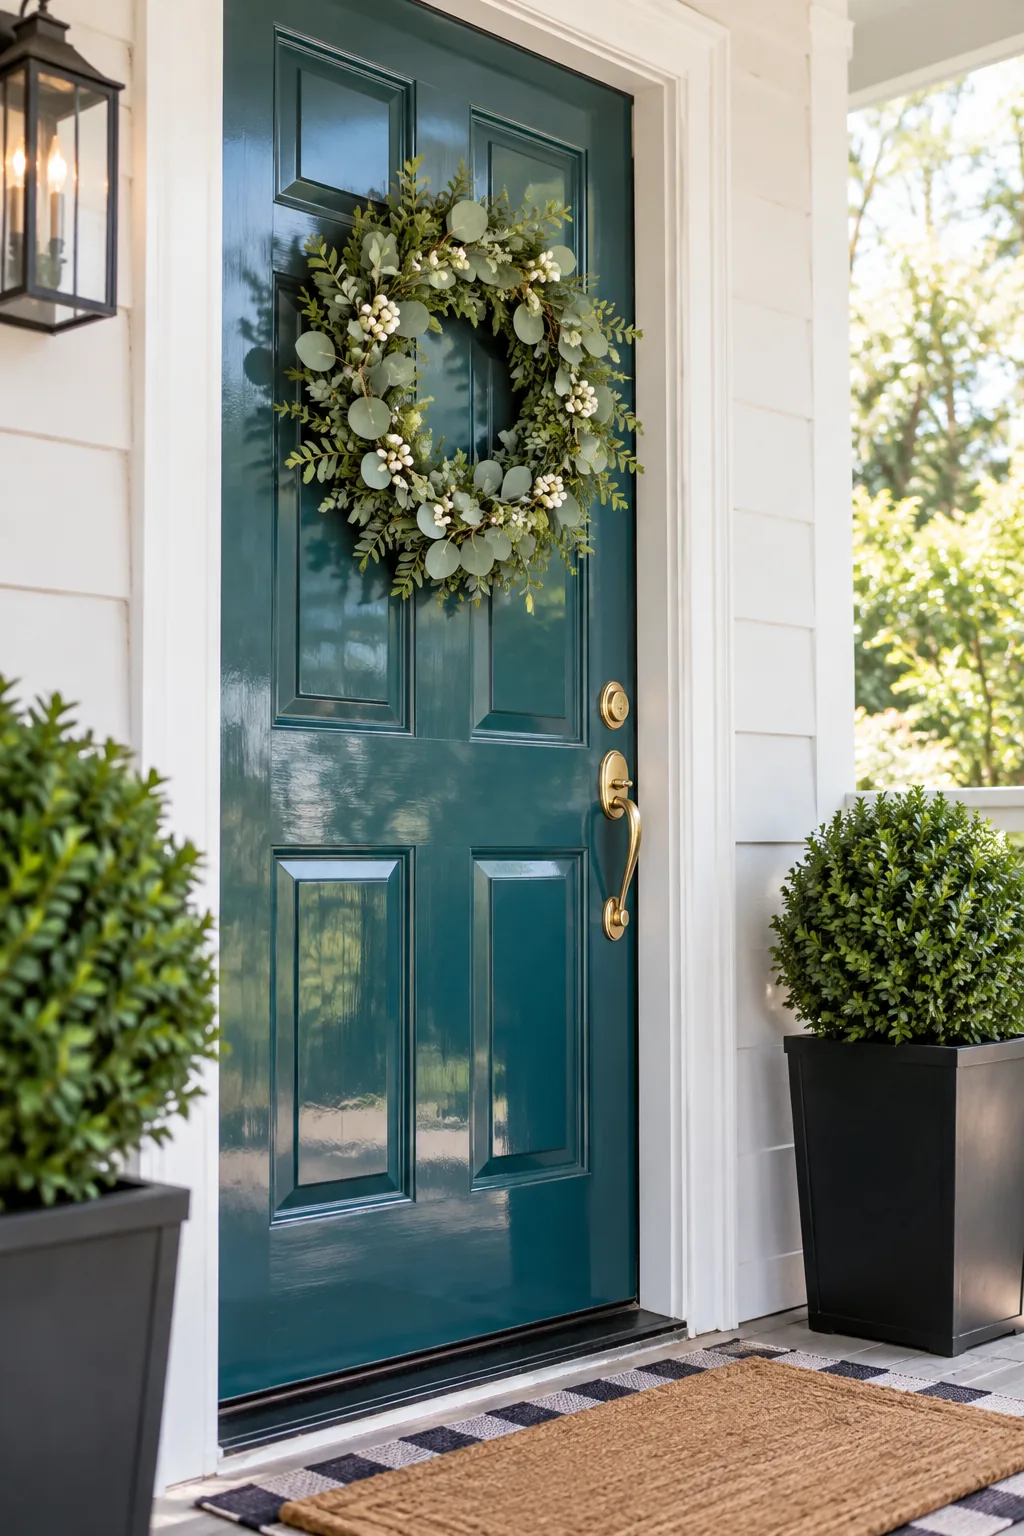
Three Ways to Style a Welcoming Entryway
Explore how different paint colors and planter choices completely change the mood of the porch.
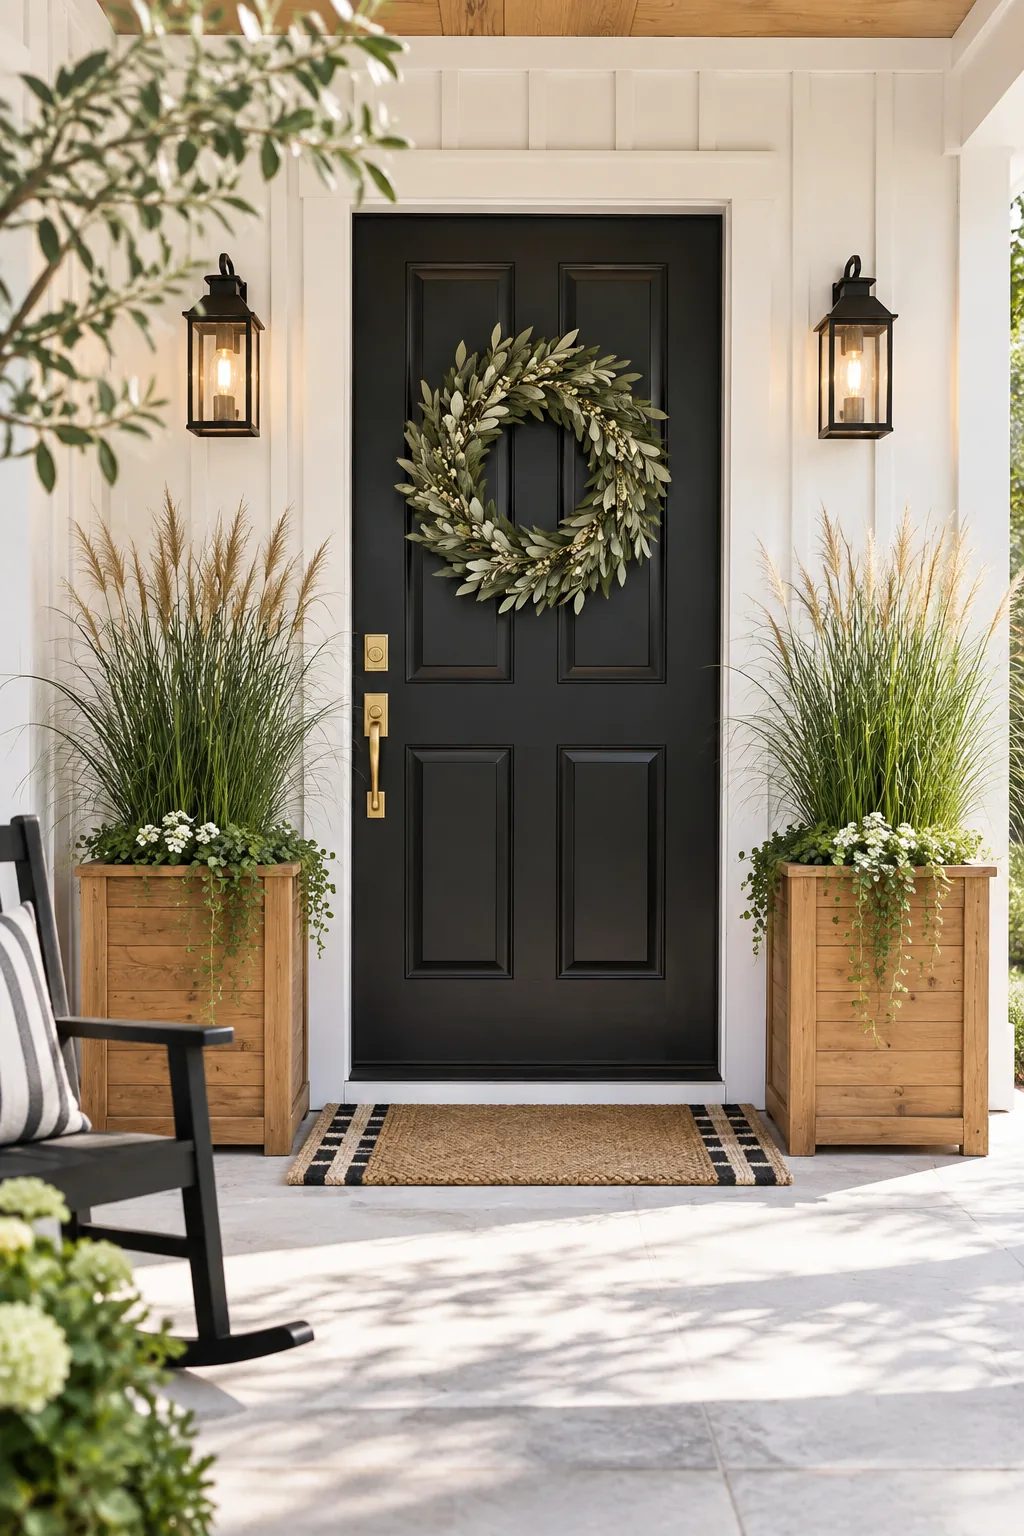
Modern Farmhouse Matte Black: A flat black finish creates striking contrast against white siding, while warm cedar planters soften the stark monochromatic palette.
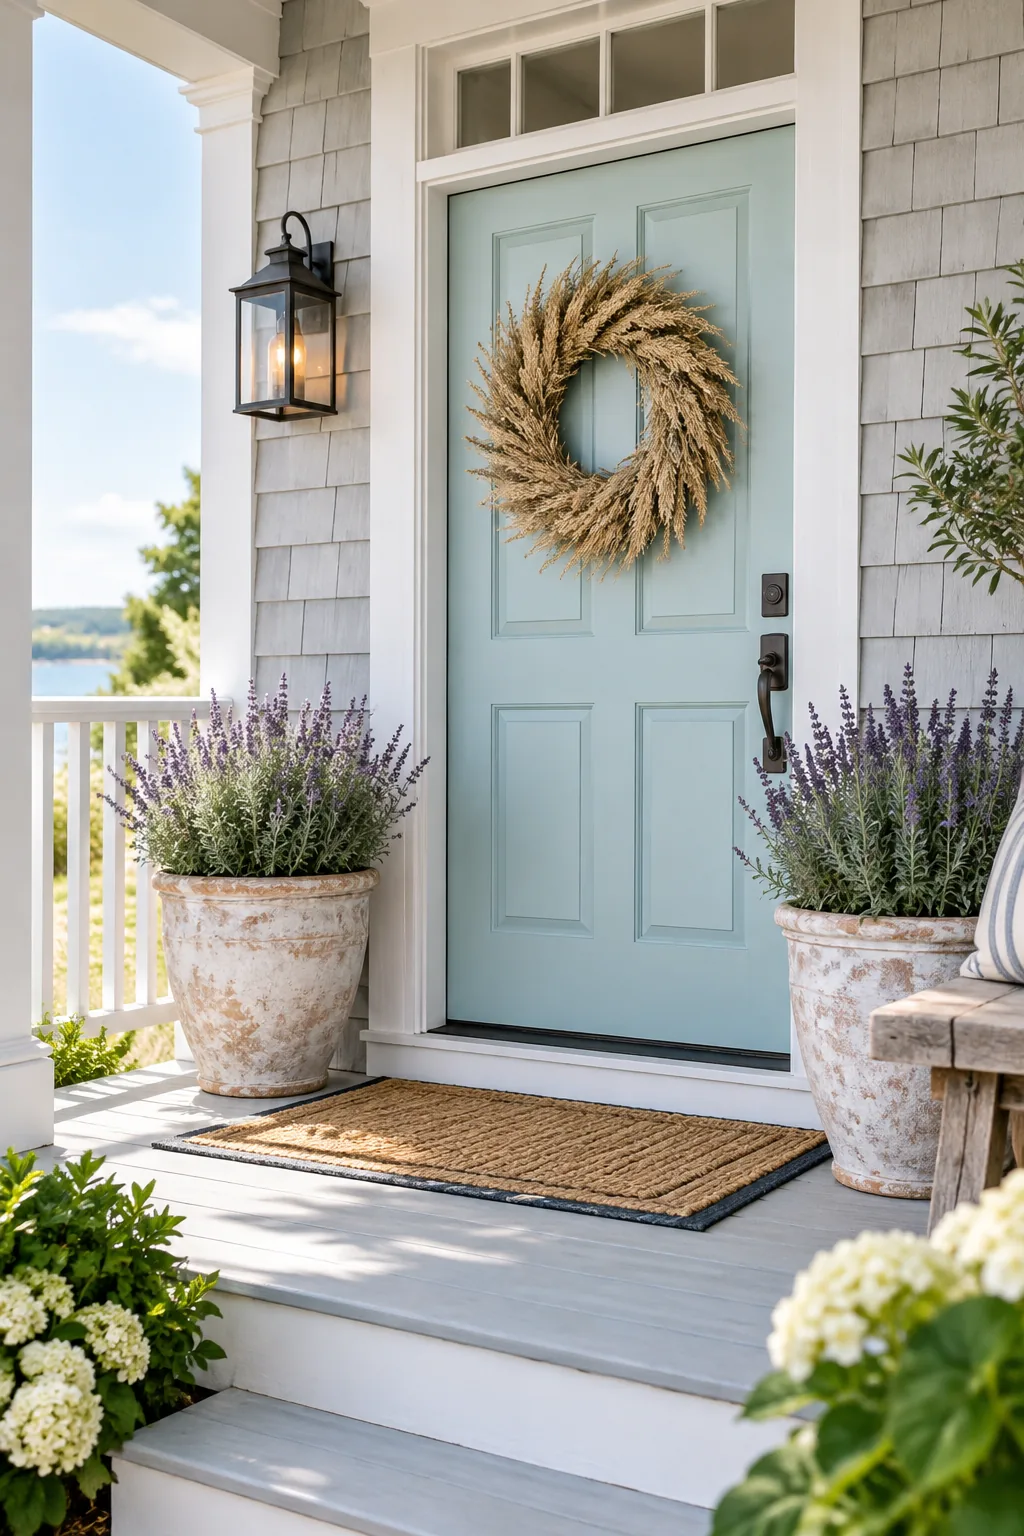
Coastal Cottage Pale Blue: Soft aqua tones evoke a breezy seaside feel, perfectly complemented by weathered terracotta vessels and textural dried botanicals.
Traditional Brick Manor Red: A rich oxblood enamel brings timeless elegance to a brick facade, especially when flanked by formal cast iron urns.