
Covered Deck Roof Upgrade: Keep Your Kitchen Bright & Sunny
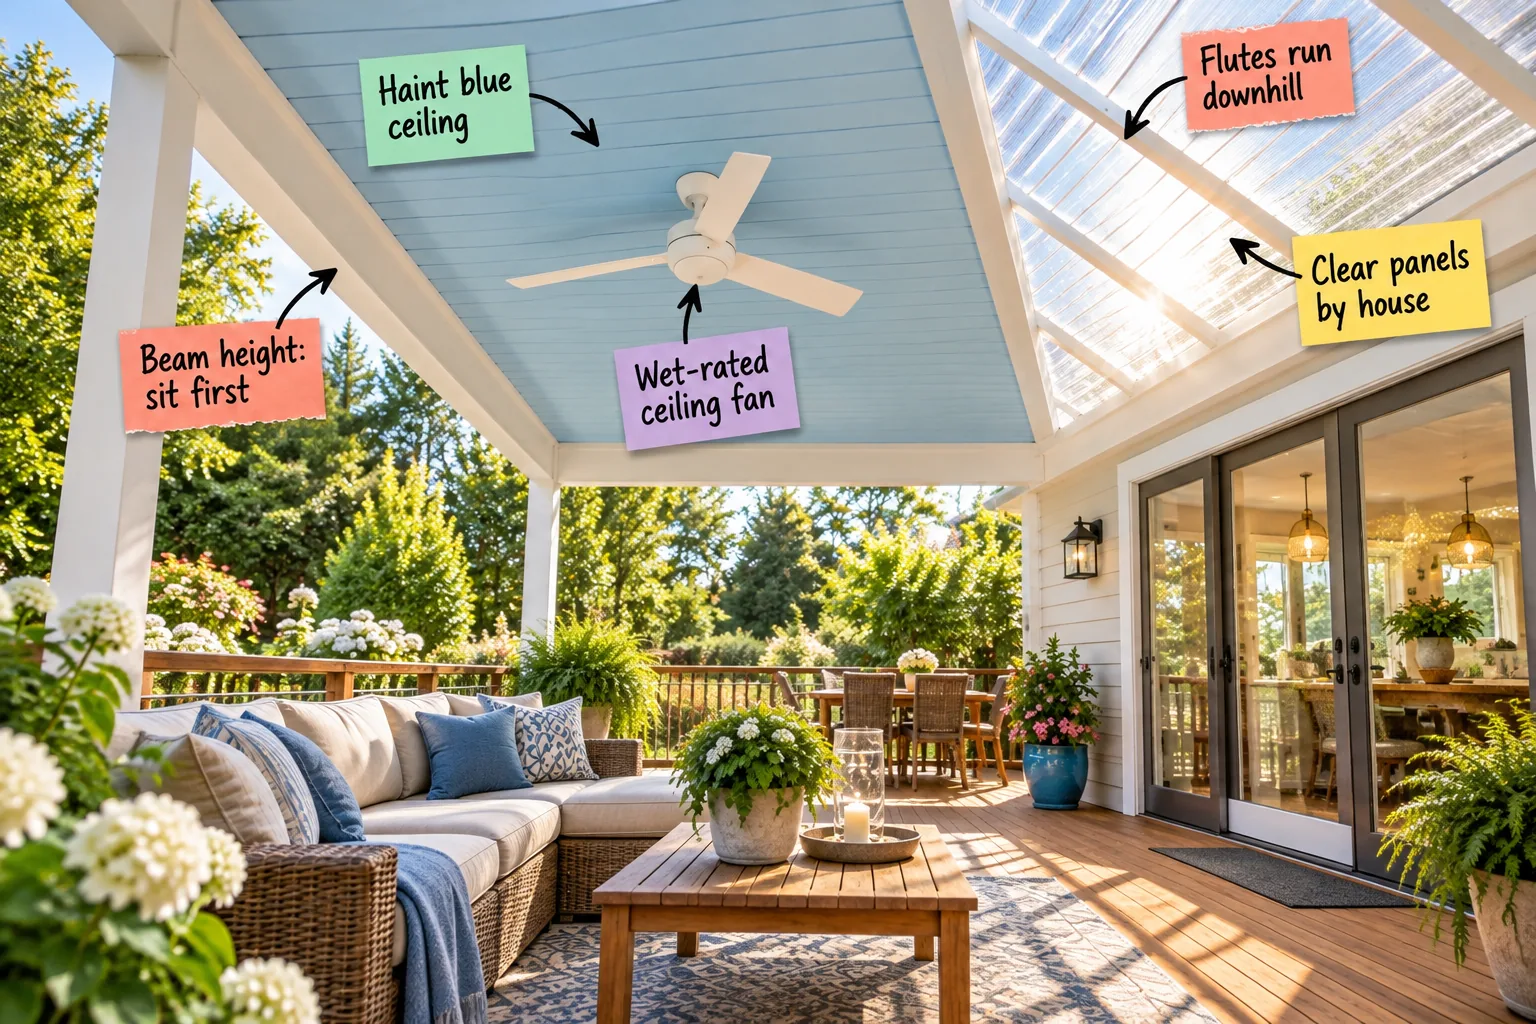
You can finally build that deep, shady outdoor living space without losing your interior natural light by downloading our complete Covered Deck Roof Planning Sheet. I will show you exactly how to map out your clear panels, beam heights, and permit questions to get this hybrid roof built right.
Preserving Kitchen Sunlight
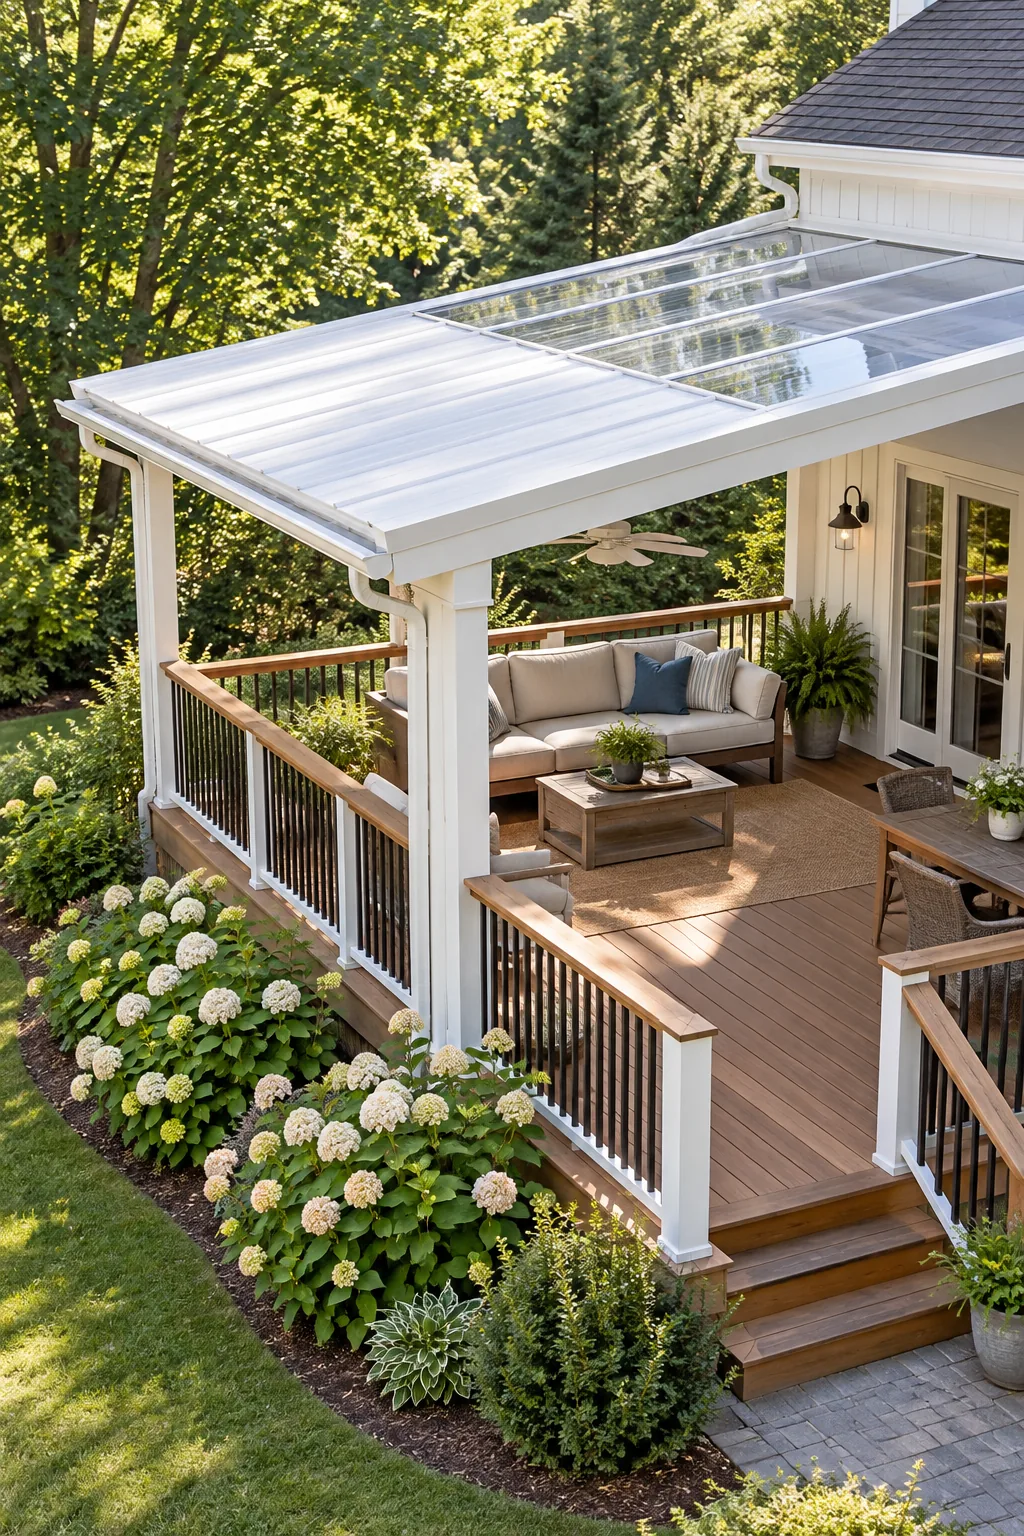
When we built our Austin deck, I was terrified of turning the adjoining kitchen into a dark cave, so I started with a row of clear polycarbonate roof panels directly against the house wall. This transparent zone funnels sunlight straight through the roof and into your glass sliding doors.
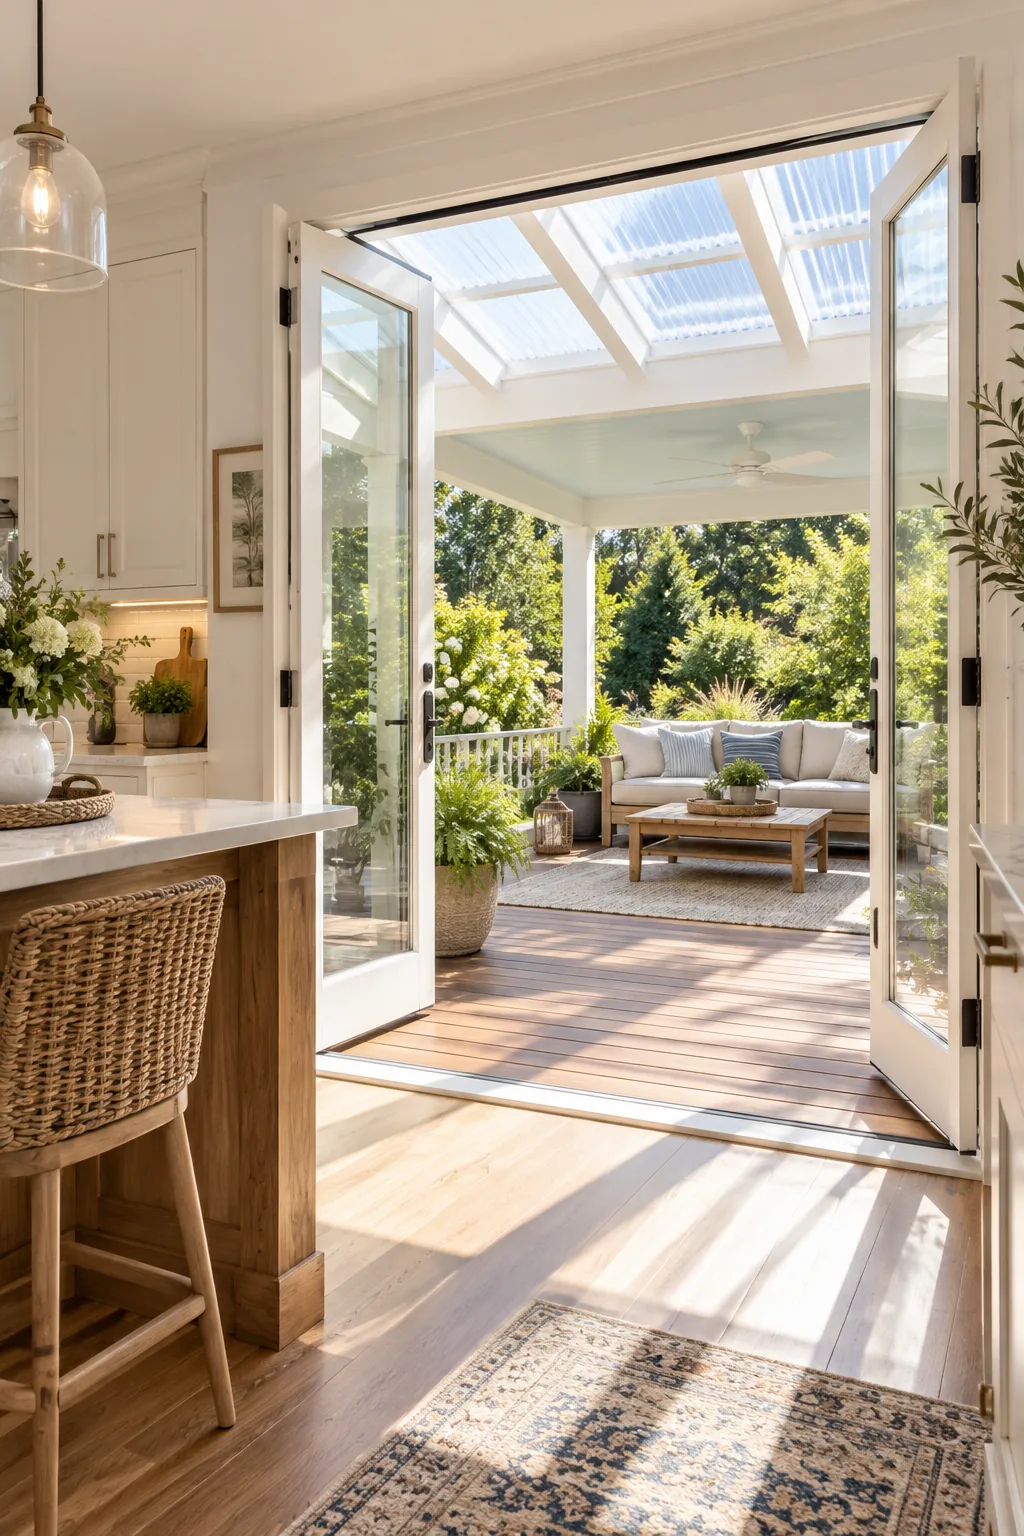
Your planning sheet details the recommended 3-to-4-foot width for this clear section based on standard panel sizes. Leaving this generous gap of sunlight keeps your interior rooms bright while you enjoy the deep shade further out on the deck.
Flashing the House Ledger
Connecting your new roof to the existing house requires meticulous waterproofing to prevent rain from rotting your exterior walls. You must install metal flashing that tucks underneath your home siding and overlaps the new clear roof panels seamlessly.
- Remove the lowest course of exterior siding just above the new roofline.
- Install a specialized metal Z-flashing directly against the exposed wooden wall sheathing.
- Layer a self-adhering waterproof membrane over the top edge of the metal flashing.
Taking the time to layer these waterproofing materials correctly guarantees that heavy storms will wash safely down the roof rather than seeping into your kitchen walls.
Orienting Polycarbonate Panels
When laying your clear multiwall panels, you must ensure the internal structural lines run vertically down the roof slope. This specific orientation allows internal condensation to drain out via gravity rather than pooling and growing algae inside the plastic.
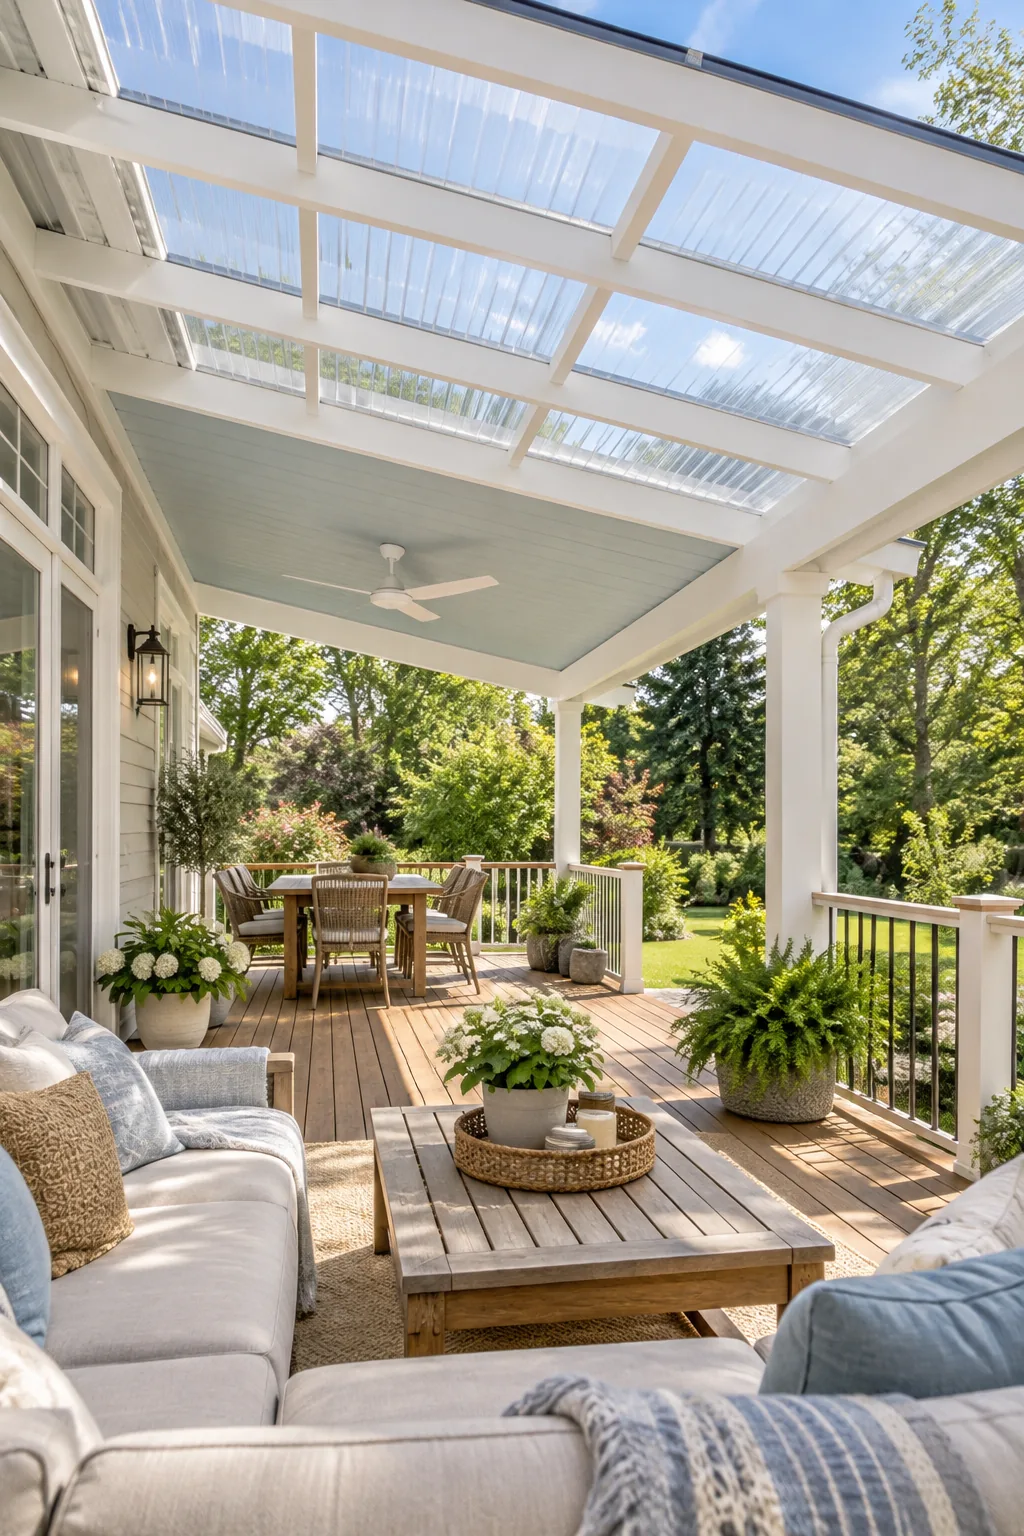
Before securing the polycarbonate panels to the roof frame, you need to protect the open ends of the flutes from dust and insects while still allowing trapped moisture to escape.
Fastening the Clear Sheets
Polycarbonate expands and contracts drastically with temperature changes, meaning you cannot simply drill rigid screws through the plastic. You must use specialized roofing screws equipped with thick neoprene washers to accommodate this daily thermal movement without cracking the panels.
- Pre-drill screw holes slightly larger than the fastener threads to allow for natural expansion.
- Drive screws only until the neoprene washer gently compresses against the plastic surface.
- Never over-tighten the fasteners, which causes the panels to dimple and eventually leak.
Following these specific fastening steps ensures your transparent roof section remains completely waterproof and structurally sound through blistering summer heat and freezing winter nights.
Setting the Front Beam Height
You should always determine the height of your outer support beam by sitting on your deck furniture first. A massive wooden beam placed too low will instantly cut off your view of the garden from a seated position.
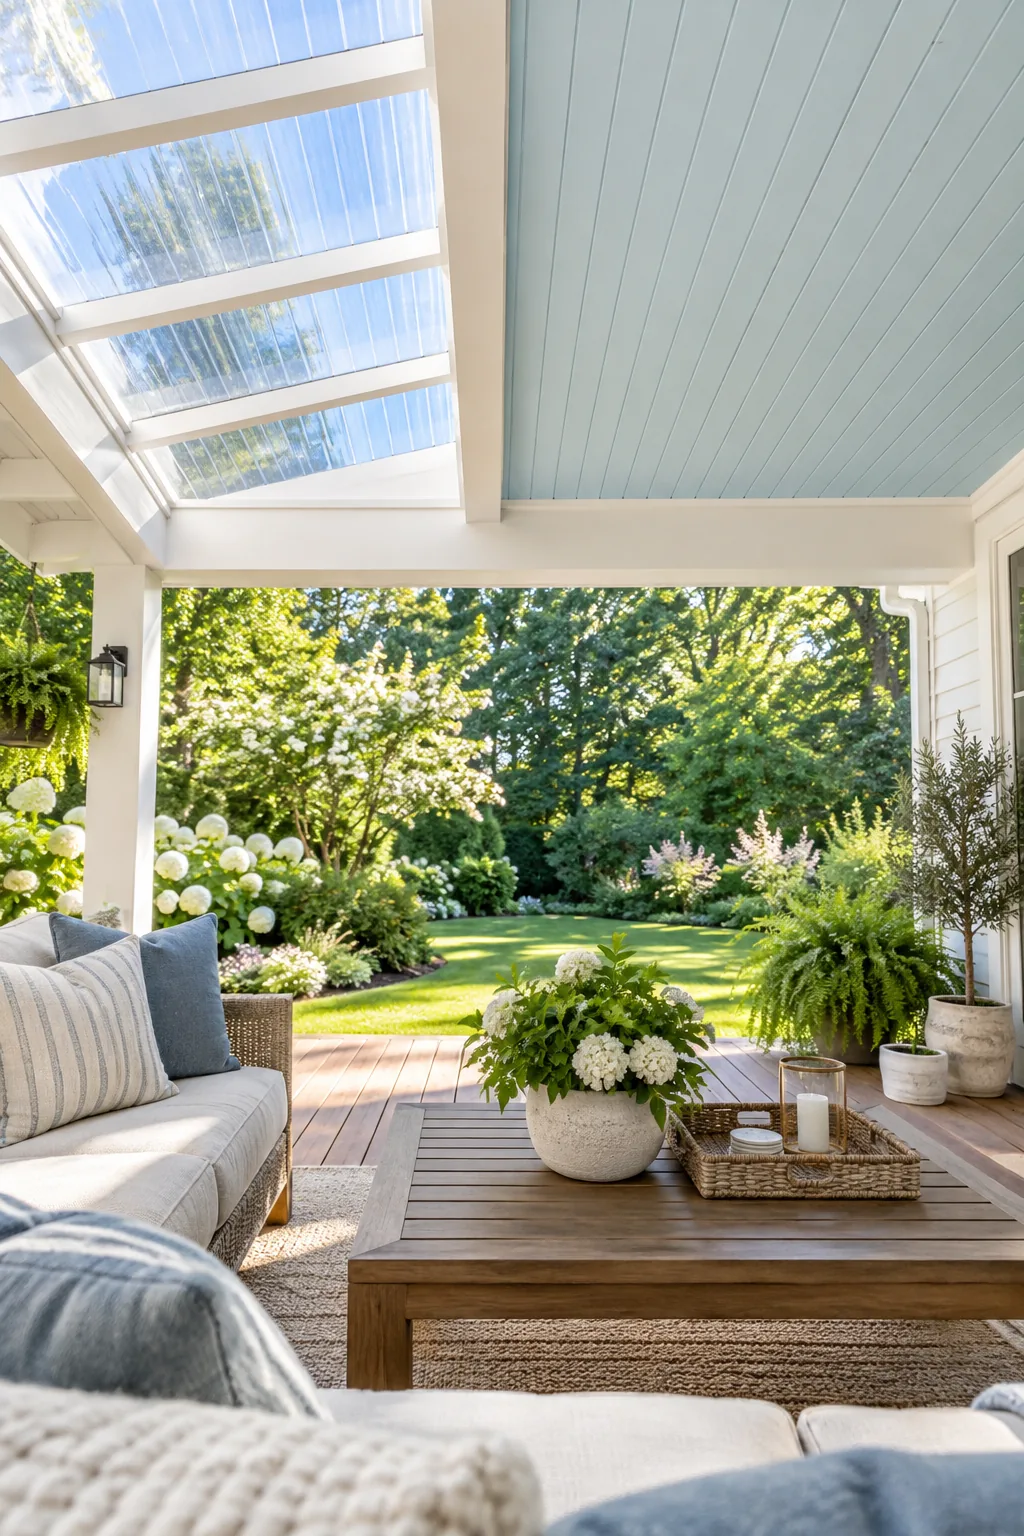
Have a friend hold a scrap board across the support posts while you test the sightlines from your favorite outdoor sofa. Finding this sweet spot ensures you block late afternoon glare without sacrificing your beautiful landscaping view.
Anchoring the Wood Posts
Your heavy front support beam requires robust vertical posts that tie directly into solid concrete footings poured well below the frost line. Using galvanized steel post bases keeps the raw wood elevated slightly above the deck surface, preventing destructive moisture wicking and premature rot.
Selecting the Right Timber
Using pressure-treated pine for your structural beams and rafters provides the necessary defense against termites and persistent wood rot. You should always inspect each piece of lumber carefully at the hardware store, ensuring the boards are perfectly straight and free of deep structural cracks.
Choosing the Ceiling Finish
Transitioning from the clear panels to a solid ceiling over the main seating area creates the deep, cooling shade we desperately need during Texas summers. Installing tongue-and-groove pine boards adds instant architectural polish to the raw overhead framing.
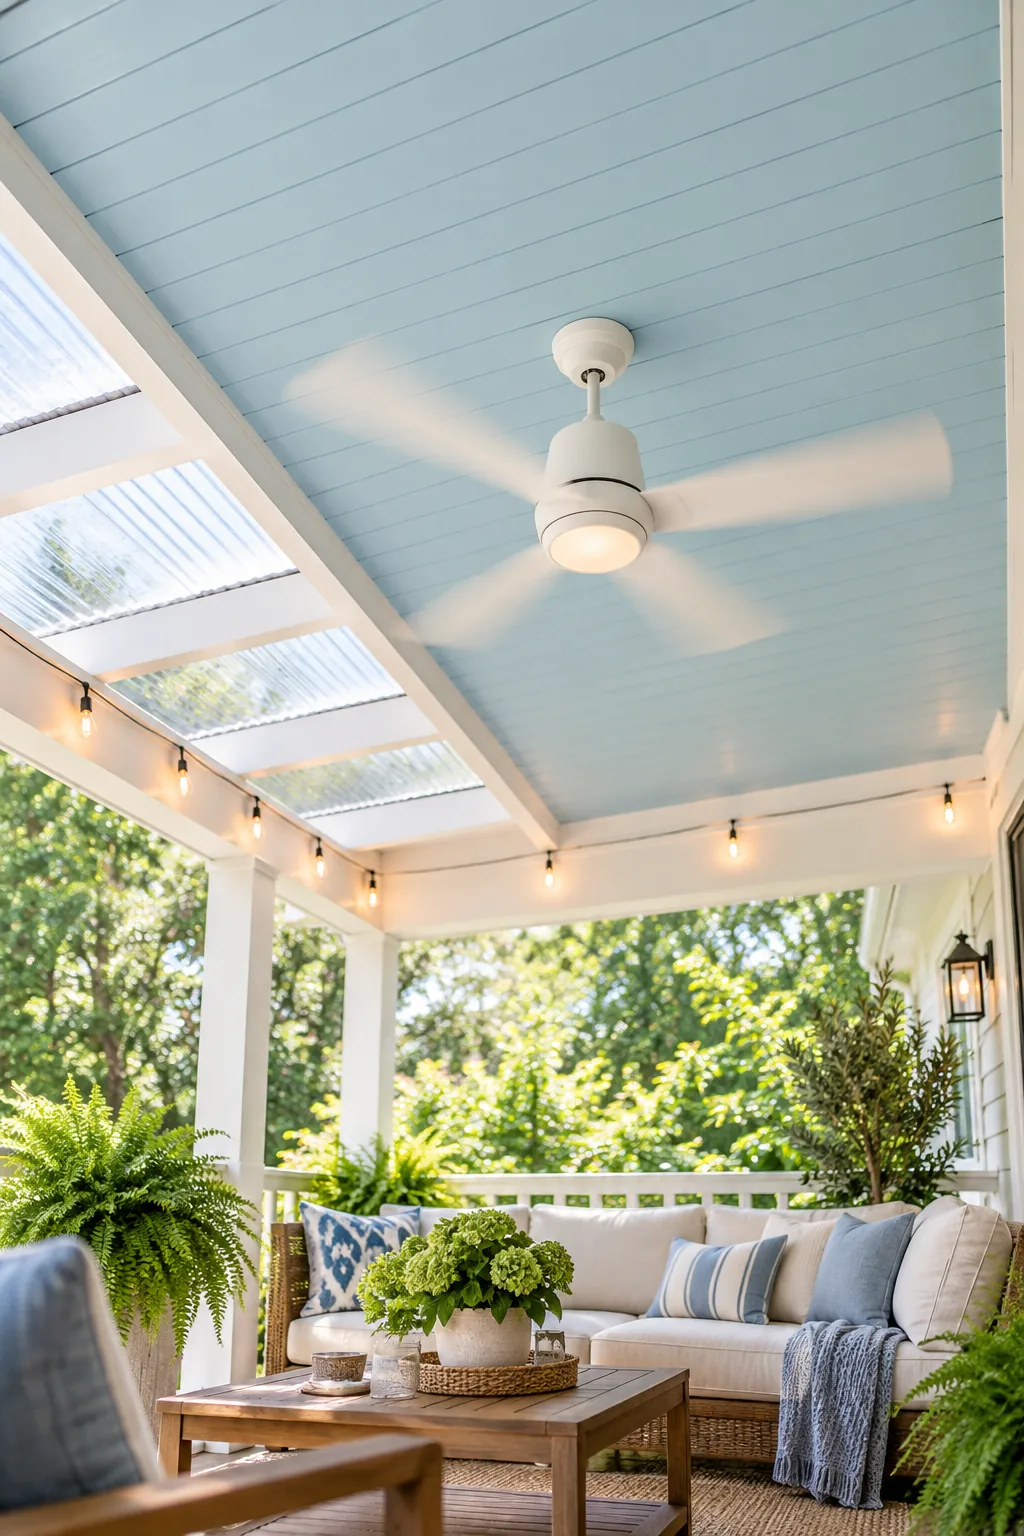
Painting this solid section a classic pale haint blue visually lifts the roofline and mimics a clear summer sky. This simple historical color trick makes the entire covered space feel incredibly expansive and breezy.
Installing Tongue and Groove
Nailing up wooden ceiling boards is significantly easier when you use a pneumatic finish nailer to shoot directly through the tongue of each plank. This technique hides all the metal fasteners completely, leaving a flawless wooden surface ready for paint or stain.
Adding Airflow and Lighting
A covered deck naturally traps rising heat, making an overhead fan absolutely essential for mid-summer comfort. Plan your electrical box location during the framing stage so it sits centered over the future seating zone.
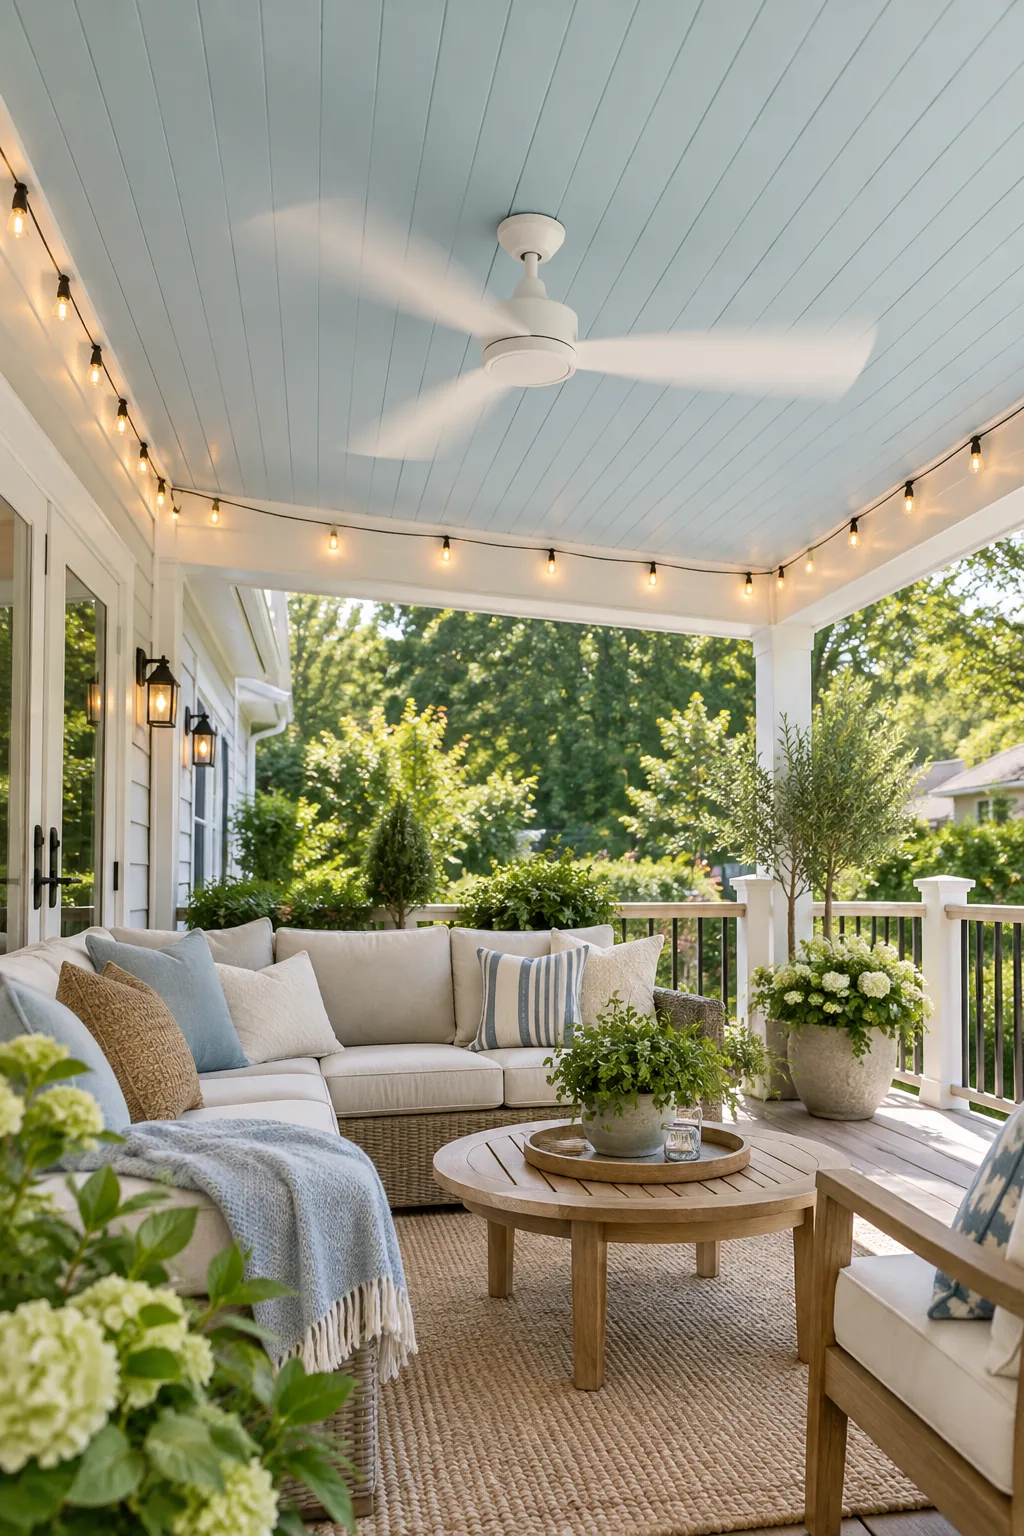
Any electrical fixture installed in this space must be explicitly rated for wet or damp locations. Standard indoor ceiling fans will quickly fail, rust, and warp when exposed to constant outdoor humidity and blowing rain.
Routing the Electrical Wire
You must drill holes through the exact center of your roof rafters to run the electrical cables safely before installing the ceiling boards. Keeping the wiring centered in the framing protects it from errant nails during the tongue-and-groove installation process.
Managing Roof Slope and Runoff
The roofing material you choose directly dictates exactly how steep your roof must be to shed water safely. Matching your desired aesthetic to the available pitch prevents costly leaks and rotting framing down the road.
Use this quick reference to check the minimum slope requirements for your planned roofing material before finalizing your rafter design and cutting your support posts.
| Roofing Material | Minimum Slope (per foot) |
|---|---|
| Clear Polycarbonate | 1/4 inch |
| Standing Seam Metal | 3 inches |
| Traditional Shingles | 4 inches |
Sizing the Rain Gutters
A large covered roof collects a massive volume of rainwater that must be directed away from your home foundation immediately. Installing oversized six-inch seamless aluminum gutters ensures heavy seasonal downpours flow efficiently toward your yard rather than spilling over onto the deck.
Extending the Eaves
A roof that ends exactly flush with the deck edge will allow dripping water to splash back onto your beautiful wood and expensive outdoor furniture. You must design the rafters to extend past the deck footprint by at least 12 to 18 inches.
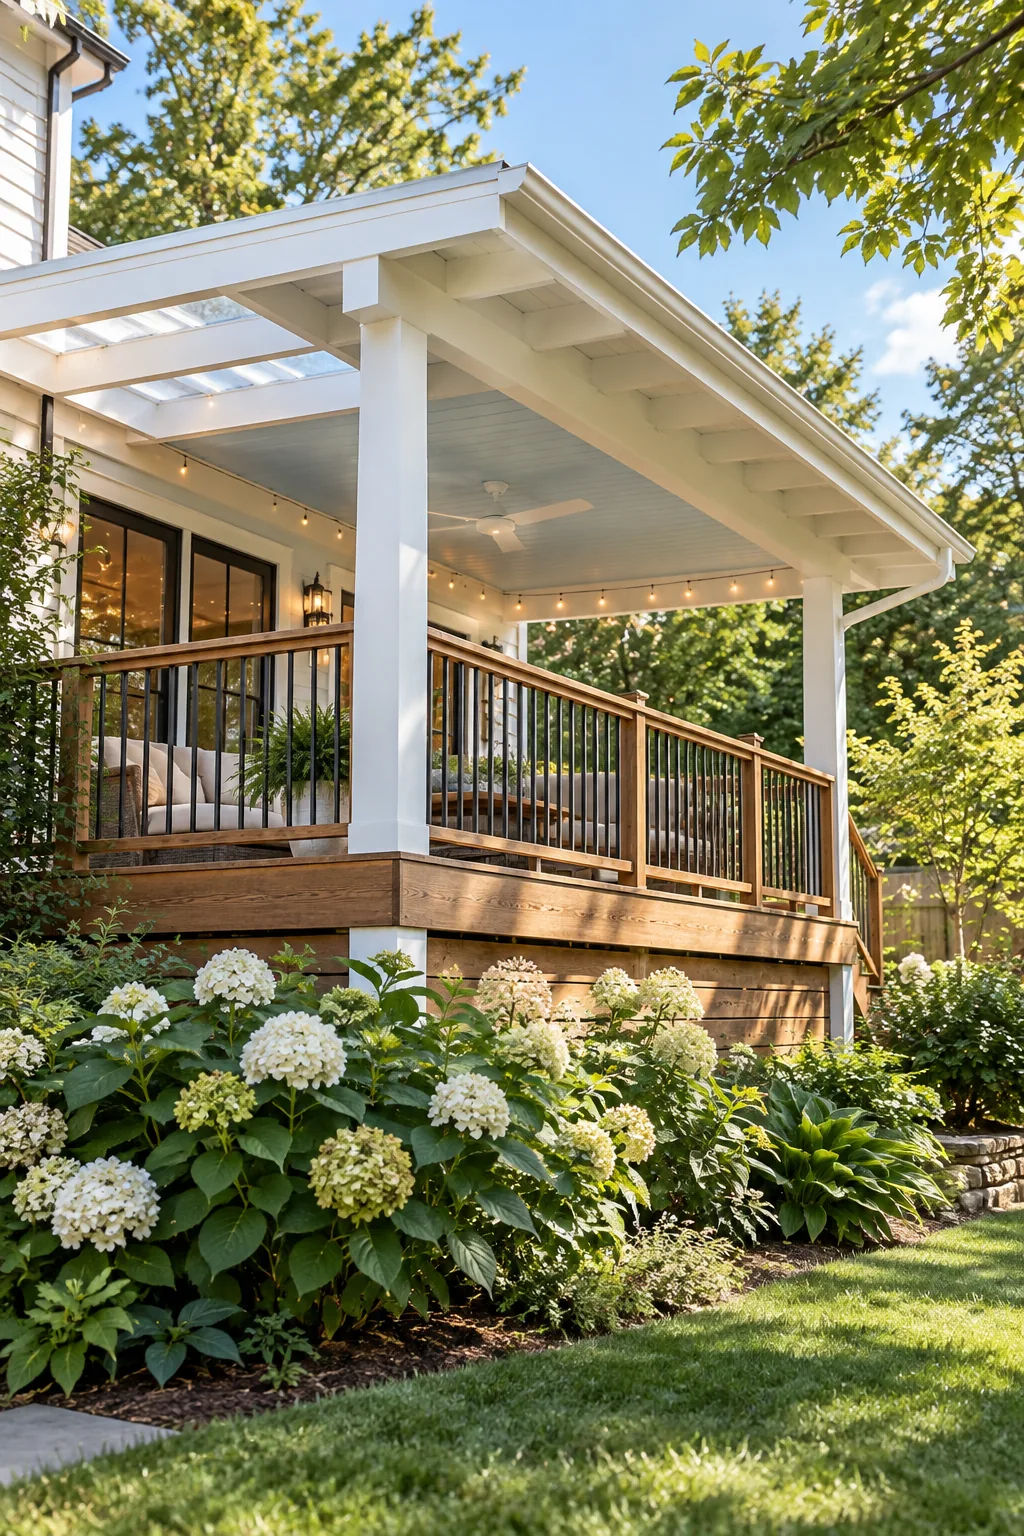
This generous eave depth thoroughly protects the deck surface from driving rain and harsh midday sun. Keeping the perimeter dry drastically reduces your long-term maintenance and prevents premature wood rot along the exposed edges.
Finishing the Gable Ends
If you build a pitched roof, the triangular gable ends require proper finishing to keep birds and bats from nesting in your rafters. Screening these openings with heavy-duty hardware cloth allows hot air to escape while keeping unwanted wildlife outside.
Sealing the Wood Framing
Exposed structural rafters need a high-quality exterior stain or solid paint to survive harsh UV rays and fluctuating humidity levels. Applying two coats of a premium penetrating sealant before you install the clear roofing panels prevents messy drips from ruining your brand-new transparent ceiling.
More Covered Deck Styles
Explore different ways to style and finish your new outdoor living room.
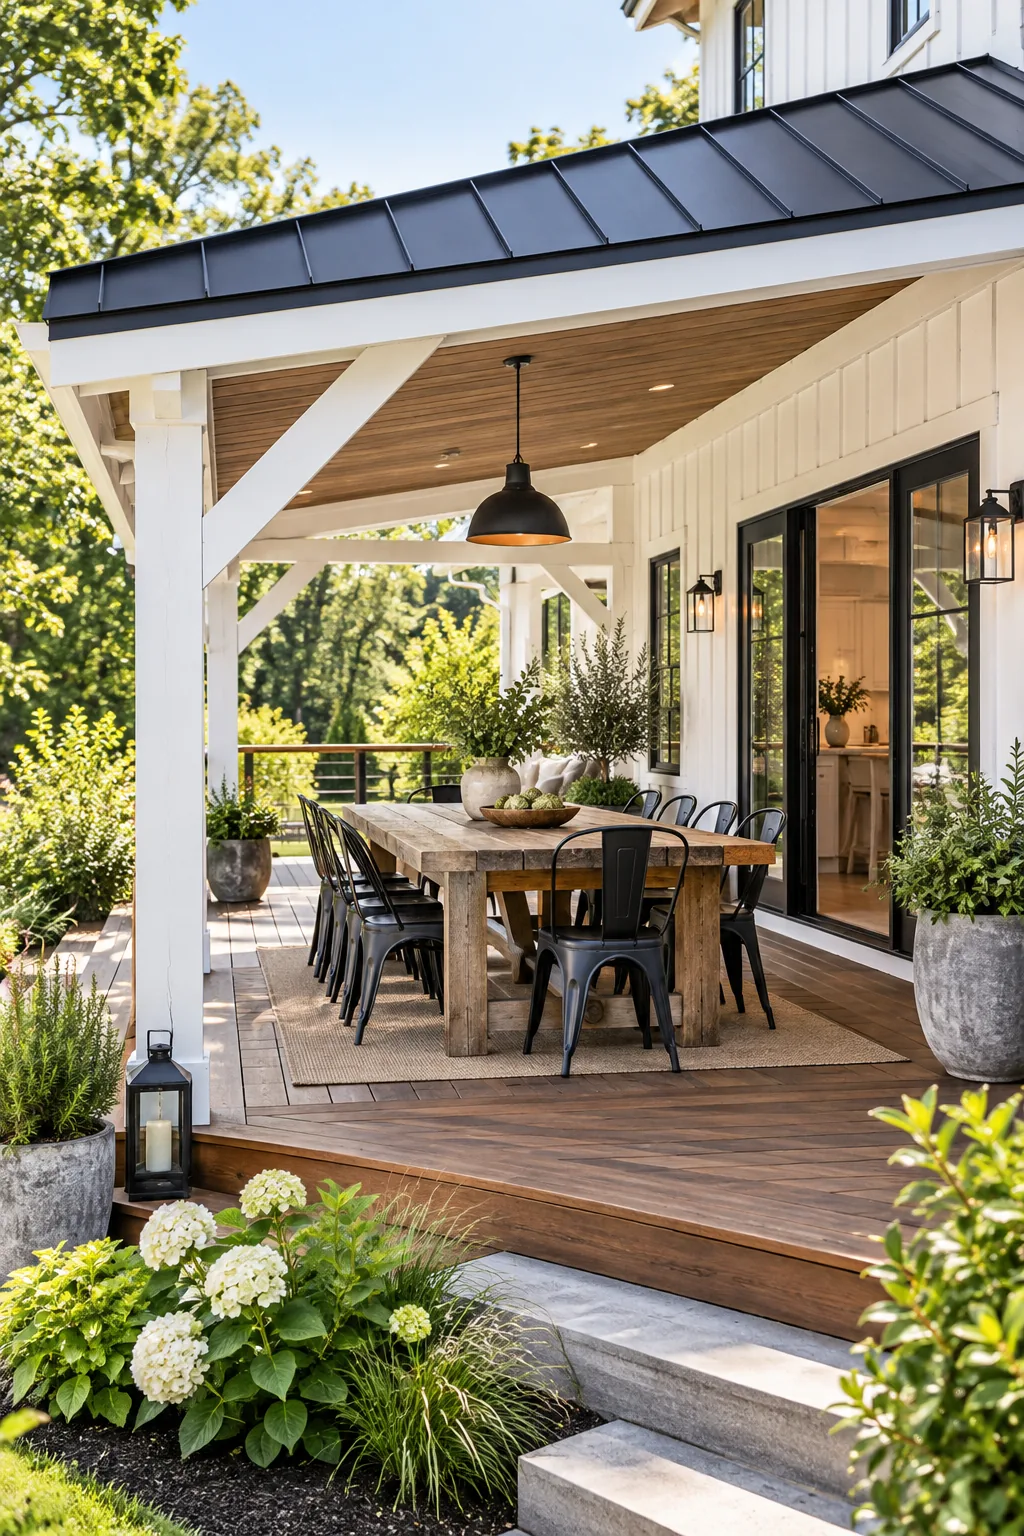
Modern Farmhouse Dining: Crisp white rafters paired with a black metal roof create a high-contrast canopy perfect for an elegant outdoor dining space.
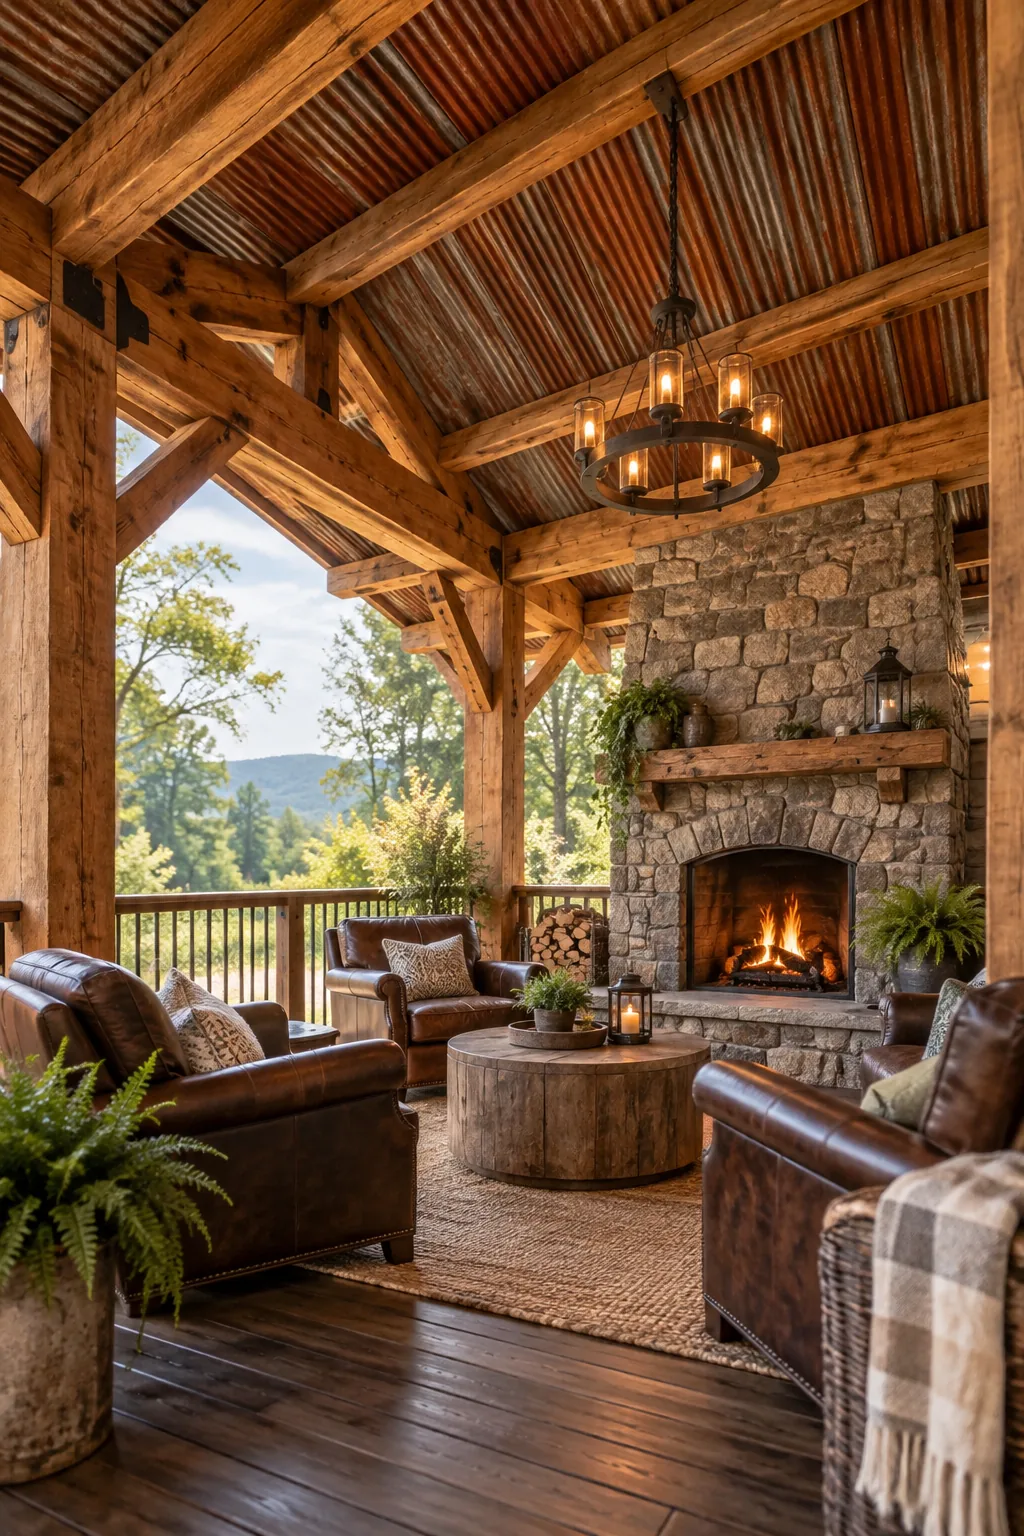
Rustic Timber Frame: Heavy cedar beams and a stone fireplace anchor this rugged outdoor living room, bringing a cozy cabin feel to the backyard.
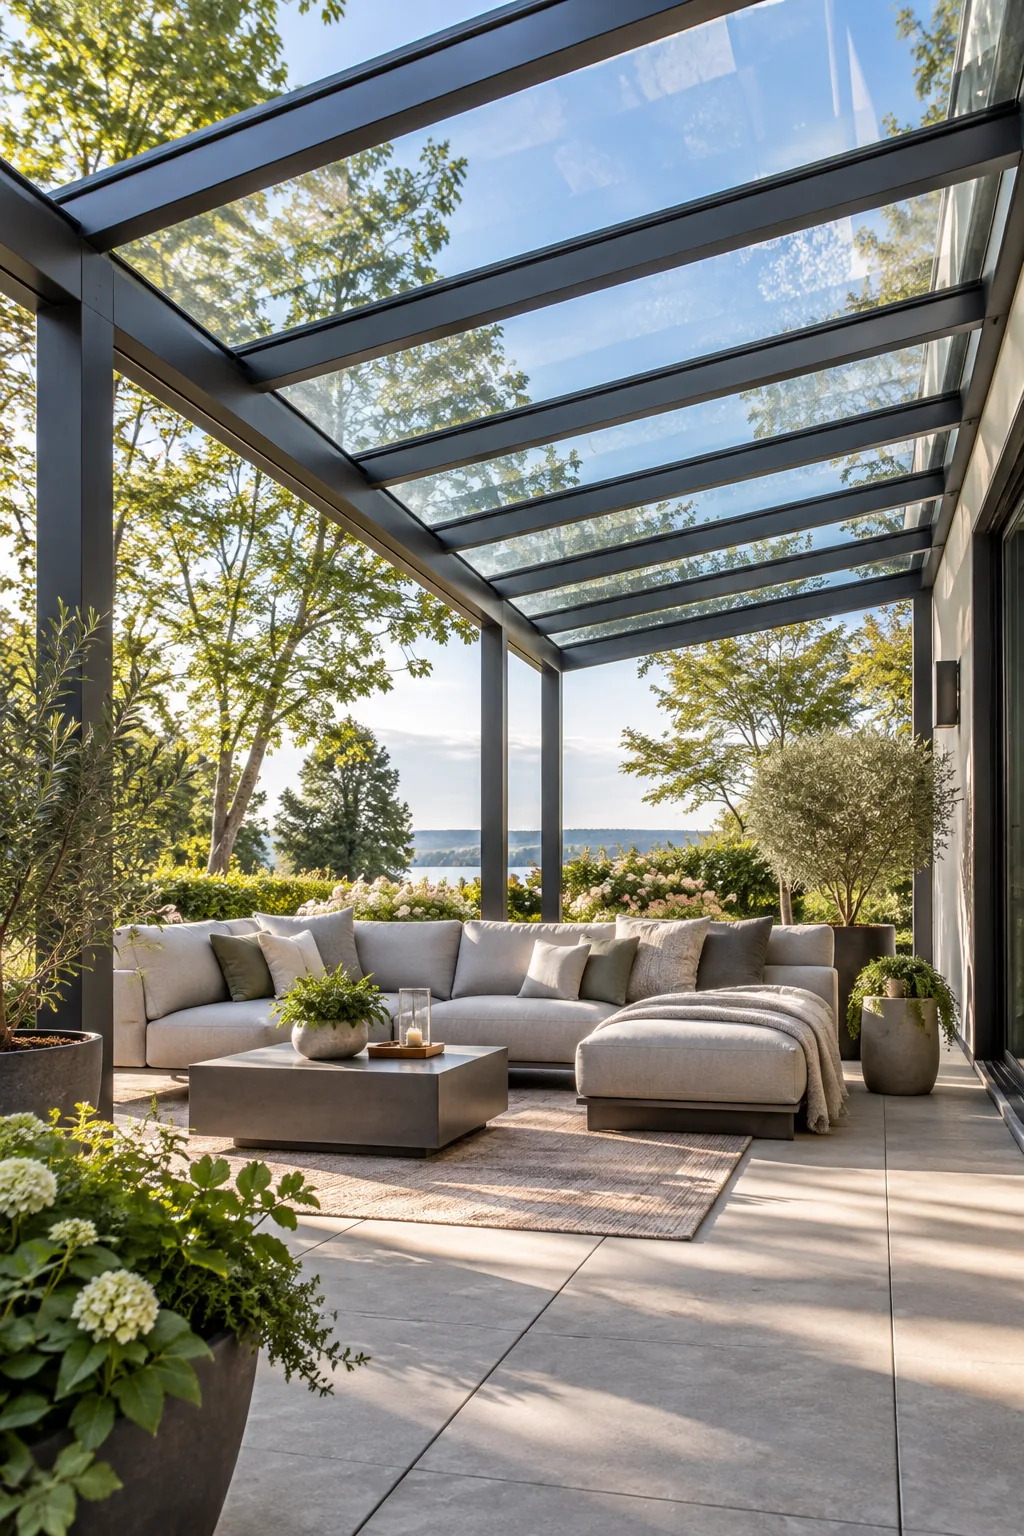
Contemporary Glass Lounge: A sleek steel frame and a fully transparent glass roof offer maximum sunlight while maintaining a clean, minimalist aesthetic.
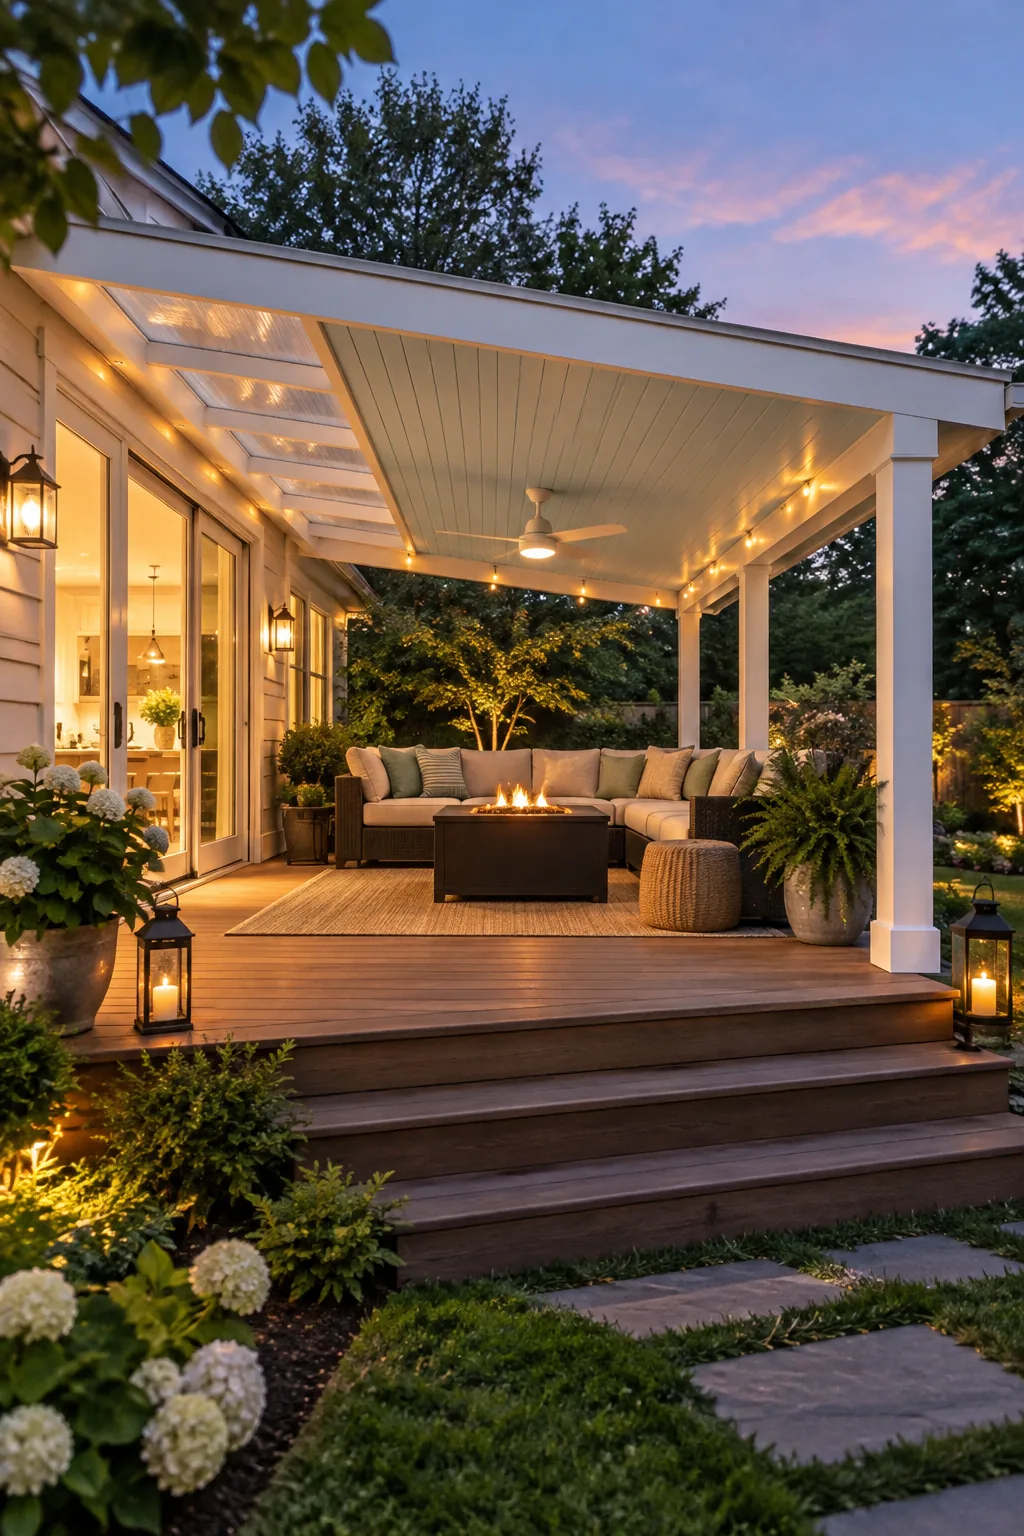
The Covered Deck Roof Planning Sheet
Bringing all these measurements together requires a solid plan, which is exactly why I mapped out my own project on paper before digging a single hole. The downloadable Covered Deck Roof Planning Sheet includes all your minimum slopes, eave depths, and rough-in locations.
Before buying materials or renting equipment, bring your completed rough sketch to the local building department to verify their specific structural requirements.