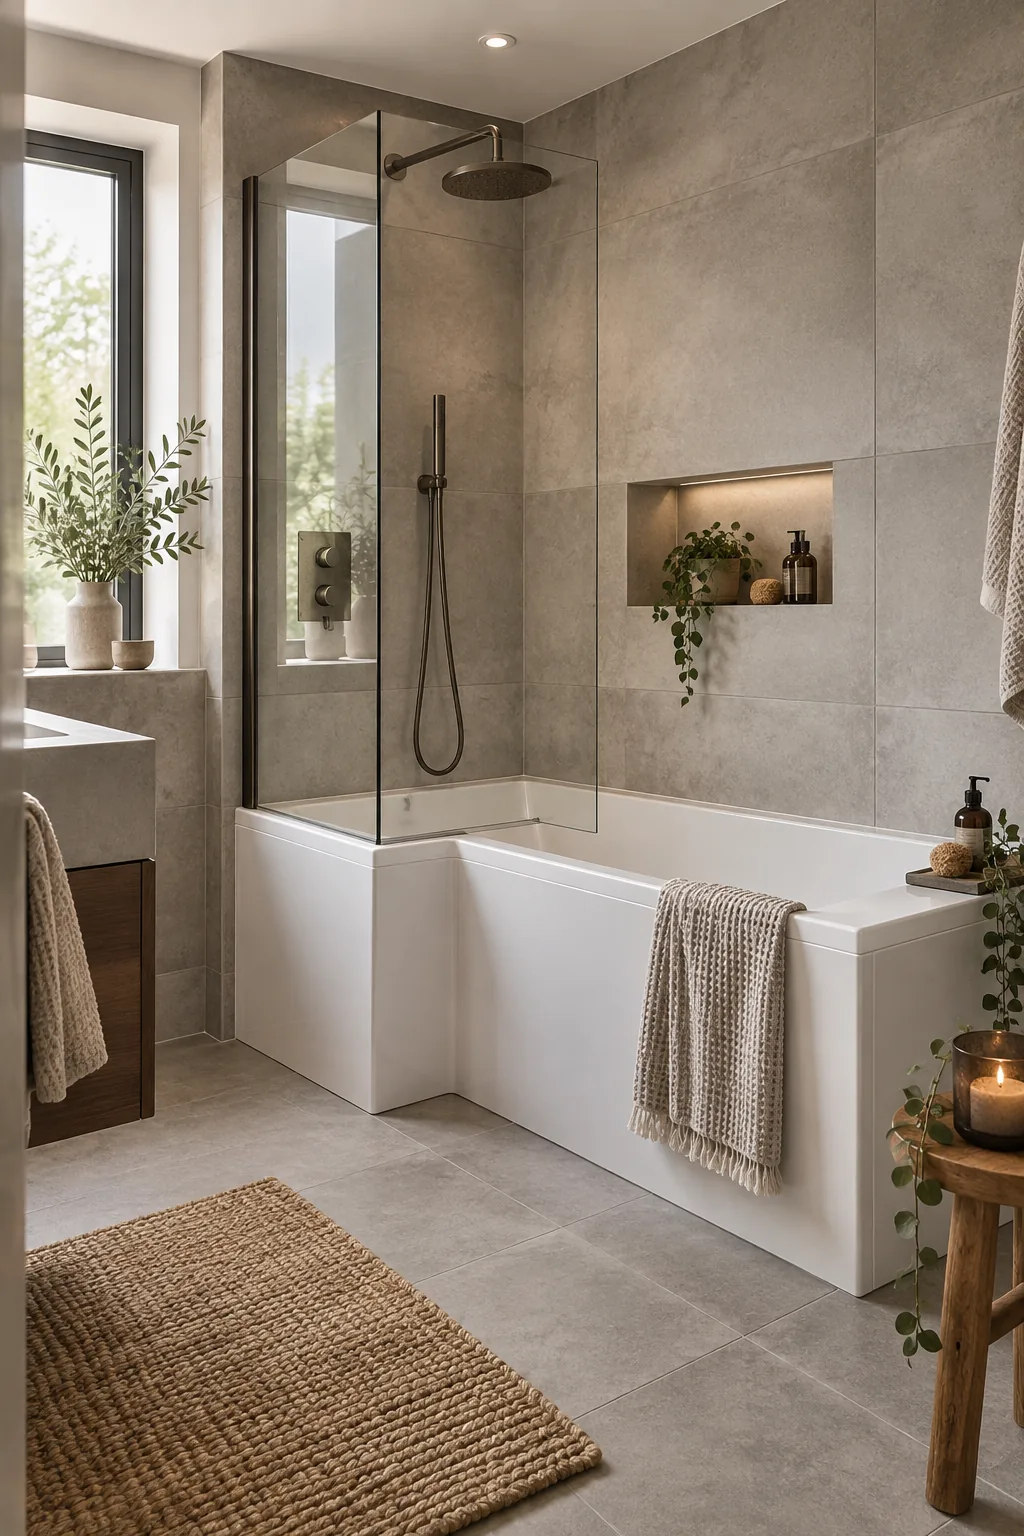
Small Bathroom Shower over Bath Layout & Measurement Guide
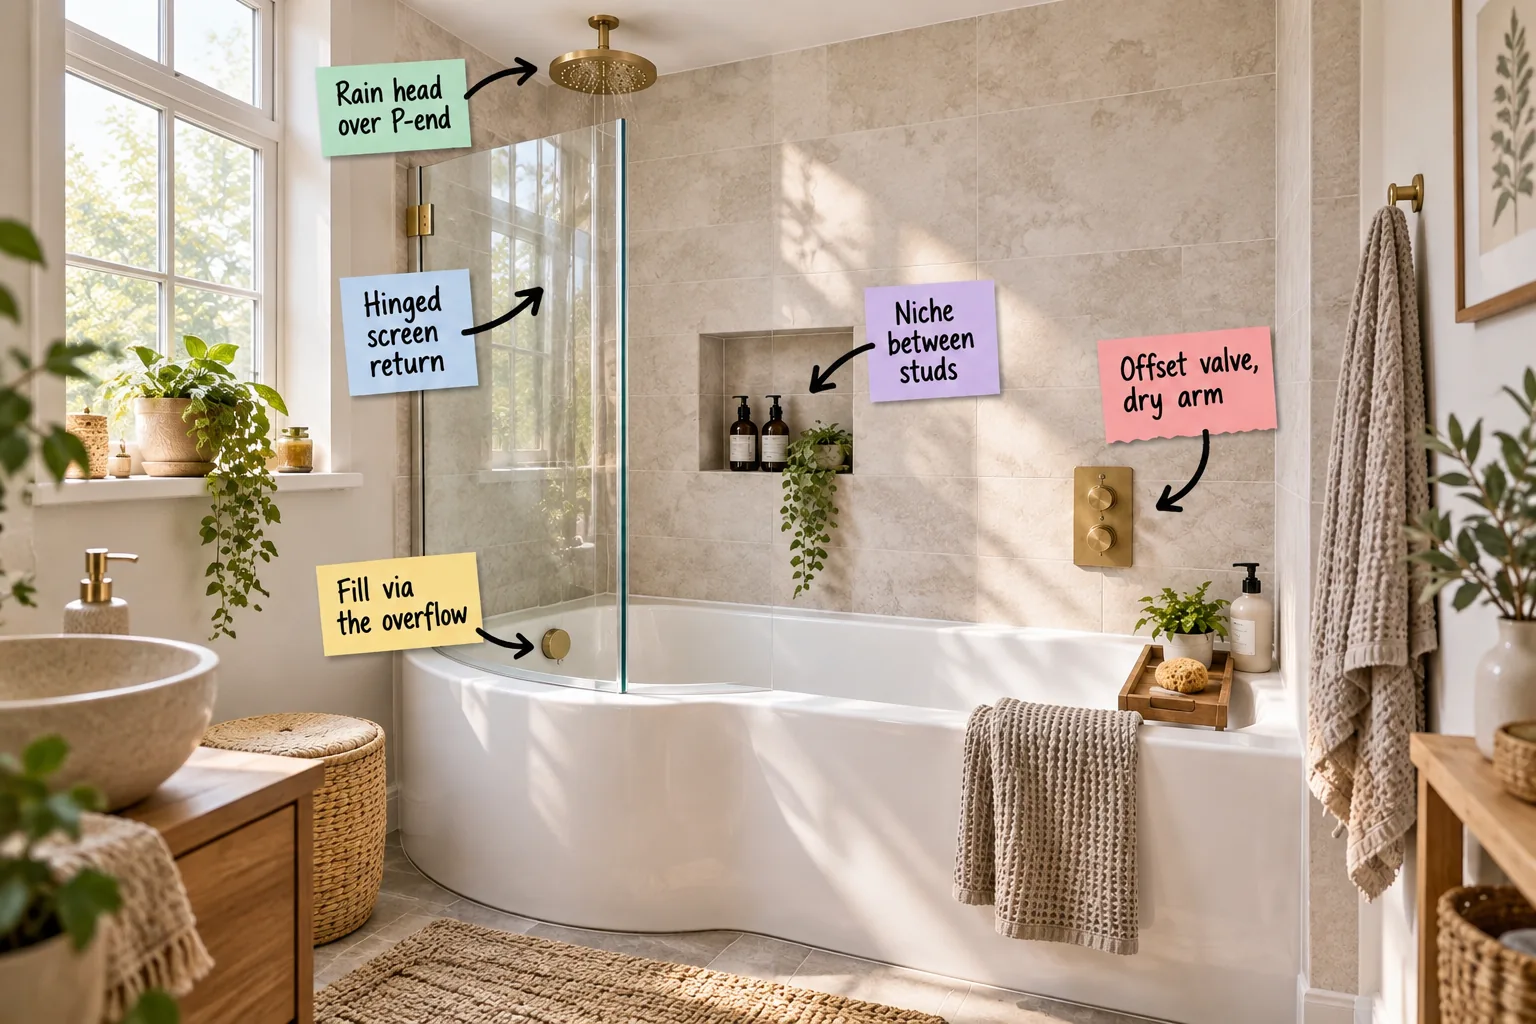
Planning a combined bathing space requires absolute precision, so you can download our exact printable shower-over-bath measurement sheet to perfectly position every fixture. You will be able to mark correct plumbing heights, screen widths, and stud placements for a flawless daily routine.
The P-Shaped Footprint
A P-shaped bath maximizes your standing room in a small footprint by dedicating a wider curved end specifically for showering. The standard 1700mm long by 850mm wide footprint accommodates comfortable movement while fitting neatly into a conventional alcove.
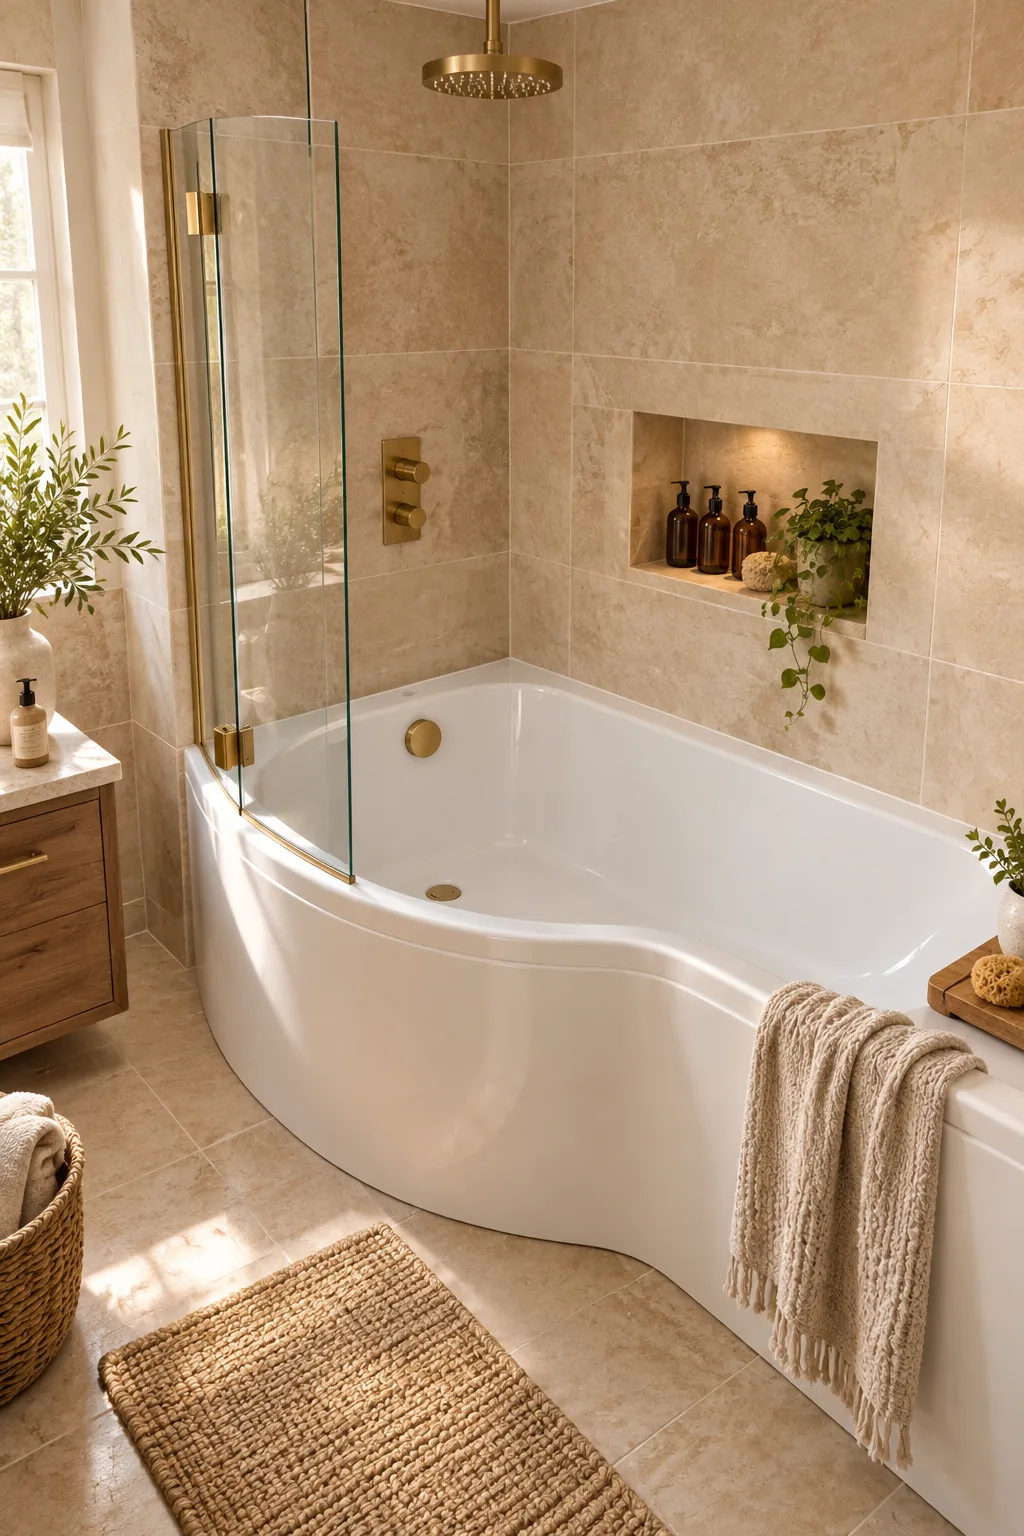
This wider standing zone prevents your elbows from hitting the glass while washing your hair. The tub then tapers down to a standard 700mm width at the opposite end, saving valuable floor space next to your toilet or bathroom vanity.
Space-Saving Straight Tubs
If your bathroom cannot accommodate the flared end of a P-shape, a compact straight tub offers a highly functional alternative. You will need to carefully map out the interior bathing dimensions before committing to a smaller footprint.
| Tub Style | Length | Width | Best For |
|---|---|---|---|
| Standard P-Shape | 1700mm | 850mm | Primary daily showers |
| Compact Straight | 1500mm | 700mm | Tight urban bathrooms |
| Deep Soaker | 1600mm | 750mm | Frequent bathers |
A straight tub measuring 1500mm by 700mm fits into truly tight rooms but sacrifices upper body mobility. You must ensure the interior basin walls remain relatively vertical to preserve every possible inch of standing floor space.
Floor Reinforcement for Deep Baths
Before installing any combined unit, you must evaluate the structural integrity of your floor joists. A deep tub filled with water and an adult easily exceeds 600 pounds of static weight, which older bathroom floors rarely support without deflection.
Balancing Tub Depth and Step-Over Height
A deep soaking tub provides a luxurious bathing experience but creates a dangerously high threshold for daily showering. You should aim for an exterior step-over height of roughly 500mm to 550mm to balance comfortable soaking depth with safe, easy daily entry.
Sealing the Tub to the Wall
Properly sealing the tub flange against the wall studs prevents catastrophic water damage over time. You must leave a 3mm expansion gap between the bottom tile row and the tub deck, filling it entirely with high-grade mold-resistant silicone.
Hinged Screen and Return Panel
Effective water containment requires an 800mm wide main hinged glass screen paired with a specialized secondary deflector. In my own guest bathroom, skipping this deflector meant I was constantly mopping puddles near the toilet after every single shower.
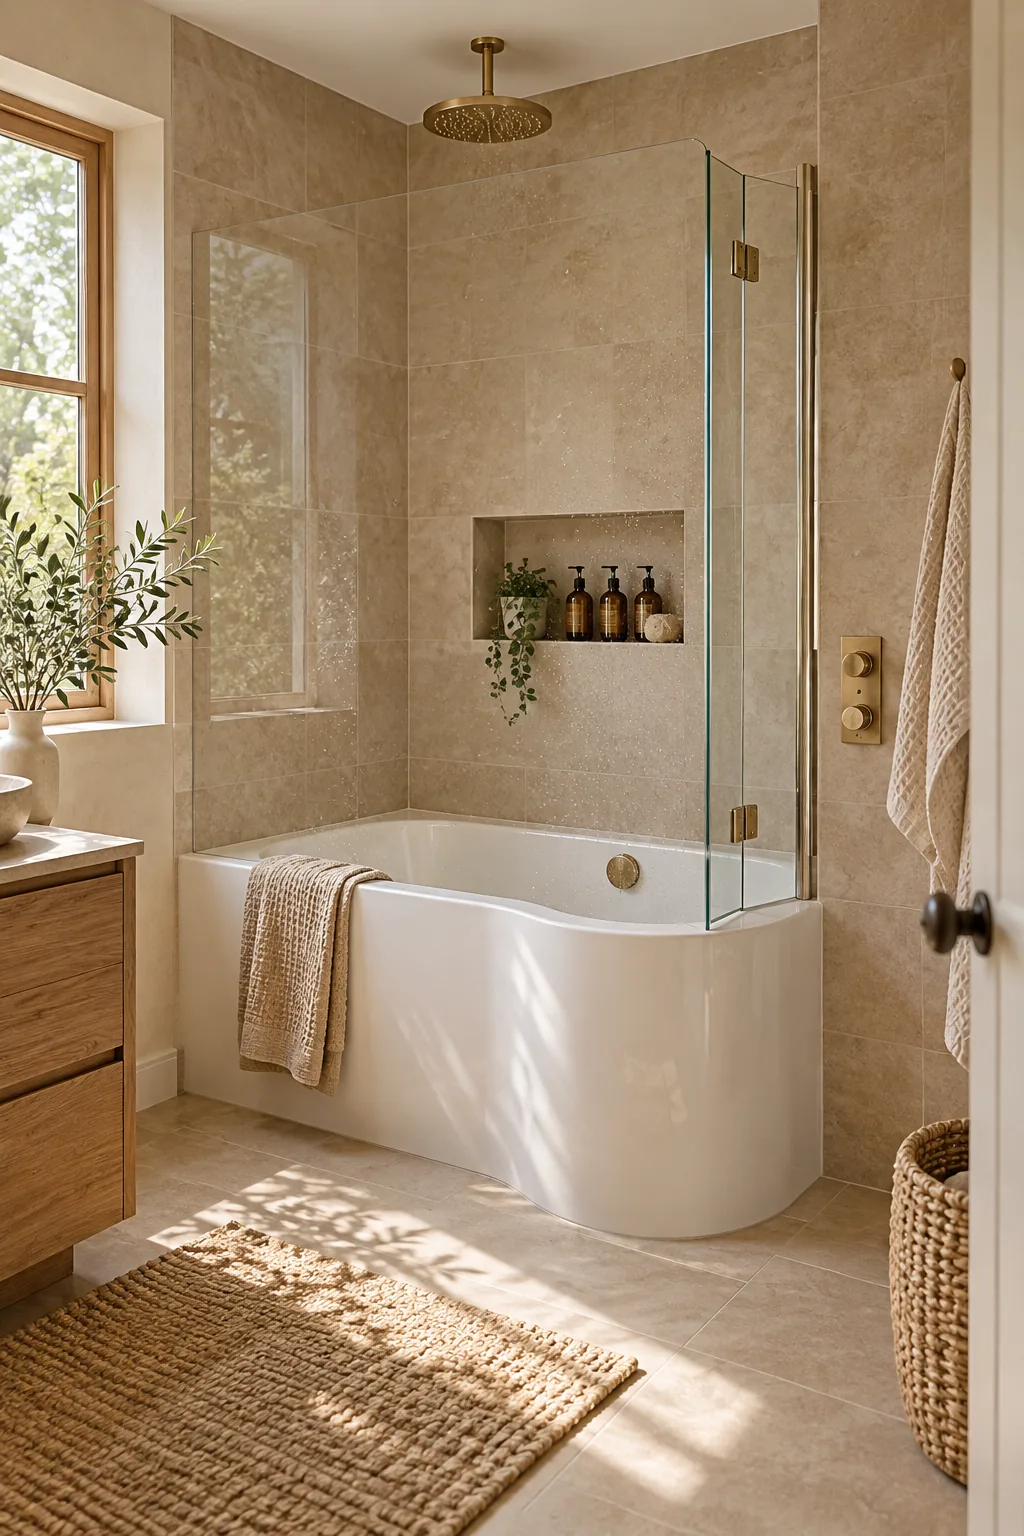
Adding a 150mm to 200mm swinging return panel to the outer edge completely solves this spray issue. You simply angle the small return panel inward before turning on the water, effectively directing errant droplets back into the wider P-end.
Screen Swing Clearances
A hinged screen must swing completely out of the way to allow safe access when cleaning the tub or bathing children. You must verify that the glass can pivot a full 90 degrees outward without striking the vanity counter or bathroom door.
Choosing the Right Glass Thickness
Frameless bath screens require substantial structural rigidity to withstand daily movement without flexing or shattering. Specifying 8mm or 10mm tempered safety glass provides the necessary weight and durability, though it demands heavy-duty brass hinges anchored directly into wall studs.
Offset Valve Placement
Positioning the thermostatic valve 300mm to 400mm from the screen edge allows you to start the shower with a completely dry arm. I once designed a layout with centered controls, and reaching through the freezing initial blast quickly taught me to always offset the valve.
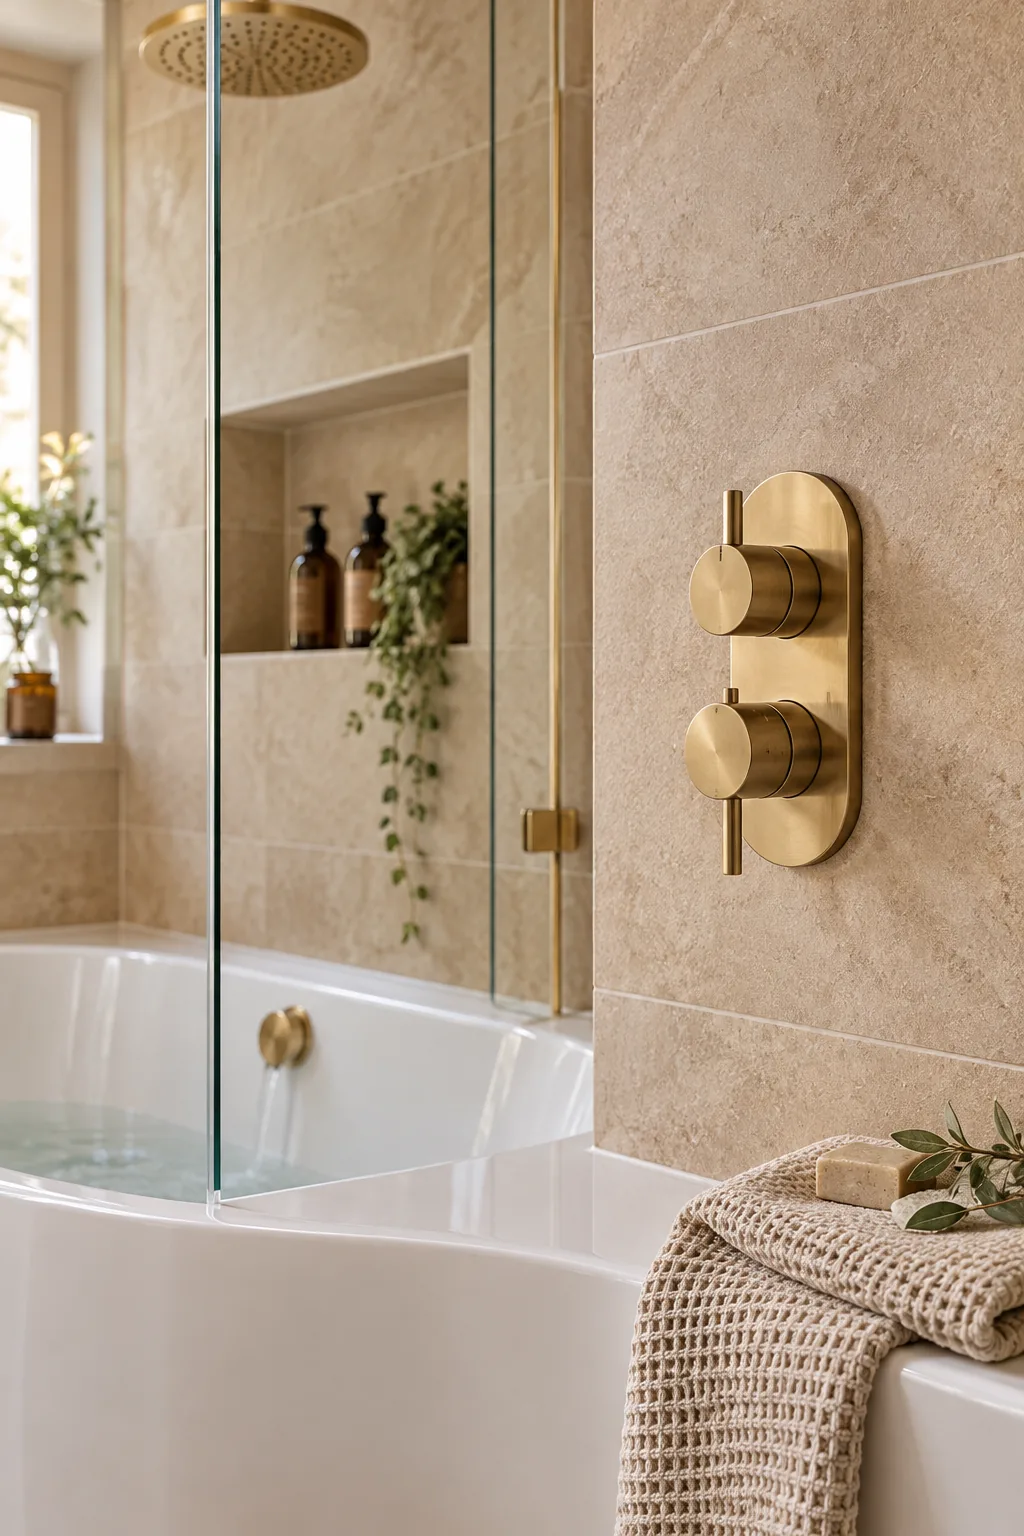
Positioning the controls away from the water stream is the biggest upgrade you can make to a shower over a bath, but getting the placement wrong creates daily frustrations.
Thermostatic Cartridge Depth
Concealed shower valves require significant in-wall depth to house the brass thermostatic cartridge securely behind the tile. You must verify your wall cavity offers at least 75mm of clear depth, or you will need to build out a false wall to hide the plumbing.
Overhead Rain Shower Positioning
The ceiling-arm rain shower head should sit precisely 2100mm to 2200mm above the tub floor to provide adequate clearance for tall users. You must center the fixture exactly over the 850mm wide P-end rather than aligning it with the geometric middle of the tub.
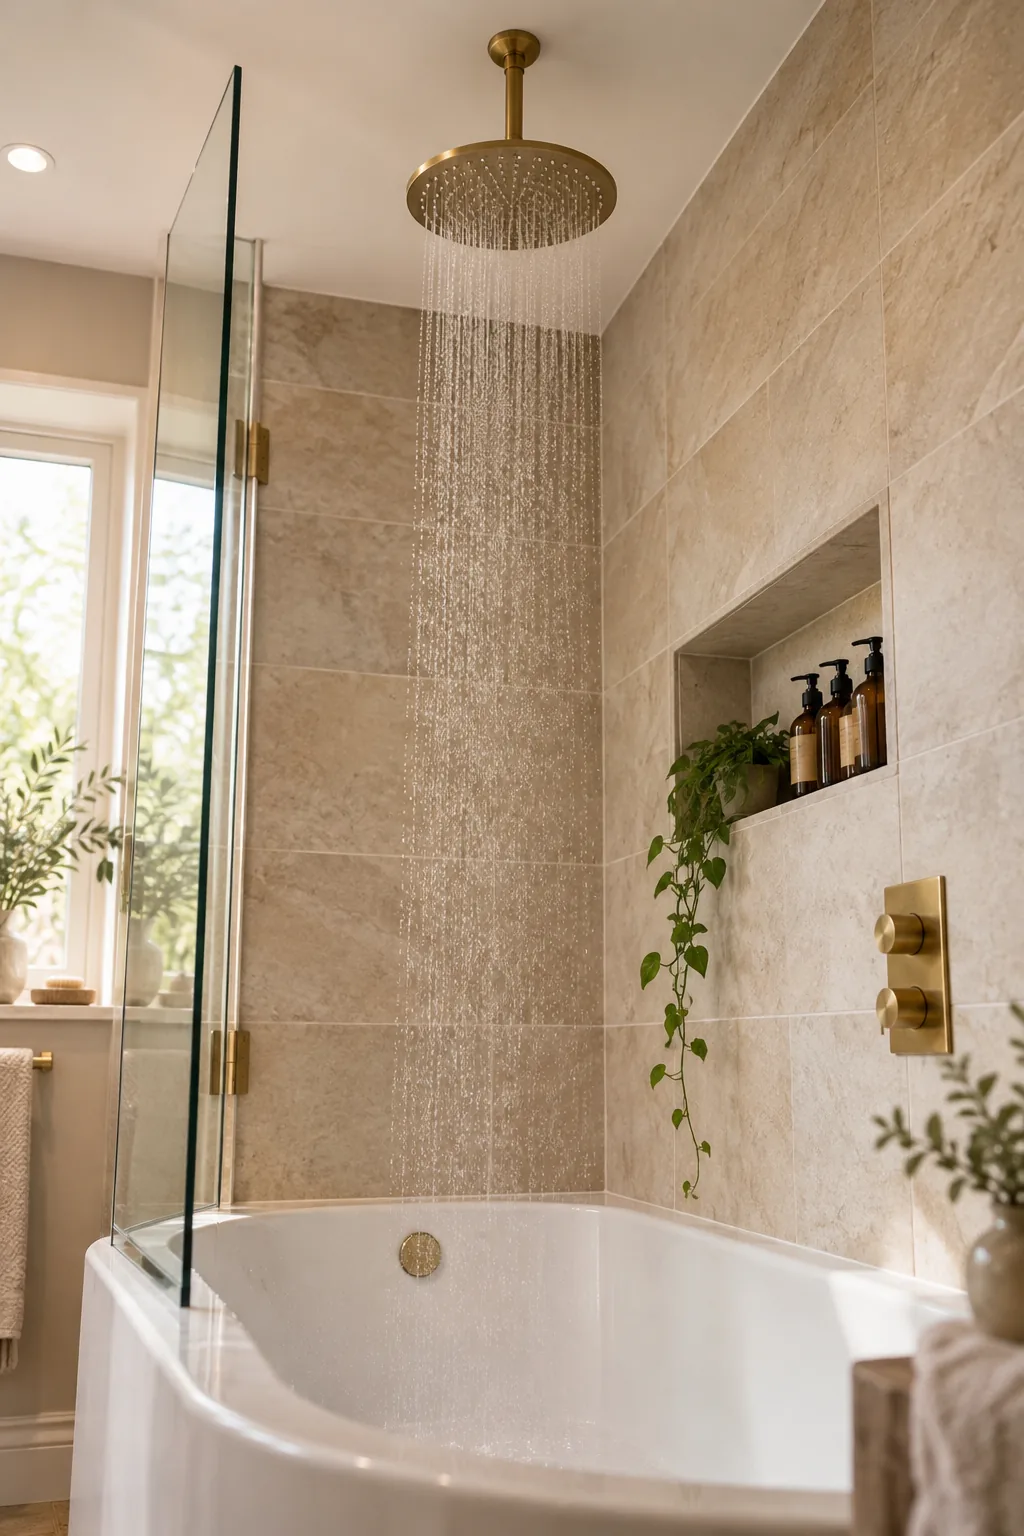
Centering the rain head over the entire tub length pushes the water stream too far toward the sloping backrest. Keeping the flow concentrated over the flat, reinforced standing zone ensures a safer, far more comfortable daily showering experience.
Ventilation Over the Shower
A powerful overhead shower generates massive amounts of steam that can quickly degrade your drywall and ceiling paint. Installing an exhaust fan rated for at least 80 cubic feet per minute directly outside the shower zone pulls moisture away before it settles.
Lighting the Shower Zone
Dark shower alcoves feel cramped and make it difficult to properly clean the tub surfaces. Installing a dedicated wet-rated LED recessed light directly above the standing zone ensures the 850mm wide P-end remains bright, safe, and visually expansive.
Hand Shower Addition
Relying solely on a fixed rain head makes rinsing the tub basin or washing pets incredibly difficult. Mounting a secondary hand shower on a sliding rail at 1200mm above the floor provides essential directional control for cleaning and targeted rinsing.
Waterproofing the Wet Zone
Standard drywall will disintegrate behind your tile if moisture penetrates the grout lines during a heavy shower. You must install a dedicated cement backer board and roll on a liquid waterproofing membrane across all three alcove walls before applying any thinset.
Recessed Wall Niche
A recessed tiled wall niche keeps shampoo bottles off the tub deck, but it must be framed correctly during the rough-in phase. Sizing the box to fit cleanly between standard 400mm on-center wall studs yields a practical 350mm internal width without cutting structural timber.
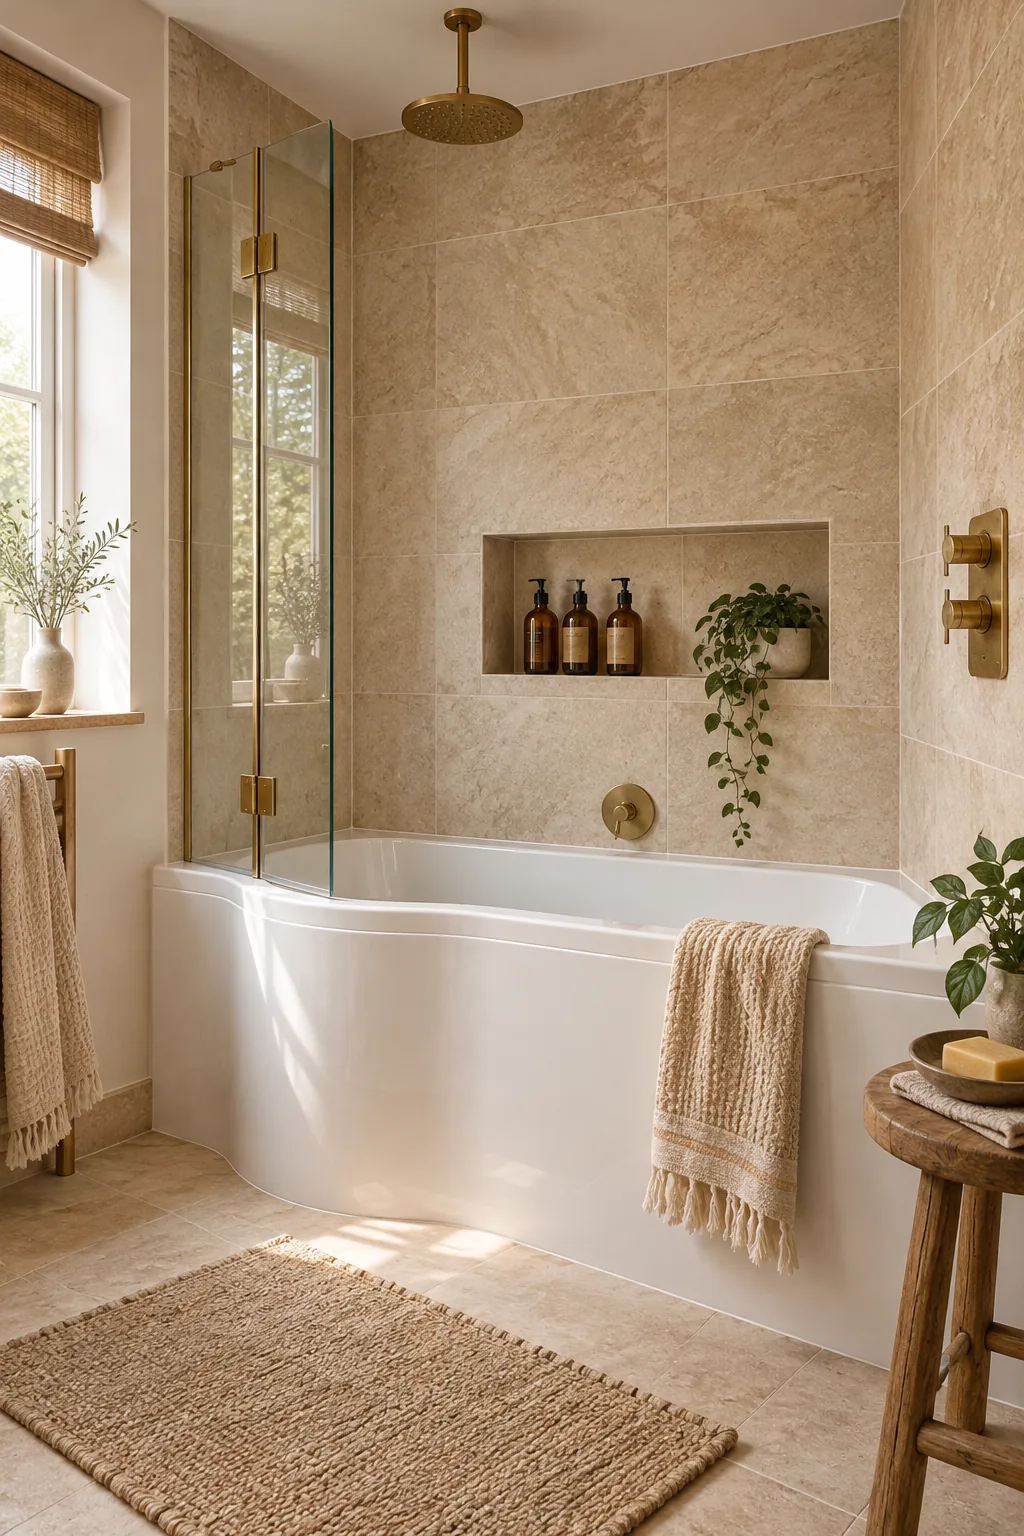
You should position the bottom sill of the niche exactly 1200mm from the tub floor to keep heavy bottles easily within reach. Aligning this height with your horizontal grout lines ensures a seamless, visually calm tile layout across the entire back wall.
Niche Shelf Slopes
Standing water left inside a recessed shelf will quickly breed mildew and degrade your carefully applied grout. You must pitch the bottom sill piece downward at a 2-degree angle toward the tub so that all excess water drains out naturally.
Overflow Bath Filler
Eliminating a traditional protruding tub spout saves valuable inches of standing space and prevents painful bruised shins. You can achieve this sleek look by installing a combined waste and overflow unit mounted directly on the inner end wall.
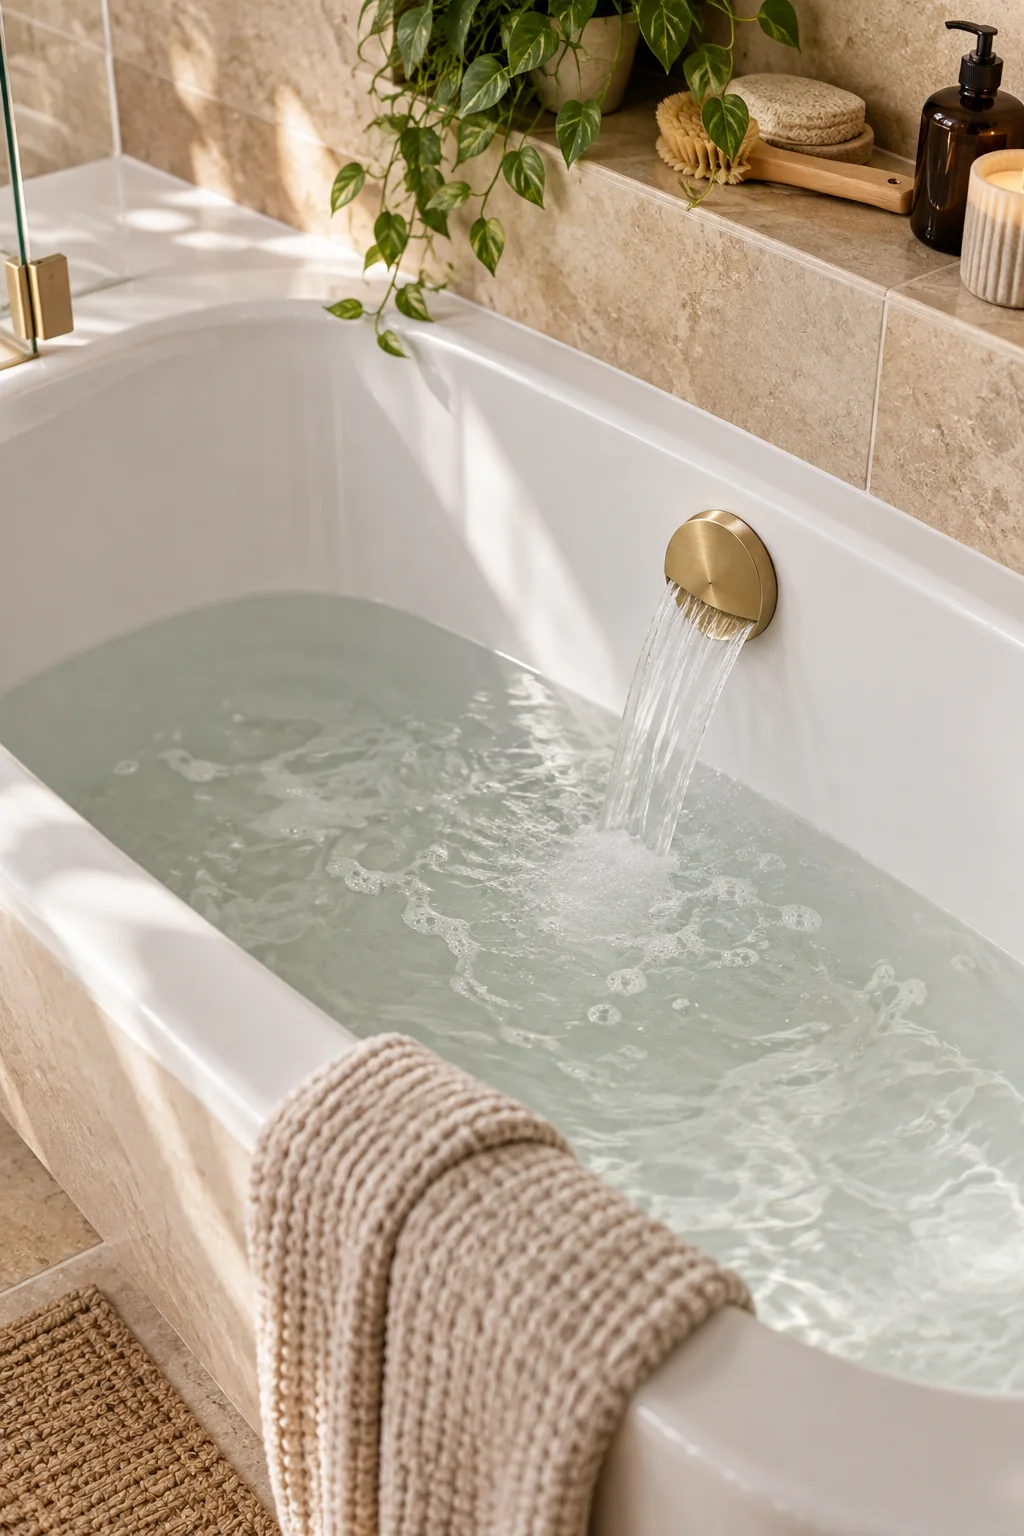
The tub fills quietly through the round brushed-brass overflow filler plate at the wide shower end. This integrated plumbing solution keeps the surrounding tiled walls completely clear of bulky hardware, emphasizing a minimalist and highly functional aesthetic.
Access Panels for Maintenance
Combined waste and overflow fillers house complex mechanical linkages that will eventually require adjustment or replacement. You must design a removable access panel in the adjoining room or closet wall to reach the plumbing without destroying your expensive bathroom tile.
Selecting Brass Fixture Finishes
Brushed brass thermostatic controls and shower heads add immense warmth to a white tiled bathroom enclosure. You must ensure every piece of hardware comes from the same manufacturer to guarantee the brass undertones match perfectly across the entire wet zone.
Slip-Resistant Tub Surfaces
Acrylic and enameled steel tubs become incredibly slick when coated with soapy water from an overhead shower. You must select a tub model featuring an integrated slip-resistant textured floor across the designated standing zone to prevent dangerous falls.
Heating the Bathing Space
Stepping out of a warm shower into a freezing bathroom immediately ruins the relaxing experience. Positioning a heated towel rail just outside the swinging glass screen ensures a warm towel is always within arm’s reach the moment you open the door.
The Shower-Over-Bath Measurement Sheet
I use this exact printable shower-over-bath measurement sheet in my own Denver design projects to ensure every tub, screen, and valve aligns perfectly. You can download and print the complete one-page guide right here to hand directly to your plumber and tiler.
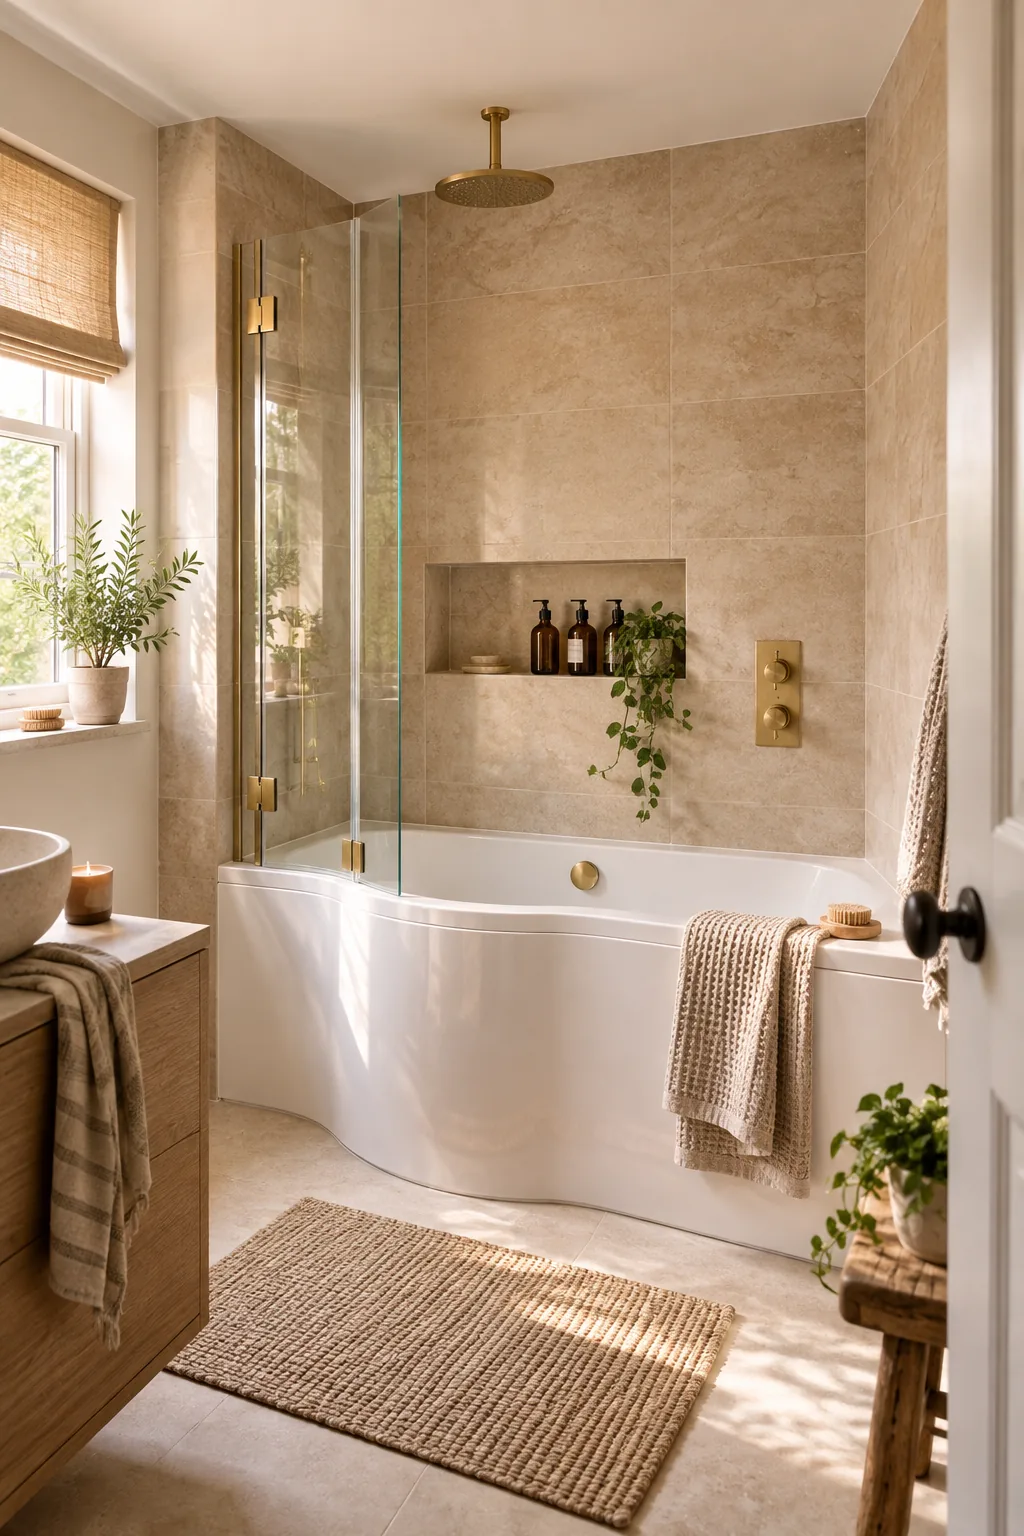
Before handing the measurement sheet to your trades, walk through the empty bathroom space and verify these structural details.
Shower-Over-Bath Style Variations
Explore how different tiles, fixtures, and screen styles can completely change the mood of a combined bath and shower.
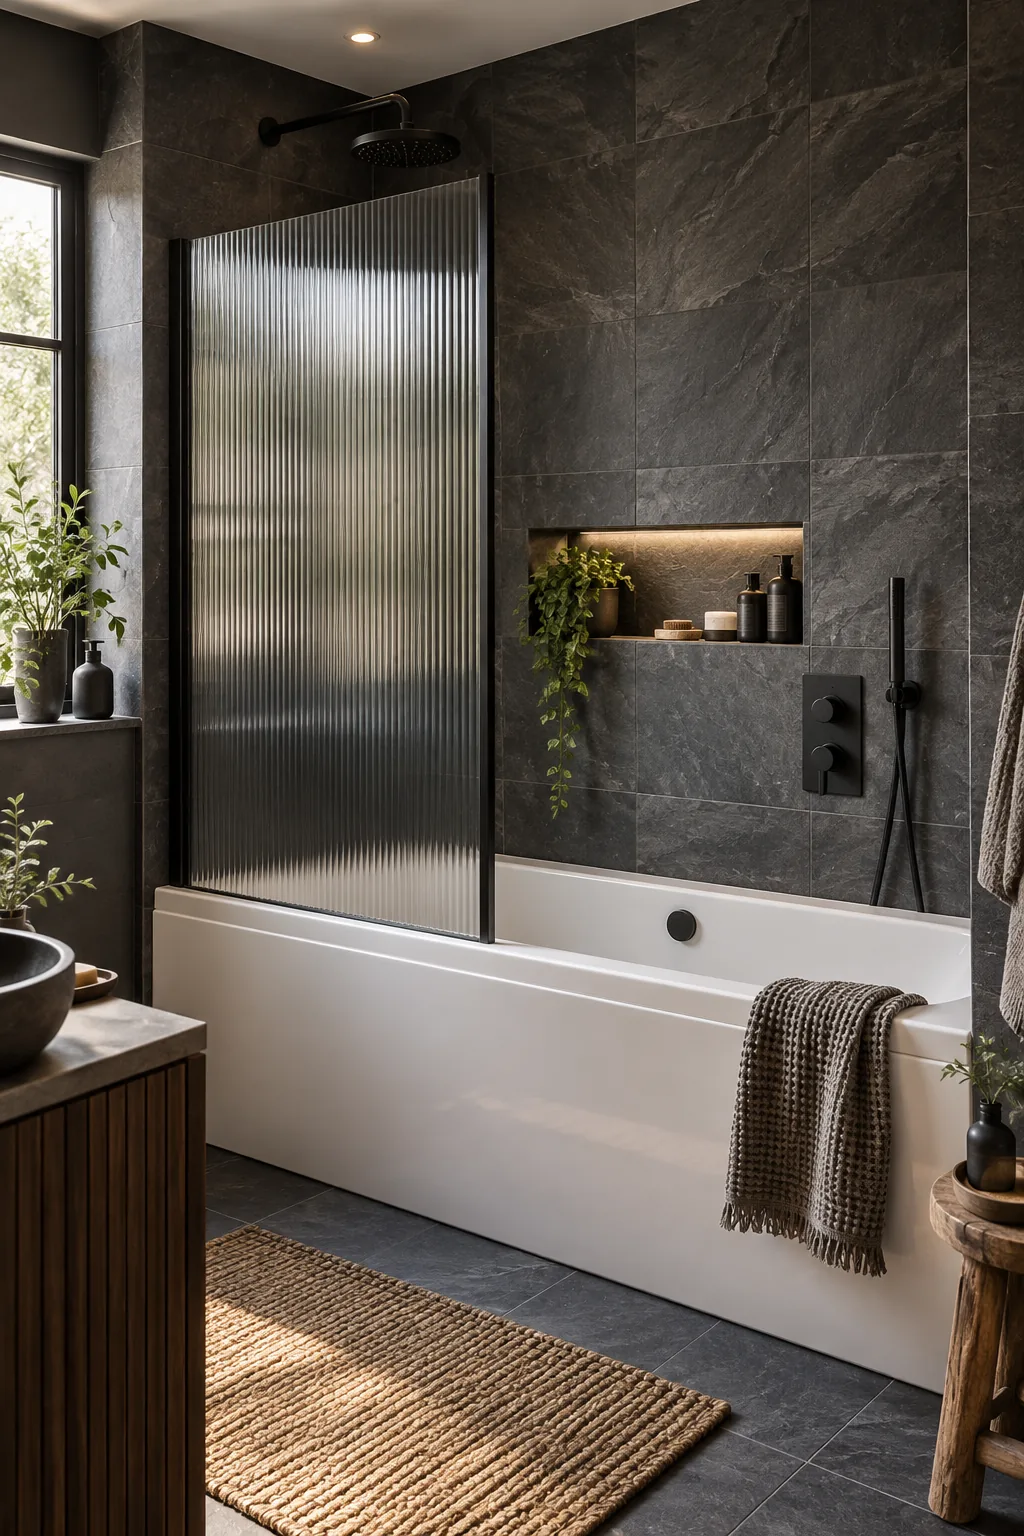
Moody slate and fluted glass: Fluted glass provides privacy while showering, and matte black fixtures pop beautifully against dark charcoal slate tiles.
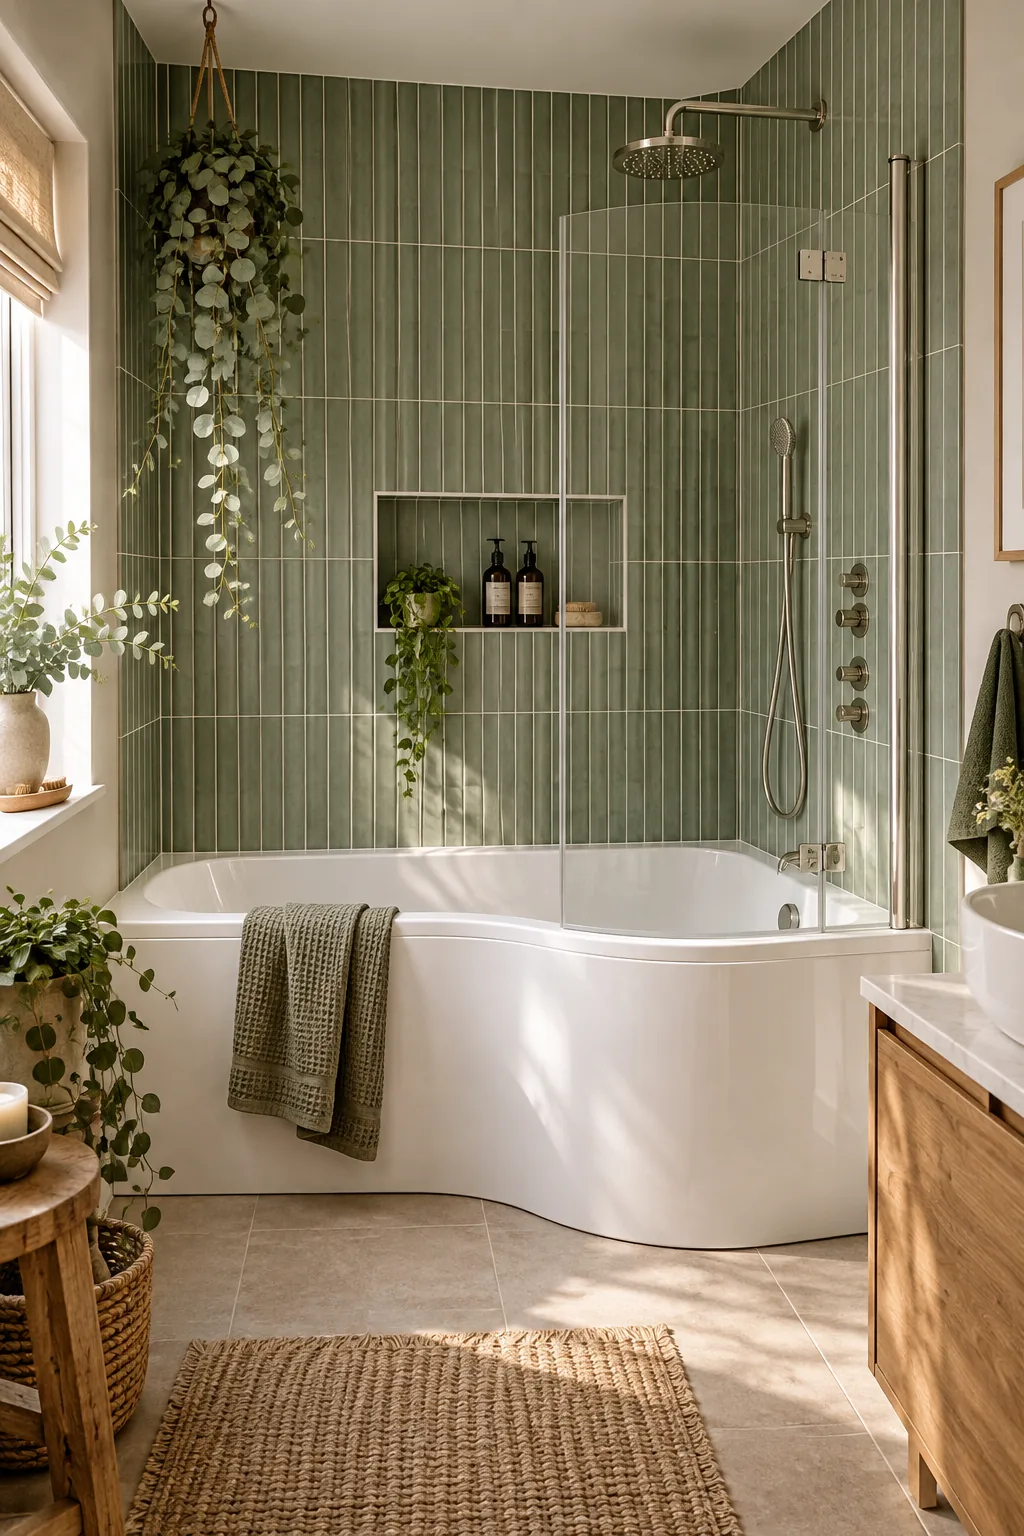
Sage kitkat tiles and nickel: Vertical kitkat tiles draw the eye upward to make the ceiling feel higher, perfectly complemented by classic polished nickel.
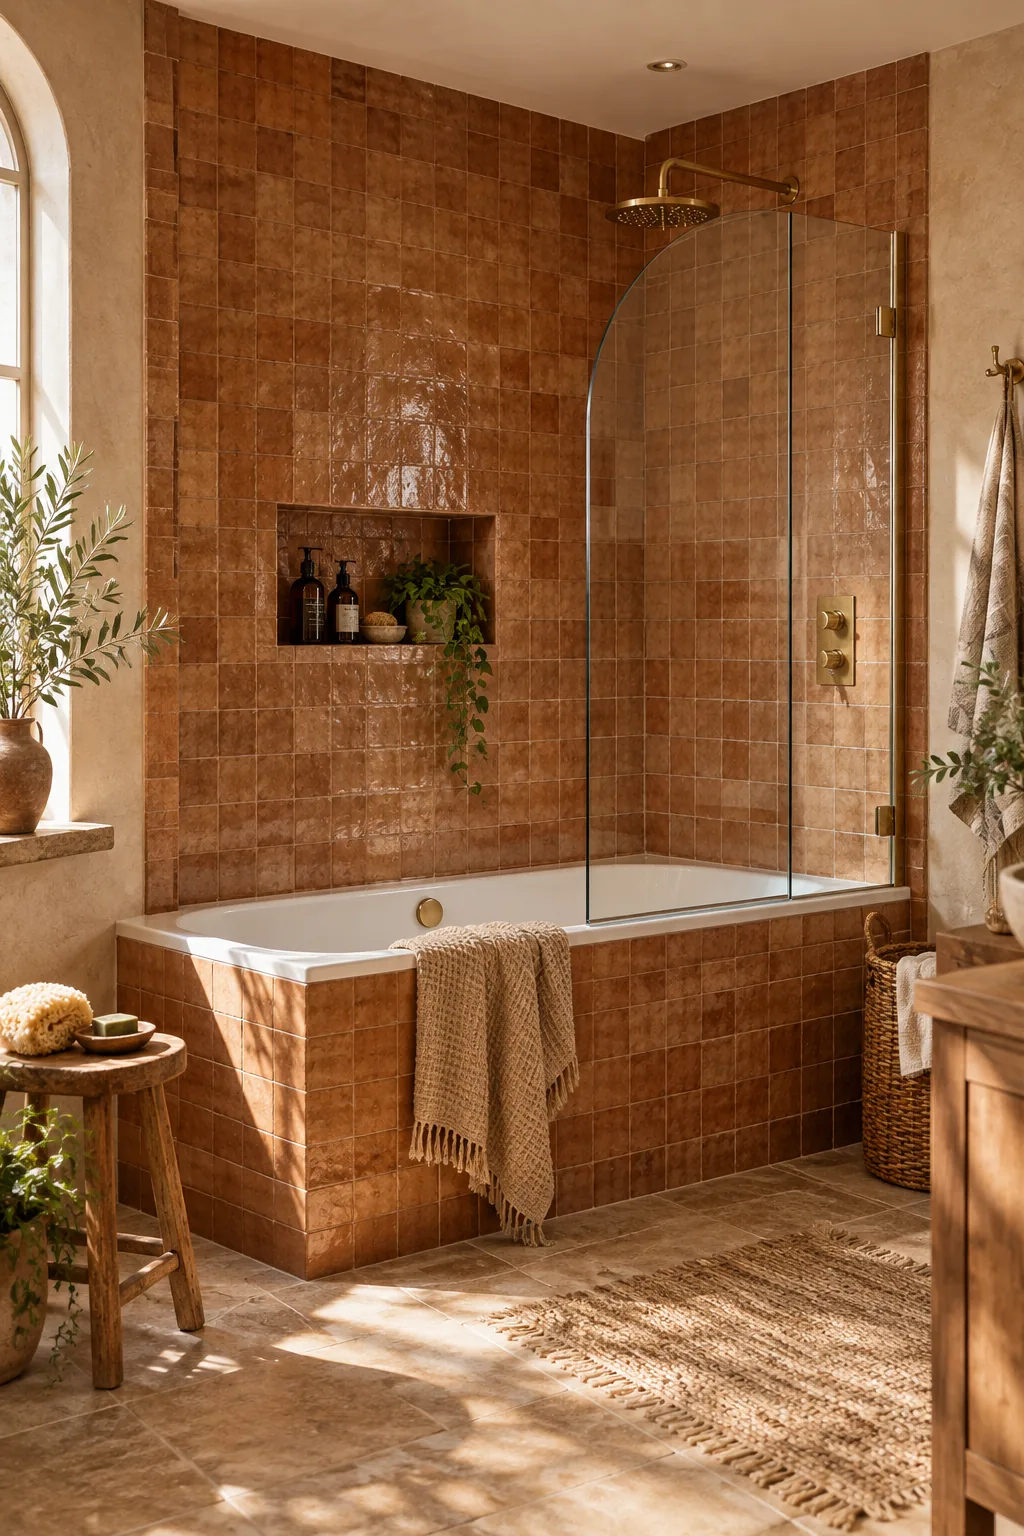
Terracotta zellige and arched glass: An arched bath screen softens the hard angles of the room, while unlacquered brass develops a beautiful patina over time.
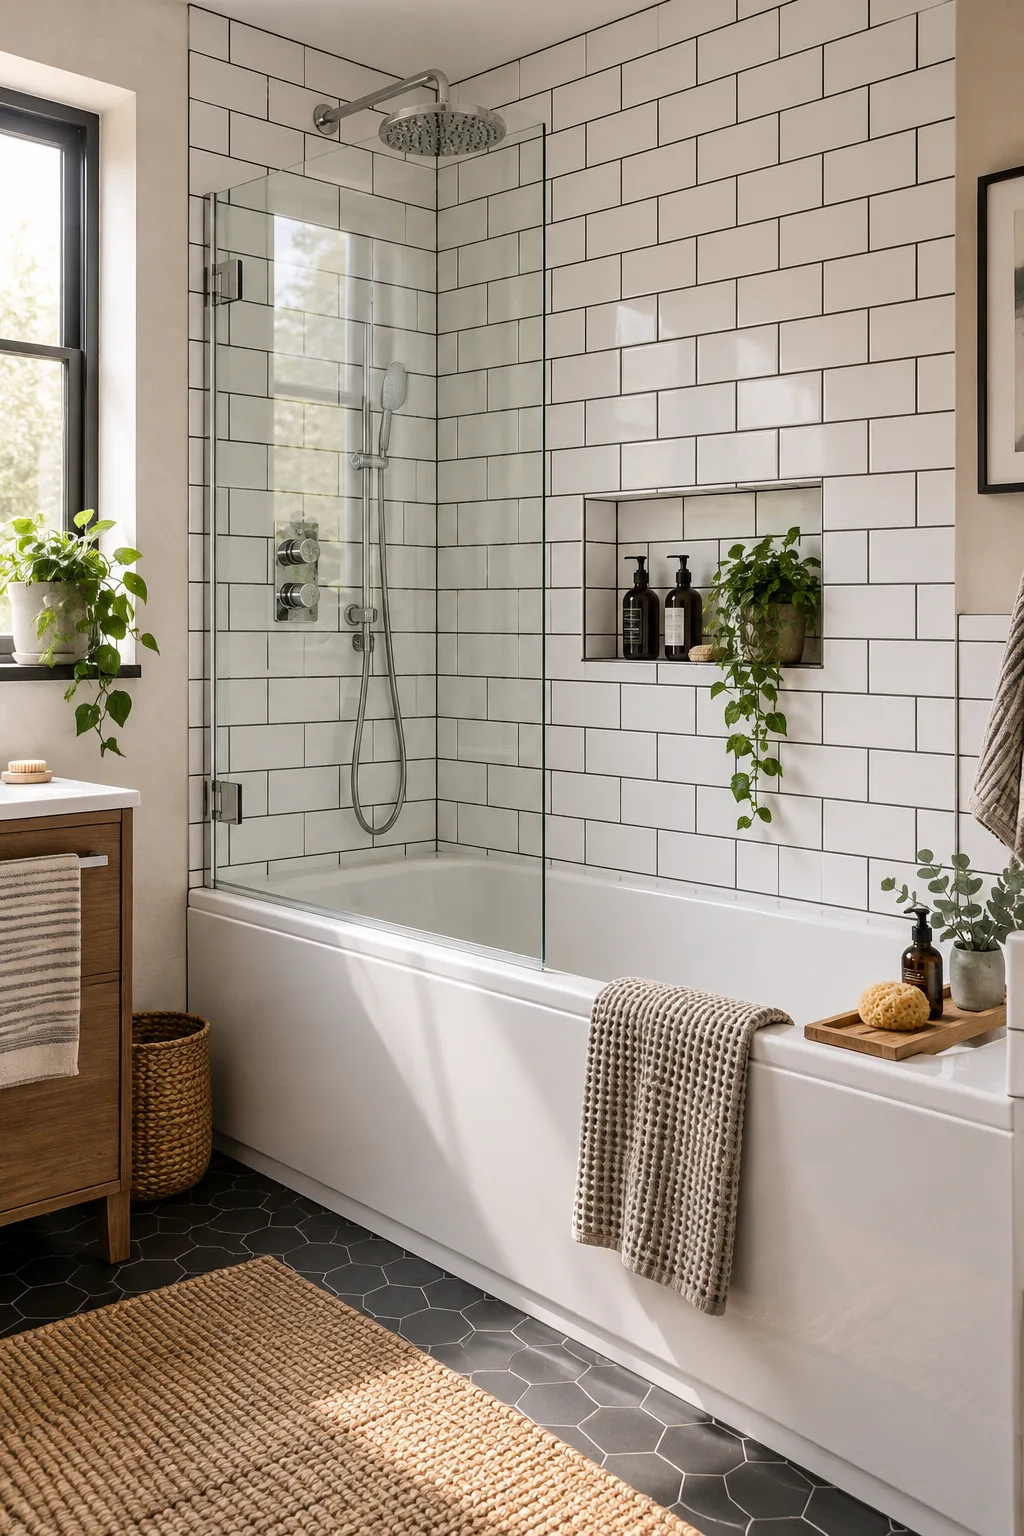
White subway tile with chrome: Dark grout against classic white subway tile adds an industrial edge and is incredibly forgiving in a high-use wet zone.
Concrete tiles and square tub: An L-shaped tub provides a crisp, architectural standing zone that pairs seamlessly with large-format concrete tiles.