
Stove-Only Backsplash: The Layout & Sizing Cheat Sheet
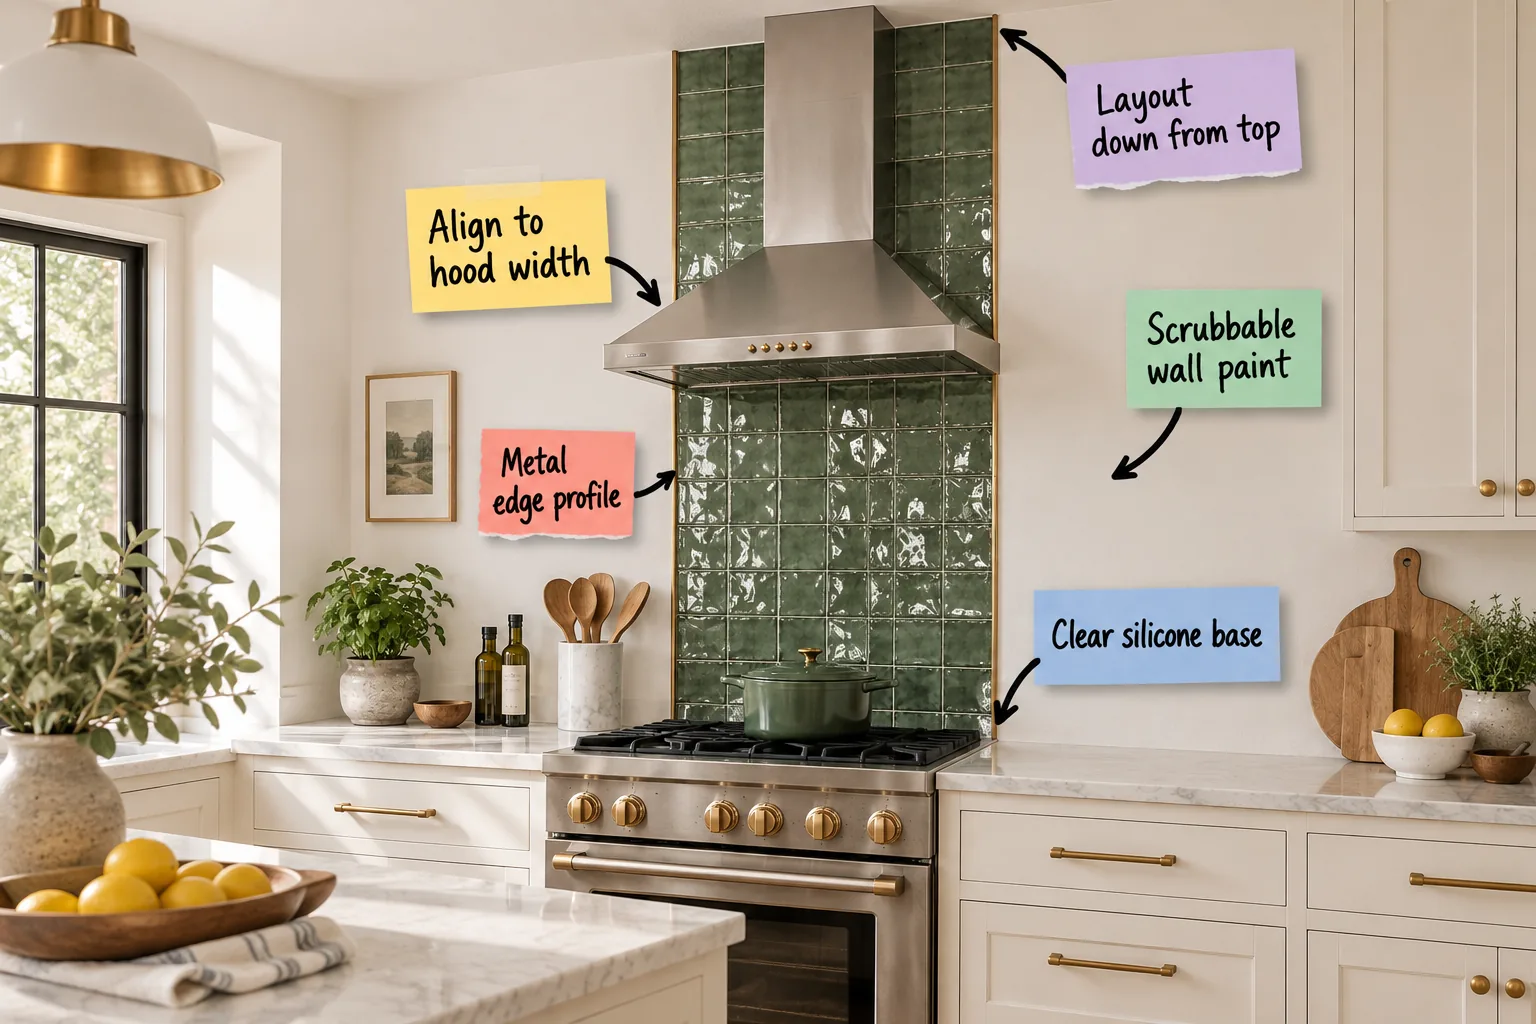
If you are planning a vertical tile column behind your range, this Stove-Zone Tile Layout & Sizing Cheat Sheet will help you execute it flawlessly. You will learn exactly how to measure your boundaries, select the correct edge trim, and sequence your installation for a completely intentional finish.
The Intentional Stove-Only Column
Stopping your backsplash precisely at the hood lines creates a modern architectural focal point rather than looking like an unfinished budget cut. Approaching this layout like a well-planned chess move transforms an isolated tile zone into a deliberate, high-end design feature.
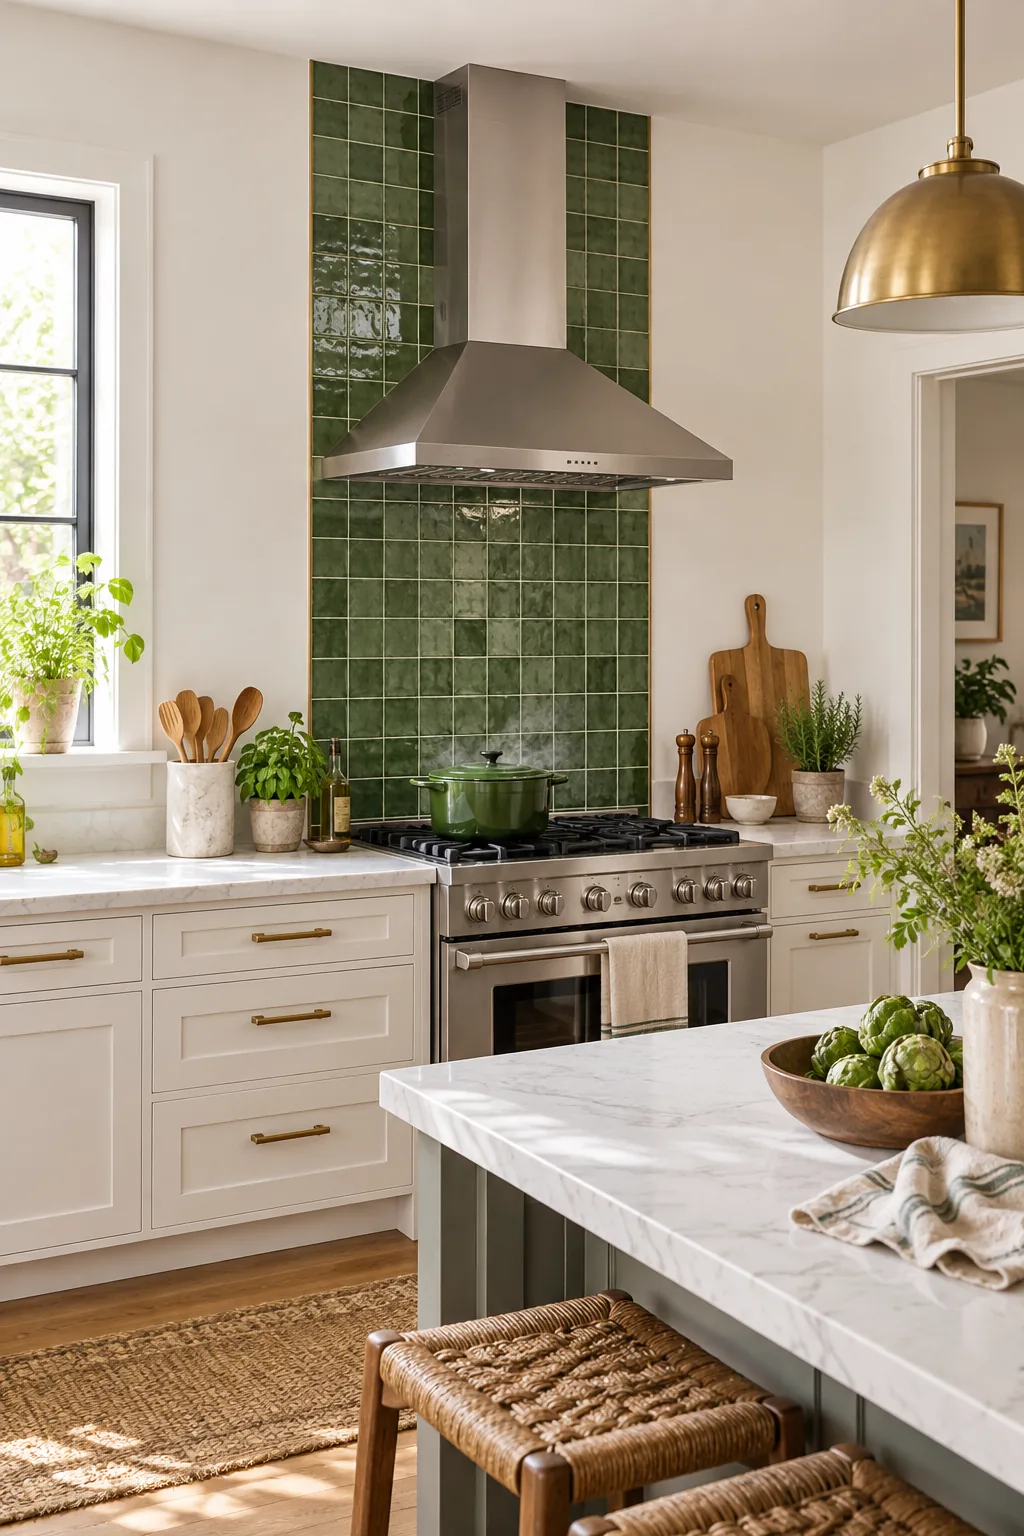
To achieve this grounded, symmetrical look, we must balance the visual weight by always starting our installation sequence looking straight up at the ceiling line.
Understanding Visual Weight
Treating the stove zone as an independent column relies heavily on the Eastern design principle of strategic negative space. By leaving the flanking walls completely bare, the tiled section commands immediate attention and feels like a deliberate architectural anchor rather than an afterthought.
Layout Down From the Ceiling
The secret to a custom finish is the top-down layout rule, where a perfectly whole row of tiles meets the ceiling line. This unbroken horizontal boundary draws the eye upward, establishing a sense of perfect symmetry and calm, structured order.
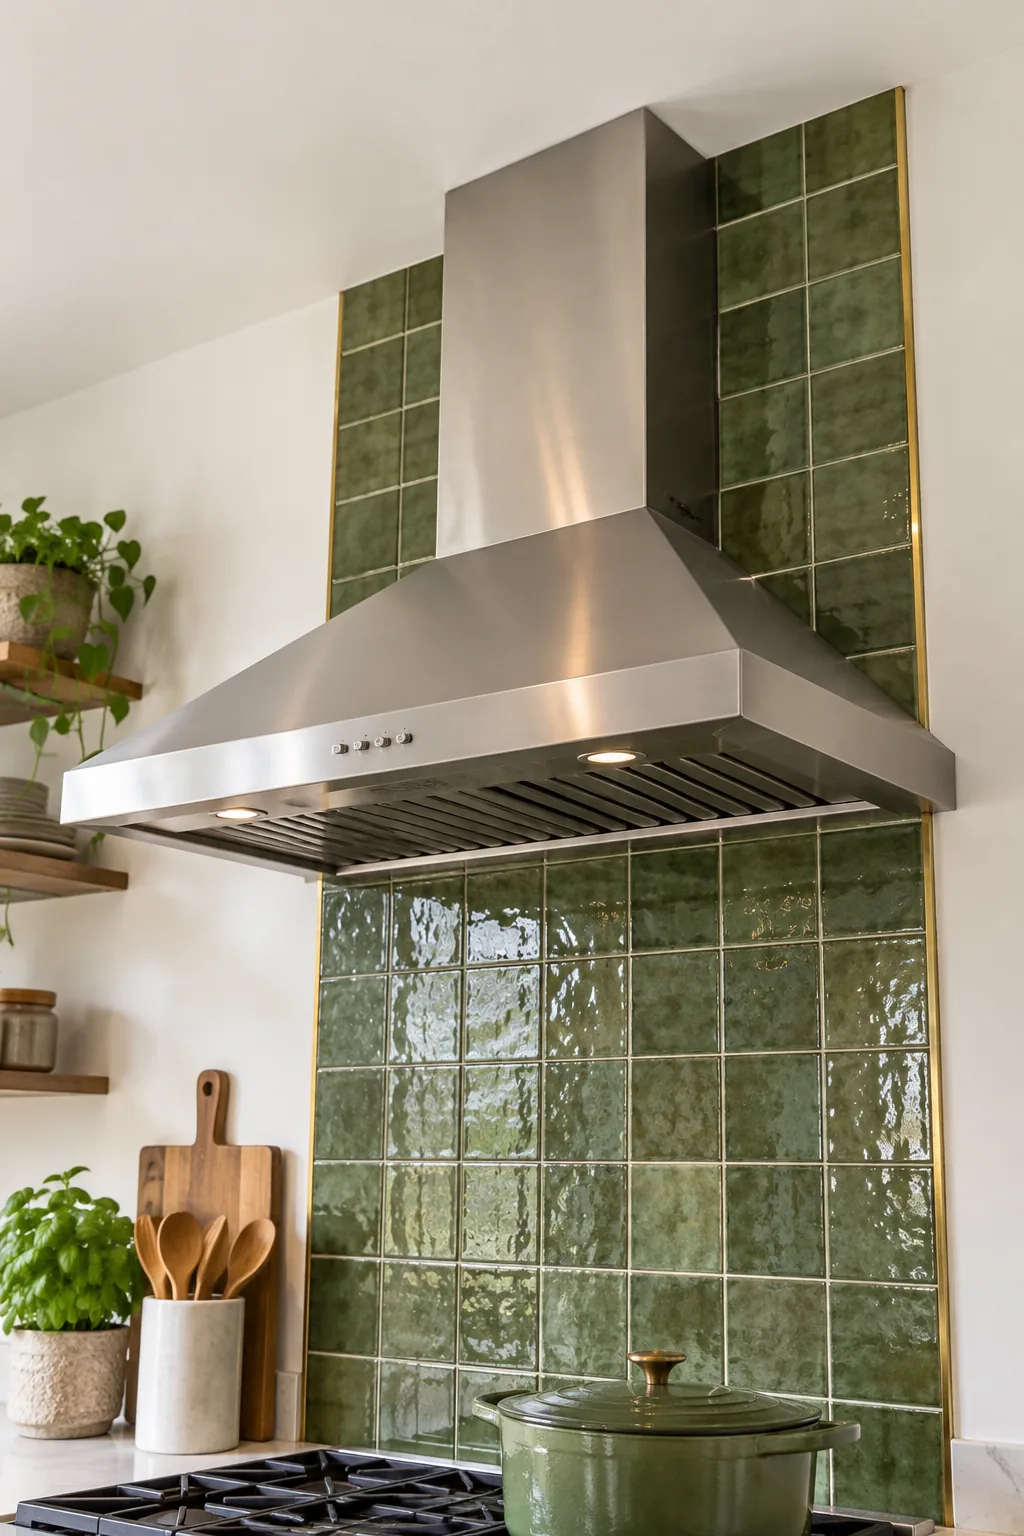
Calculate your vertical span meticulously before mixing any thinset so that all necessary horizontal cut tiles are hidden completely out of sight behind the stove profile.
Selecting the Right Tile Scale
For a narrow vertical column, choosing the correct tile proportion is critical to maintaining a balanced visual rhythm. Oversized formats can look incredibly clunky when constrained to a thirty-inch width, while tiny mosaics often introduce too much chaotic grout into the visual field.
| Tile Format | Visual Effect | Best Application |
|---|---|---|
| Square (4×4 or 5×5) | Classic, grid-like symmetry | Transitional and modern kitchens |
| Subway (3×6 or 2×8) | Traditional horizontal width | Farmhouse or classic spaces |
| Vertical Stack (2×8) | Heightens the ceiling | Contemporary or minimalist designs |
Once you select a scale that complements the overall harmony of your space, you must map the exact horizontal boundaries of your installation before making a single cut.
Choosing the Right Thinset
For a vertical installation, you must use a non-sag modified thinset to prevent the heavy tiles from sliding down the wall. This specialized adhesive grips instantly, ensuring your perfectly leveled rows stay exactly where you place them while the mortar cures.
The Stove-Zone Sizing Cheat Sheet
Your central tile column must exactly match the width of your range hood, which is typically 30 or 36 inches. In my own Denver kitchen, extending the tile even a half-inch past the hood ruined the clean vertical lines, forcing me to start over completely.
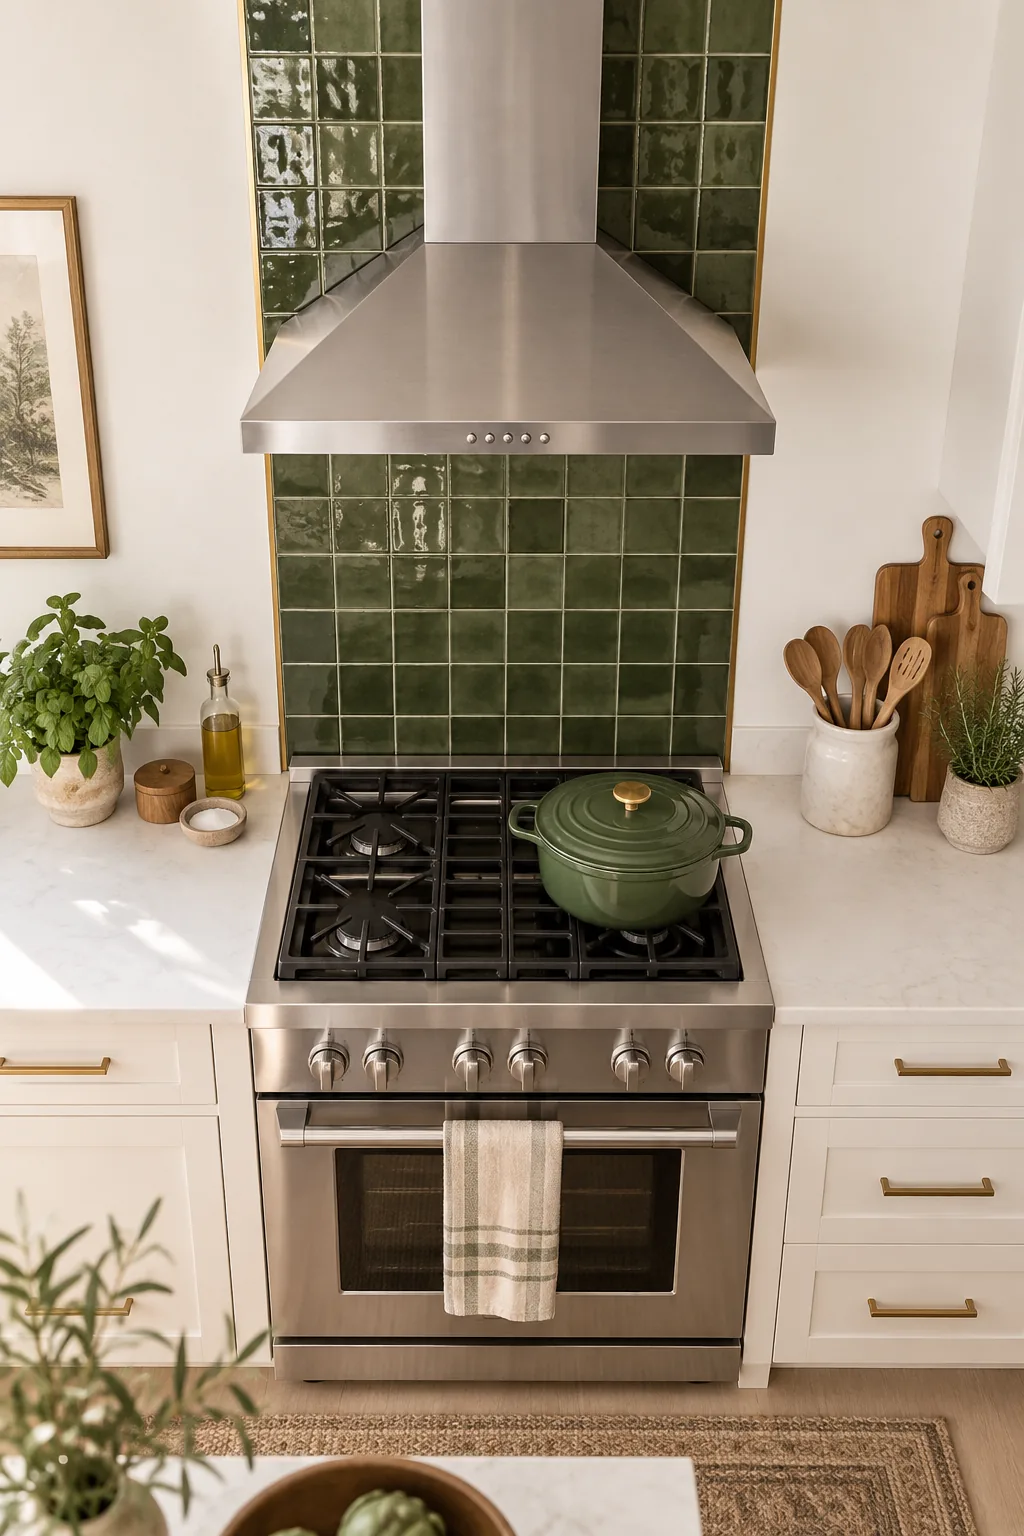
Before mixing any thinset or preparing your walls, use this exact sizing checklist to map your vertical boundaries and ensure a perfectly symmetrical, balanced column.
The Importance of Plumb Lines
Because the sides of your tile column are fully exposed, establishing a perfectly plumb center line is absolutely non-negotiable. If your vertical layout leans even a fraction of an inch, the crisp metal edge profiles will magnify that error against the painted wall.
Spacing for Thermal Expansion
The area immediately behind a high-output range experiences significant temperature fluctuations, making proper grout spacing critical. Using at least a 1/16-inch spacer allows the ceramic tiles to expand and contract naturally without cracking under the intense heat of daily cooking.
Grout Color Strategy
Because a stove-only backsplash acts as a standalone feature, your grout color dictates whether the column reads as a solid block of texture or a highly graphic grid. Matching the grout to the tile softens the impact, while contrasting grout highlights the strict geometry.
- Select a matching grout to emphasize the glaze and subtle handmade textures.
- Choose a contrasting tone to highlight the strict geometry of your layout.
- Always apply a high-quality penetrating sealer to protect against cooking oils.
With the face of the tile fully grouted and properly sealed against daily cooking splatters, your attention must shift to protecting the vulnerable raw outer edges.
Finishing the Exposed Sides
Because the tile stops abruptly on the open wall, you must cap the raw sides with a crisp 1/8-inch metal edge profile. I always specify a brass or aluminum Schluter strip for my clients because it looks significantly more tailored than bulky ceramic bullnose tiles.
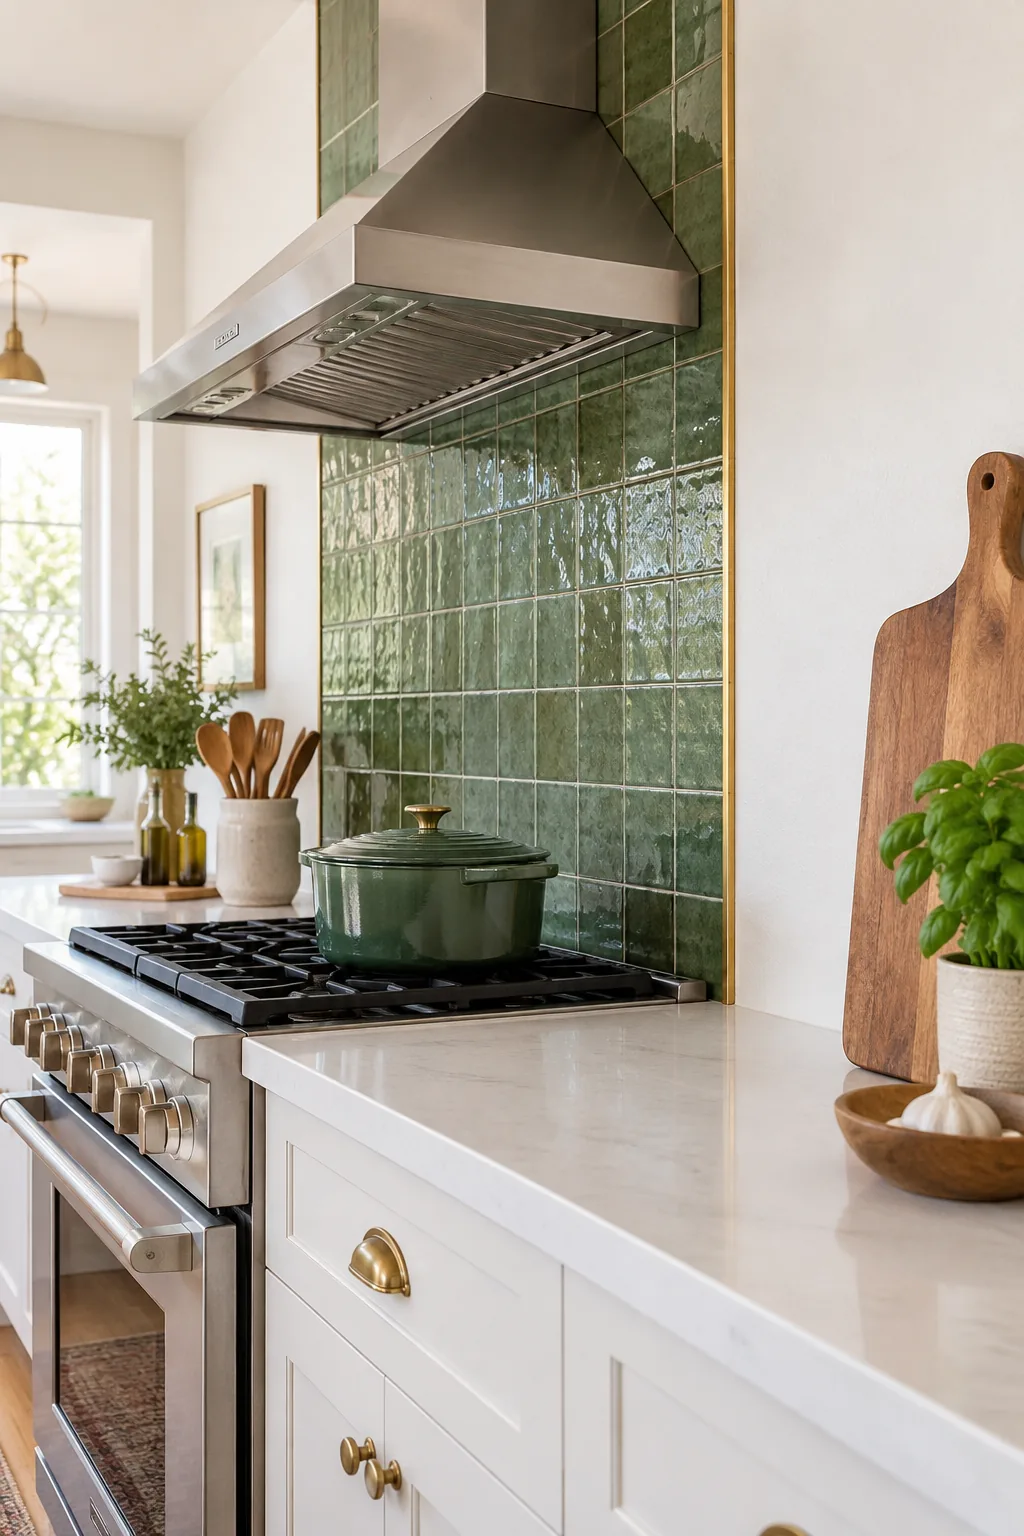
Once your crisp metal edges are set perfectly plumb, you must focus on protecting the vulnerable drywall immediately adjacent to your freshly tiled cooking zone.
Selecting the Edge Profile Finish
When selecting your metal trim, match the metallic finish to your prominent kitchen hardware or lighting fixtures. Coordinating a brushed brass tile edge with your cabinet pulls unifies the room and reinforces the idea that the exposed column was a strategic design choice.
Integrating Outlet Receptacles
If your stove zone includes electrical outlets, you must plan their placement so they do not disrupt your symmetrical tile layout. Moving a receptacle just two inches left or right can prevent awkward L-shaped cuts and keep the grid looking completely undisturbed.
Upgrading to Scrubbable Wall Paint
The untiled walls next to your stove lack ceramic protection, so they require a premium scrubbable interior paint. I repainted my own flanking walls in a high-quality satin finish, which completely stopped daily grease splatters from permanently staining the surrounding drywall.
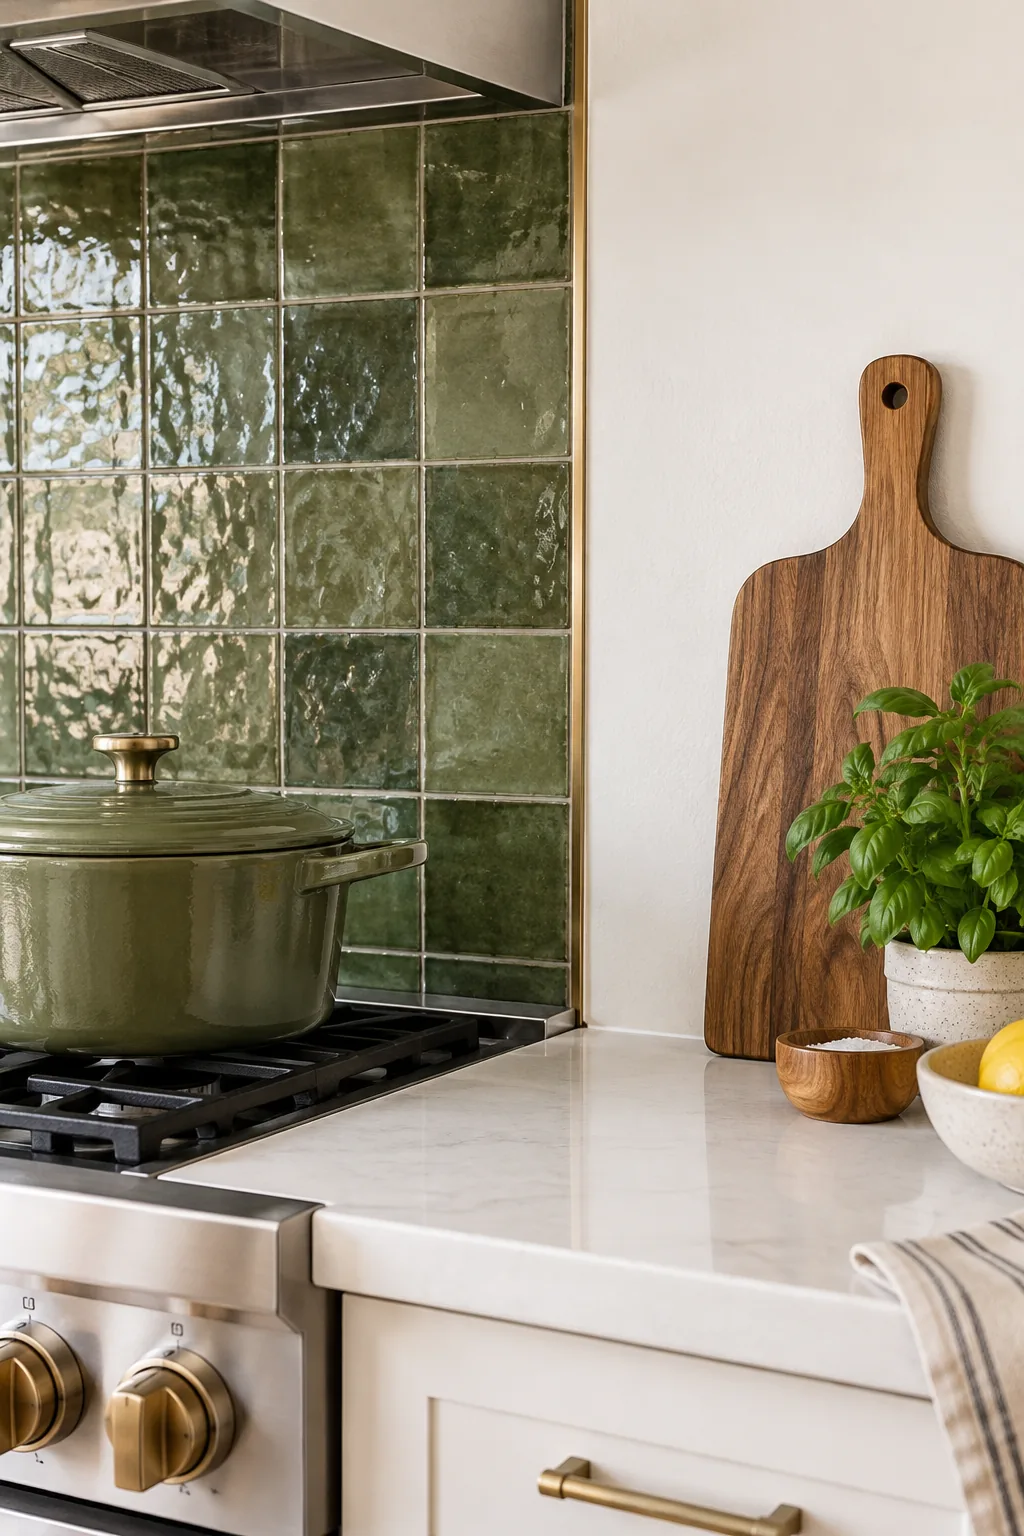
With the upper painted walls fully protected and easy to wipe down, the final structural step is securing the horizontal plane where your tile column lands.
Maintaining the Painted Zones
Even with premium scrubbable paint, the flanking walls require a gentle maintenance routine to preserve their pristine finish. Wiping the drywall with a soft microfiber cloth and mild dish soap immediately after heavy frying prevents airborne grease from polymerizing and bonding to the surface.
Sealing the Countertop Joint
The bottom seam where the tile meets your quartz or stone counter requires a 100% clear silicone base sealant. Standard grout is far too rigid for this transition and will inevitably crack when the lower cabinets naturally shift and bear heavy weight.
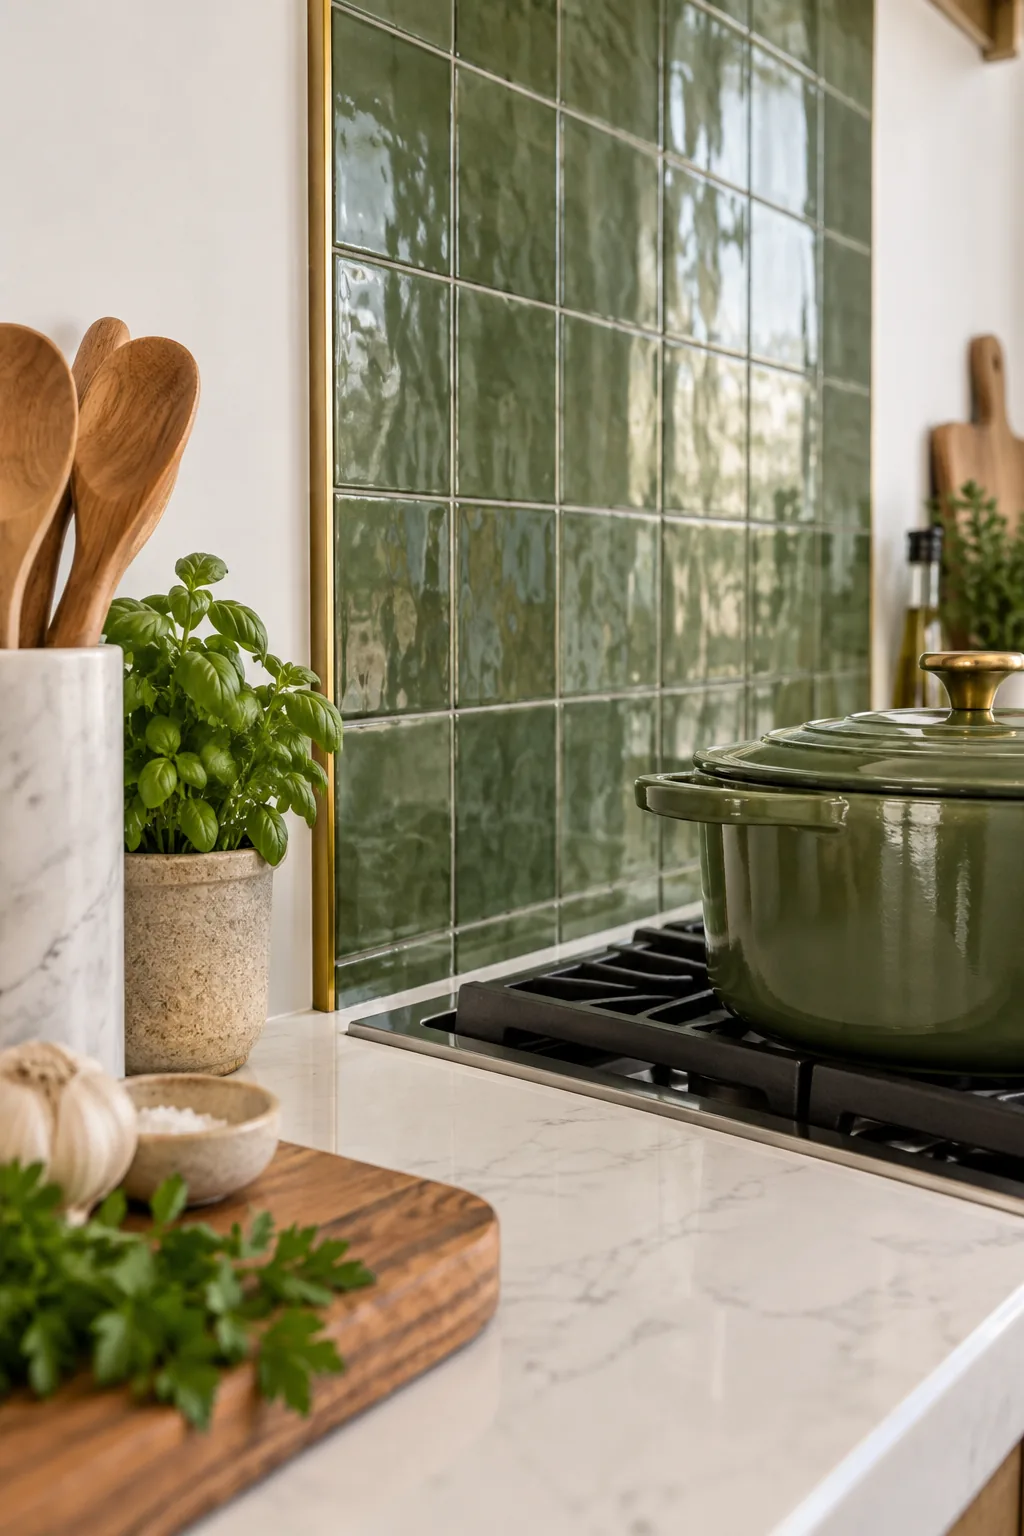
Many DIYers ruin an otherwise perfect tile job at the very bottom edge by making these simple, preventable sealing errors during the final finishing phase.
Managing Cabinet Clearances
When sealing the bottom edge, you must also consider the clearance behind your slide-in range. The tile should extend at least two inches below the countertop profile so that no raw drywall is ever visible when the appliance is pushed fully into place.
5 Ways to Style a Stove-Only Backsplash
Explore how different tile shapes, colors, and edge finishes can completely change the mood of this architectural kitchen feature.
Matte Charcoal and Rich Walnut: Matte charcoal tiles paired with rich walnut accessories create a moody, modern aesthetic. Copy this look by using dark grout to make the tile column feel solid.
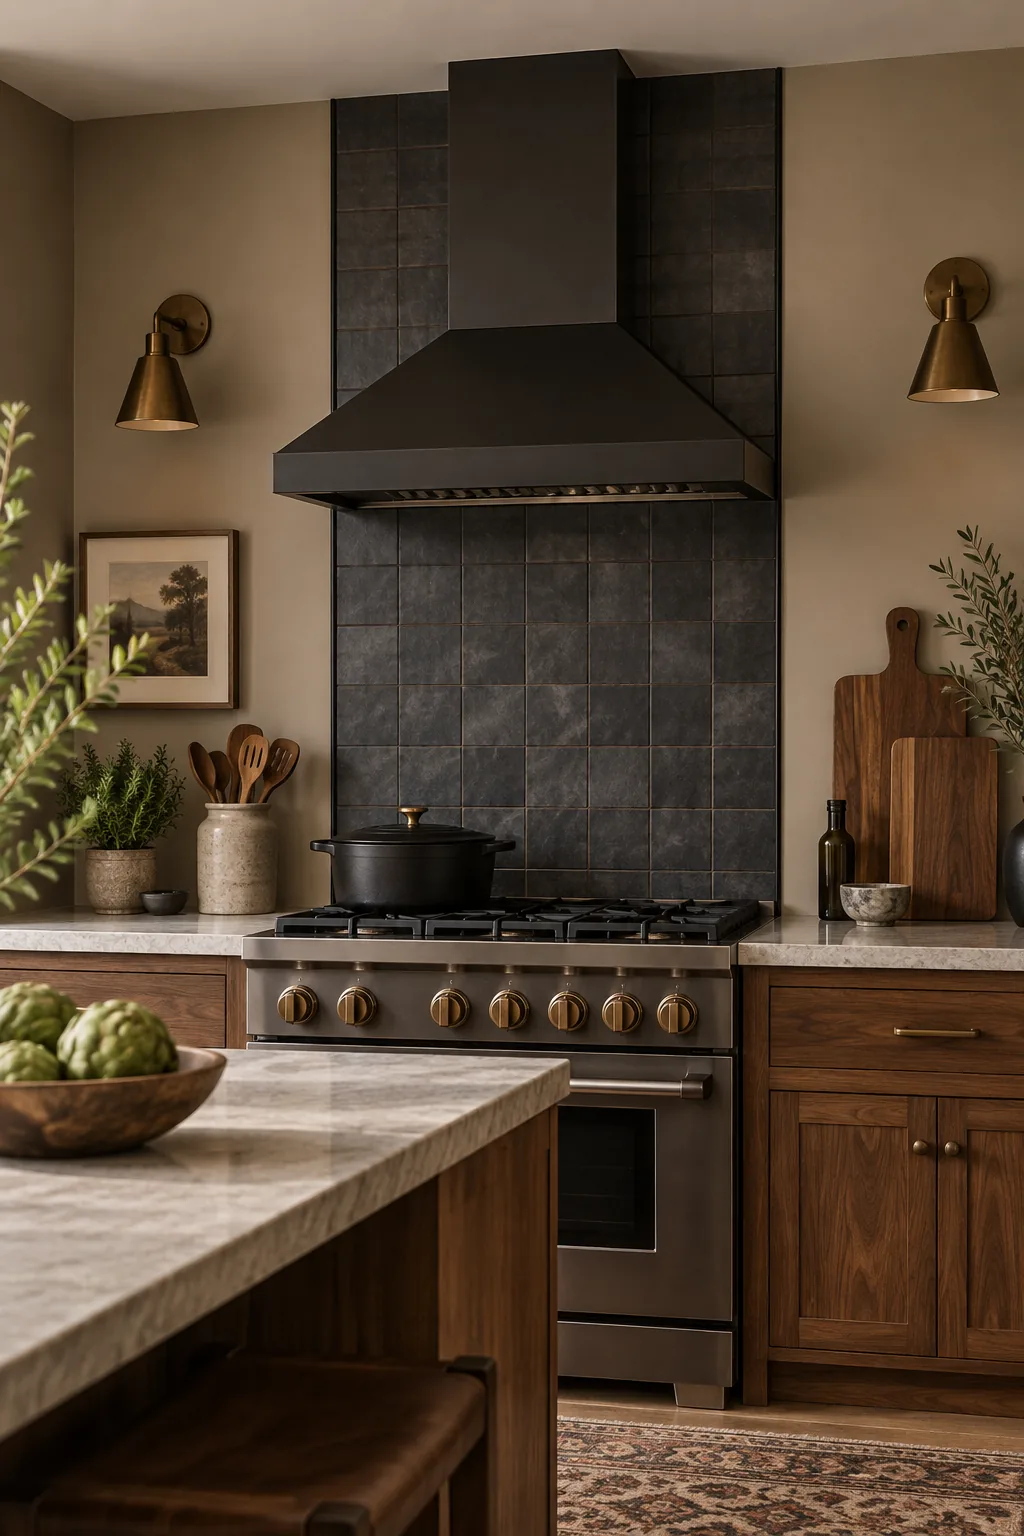
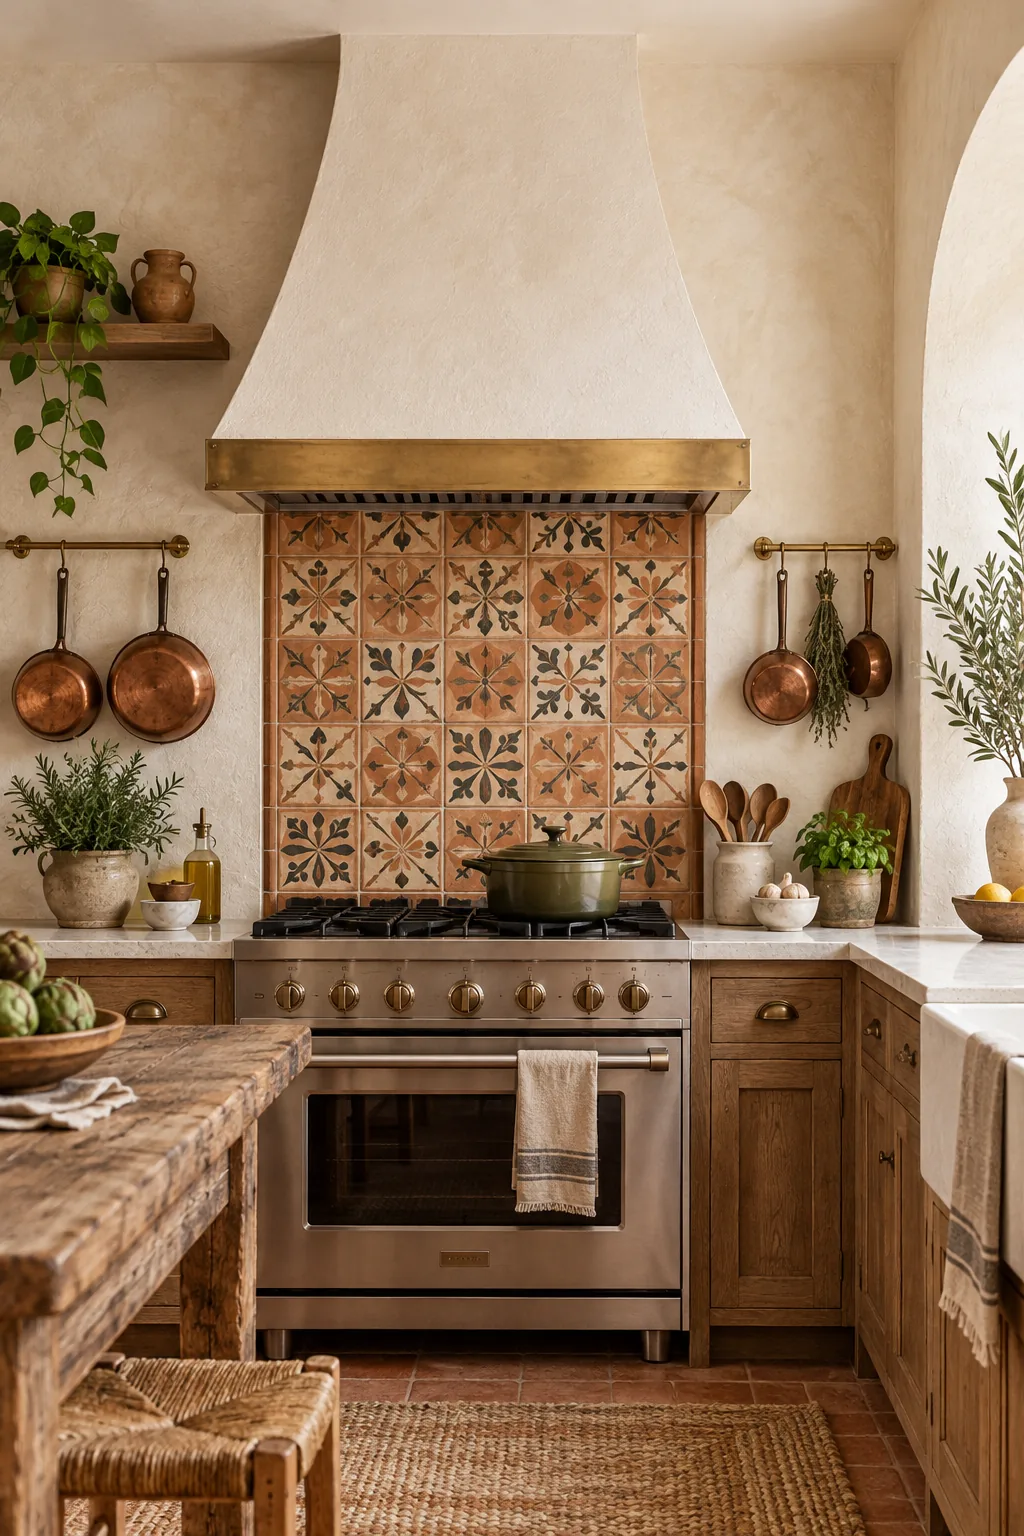
Hand-Painted Terracotta and Copper: Hand-painted terracotta tiles bring instant warmth and rustic charm to a neutral kitchen. Enhance the Spanish influence by displaying vintage copper cookware on the adjacent walls.
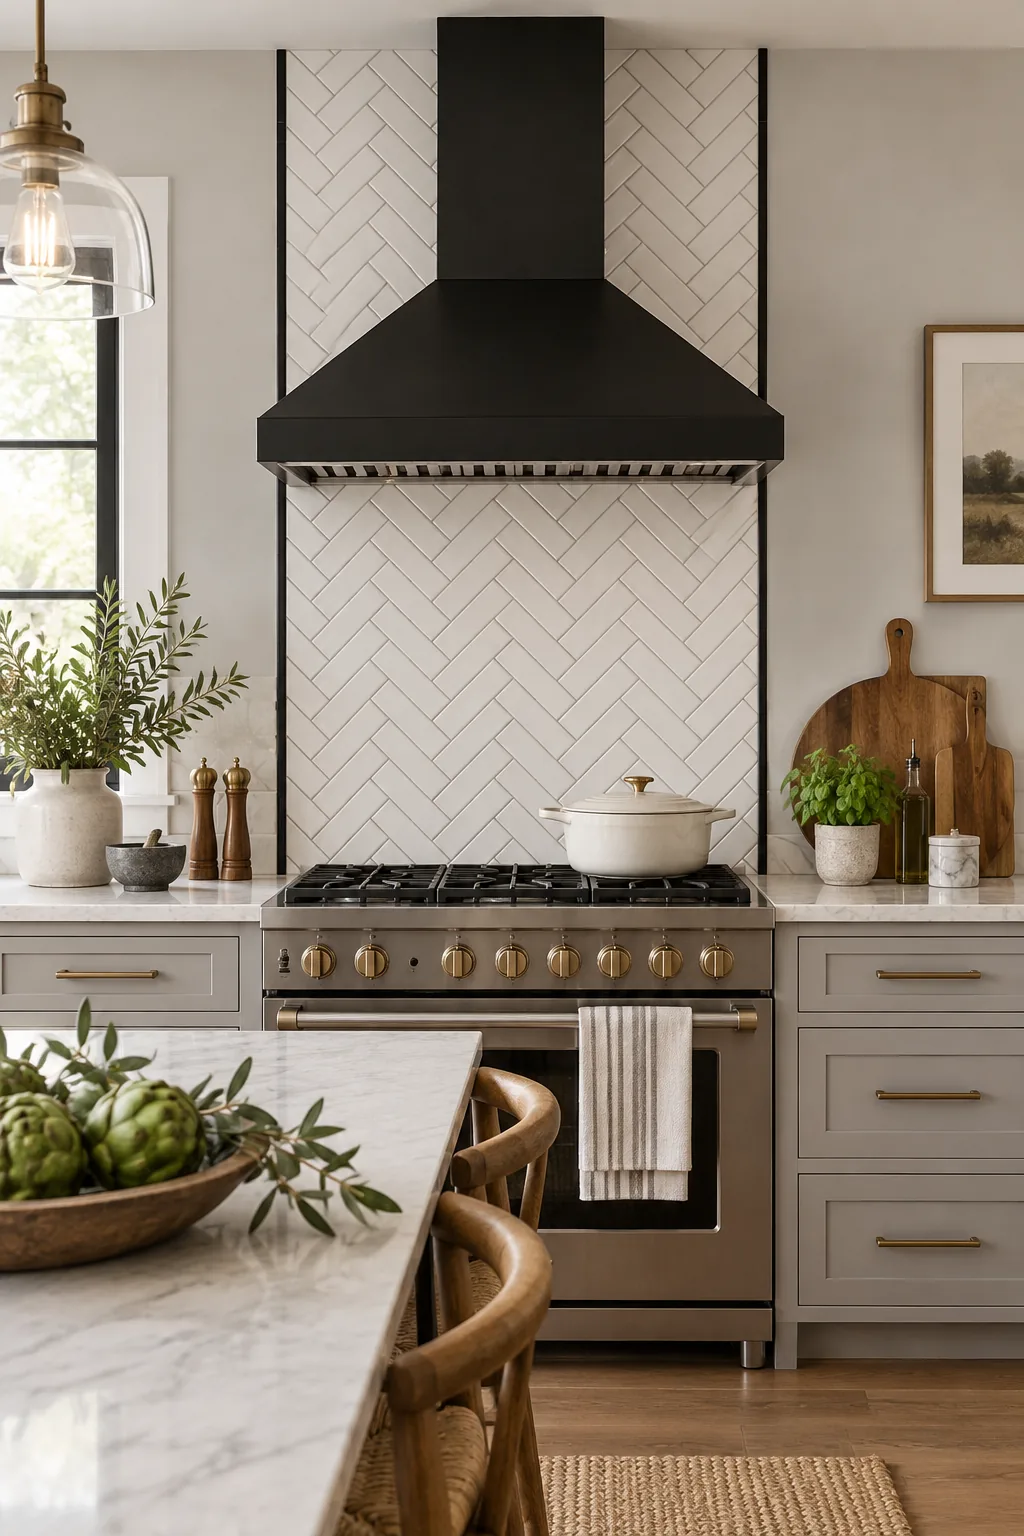
Classic White Herringbone and Black: A white herringbone pattern adds subtle texture without overwhelming the space. Frame the crisp white tiles with a black metal edge profile for a tailored, high-contrast finish.
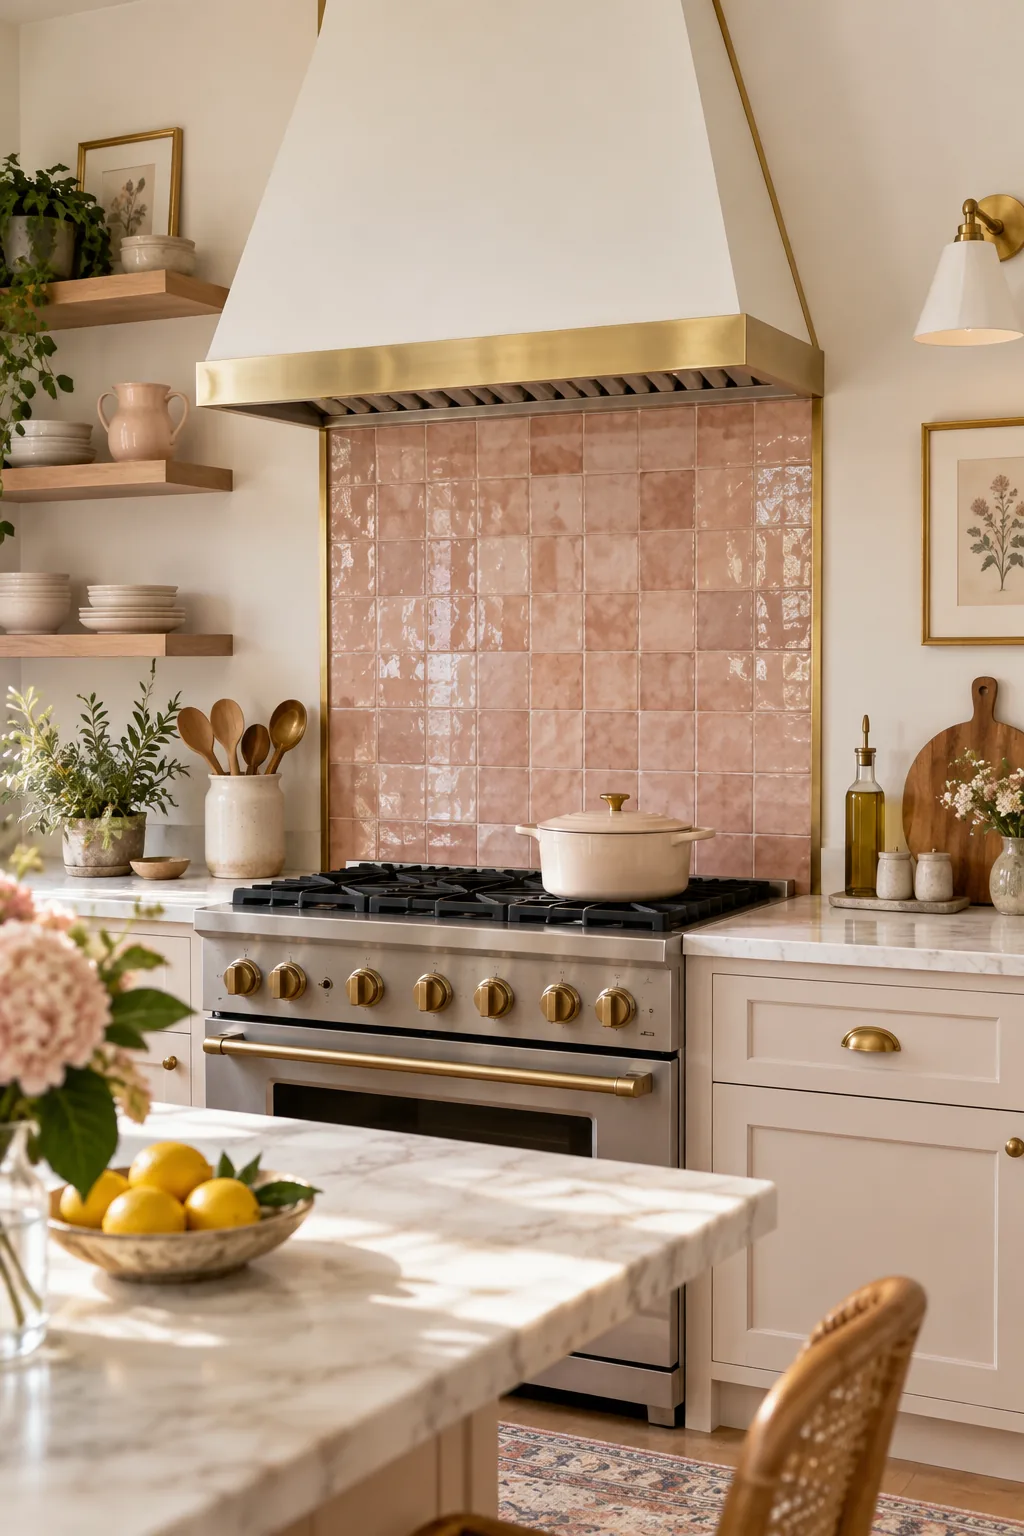
Soft Pink Zellige and Brass: Irregular pink zellige tiles catch the light beautifully and soften the harsh lines of stainless appliances. Pair this delicate look with polished brass trim and handmade ceramics.
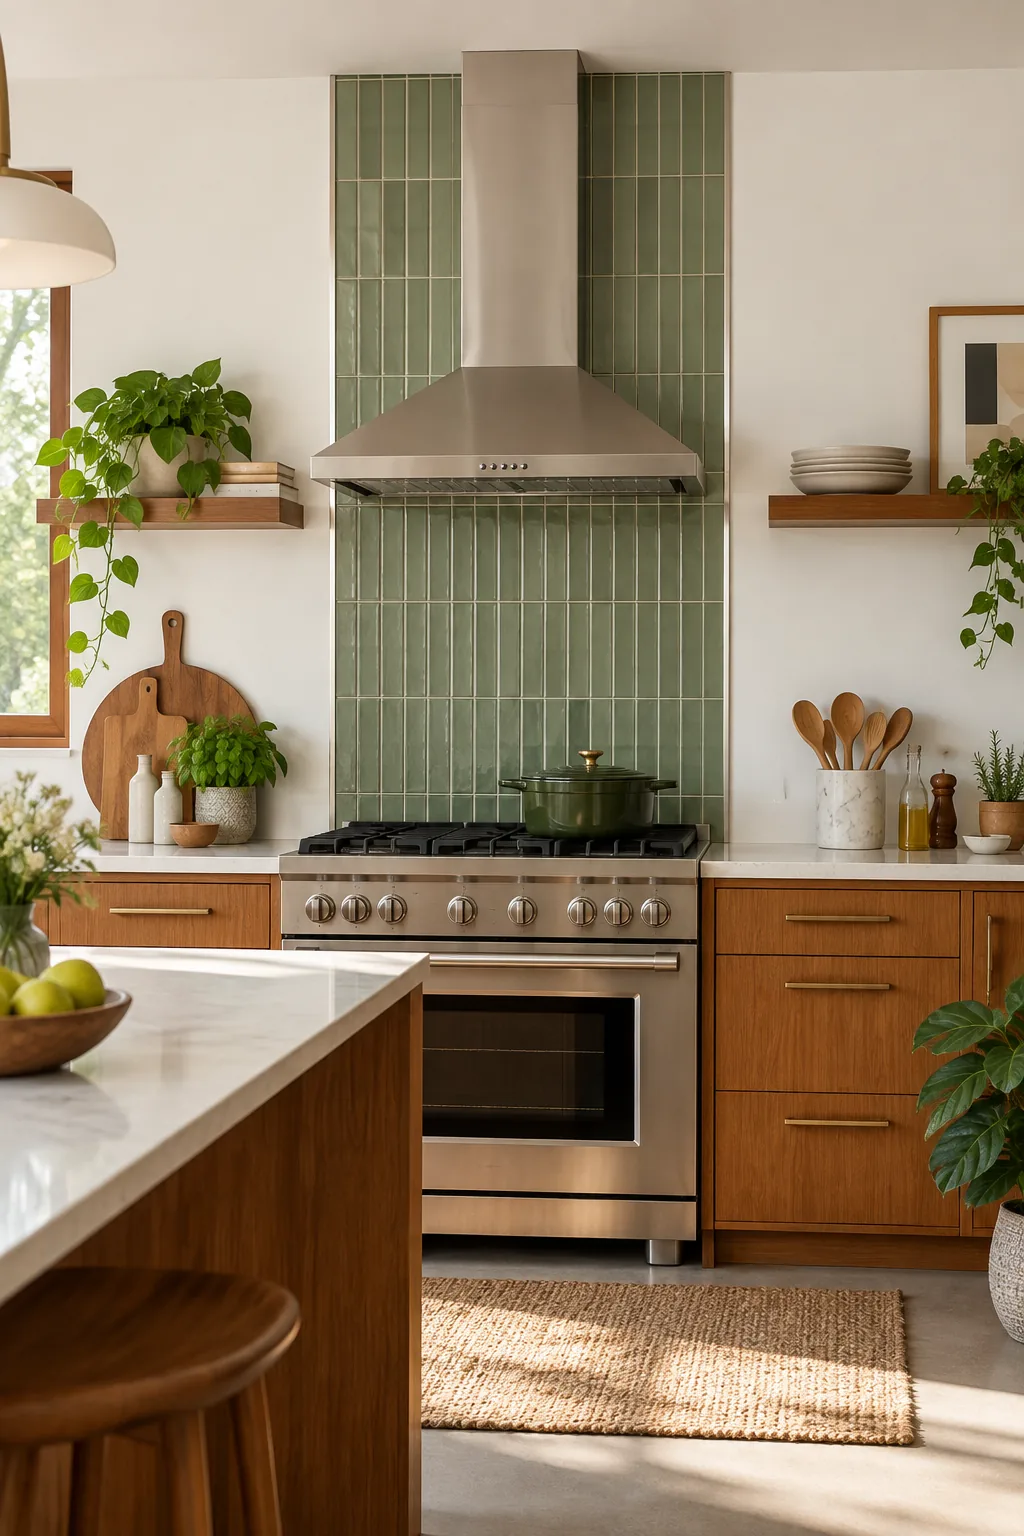
Vertical Stacked Sage and Teak: Stacking rectangular tiles vertically emphasizes the height of the column and feels distinctly mid-century. Ground the airy sage green color with warm teak wood cutting boards.
Styling the Untiled Zones
To balance the heavy visual weight of the central tile column, introduce warm, functional accessories on the adjacent painted walls. Elements like wooden cutting boards or minimal floating shelves warm up the negative space without adding unnecessary visual clutter to the room.
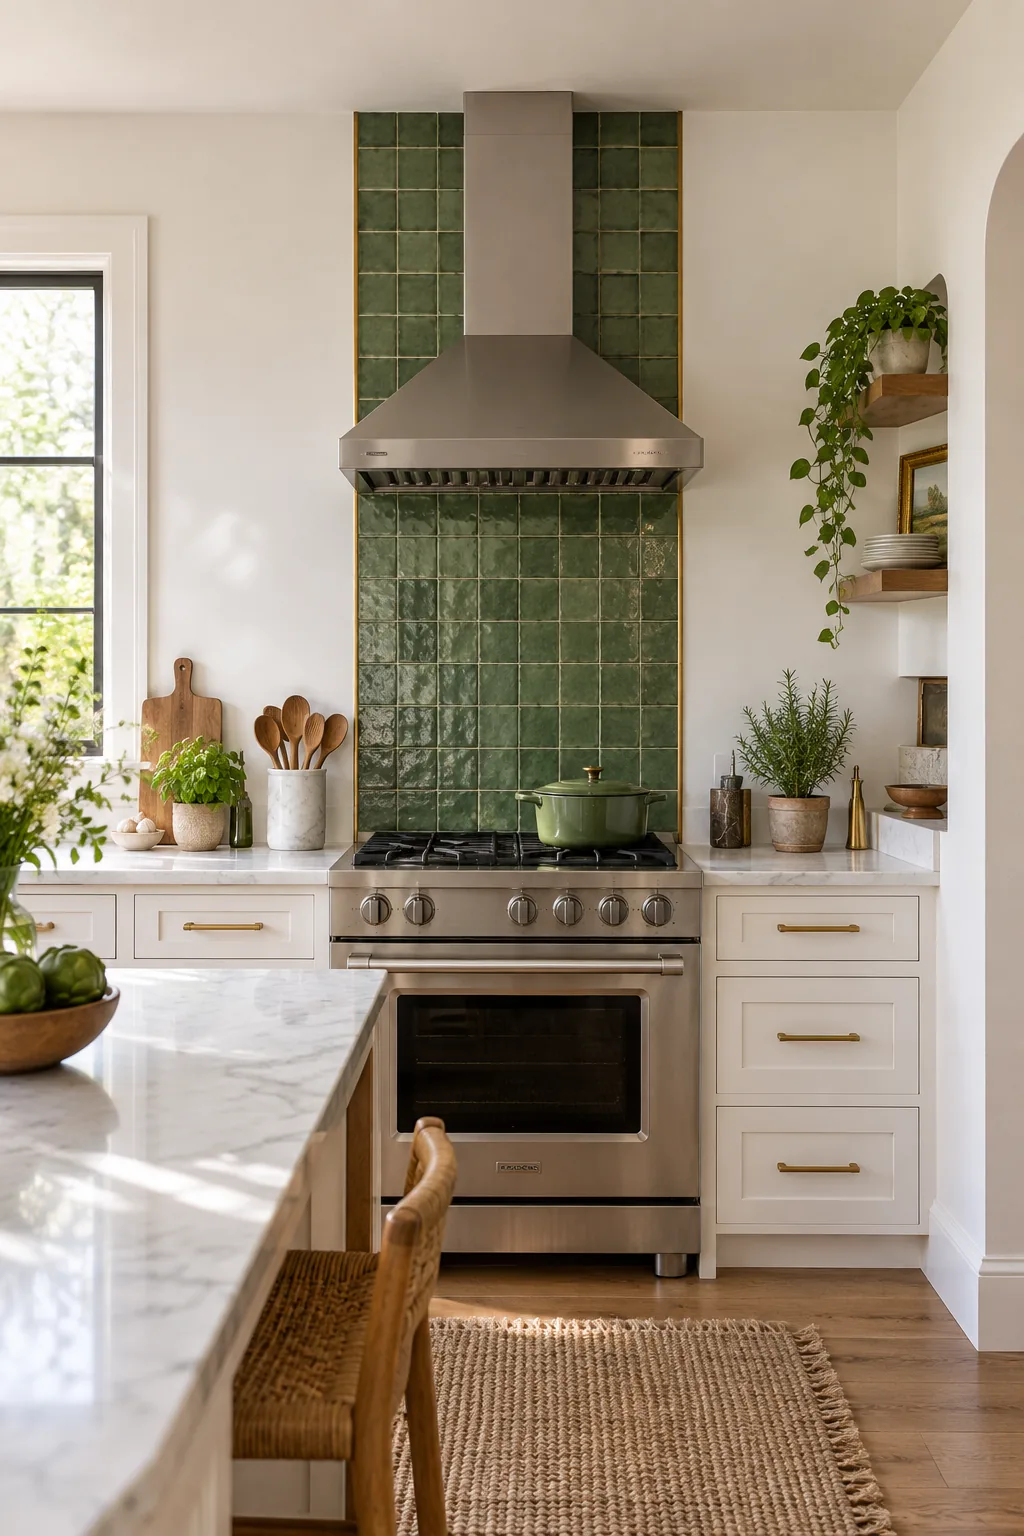
This careful balance of crisp architectural tile, durable paint finishes, and organic textures ensures your stove zone feels both highly intentional and effortlessly integrated into your home.