
Wall Mount a TV by Dinner: Your Free 8-Step Printable Plan
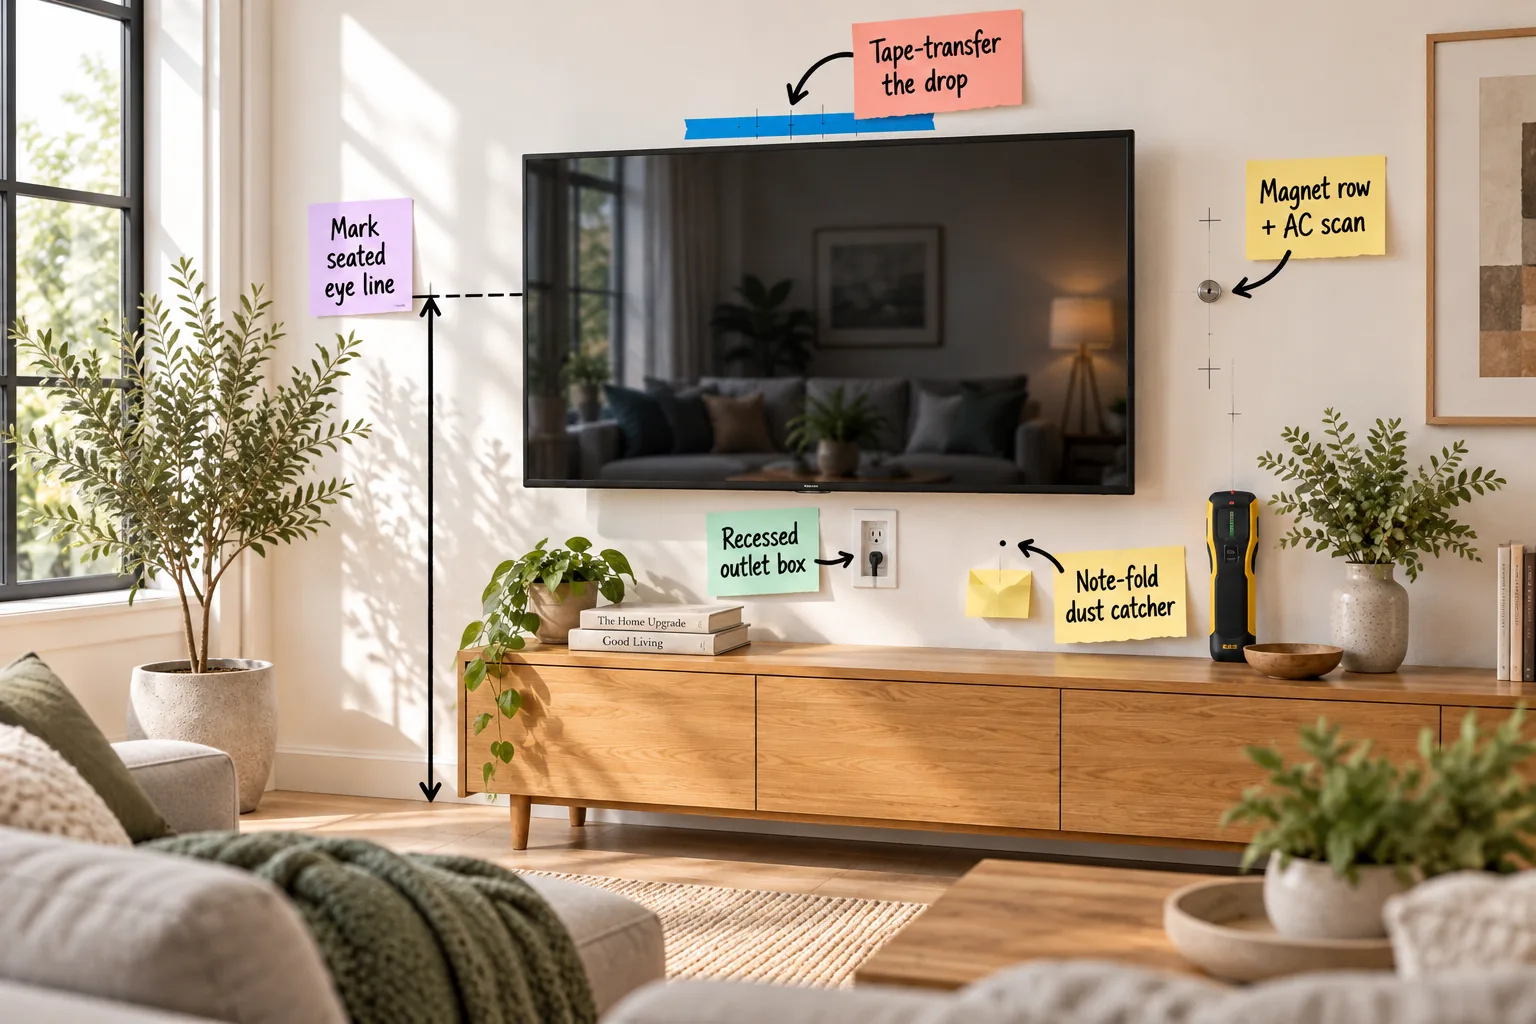
Ready to wall mount a TV without the guesswork? Download our free 8-step printable afternoon mounting plan to calculate your bracket drop, find safe studs, and hide cords before dinner.
Determining Your Seated Eye Line
Find the perfect viewing height before drilling a single hole by measuring from the floor to your seated eye level on the sofa. This typically lands around 42 inches for standard seating, which you should mark as the absolute center point for your screen.
Selecting the Ideal Wall Surface
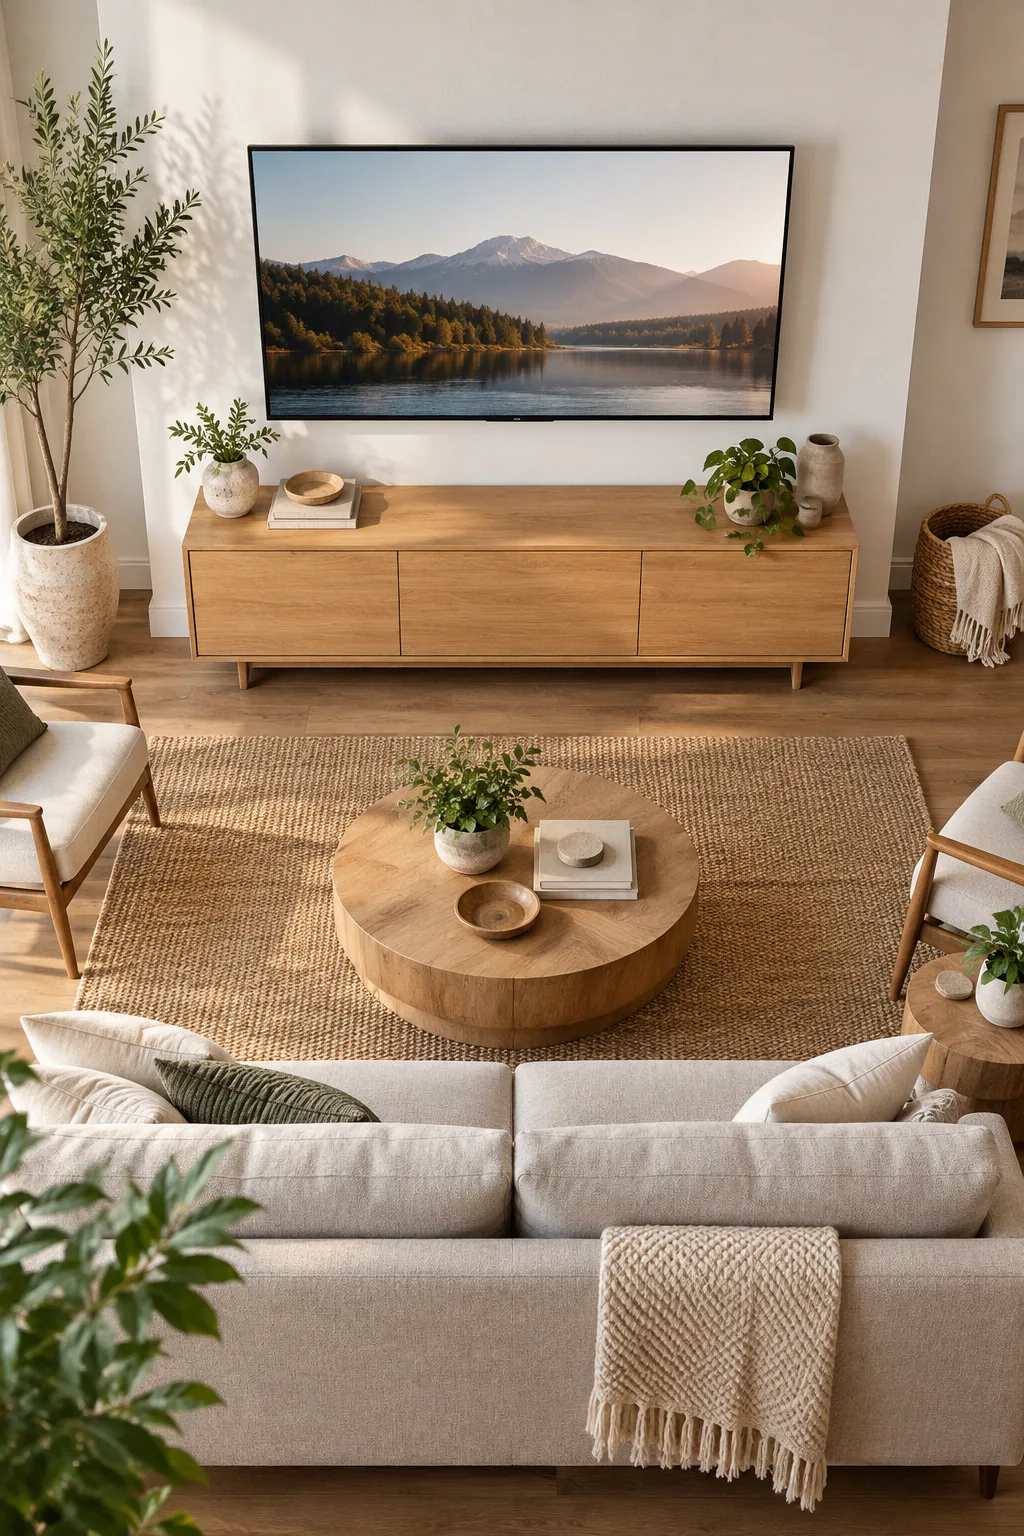
Choosing the right location impacts both the structural safety and the aesthetic flow of your living space. Interior drywall over wood framing provides the easiest installation, while exterior walls often hide rigid foam insulation or shallow studs that complicate the anchoring process.
Managing Glare from Living Room Windows
Consider the natural light in your room before finalizing that height mark on the drywall. Adjusting the screen position slightly to avoid direct afternoon sun prevents irritating reflections, ensuring you enjoy a clear picture without constantly pulling the heavy blackout curtains closed.
Factoring in Sofa Depth and Recline
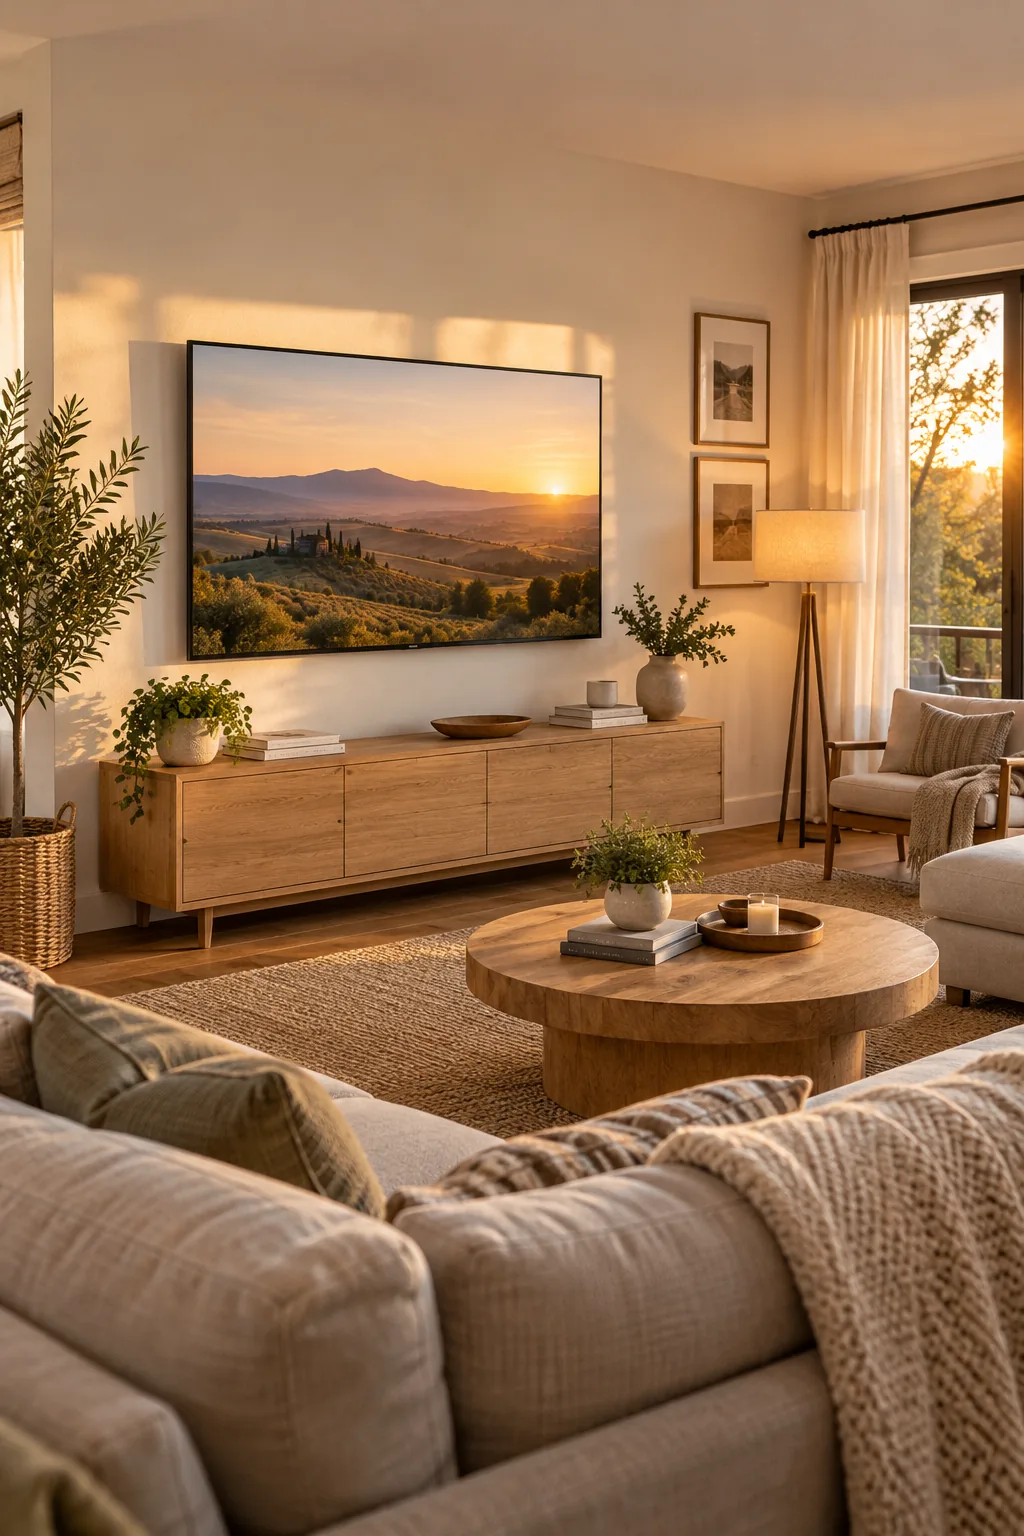
Deep modular sectionals naturally encourage a more relaxed posture, which slightly alters your ideal viewing angle. If your family prefers lounging back rather than sitting upright, raise the center mark by two to three inches to maintain neck comfort during long movie marathons.
Adjusting for Open Concept Layouts
Rooms that combine the kitchen and living space often require a strategic compromise in screen placement. Mounting the television slightly higher accommodates viewers standing at the kitchen island, while a gentle downward tilt keeps the picture crisp for those seated on the couch.
Choosing the Right Articulating Mount
Full-motion brackets offer incredible flexibility for angled seating arrangements, but they demand serious structural support. Because these mounts pull the heavy screen away from the wall, securing them into solid wood framing is absolutely critical to prevent the entire assembly from tearing loose.
Locating Studs and Scanning for AC
Secure heavy screens safely by finding the exact center of your wall studs using a rare earth magnet to locate the vertical row of hidden drywall screws. I actually learned this the hard way after a cheap plastic stud finder completely missed a plumbing pipe in my own living room!
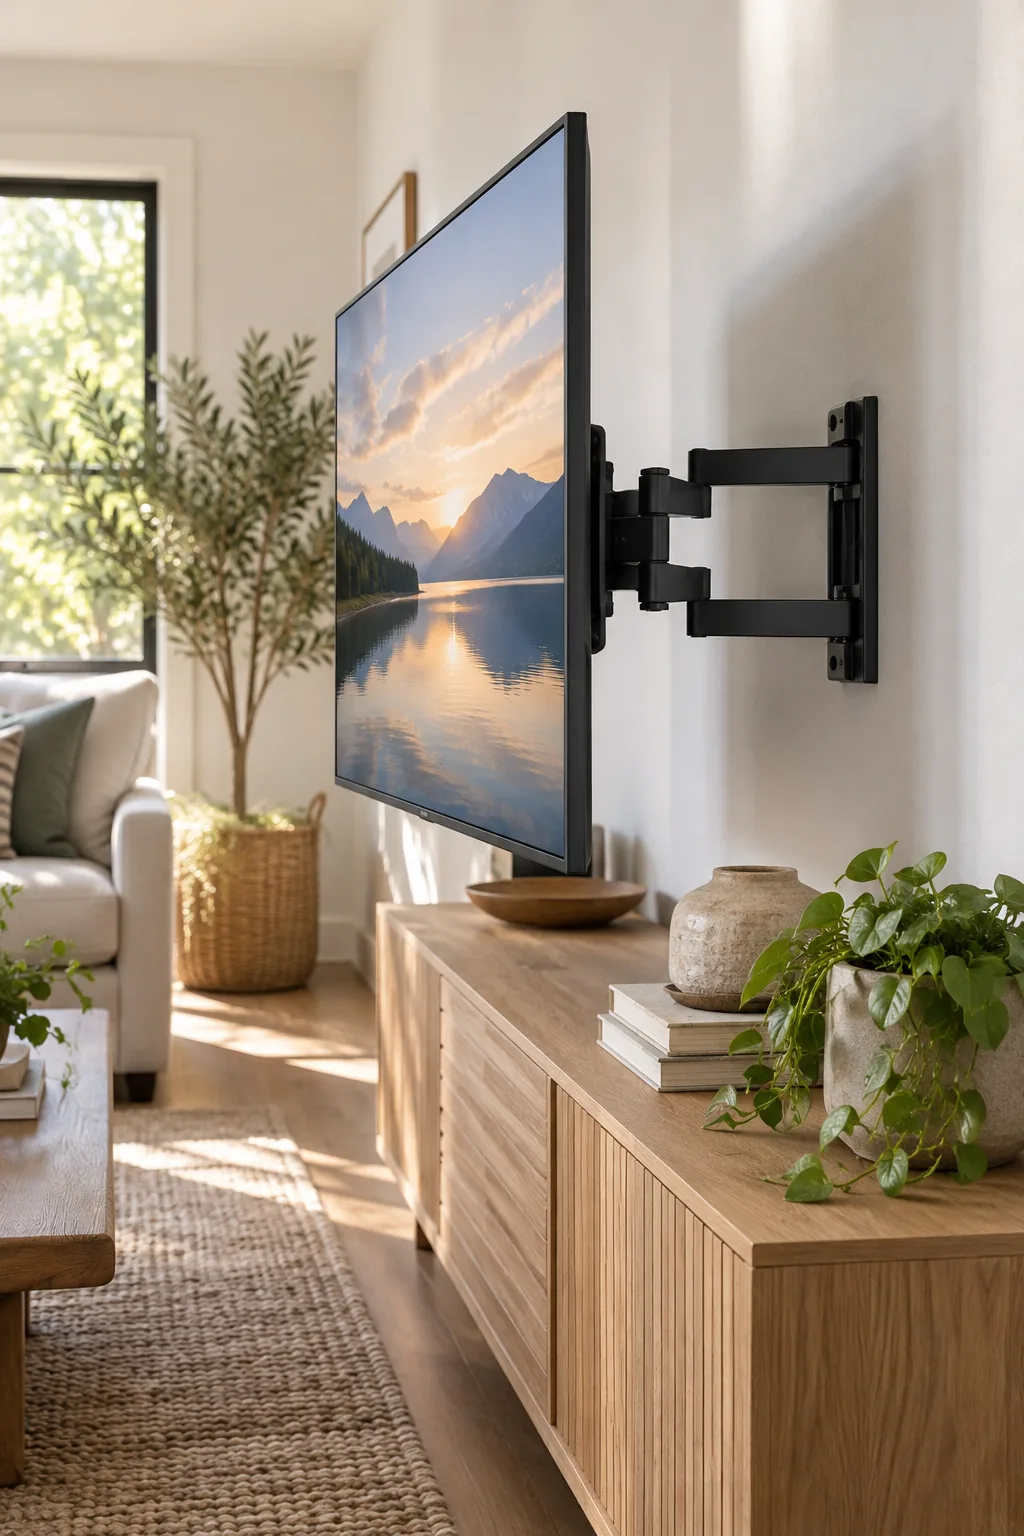
Finding a solid anchor point is non-negotiable for heavy electronics, but traditional methods often leave dangerous room for error when probing the wall.
Gathering the Essential Hardware
Most mounting kits include a dizzying array of bolts and spacers designed to fit every conceivable television model. Take a moment to sort through the provided hardware bags, selecting only the specific heavy-duty lag bolts intended for wood stud installation to avoid confusion later.
Mapping the Wall Layout
Visualizing the final placement helps catch awkward spacing issues before you commit to permanent holes. Outline the television’s actual dimensions on the wall using low-tack painter’s tape, ensuring the screen won’t overlap your light switches or crowd the top of your media console.
Verifying Stud Width and Center
Hitting the very edge of a wooden stud severely weakens the holding power of your lag bolts. Probe the left and right boundaries of the wood behind the drywall using a tiny finish nail, marking the exact dead-center to guarantee maximum structural integrity.
Understanding Your VESA Pattern
Flip your television face down onto a soft blanket to measure the four mounting holes on the back panel. This standardized grid, known as the VESA pattern, dictates exactly which bracket slots you will use to attach the vertical arms securely to the screen.
Inspecting the TV Ports
Take a close look at the back panel of your television before attaching any metal hardware. Ensure the vertical mounting arms won’t block access to the primary HDMI inputs, optical audio ports, or the main power cable receptacle once everything is tightened down.
Attaching the Vertical Arms
Line up the vertical metal brackets with your television’s VESA holes, inserting the plastic spacers provided in the kit. Thread the machine screws in by hand first to avoid cross-threading, then snug them down gently with a screwdriver to prevent cracking the plastic casing.
Calculating the VESA Bracket Drop
Transfer your mounting measurements flawlessly without complex math by measuring the distance from the TV’s VESA holes to its top edge. Mark those ticks on a strip of painter’s tape, and place that tape on the wall to perfectly position the top bracket hooks.
Marking the Top Bracket Hooks
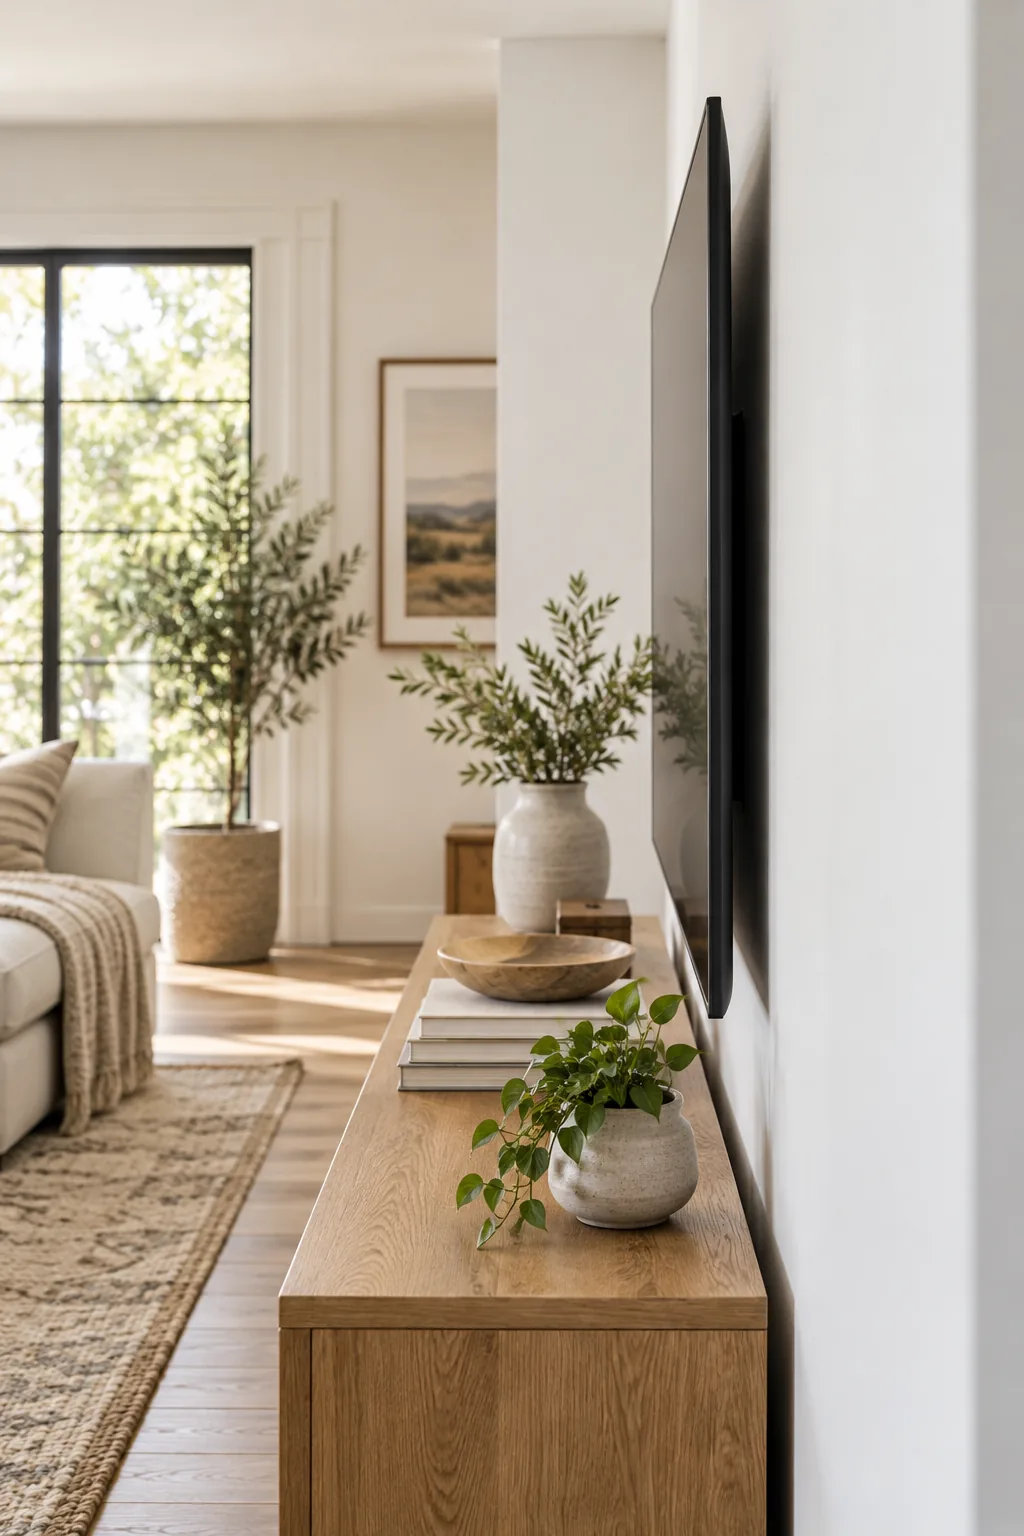
Align your calculated tape strip with the center eye-line mark you established earlier in the process. The pencil ticks on the tape now indicate the exact height where the top hooks of the wall bracket must rest to achieve your perfect viewing position.
Taping the Wall Template
Many premium mounting kits include a convenient paper template that mimics the exact shape of the metal wall plate. Tape this guide directly over your calculated hook marks, double-checking that the printed mounting slots align perfectly with the stud centers you found earlier.
Leveling the Mounting Bracket
Even a fraction of an inch off level will look glaringly obvious once the wide screen is attached. Place a magnetic torpedo level across the top edge of your wall plate or paper template, adjusting the position until the bubble rests perfectly centered.
Selecting the Right Drill Bit
Choosing the correct pilot hole size prevents the wood studs from splitting when you drive the massive lag bolts. Always check the manufacturer’s instructions, as using a bit that is too large will strip the wood and ruin the anchor point completely.
| Lag Bolt Size | Wood Pilot Bit | Masonry Bit | Socket Size |
|---|---|---|---|
| 1/4 inch | 1/8 inch | 5/16 inch | 7/16 inch |
| 5/16 inch | 5/32 inch | 3/8 inch | 1/2 inch |
| 3/8 inch | 3/16 inch | 1/2 inch | 9/16 inch |
Catching Drywall Dust at the Source
Keep your media console and baseboards pristine by folding a standard sticky note in half and taping it directly beneath your pencil mark. I use this trick for every single wall project in my house because it catches the fine drywall dust exactly as it falls from the drill bit.
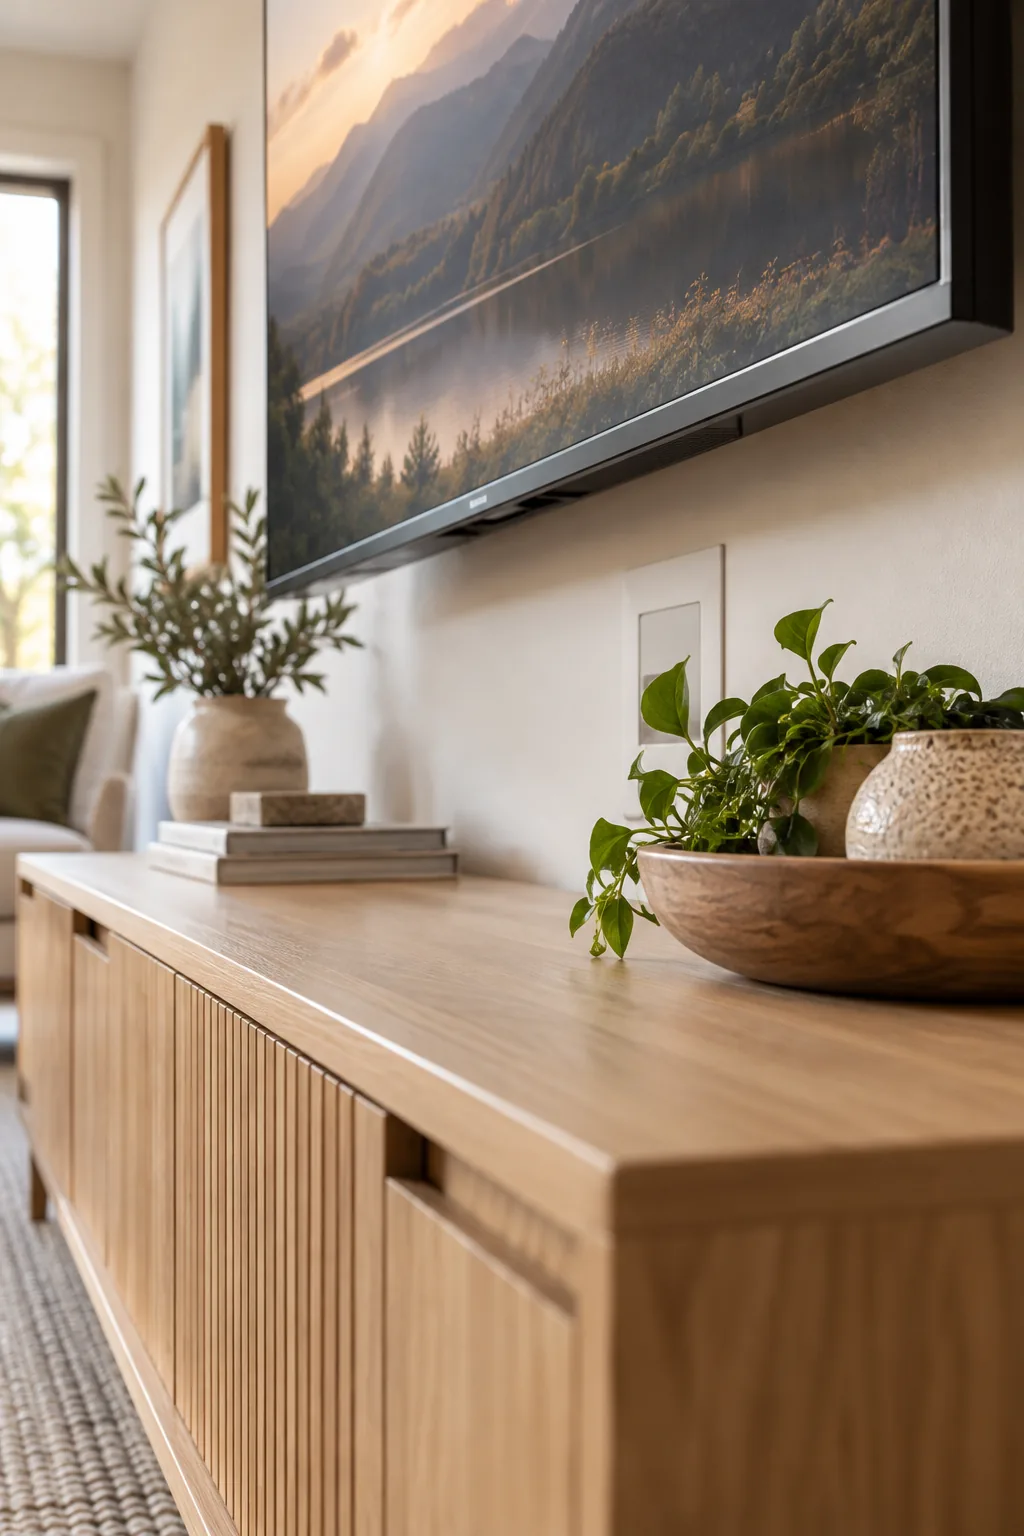
Drilling the Pilot Holes
Hold your power drill perfectly perpendicular to the wall to ensure the lag bolts drive in straight. Apply steady pressure as you drill into the stud, feeling for the distinct resistance of solid wood to confirm you haven’t slipped into the empty wall cavity.
Driving the Lag Bolts Securely
Ditch the drill and use a proper socket wrench to tighten the heavy mounting hardware by hand. Stop turning the wrench the moment the metal washer bites firmly into the bracket, as over-tightening can actually crush the drywall and warp the steel plate.
Testing the Mount Weight Capacity
Before trusting the bracket with your expensive electronics, give the installed wall plate a firm downward tug. The metal should feel completely integrated with the architecture of the house, showing zero flex or movement when subjected to a sudden burst of heavy pressure.
Planning the Cable Route
Dangling black wires instantly ruin the sleek, floating aesthetic of a freshly mounted flat screen. Plan a vertical path between the wall studs to drop your power and data cables down to the baseboard, ensuring no horizontal fire blocks block the route.
Achieving a Cord-Free Finish
Eliminate the trailing mess of power and HDMI cables by installing a recessed in-wall outlet box directly behind the screen’s footprint. This clever upgrade allows the TV to sit completely flush against the mount while keeping all your connections completely hidden from view.

Routing the Low-Voltage Cables
Fish your HDMI and optical audio cords through a dedicated low-voltage brush plate next to the new power outlet. Keeping these data cables physically separated from the electrical wiring prevents interference, ensuring your picture and sound remain crystal clear without annoying static.
Hooking the Screen onto the Bracket
Grab a capable friend to help lift the television, keeping the screen perfectly vertical as you approach the wall. Carefully guide the vertical arms over the horizontal wall plate, listening for the distinct click that confirms the top hooks have securely engaged.
Locking the Safety Screws
Reach directly under the mounted screen with a long screwdriver to tighten the essential locking mechanisms. These small but mighty safety screws prevent the television from accidentally jumping off the bracket if someone bumps the console or attempts to adjust the viewing angle.
Securing the Soundbar Bracket
Integrate your audio setup seamlessly by hanging the soundbar directly beneath the television using a compatible attachment bracket. Suspending the speaker from the main TV mount keeps the sound directed at the viewers and eliminates the need to drill additional holes in the drywall.
Calibrating the Screen Tilt
Gently push the top edge of the television backward to eliminate any lingering glare from overhead lighting fixtures. Most modern brackets feature toolless tension knobs, allowing you to easily dial in the perfect downward angle for an incredibly immersive, theater-like viewing experience.
Three Ways to Style Your Mounted TV
Explore how a perfectly mounted screen adapts to different room styles and layouts.
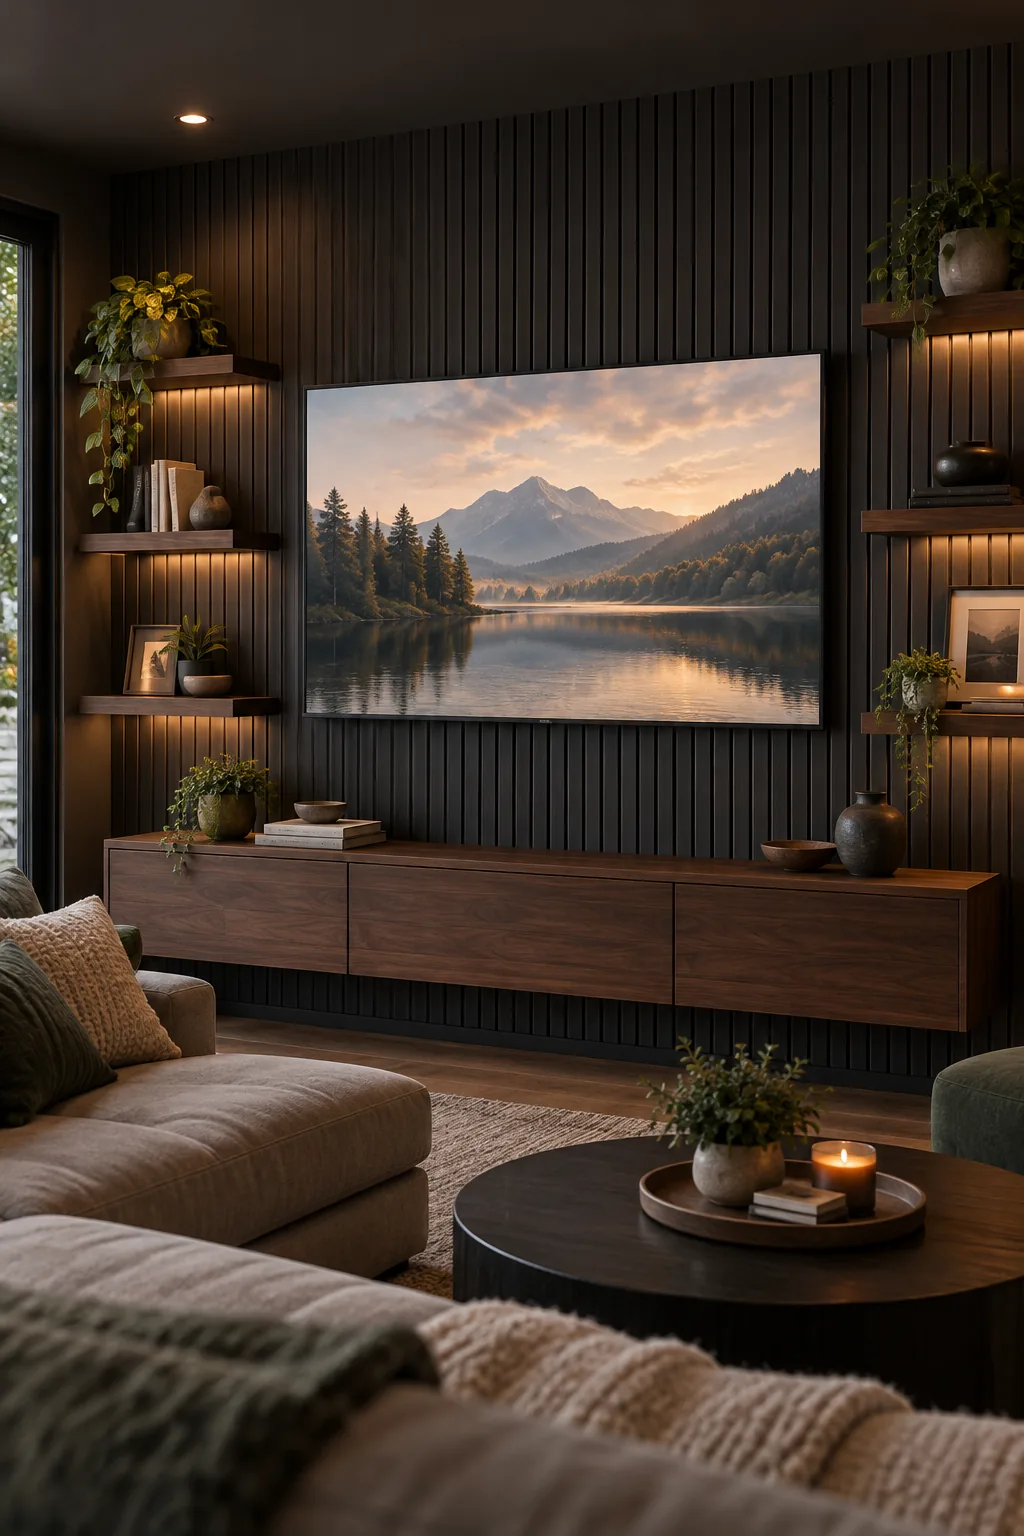
Moody charcoal media room: Dark slat walls help the black bezel of the screen disappear completely into the architecture when the television is turned off.
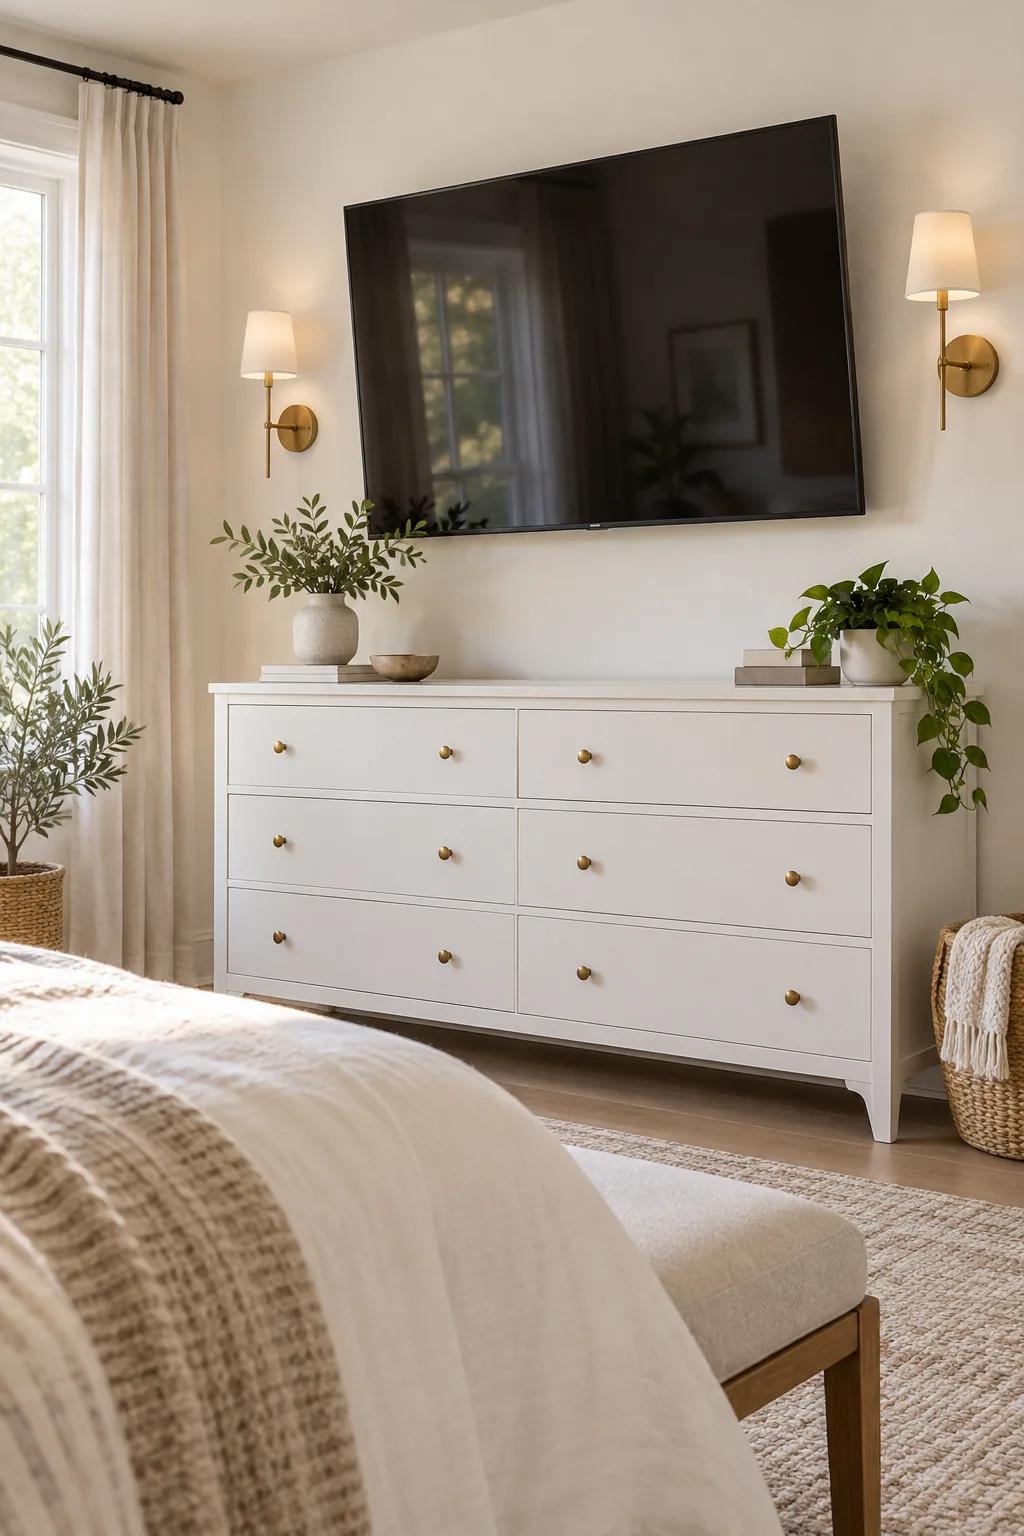
Bright minimalist bedroom setup: Mounting the screen higher above a dresser requires a slight downward tilt bracket to maintain a comfortable viewing angle from the bed.
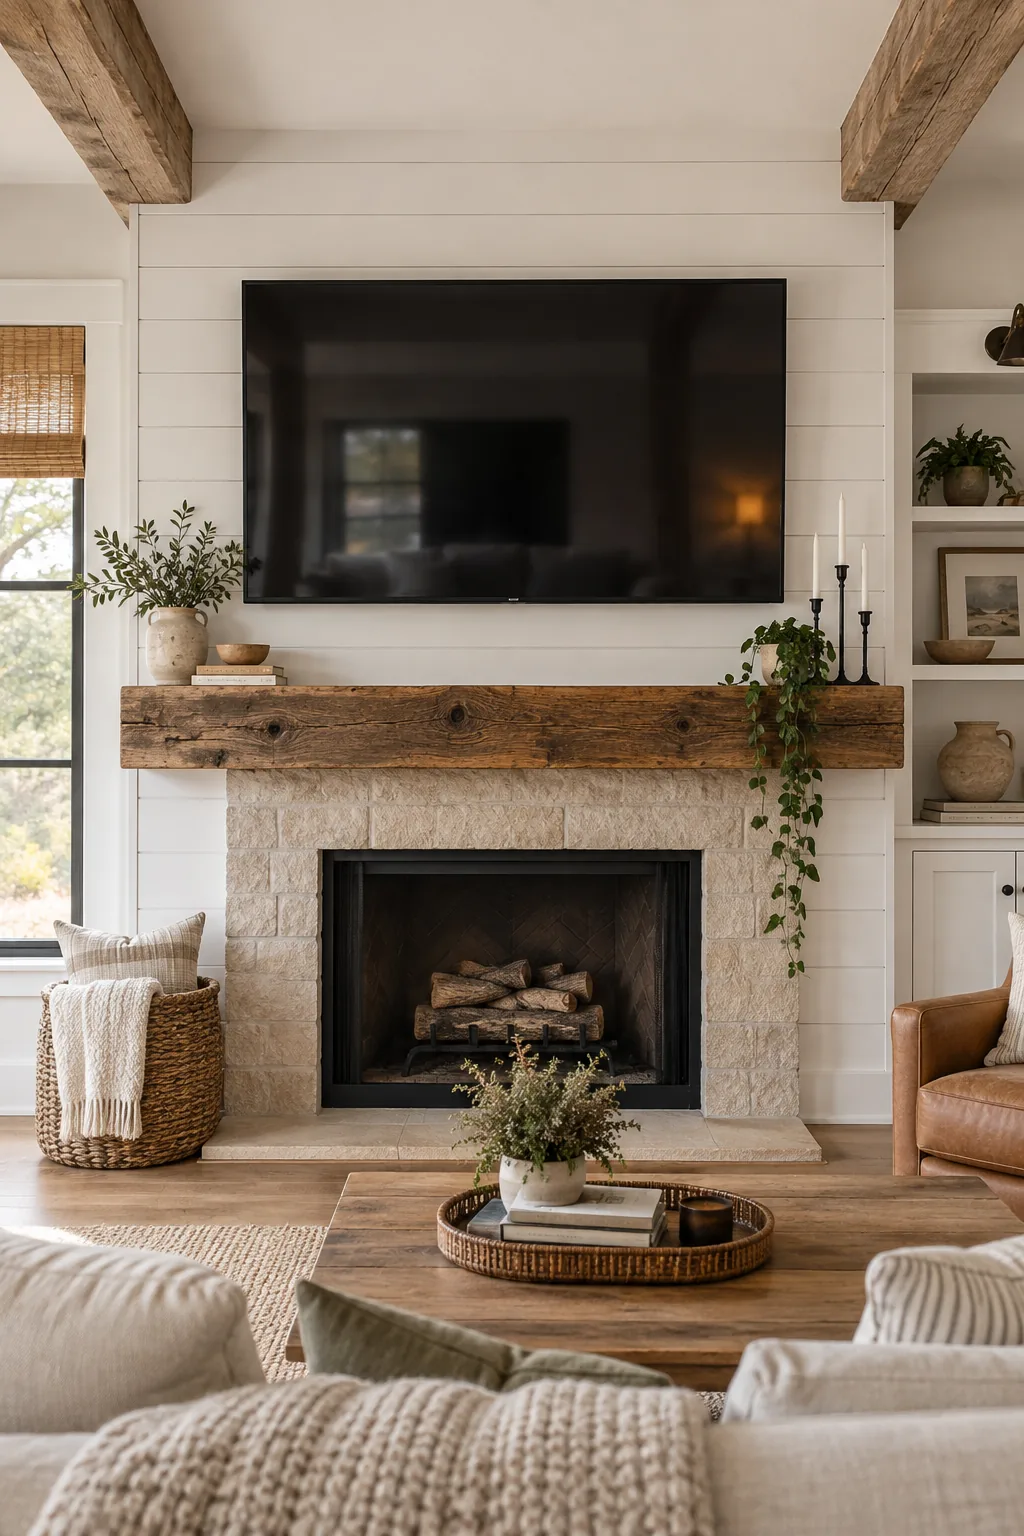
Rustic shiplap fireplace mantel: A thick reclaimed wood mantel provides a visual buffer that grounds the modern screen within a traditional farmhouse setting.
Your 8-Step Afternoon Mounting Plan
Download the printable one-page afternoon mounting sequence with 8 timed steps, plus dedicated fill-in lines for your VESA pattern and drop calculations. Having this exact sequence printed out saved my sanity during my last big living room makeover, keeping the whole process under two hours!
Before you print the sequence and start marking your walls, gather the essential tools required to complete the job without interruption.