
Attic Bedroom Insider Dimensions: Layout & Clearance Guide
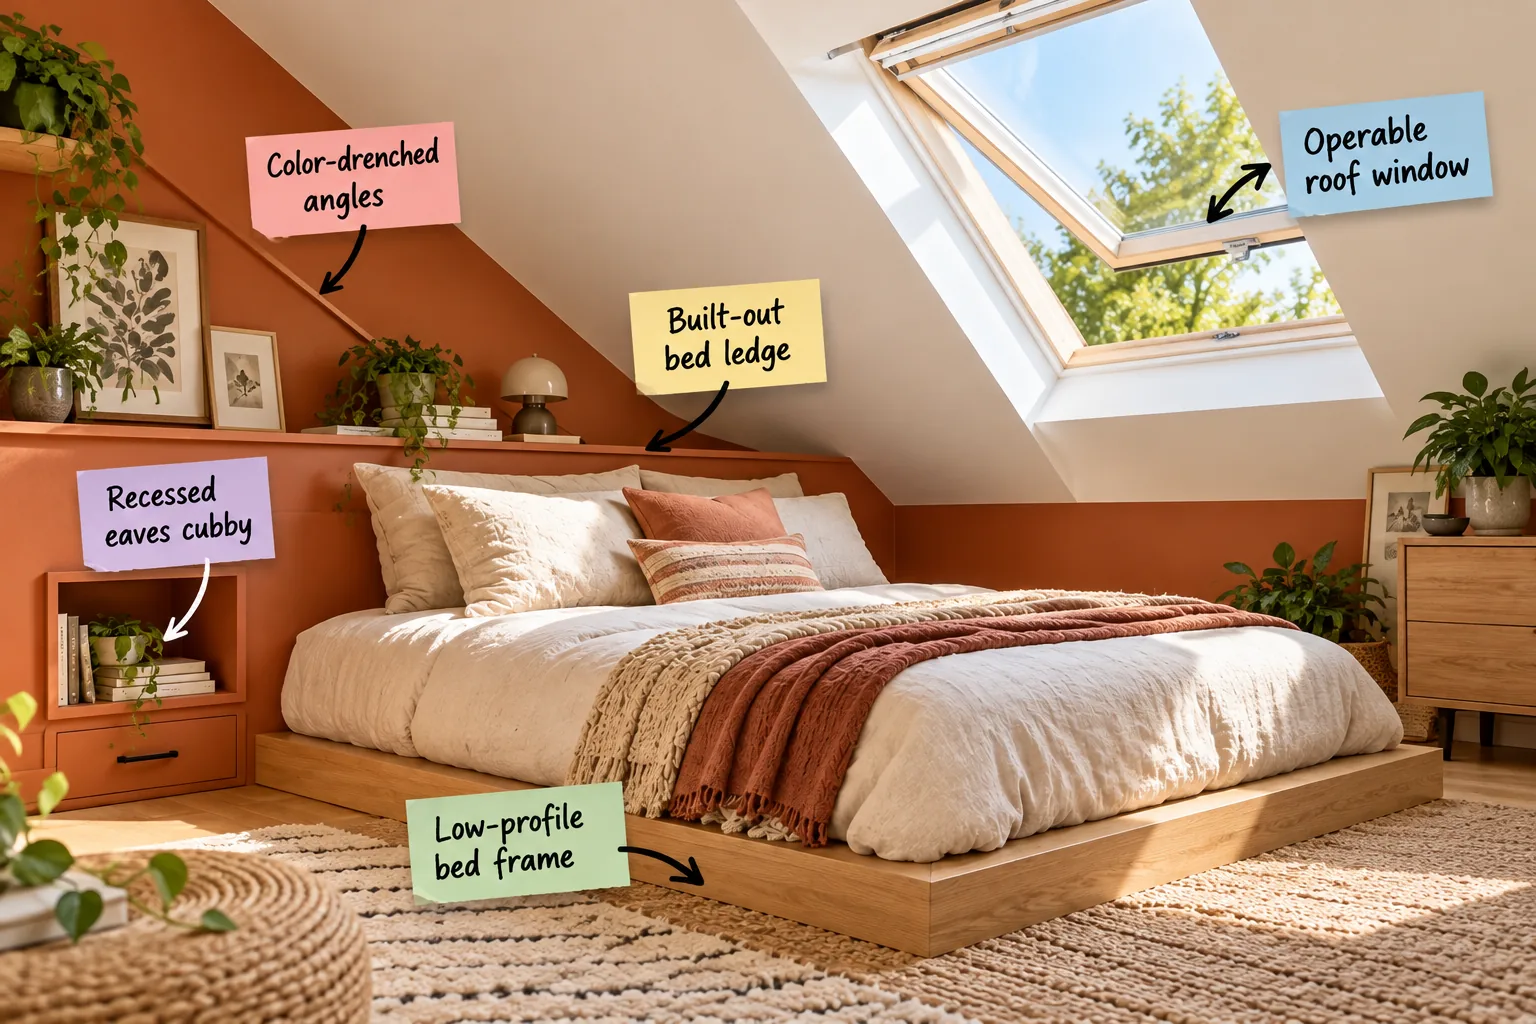
Planning an attic bedroom requires precise spatial strategy, so I built this layout clearance cheat sheet to help you map out exact dimensions for slanted ceilings, knee walls, and low-profile beds. You will be able to lock in your floor plan with verified clearances for headroom, built-in storage, and daily walking paths.
Low-Profile Bed Foundations
Dropping your mattress height is the single easiest way to gain immediate, usable headroom under a steeply slanted attic ceiling. Aim for a total combined bed height—including both the solid platform frame and the mattress itself—of exactly 12 to 14 inches off the floor.
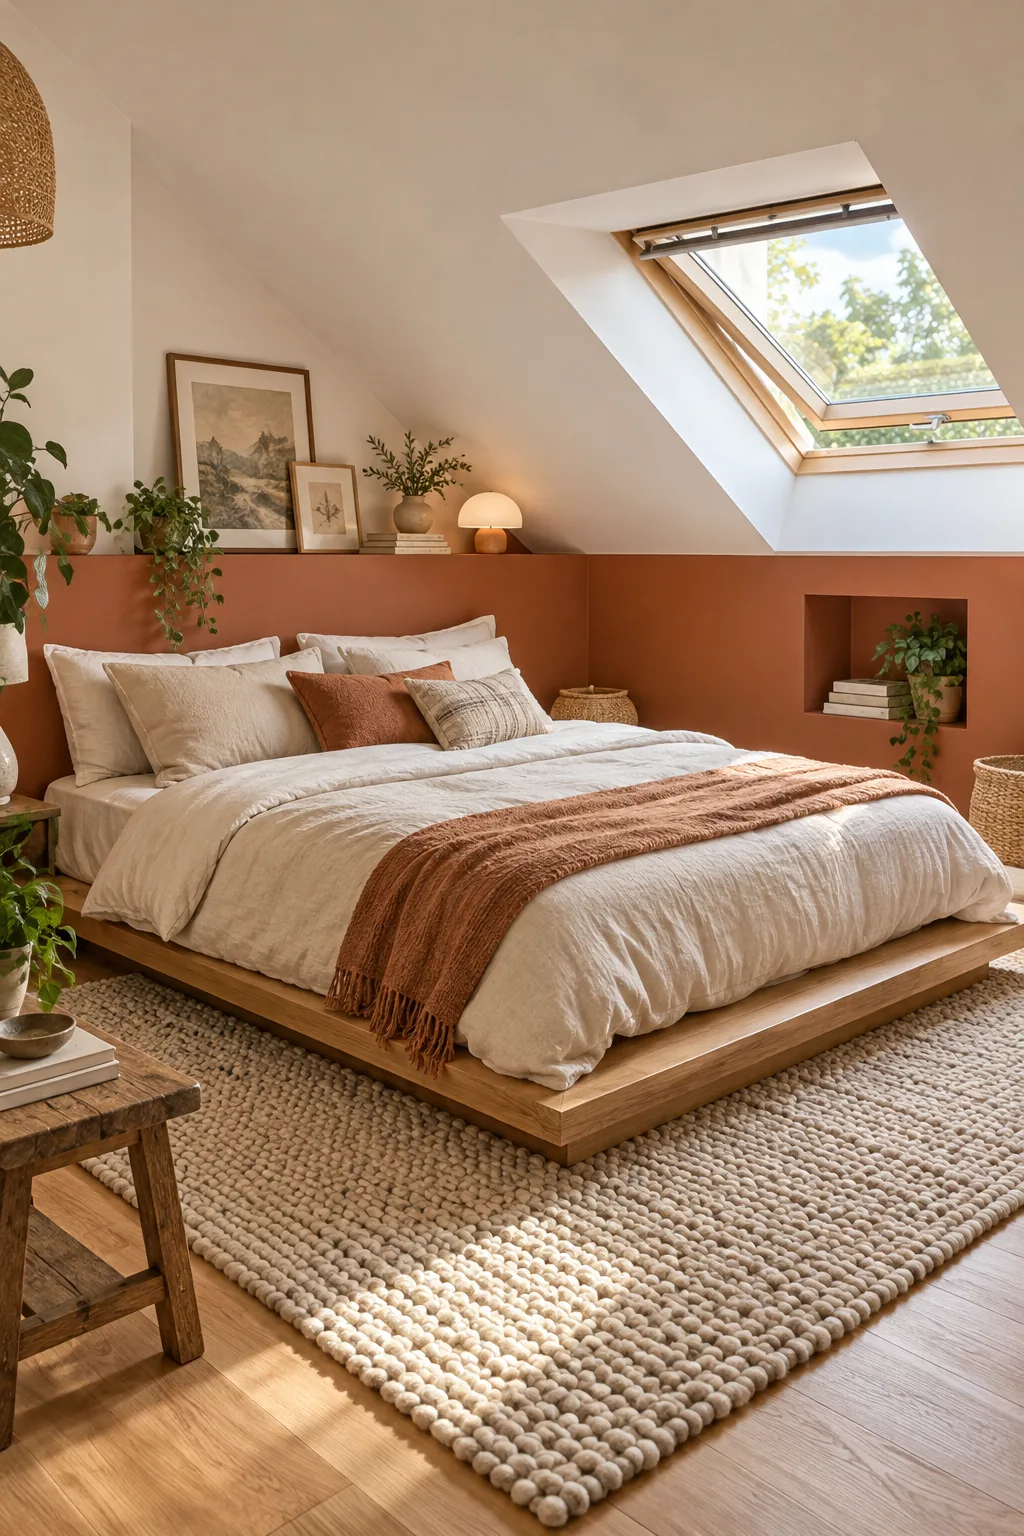
Choosing the right mattress support is critical when vertical space is limited, but dropping too low can introduce unexpected issues. In one of my recent Denver projects, we had to rethink a low floor mattress because the lack of airflow caused trapped humidity.
Under-Bed Airflow Requirements
When you transition to a low-profile setup, actively managing the microclimate beneath your bed becomes a structural necessity rather than a mere afterthought. You must ensure moisture from daily sleeping evaporates completely rather than soaking into the floorboards.
- Elevate the mattress foundation at least two inches above the finished floor to allow continuous air circulation.
- Select rigid wooden slats spaced no more than three inches apart to support foam mattresses without sagging.
- Avoid solid plywood platform surfaces that entirely block downward moisture evaporation from your bedding.
Selecting Breathable Mattress Materials
Dense memory foam mattresses trap body heat and ambient humidity much faster when they are placed close to the floor. Choose natural organic latex or traditional innerspring hybrids to promote continuous internal airflow and naturally regulate your nightly sleeping temperature.
Recessed Eaves Cubbies
You can cleverly reclaim the awkward, empty void behind a short vertical knee wall by carving out dedicated niches for your nighttime essentials. Standard knee walls typically offer 18 to 24 inches of usable depth, which is perfect for framing built-in nightstands.
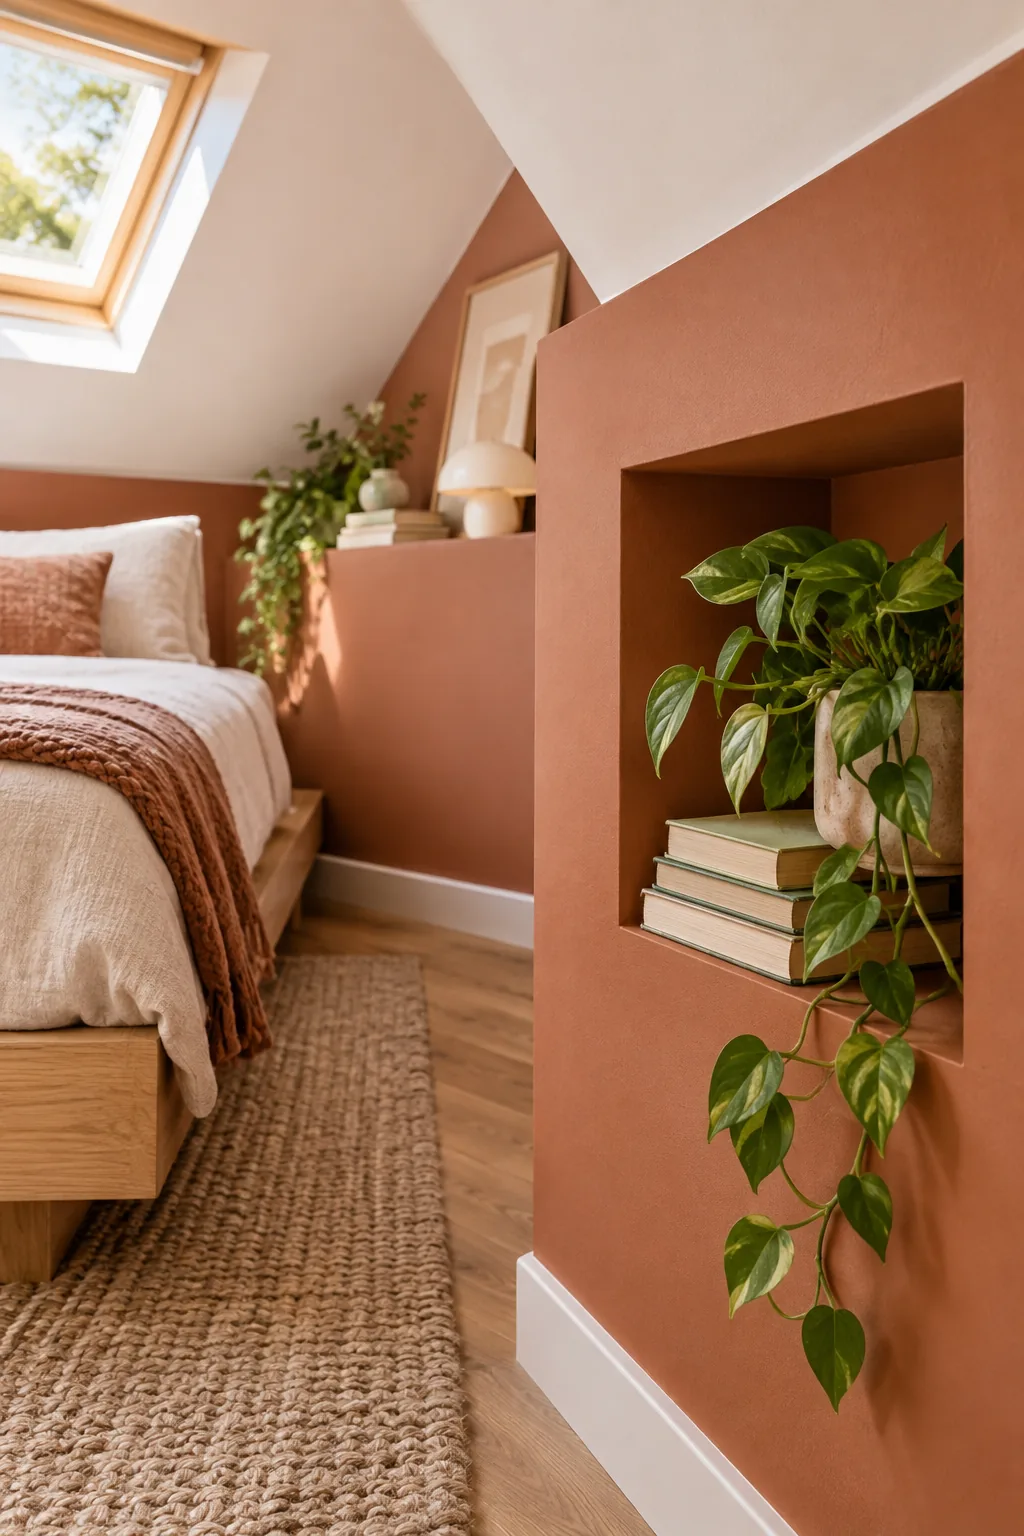
Integrating these recessed wooden cubbies keeps your water glass, charging cables, and favorite books within easy reach without sacrificing a single inch of your valuable, limited floor space.
Knee Wall Insulation Checks
Before cutting into the drywall to build those storage niches, you must meticulously verify the existing insulation barrier hidden behind the framing. You must ensure you do not compress the fiberglass batts or breach the vapor barrier, which would invite freezing drafts.
Soundproofing the Storage Voids
Empty knee wall cavities often act like giant acoustic drums, amplifying harsh wind noise and heavy rain sounds directly from the roof. Line the exterior back of your new wooden storage cubbies with dense acoustic batting to deaden these distracting exterior vibrations.
Reinforcing the Knee Wall Base
When you open up these short walls for storage, you must ensure the bottom structural plate remains securely fastened to the attic floor joists. Reinforce the surrounding base framing with heavy steel angle brackets to maintain the roof’s structural integrity.
The Built-Out Bed Ledge
Building a solid false wall ledge behind your pillows physically pushes the sleeper forward into the much taller clearance zone of the room. I highly recommend designing a ledge depth of 10 to 12 inches to comfortably clear the lowest part of the ceiling slope.
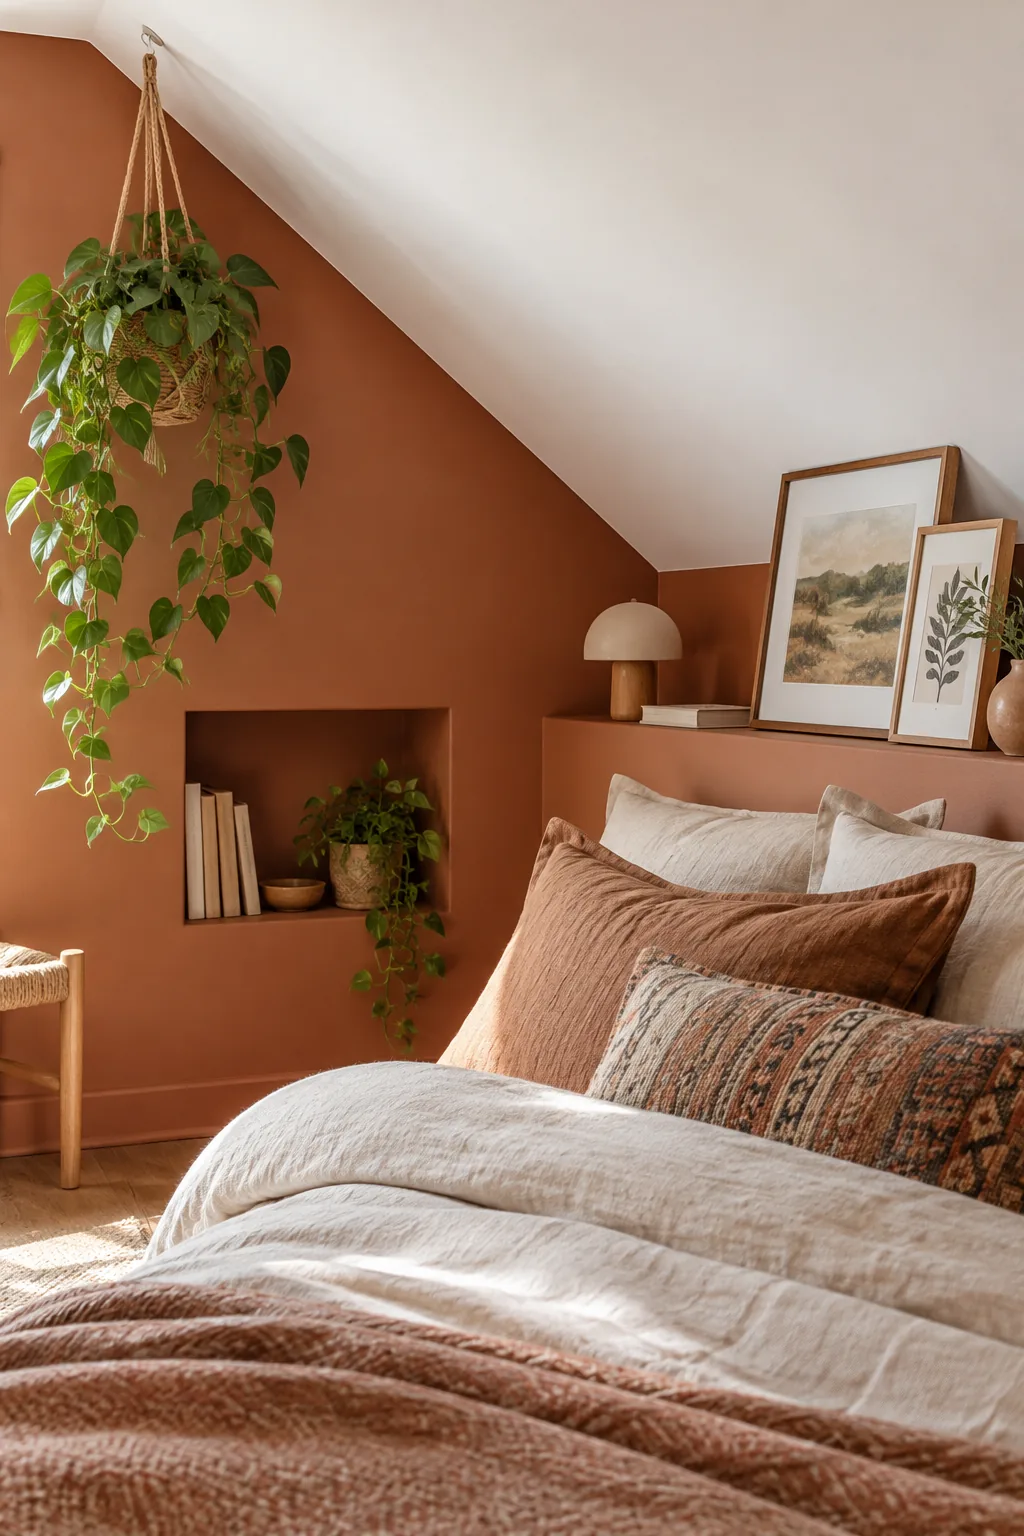
This clever architectural addition beautifully anchors the minimalist bed frame while providing a convenient, continuous shelf for displaying artwork, staging alarm clocks, and resting decorative lighting.
Electrical Planning for Bed Ledges
A newly constructed false wall provides the absolute perfect hollow cavity for hiding unsightly electrical wiring and mounting integrated reading sconces right where you need them. Always plan your exact outlet placements along this new ledge before the framing is permanently sealed.
Capping the False Wall
Finish the top surface of your new bed ledge with a solid, continuous piece of sealed white oak or smooth honed marble. This durable cap protects the painted drywall from water rings and daily wear while providing a polished, high-end architectural detail.
Color-Drenching Awkward Angles
You can visually organize a chaotic, angled attic by painting the vertical knee wall and the new bed ledge the exact same rich, saturated color. This modern technique grounds the lower half of the room while clearly defining the primary sleeping zone.
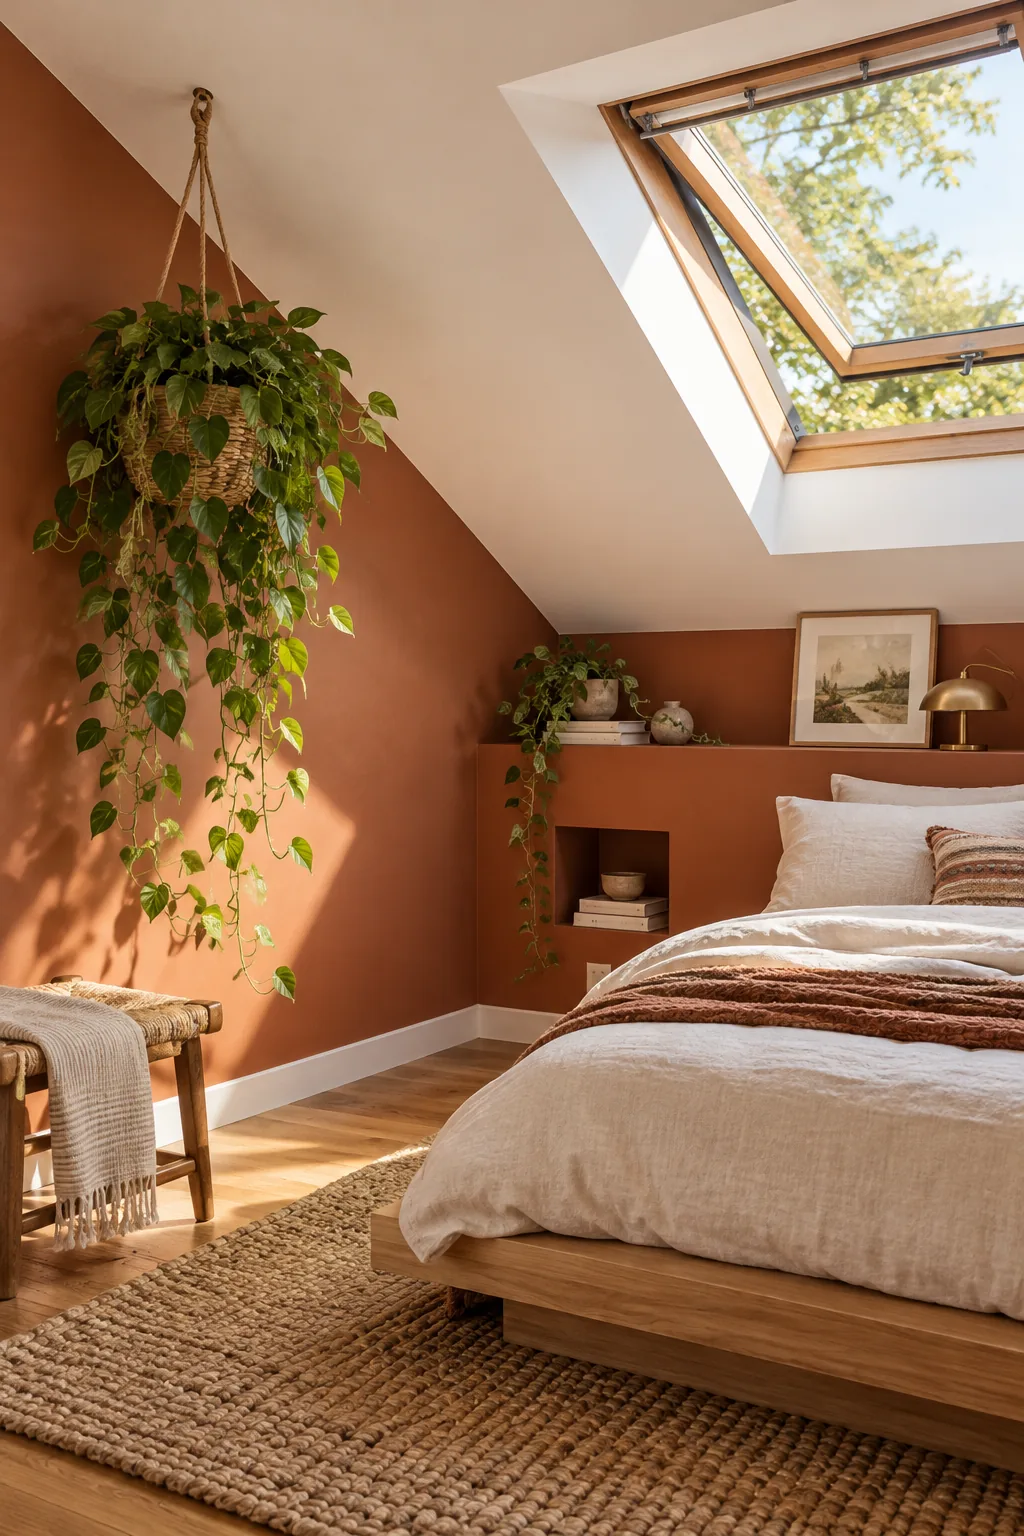
In my own Denver loft, leaving the slanted ceiling pure white reflected natural sunlight directly downward and made the surprisingly tight space feel twice as tall.
Lighting the Slanted Ceiling
Darker wall colors require strategic, layered ambient lighting to prevent the sharply angled corners from feeling like a shadowy, oppressive cave at night. Install flush-mounted LED fixtures along the highest flat portion of the ceiling to wash the white slopes with warm illumination.
Balancing Matte and Gloss Finishes
When painting angled attic walls, always specify a flat or matte finish to gracefully hide the inevitable drywall tape and mud imperfections. Reserve highly durable gloss paints strictly for your baseboards and window trims to bounce ambient light across the floor.
Selecting Low-Profile Baseboards
Tall, traditional baseboards look entirely out of scale when applied to a short, two-foot attic knee wall. Install simple, minimal baseboard trim that measures no more than three inches high to keep the visual proportions perfectly balanced.
Operable Roof Windows
Strategically placed skylights are absolutely essential for both passive cross-ventilation and flooding your dark attic corners with much-needed natural daylight. The bottom edge of a new roof window should ideally sit 35 to 44 inches from the floor.
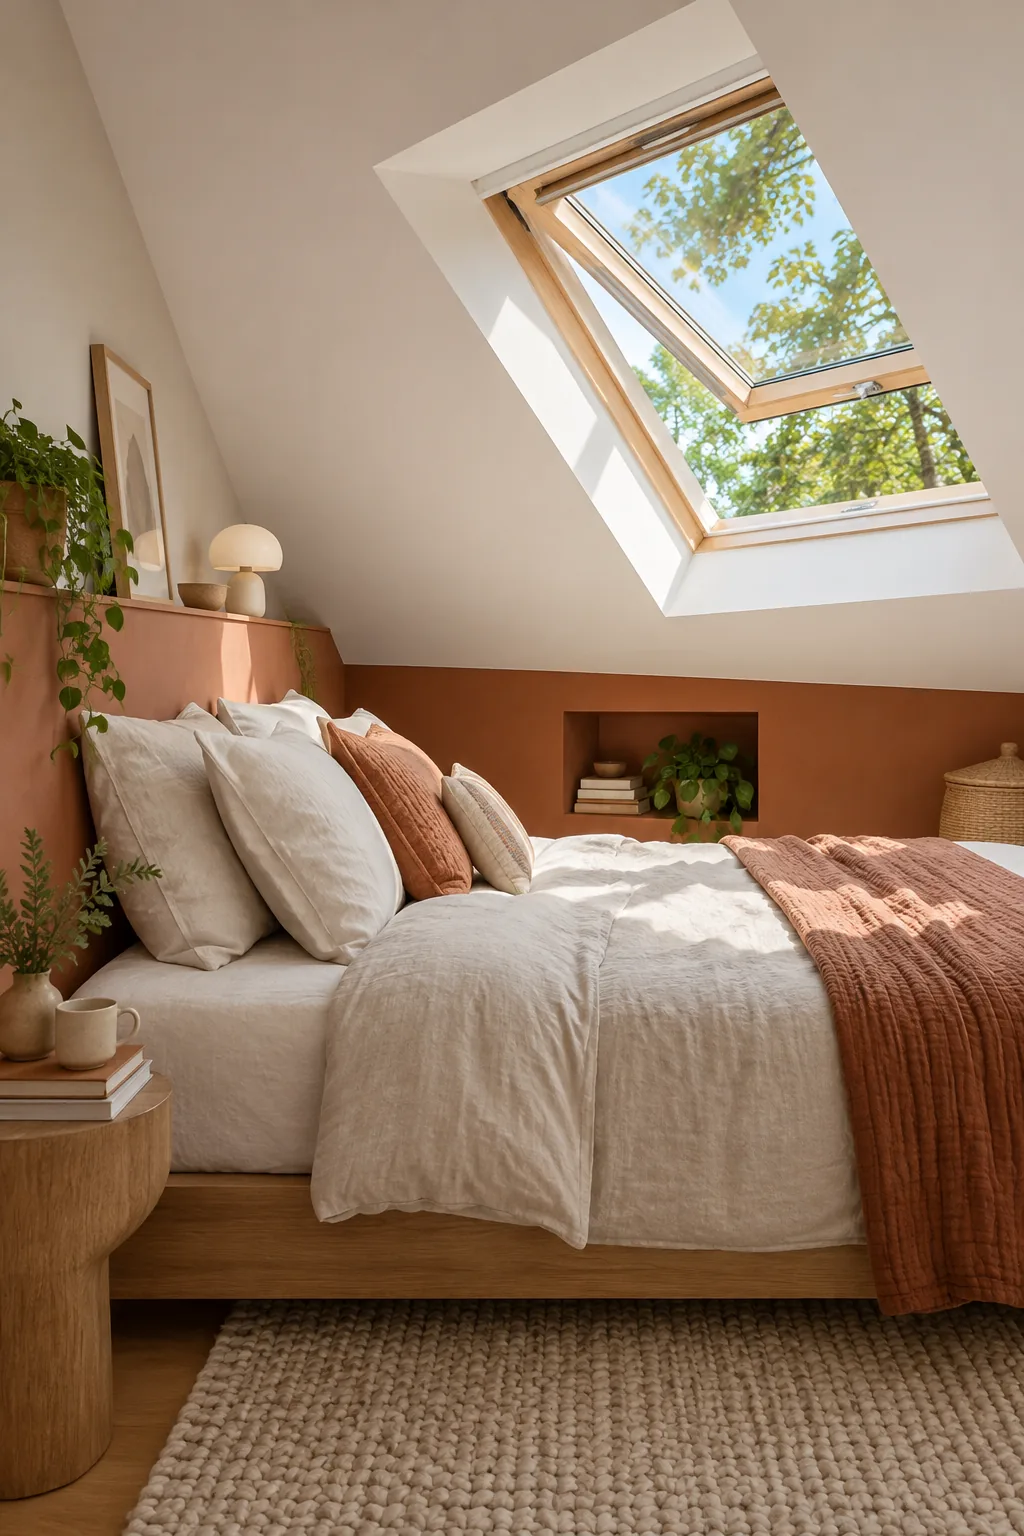
Installing the glass at this precise, calculated height allows you to enjoy an unobstructed, relaxing view of the outdoors while comfortably seated upright in your bed.
Window Treatments for Angled Glass
Slanted skylights demand specialized, tensioned cellular shades that run smoothly on integrated side tracks. This necessary hardware prevents the heavy fabric from drooping under gravity while allowing you to completely block out intense, early morning sunlight before you wake up.
Managing Solar Heat Gain
South-facing roof windows can quickly turn a cozy attic bedroom into an unbearable, sweltering greenhouse during long summer afternoons. Apply a transparent, UV-blocking window film directly to the skylight glass to drastically reduce intense heat transfer without sacrificing your beautiful view.
Mattress-to-Ceiling Zones
The absolute most critical safety check in any attic bedroom is ensuring you can sit up straight without violently hitting your head. You must guarantee a strict minimum of 36 inches of vertical clearance directly above the soft mattress surface.
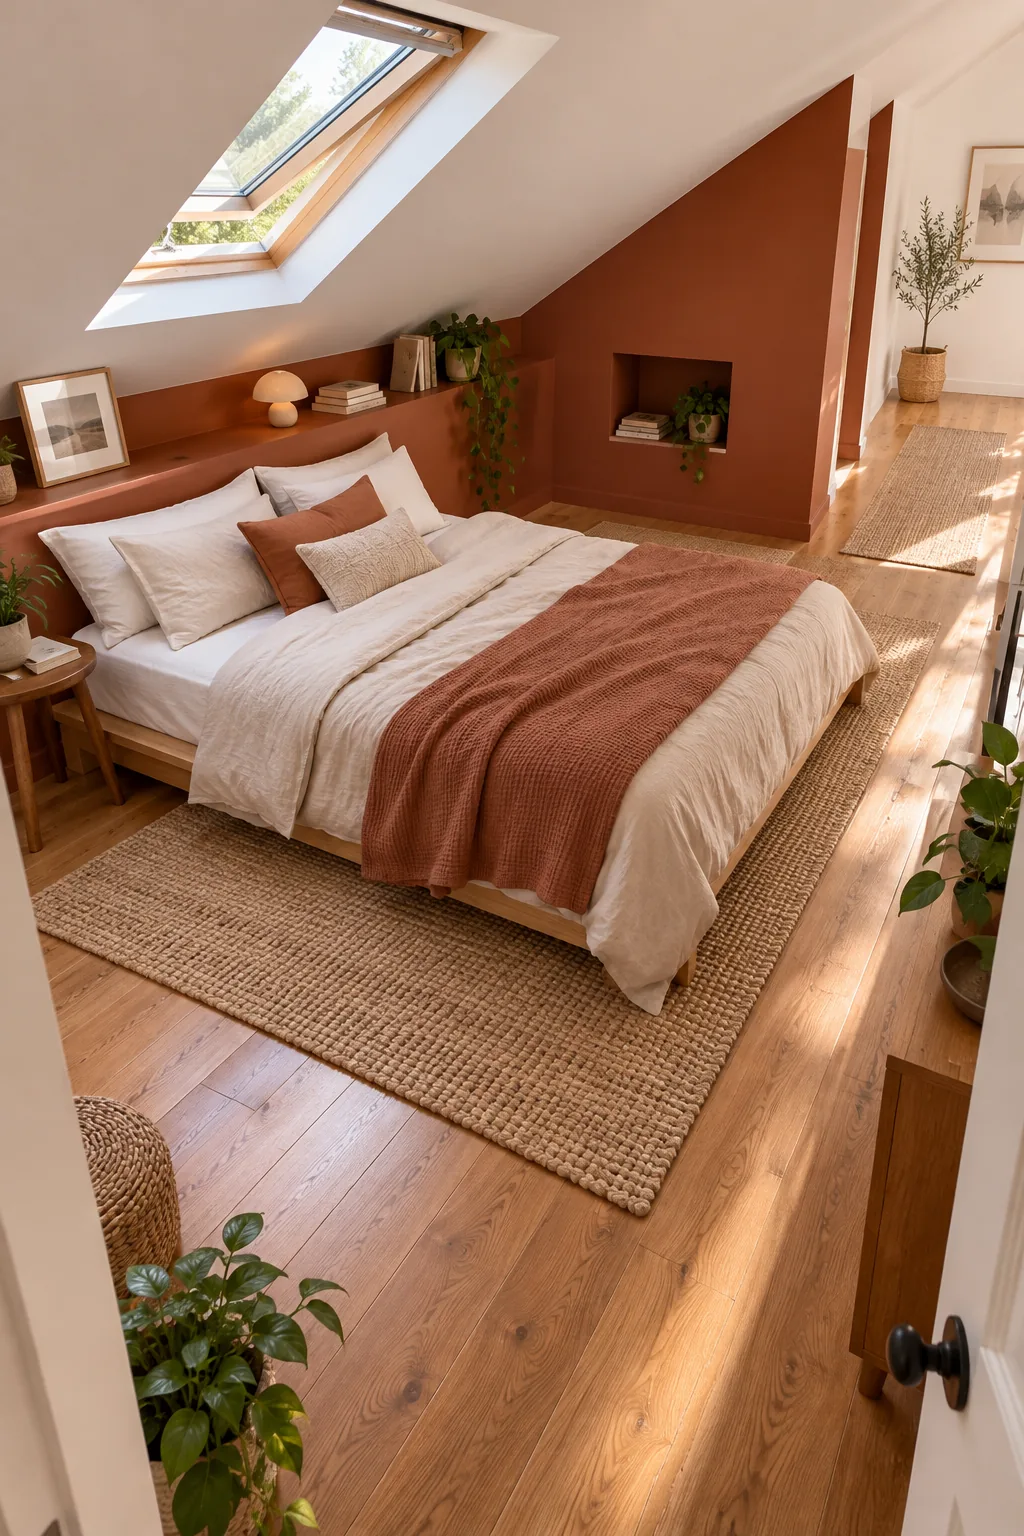
Always test this specific sitting height measurement with your actual chosen mattress thickness before finalizing the exact, permanent placement of your heavy bed frame.
Attic Layout Clearance Cheat Sheet
Consolidate your entire planning phase by running every single measurement against this non-negotiable spatial layout guide. This definitive cheat sheet delivers the exact dimensions you need to build a highly functional, deeply comfortable attic retreat without costly framing mistakes.
| Design Element | Minimum Clearance | Primary Purpose |
|---|---|---|
| Low-Profile Bed | 12 to 14 inches high | Maximize overhead space |
| Knee Wall Cubby | 18 to 24 inches deep | Recessed nightstand storage |
| Built-Out Ledge | 10 to 12 inches deep | Push bed into tall zone |
| Roof Window Base | 35 to 44 inches high | Unobstructed seated views |
| Mattress Headroom | 36 inches vertical | Safe sitting clearance |
Before you commit to an expensive floor plan or start framing out new walls, run your proposed layout through these non-negotiable spatial checks.
Mapping the Dressing Area
You need full, unrestricted standing height in the specific zones where you plan to get dressed or open tall closet doors every single morning. Reserve the absolute highest peak of your vaulted attic ceiling exclusively for these active, daily standing routines.
Placing the Primary Dresser
Tuck your heavy, low wooden dressers into the compromised clearance zones where the ceiling slope drops well below normal standing height. This strategic furniture placement frees up the valuable, tall center aisle for unimpeded walking, stretching, and daily navigating.
3 Ways to Style an Attic Bedroom
Choose a color palette and material mix that complements your unique ceiling height.
Minimalist Birch & White: Embrace a Scandinavian approach with pale birch wood and crisp white walls to reflect natural light and make a low ceiling feel expansive.
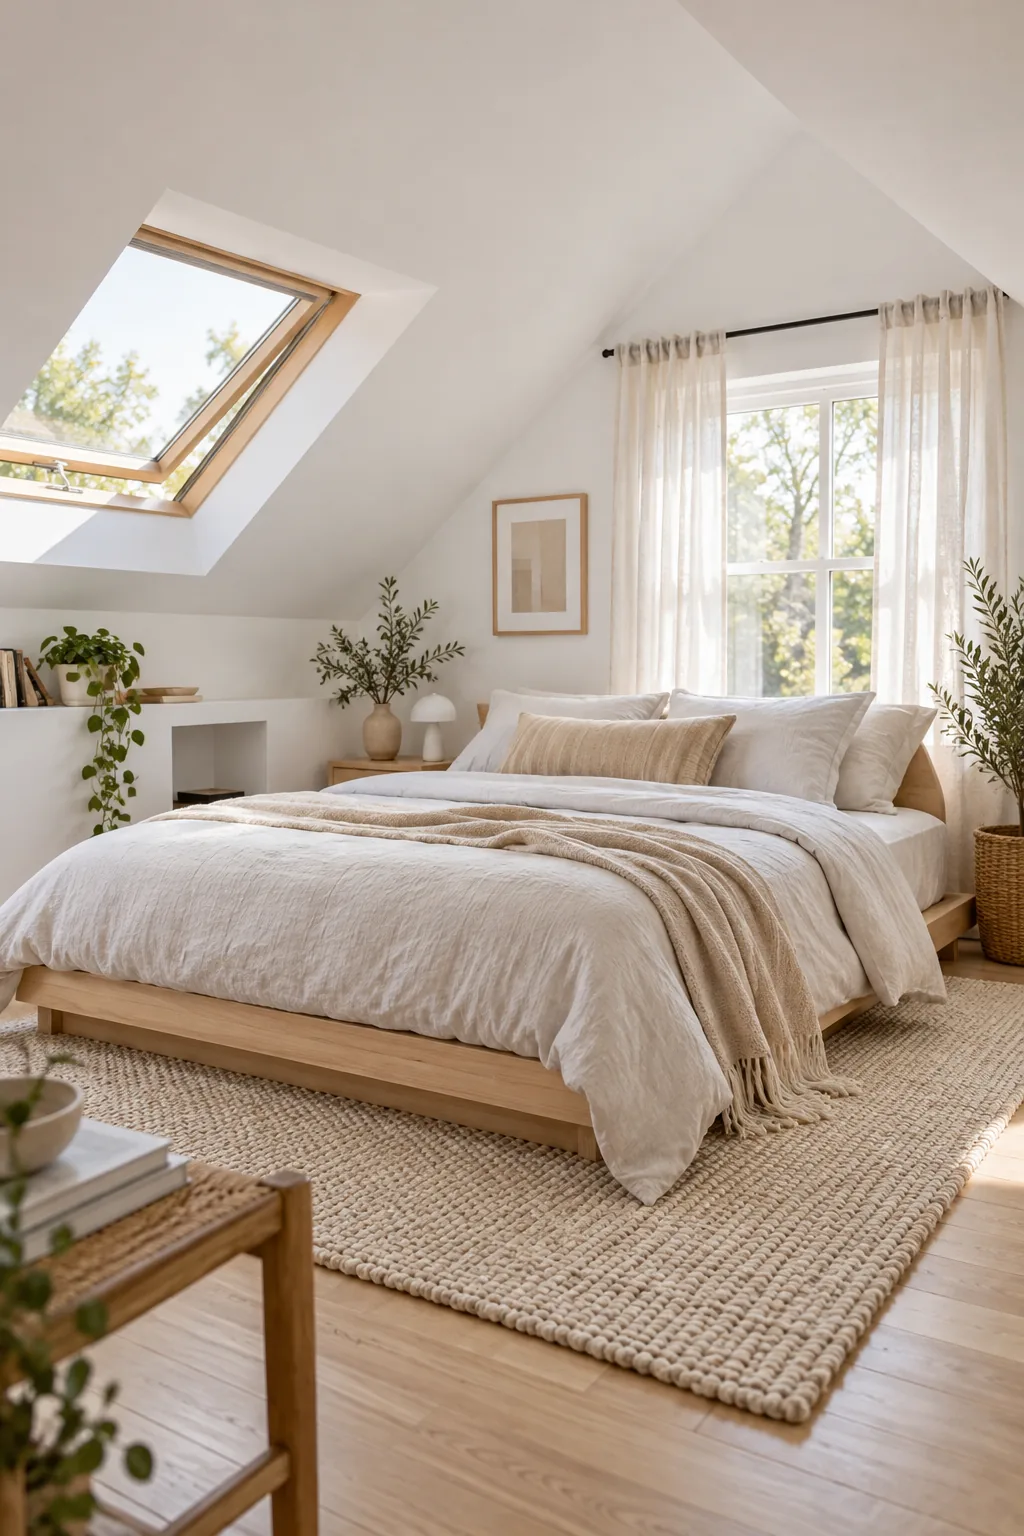
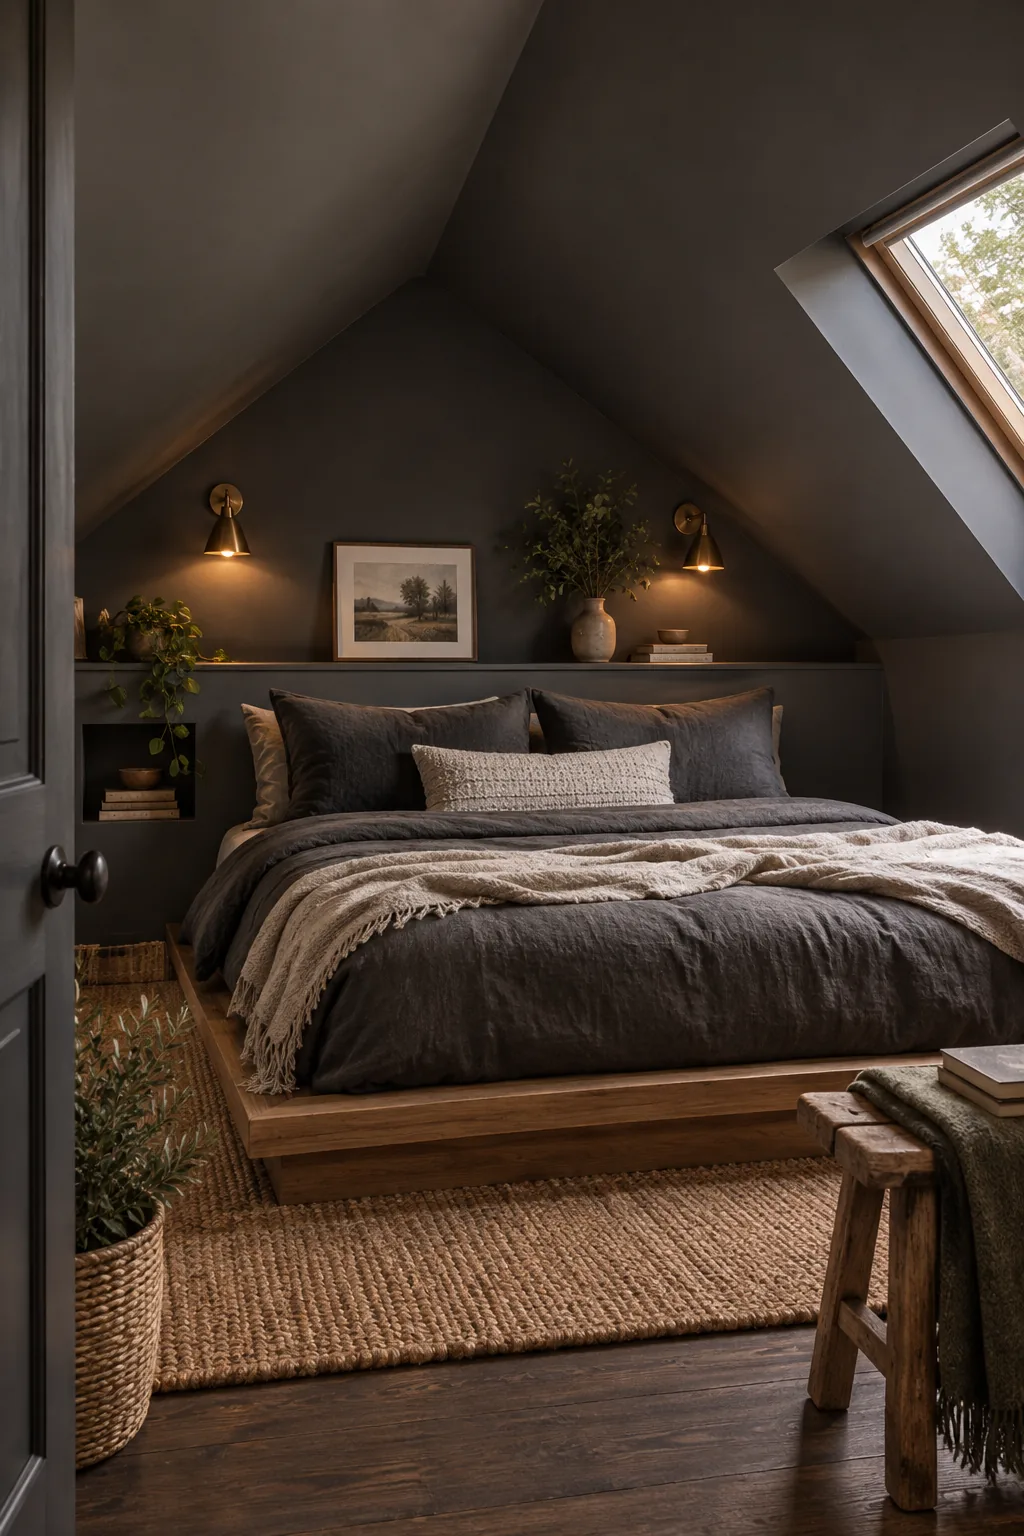
Moody Charcoal Retreat: Wrap the entire room in a moody charcoal paint to blur the awkward angles and create an incredibly cozy, cave-like sleeping retreat.
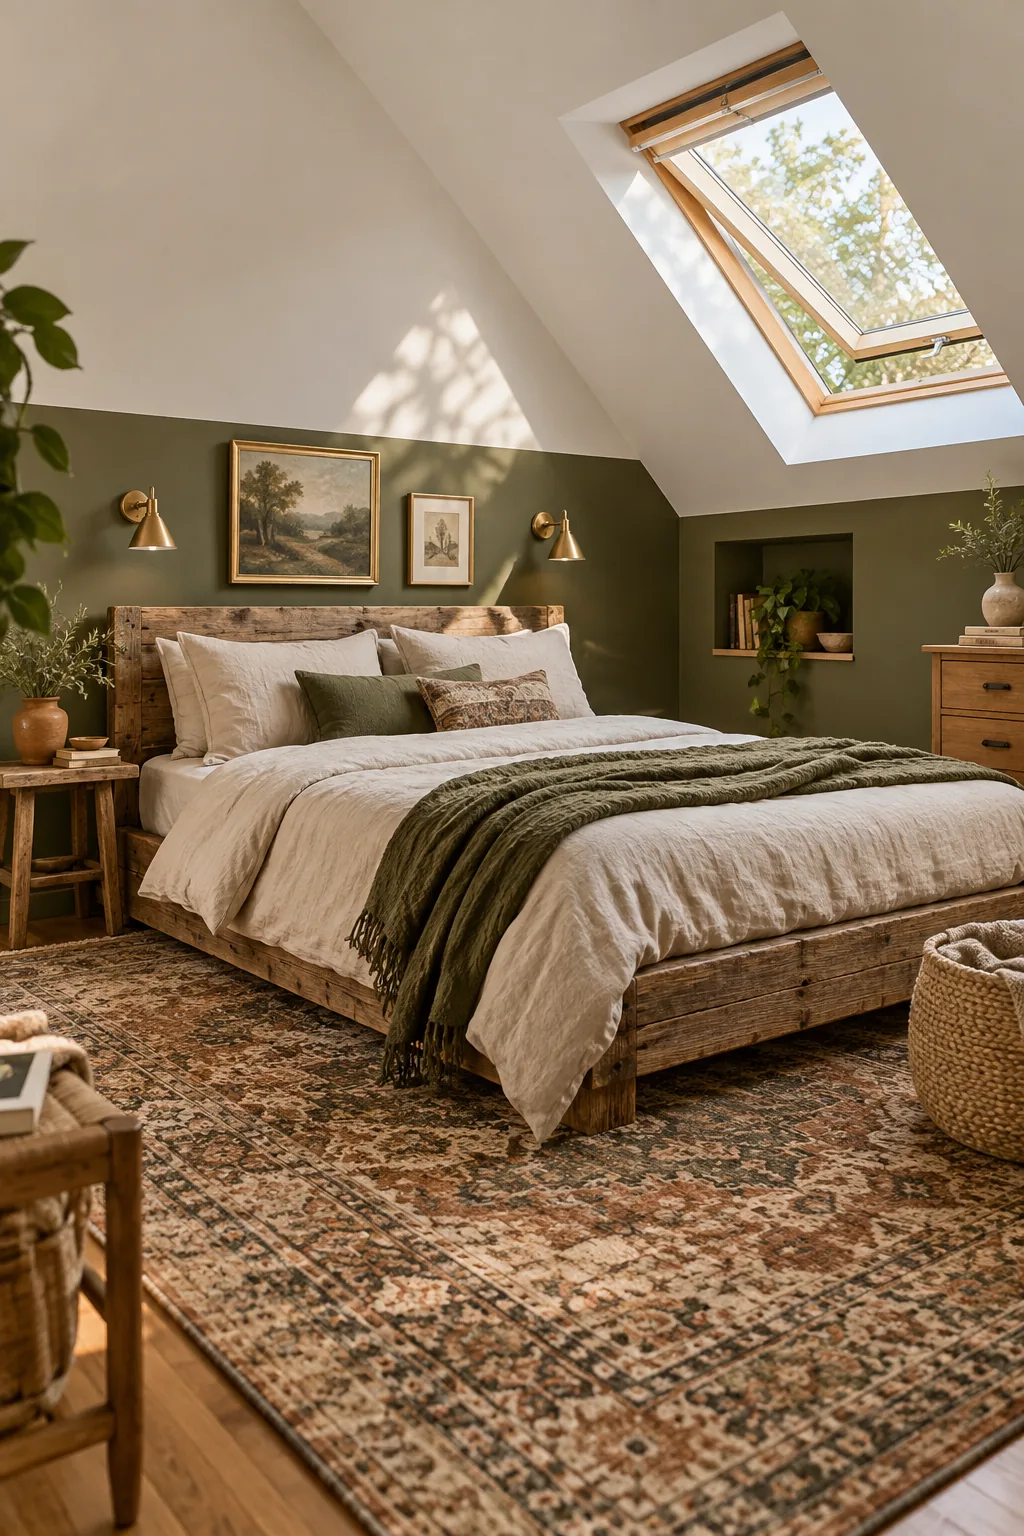
Earthy Olive Sanctuary: Ground the space with earthy olive green knee walls and rustic reclaimed wood to bring a calming, nature-inspired sanctuary feel to your top floor.
Final Floor Plan Flow
Your daily walking paths around the bed completely dictate how comfortable the room feels, especially where the ceiling slopes down sharply. I always advise my clients to maintain 24 to 30 inches of clear walking space at the foot of the bed.
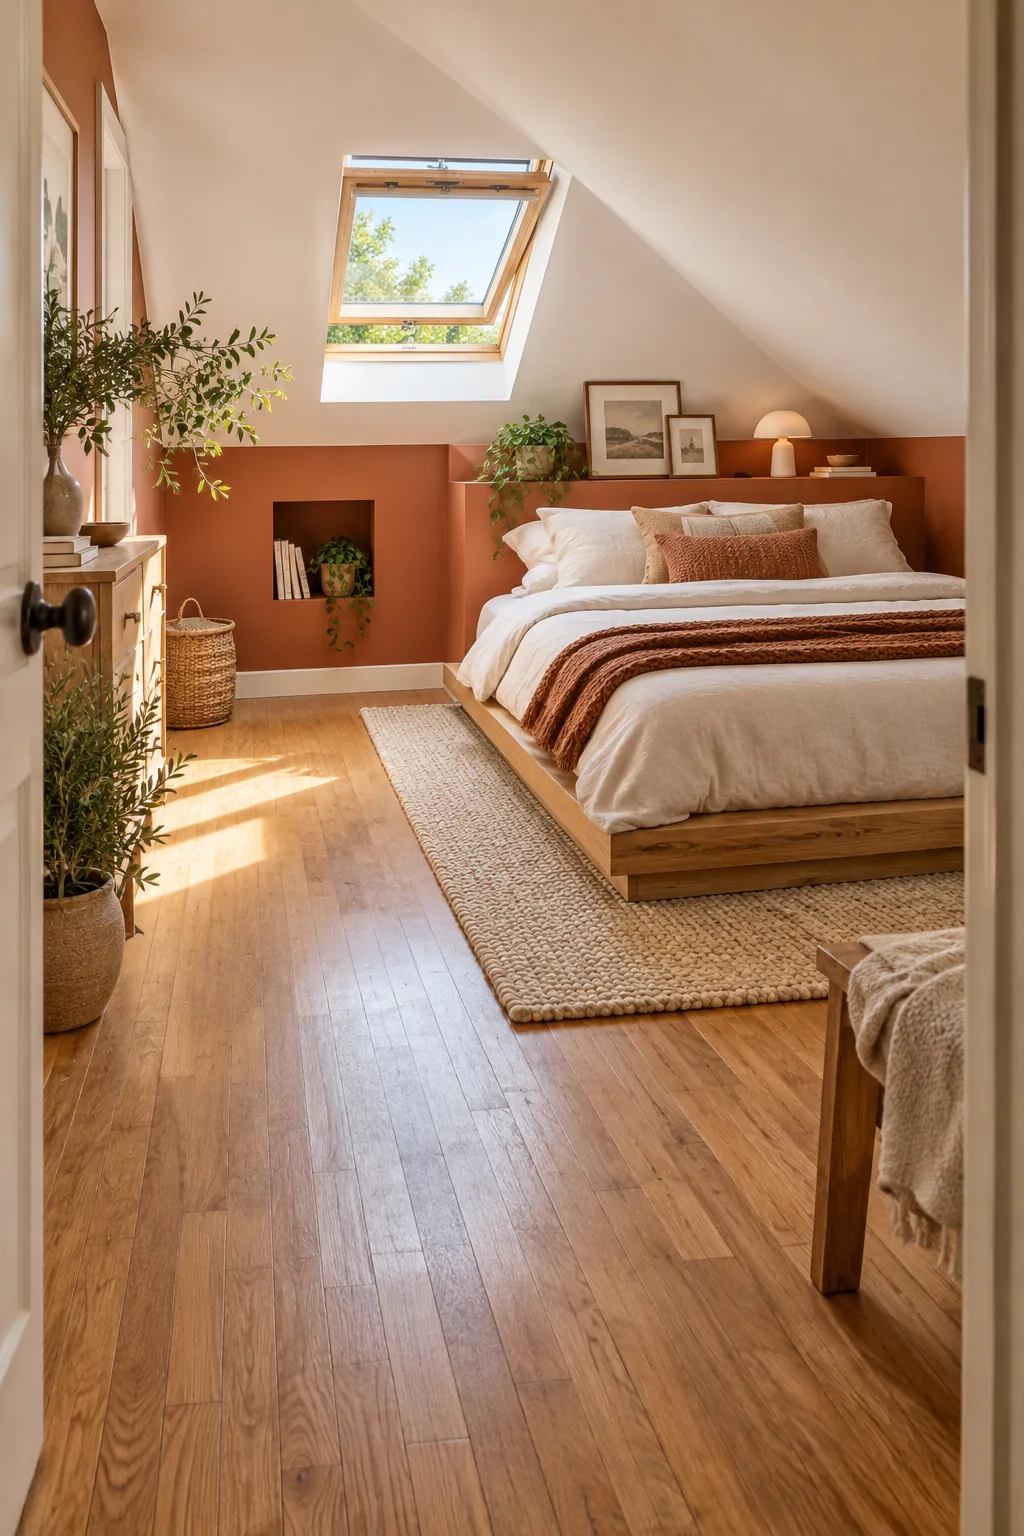
Prioritize this generous, clear standing room strictly where the ceiling is highest so you can easily navigate the entire room without constantly ducking your head.