The Washer-Wall Shelf Height Sheet: Perfect Laundry Shelving
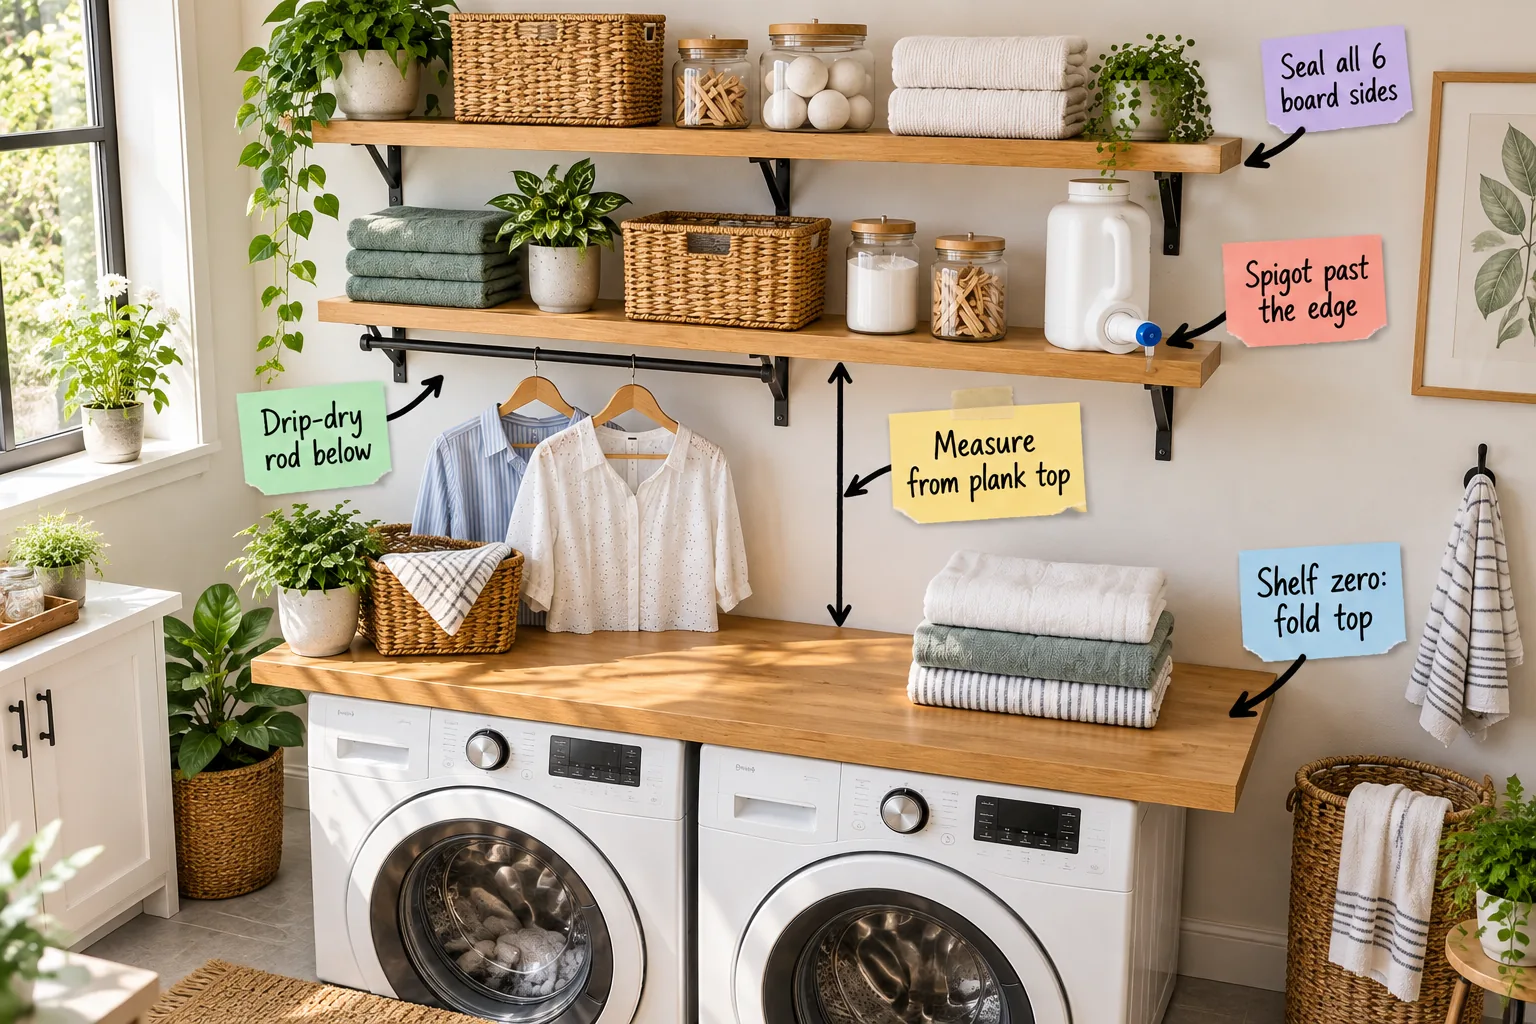
Upgrading your laundry room is infinitely easier when you have the exact measurements to perfectly space your shelves, brackets, and drip-dry rod. I created the Washer-Wall Shelf Height Sheet to give you every concrete number you need to mount a functional, beautiful storage setup right over your machines.
The Folding Plank: Your “Shelf Zero”
Start your layout by resting a sealed oak plank directly across your front-loading machines. This creates a seamless folding surface and establishes the baseline for all your vertical shelf measurements.
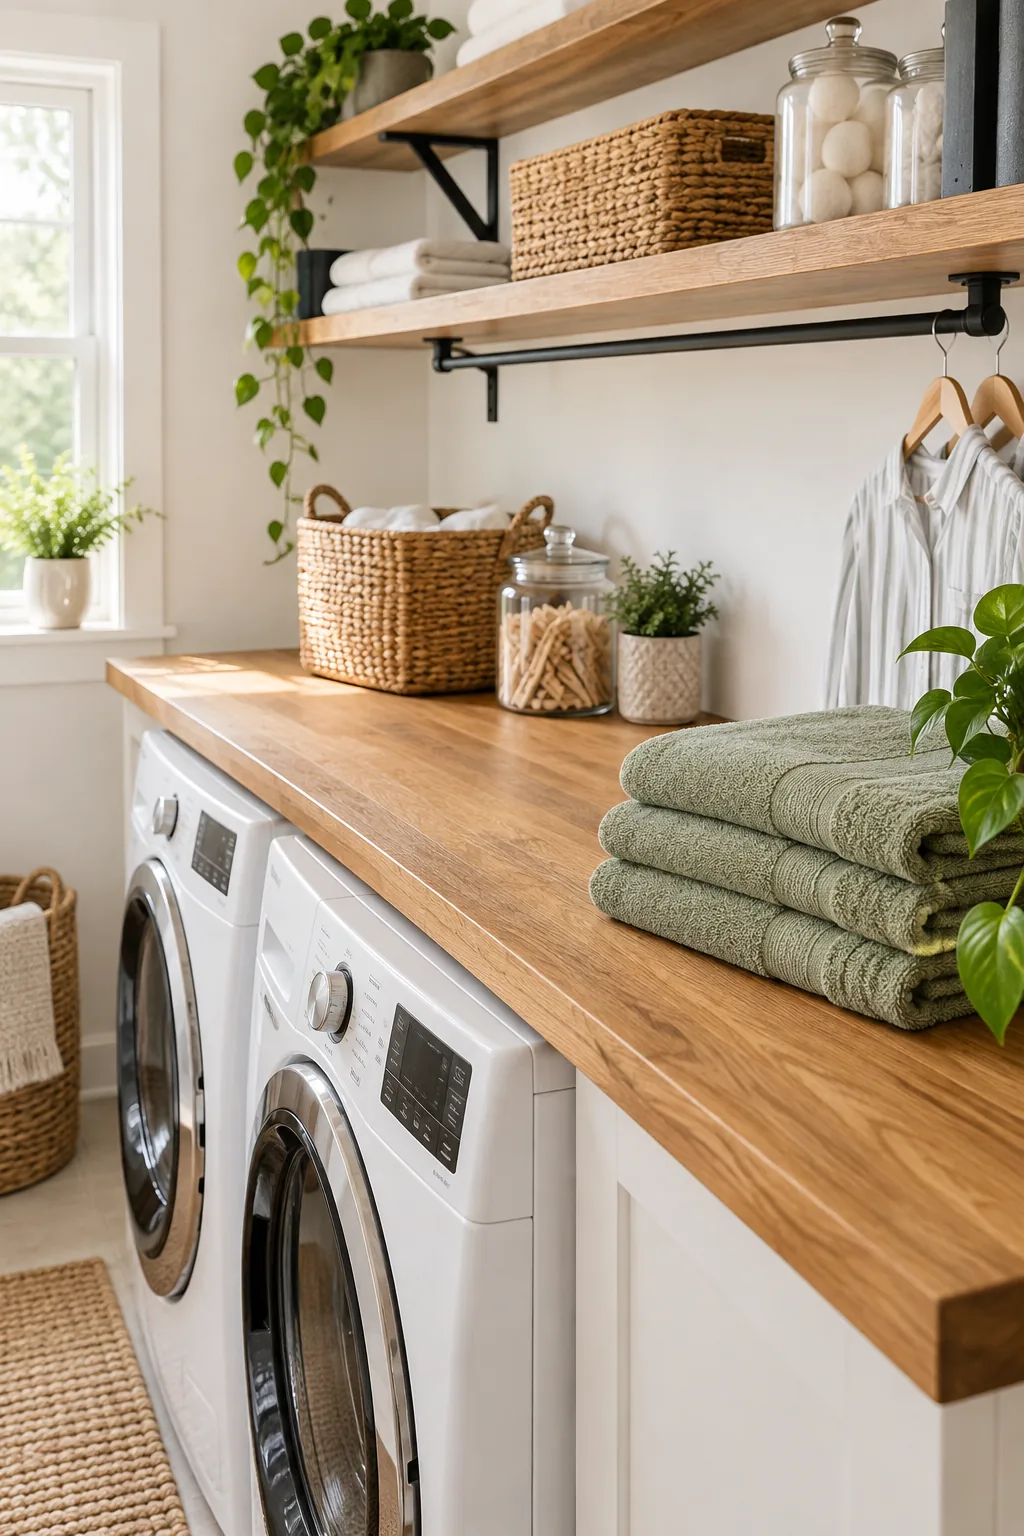
Using a continuous wood top protects the delicate enamel of your appliances from scratches while giving you a dedicated, smooth zone for sorting socks and folding delicate garments.
Selecting the Right Plank Material
Solid butcher block or thick edge-glued oak panels work best for this foundation layer. You want a material heavy enough to dampen washing machine vibrations without bowing under the weight of heavy laundry baskets.
Securing the Folding Surface
While the sheer weight of a solid oak plank keeps it mostly stationary, adding a thin non-slip rubber mat underneath prevents micro-shifting during the spin cycle. Never screw directly into the appliance tops.
Establishing the Lowest Shelf Height
Determine the height of your first shelf by measuring straight up from the plank to leave exactly 18 inches of clearance. When I first built mine, I measured from the floor and completely messed up my basket clearance!
Getting this baseline measurement right ensures tall detergent jugs and standard laundry baskets fit perfectly underneath without feeling cramped or difficult to access.
Adjusting for Top-Loading Machines
If you use top-loaders, your baseline measurement must start from the highest point of the open lid. Add three inches of buffer space above the open lid before placing your lowest shelf bracket.
Adding the Drip-Dry Rod
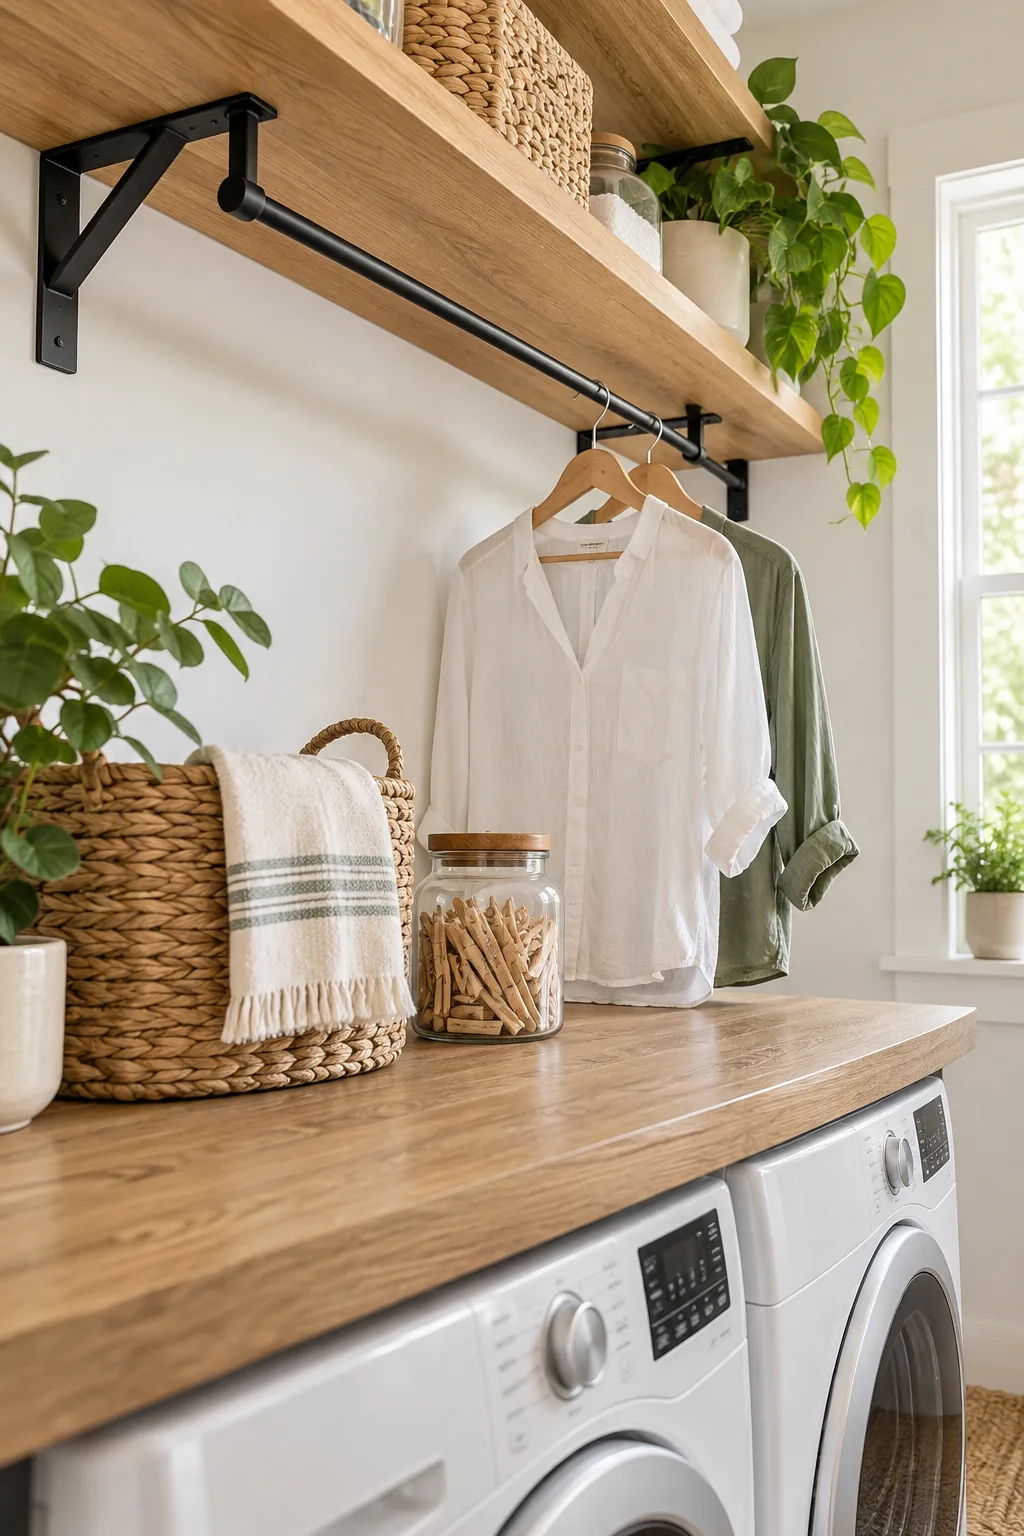
Mount a slim matte black rod directly beneath the lowest shelf for hanging delicates. I absolutely love having this spot to immediately hang my favorite linen blouses right out of the wash.
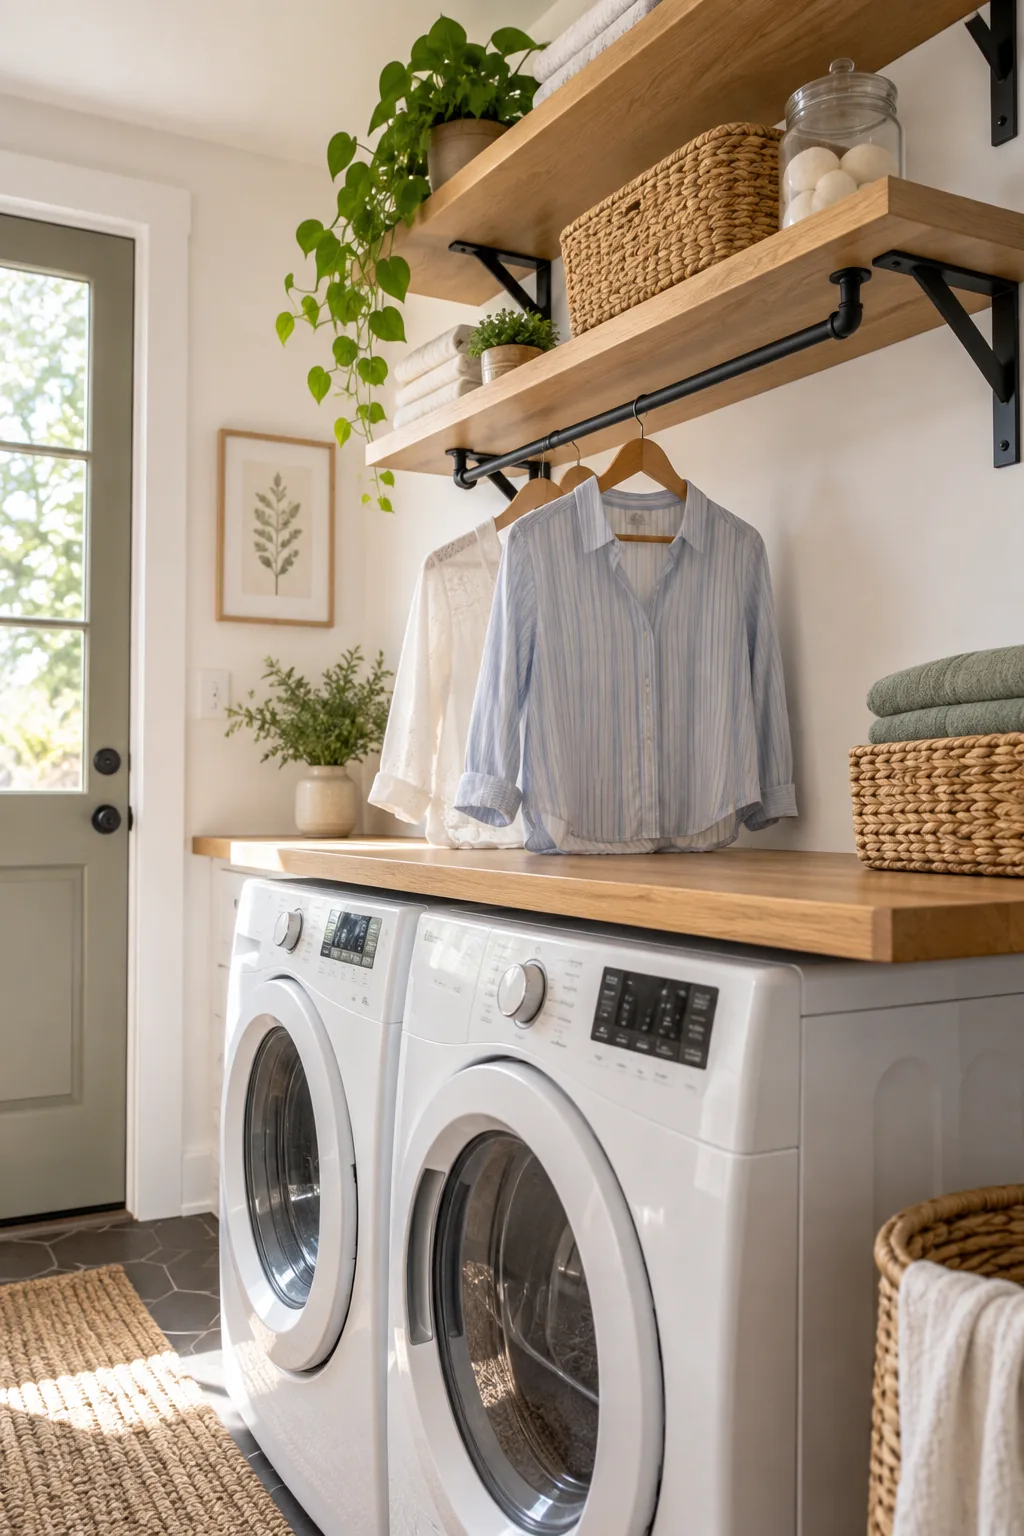
Make sure to drop the rod 2.5 inches from the shelf underside so standard wooden hangers can slide on and off the bar easily.
Choosing the Right Hanging Hardware
Opt for a continuous steel closet rod rather than a tension rod for this hanging zone. Wet clothes are surprisingly heavy, and a securely screwed flange bracket prevents the rod from crashing down.
Positioning the Detergent Dispenser
Plan the right side of your lowest shelf specifically to hold your heavy liquid detergent. Position the jug so its spigot extends just past the front edge.
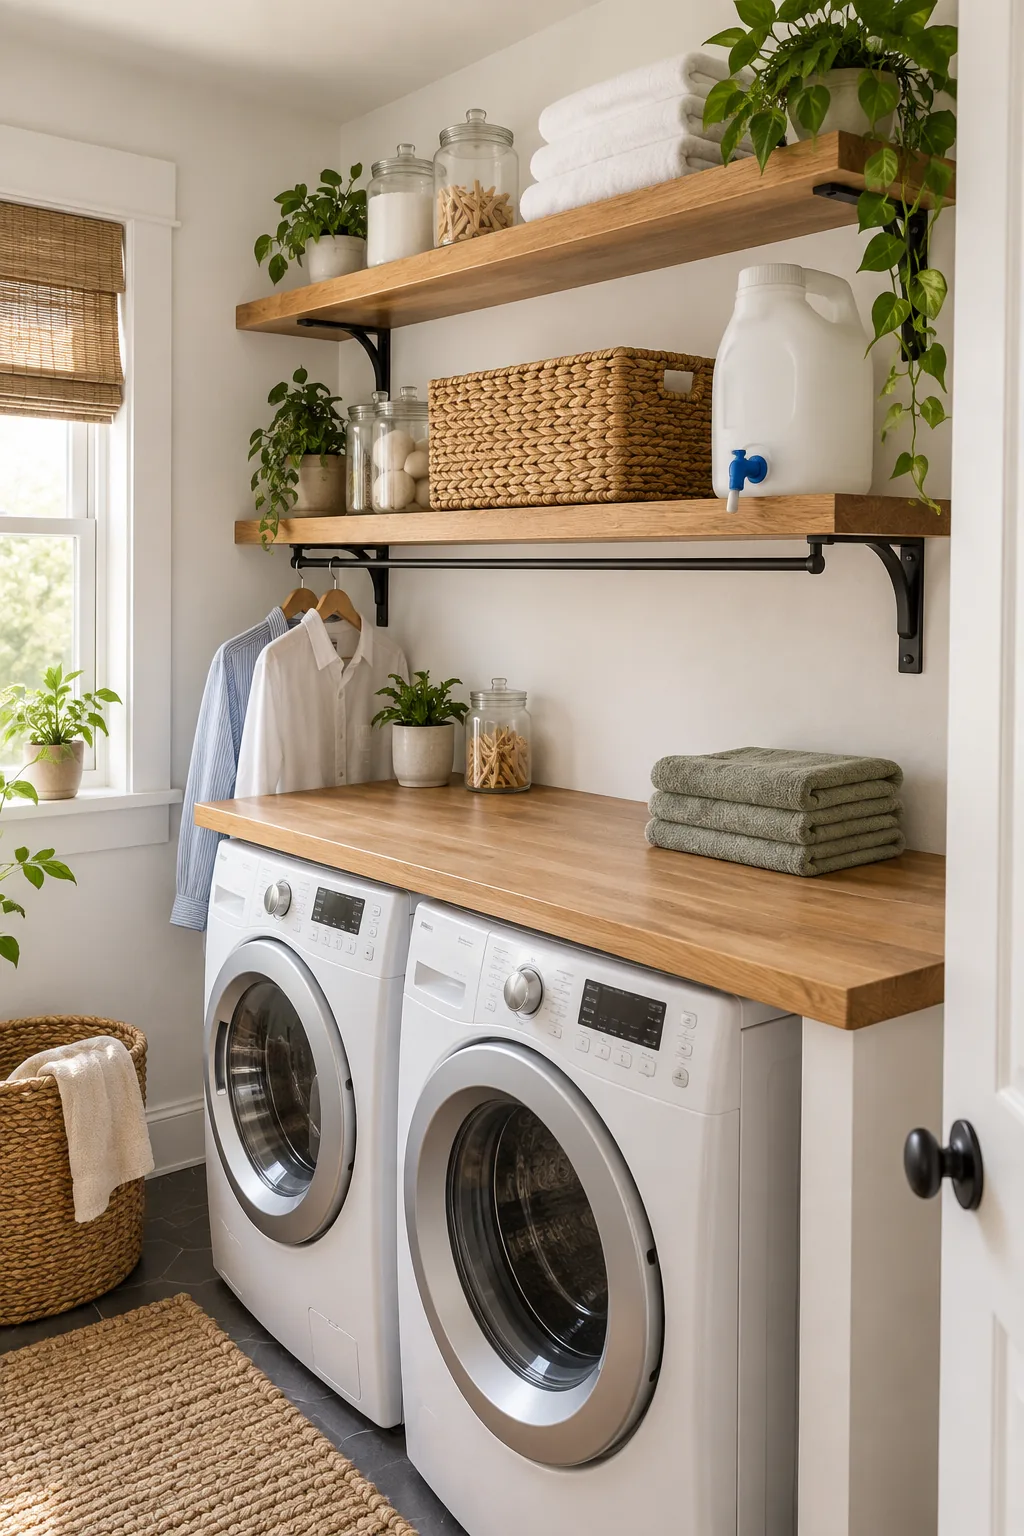
This simple gravity-fed dispensing trick lets you effortlessly fill a measuring cup resting on the plank below without ever lifting the heavy bottle during a wash.
Containing Detergent Drips
Place a small silicone mat or a decorative ceramic saucer directly beneath the overhanging spigot. This catches inevitable rogue drips before they can stain your beautiful oak folding plank.
Setting Upper Shelf Depth & Spacing
Space your second shelf 14 inches above the first to fit folded towel stacks perfectly. I used to constantly bump my head while folding until I learned to adjust my upper shelf depths.
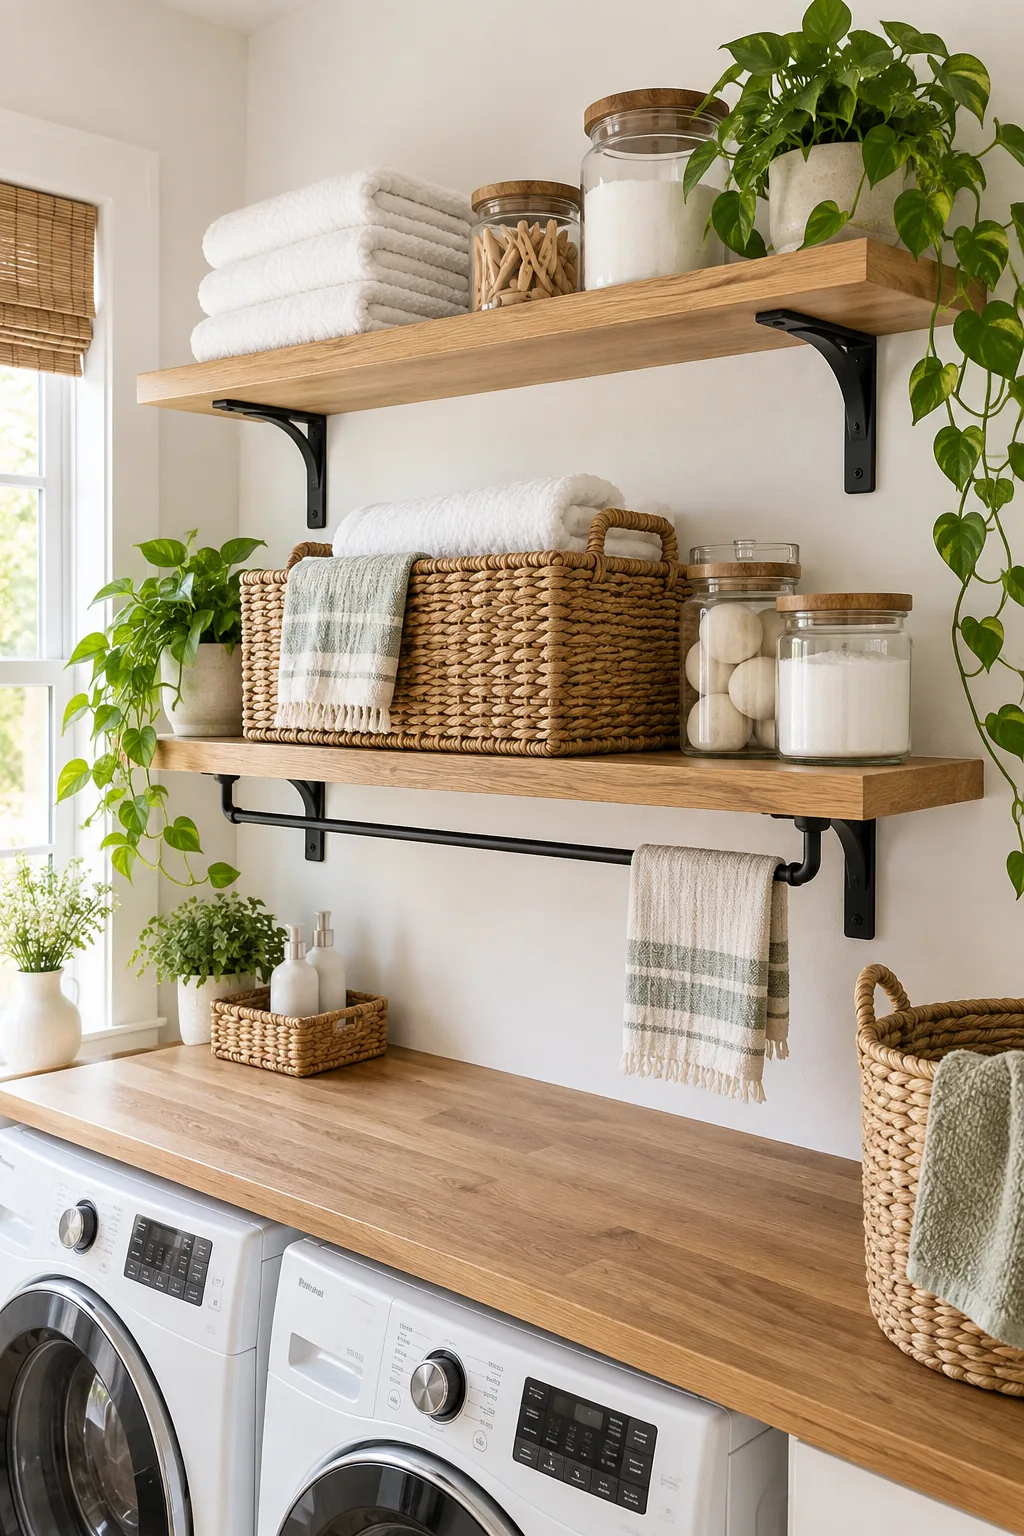
Use a 12-inch depth for the lowest shelf to hold baskets, but step back to a 10-inch depth for the upper shelf to keep your workspace completely clear.
Organizing the Upper Storage Zone
Reserve this shallower top shelf for lightweight, frequently accessed items to maximize your daily laundry workflow.
- Store extra dryer balls in an open wire basket for quick grabbing.
- Stack seasonal hand towels neatly to take advantage of the 14-inch height.
- Place stain-treatment sprays in a lazy Susan so nothing gets lost in the back.
- Keep a small jar of loose change and pocket finds emptied before washing.
Selecting Heavy-Duty Shelf Brackets
Laundry shelves carry immense weight, so flimsy decorative brackets will eventually sag. Choose forged steel L-brackets rated for at least 50 pounds each to ensure your detergent station remains perfectly level.
Sealing the Wood Against Moisture
Laundry rooms experience constant humidity and occasional splashes that can easily ruin raw wood. Prevent warping by applying three coats of satin polyurethane to every surface.
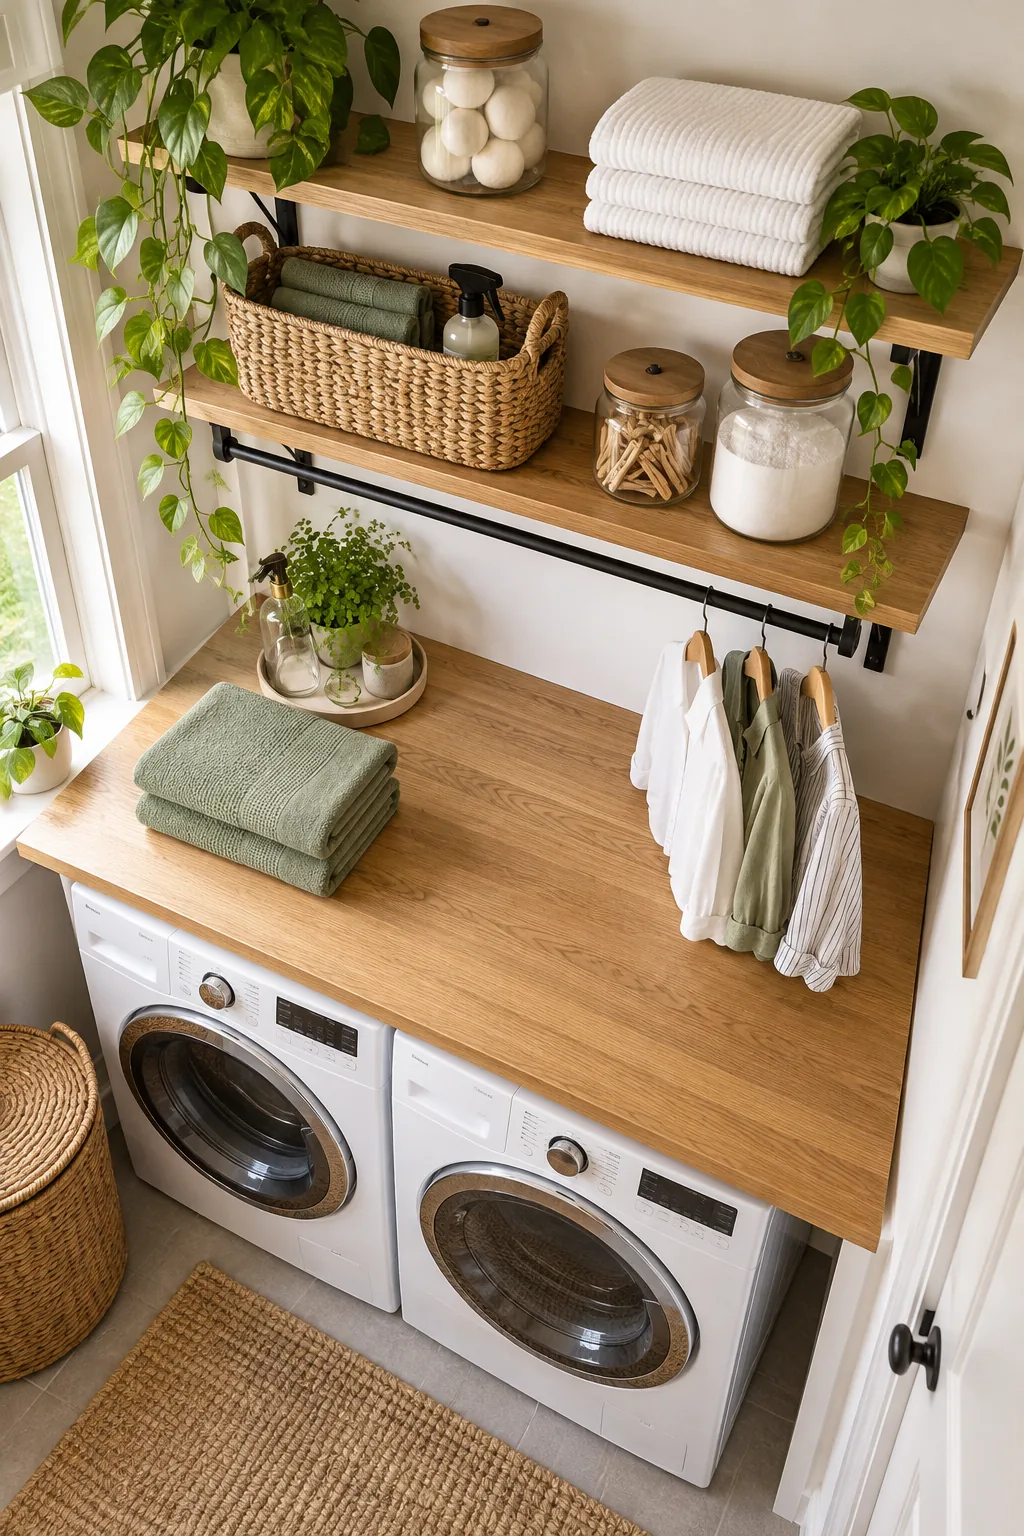
You must seal all six board sides, paying special attention to the exposed end grain before installation to lock out ambient moisture.
Curing Time for the Finish
Allow the polyurethane to cure in a well-ventilated garage or workshop for at least 72 hours. Never install freshly sealed boards immediately, as the lingering fumes will absorb into your clean laundry.
Pre-Drilling the Bracket Holes
Always pre-drill your pilot holes into the wall studs before driving in your heavy lag screws. This prevents the wood framing from splitting and ensures your brackets sit perfectly flush against the drywall.
Using Wall Anchors as a Backup
If you absolutely must place a bracket between studs for visual symmetry, use heavy-duty toggle bolts. Standard plastic drywall anchors will eventually pull out under the constant vibration of the spin cycle.
Leveling the Lowest Shelf
Place a long spirit level across your installed brackets before attaching the wood board. Even a slight tilt will cause your heavy detergent jugs to slowly vibrate right off the edge over time.
Managing Washer Vibrations
Leave a quarter-inch gap between the back edge of your folding plank and the wall. This floating installation prevents machine vibrations from transferring directly into your drywall and rattling your upper shelves.
Choosing the Right Hangers
Stock your drip-dry rod with smooth wooden hangers rather than cheap wire ones. Thick wooden shoulders prevent wet garments from developing permanent puckers while they air dry above your folding station.
Storing Bleach Safely
Keep dangerous chemicals like bleach on the shallower upper shelf, completely out of reach of children and pets. The 10-inch depth is perfect for standard bleach bottles while maintaining a safe vertical distance.
Maintaining the Wood Finish
Wipe down your folding plank weekly with a damp microfiber cloth to remove stray detergent drops. Reapply a thin coat of wipe-on polyurethane every two years to keep the moisture barrier completely intact.
Hiding Washer Hookups
If your plumbing hookups sit above the machine line, position your lowest shelf directly in front of the valves. This creates a visual block while leaving enough hand clearance for emergency shutoffs.
Lighting the Folding Station
Mount a battery-operated LED puck light under the lowest shelf to illuminate your folding plank. Having dedicated task lighting makes it incredibly easy to spot and treat small fabric stains before washing.
Sorting Baskets on the Shelf
The 12-inch depth of the lower shelf perfectly supports standard wire or woven laundry baskets. Slide empty baskets directly onto this tier to keep them off the floor and ready for clean clothes.
Adding a Lint Bin
Mount a small magnetic bin directly to the side of your washing machine, just under the folding plank overhang. This gives you an immediate drop zone for dryer lint and stray pocket receipts.
Ventilation Behind the Shelves
Pushing your shelves completely flush against the back wall can trap humid air rising from the machines. Leave a tiny hairline gap to promote airflow and prevent hidden mildew growth behind the boards.
The Washer-Wall Shelf Height Sheet
Use this comprehensive measurement guide to finalize your layout and get your brackets perfectly aligned. Hanging my shelves directly into the studs gave me so much peace of mind when loading them up with heavy liquids.
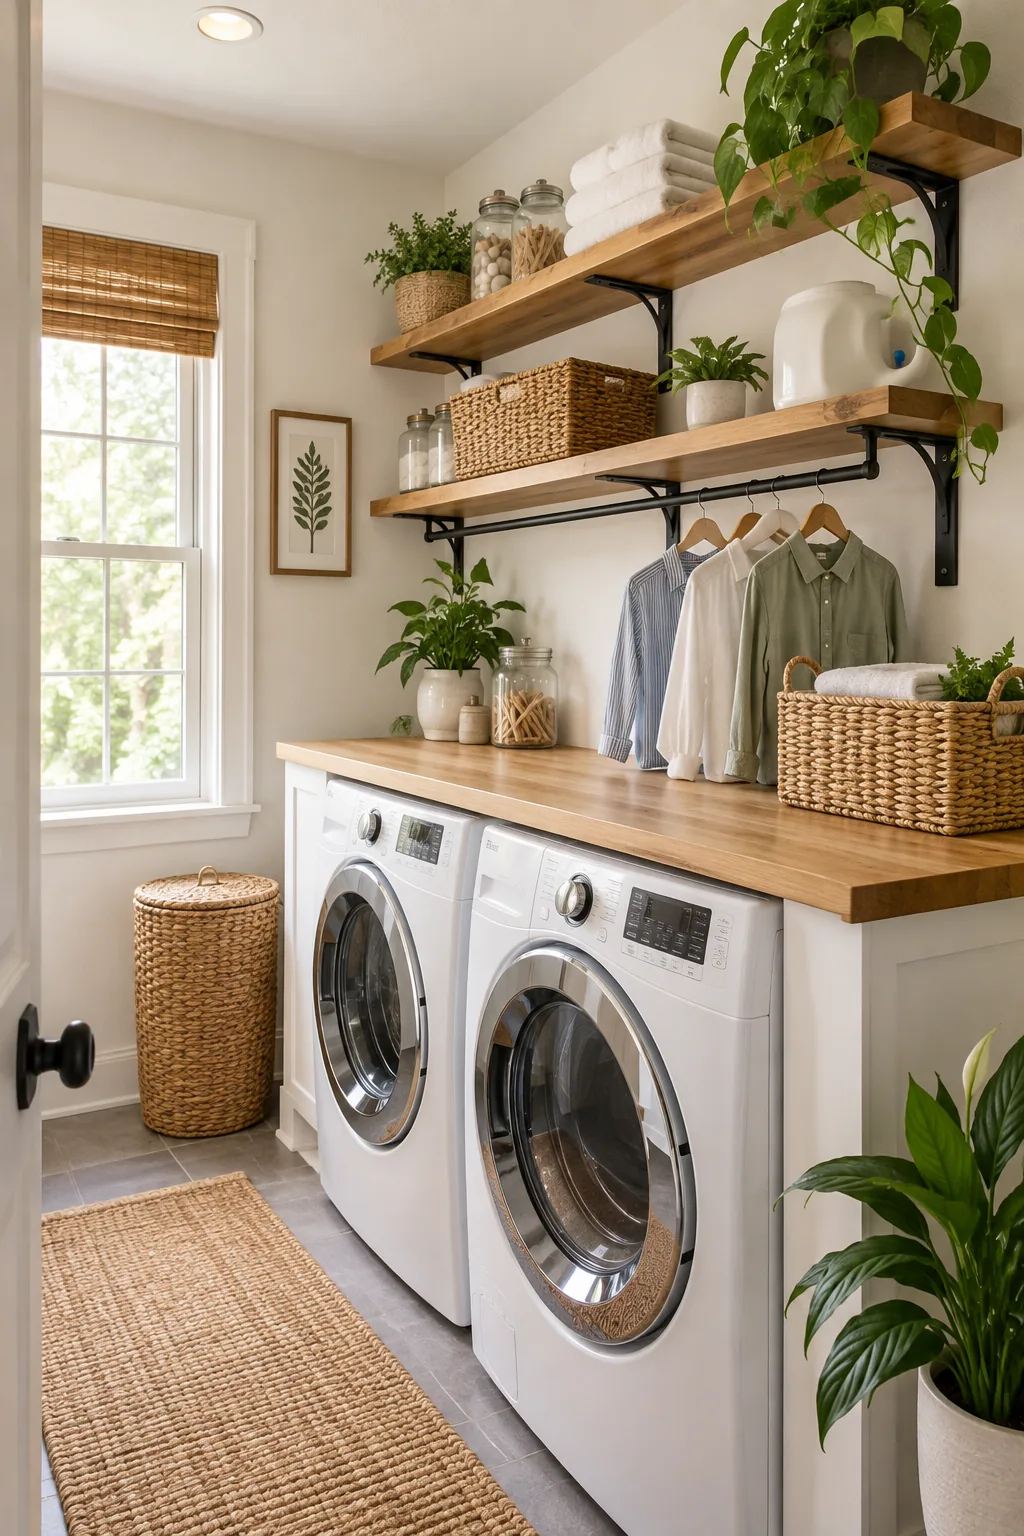
This cheat sheet includes the exact bracket spacing required to hit 16-inch wall studs, ensuring your heavy detergent and wet clothes stay securely anchored to the framing.
| Measurement Zone | Recommended Dimension |
|---|---|
| Lowest shelf clearance | 18 inches above folding plank |
| Upper shelf spacing | 14 inches above lower shelf |
| Drip-dry rod drop | 2.5 inches below shelf |
| Lower shelf depth | 12 inches deep |
| Upper shelf depth | 10 inches deep |
| Bracket spacing | 32 inches (hitting 16-inch studs) |
More Washer-Wall Shelving Looks
Adapt these layout rules to fit your home's unique style with these three distinct finishes.
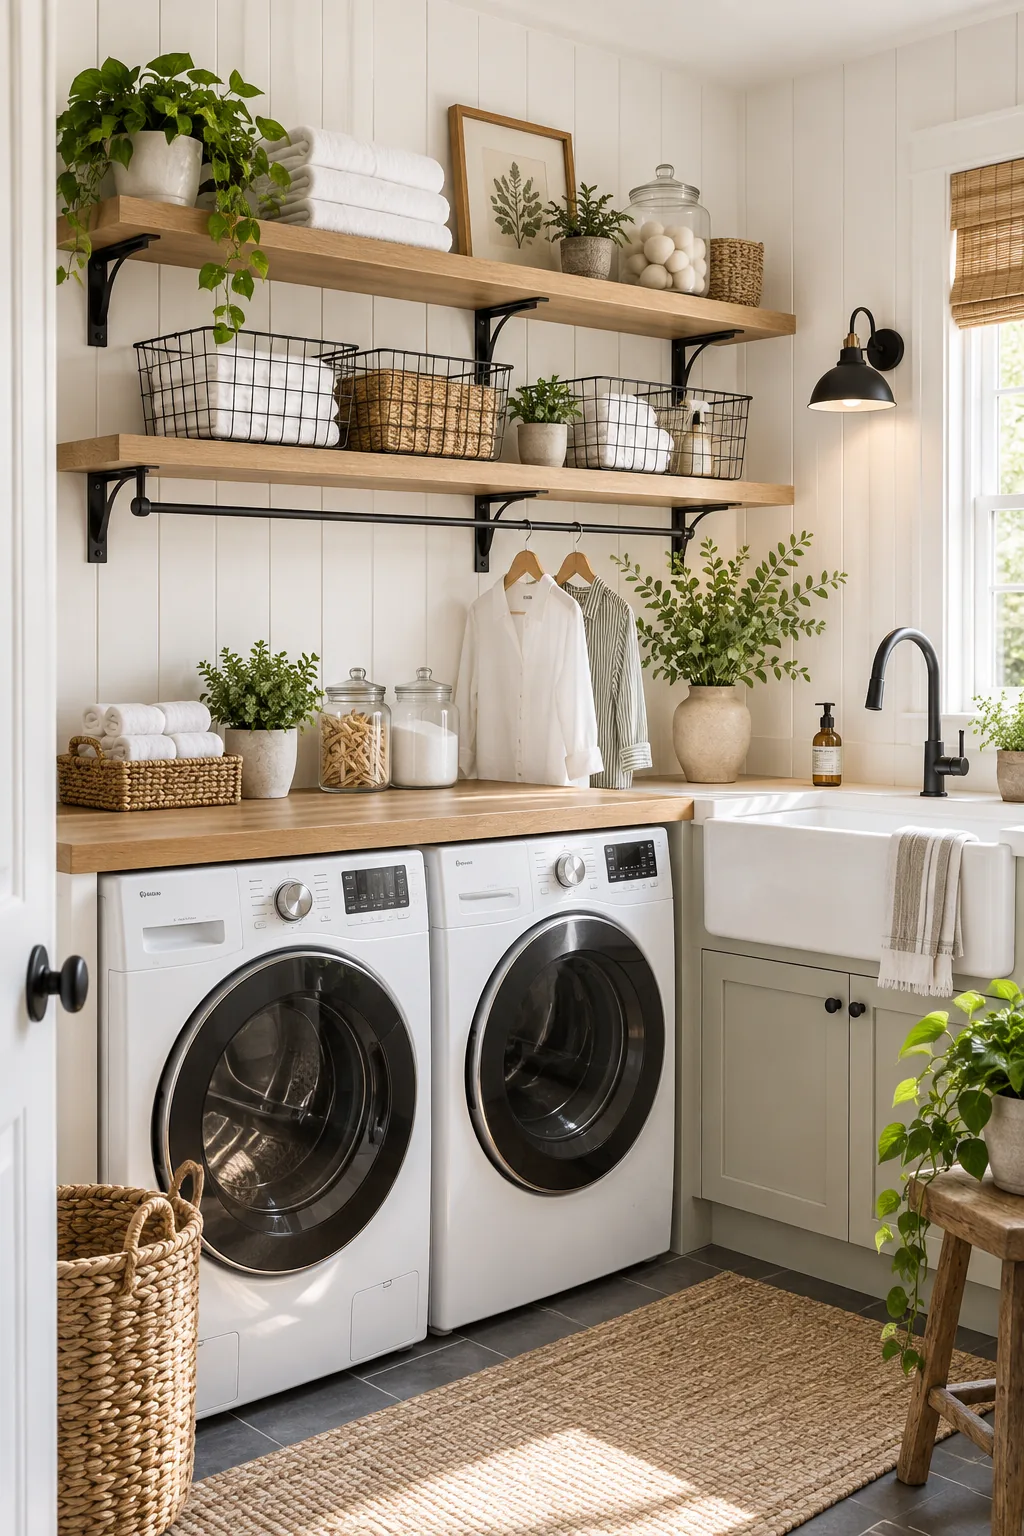
Modern Farmhouse Shiplap: Vertical white shiplap adds subtle texture behind the shelves, while wire baskets keep the airy farmhouse feel intact.
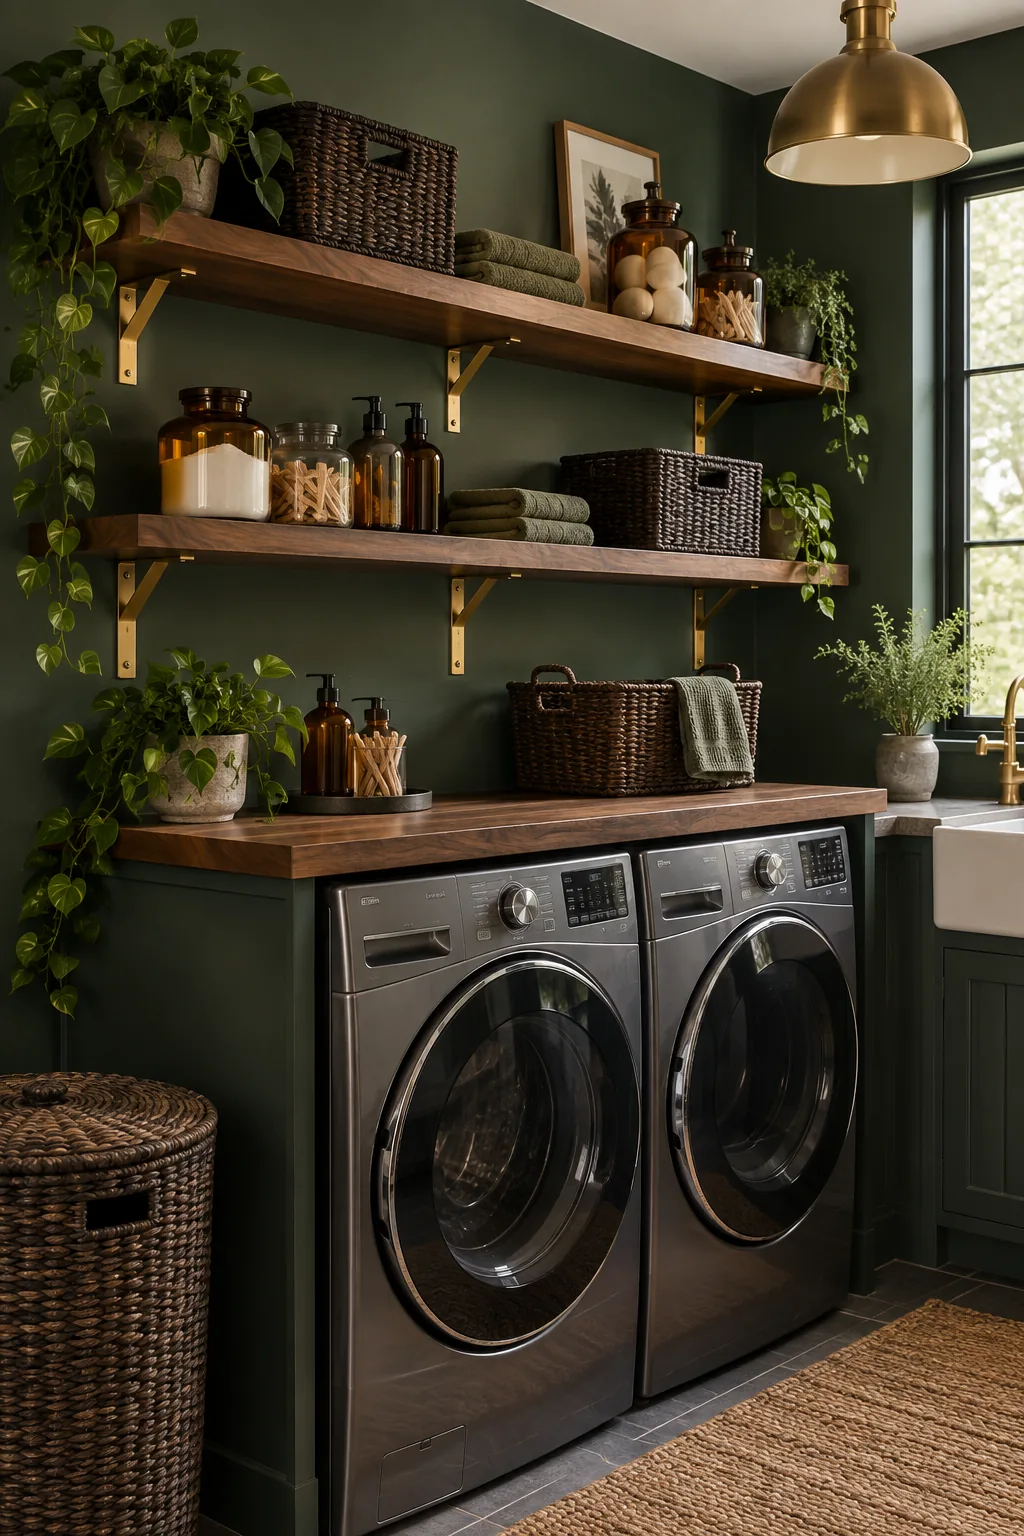
Moody Green Utility: Deep forest green walls paired with rich walnut shelves and brass hardware create a sophisticated, dramatic utility space.
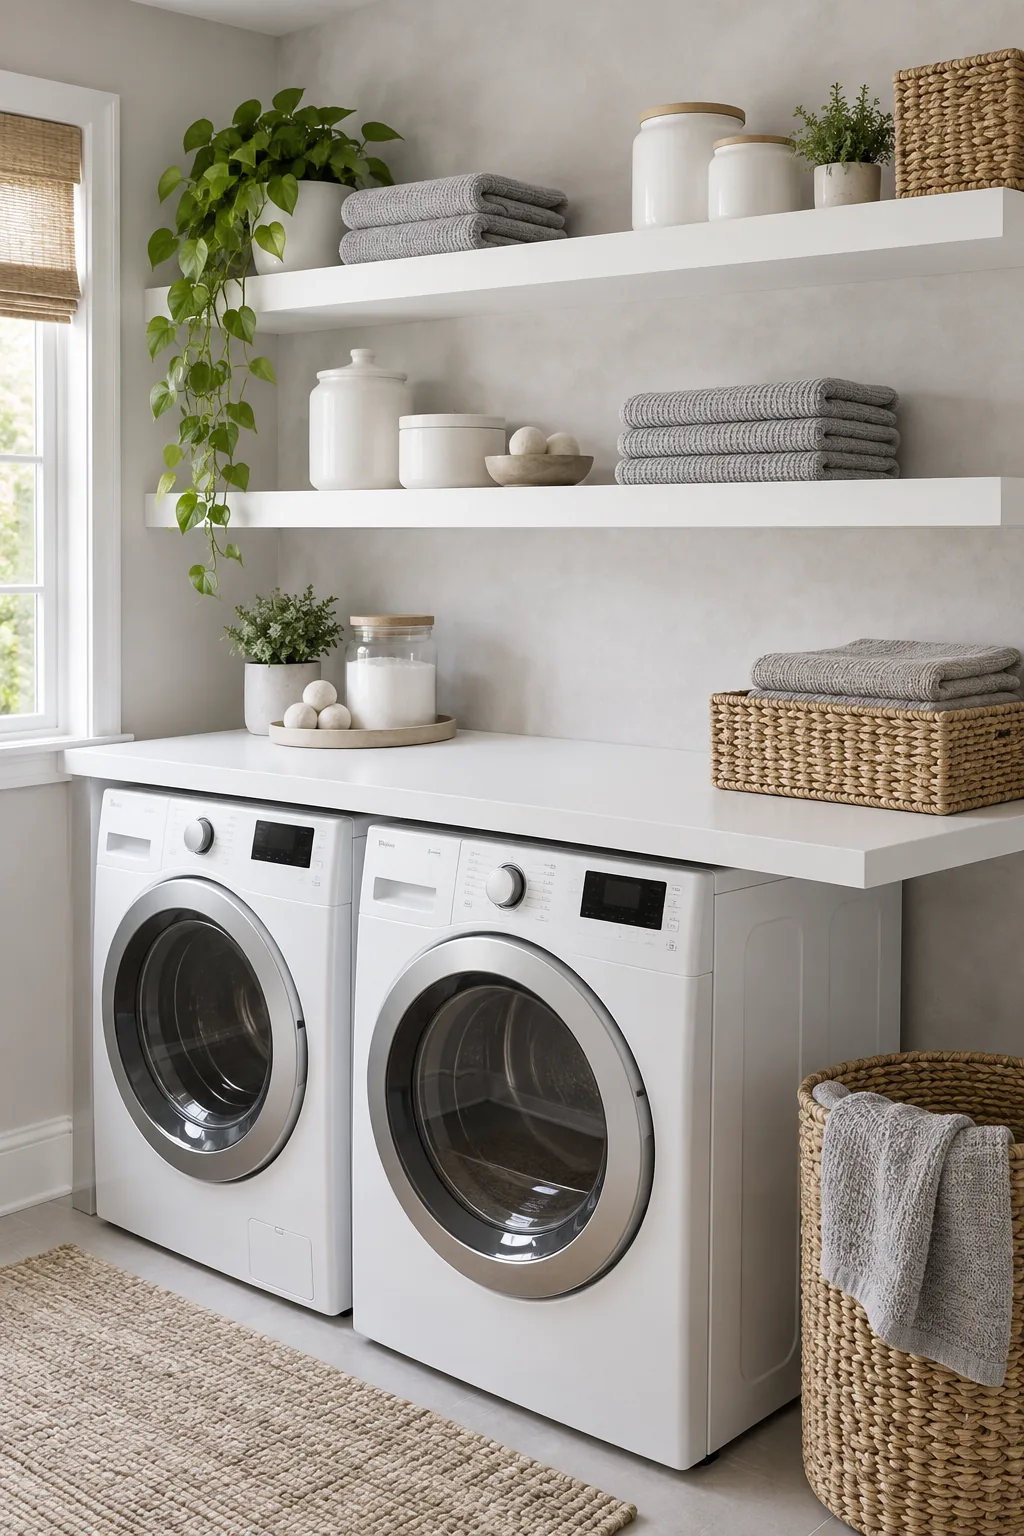
Minimalist Floating Shelves: Hidden hardware and monochromatic white finishes allow the shelves to blend seamlessly into the light grey plaster walls.