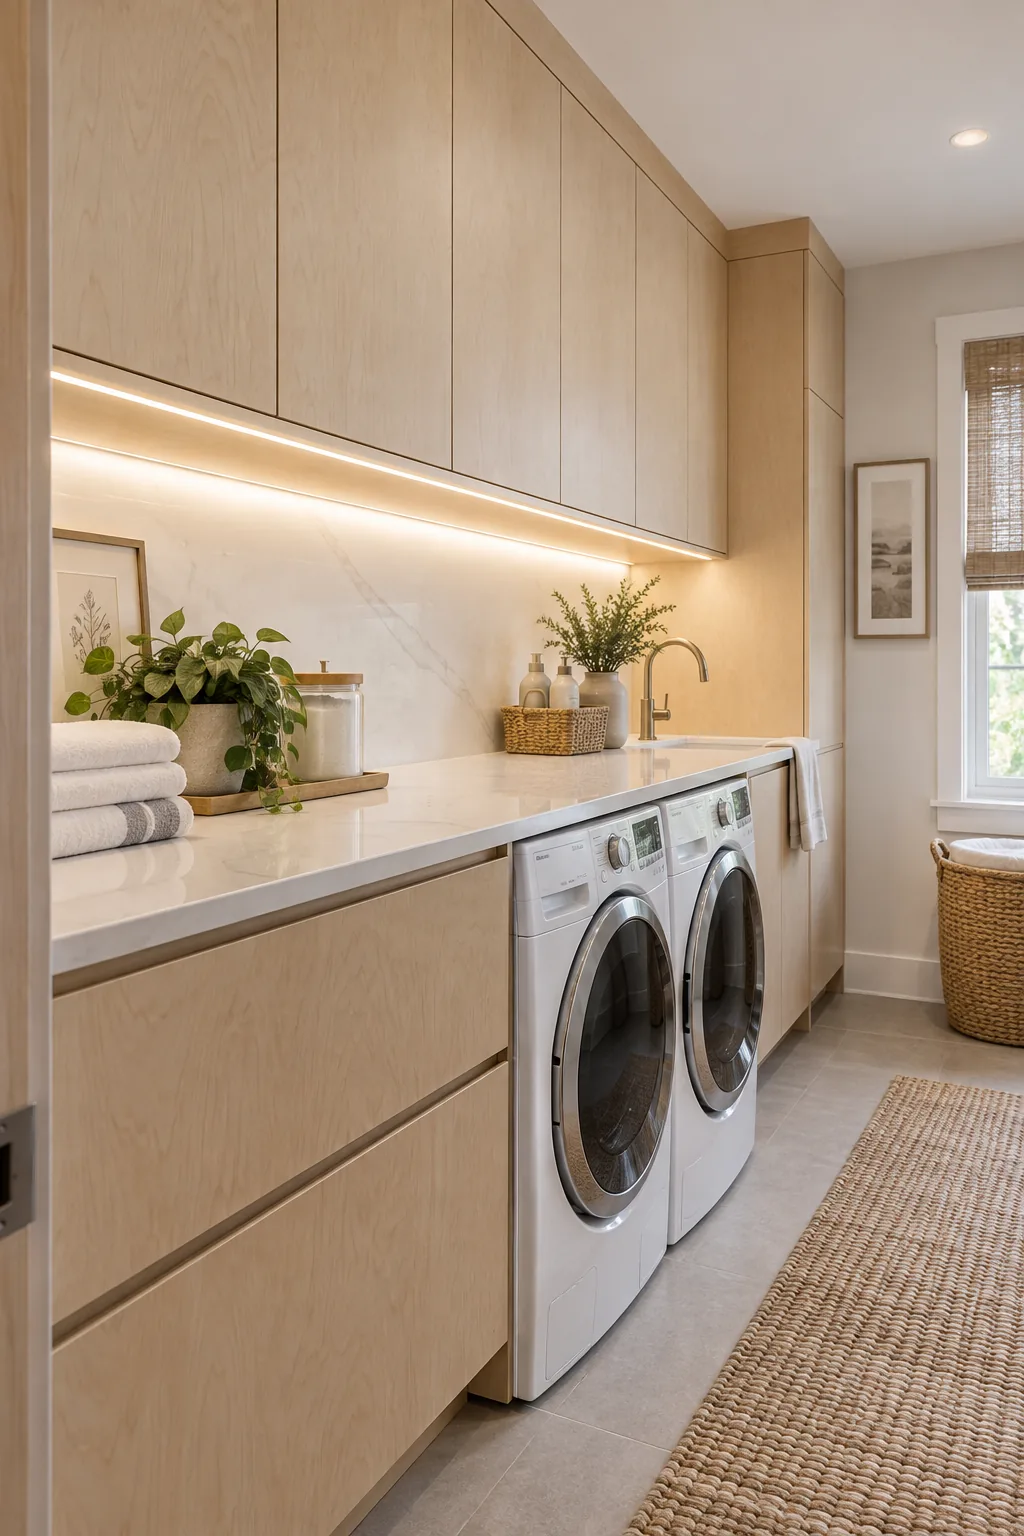
Laundry Room Lighting Rules: Why the Counter Strip Wins
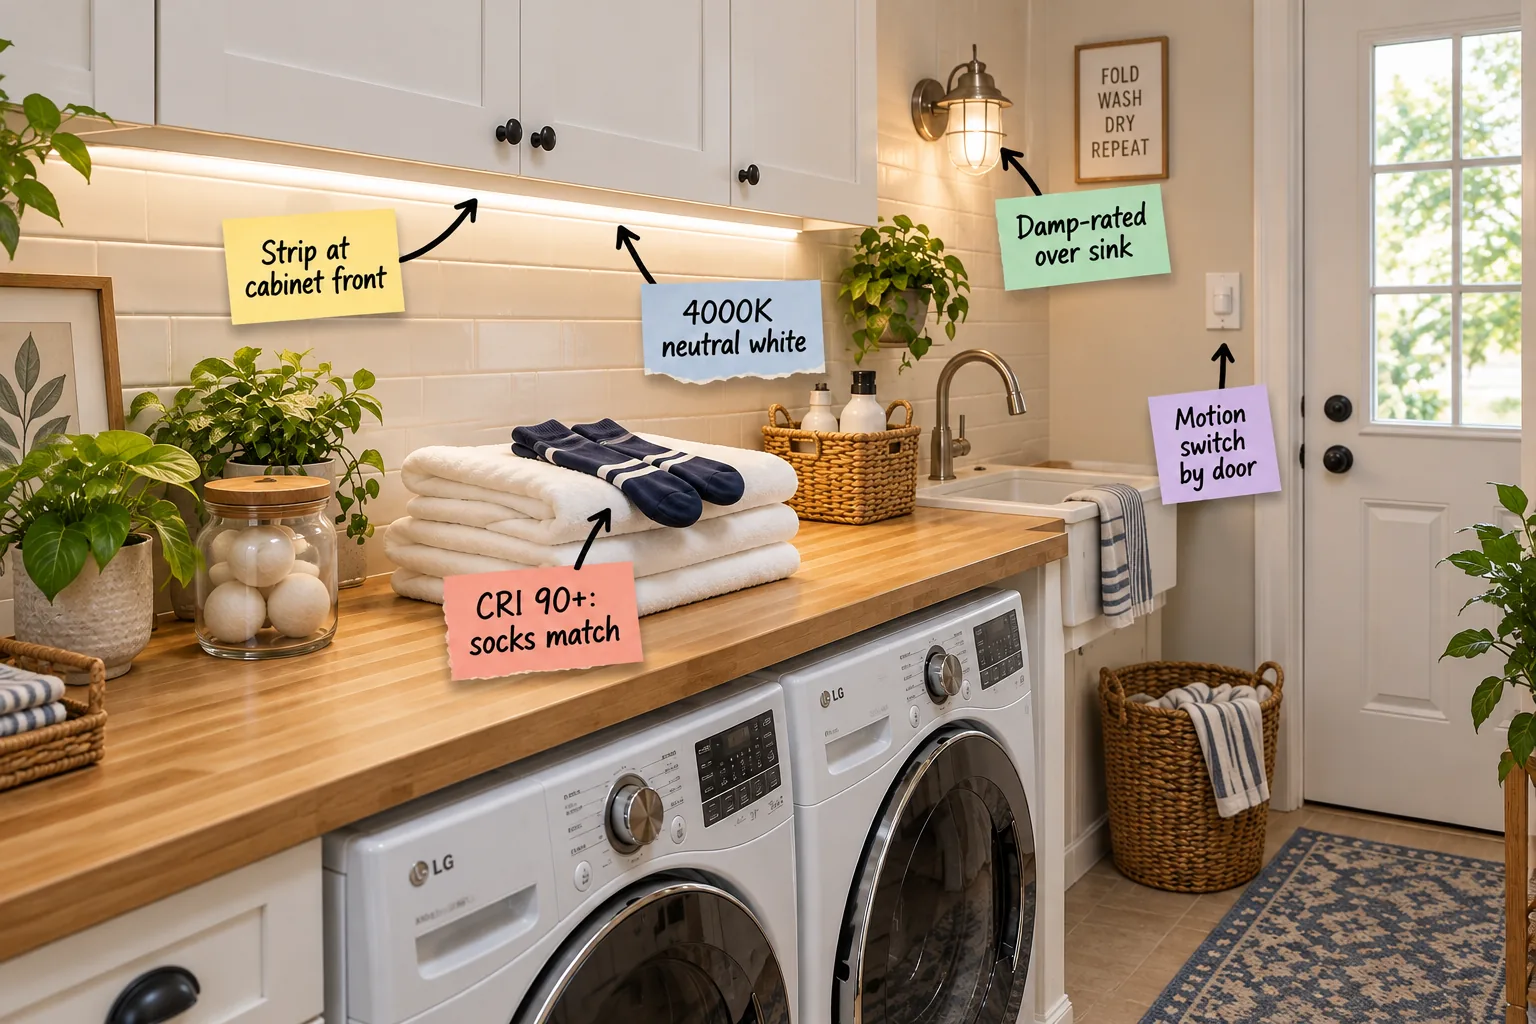
Your laundry room needs targeted illumination to function efficiently, and you can map out your lumens, LED strip placement, and exact buying specs right now. You will be able to calculate your requirements and confidently mount your task lighting using our printable laundry room lighting plan sheet.
The Folding Counter Task Light
Mounting the LED strip at the front lip of the upper cabinets directs light exactly where you fold clothes, rather than washing the backsplash and leaving your hands in shadow. In my own Denver home, moving the strip forward completely eliminated the annoying shadows that used to hide stubborn stains on my kids’ clothes.
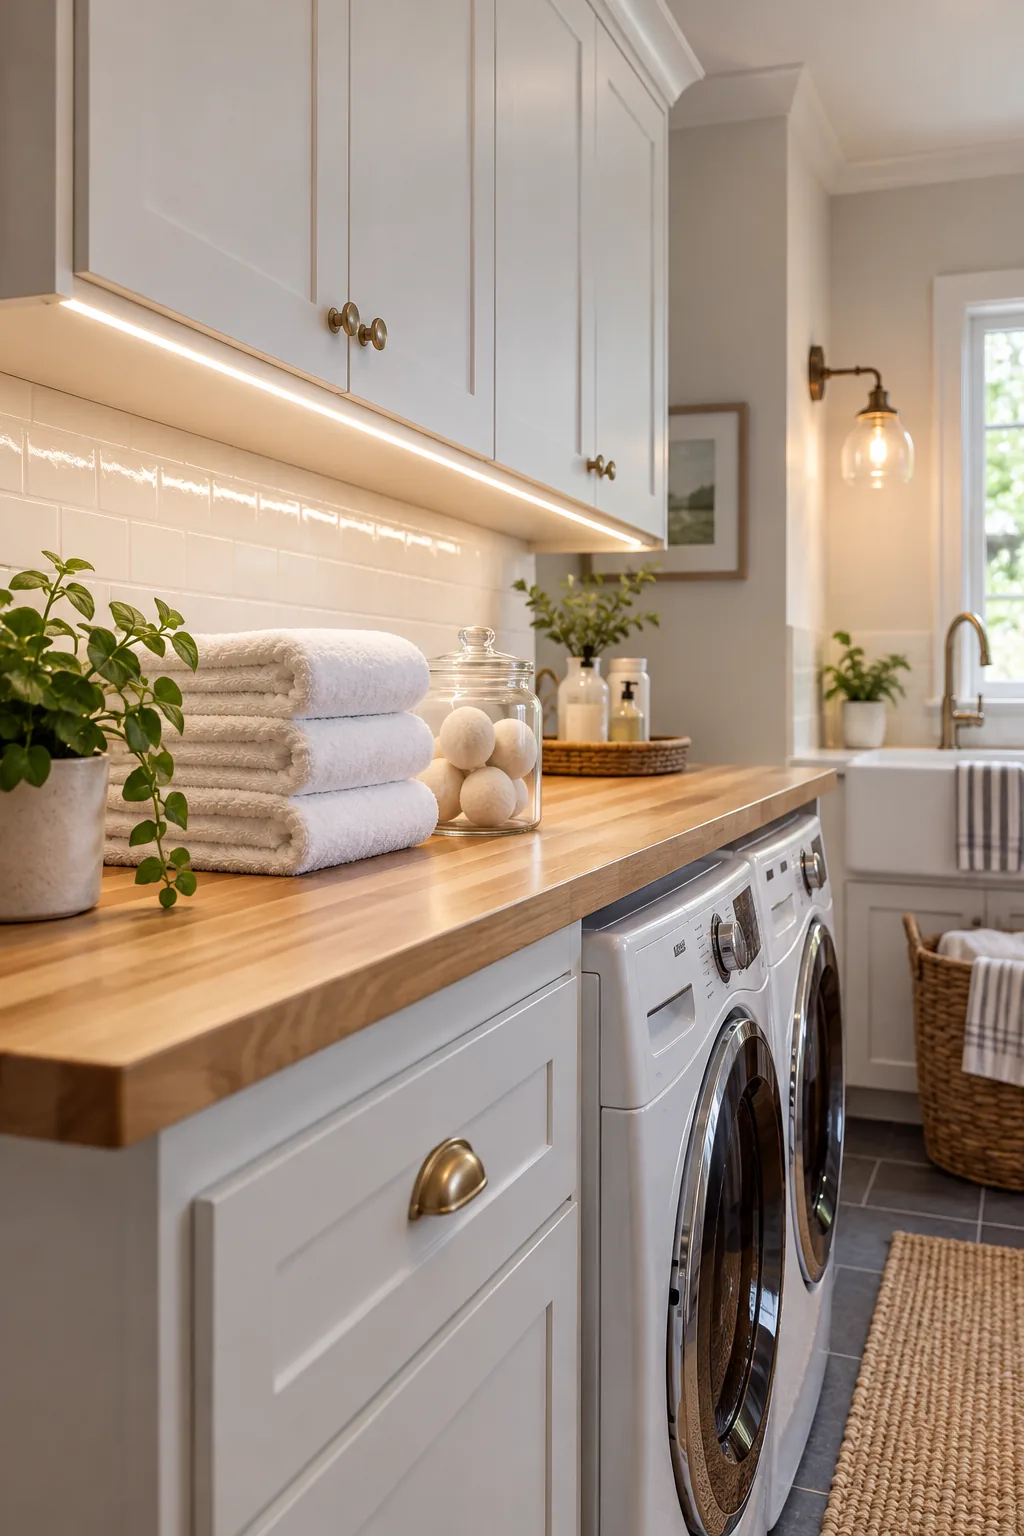
Leaving a 2-inch gap at both ends of the cabinet run ensures the light strip remains completely hidden from normal viewing angles. This creates a clean, architectural glow that balances the visual weight of the upper cabinetry.
Positioning for Visual Symmetry
Eastern design principles teach us that a workspace must feel grounded, and centering your task lighting over the primary folding zone anchors the room’s energy. By deliberately aligning the light source with your physical workspace, you create a harmonious environment that makes chore time feel remarkably less chaotic.
Harmonizing Materials and Light
The interaction between your chosen light temperature and the physical textures in your room dictates the overall mood of the space. Warm wood folding counters absorb light differently than glossy laminate, requiring a thoughtful approach to ensure the illumination flatters rather than flattens your materials.
Choosing 4000K Neutral White
Selecting a 4000K color temperature provides a crisp, neutral white that avoids the sterile blue of 5000K and the yellow tint of 2700K. This specific temperature keeps white fabrics looking genuinely white while you pretreat collars and cuffs.
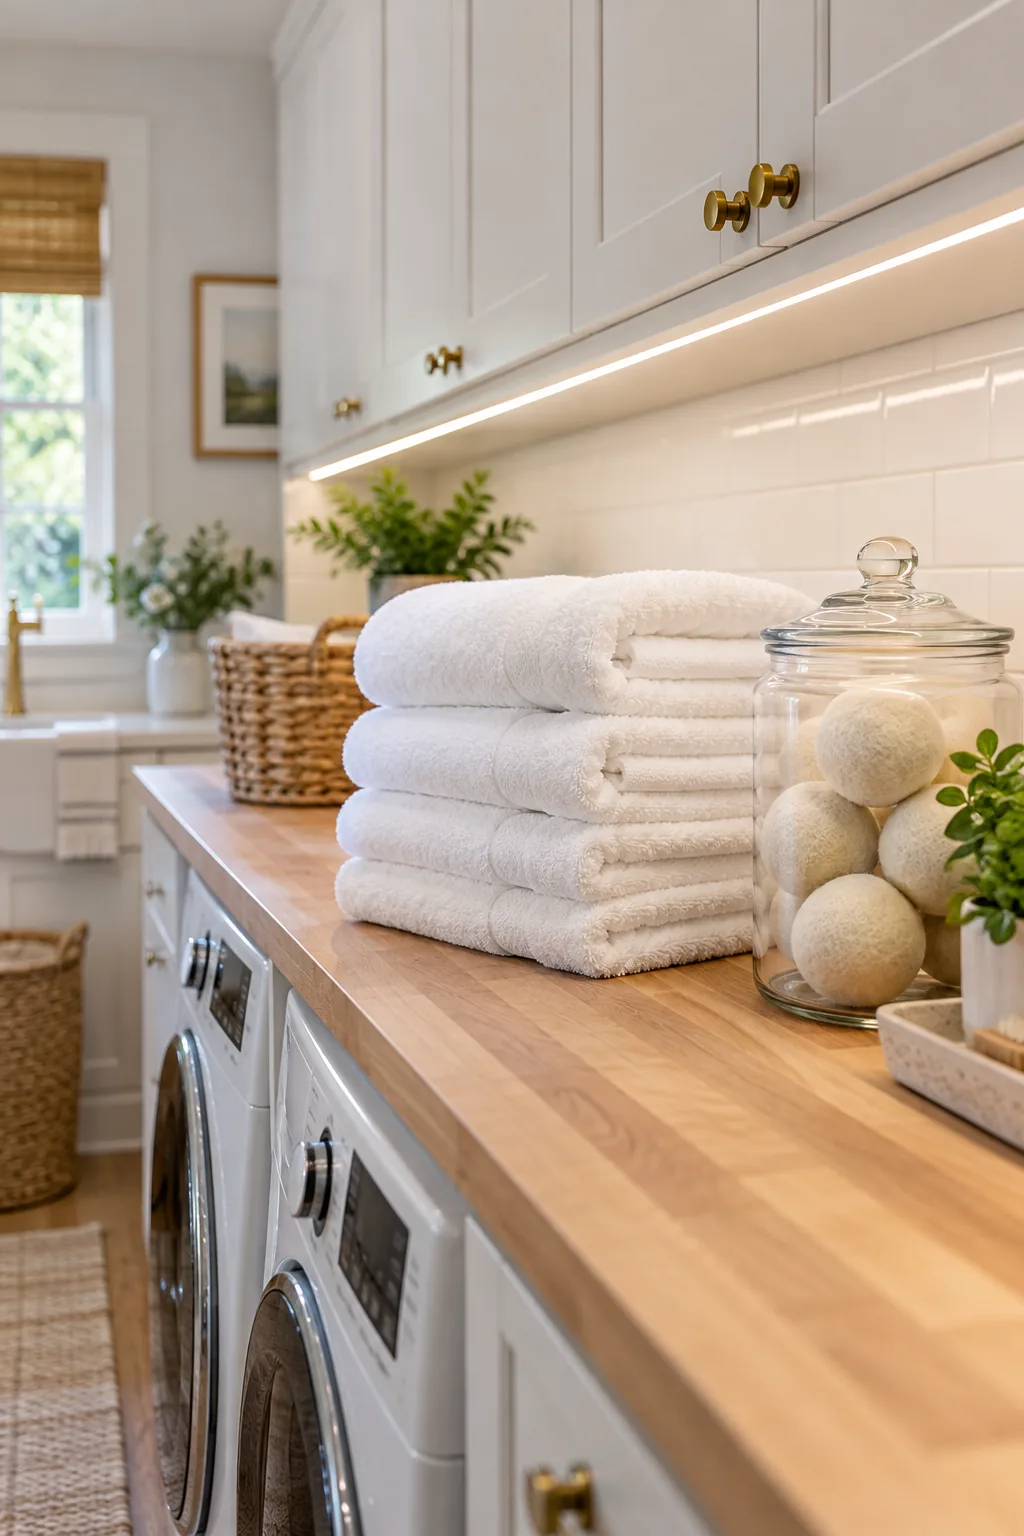
A balanced light spectrum is essential for creating a space that feels both energetic for chores and visually harmonious with the rest of your home. You need that absolute clarity to spot fading or discoloration before items go into the wash.
The Psychology of Crisp Lighting
Working under a truly neutral light source reduces visual fatigue and helps maintain your focus during long sorting sessions. Western ergonomic studies consistently show that mimicking natural daylight in utility spaces significantly improves our ability to process fine details without straining our eyes.
The Impact of Matte Finishes
Pairing your crisp 4000K lighting with matte cabinetry finishes absorbs excess reflection and creates a sophisticated, velvety visual texture. This intentional combination prevents the harsh glare that often plagues utility rooms, keeping the environment calm and focused even during your heaviest laundry days.
High CRI for Color Matching
A Color Rendering Index of 90 or higher is strictly non-negotiable for laundry spaces because it allows the human eye to accurately distinguish between closely related dark colors. You need this high fidelity to confidently separate a pile of navy blue and black garments.
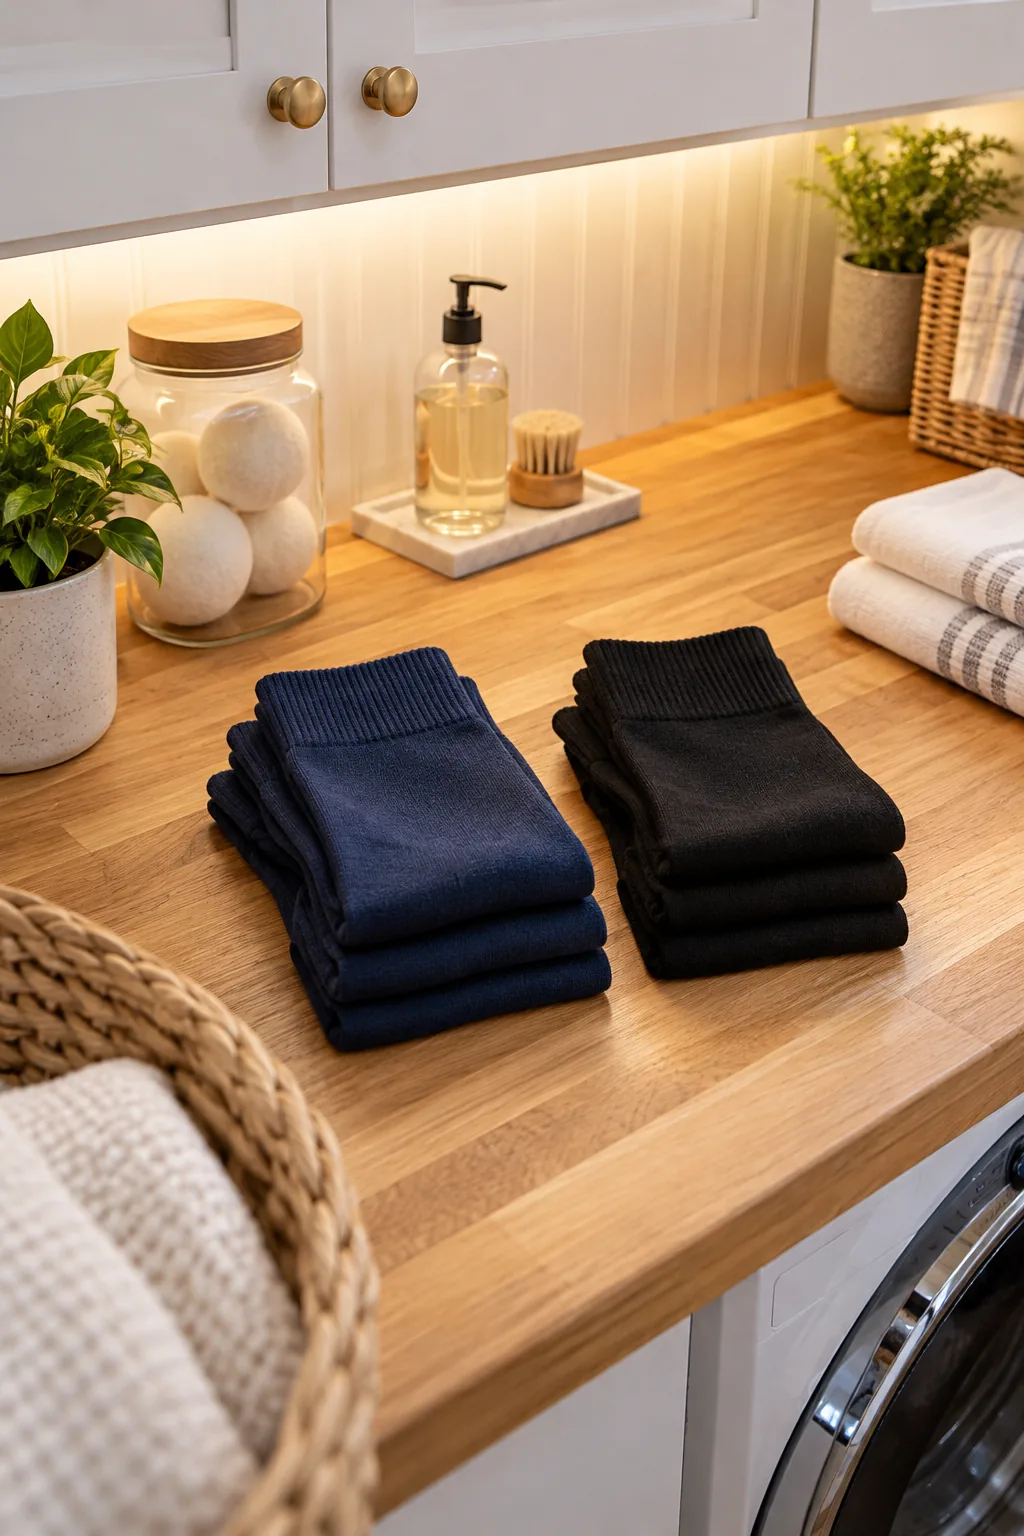
Lower CRI ratings muddy the visual spectrum, making deep hues blend together under artificial light. Upgrading to high-CRI fixtures removes the daily guesswork and protects your delicate wash cycles from accidental color bleeding.
Protecting Your Wash Cycles
When you can clearly see the subtle undertones in your fabrics, you naturally make better decisions about water temperature and detergent types. This precision lighting acts as your first line of defense against ruining expensive garments in the wrong wash cycle.
Sink Zone Sconces and Safety
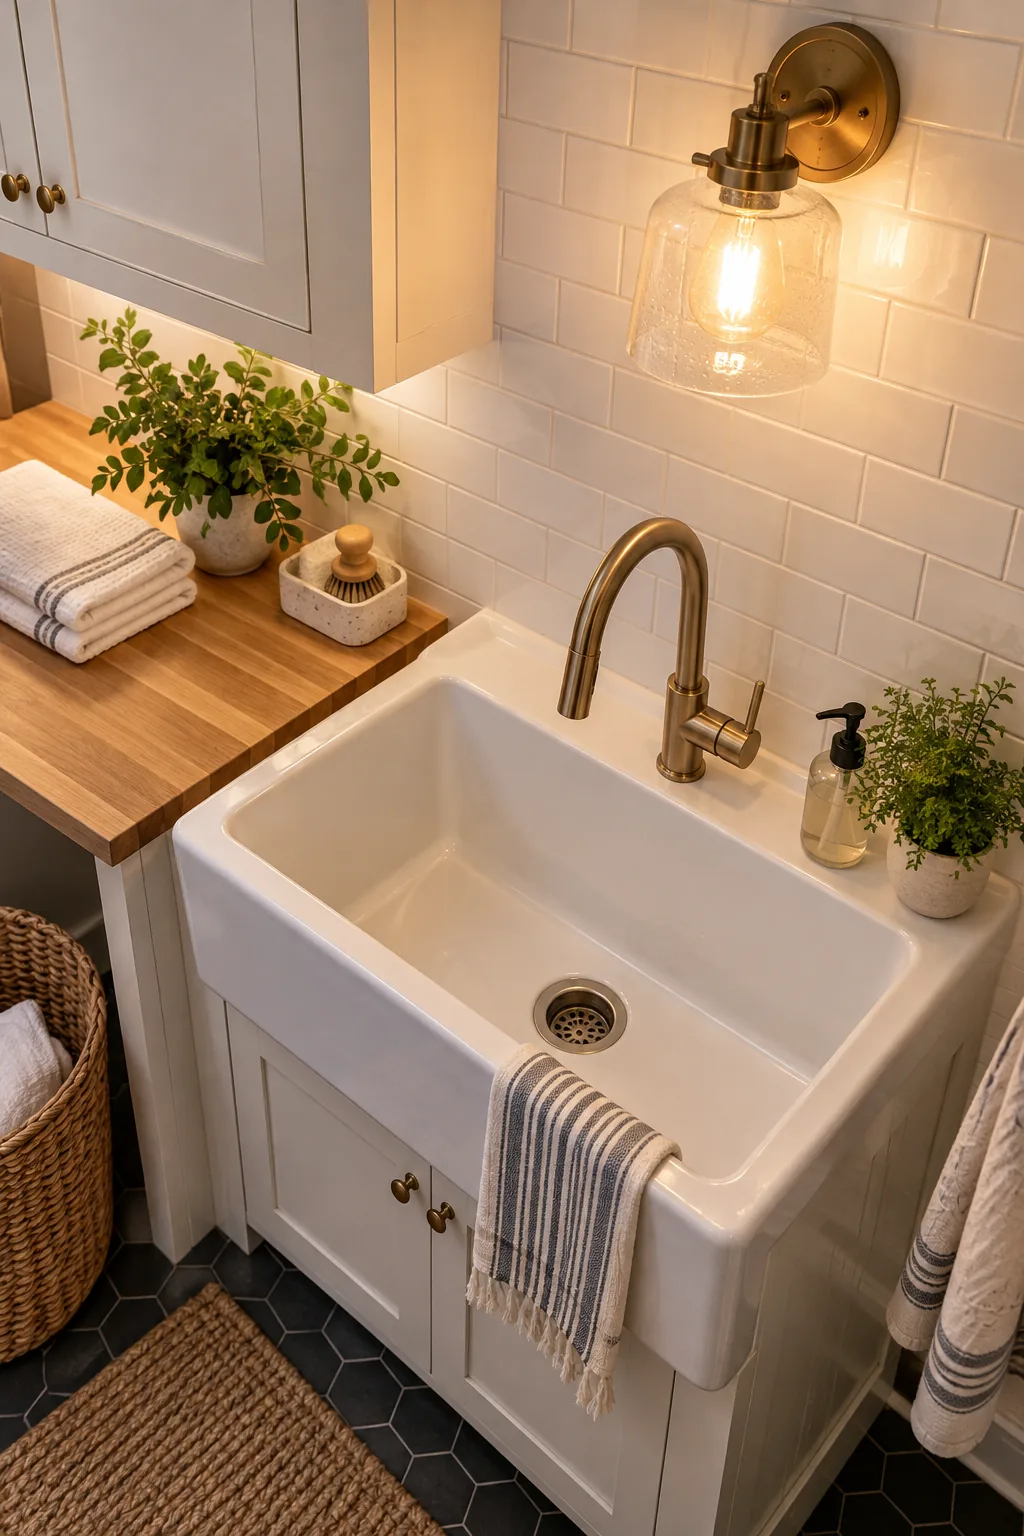
Illuminating the utility sink with a dedicated wall sconce prevents your own body from casting a shadow over the basin while you scrub. During a recent client remodel, adding a dedicated sink light instantly transformed a frustrating, dark corner into their favorite prep zone.
Before purchasing that decorative sconce for your utility sink, verify its safety rating and placement. You must use damp-rated fixtures when installing any lighting within 3 feet of a water source to meet safety standards.
Layering Light in Wet Zones
Treating the sink as a distinct micro-zone requires a strategic layering approach that separates wet task lighting from dry folding illumination. This separation of functions brings an intuitive, structured flow to your laundry routine, ensuring every specific task has its own dedicated, safe light source.
Managing Glare on Countertops
When positioning your damp-rated sconces and overhead fixtures, always consider the reflective qualities of your sink basin and nearby countertops. Directing the primary beam slightly away from highly polished surfaces diffuses the intensity and creates a softer, more forgiving ambient glow throughout the zone.
Ceiling Ambient Lighting
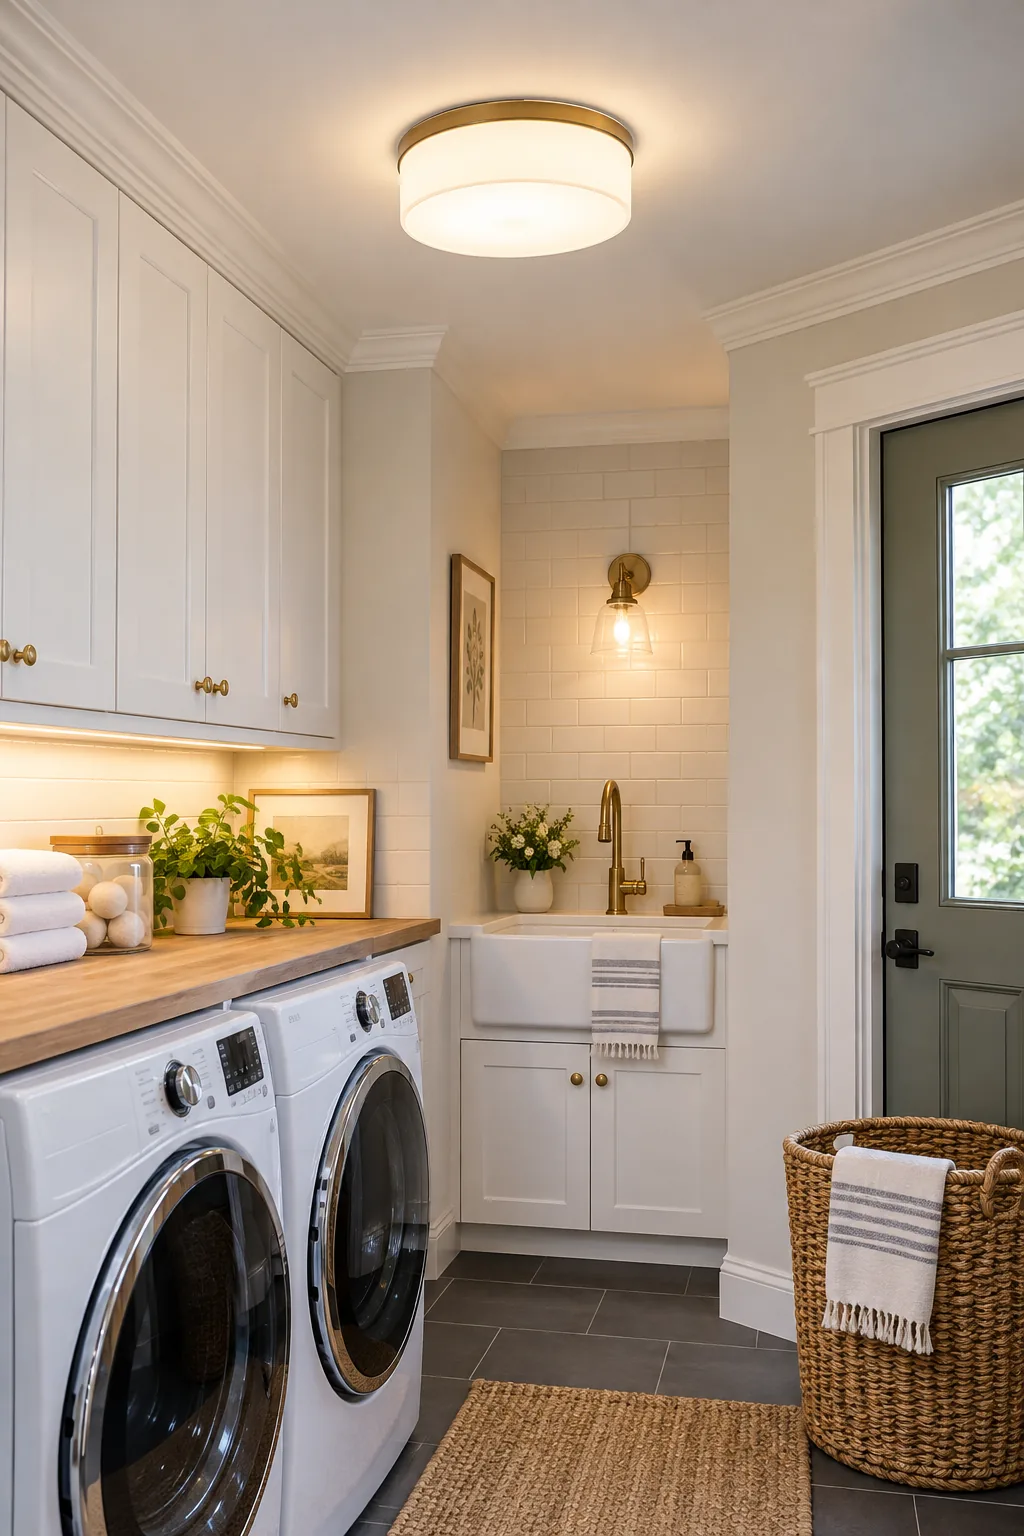
While task lighting handles the detailed work, a central ceiling flush mount is necessary for general ambient navigation when you first enter the room. You should aim for 30 to 40 lumens per square foot to ensure the overall space feels bright and airy.
Calculating your baseline ambient requirement ensures you purchase a fixture with enough output to support the room’s footprint. Use this baseline to scale your central ceiling fixture appropriately.
| Room Size | Square Footage | Target Lumens (Ambient) |
|---|---|---|
| Small (5×5 ft) | 25 sq ft | 750 – 1,000 lumens |
| Medium (8×8 ft) | 64 sq ft | 1,920 – 2,560 lumens |
| Large (10×12 ft) | 120 sq ft | 3,600 – 4,800 lumens |
Scaling Fixtures to Your Footprint
A fixture that is too small will leave the corners of your room feeling cramped and neglected, while an oversized light can overwhelm a modest utility space. Choosing a ceiling mount that physically spans at least one-third of the room’s width maintains proper visual proportions.
Automated Entry Controls
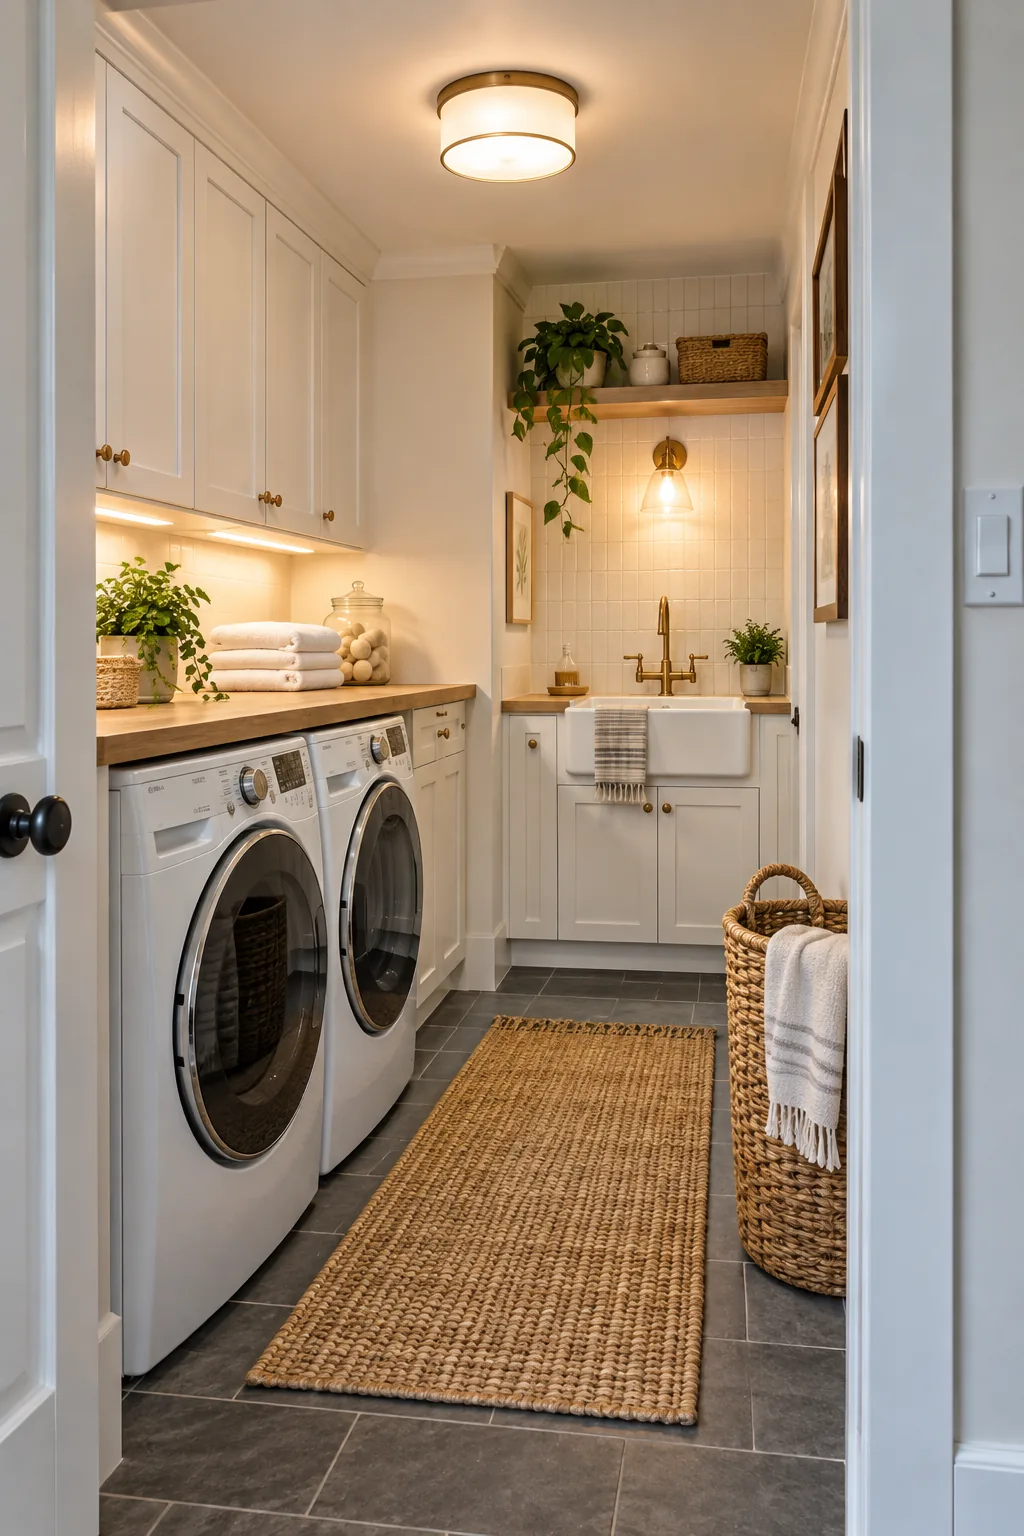
Since your hands are typically full with heavy laundry baskets upon entering, an automated motion-sensor wall switch ensures immediate, safe visibility. I installed one in my own laundry room last year, and it entirely eliminated the precarious balancing act of reaching for a switch in the dark.
Setting the sensor to a standard hand-height placement ensures it catches your movement the moment you cross the threshold. This small automated detail blends modern convenience with thoughtful, accessible design.
The Mechanics of Hands-Free Flow
Programming your motion sensor to a five-minute timeout strikes the perfect balance between energy efficiency and practical usability. This brief window provides ample time to drop off a basket or grab a quick supply without the lights abruptly shutting off while you are still moving.
Seamless Wiring Concealment
Planning your automated entry controls early in the design phase allows you to route low-voltage wiring discreetly behind the drywall. This hidden infrastructure supports a minimalist aesthetic, ensuring that the technology enhances your daily routine without cluttering your carefully curated visual sightlines.
Calculating Strip Length and Placement
To size your LED strip correctly, measure the total width of your upper cabinets and subtract 4 inches to allow for a 2-inch setback on each side. This precise setback ensures the hardware remains hidden while casting a perfectly even glow across your folding surface.
- Measure the total continuous width of your upper cabinet run from edge to edge.
- Subtract exactly 4 inches from that total measurement to establish your target length.
- Cut your LED strip at the designated copper cut points to match this final dimension.
Centering this shortened strip along the front lip creates a balanced, symmetrical light wash that highlights your counter materials beautifully. This simple calculation prevents harsh light from spilling awkwardly off the edges of your cabinetry.
Testing Your Lighting Layout
Before committing to final installations, temporarily tape your LED strips and position your sconces to observe how the light interacts with your specific room geometry. This physical rehearsal guarantees that your calculated placements translate perfectly from paper into a beautifully functional, real-world environment.
Your Printable Laundry Lighting Plan
Our printable laundry room lighting plan sheet consolidates all these measurements so you can calculate your exact lumen needs based on room size. It helps you map out your LED strip length and verify the required 4000K and CRI 90+ buying specifications before heading to the hardware store.
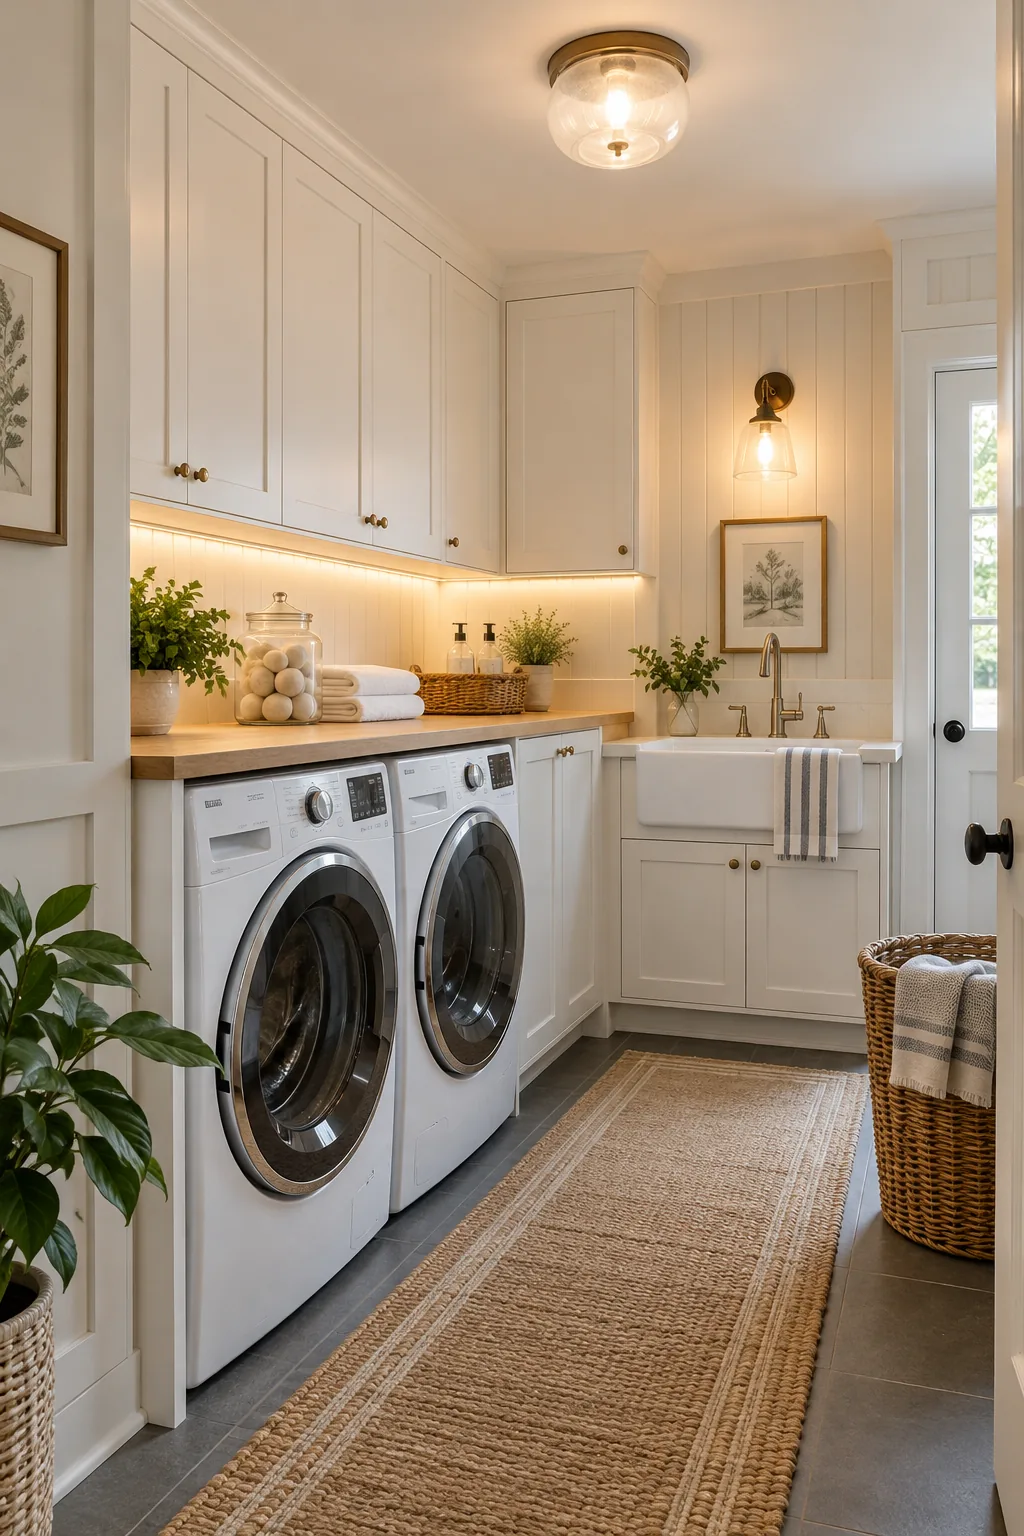
Keep these non-negotiable specifications in mind as you fill out your lighting plan to ensure a perfectly balanced, highly functional workspace.
Laundry Lighting Styles to Steal
Find the perfect fixture finish and cabinet color combination for your own utility space.
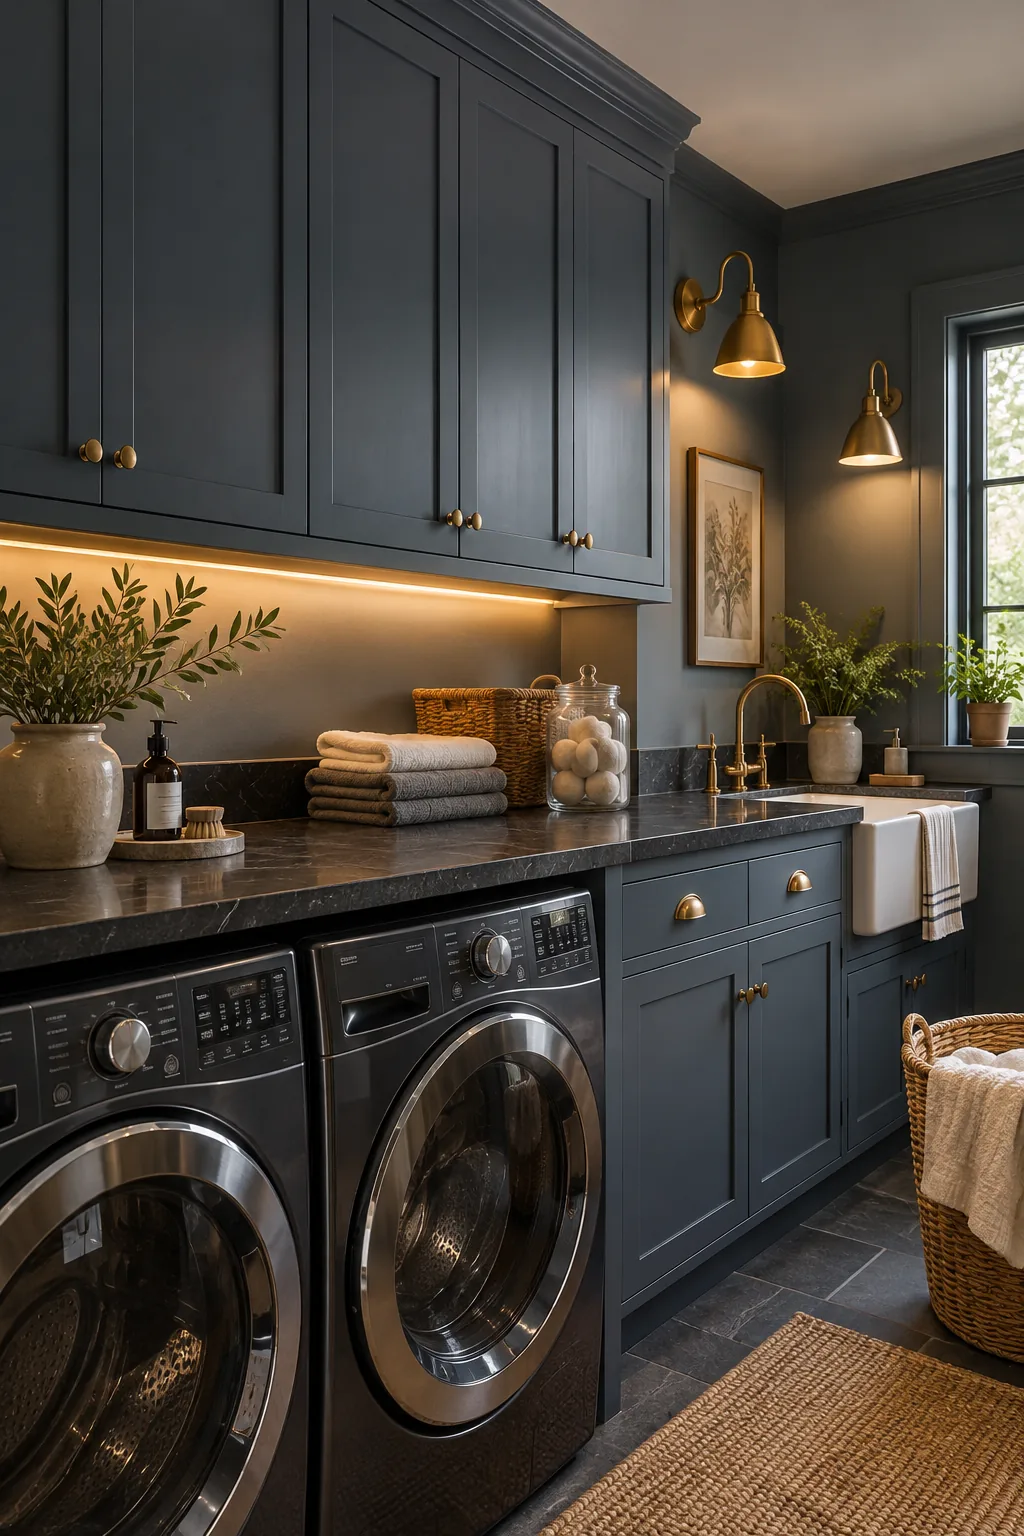
Moody Vintage Brass: Dark slate cabinetry pairs beautifully with unlacquered brass sconces for a rich, historic feel.
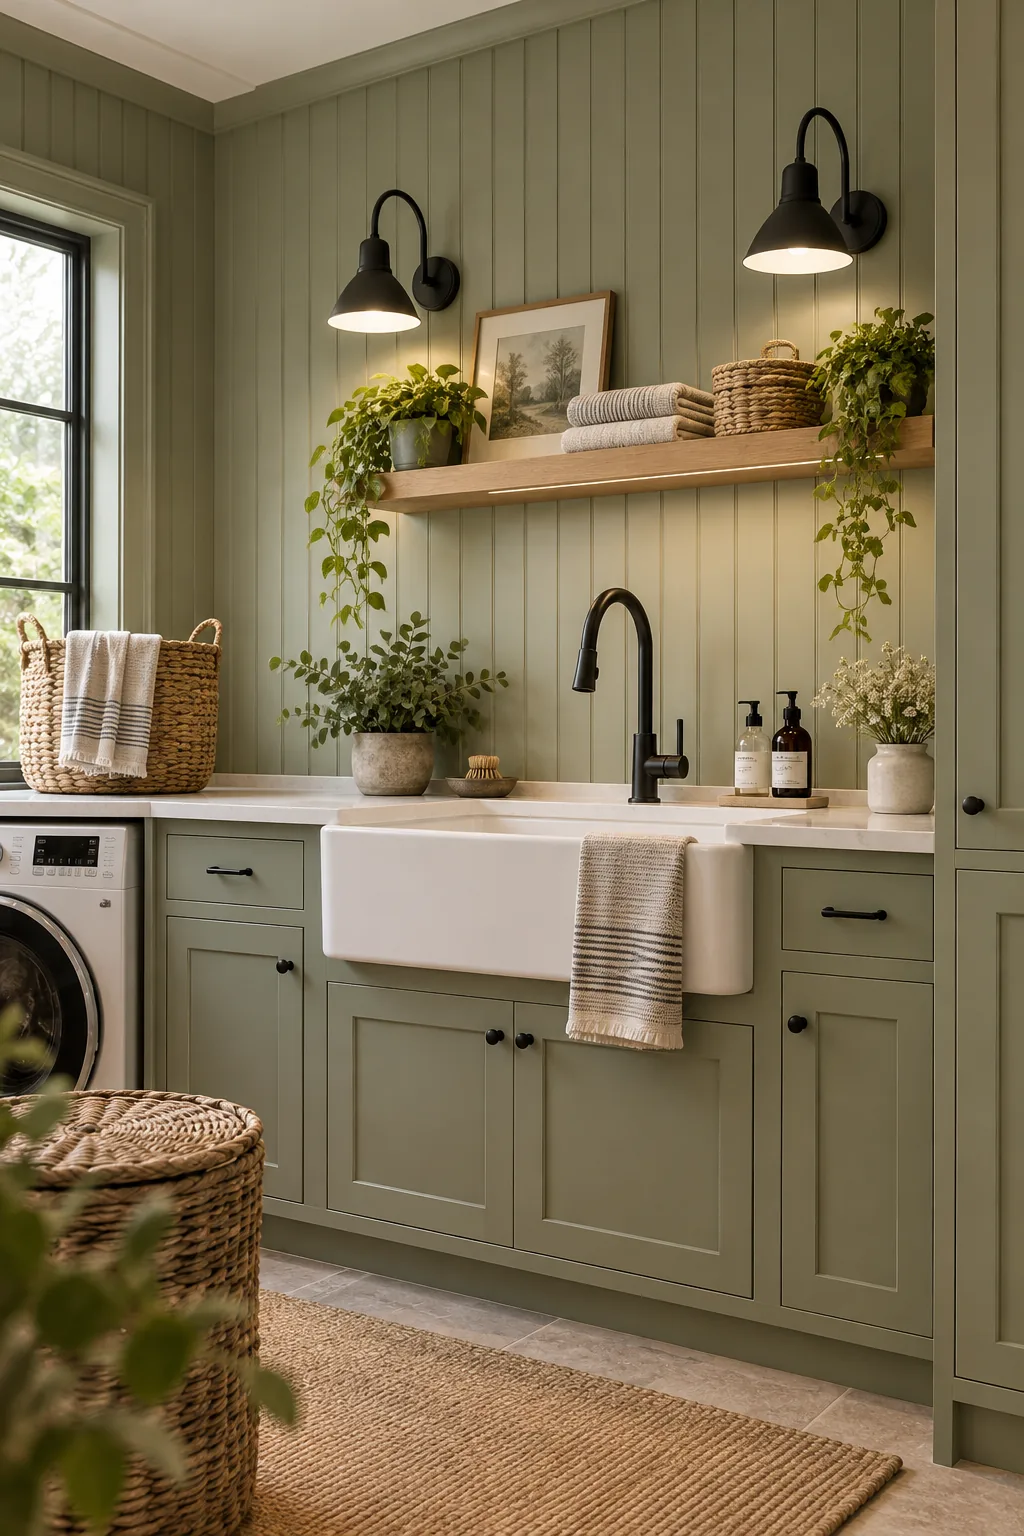
Modern Farmhouse Matte Black: Matte black gooseneck fixtures pop perfectly against soft sage green beadboard paneling.
Warm Minimalist Integrated: Seamlessly integrated linear LEDs keep the focus entirely on the beautiful natural birch wood grain.