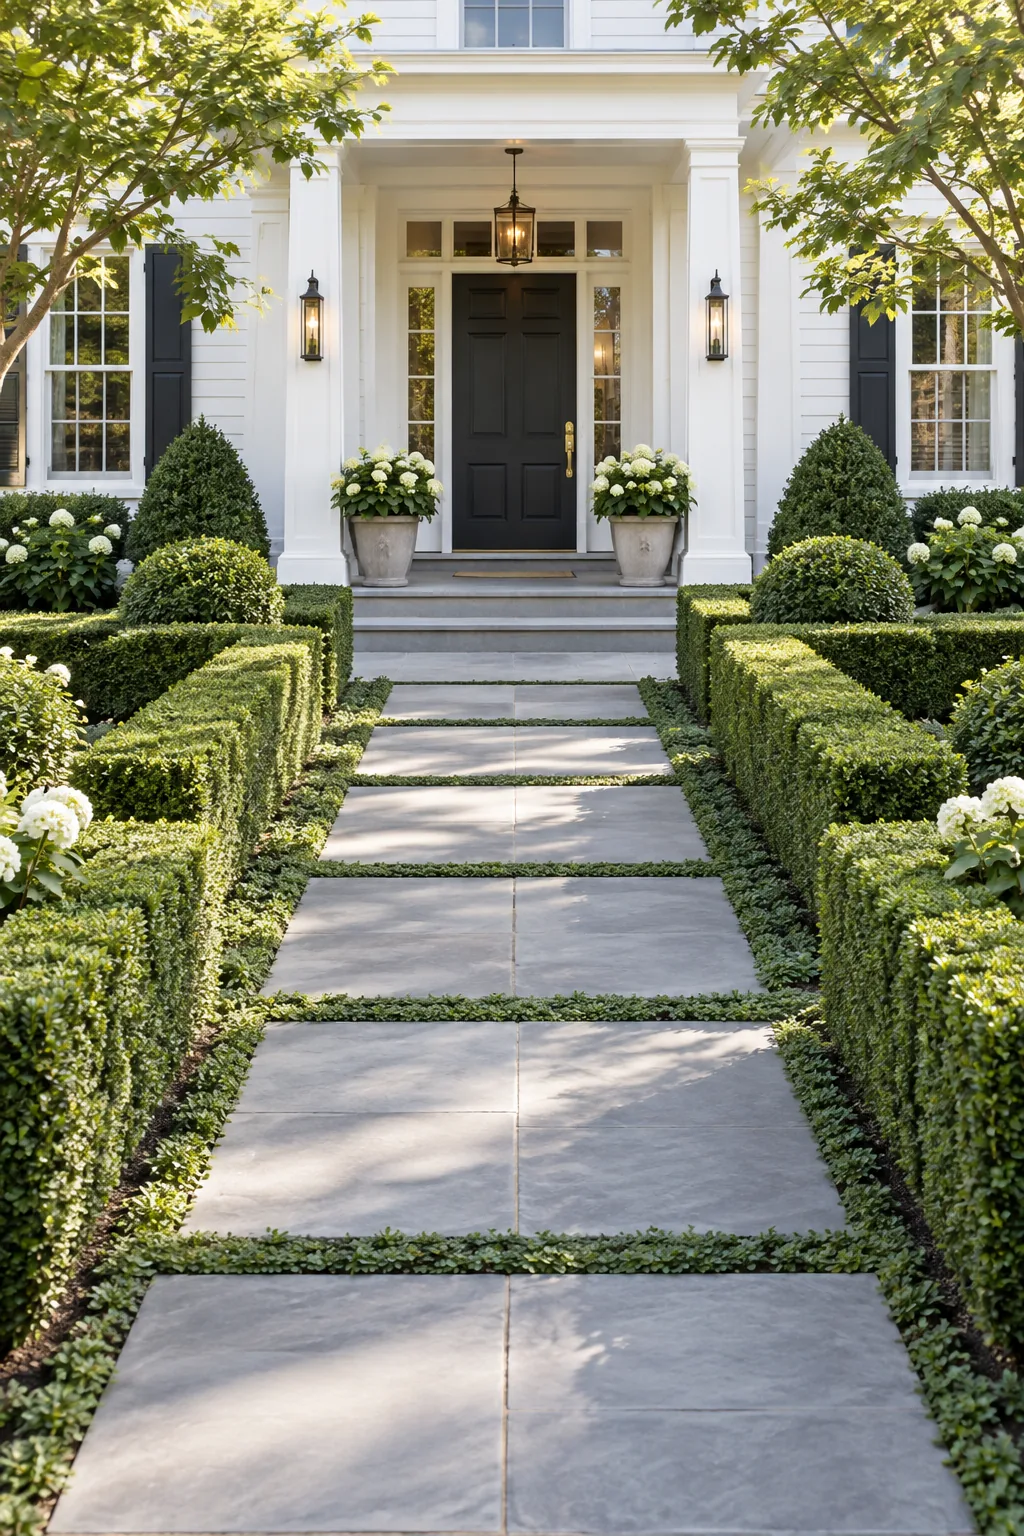
Front Entry Walkway Layout Guide and Spacing Cheat Sheet
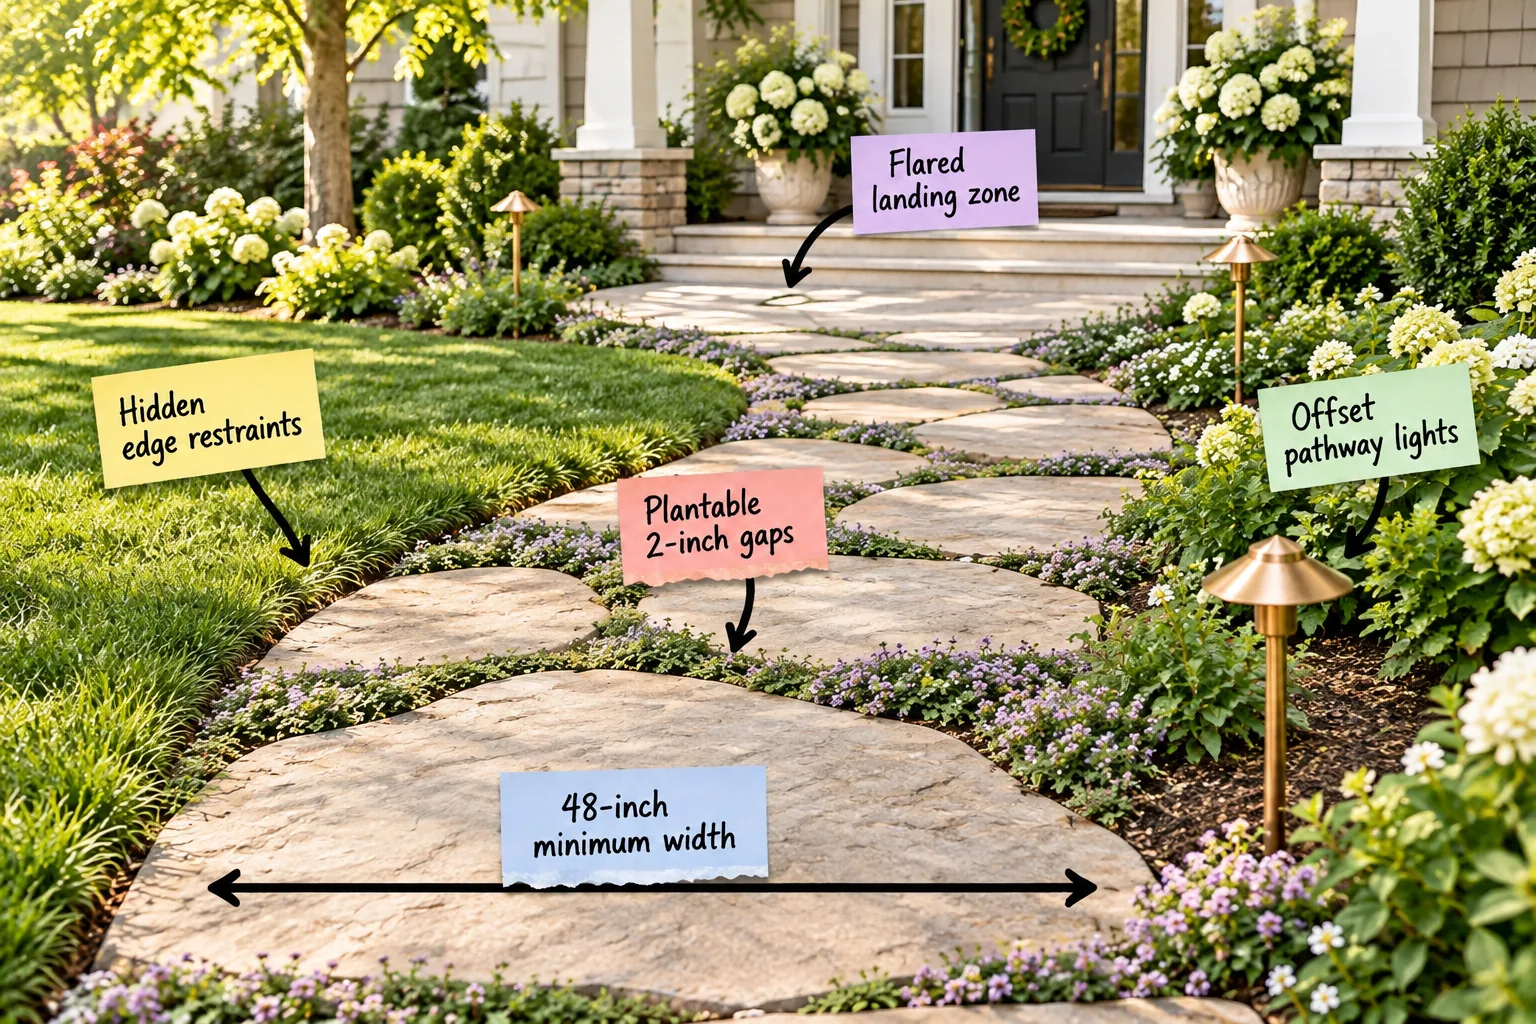
Master your home’s curb appeal with this complete spacing and layout cheat sheet so you can confidently measure, space, and lay out a welcoming front flagstone path. Having these exact dimensions handy takes the guesswork out of your weekend landscaping project.
Planning the 48-Inch Minimum Width
Setting a 48-inch minimum width is the golden rule for primary entryways because it gives everyone plenty of breathing room without stepping off the path. When I laid my own Austin front walk, expanding it to four feet completely transformed how welcoming the approach felt.
Adjusting Width for Curved Walkways
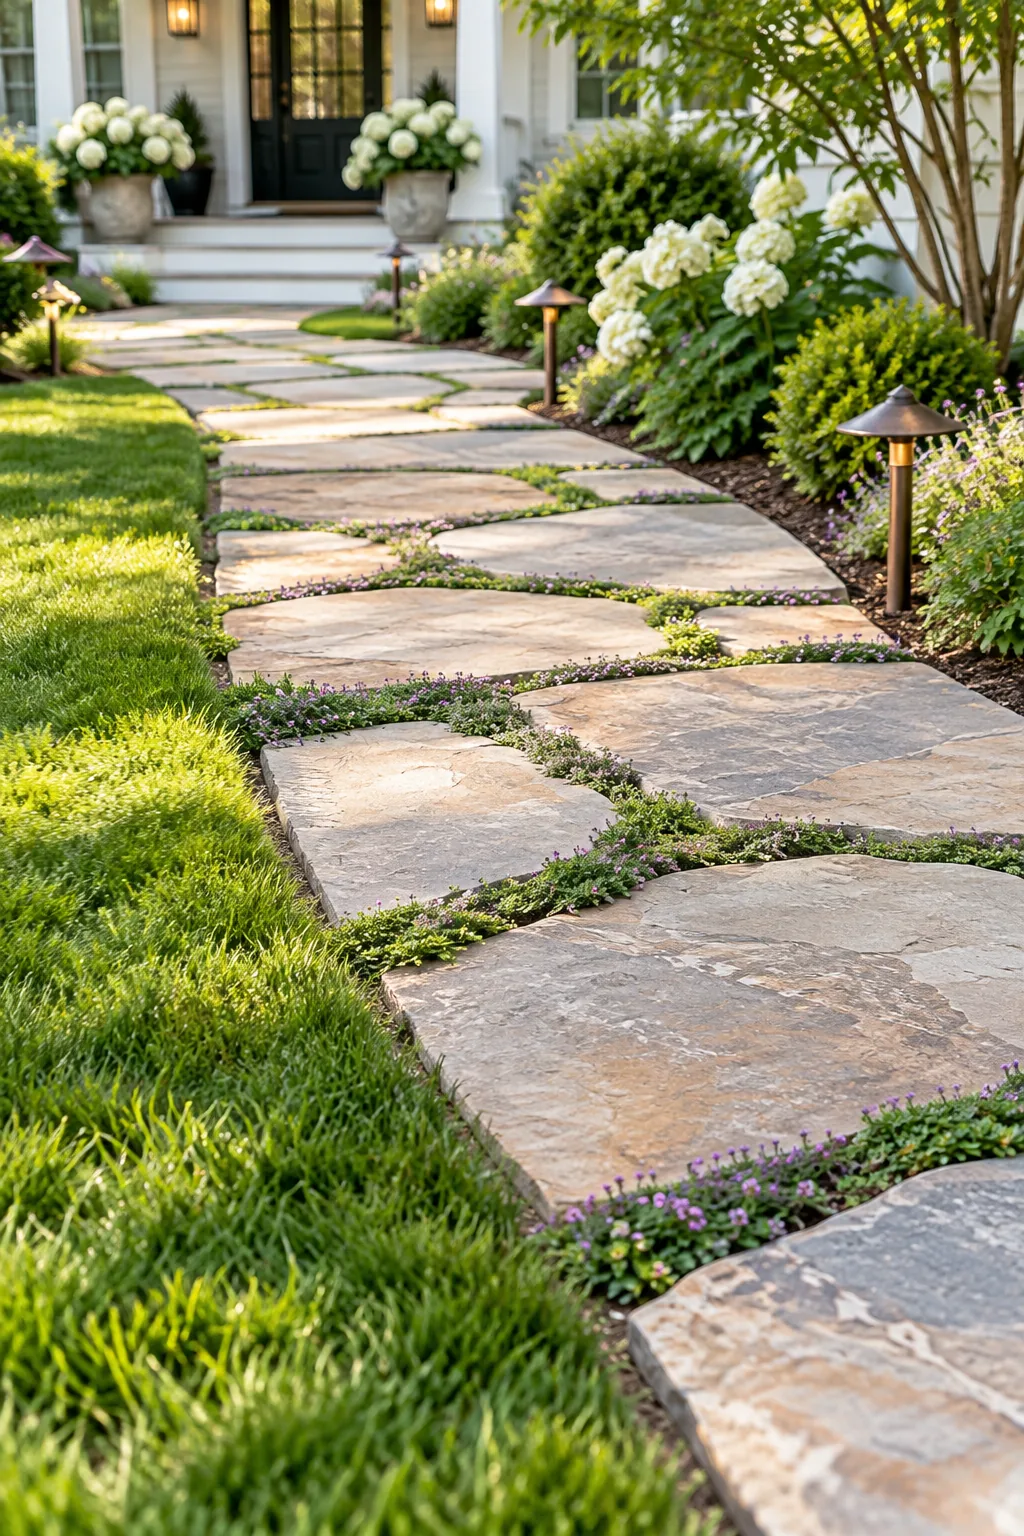
If your path meanders through the front yard, you must widen the stones at the apex of each curve to maintain that comfortable stride. Adding an extra six inches of width on sharp bends prevents guests from accidentally stepping into the mulch.
| Curve Type | Recommended Width | Additional Sweep |
|---|---|---|
| Straight run | 48 inches | None |
| Gentle sweep | 54 inches | 6 inches |
| Sharp 90-degree turn | 60 inches | 12 inches |
Excavating the Pathway Trench
Digging a proper foundation trench prevents your beautiful new stones from shifting and sinking after the first heavy rain. You need to excavate exactly six inches down to accommodate your compacted base, leveling sand, and the thick flagstones themselves.
Choosing the Right Flagstone Thickness
Selecting stones that are at least two inches thick ensures they have enough mass to stay locked in the sand bed without cracking under heavy boots. Thinner patio stones might look tempting at the garden center, but they simply cannot handle the daily abuse of a primary entrance.
Securing the Border with Hidden Edge Restraints
Using hidden edge restraints just below the soil line keeps your natural stone from shifting laterally into the lawn while maintaining a crisp border.
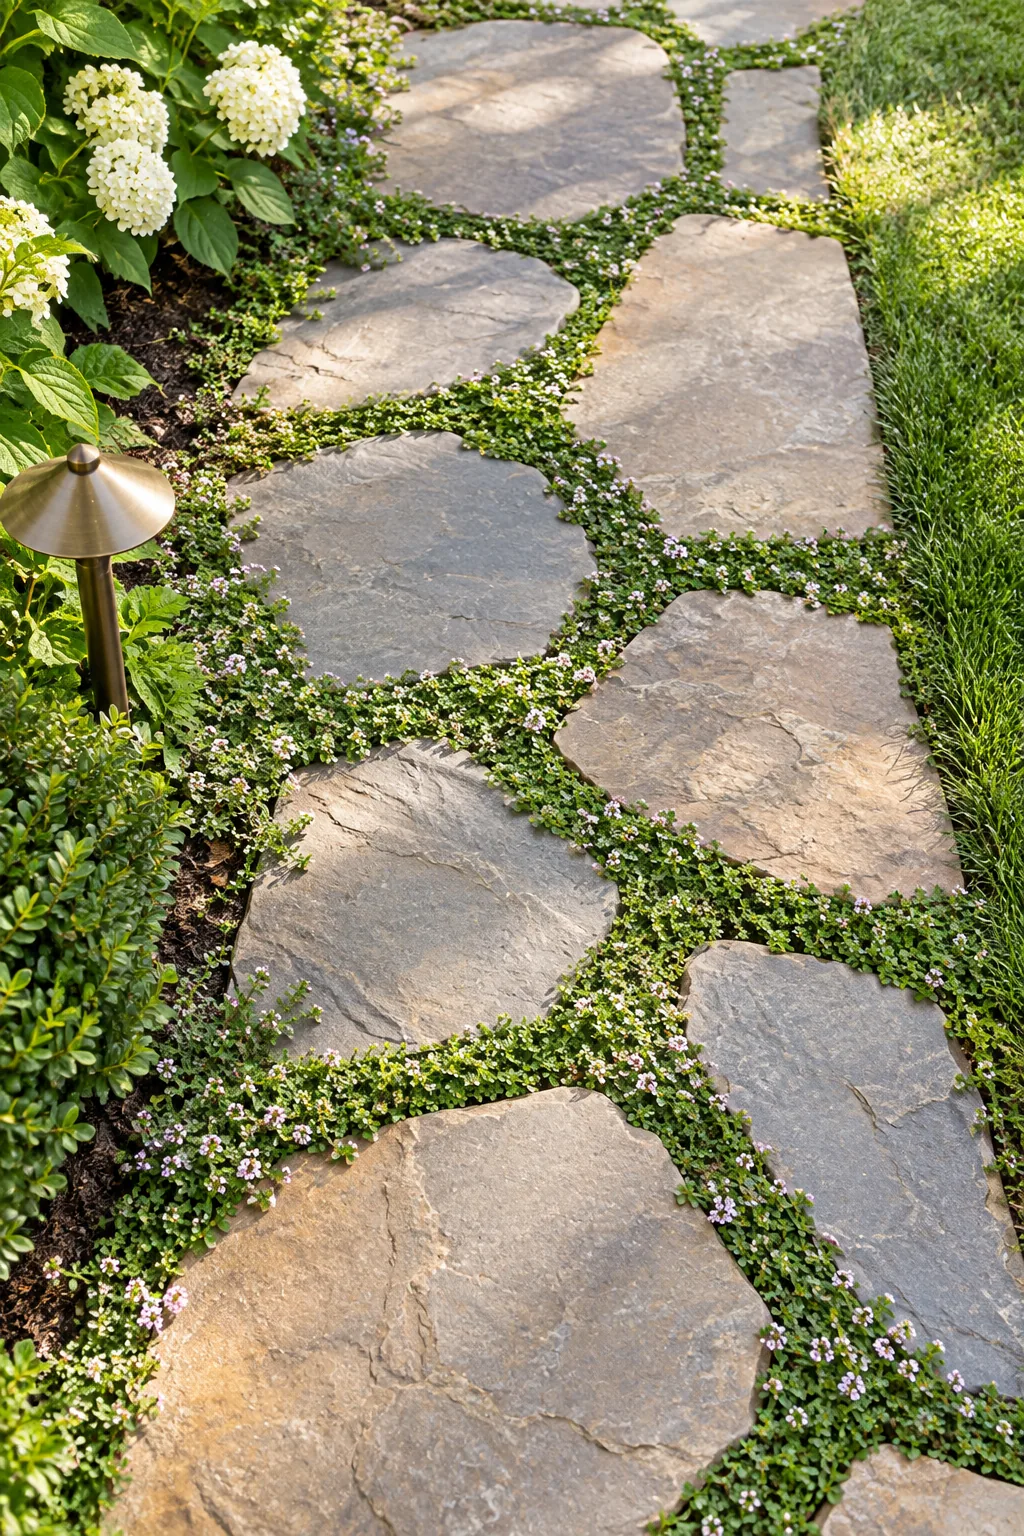
Even the heaviest flagstones will slowly migrate into your lawn without a rigid boundary, so installing invisible restraints ensures your pathway keeps its shape through changing seasons.
Laying the Crushed Gravel Base
A solid foundation requires a four-inch layer of crushed gravel, commonly called road base, to lock the stones firmly in place. Proper compaction prevents the dreaded wobbling effect that ruins so many DIY walkways.
- Spread two inches of crushed gravel evenly across the excavated trench.
- Run a rented plate compactor over the surface until it feels like solid concrete.
- Add the final two inches of gravel and compact the entire trench a second time.
Adding the Sand Leveling Bed
Pouring one inch of coarse concrete sand over your compacted gravel creates a flexible cushion for the uneven bottoms of natural flagstones. Screed this sand perfectly flat using a straight two-by-four board resting on your edge restraints.
Spacing for Plantable 2-Inch Gaps
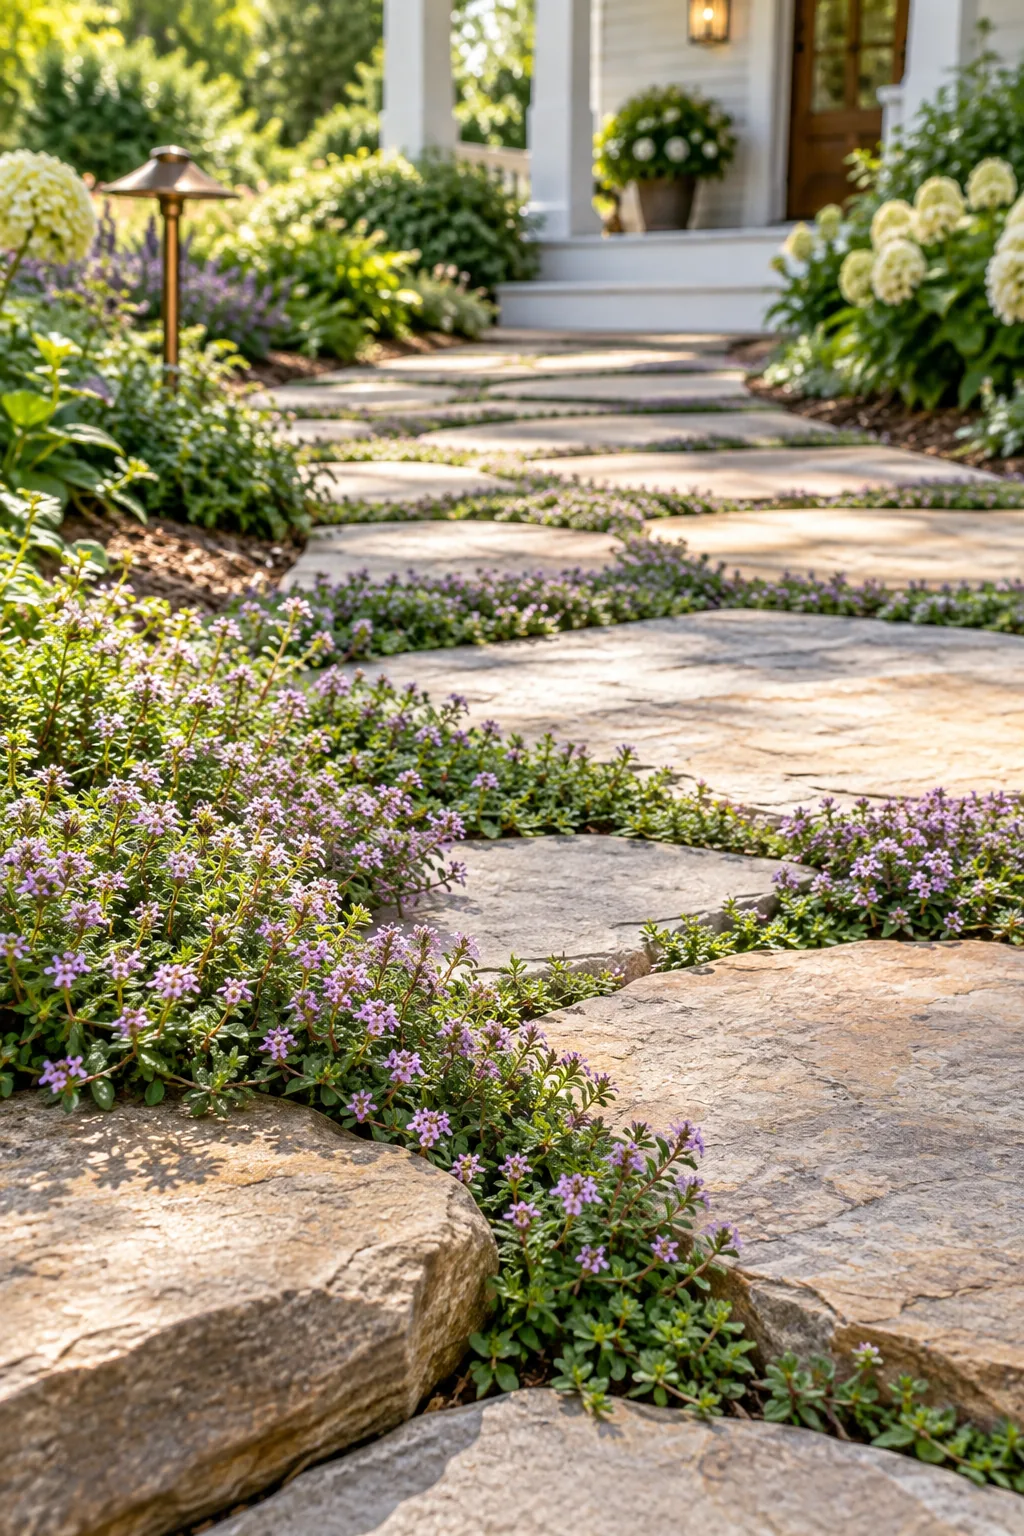
Leaving precise plantable 2-inch gaps between stepping stones allows creeping groundcovers to root deeply without forcing anyone to awkwardly adjust their stride.
Blending Topsoil into the Joints
Sweep a rich mixture of compost and fine topsoil into those two-inch gaps to give your new plants the nutrients they need to spread. Keep the soil level about a half-inch below the stone surface to protect delicate crowns from heavy foot traffic.
Choosing Resilient Groundcover
Fill those narrow gaps with tough, low-growing plants like creeping thyme for full sun or Corsican mint for shady spots. I planted woolly thyme in my own walkway gaps, and the lemony scent is amazing whenever a delivery driver accidentally steps on it.
Trimming and Maintaining Pathway Plants
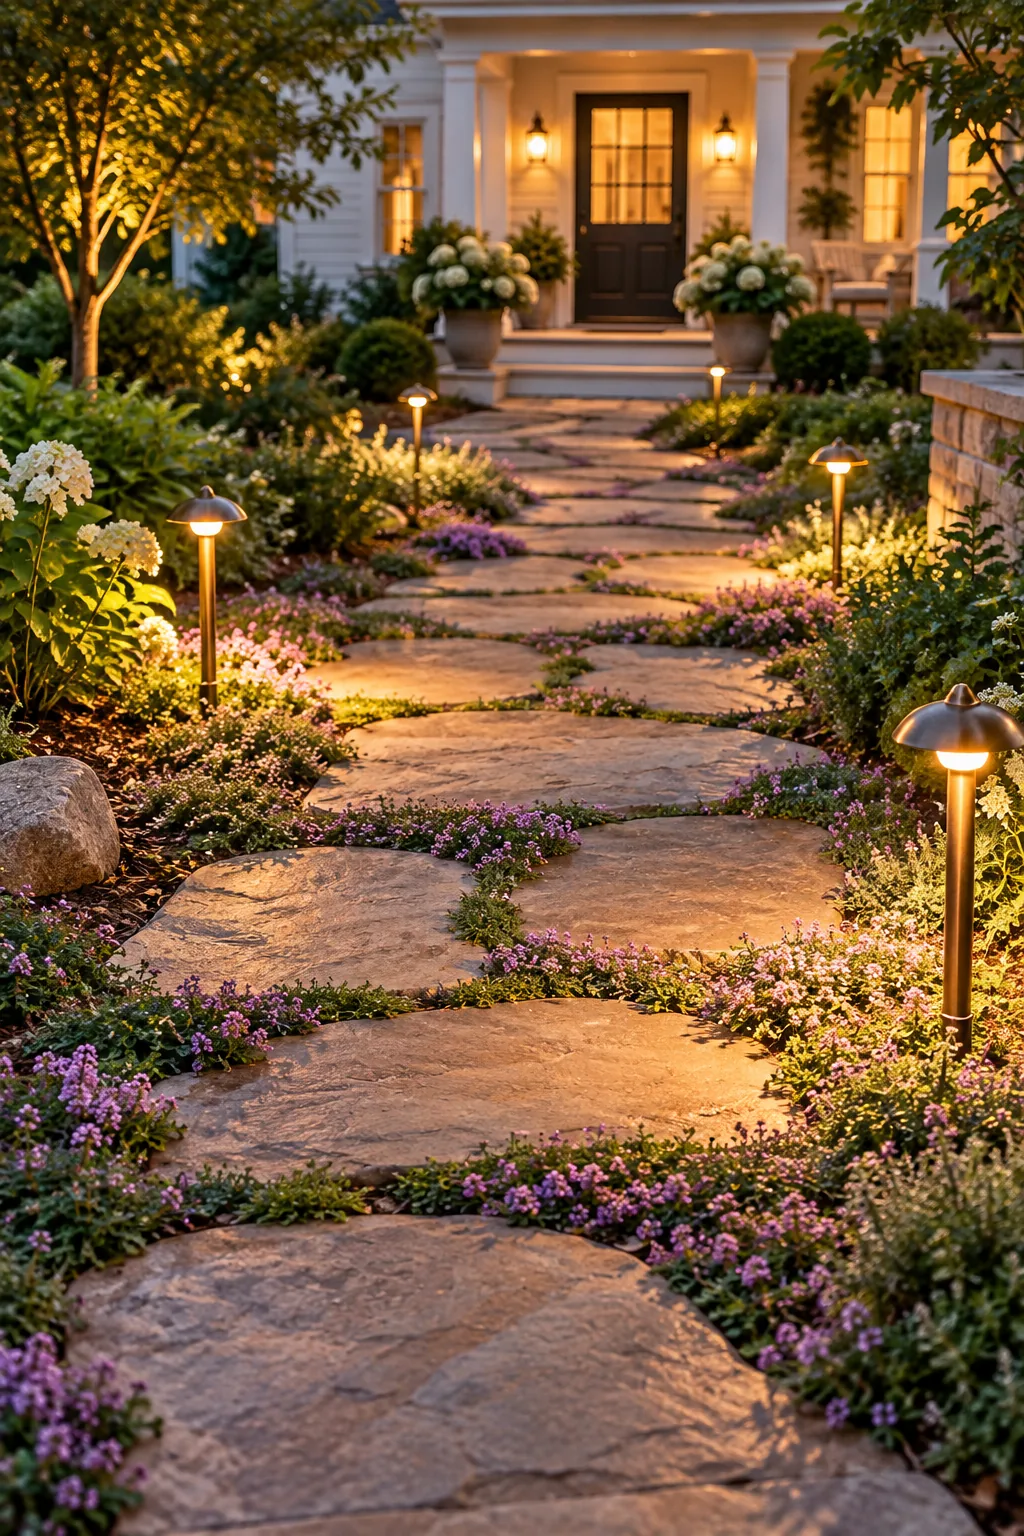
Keeping your living joints looking sharp requires a quick trim with grass shears just twice a season to prevent the foliage from completely swallowing the stones. Sweeping the path weekly prevents organic debris from decomposing and creating a slippery moss buildup on the shaded sections.
Illuminating with Offset Pathway Lights
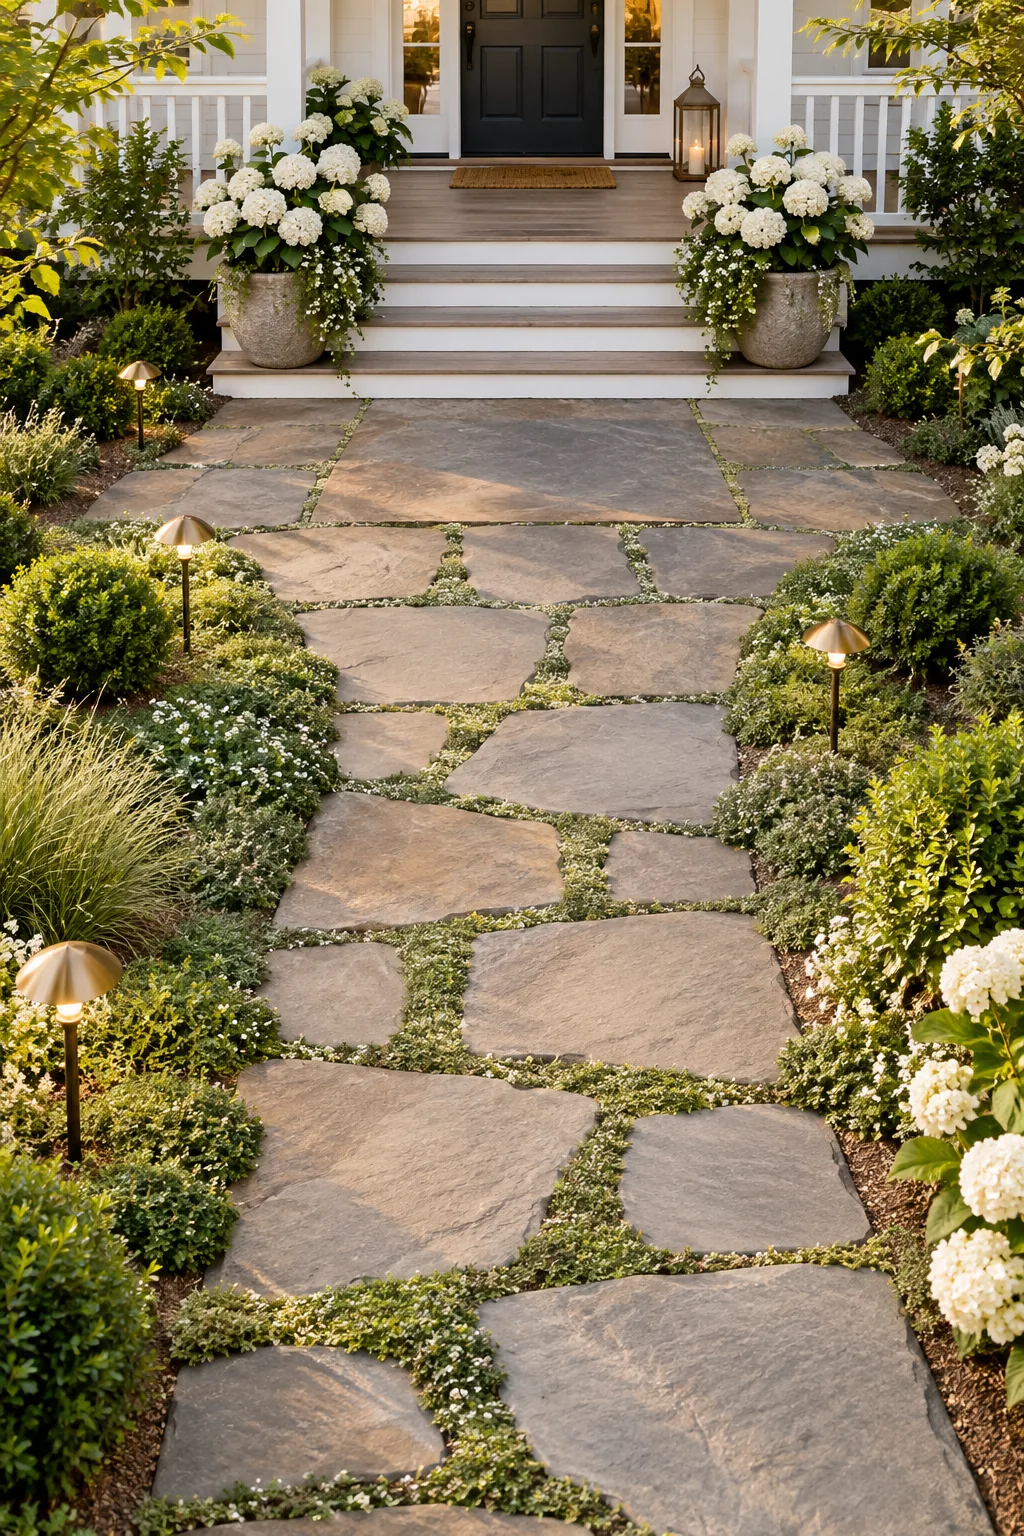
Installing offset pathway lights spaced 6 to 8 feet apart on alternating sides creates a balanced visual rhythm rather than a harsh airport runway effect.
Hiding Low-Voltage Wiring
Tuck your low-voltage lighting cables directly under the hidden edge restraints before you backfill the soil against the lawn. This strategic placement protects the wires from accidental shovel cuts while keeping them completely invisible from the street.
Designing the Flared Landing Zone
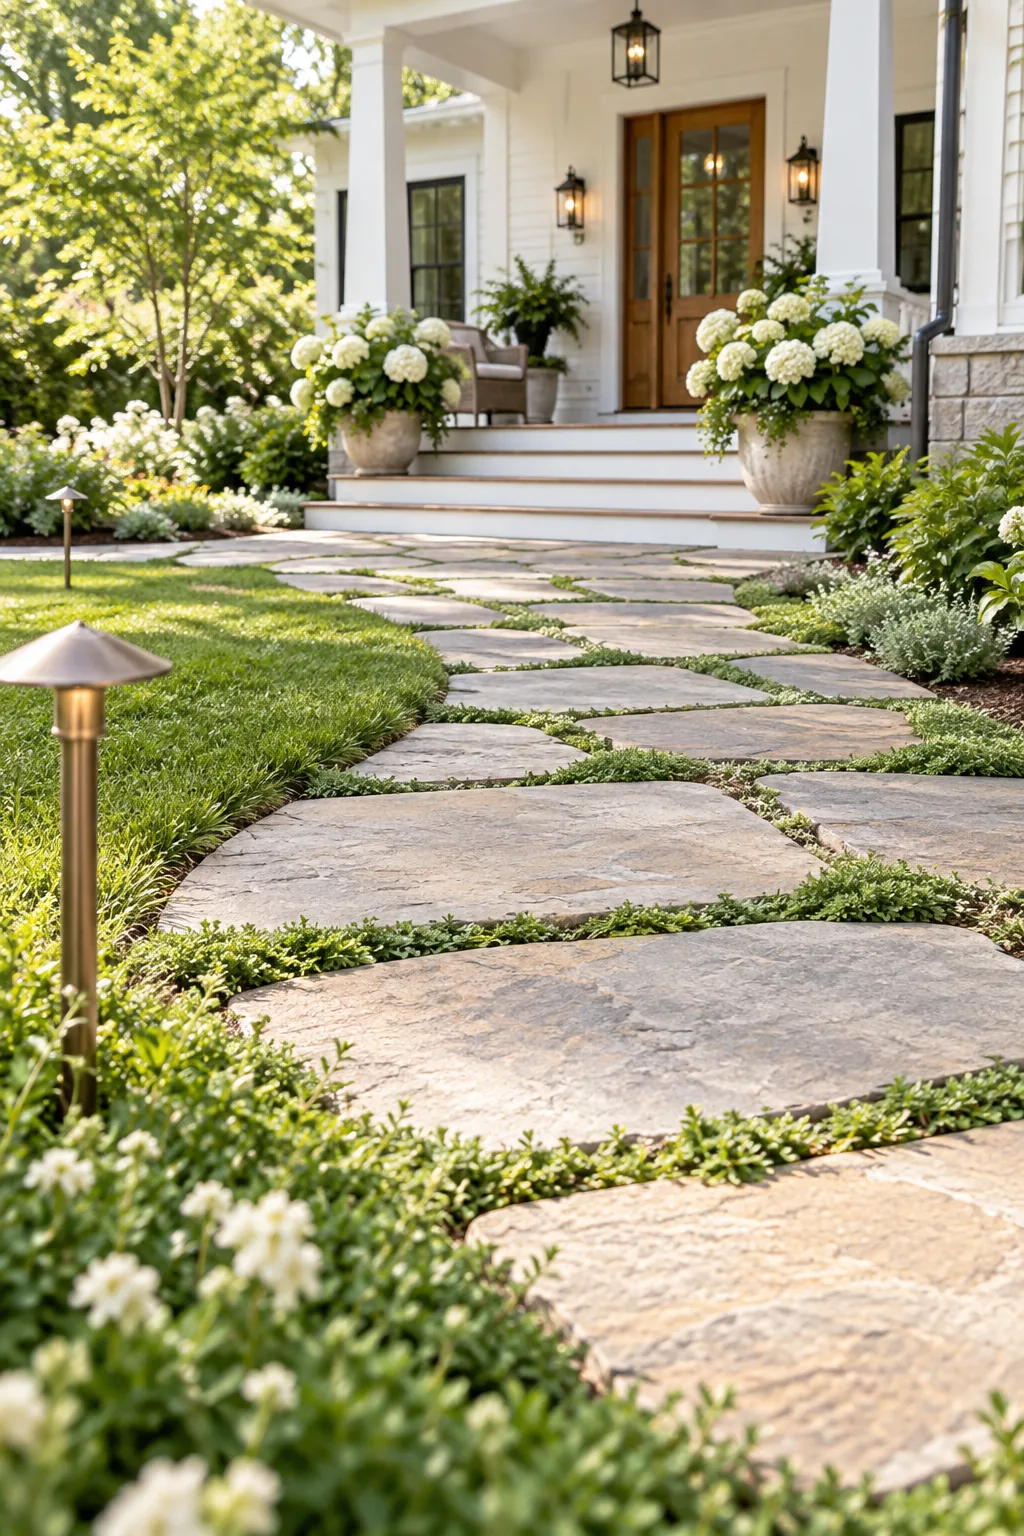
A flared landing zone widens the stone area 12 to 18 inches beyond the porch steps to create a natural, spacious transition from the yard to the house.
Blending the Flare into Porch Skirting
Sweep the widest part of your landing flare directly into the surrounding foundation planting beds to anchor the walkway visually. Softening these wide stone edges with cascading ornamental grasses makes the transition from hardscape to architecture feel seamless.
Managing Rainwater and Walkway Slopes
Grading your walkway away from the foundation with a standard 1/4 inch per foot slope ensures rainwater drains smoothly off the stones instead of pooling.
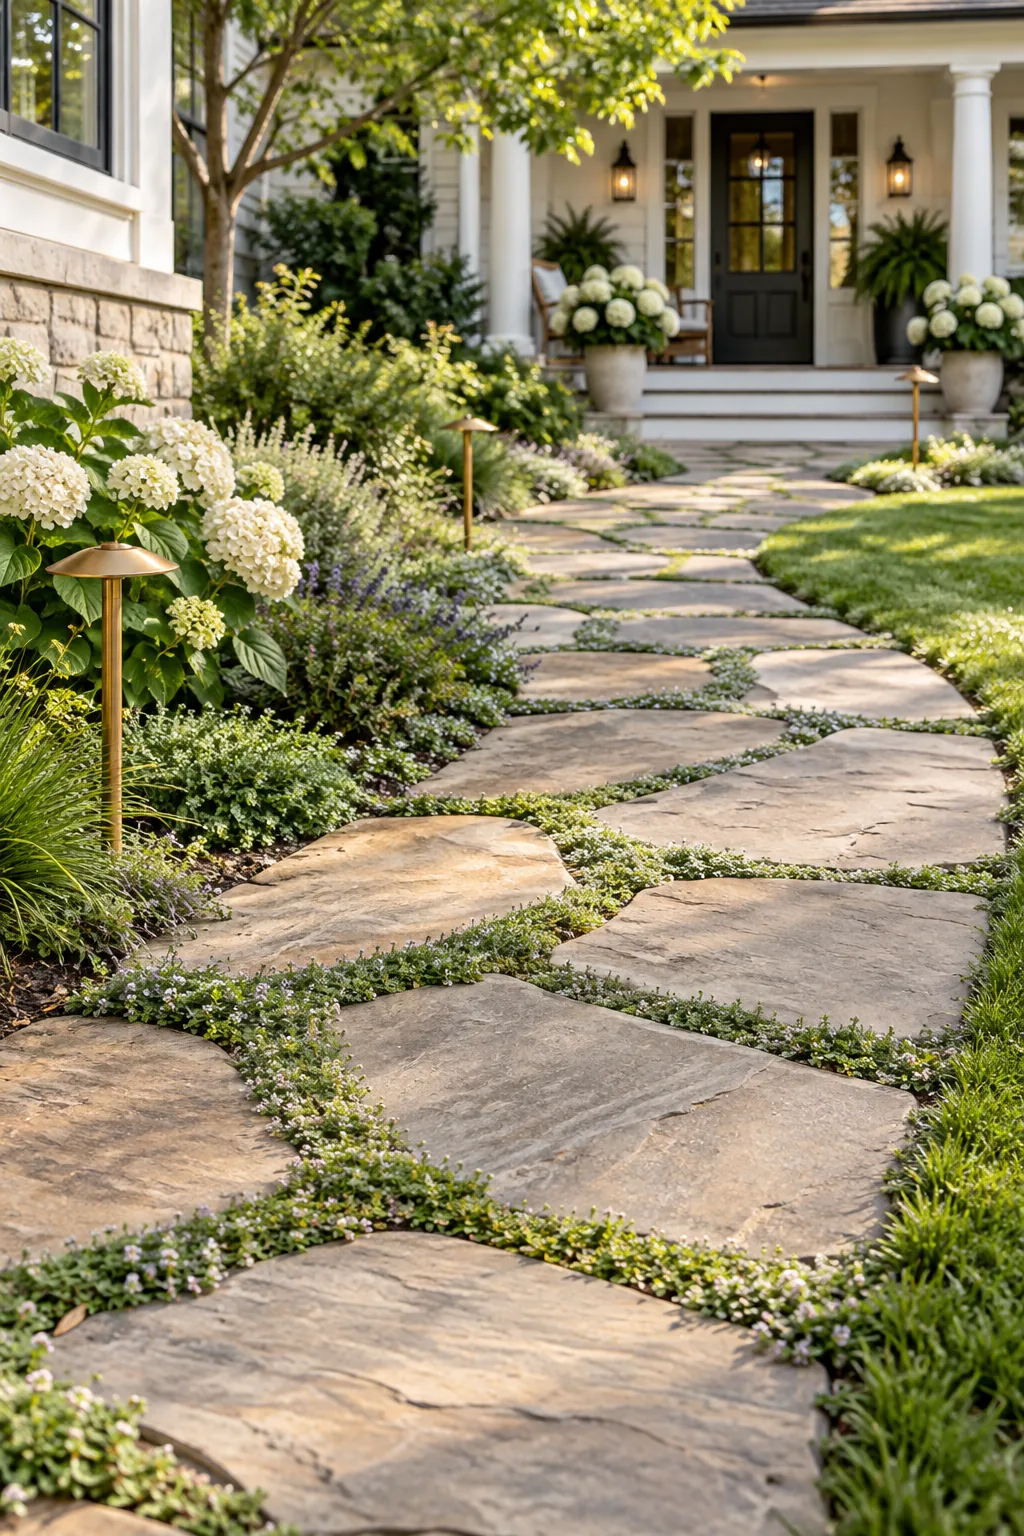
A beautiful walkway loses its charm if it becomes a muddy puddle after every rainstorm, making that subtle base slope absolutely critical for long-term usability.
Testing the Drainage Grade
Before laying a single piece of flagstone, rest a four-foot level across your screeded sand bed to verify the downward pitch. Taping a one-inch wooden block to the downhill side of your level creates an instant, foolproof gauge for that critical slope.
The Complete Walkway Layout Cheat Sheet
Having all the precise measurements in one place makes executing the perfect harmonious layout much less intimidating for weekend DIYers. I keep this exact list taped to my clipboard whenever I help neighbors plan their front-yard makeovers.
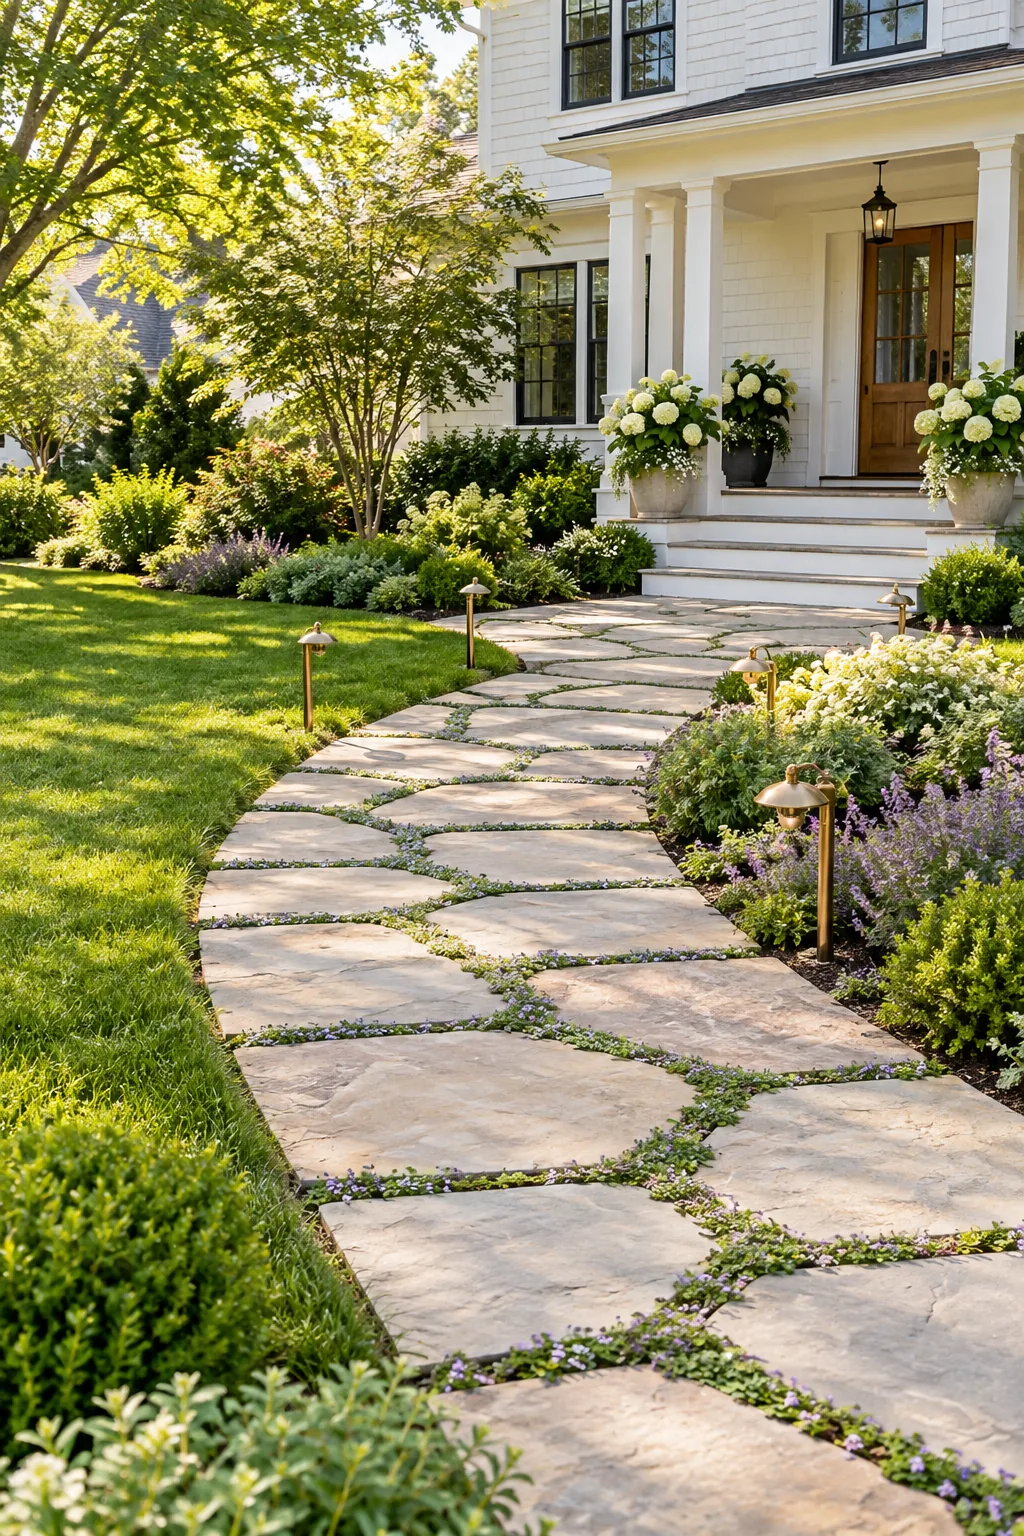
Use these proven dimensions to ensure your finished path looks professionally designed and functions beautifully year-round.
- Path width: Maintain a strict 48-inch minimum for the main route.
- Stone spacing: Leave exactly 2-inch gaps for safe, plantable joints.
- Lighting placement: Stagger fixtures 6 to 8 feet apart on alternating sides.
- Landing flare: Extend the base 12 to 18 inches wider than the stairs.
- Drainage grade: Slope the base 1/4 inch per foot away from the house.
Front Walkway Styles to Inspire Your Entry
Find the perfect material and layout to match your home's unique architecture.
Modern desert slate entry: Crisp rectangular slate pavers set in contrasting light gravel offer a sleek, water-wise alternative to traditional grass.
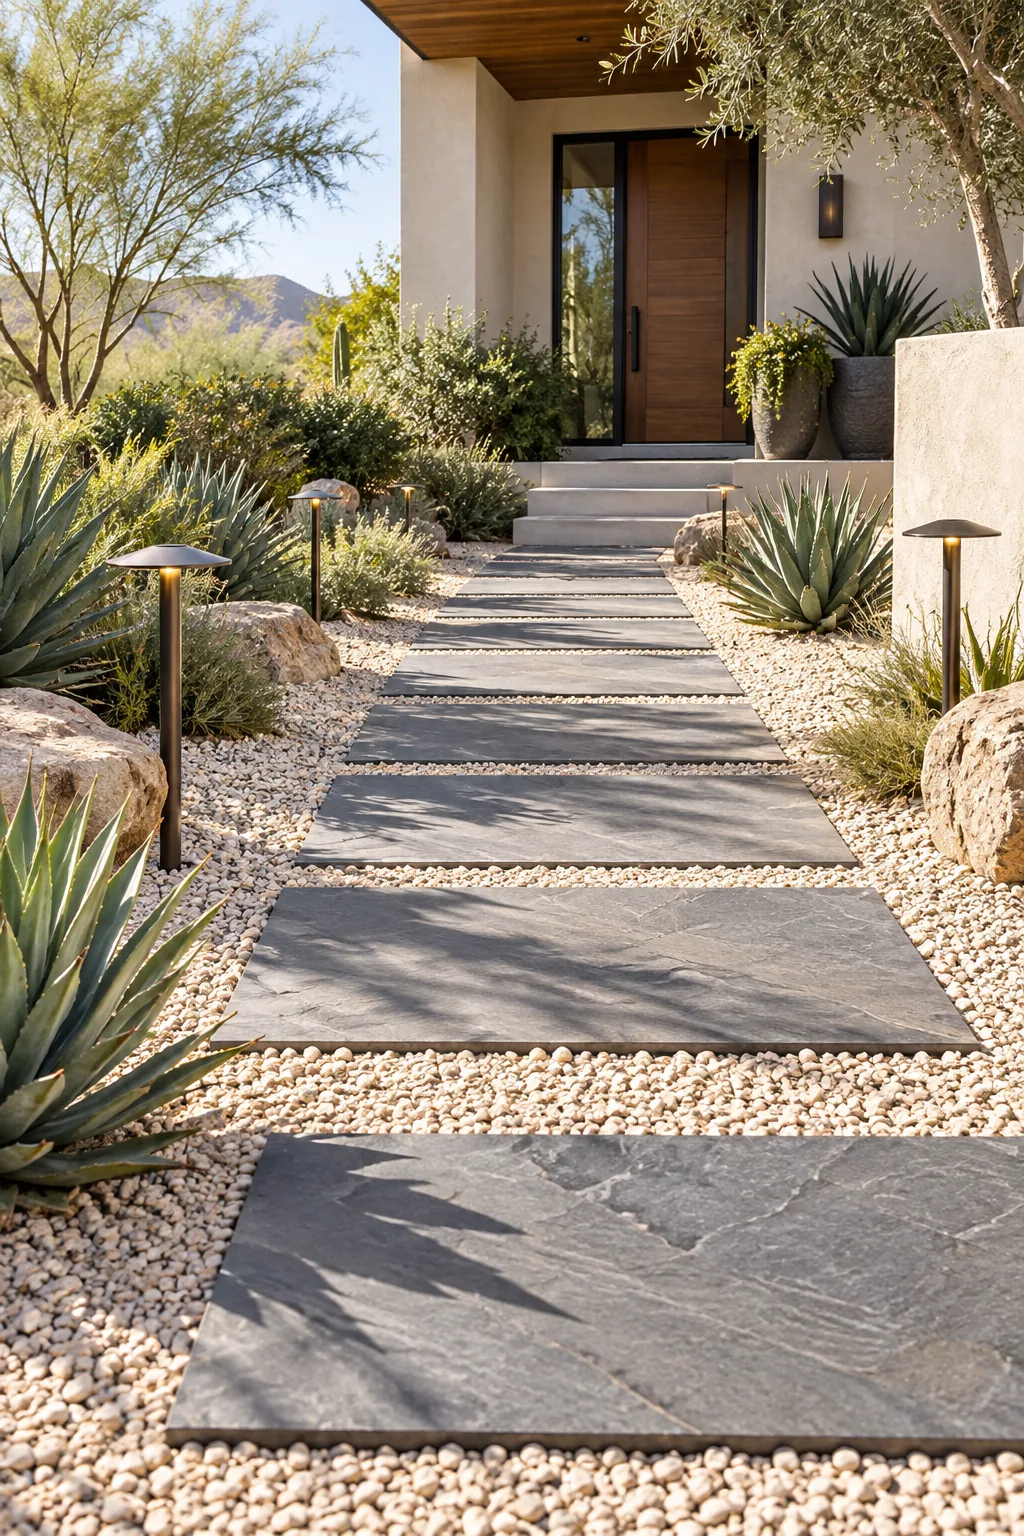
Rustic reclaimed brick path: Weathered herringbone brick framed by overflowing lavender bushes creates an instantly charming, historically rooted welcome.
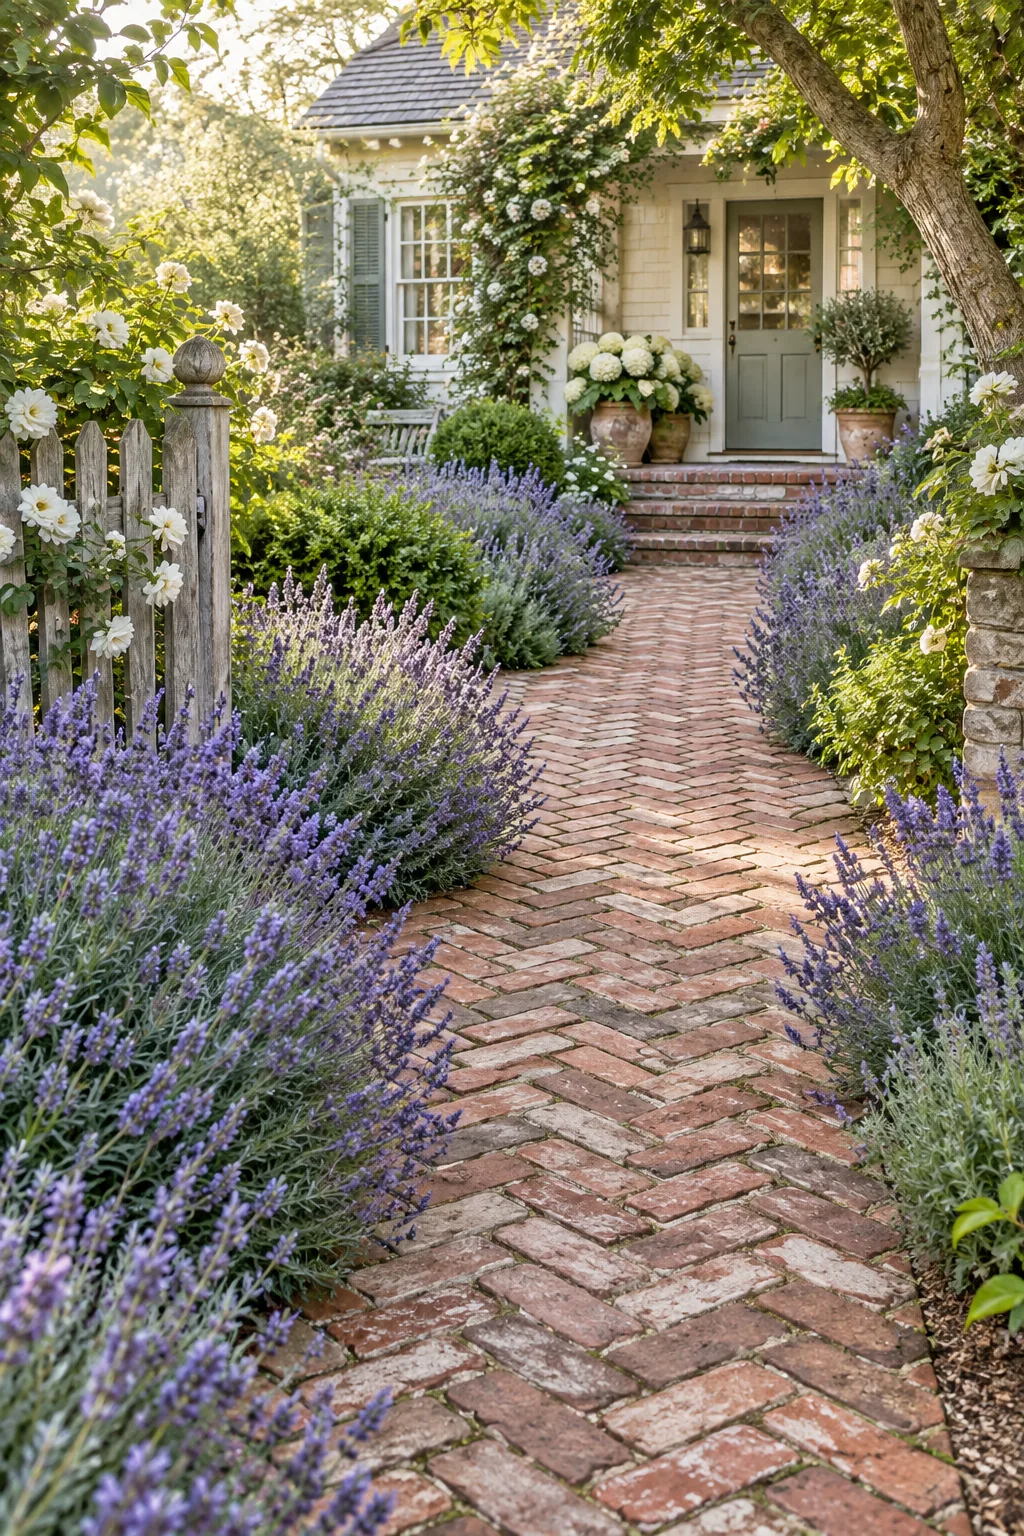
Formal bluestone geometric walkway: Perfectly square bluestone slabs bordered by manicured boxwood hedges deliver a tailored, highly structured first impression.