How to Paint a Brick Fireplace: The Complete Step Sequence
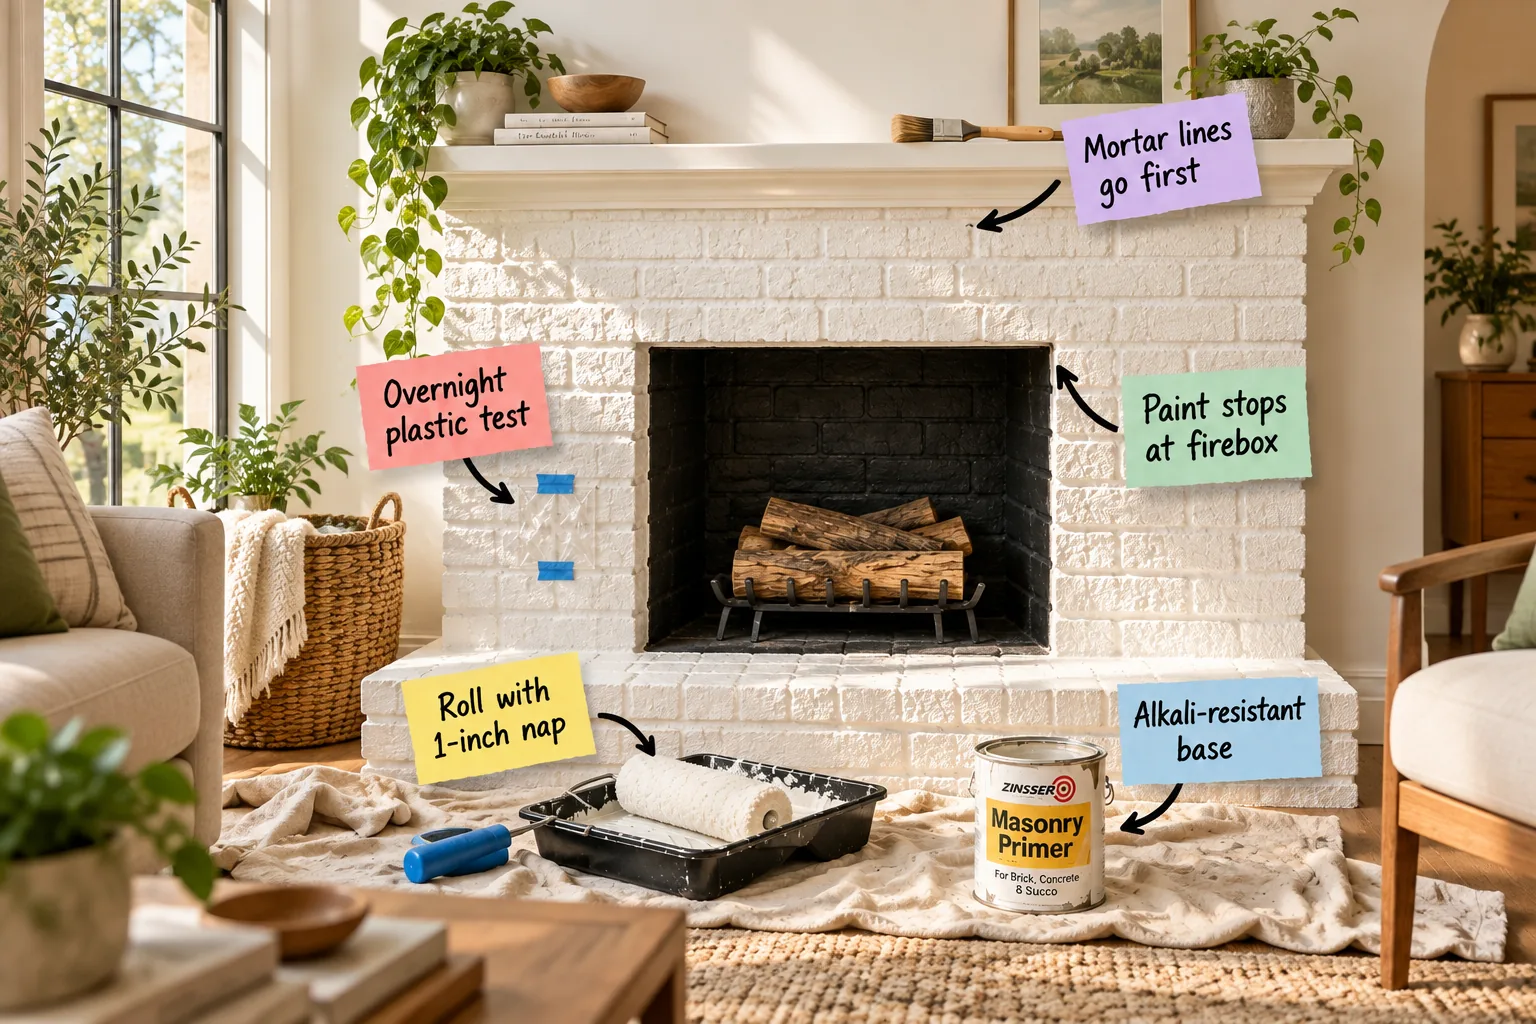
You can completely transform your living room this weekend by following our printable one-page brick fireplace painting step sequence. I will show you exactly how to test for trapped moisture, select the right primer, and execute a flawless finish using specific roller techniques.
The Overnight Plastic Test
Before you even buy supplies, tape a clear plastic square to the lower-left brick section for 24 hours to check for trapped moisture. Any condensation means the brick cannot be painted until you locate and fix the underlying chimney leak.
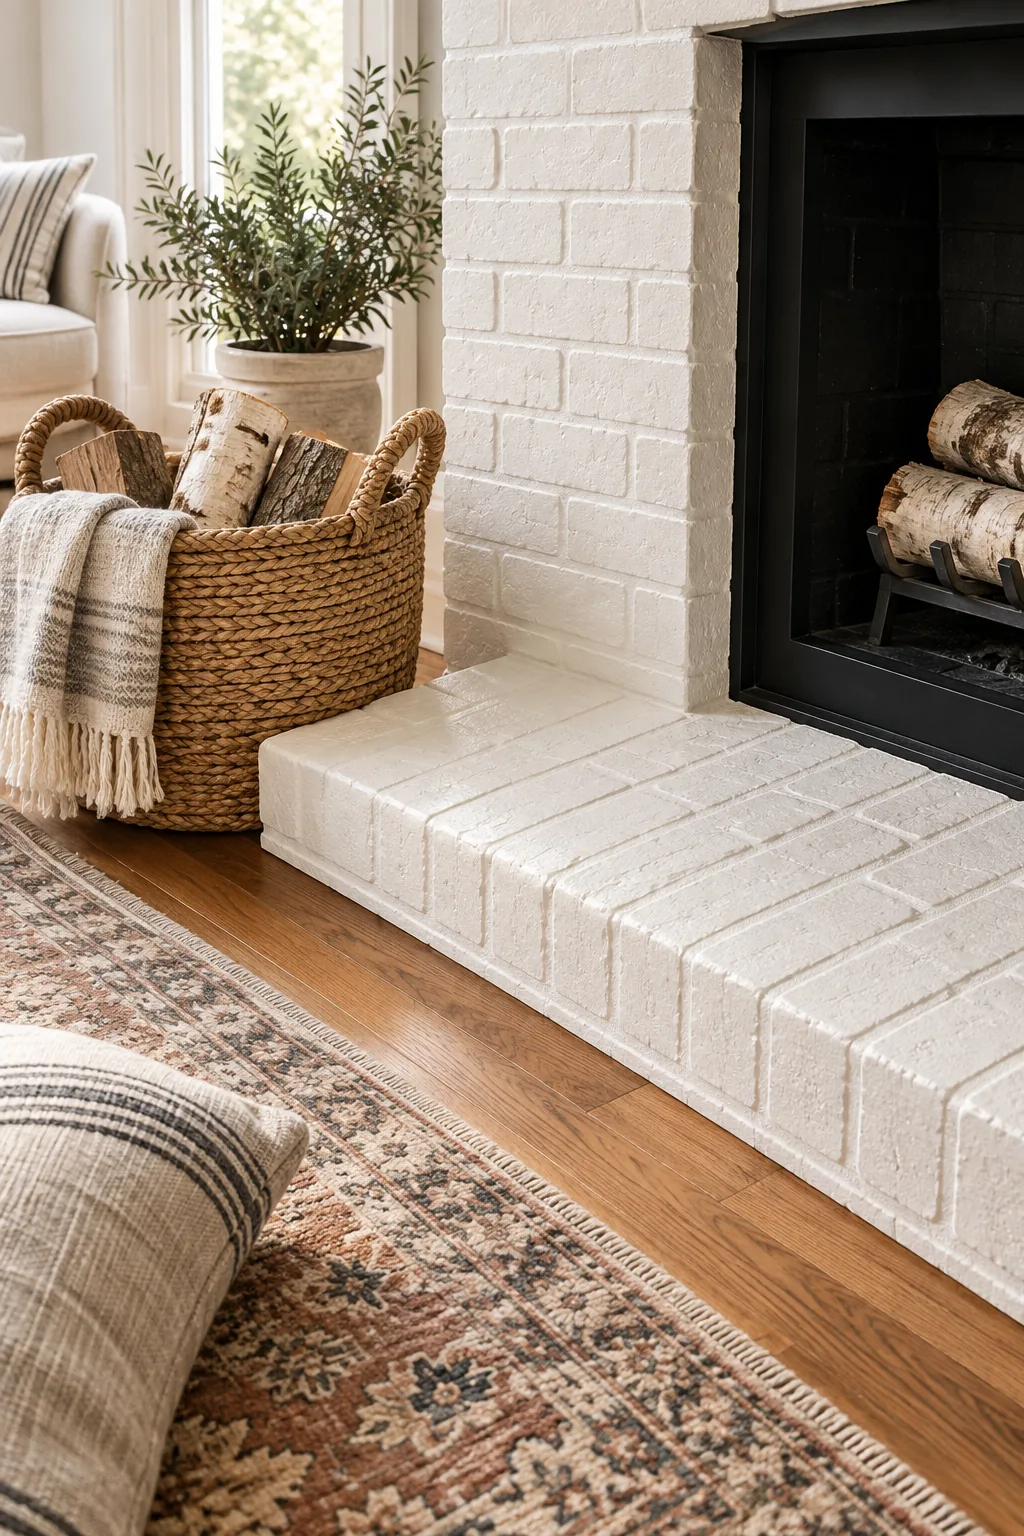
If you skip this crucial step, the trapped moisture will inevitably cause your beautiful new finish to blister and peel within months. Follow this simple diagnostic sequence to ensure your masonry is completely dry and ready to accept a permanent topcoat.
- Cut a 6-inch square of heavy clear plastic sheeting.
- Seal all four edges tightly against the brick with wide painter’s tape.
- Wait a full 24 hours before checking the interior for fog or droplets.
- Run a dry tissue over the brick surface to confirm zero dampness.
Protecting the Hearth and Floor
Thorough vacuuming with a stiff brush attachment and laying down heavy canvas drop cloths prevents permanent grout stains. When I painted my own Austin living room fireplace, I ruined a perfectly good vintage rug by using cheap plastic that tore under my work boots.
Always overlap your canvas edges by at least six inches and secure the perimeter tightly with 2-inch painter’s tape to prevent shifting. Gathering professional-grade protective materials before starting saves you hours of exhausting, frustrating cleanup once the final coat dries.
Applying an Alkali-Resistant Base
Masonry requires a specialized alkali-resistant primer to prevent the brick’s naturally high pH from burning through and yellowing your topcoat over time. Applying one full, even coat neutralizes the surface chemistry and provides the essential grip your final paint desperately needs.
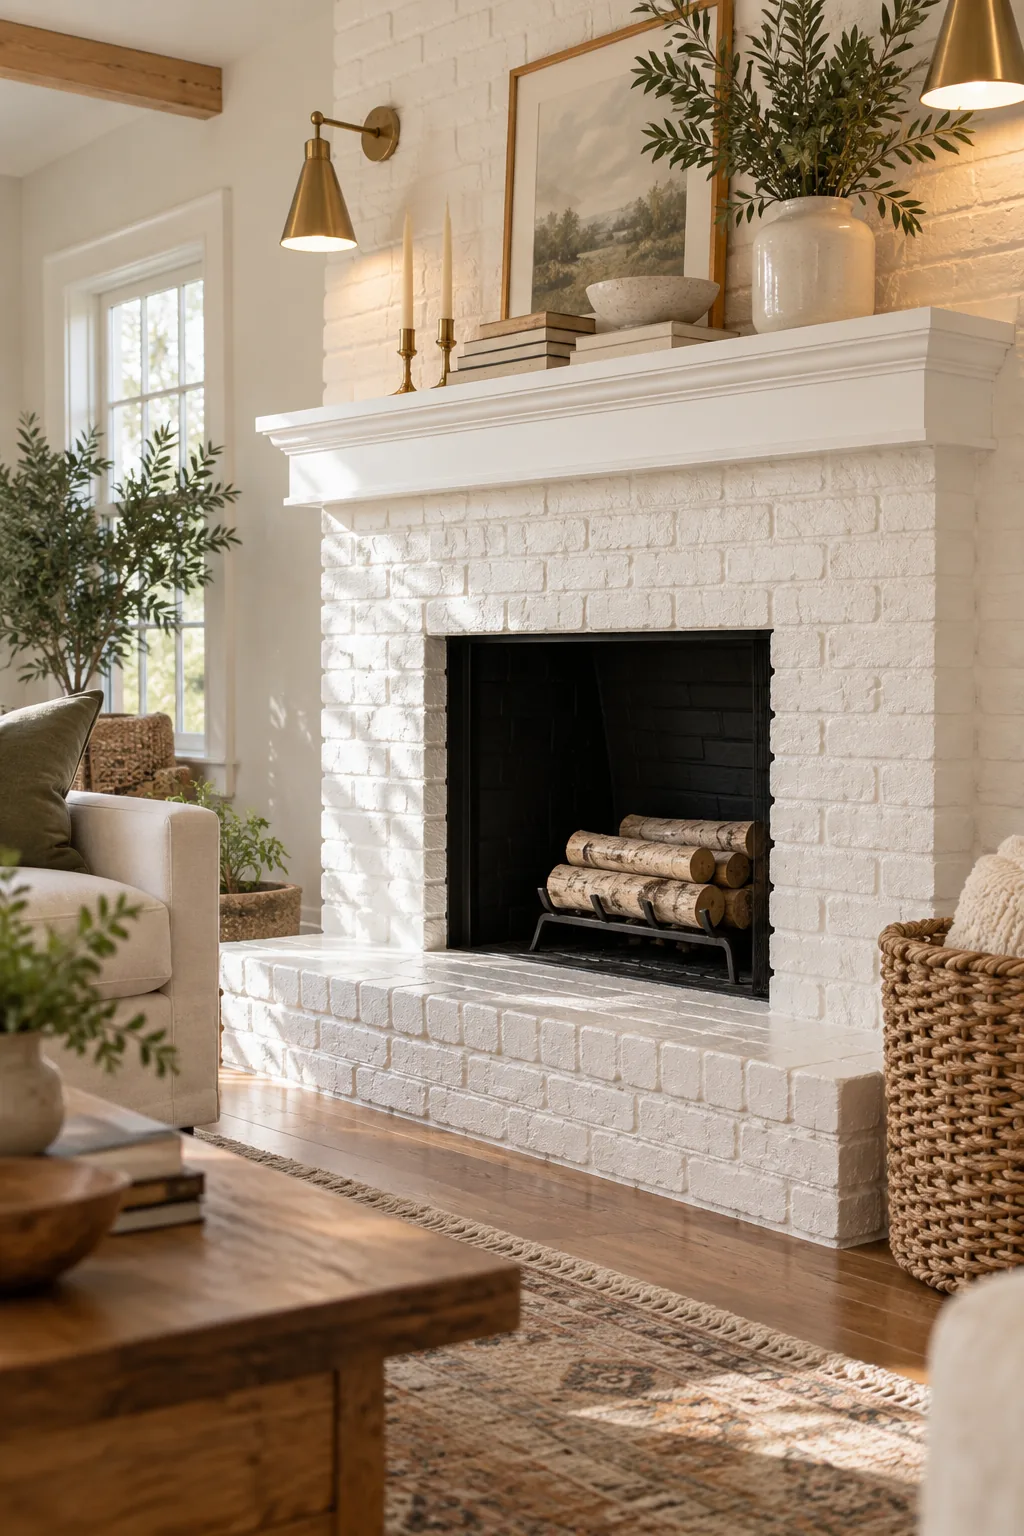
Standard wall primers are designed for smooth drywall, not porous masonry, which can lead to disastrous peeling when applied to a fireplace. You must respect the unique chemical makeup of brick to achieve a lasting, durable, and truly professional painted finish.
Why Mortar Lines Go First
Using a 2-inch angled nylon/polyester brush to cut in the recessed mortar joints before rolling ensures completely solid coverage across the entire wall. I used to try mashing a roller into the deep joints of my den fireplace, which just created an uneven, bubbly mess.
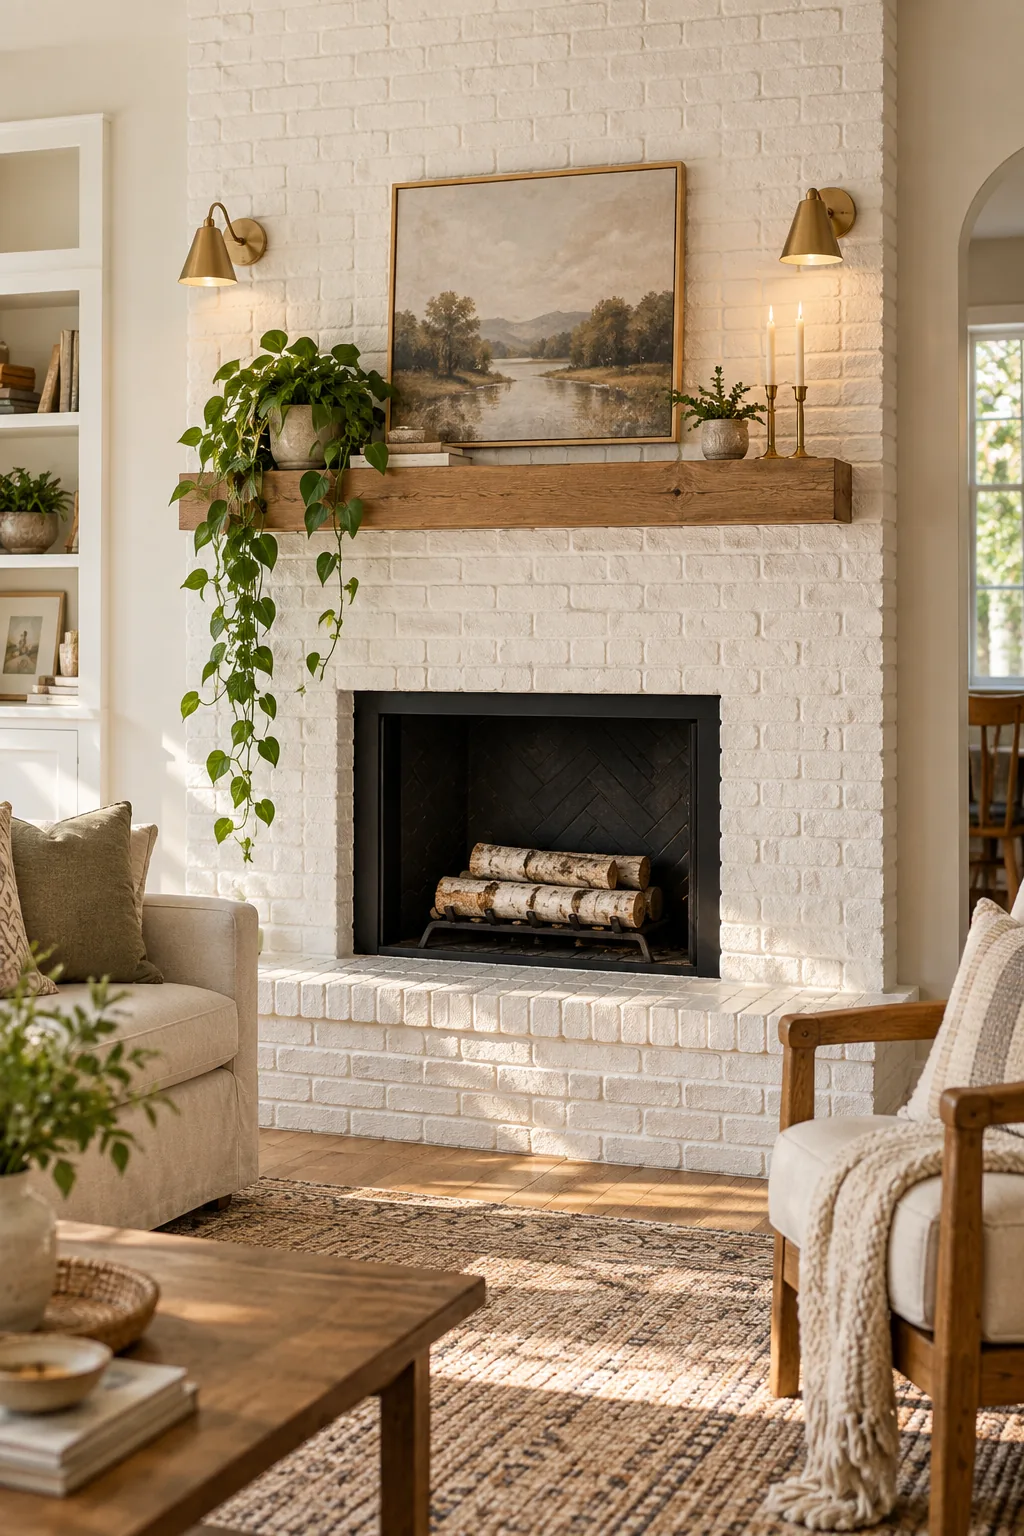
Working in manageable 3-foot sections prevents the brushed paint from drying before the roller can blend the wet edges seamlessly together. This systematic approach guarantees that every single pit, crevice, and deep mortar line receives an equal amount of protective coating.
Rolling with a 1-Inch Nap
A thick 1-inch nap roller is absolutely essential for pushing paint deep into the rough, heavily pitted texture of the brick face. I learned the hard way that standard smooth-wall rollers just skip over the surface, leaving hundreds of tiny unpainted holes behind.
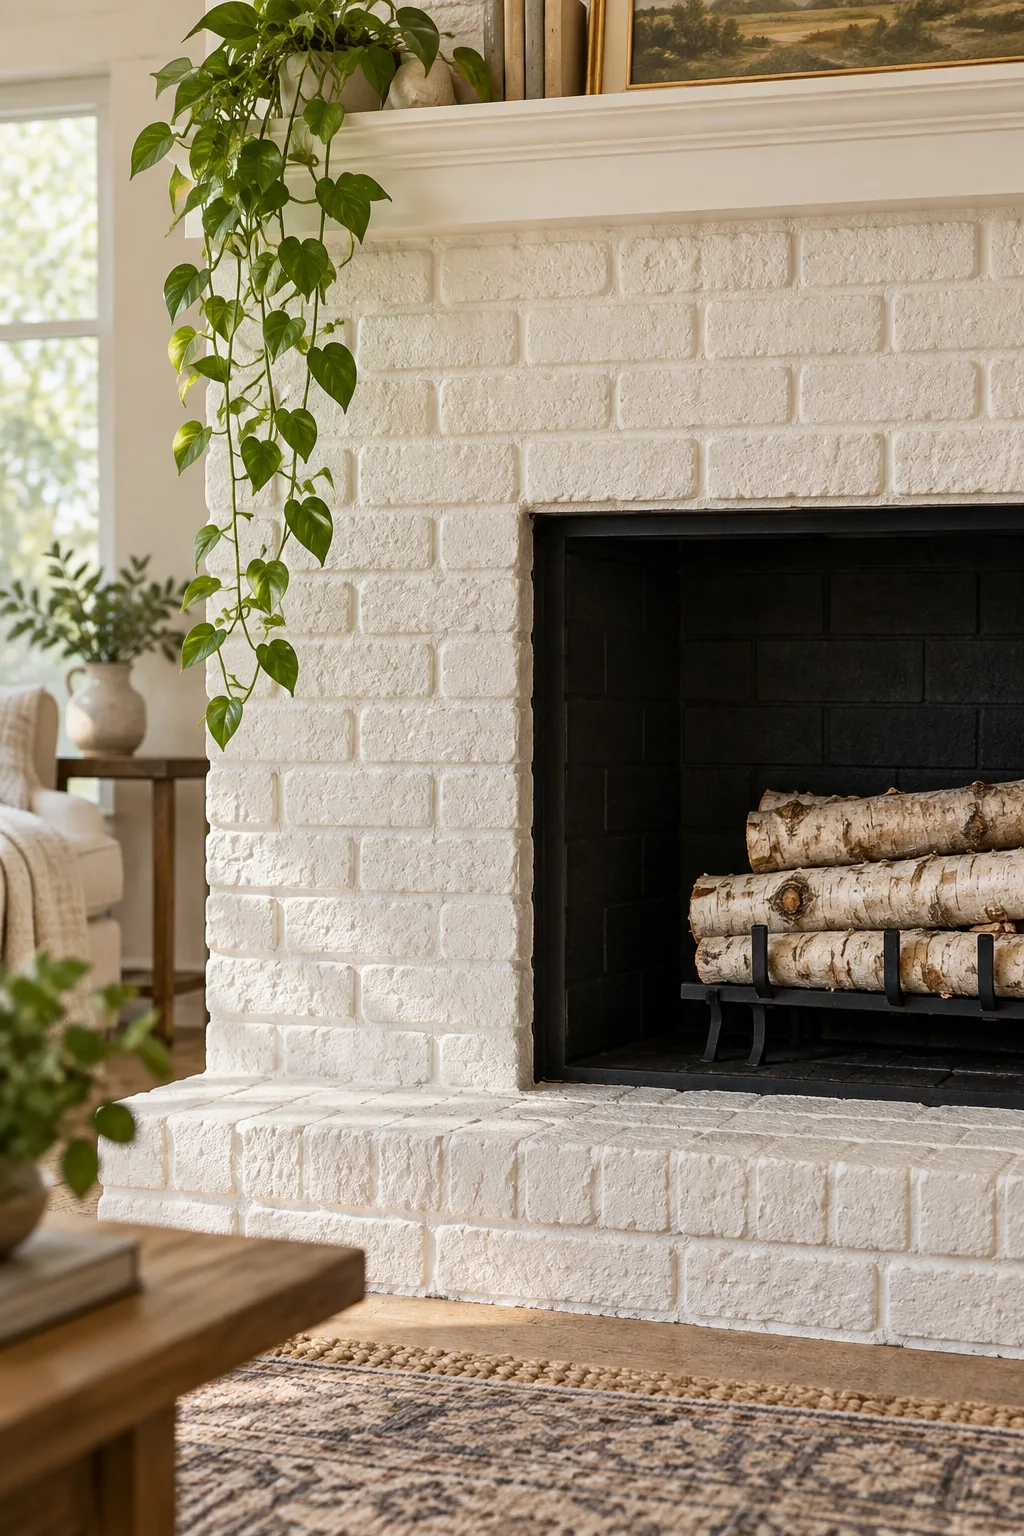
Maintain a wet edge as you work horizontally across the surround and use moderate, consistent pressure to avoid creating unwanted drips. Loading the thick fibers fully from the tray ensures you have enough paint volume to completely coat the heavily textured face.
Where Paint Stops at the Firebox
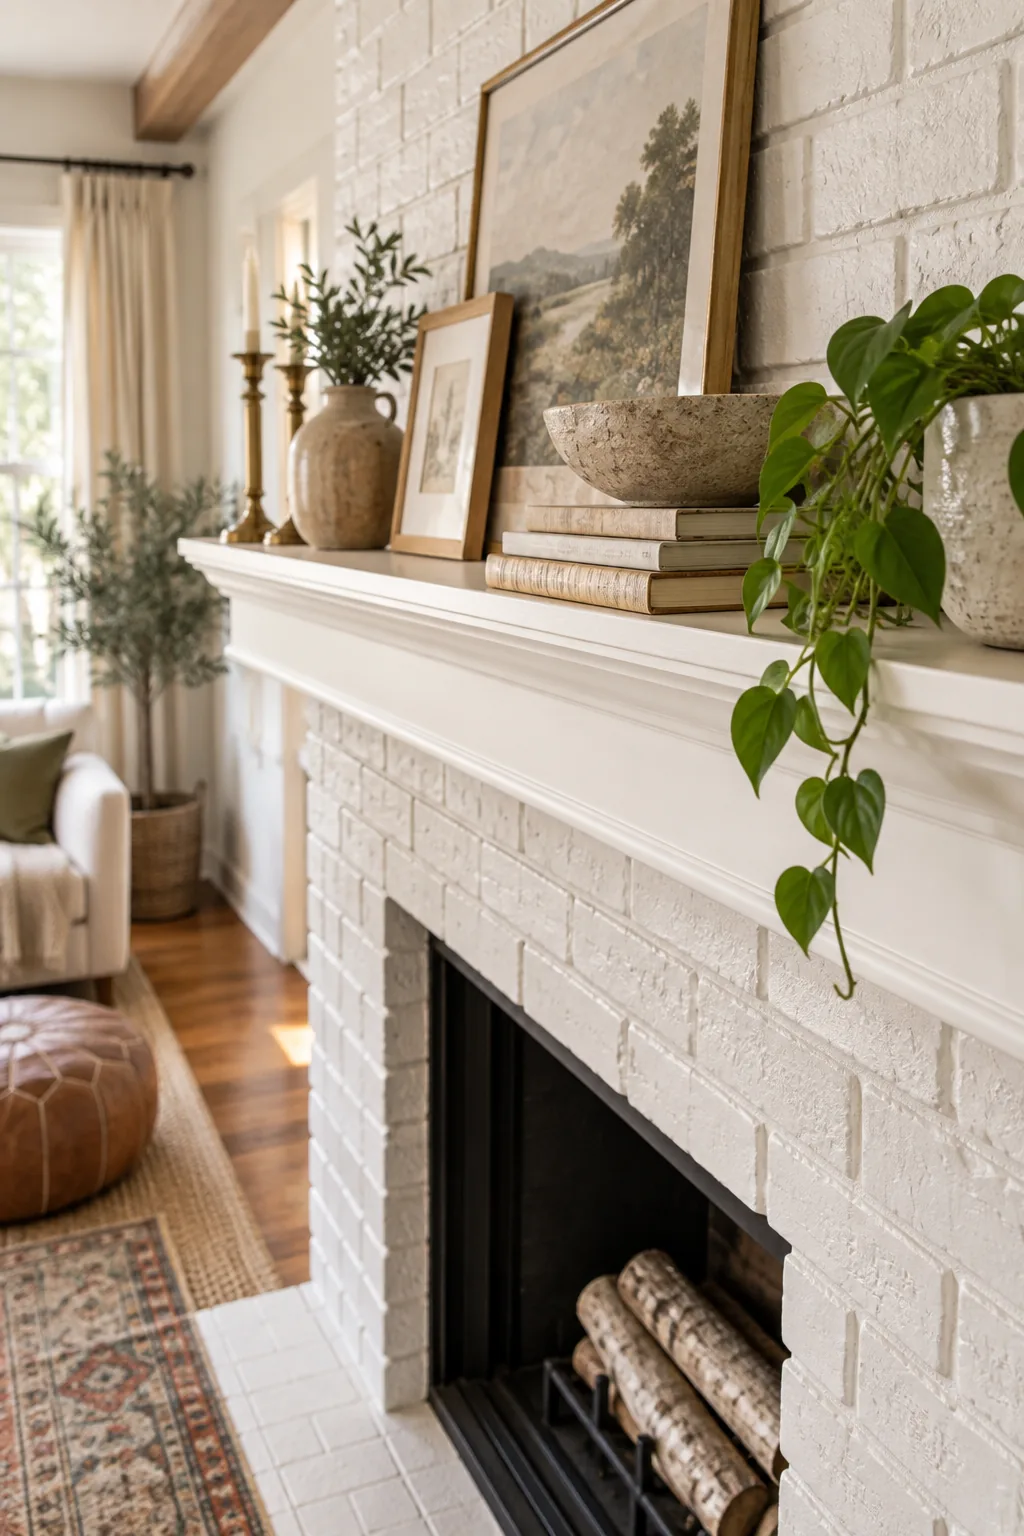
Taping off the opening to create a crisp stop line exactly where the surround meets the firebox interior prevents ugly, permanent soot stains. In my first home, I painted too far inside and the intense heat immediately scorched the bright white finish brown.
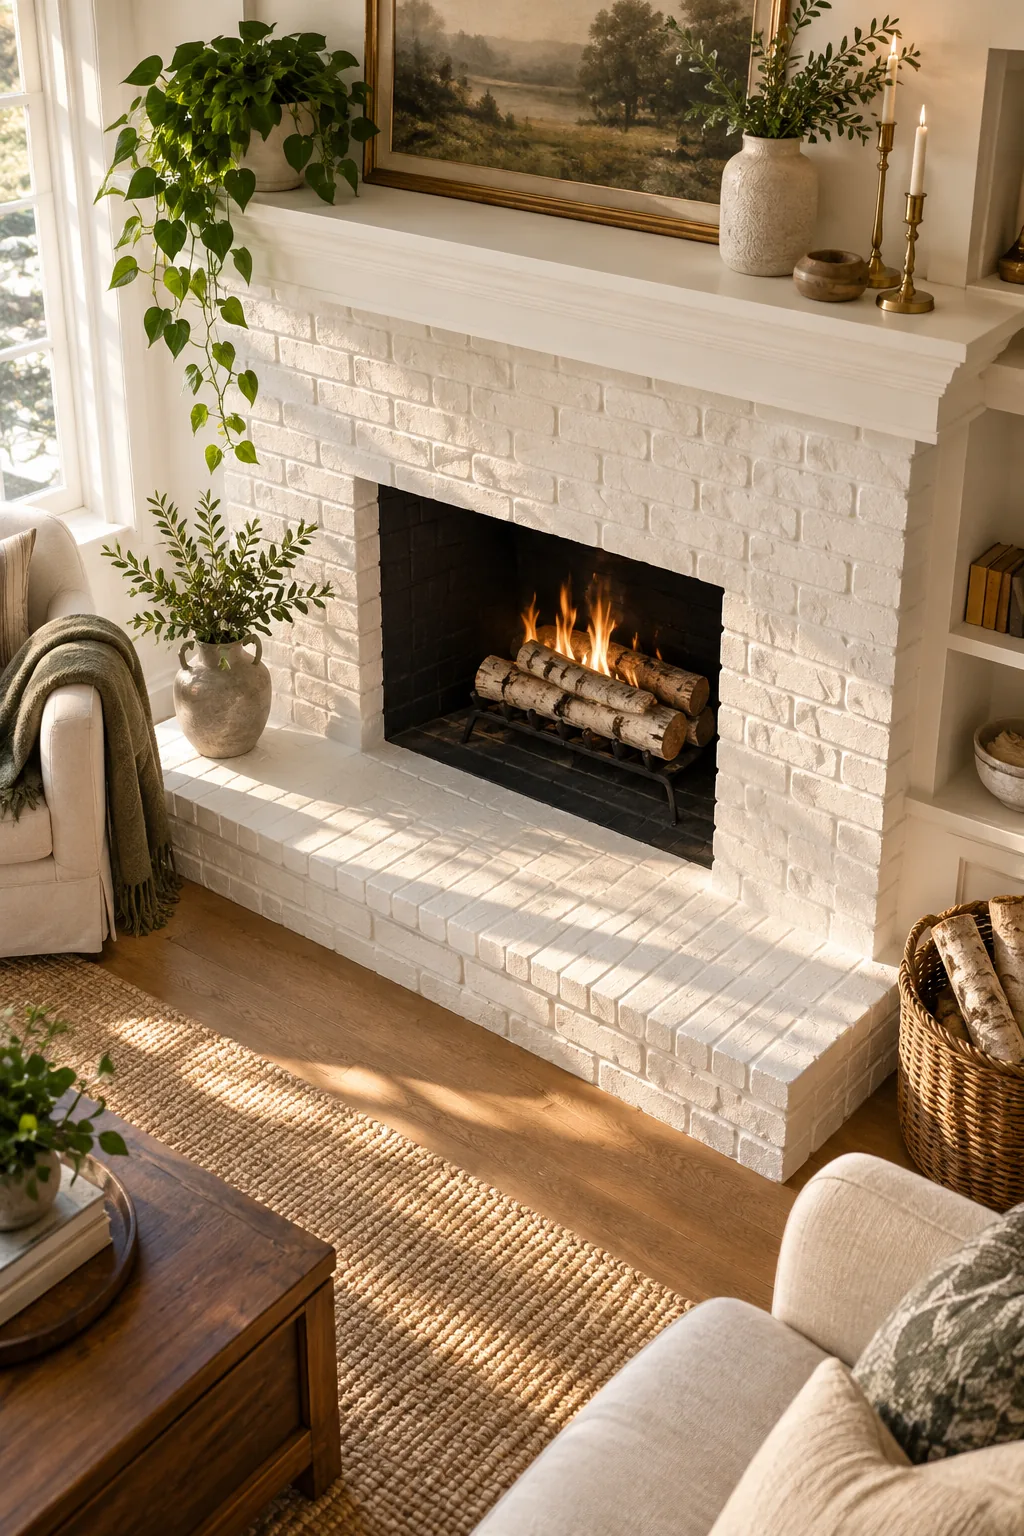
Applying a high-heat matte black paint to the interior firebox conceals years of soot and creates a stunning, sharp visual contrast. This clear, deliberate boundary between the warm white surround and the dark interior gives the entire project a truly professional look.
Managing Essential Dry Times
Waiting the full recommended hours between your primer and topcoats is absolutely critical for building a durable, long-lasting masonry finish. Rushing consecutive coats traps moisture beneath the freshly painted surface, which significantly weakens the final chemical bond and leads to premature chipping.
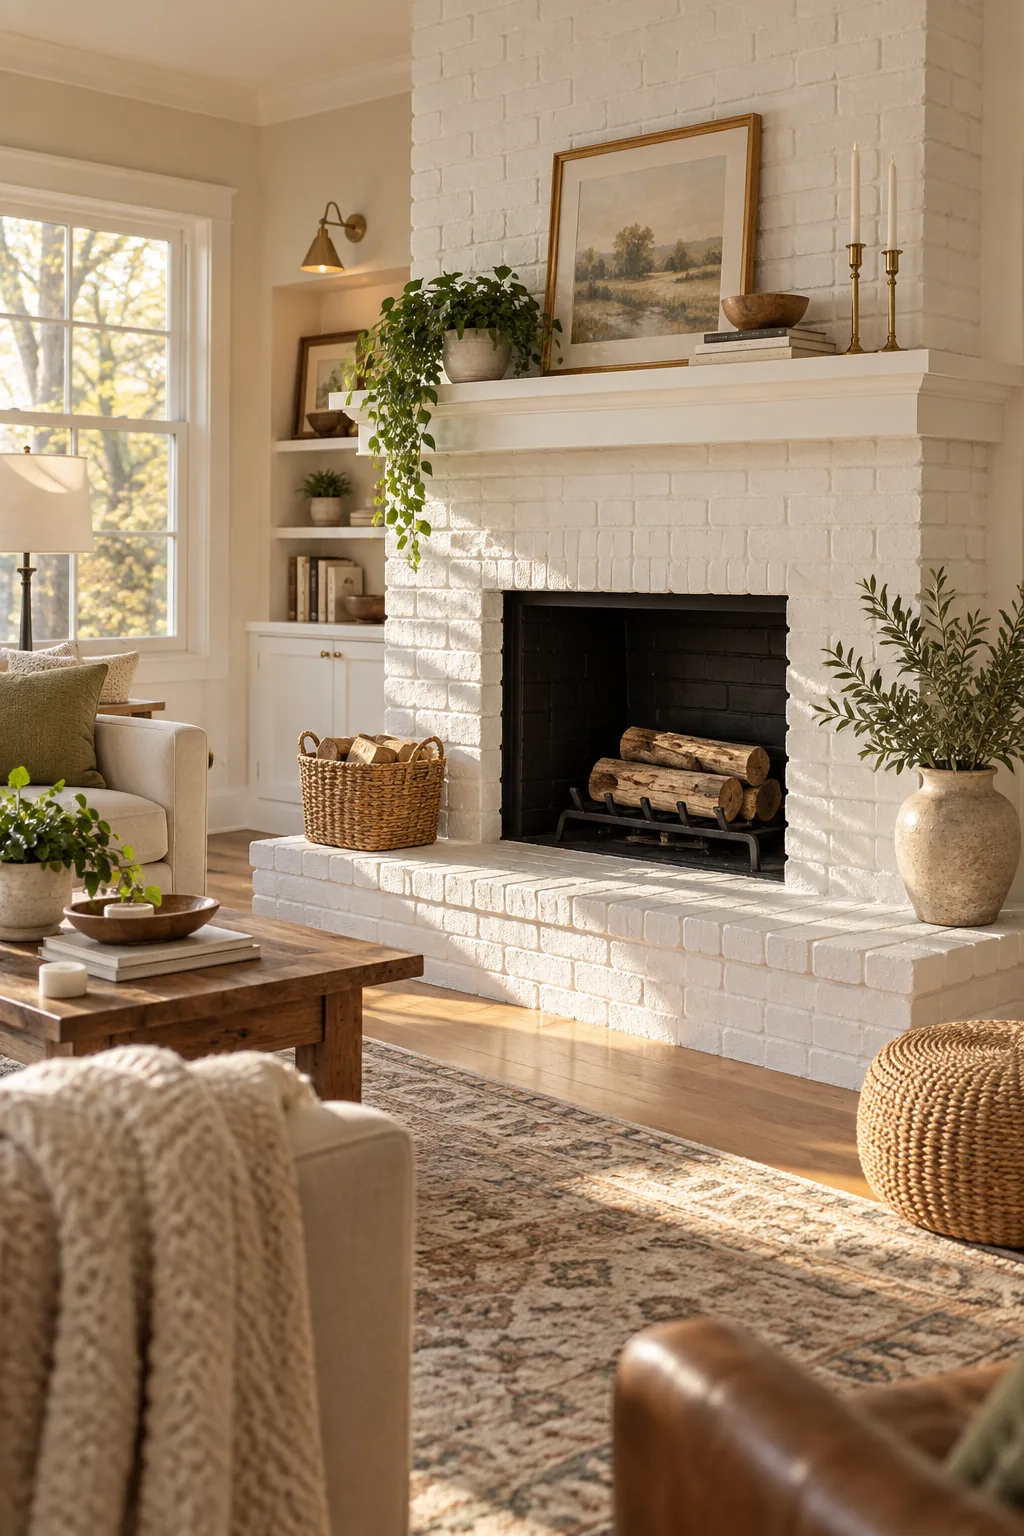
You should typically allow 4 to 6 hours between the primer and the first coat, and leave it overnight before the final application. Following a strict curing schedule ensures the chemical binders crosslink properly for maximum structural strength and durability.
| Coat | Minimum Dry Time | Ideal Conditions |
|---|---|---|
| Alkali-Resistant Primer | 4 to 6 hours | 70°F, low humidity |
| First Paint Coat | Overnight (12+ hours) | 70°F, low humidity |
| Final Paint Coat | 7 days to fully cure | Avoid high heat |
Your Printable Painting Sequence
Downloading our step-by-step PDF gives you the exact sequence required to get this flawless painted brick result in your own home. Print the guide out and keep it right beside your supplies so you never miss a crucial prep or curing step.
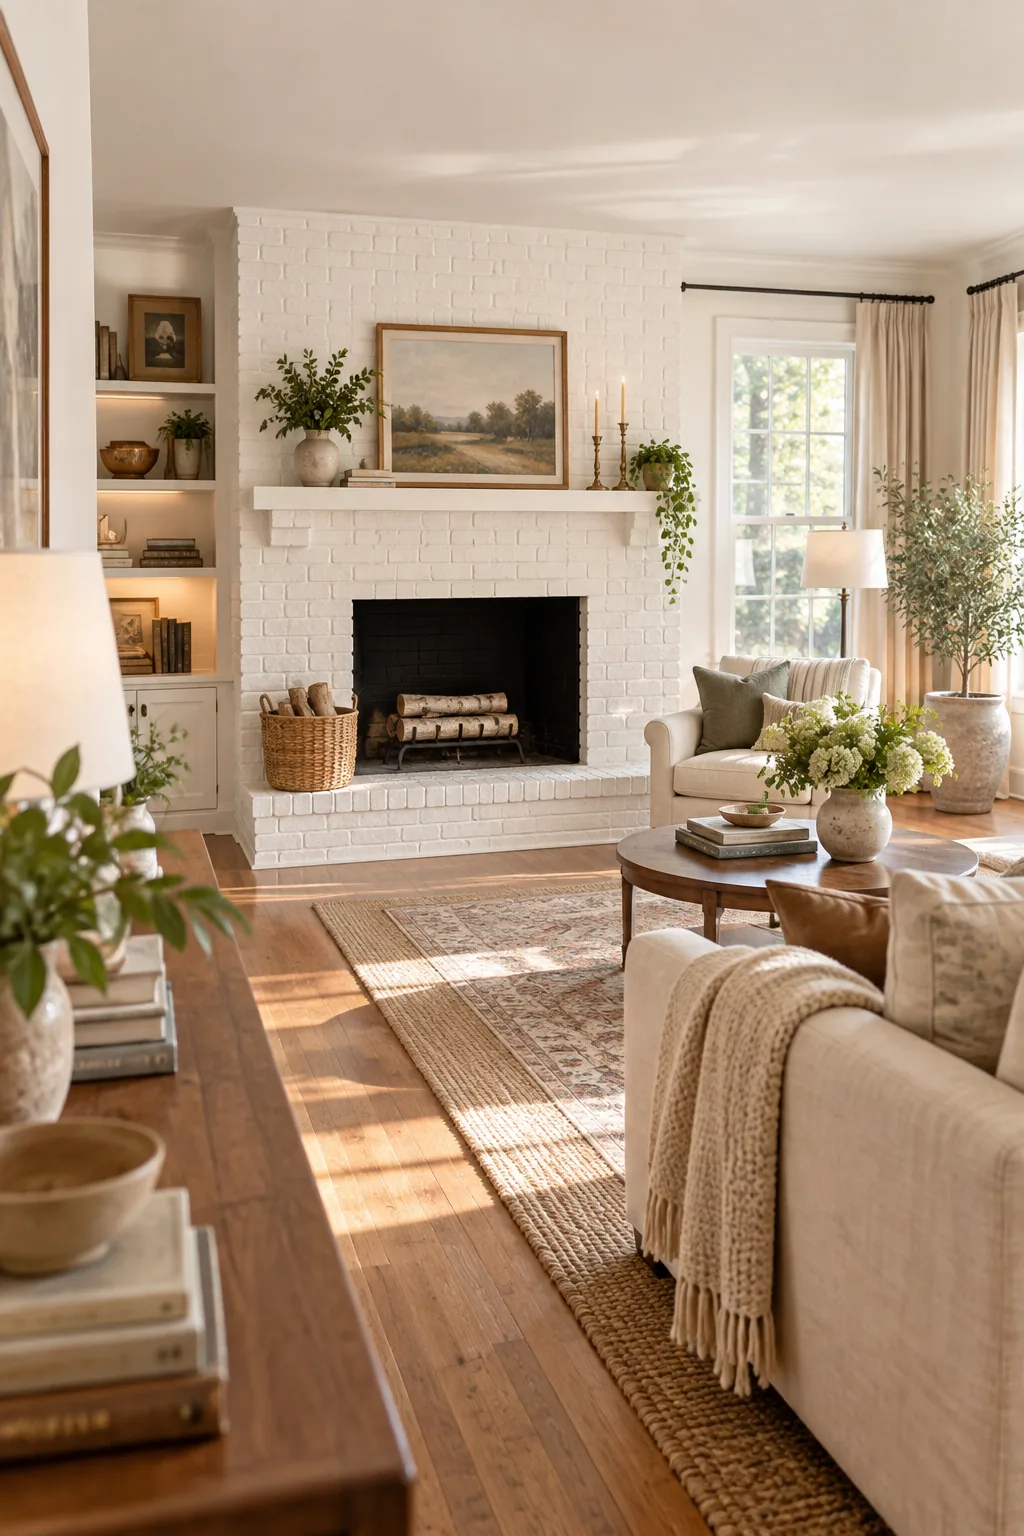
Before you open your first can of paint, verify you have all the necessary supplies and timelines mapped out for a flawless finish. Having a physical reference keeps the project moving smoothly from the initial vacuuming all the way to the final roller pass.
More Painted Brick Fireplace Ideas
Explore how different paint colors and finishes can completely change the mood of your masonry.
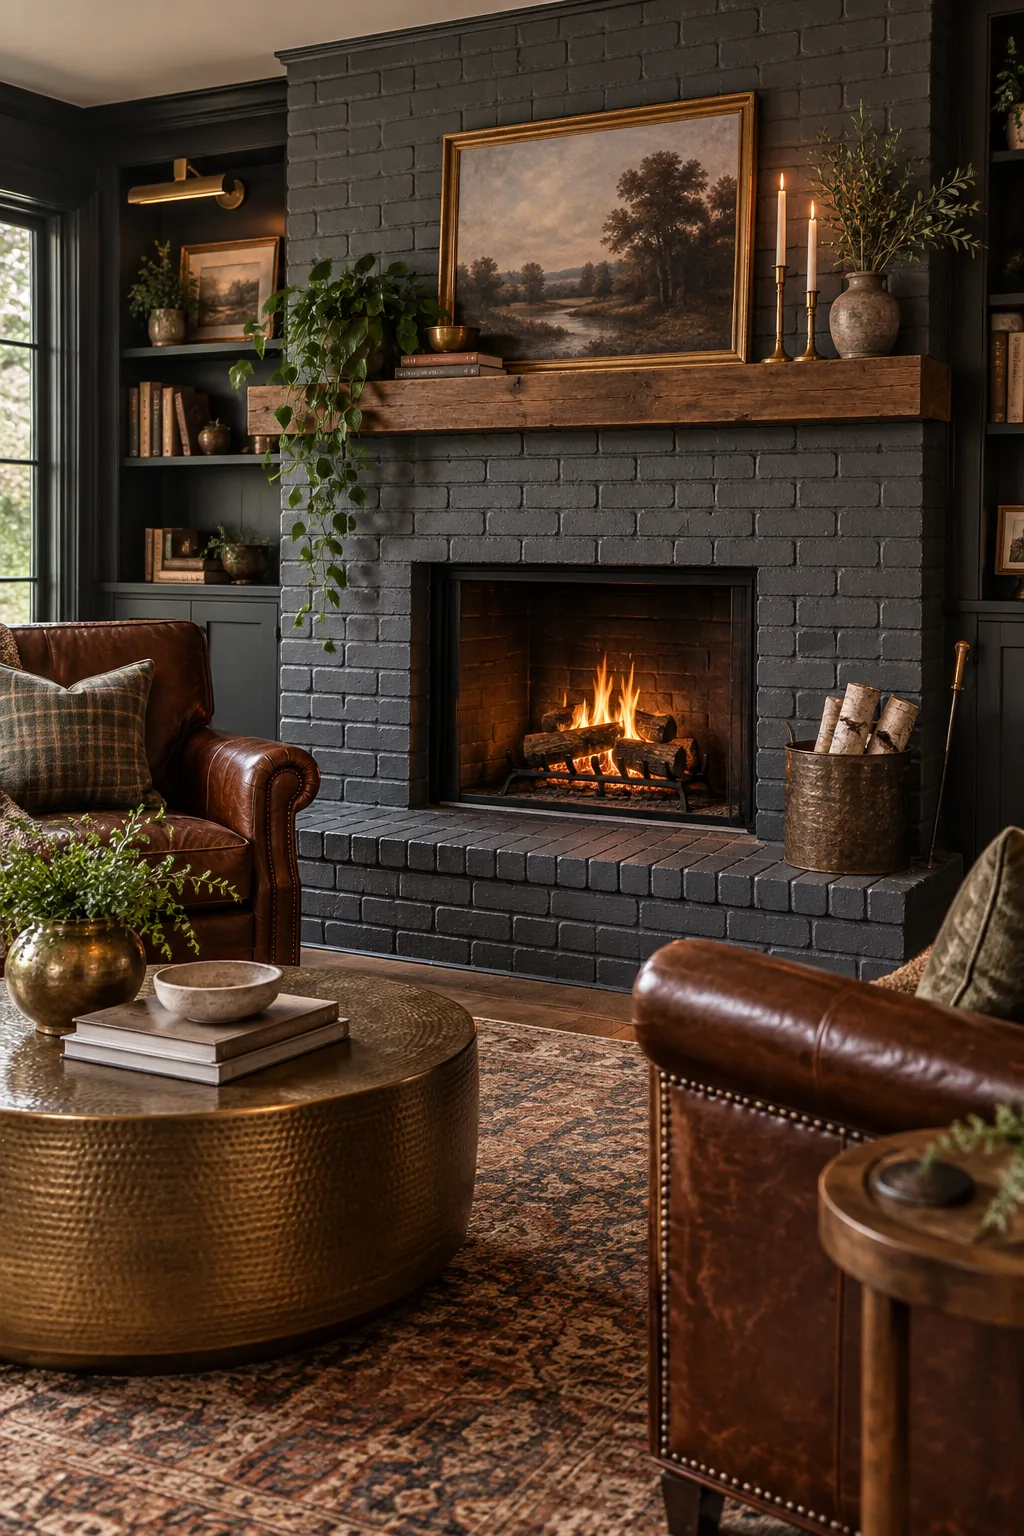
Moody Charcoal Grey Den: Deep charcoal paint modernizes dated brick while creating a sophisticated, cozy atmosphere in darker rooms.
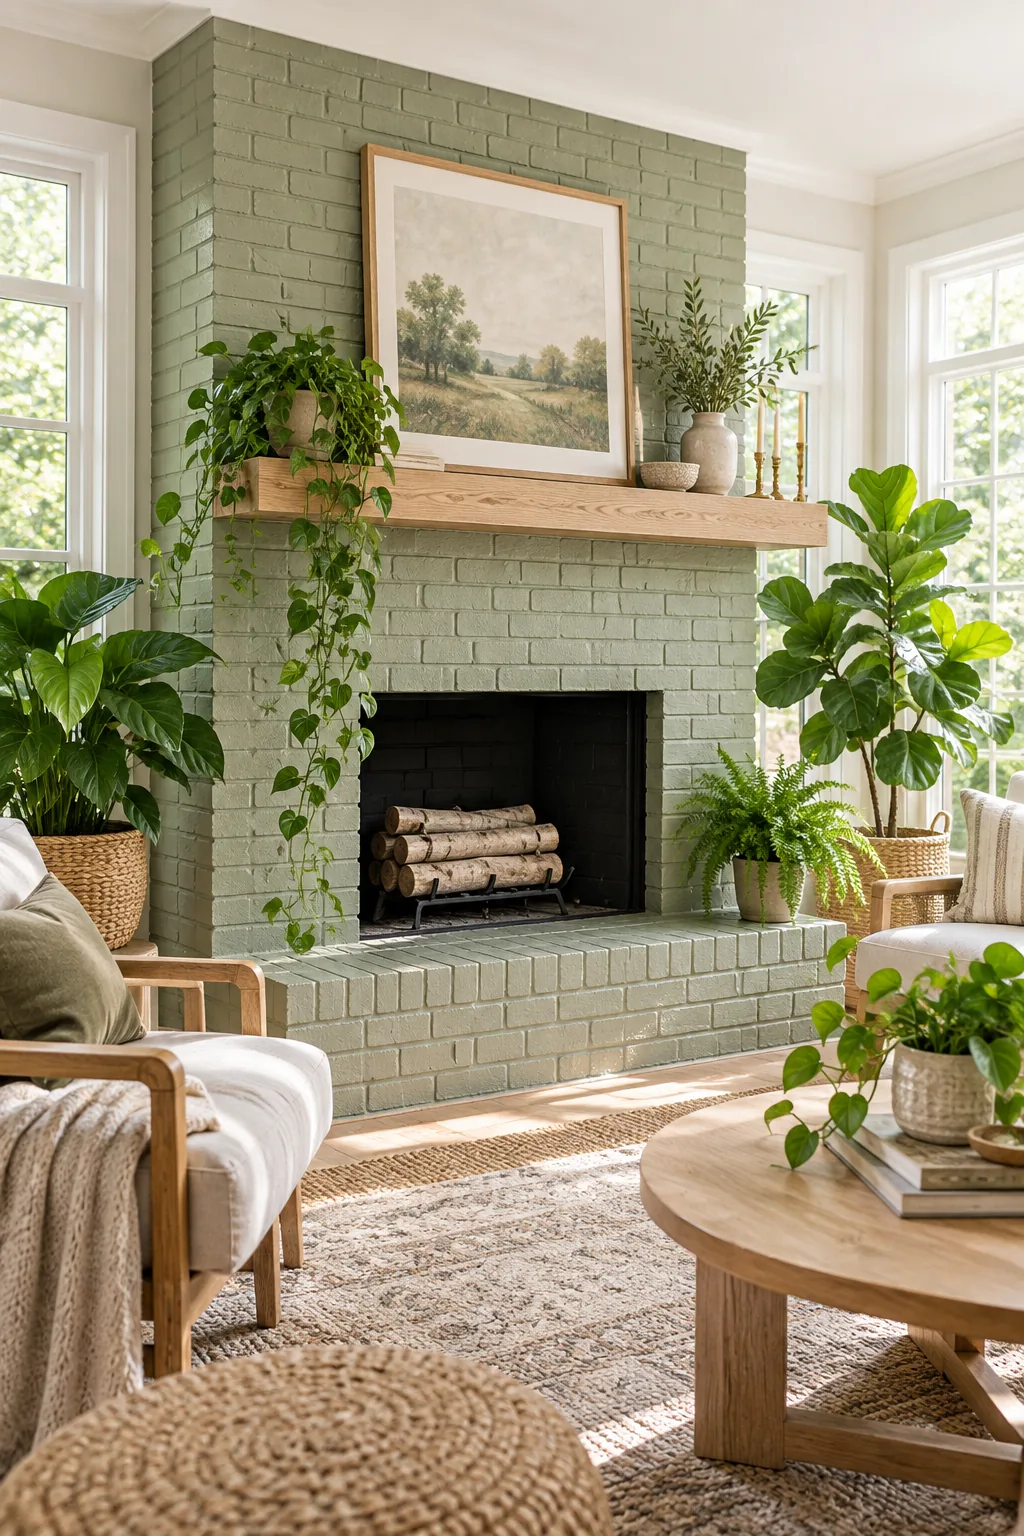
Soft Sage Green Sunroom: Earthy green tones blend seamlessly with indoor plants, bringing a fresh, organic feel to sunny living spaces.
Romantic Limewashed Bedroom: A diluted limewash technique allows the natural masonry texture to peek through for a soft, historic aesthetic.
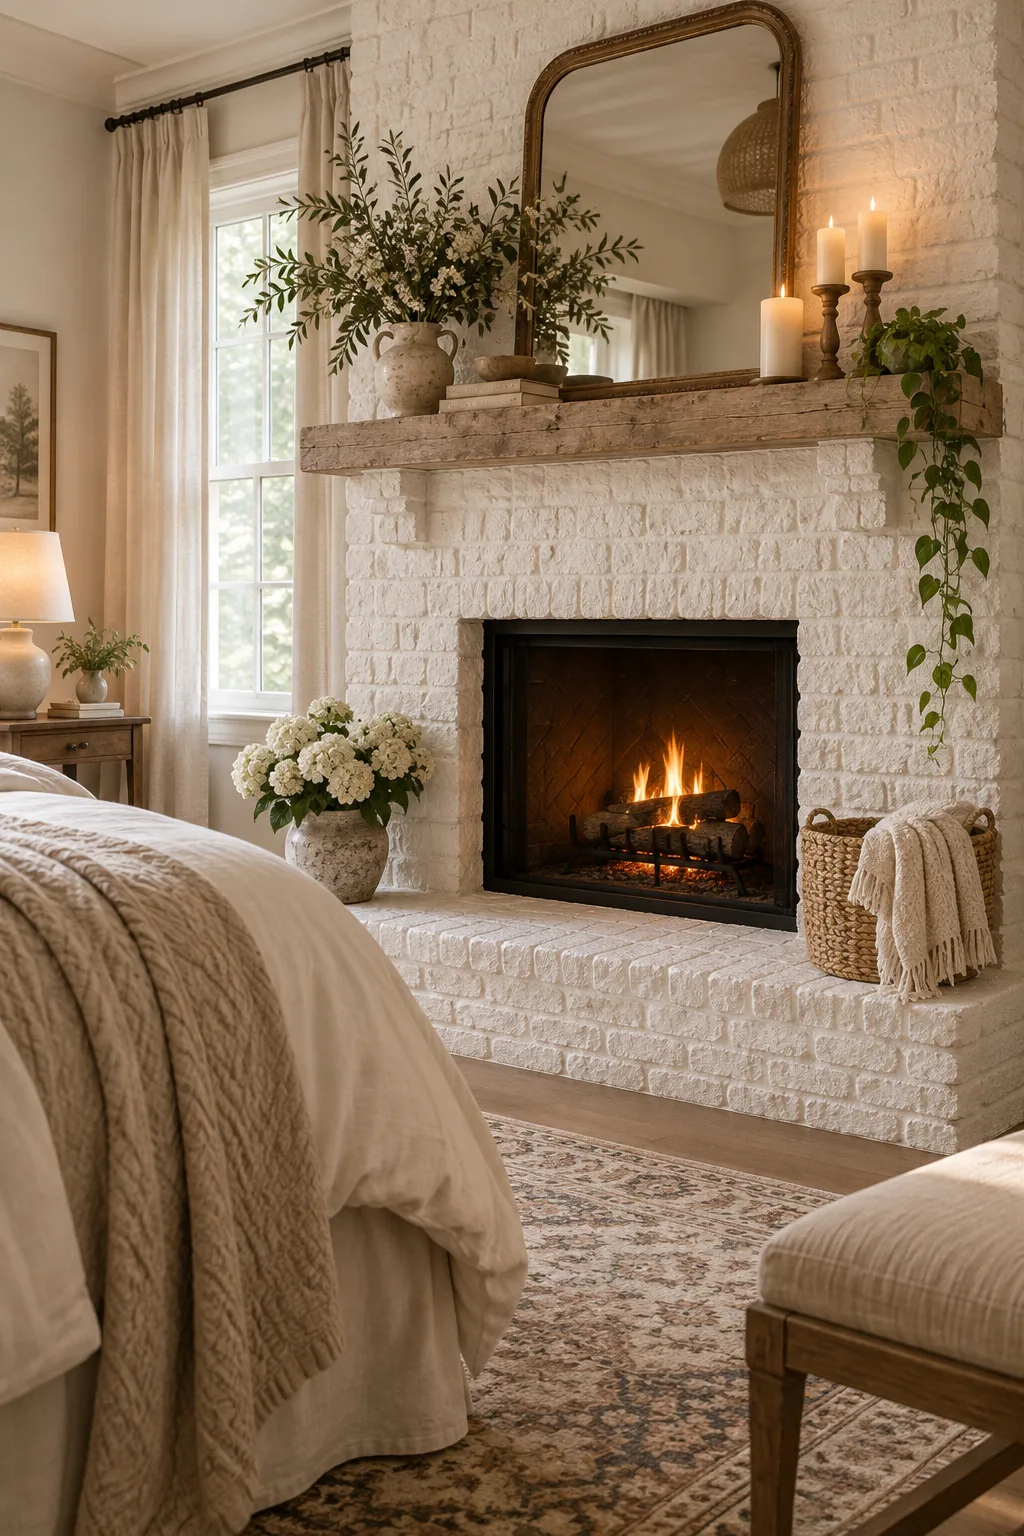
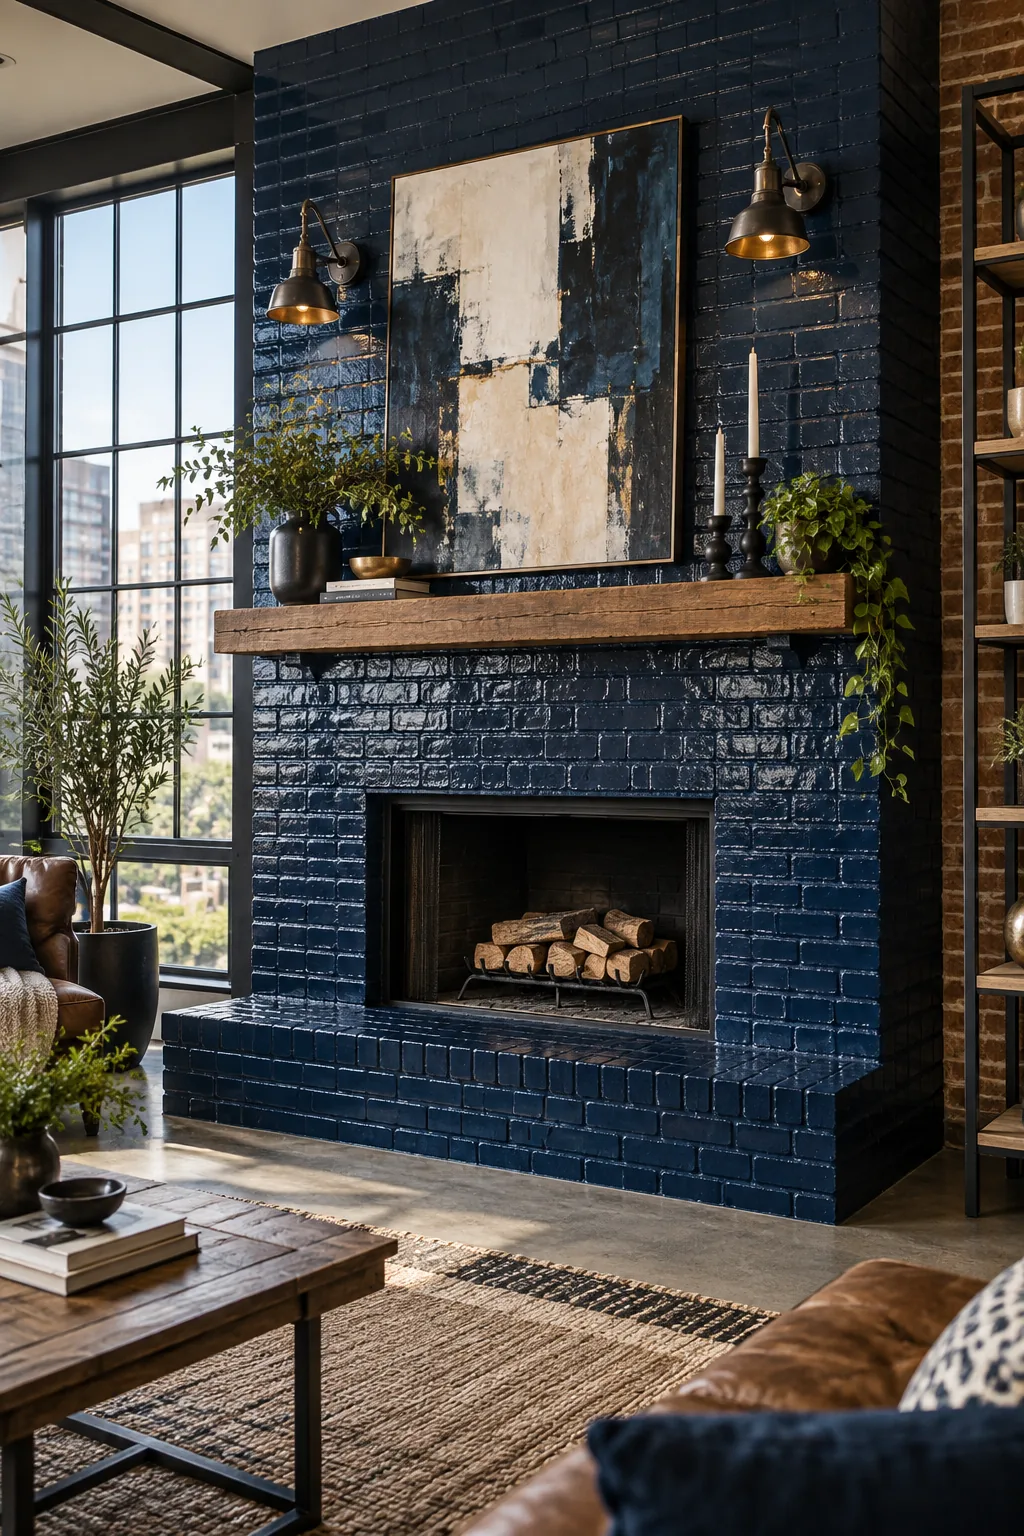
High-Gloss Navy Loft: Using a high-gloss finish on deep navy brick reflects light beautifully and adds unexpected drama to industrial spaces.