Dining Room Wall Decor: The Complete Spacing Cheat Sheet
Transforming your dining room requires more than just beautiful art; it demands our complete dining room decor spacing cheat sheet to balance every element perfectly. You will be able to measure, hang, and light a perfectly balanced gallery wall using exact spacing rules and hidden hardware tricks.
Securing Heavy Dining Room Art
In my own Denver dining room, a massive landscape canvas once bowed forward dangerously until I discovered a much better hardware solution. Large dining room canvases require significantly more stability than a standard picture wire can ever provide.
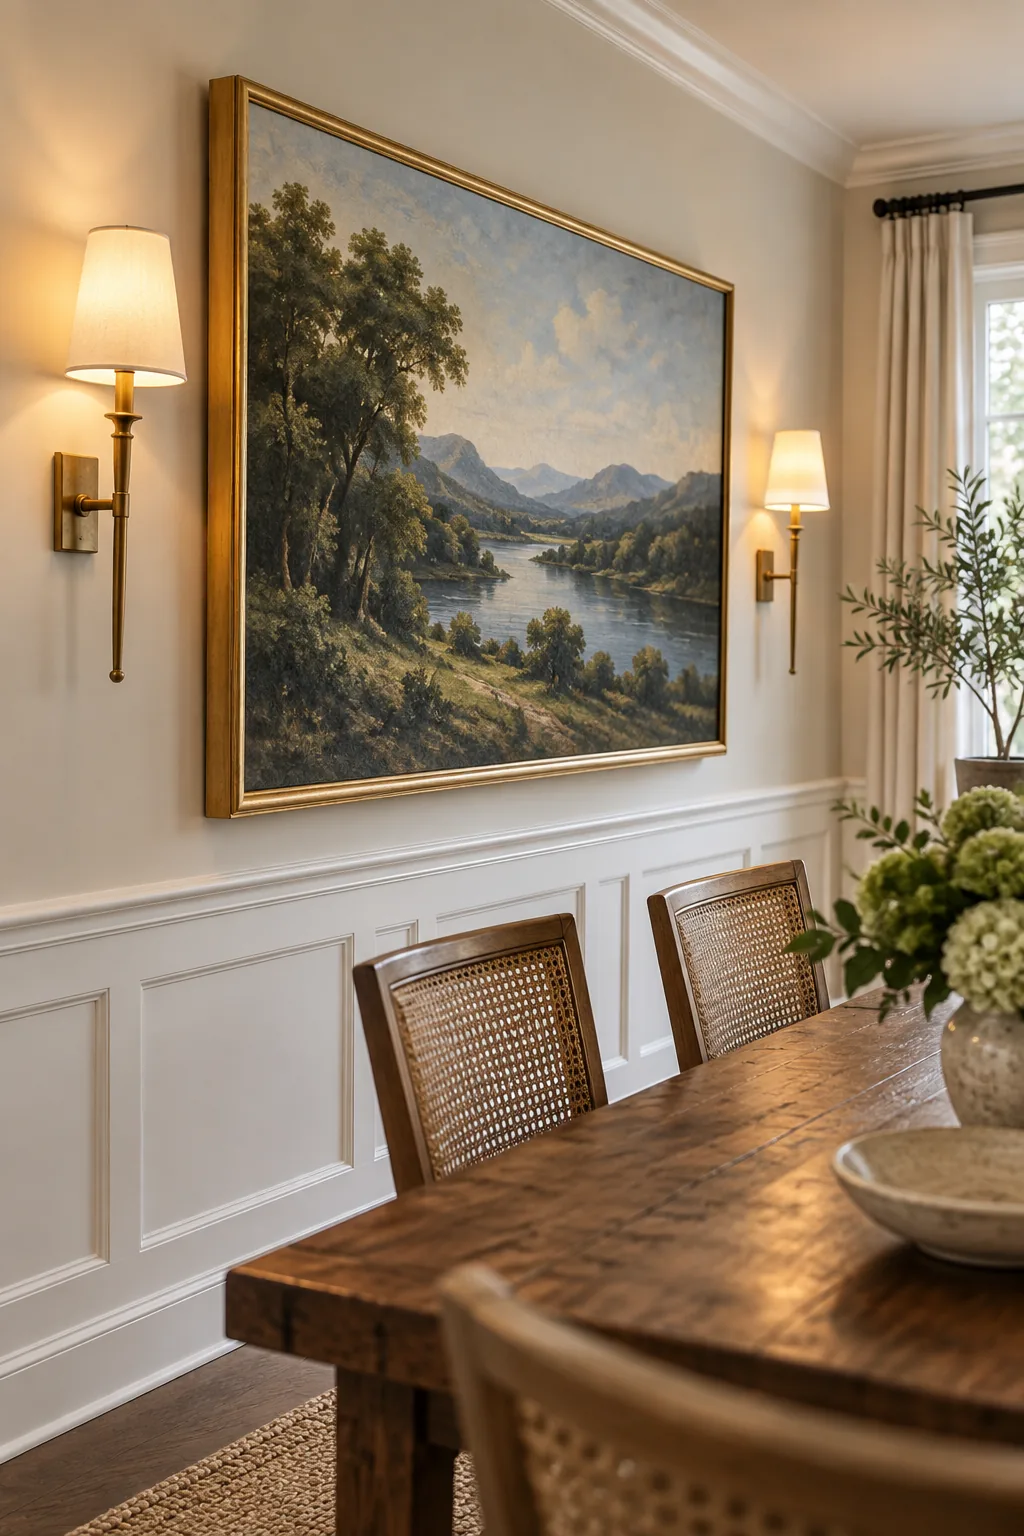
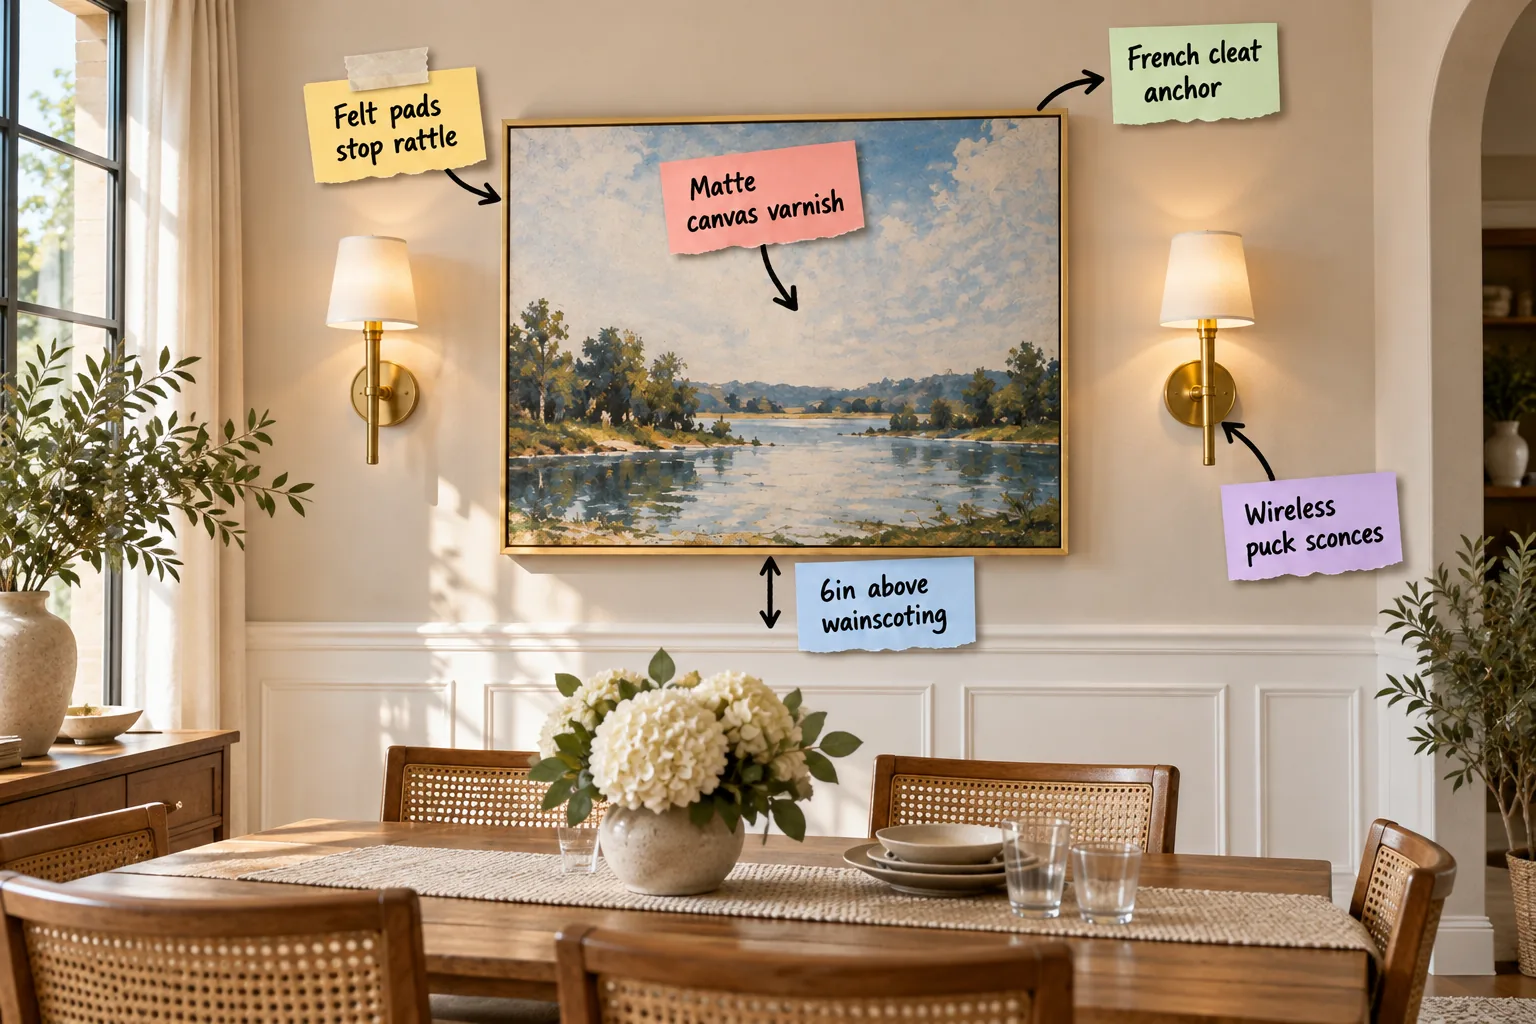
Use a French cleat anchor to distribute the heavy weight evenly across the drywall and keep the piece perfectly level. This interlocking metal bracket system ensures the frame remains securely flush against the wall without leaning into the room.
Executing the Hardware Installation
Installing that cleat correctly requires a strict sequence to ensure the anchor can genuinely support the sheer weight of oversized dining room artwork.
- Locate and mark at least one wooden wall stud to anchor the primary weight of the metal bracket.
- Drive self-drilling threaded drywall anchors into the remaining marked pilot holes for secondary support.
- Secure the cleat tightly against the wall, verifying the alignment with a torpedo level one final time.
Mapping the Wall with Painter’s Tape
Before drilling any pilot holes, visualize the final placement by outlining the exact dimensions of your canvas with blue painter’s tape. This simple step allows you to step back and evaluate the scale from the entryway before committing to the hardware.
Leveling the Cleat Hardware
Because a French cleat leaves absolutely no room for vertical adjustment after installation, your initial measurements must be flawless. Rest a magnetic torpedo level directly on the bottom bracket while marking your pilot holes to guarantee a perfectly horizontal mount.
Locking the Bracket in Place
Once your torpedo level confirms perfect horizontal alignment, tighten the primary center screw completely before securing the outer edges. This prevents the metal bracket from twisting or shifting slightly as you drive the remaining heavy-duty anchors into the drywall.
Testing the Weight Distribution
Once your French cleat is mounted, gently lower the artwork onto the bracket and listen for the distinct click of the interlocking metal. Slowly release your grip while monitoring the drywall for any signs of bowing or structural stress before letting go completely.
Silencing the Frame
Dining rooms are high-traffic areas where constant vibrations from heavy footsteps or closing doors can cause hanging art to shift against the drywall. This subtle friction creates an annoying rattling noise that disrupts quiet dinners and slowly damages your paint.
Protecting Your Wall Paint
Those same felt pads serve a crucial secondary purpose by creating a protective barrier between the abrasive wooden frame and your delicate wall finish. This tiny gap prevents dark scuff marks and allows necessary airflow behind the canvas.
Choosing the Right Felt Thickness
Not all protective bumpers provide the exact same acoustic benefits for heavy wooden frames. Select dense, quarter-inch thick felt pads rather than thin rubber dots, as the thicker material naturally absorbs deeper sound waves and prevents the canvas from bouncing.
Managing Humidity Behind the Canvas
Dining rooms often experience fluctuating humidity levels during large gatherings or when serving hot meals. The slight gap created by your mounting hardware allows crucial air circulation behind the canvas, preventing moisture buildup that could warp the wooden stretcher bars over time.
Controlling Glare on Large Prints
I once spent weeks sourcing the perfect abstract piece for a client, only to have the dining chandelier turn the glossy surface into a giant mirror. Chandeliers and wall sconces often cast harsh, distracting reflections that completely obscure the image.
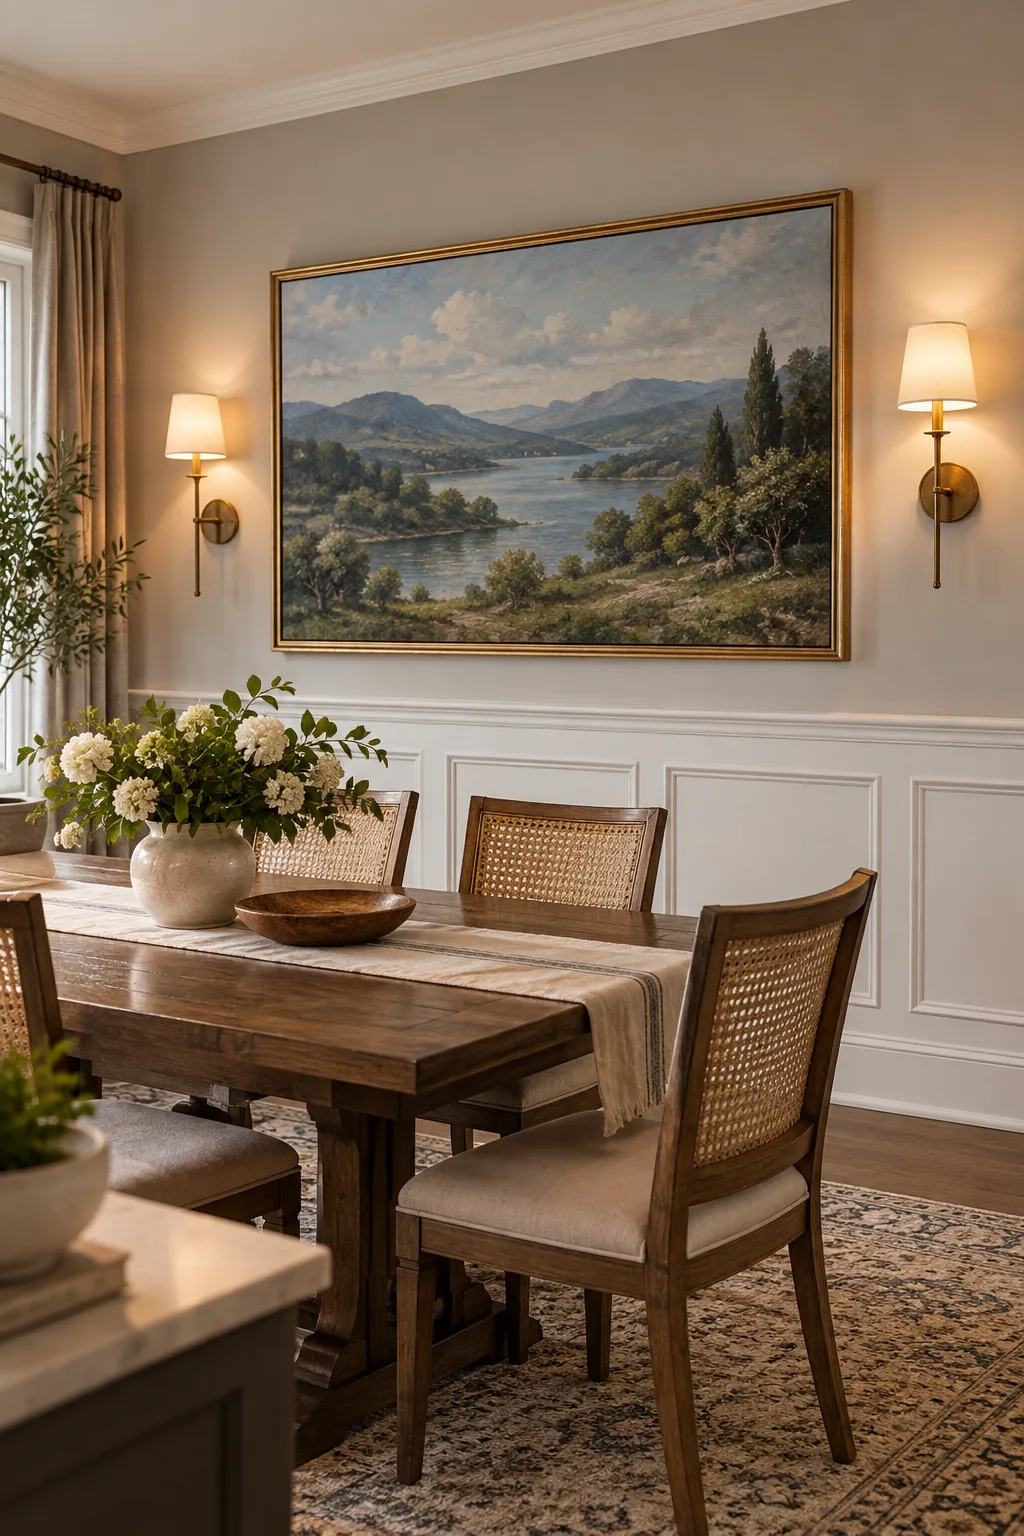
Choose a matte canvas varnish to gently diffuse the ambient light and keep the artwork clearly visible from every seat at the table. This flat finish absorbs bright bulb reflections rather than bouncing them directly into your guests’ eyes.
Aligning Art with Wall Molding
When hanging art above architectural features, the intentional negative space you leave is just as important as the artwork itself. Leaving exactly 6in above wainscoting prevents the wall from feeling crowded and allows the molding to breathe visually.
| Ceiling Height | Wainscoting Height | Art Clearance Gap |
|---|---|---|
| 8 feet | 36 inches | 6 inches |
| 9 feet | 42 inches | 6 to 8 inches |
| 10+ feet | 48 inches | 8 to 10 inches |
Adjusting for Tall Dining Chairs
When determining your final vertical placement, always pull your tallest dining chair away from the table and check the clearance. Ensure the top rail of the chair back never physically overlaps or visually intersects with the bottom edge of your frame.
The Dining Room Spacing Cheat Sheet
Perfect wall decor relies on a few universal measurements that naturally balance the room and draw the eye comfortably upward. Center your main artwork precisely at eye level, which typically sits exactly 60 inches from the finished floor.
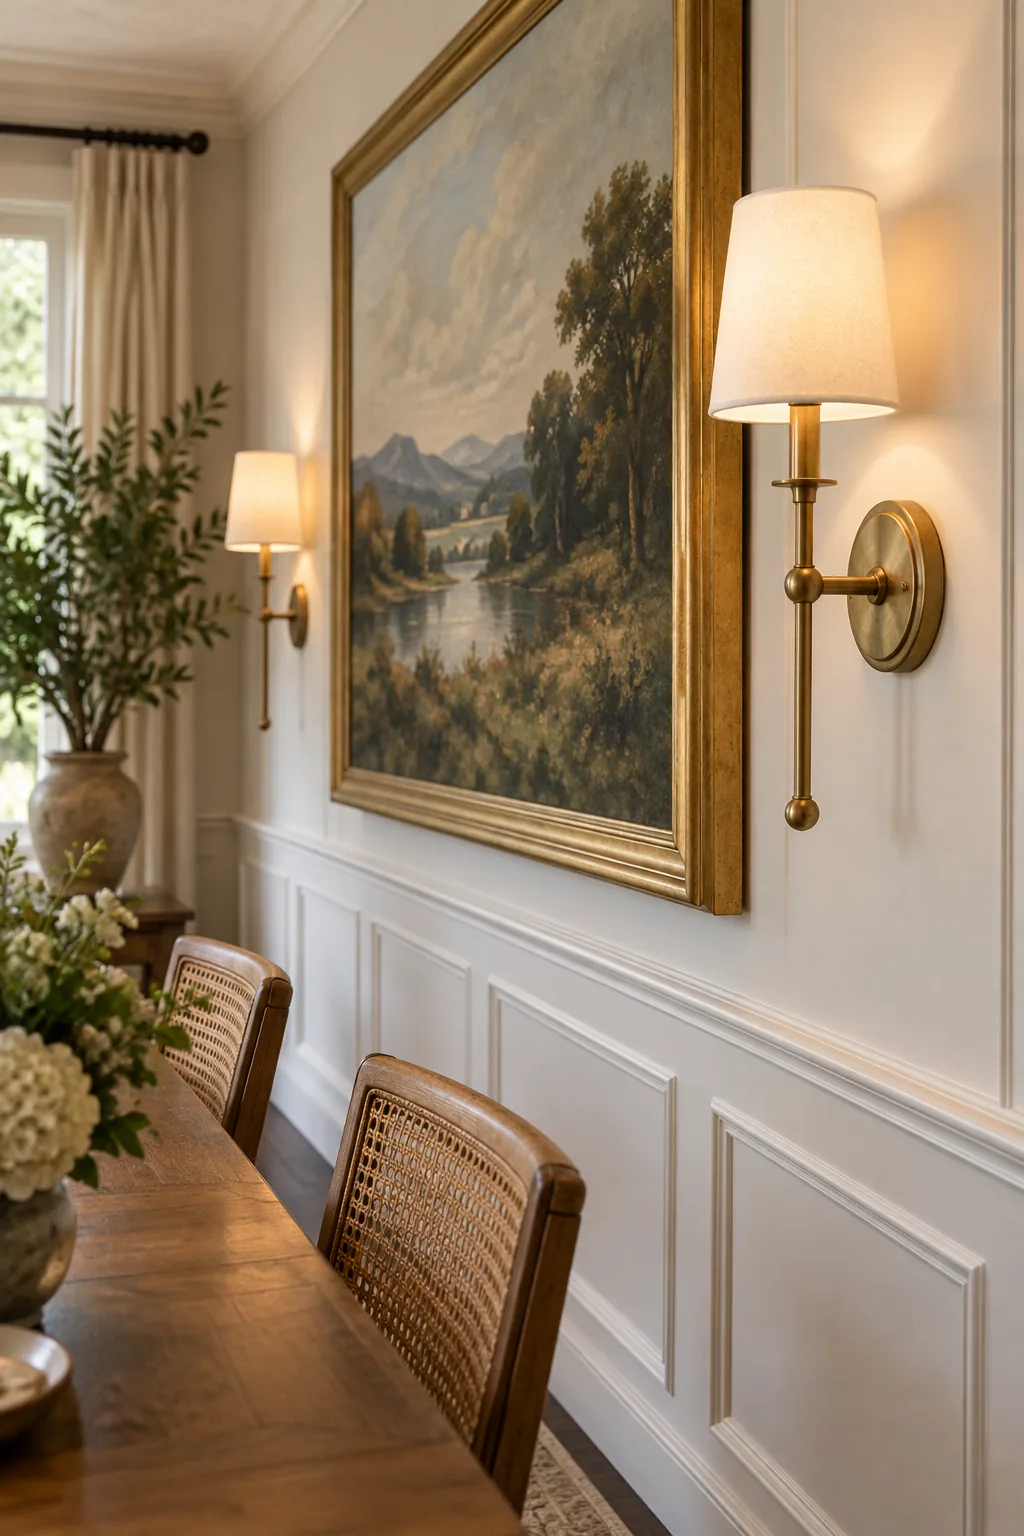
Before you pick up a hammer or drill a single hole, verify these core measurements to ensure your dining room wall looks professionally styled.
Framing the Canvas with Sconces
Symmetrical lighting elevates a standard canvas into a dramatic focal point that anchors the entire dining space. Mount your sconces so the center of the bulb aligns precisely with the vertical midpoint of your artwork for a tailored aesthetic.
Positioning Sconces for Maximum Impact
Keeping those sconces exactly 8 to 10 inches away from the frame’s outer edges ensures the light washes gently over the canvas. Placing them any closer creates harsh hot spots, while moving them further away disconnects the lighting from the art.
Creating Symmetrical Light Pools
The goal of flanking sconces is to cast identical, overlapping pools of light that illuminate the center of the canvas perfectly. Adjust the angle of the internal bulb sockets to ensure the illumination spreads evenly across the matte varnish without creating harsh shadows.
Dimming Your Accent Fixtures
True dining room ambiance requires flexibility as the evening transitions from a bright family dinner to intimate late-night conversation. Ensure your chosen puck lights include a remote-controlled dimming feature so you can lower the output and soften the overall mood.
Testing the Light Spread
Turn off your overhead chandelier and rely solely on your new accent fixtures to evaluate the evening ambiance. The light should gently wash down the wall, highlighting the texture of the canvas without casting harsh shadows onto the wainscoting below.
Choosing the Right Bulb Temperature
The color temperature of your accent lighting dramatically shifts how the painted colors on your canvas appear during evening meals. Select 2700K LED bulbs to cast a warm, inviting glow that mimics candlelight and enhances the rich tones of the artwork.
Skipping the Electrician for Lighting
Adding sophisticated accent lighting no longer requires cutting into pristine drywall or hiring an expensive professional electrician. You can easily install wireless puck sconces that mount directly to the wall surface in a matter of minutes.
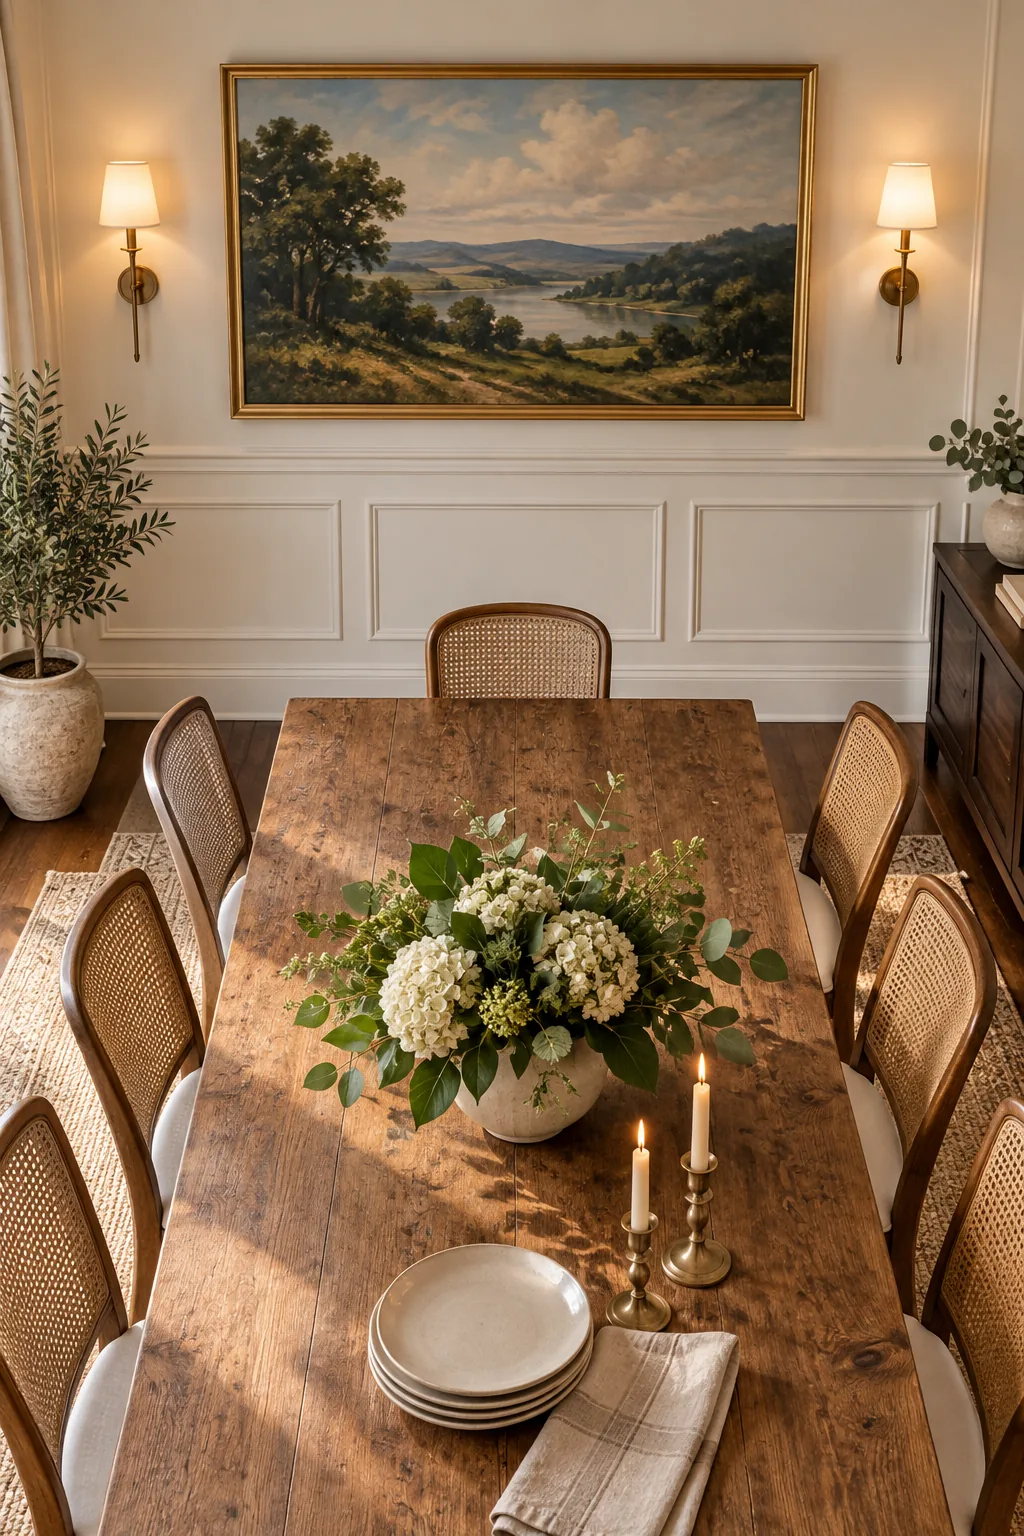
These clever fixtures run entirely on rechargeable batteries to achieve a high-end, hardwired look without any complex electrical work. Simply detach the magnetic bulb unit when it needs charging, leaving the beautiful brass housing permanently secured to the wall.
Hiding the Sconce Hardware
To maintain that flawless custom look, ensure the mounting plates for your battery-operated fixtures are completely hidden behind the brass backplate. Tuck any excess mounting brackets flush against the drywall so the sconce appears seamlessly integrated into the room.
Sizing Art for the Dining Table
When I first decorated my own home, I hung a tiny watercolor over a massive oak table, and it looked completely swallowed by the space. Measure your dining table, and select a canvas that covers at least 60 percent of that width.
Balancing Asymmetrical Gallery Walls
If you prefer a collected gallery wall over one massive canvas, treat the entire grouping as a single visual unit. Ensure the outer boundaries of your frame collection still adhere to that 60 percent width rule to maintain proper scale.
Selecting the Right Frame Profile
A heavy, ornate frame adds visual weight that can overwhelm a delicate dining space if not balanced correctly. Opt for a streamlined gallery profile that complements your wainscoting, ensuring the frame enhances the artwork rather than competing with your architectural molding.
Styling the Table to Complement the Wall
During a recent dinner party, I realized my towering floral arrangement completely hid the beautiful artwork from my seated guests. The dining table and the wall decor must function together as one cohesive, uninterrupted visual scene.
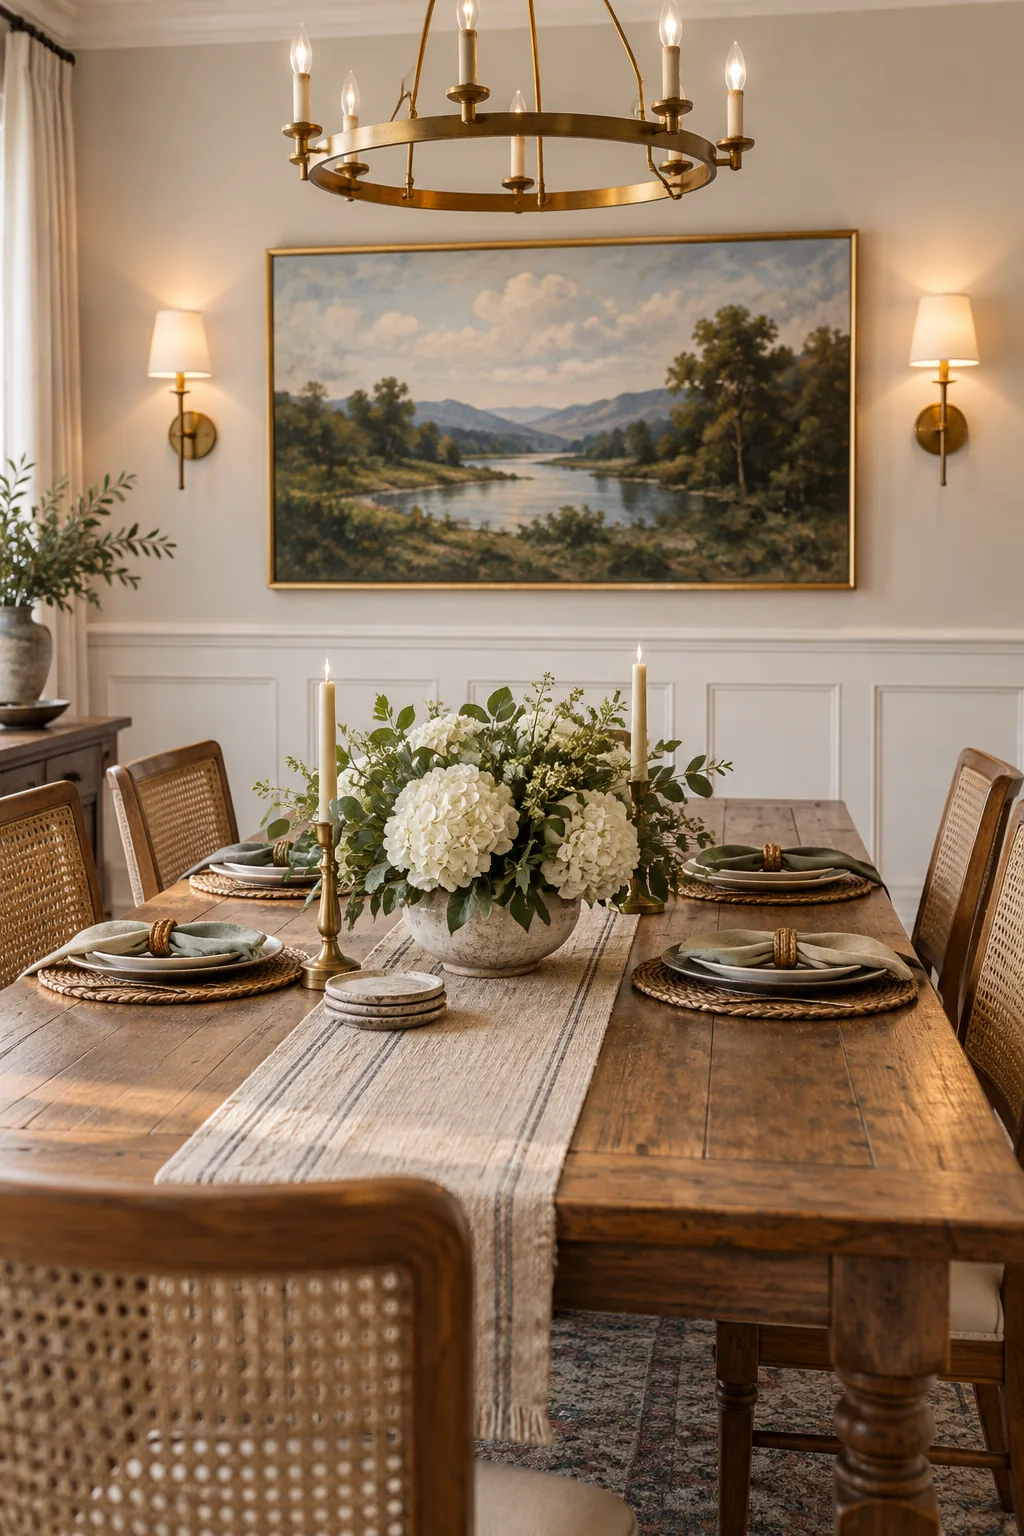
Keep your floral arrangements and taper candles low enough that they never block the sightline to the canvas from across the room. A beautifully styled table should always guide the eye seamlessly upward toward your perfectly spaced wall decor.
3 Ways to Style Your Dining Room Walls
See how these spacing rules adapt to completely different design styles.
Modern Minimalist: Dark slate walls create a dramatic backdrop that makes lighter abstract art pop.
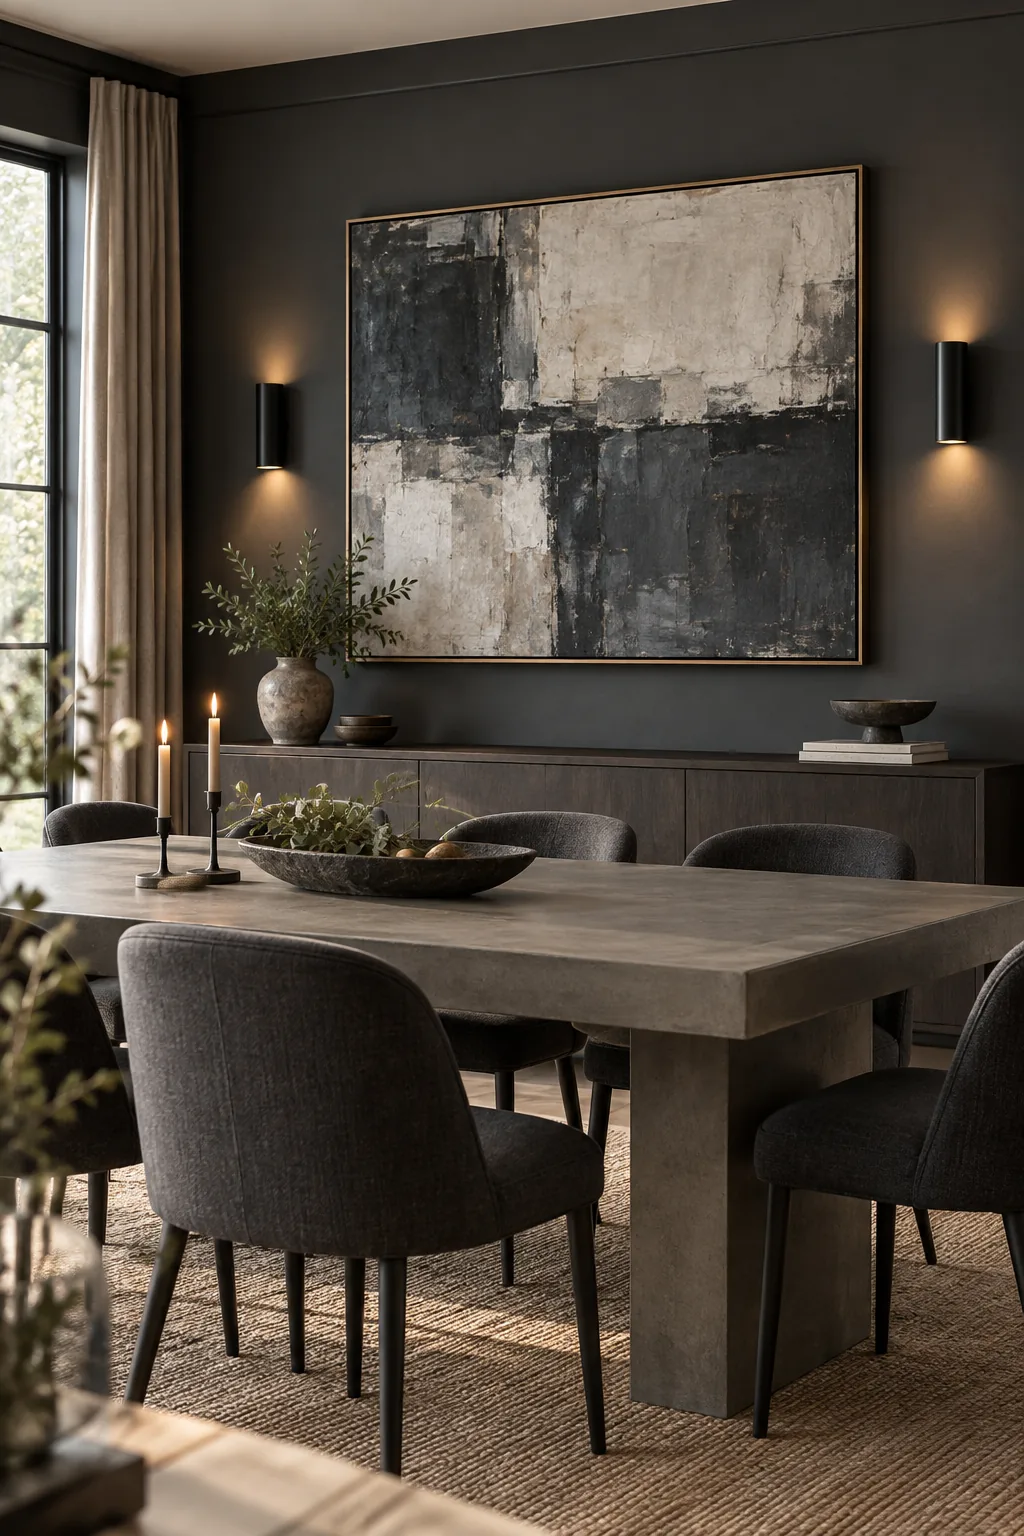
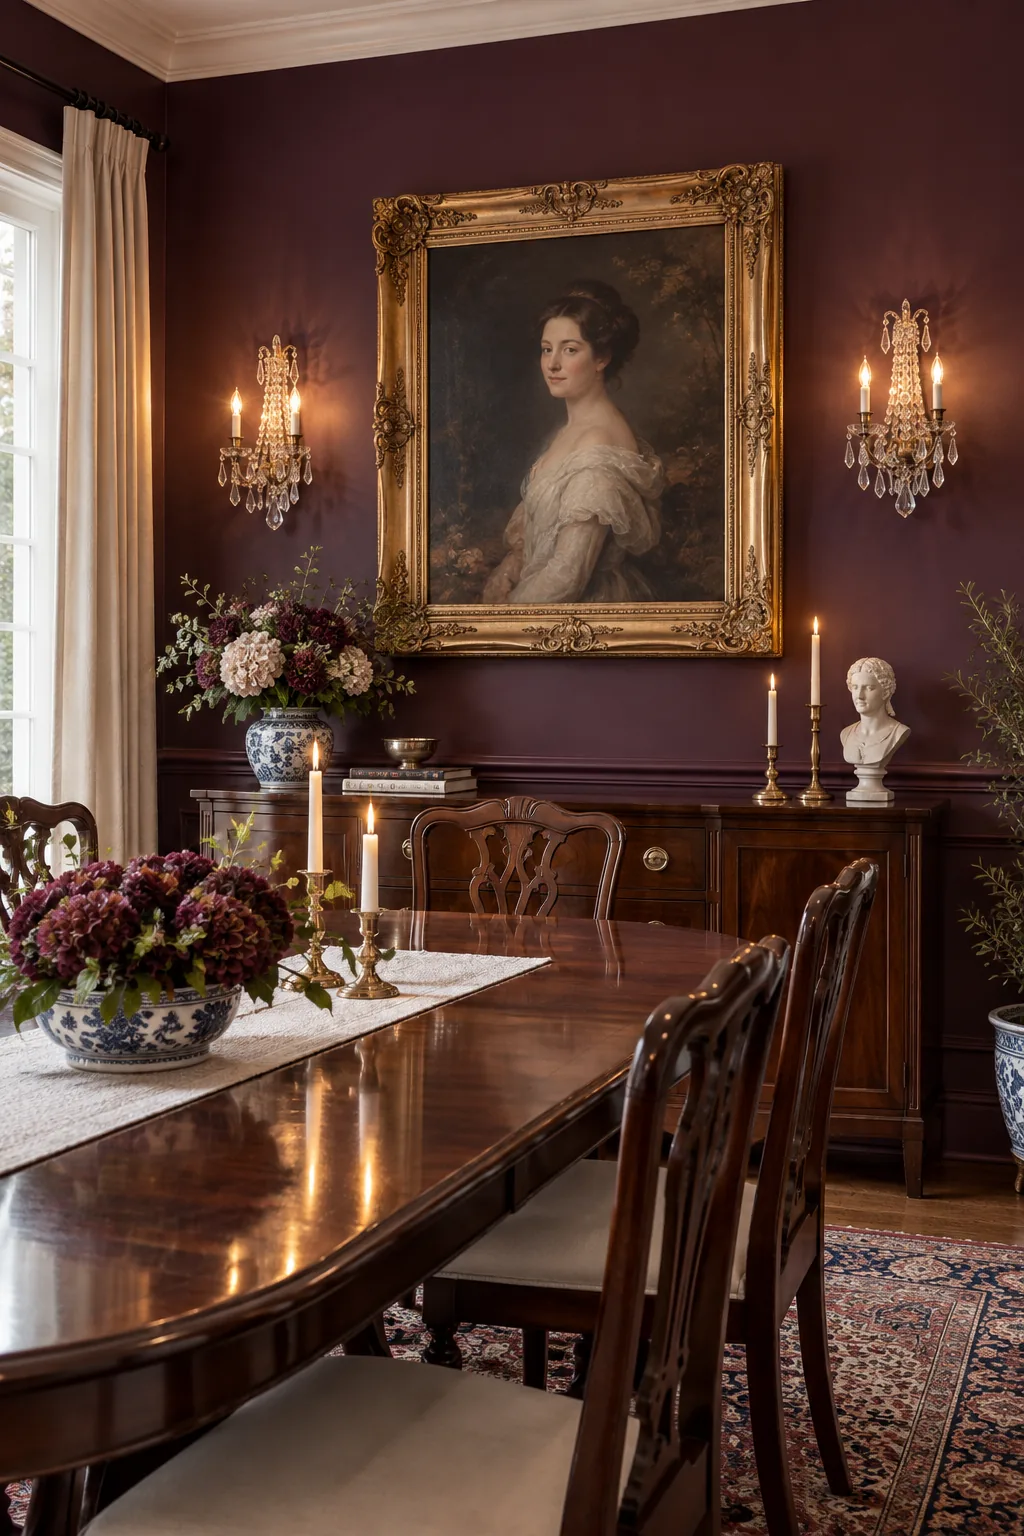
Traditional Elegance: Rich plum paint and ornate gold frames bring instant warmth to a formal dining space.
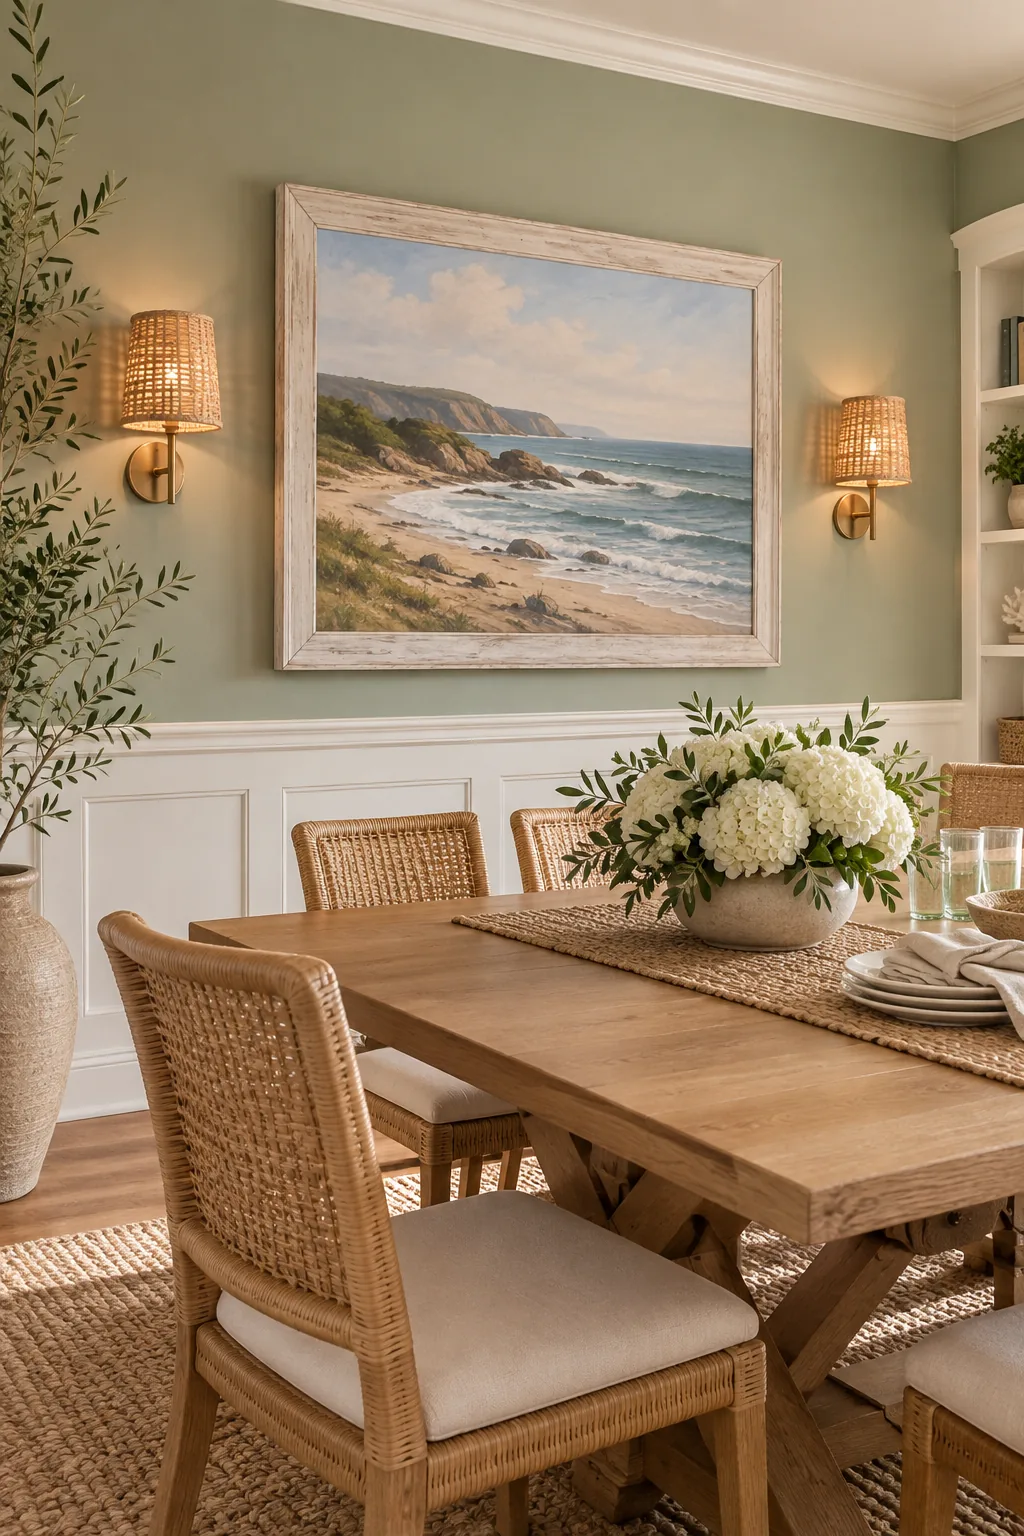
Coastal Casual: Woven rattan sconces and whitewashed frames add relaxed texture to a breezy coastal room.