
Style a Lush Dessert Table Without Overbaking Everything
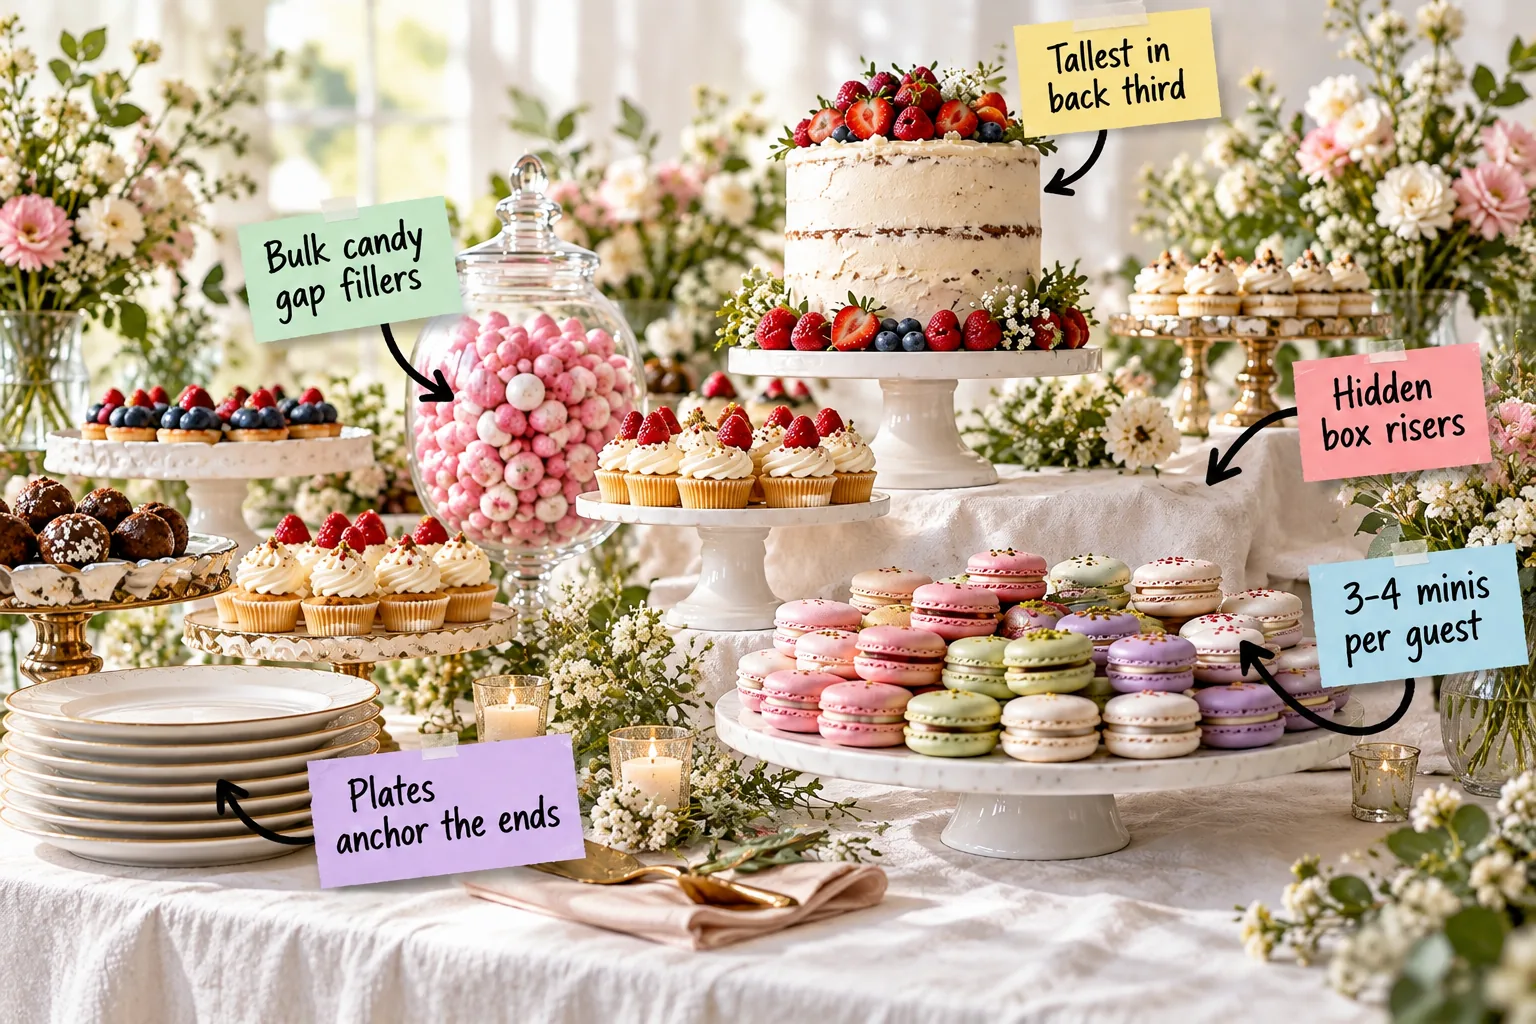
You can build a professional, multi-level display using our Dessert Quantity & Layout Cheat Sheet to calculate exactly how many treats you need. We will map the table from foundational hidden risers up to the final gap fillers, mixing homemade and store-bought items so you never overbake.
The Dessert Layout & Quantity Map
Start by downloading your dessert quantity and layout map to establish distinct physical boundaries for cakes, minis, and serving ware so you know exactly what fits. Mapping the table prevents the dreaded empty look and gives you accurate footprint measurements.
This cheat sheet ensures you have enough treats without baking for days by detailing exactly what goes where. Use the following baseline serving ratios to start filling your mapped zones effectively before you finalize the grocery list:
- Main focal point: Plan for one 8-inch or 10-inch layer cake to anchor the center.
- Secondary anchors: Position two to three medium stands of brownies or large cookies.
- Filler zones: Add four to five platters of high-density mini treats in the front.
Selecting the Right Table Size
A standard six-foot rectangular folding table provides the ideal surface area for feeding up to fifty guests without the display looking sparse. If your guest list expands significantly, upgrade to an eight-foot banquet table and scale your platter quantities up by fifty percent.
Placing the Table in Your Venue
Always position your dessert station in a highly visible, well-lit area that allows guests to approach comfortably from at least three sides. Pull the table at least two feet away from the back wall so you can easily step behind it to restock.
Creating Tiers with Hidden Box Risers
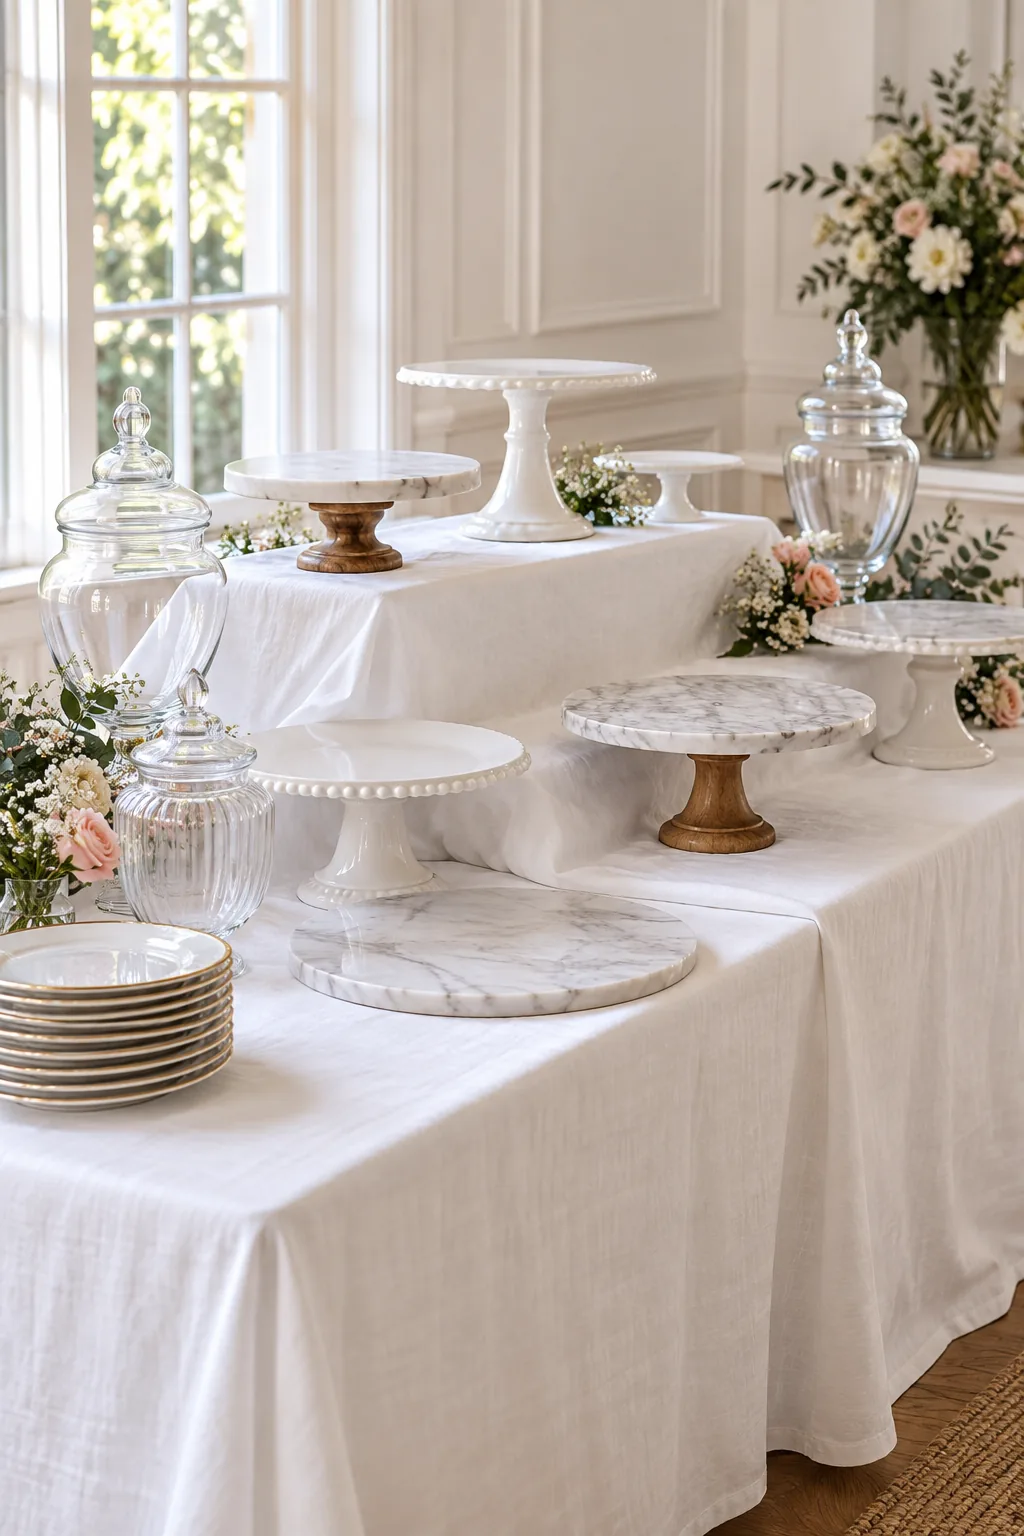
Professional stylists never place everything flat on the table, so use sturdy cardboard moving boxes or inverted plastic bins under a linen tablecloth to create stable, weight-bearing tiers. Aim for a 6-inch height difference between your front and back tiers to prevent visual crowding.
Choosing the Best Riser Elevations
If you are unsure how to stagger the boxes beneath your linens, establishing distinct vertical zones keeps the display organized. This simple guide outlines the ideal elevation heights for a standard six-foot buffet setup:
| Table Zone | Riser Height | Best Used For |
|---|---|---|
| Front Row | 0 inches (Flat) | Plates, napkins, and utensil stacks |
| Middle Row | 3 to 4 inches | Trays of mini desserts and macarons |
| Back Row | 6 to 8 inches | Main layer cakes and tall candy jars |
Securing the Cardboard Base
Tape your cardboard boxes directly to the folding table using heavy-duty packing tape so they cannot shift when guests bump the edges. A solid, unmoving foundation is absolutely critical when you plan to balance heavy ceramic cake stands on top of these elevated tiers.
Draping the Linens for a Seamless Look
Cover the entire tiered structure with a high-quality, floor-length linen tablecloth, smoothing it carefully over the edges of your boxes. Tuck and pin the excess fabric tightly underneath the table to create clean, tailored corners that hide the utilitarian plastic bins completely.
Positioning the Tallest Cake in the Back Third
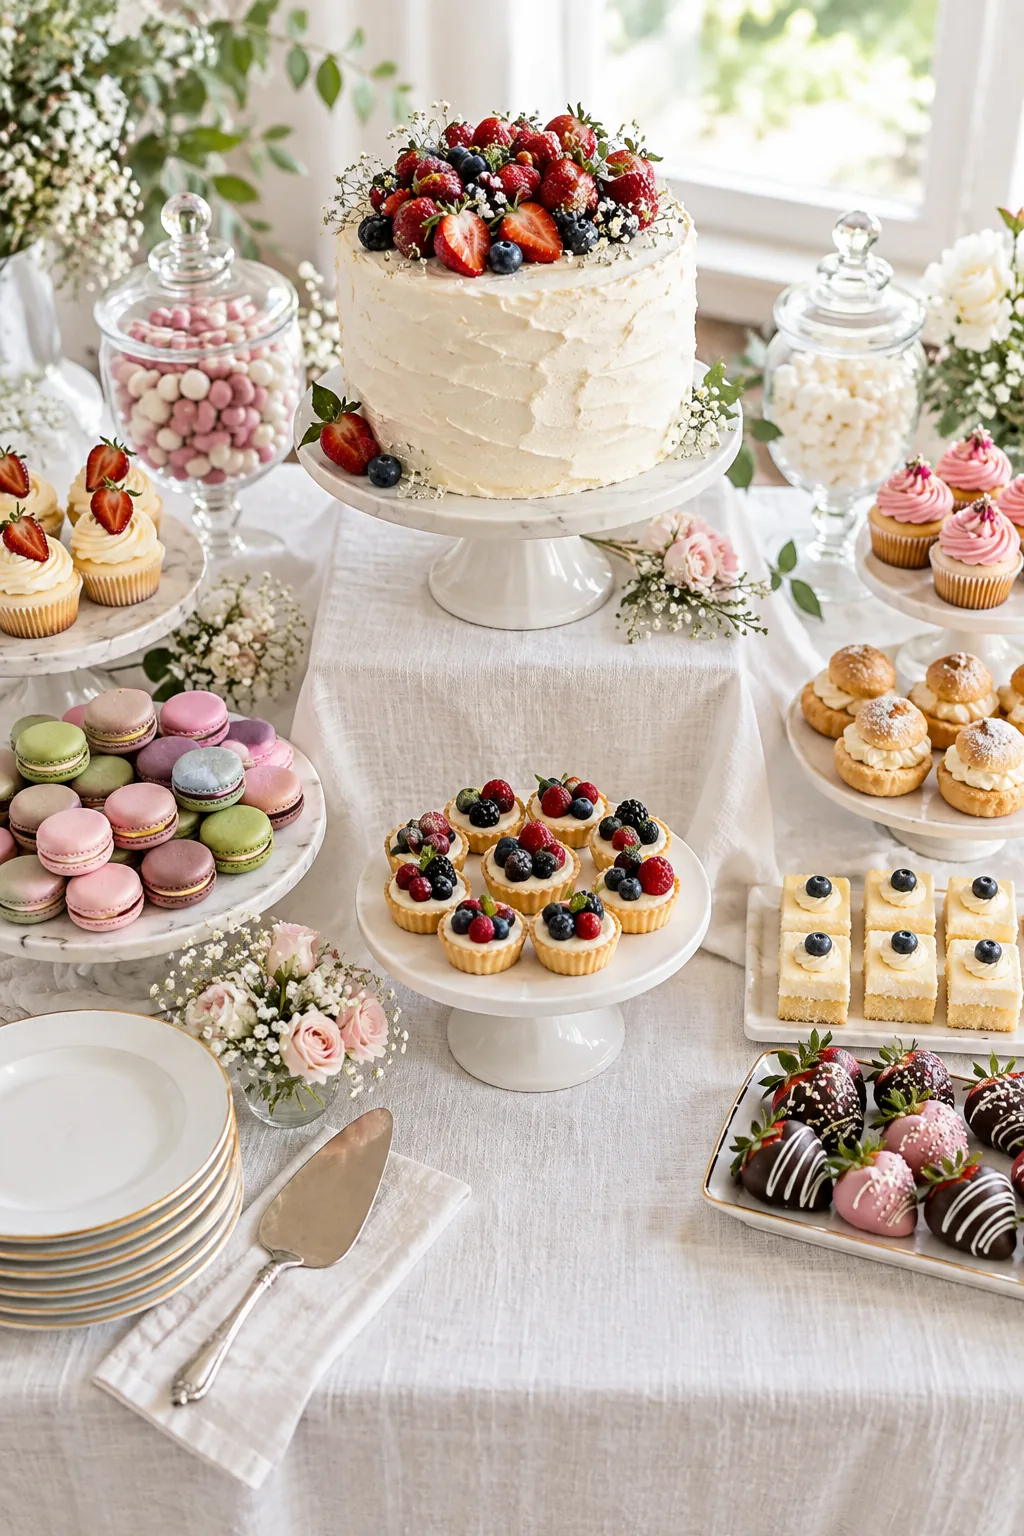
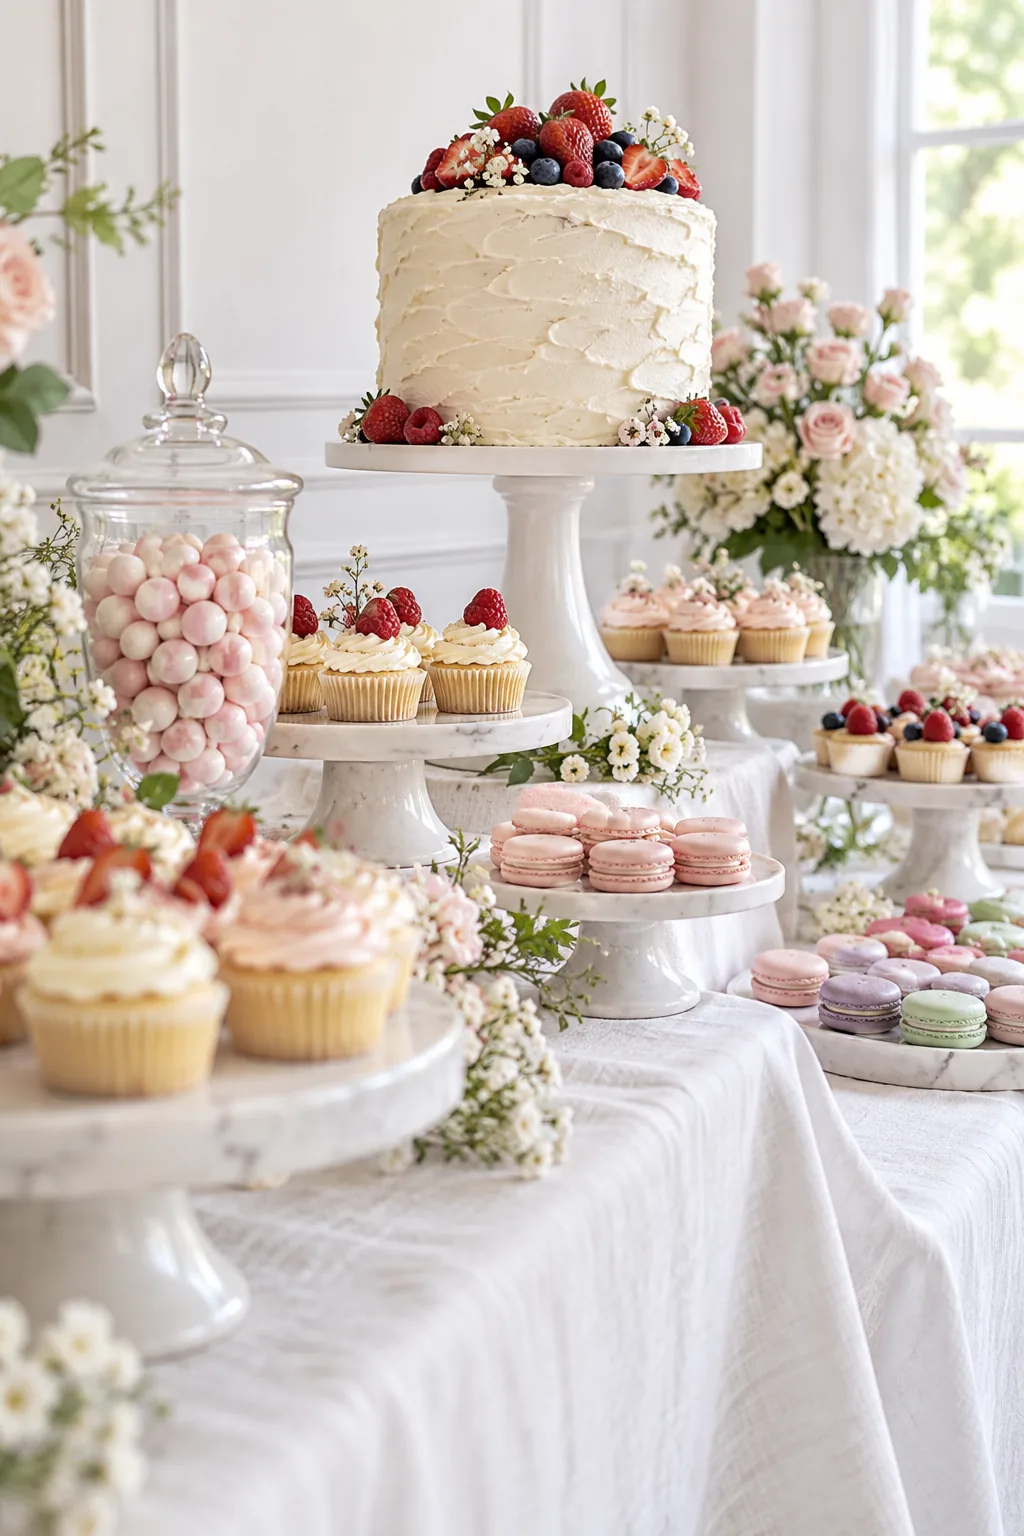
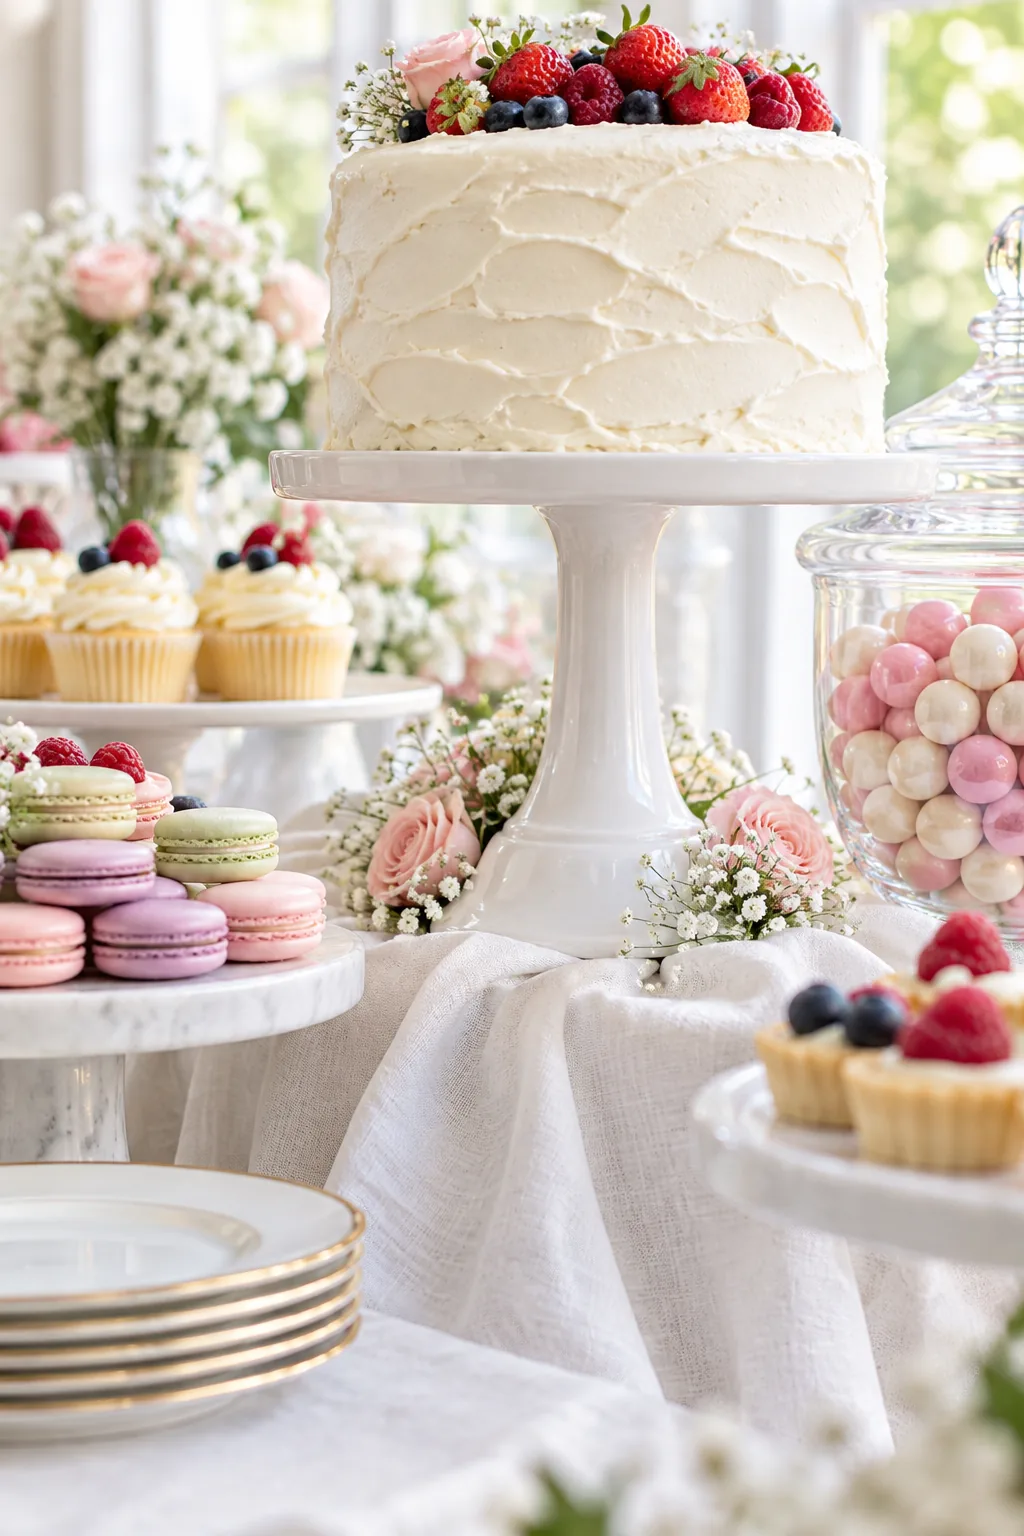
Place your main layer cake on a tall pedestal in the back third of the table to draw the eye upward and establish a clear focal point. Keeping the tallest item in the back prevents it from eclipsing the smaller, intricate mini treats positioned in the front rows.
Supporting the Heavy Main Cake
Always verify that your tallest pedestal sits perfectly level on the draped box before transferring your frosted cake onto it. You should place a non-slip silicone mat under the base of the stand to guarantee it stays firmly planted throughout the entire party.
Mixing Stand Heights and Materials
Alternate between ceramic pedestals, marble slabs, and glass jars, keeping height variations between adjacent stands to at least 3 inches to create a rolling landscape. A flat table makes even the most expensive desserts look underwhelming, so avoid these common staging errors.
Creating Symmetrical Visual Balance
You do not need perfect mirroring, but placing items of similar visual weight on opposite sides of the central cake grounds the design. Balance a dark wooden board of brownies on the left with a similarly sized slate tray of chocolate truffles on the right.
Anchoring the Ends with Dessert Plates
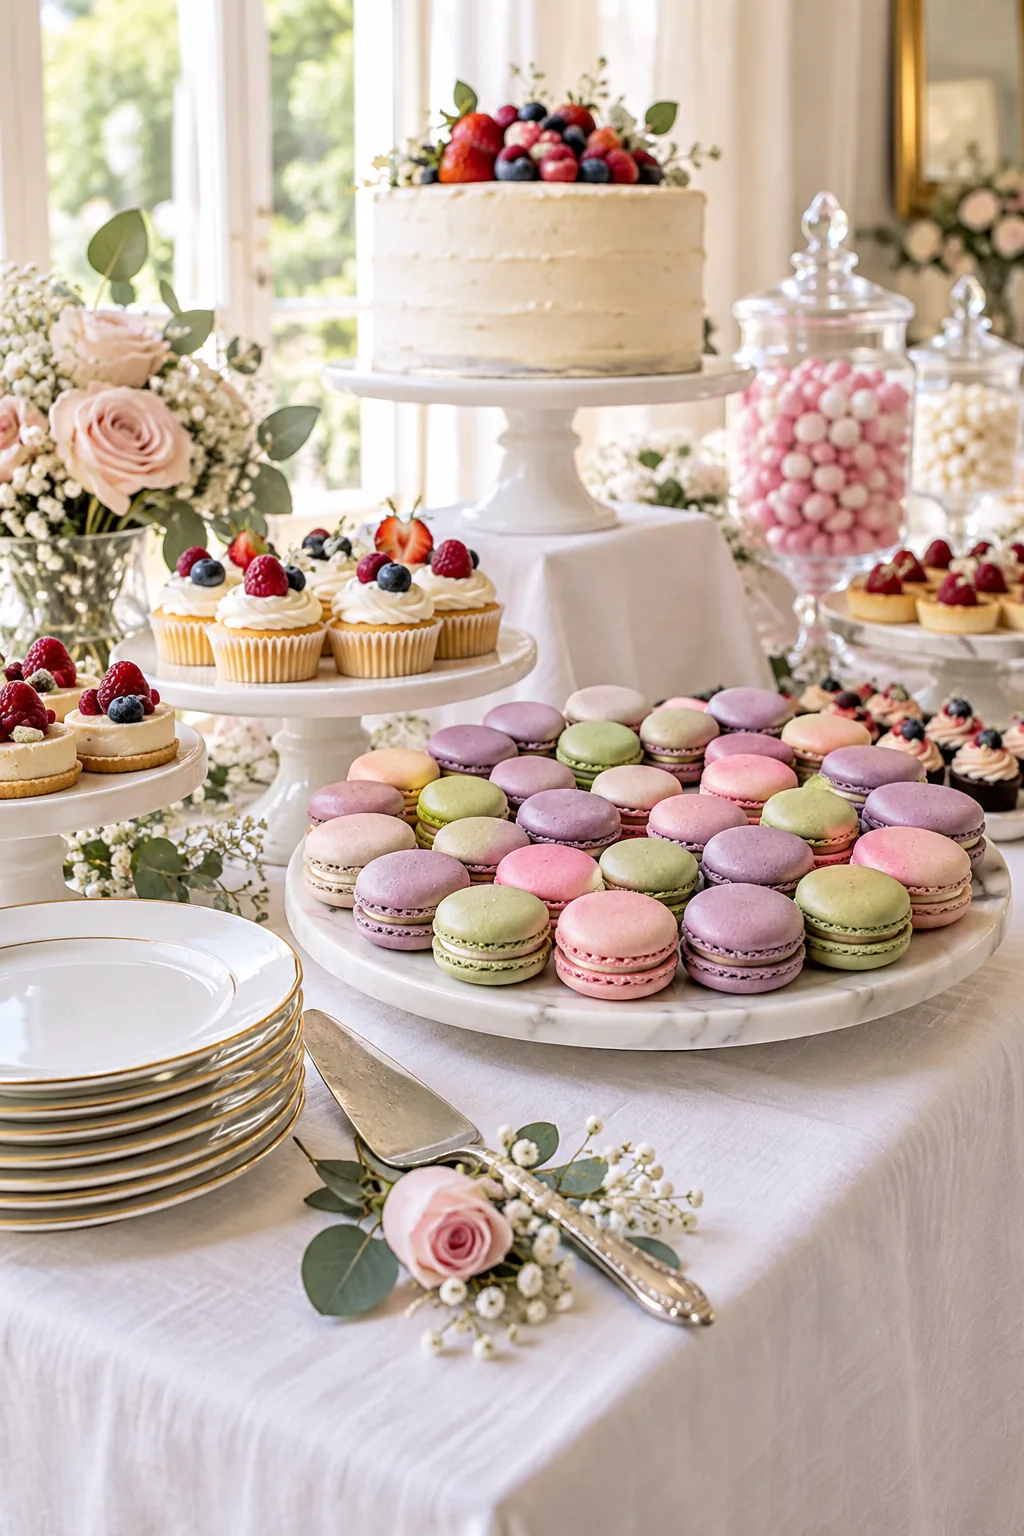
Stack standard 6-inch dessert plates at the front corners of the table to visually anchor the display and establish the start of the buffet line. Placing your cake servers and tongs right next to these stacks naturally directs guest traffic and improves the overall flow.
Selecting the Best Dessert Utensils
Provide small forks rather than spoons, as they work much better for cutting through dense cake layers and sticky tart crusts. Lay out two sets of mini tongs for every platter of cookies or macarons so guests never have to use their fingers.
Managing Guest Traffic Flow
Arrange the table so guests naturally move from the plates at the outer edges inward toward the main cake in the center. Keeping the napkins and forks near the plates ensures nobody has to reach awkwardly across your beautifully styled dessert trays.
Calculating 3-4 Minis Per Guest
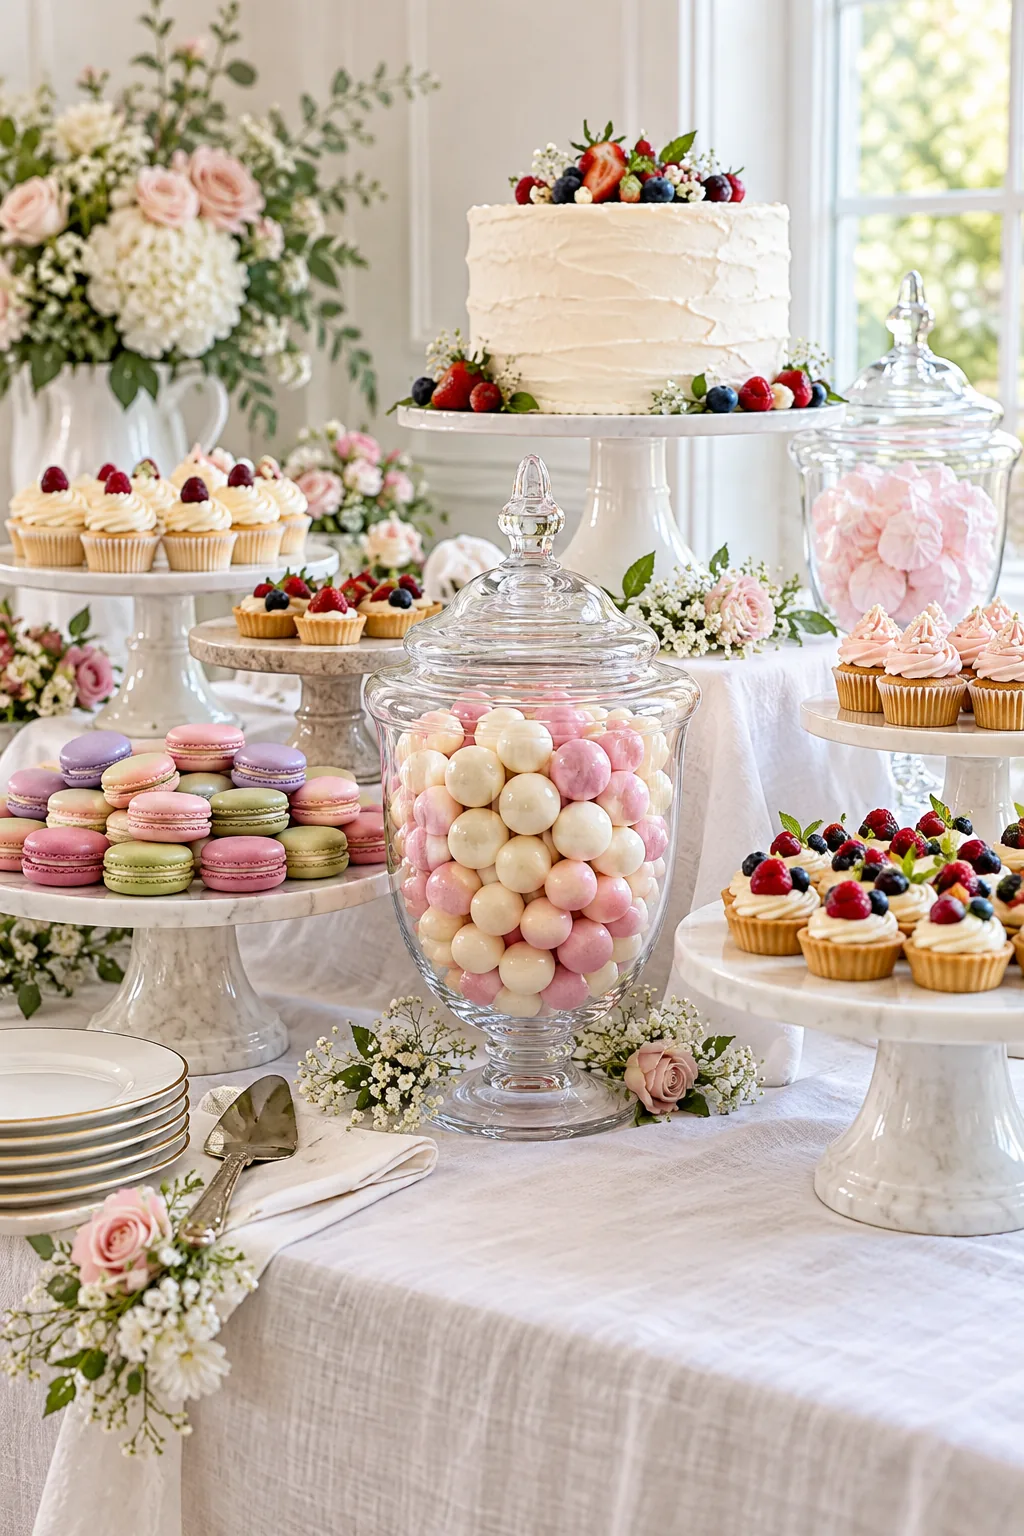
Rely on high-density mini desserts like macarons, cupcakes, and truffles arranged shoulder-to-shoulder on flat trays to eliminate any awkward negative space. Plan for 3 to 4 mini items per guest, assuming they will sample multiple flavors alongside a slice of the main cake.
Curating the Mini Dessert Menu
Offer a balanced flavor profile by including one rich chocolate option, one bright fruit tart, and one neutral vanilla or caramel treat. This three-flavor rule guarantees every guest finds something they love without forcing you to bake ten entirely different recipes.
Providing Allergy-Friendly Options
Dedicate one specific corner of the table entirely to gluten-free or nut-free desserts to prevent dangerous cross-contamination with the main baked goods. Use distinctly colored serving tongs for these specific platters so guests with severe dietary restrictions feel completely safe enjoying the spread.
Packing Trays for Visual Impact
Push your mini desserts so close together that they are almost touching, which instantly makes store-bought items look like a high-end bakery display. A sparsely populated tray always looks sad and picked-over, so use smaller platters if you need to condense the treats.
Refreshing Trays Mid-Party
Keep backup boxes of mini desserts stored safely in the kitchen so you can quickly swap out decimated platters halfway through the reception. A seamless tray swap looks much more professional than trying to awkwardly rearrange three leftover macarons on a giant, crumb-covered board.
Using Bulk Candy as Gap Fillers
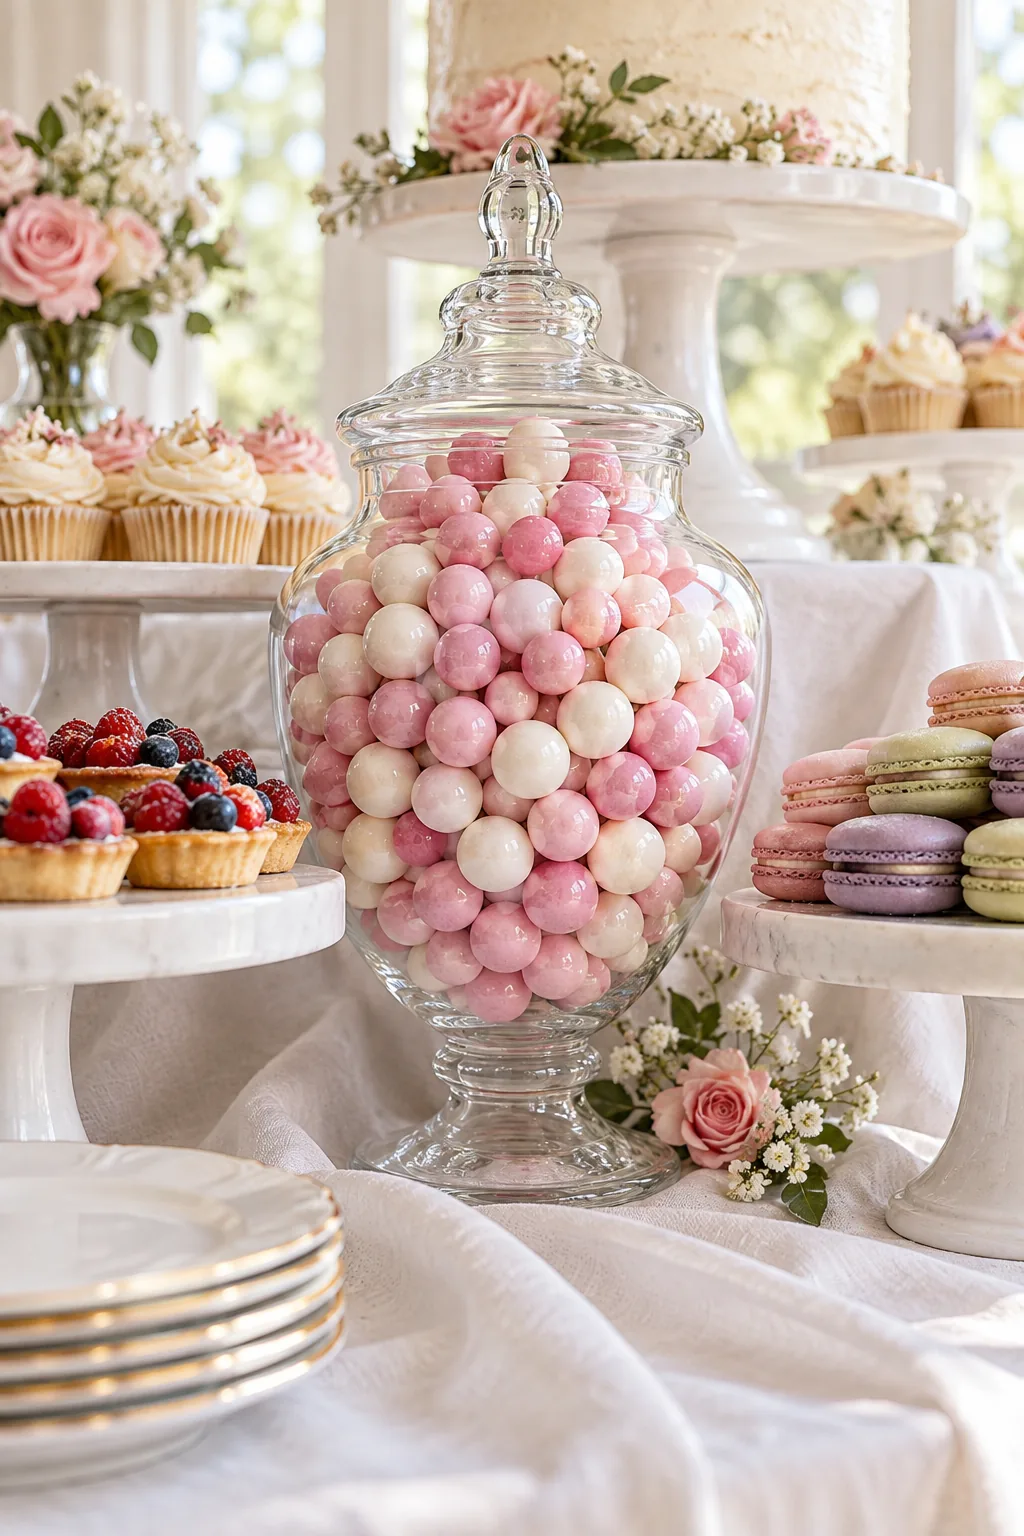
Fill awkward vertical gaps between cake stands with large glass apothecary jars full of bulk candy like pink chocolate spheres or yogurt pretzels. I always keep a few jars of Jordan almonds in my Boston apartment pantry; they add massive visual weight without a single extra minute in the oven.
Matching Candy Colors to Your Theme
Select bulk candies that pull directly from your event’s color palette to seamlessly integrate the dessert table into the broader room decor. Monochromatic jars filled entirely with single-color gummy bears or coated chocolates look vastly more sophisticated than a chaotic rainbow mix.
Selecting the Right Apothecary Jars
Choose glass jars with wide mouths and heavy, stable bases so guests can easily scoop out the candy without tipping the container over. You should provide long-handled metal scoops that reach all the way to the bottom, ensuring no one struggles to reach the last few pieces.
5 Dessert Table Styles to Inspire Your Setup
Once you master the foundational layout, you can adapt these spacing rules to fit any event theme.
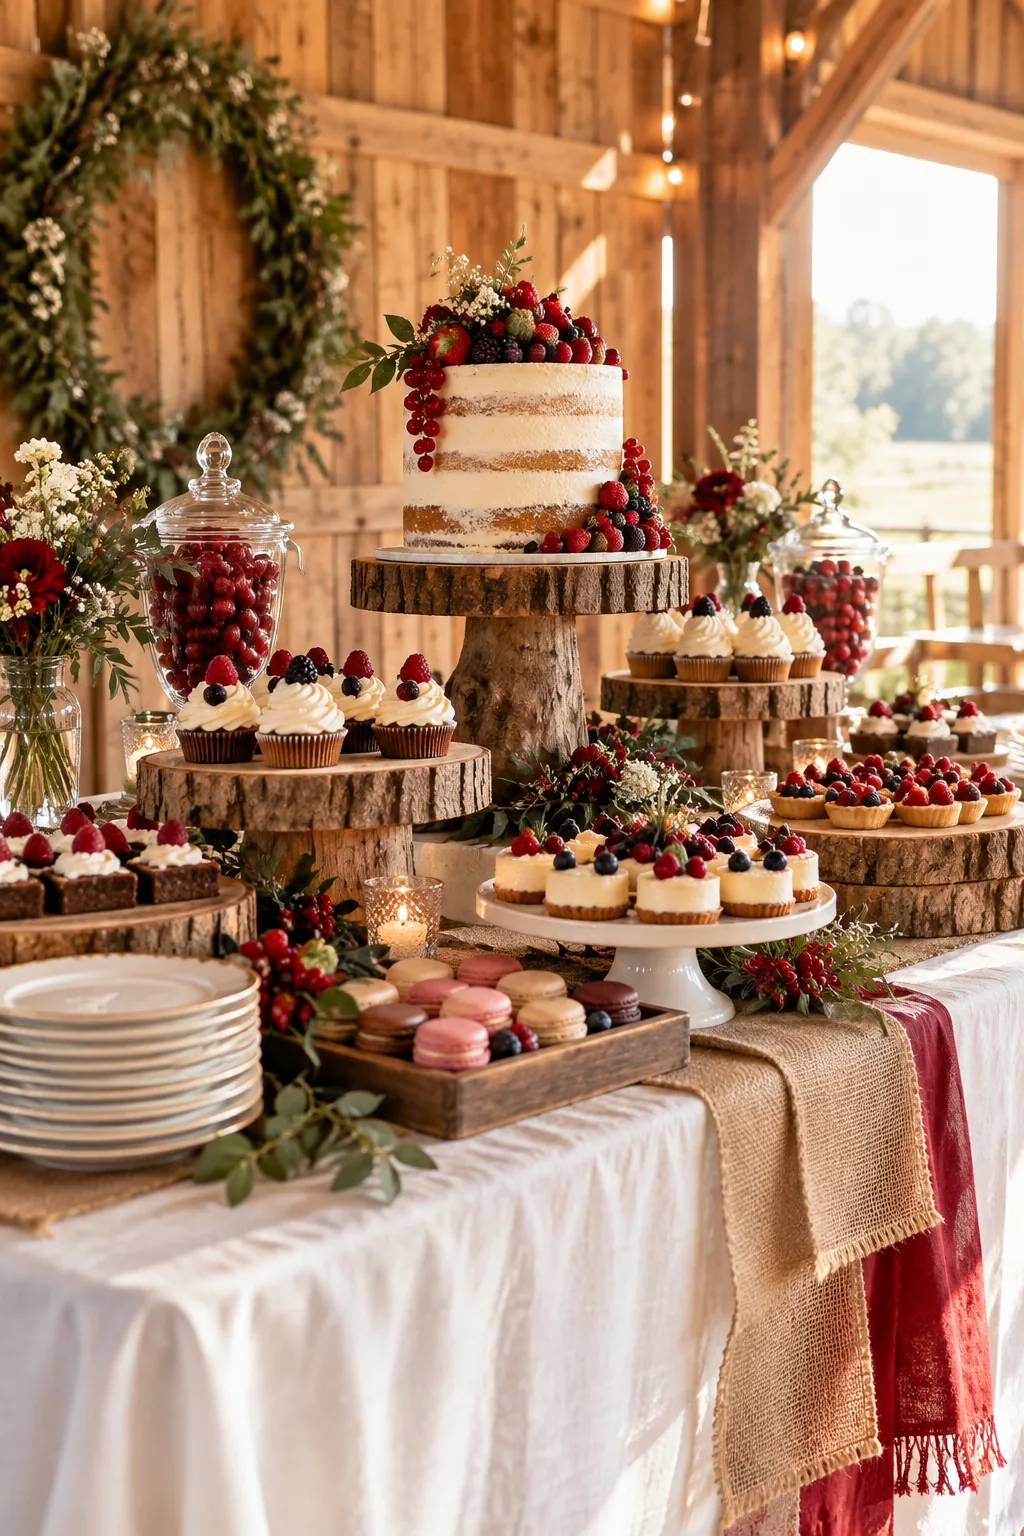
Rustic Farmhouse Wood Accents: Wood slab risers and a naked cake give this farmhouse setup a relaxed feel, while deep red berries add a pop of natural color.
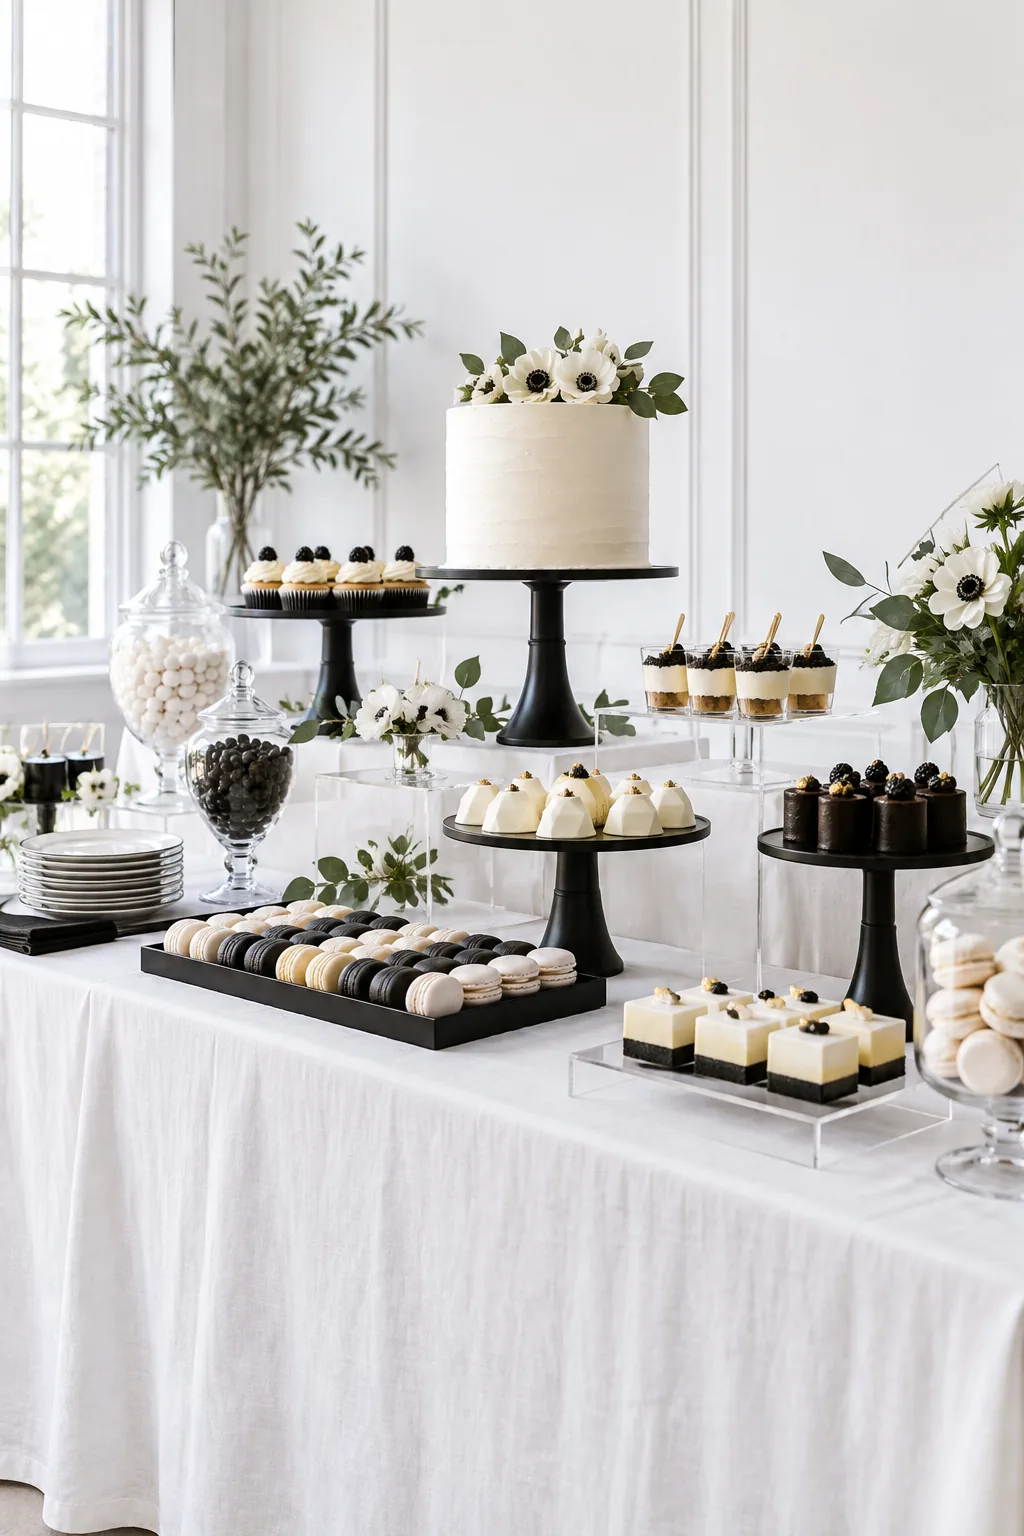
Modern Minimalist Black and White: Matte black stands and geometric white desserts create a striking minimalist contrast against a stark white room and clear acrylic risers.
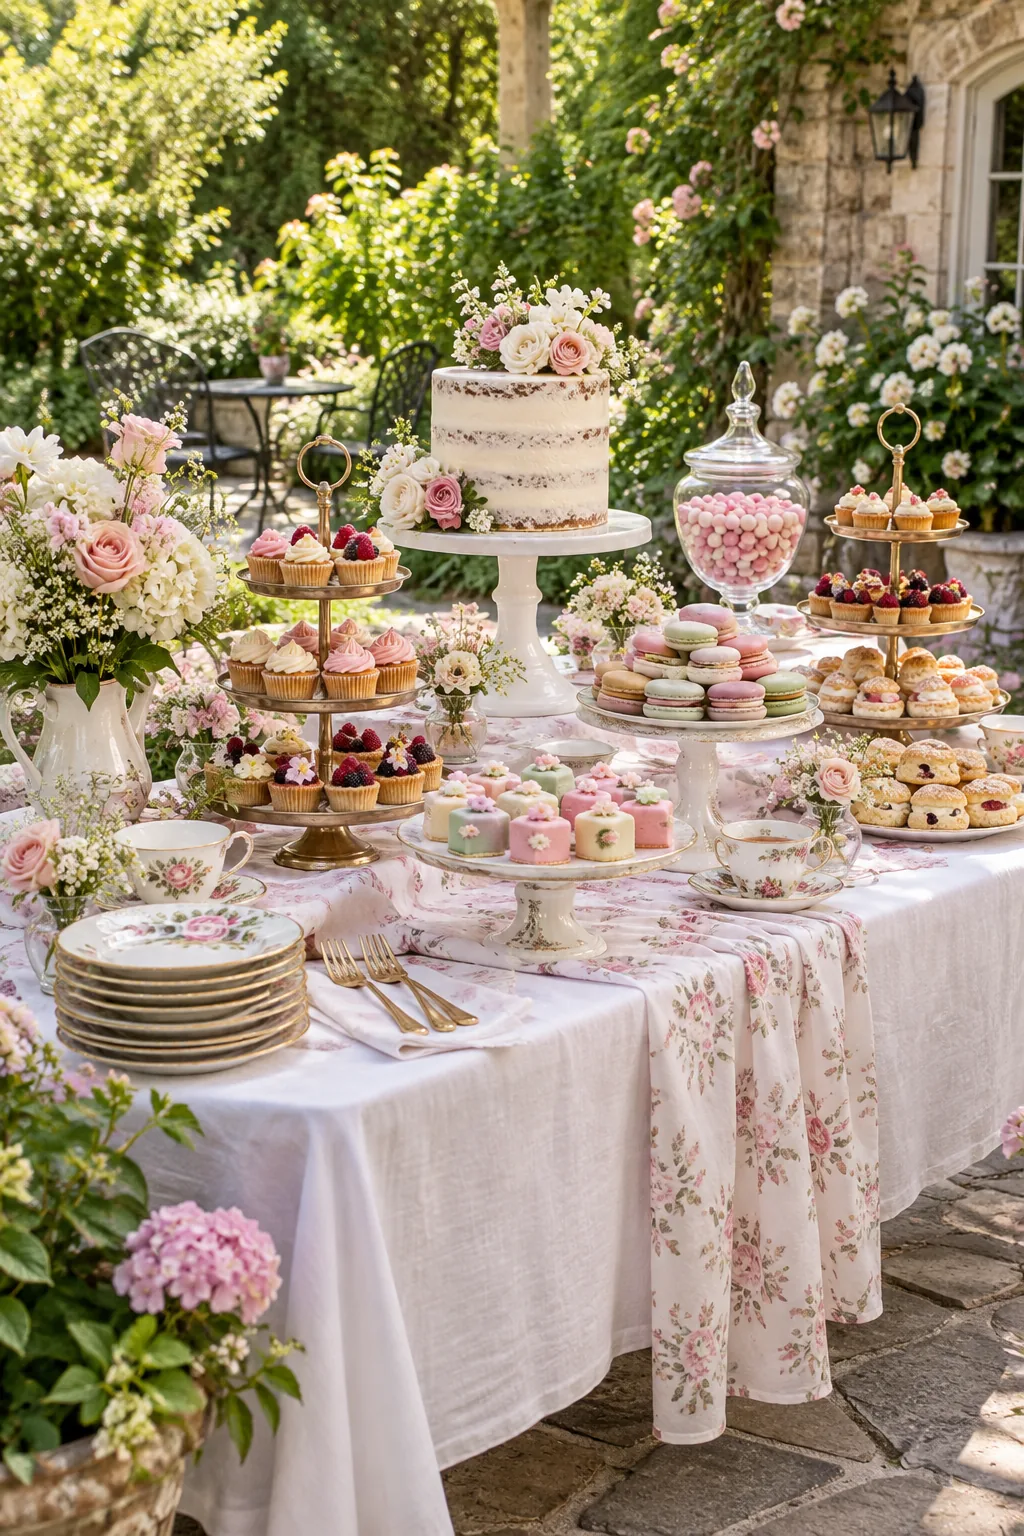
Garden Tea Party Vintage China: Vintage floral china and brass tiers elevate pastel petit fours, making this garden tea party setup perfect for an elegant outdoor patio.
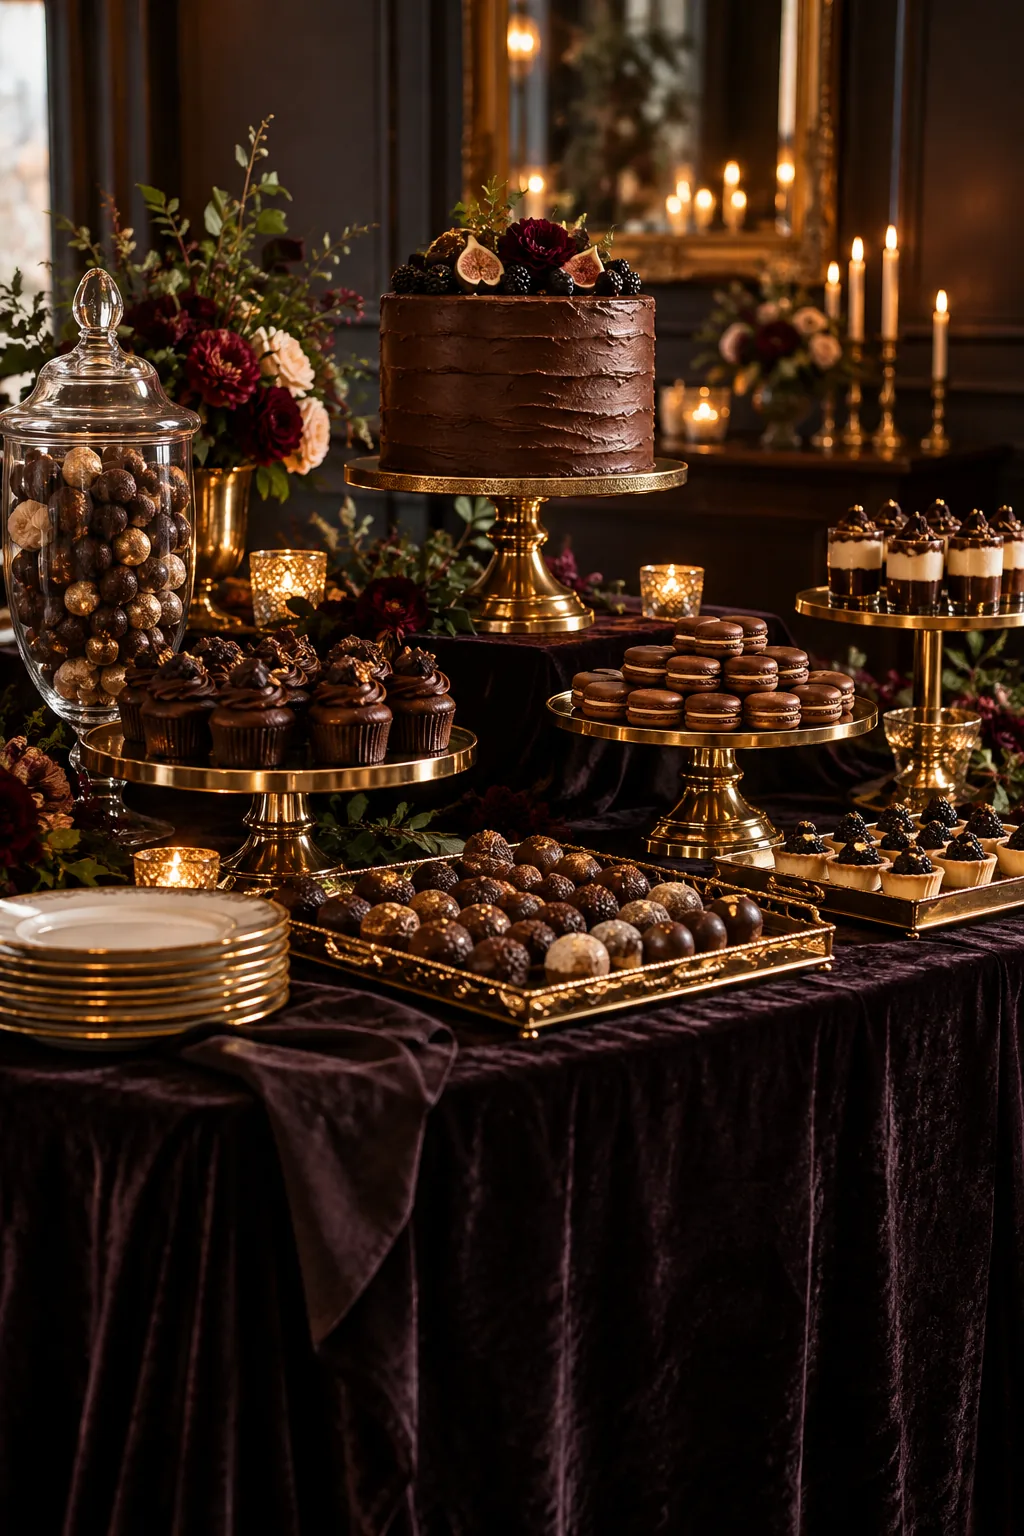
Moody Glam Velvet and Gold: A dark velvet tablecloth and gold mirrored trays reflect dim ambient lighting, setting a moody, glamorous stage for dark chocolate truffles.
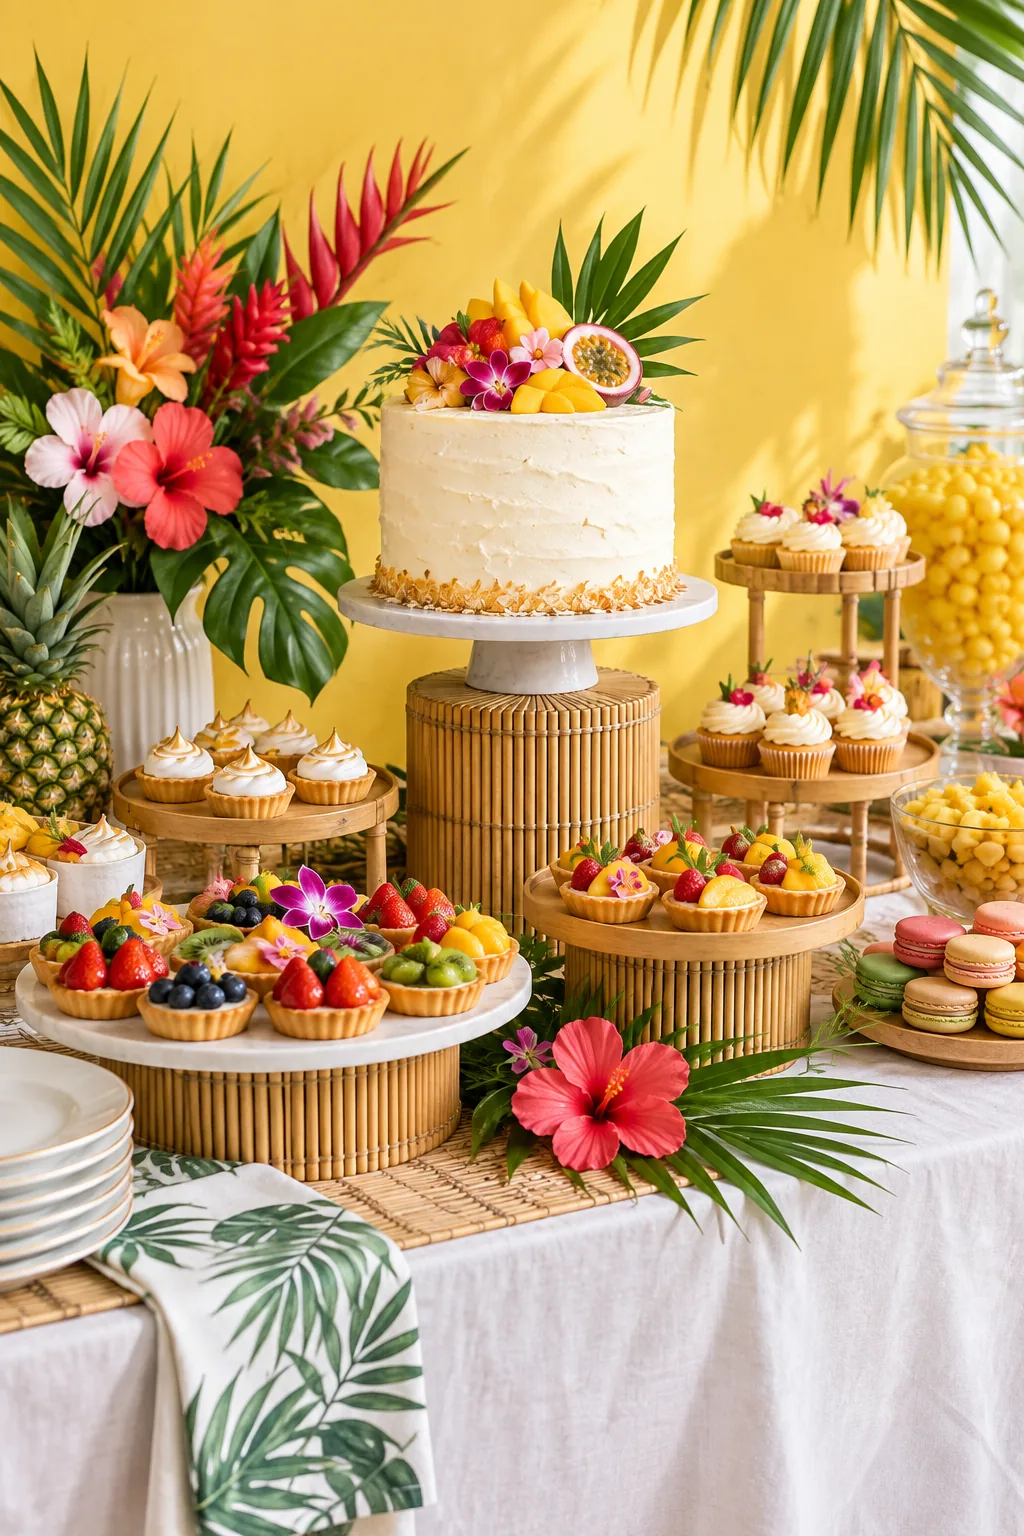
Tropical Brights and Bamboo: Vibrant fruit tarts pop against bamboo risers and palm leaf accents, bringing a sunny, tropical energy to this bright yellow backdrop.
Softening Edges with Floral Tuck-Ins
Finish the table by tucking baby’s breath and small roses into the negative space around the stand bases to soften the harsh ninety-degree edges of the hidden box risers. Whenever I style events in historic brownstones, I use leftover centerpiece clippings to easily tie the dessert spread into the decor.
Before you open the doors and let guests serve themselves, take one last step back to evaluate the overall symmetry. Run through this final visual and practical check to guarantee your dessert station operates flawlessly throughout the entire evening.