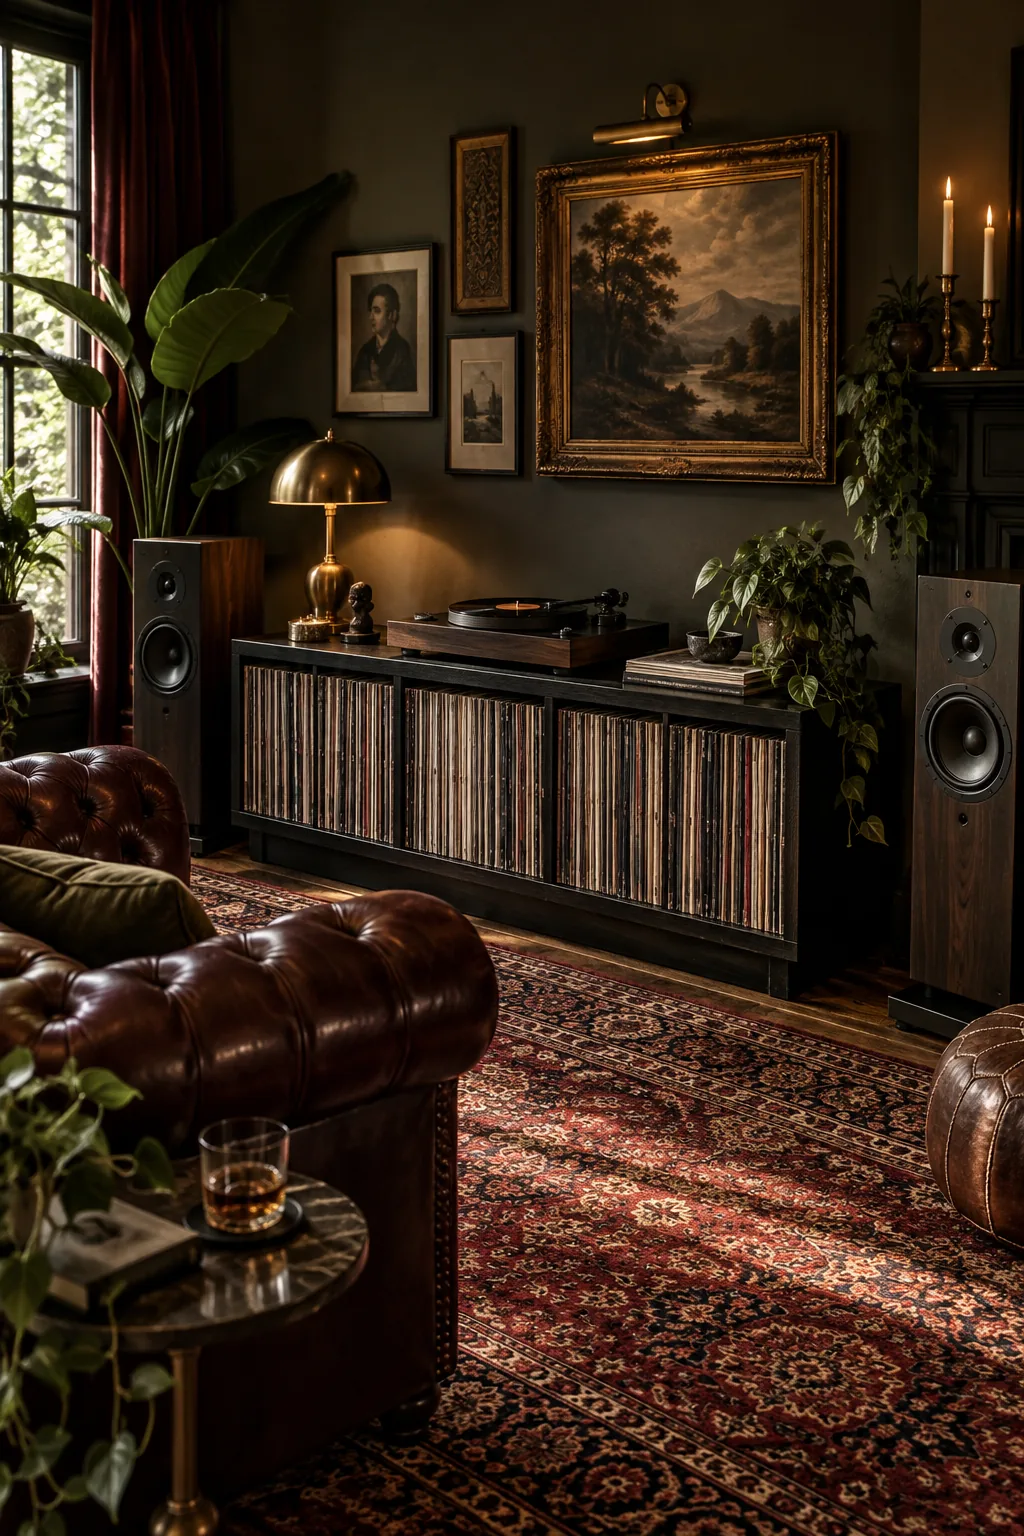
Record Room Layout: Audiophile Placement Measurement Guide
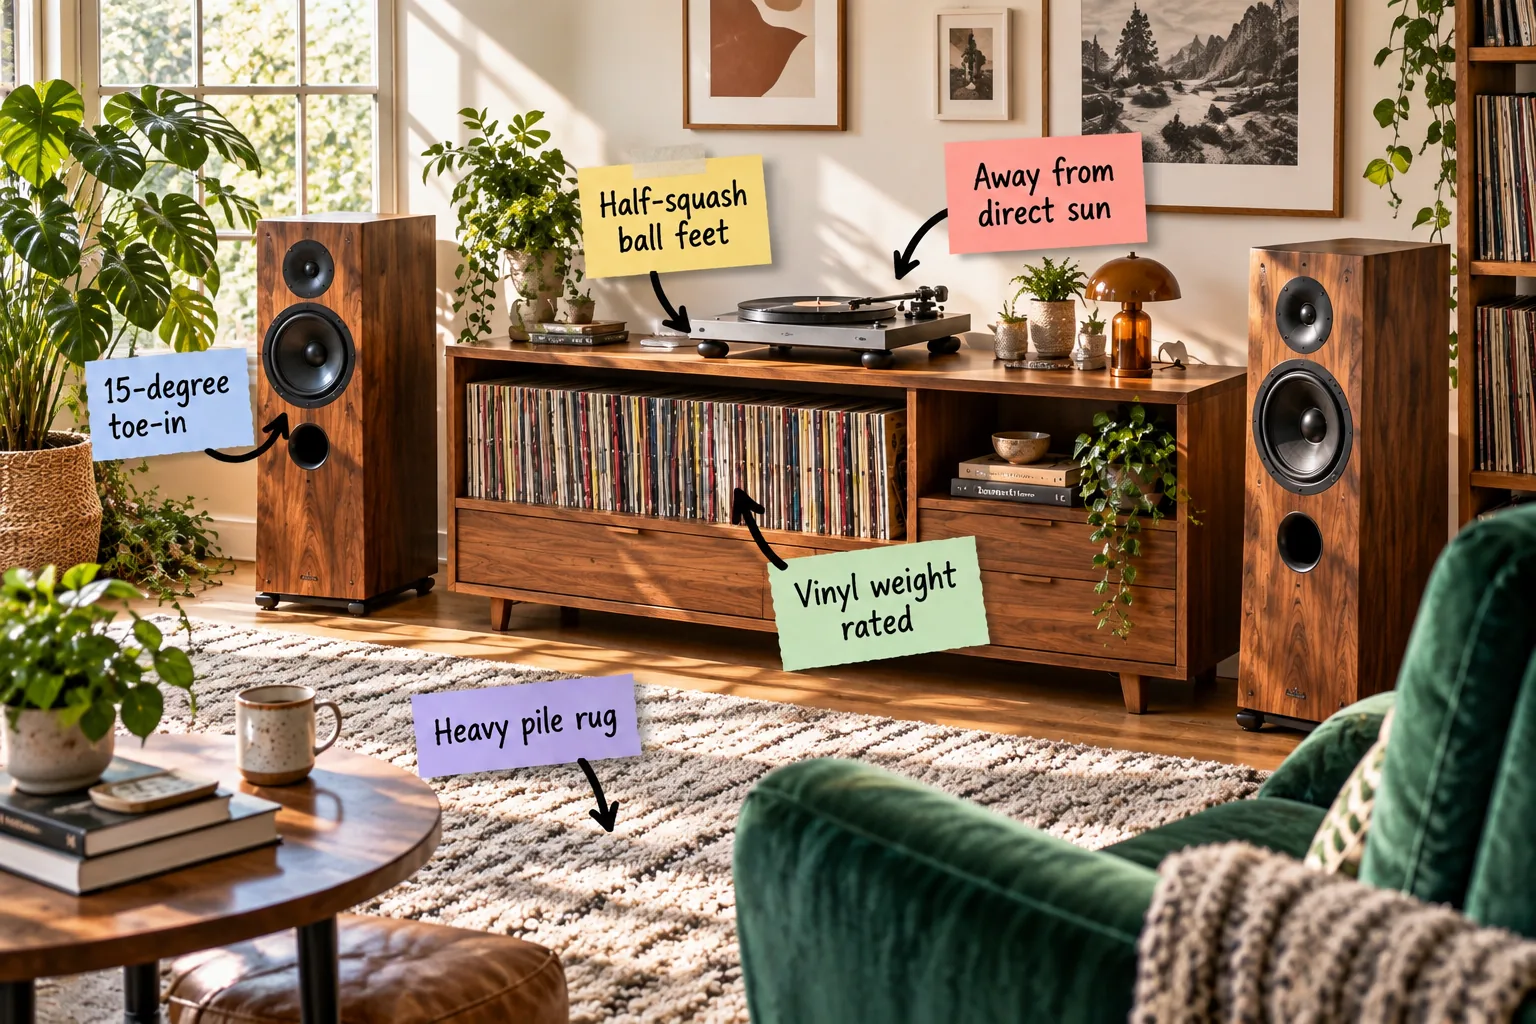
Welcome to your record room layout guide, where you will get the exact speaker and console placement measurement guide to build a flawless listening triangle. You will finally be able to measure, position, and isolate your turntable and speakers for optimal acoustic performance and record safety.
Selecting a Vinyl-Rated Console
Records are incredibly dense, meaning your cabinetry must be built to handle roughly 35 pounds per linear foot of shelving without bowing. You must start with a reinforced console to safely house your collection and provide a perfectly flat surface for playback.
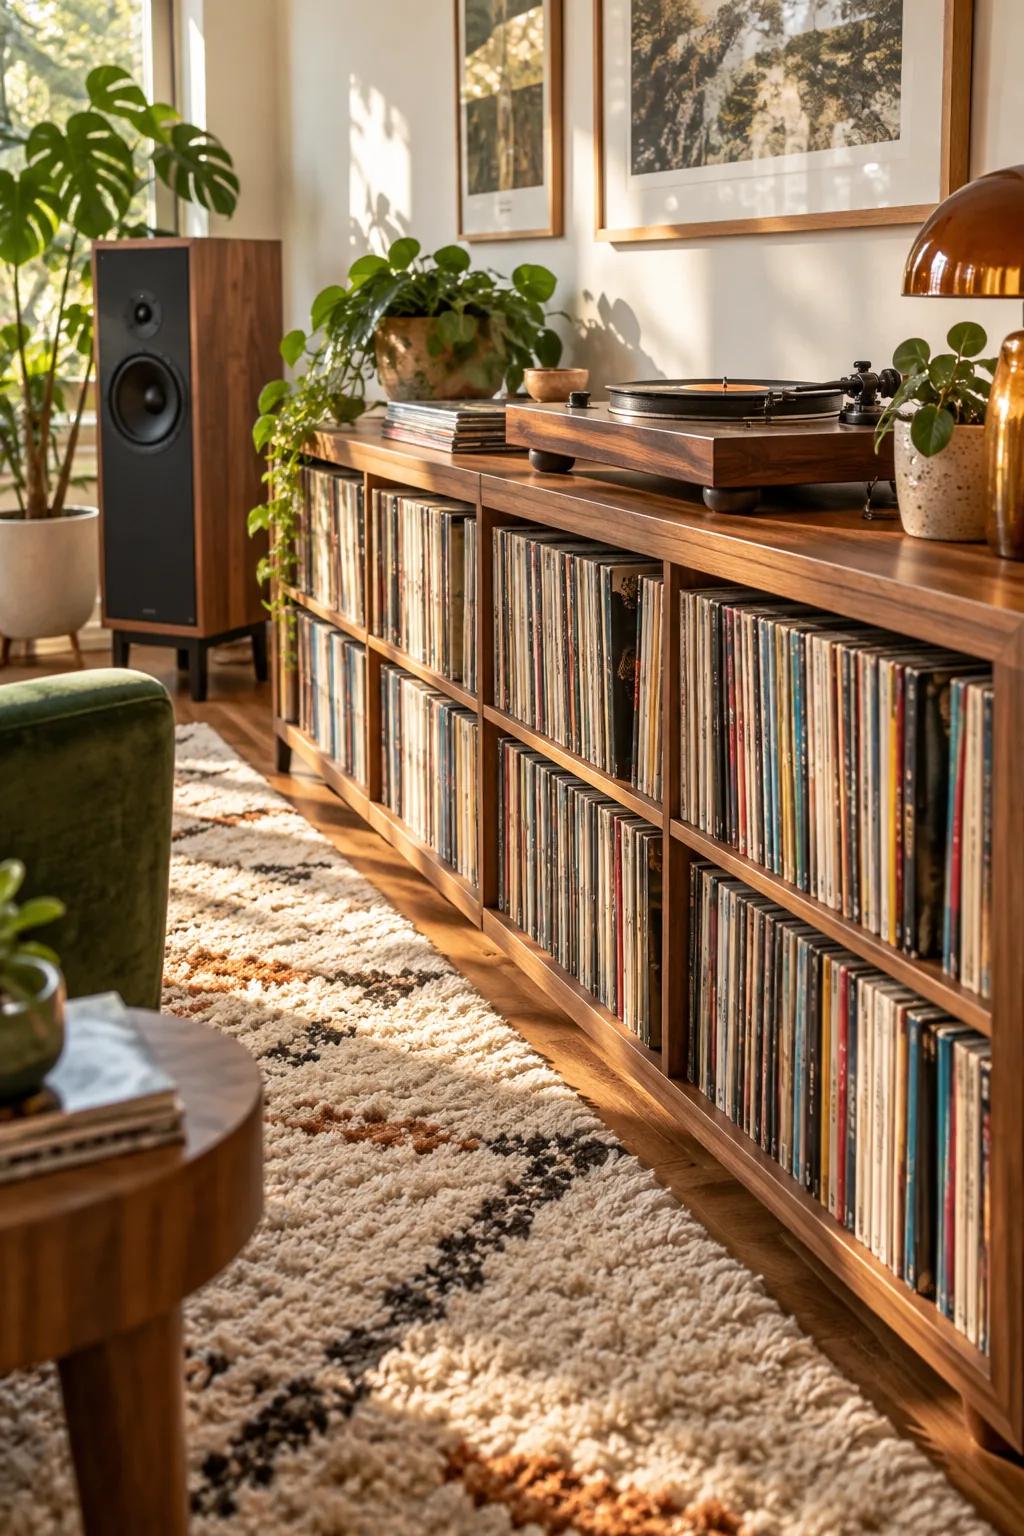
Standard media units will quickly sag under this immense load, so always verify that your chosen furniture is explicitly vinyl weight rated. A strong, stable foundation is the critical first step in building a room from the center out.
Calculating Record Collection Weight
Before bringing any new furniture into your listening space, you must calculate the total mass your floor and cabinetry will need to support.
| Collection Size | Shelf Length | Est. Weight | Console Type |
|---|---|---|---|
| 50 records | 1.5 feet | 55 lbs | Standard reinforced |
| 100 records | 3.0 feet | 105 lbs | Solid wood core |
| 250 records | 7.5 feet | 265 lbs | Steel braced |
| 500 records | 15.0 feet | 525 lbs | Commercial grade |
Distributing this mass evenly across a solid wood frame prevents structural bowing over time and keeps your turntable perfectly level.
Console Wall Clearance
Position your console at least 3 to 4 inches away from the back wall to provide necessary ventilation for your amplifier. In my own Denver studio, pushing the cabinet too tight against the drywall meant I couldn’t fully open the turntable’s dust cover without scraping the paint.
Managing Amplifier Heat
High-fidelity amplifiers generate significant heat during extended listening sessions, which can damage internal components if trapped in a tight space. Leaving a generous air gap behind the console allows thermal energy to dissipate naturally into the room.
Routing Cables and Ventilation
A proper wall gap also ensures you have enough physical clearance to route thick, shielded RCA cables and heavy-gauge power cords. Preventing sharp bends in your wiring maintains signal integrity and extends the lifespan of your expensive interconnects.
Turntable Vibration Isolation
Even with the best isolation feet, proper turntable placement requires avoiding a few common setup errors that completely ruin sound quality.
I once ruined a delicate stylus during a listening party because the deck wasn’t isolated, which taught me to always place half-squash ball feet directly under the turntable. Decoupling the chassis from the console prevents heavy bass frequencies from causing skips.
Understanding Floor Resonance
Footfalls and low-frequency energy travel aggressively through hardwood floors and wooden furniture, muddying the audio before it ever reaches your ears. Breaking this physical connection with rubber domes ensures your stylus only tracks the grooves of the record.
Leveling the Turntable Platter
An unlevel playing surface causes the tonearm to pull inward or outward, distorting the stereo balance and permanently damaging your vinyl grooves. Always use a precision bubble level on the bare platter to verify perfect horizontal alignment before dropping the needle.
Protecting Equipment from Sunlight
Direct UV exposure will quickly warp your vinyl records and degrade the sensitive rubber belts inside your turntable over time.
- Identify the room’s southern-facing windows to track peak daylight angles.
- Position the console in a permanently shaded zone away from these rays.
- Install heavy blackout curtains to deploy during high-exposure afternoon hours.
Keeping your delicate equipment away from direct sun preserves both the physical media and the sensitive mechanical components of your audio gear for decades of flawless playback.
The Speaker Placement Measurement Guide
Create an equilateral listening triangle for perfect stereo imaging by spacing your freestanding speakers exactly 6 to 8 feet apart. This specific geometry ensures the sound waves converge precisely at your listening position for maximum clarity.
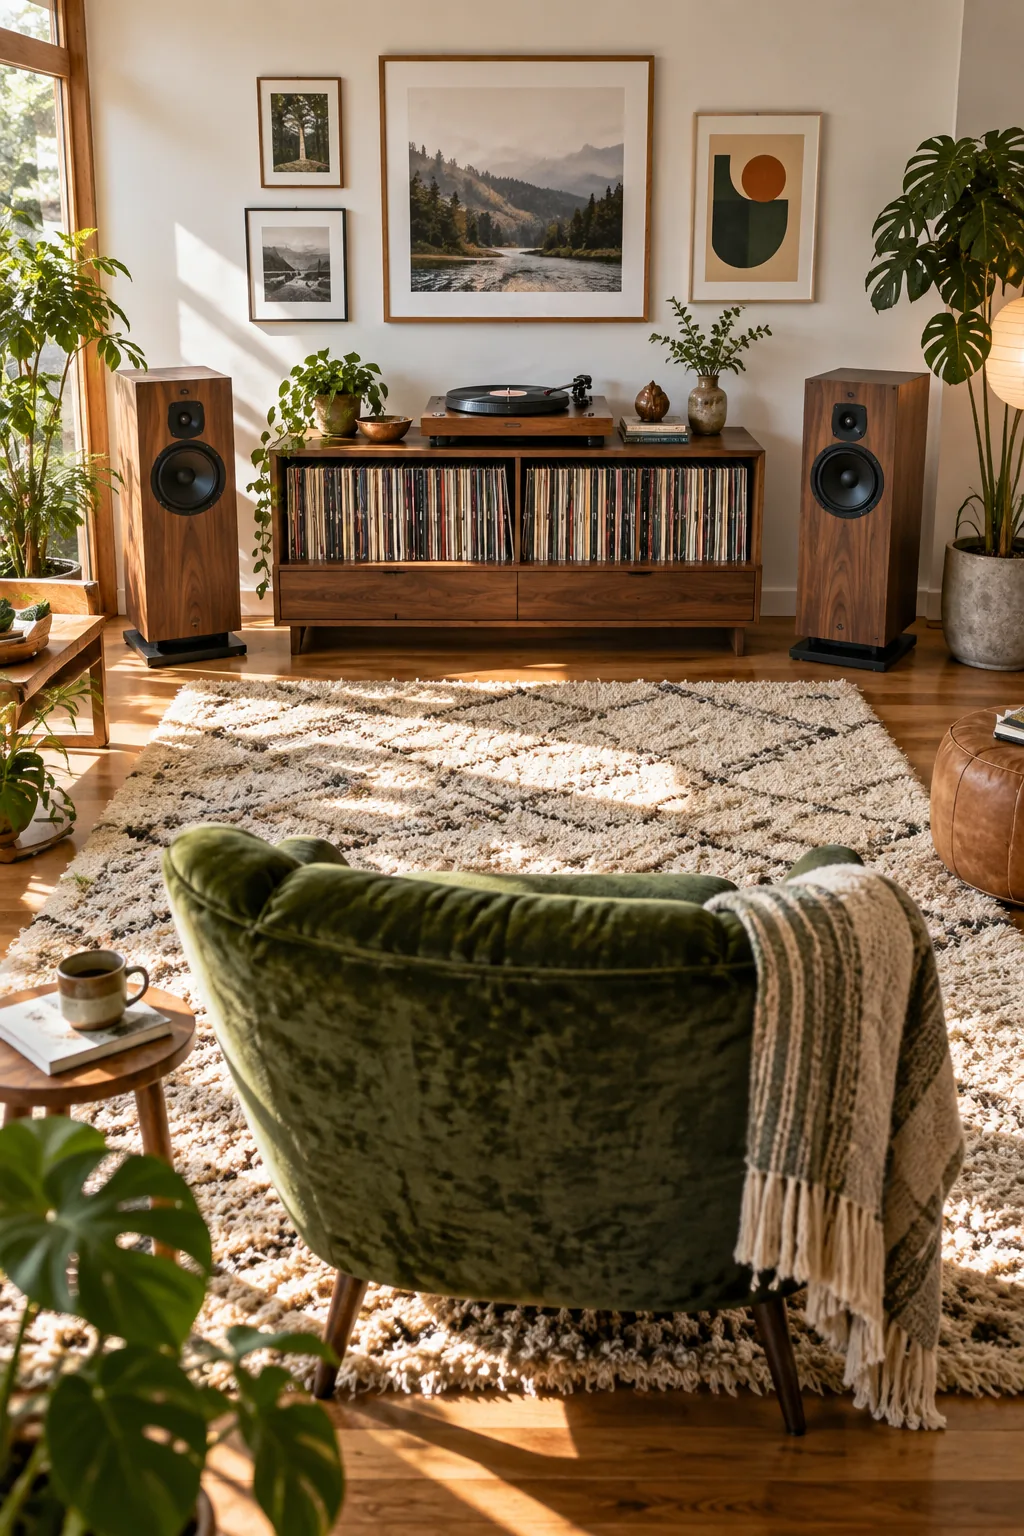
Before sitting down for your first focused listening session in your newly arranged space, verify your layout with these final measurement checks.
When I finally dialed in these exact measurements in my own living room, the vocal clarity instantly snapped into a stunning, three-dimensional center image.
Managing Rear Wall Proximity
Keep both speaker cabinets at least 2 feet away from the back wall to prevent bloated bass frequencies from overwhelming the room. Boundary reinforcement artificially inflates low-end response, which completely ruins the carefully engineered balance of your favorite albums.
Dialing In the Speaker Toe-In
Once your speakers are spaced correctly, angle their faces inward so the tweeters point directly at your listening position. A 15-degree toe-in is the industry standard starting point to create a sharp, focused soundstage.
Focusing the Phantom Center
This precise rotation aligns the high-frequency drivers with your ears, ensuring the vocals appear to float magically between the cabinets. Adjust the angle by single degrees until this phantom center image locks in with absolute pinpoint accuracy.
Taming Reflections with a Rug
Hardwood floors bounce sound waves upward, causing severe audio smear; laying a heavy pile rug between the speakers and your chair absorbs these first reflections. This simple textile addition instantly tightens the bass response and clarifies the crucial midrange frequencies.
Choosing the Right Acoustic Materials
Beyond the floor covering, incorporating soft, textured materials throughout the listening room prevents high frequencies from echoing harshly off flat drywall. Velvet curtains, fabric wall hangings, and plush upholstery all contribute to a controlled, studio-like acoustic environment.
Fine-Tuning the Listening Apex
The apex of your equilateral triangle is the only spot in the room where the left and right audio channels arrive simultaneously. Guard this geometric sweet spot carefully, as moving even a few inches off-center collapses the entire stereo illusion.
Positioning the Listening Chair
Place your primary lounge chair exactly at the apex of your measured triangle to lock in the perfect auditory experience. Ensure the seat is perfectly centered between the left and right speakers to maintain absolute phase coherence.
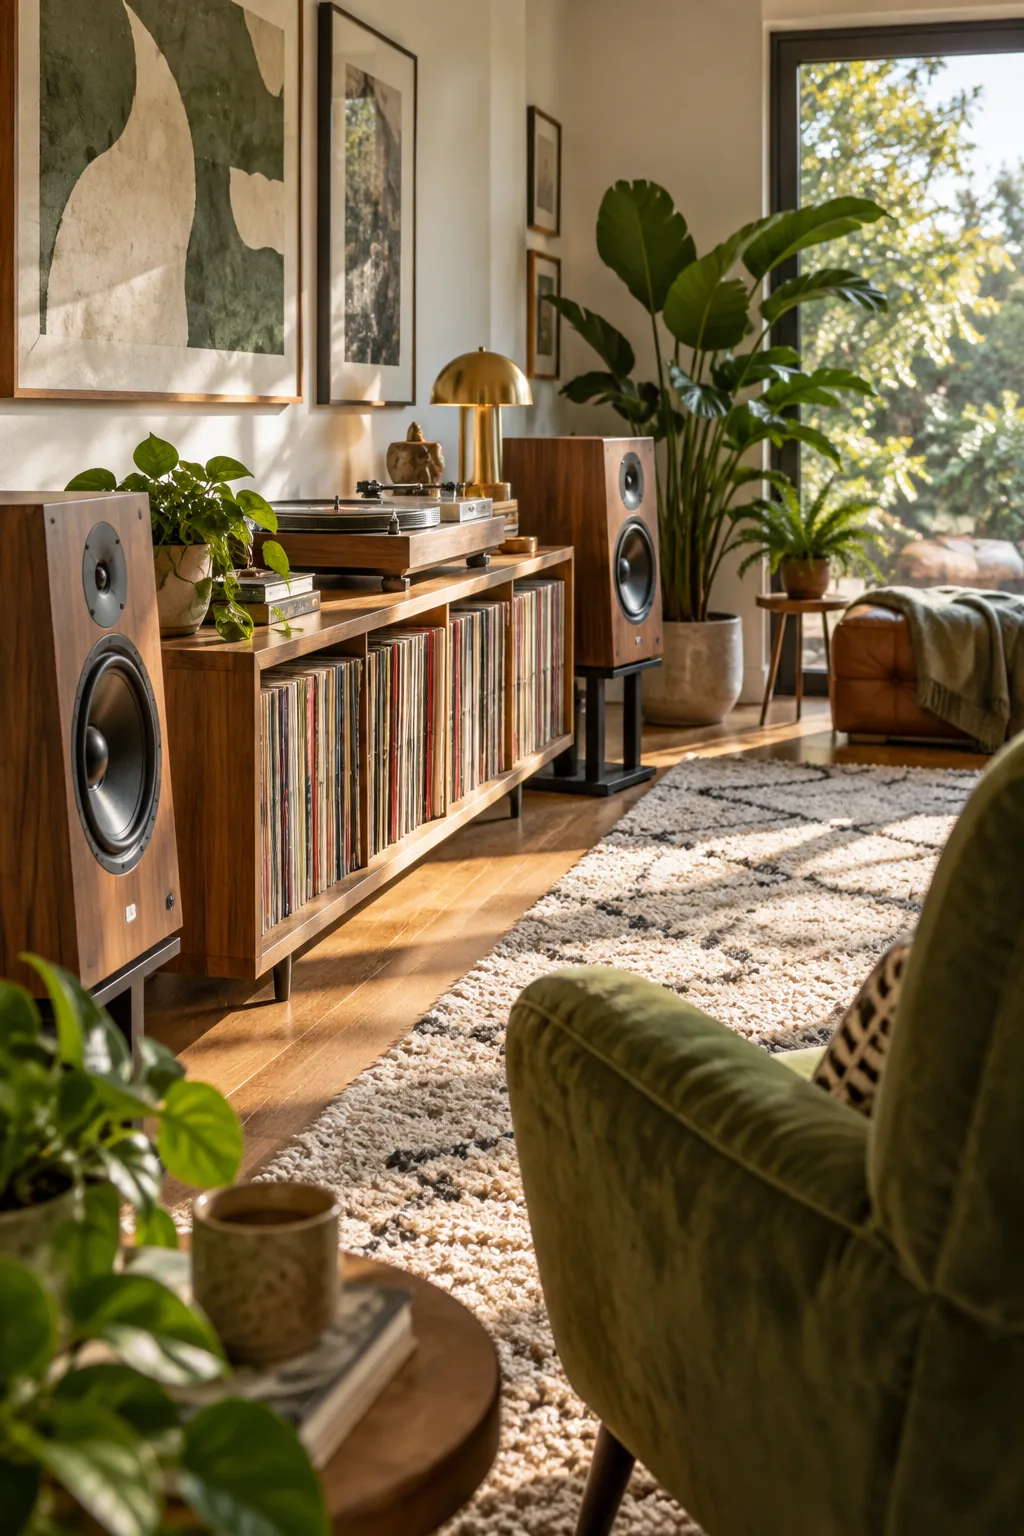
Finally, ensure the back of the chair is at least 1 to 2 feet away from the rear wall. Sitting flush against a boundary artificially inflates low frequencies, completely ruining the delicate mix you just worked so hard to perfect.
3 record room styles to inspire your setup
Find the perfect aesthetic for your listening space with these distinct room designs.
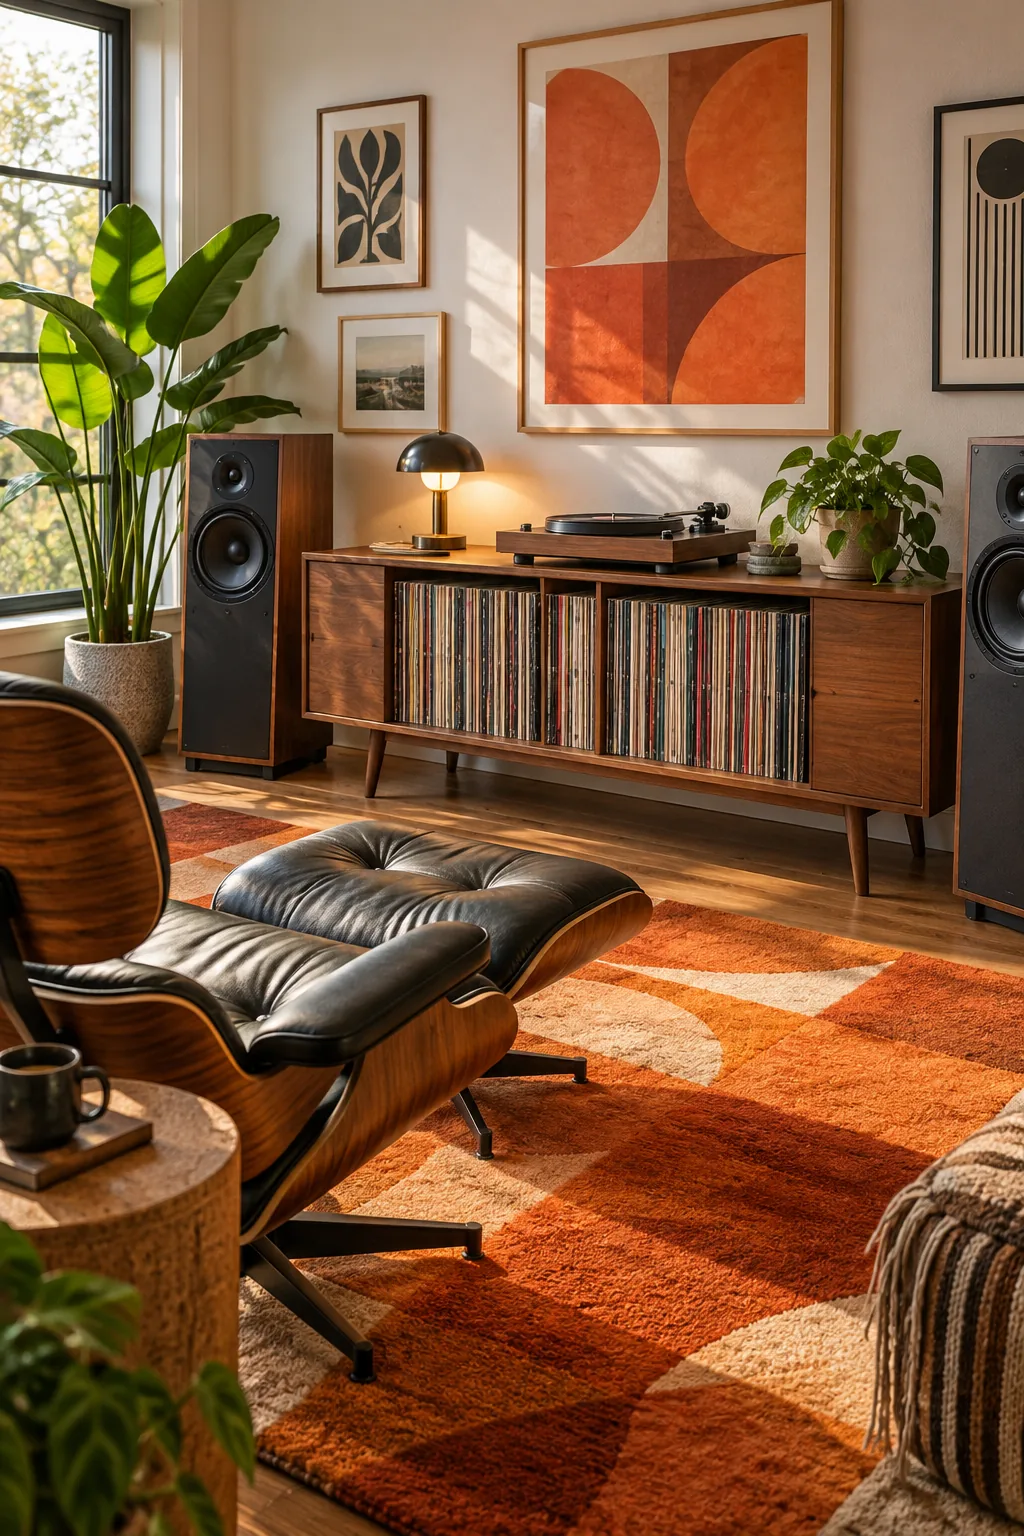
Mid-Century Modern: Warm teak woods and a vibrant orange rug create a retro atmosphere perfect for classic jazz and rock.
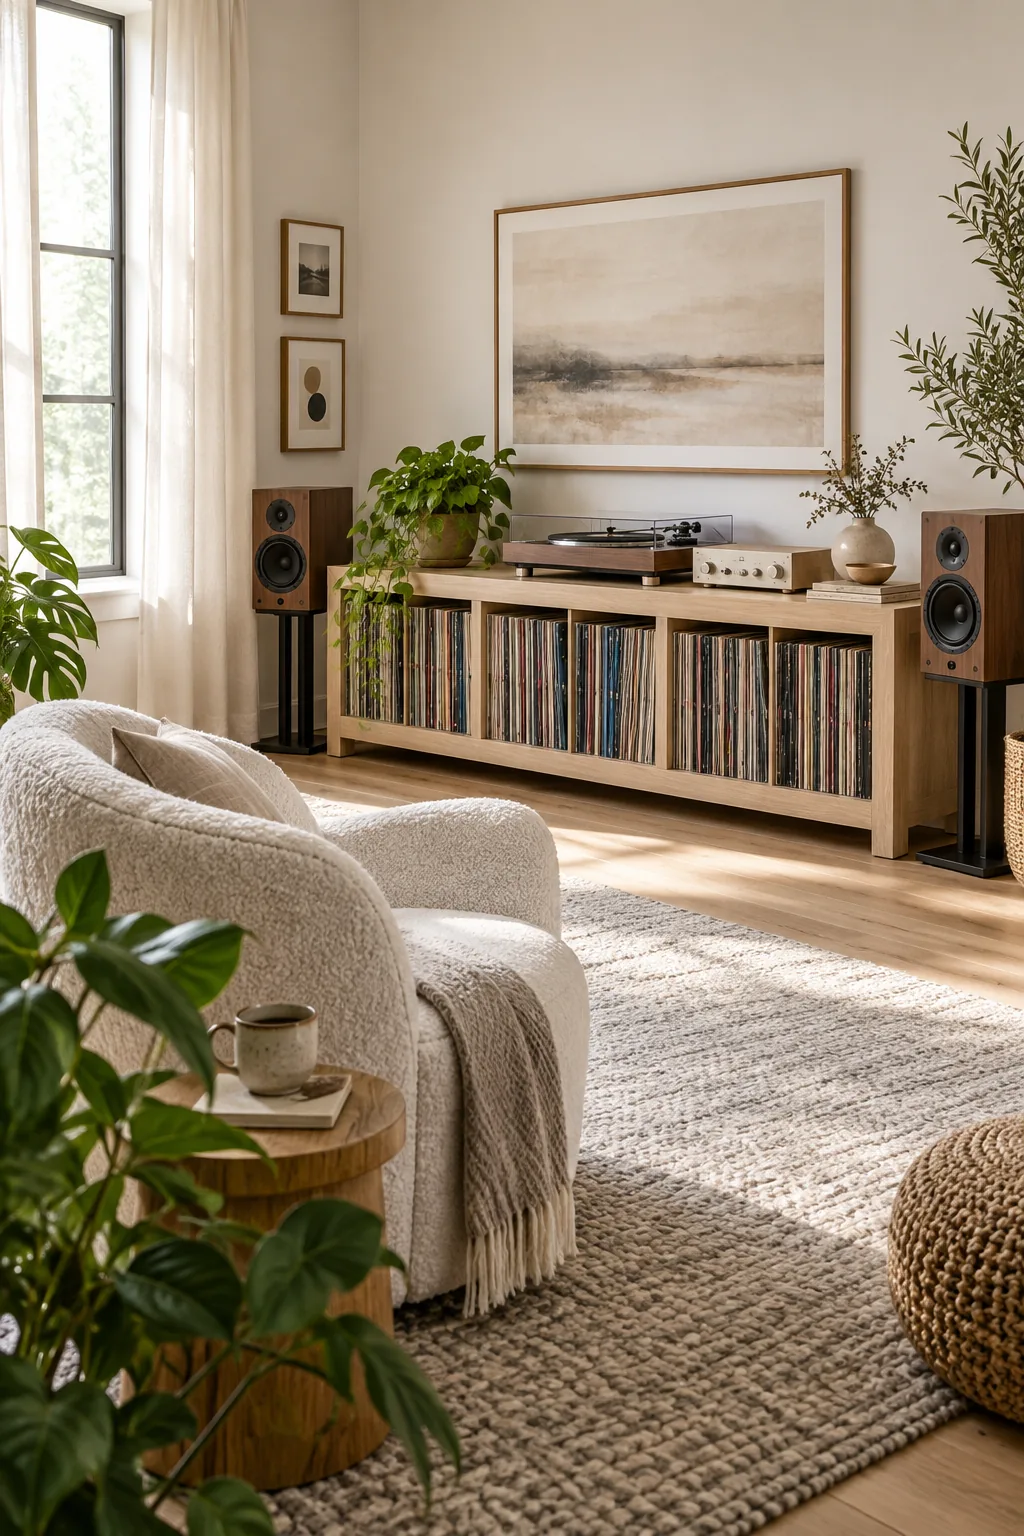
Scandi Minimalist: Pale oak and soft boucle textures keep the focus entirely on the music in this distraction-free space.
Moody Vintage: Deep colors and rich leather seating turn this listening area into a sophisticated evening retreat.