
Perfect Headboard Sizing Guide: Exact Dimensions & Mounting
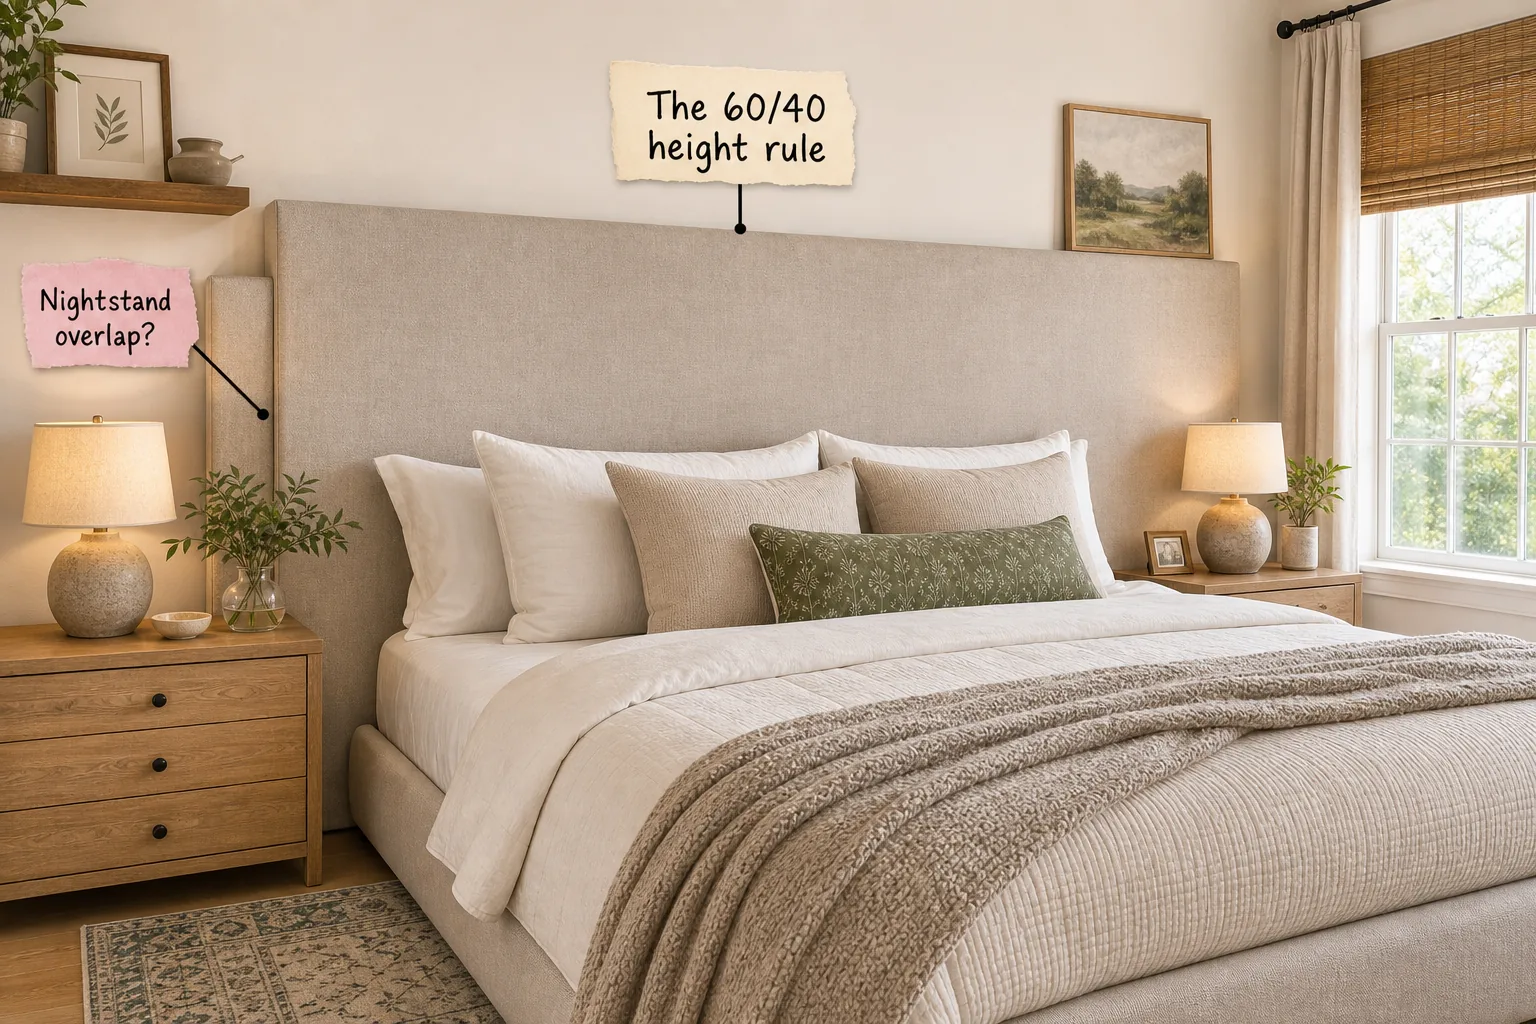
You will be able to calculate your exact custom headboard dimensions, purchase the correct fabric yardage, and securely mount your finished piece to the wall. This complete sizing guide gives you the precise measurements and step-by-step mounting instructions necessary for a flawless, professional bedroom installation.
Determining Your Nightstand Overlap
Start your spatial planning by calculating exactly how far the upholstered panel should extend past the bed to create a cohesive, unified backdrop for your bedroom. Proper measurements ensure the final piece visually anchors the entire room without crowding the surrounding functional walkways.
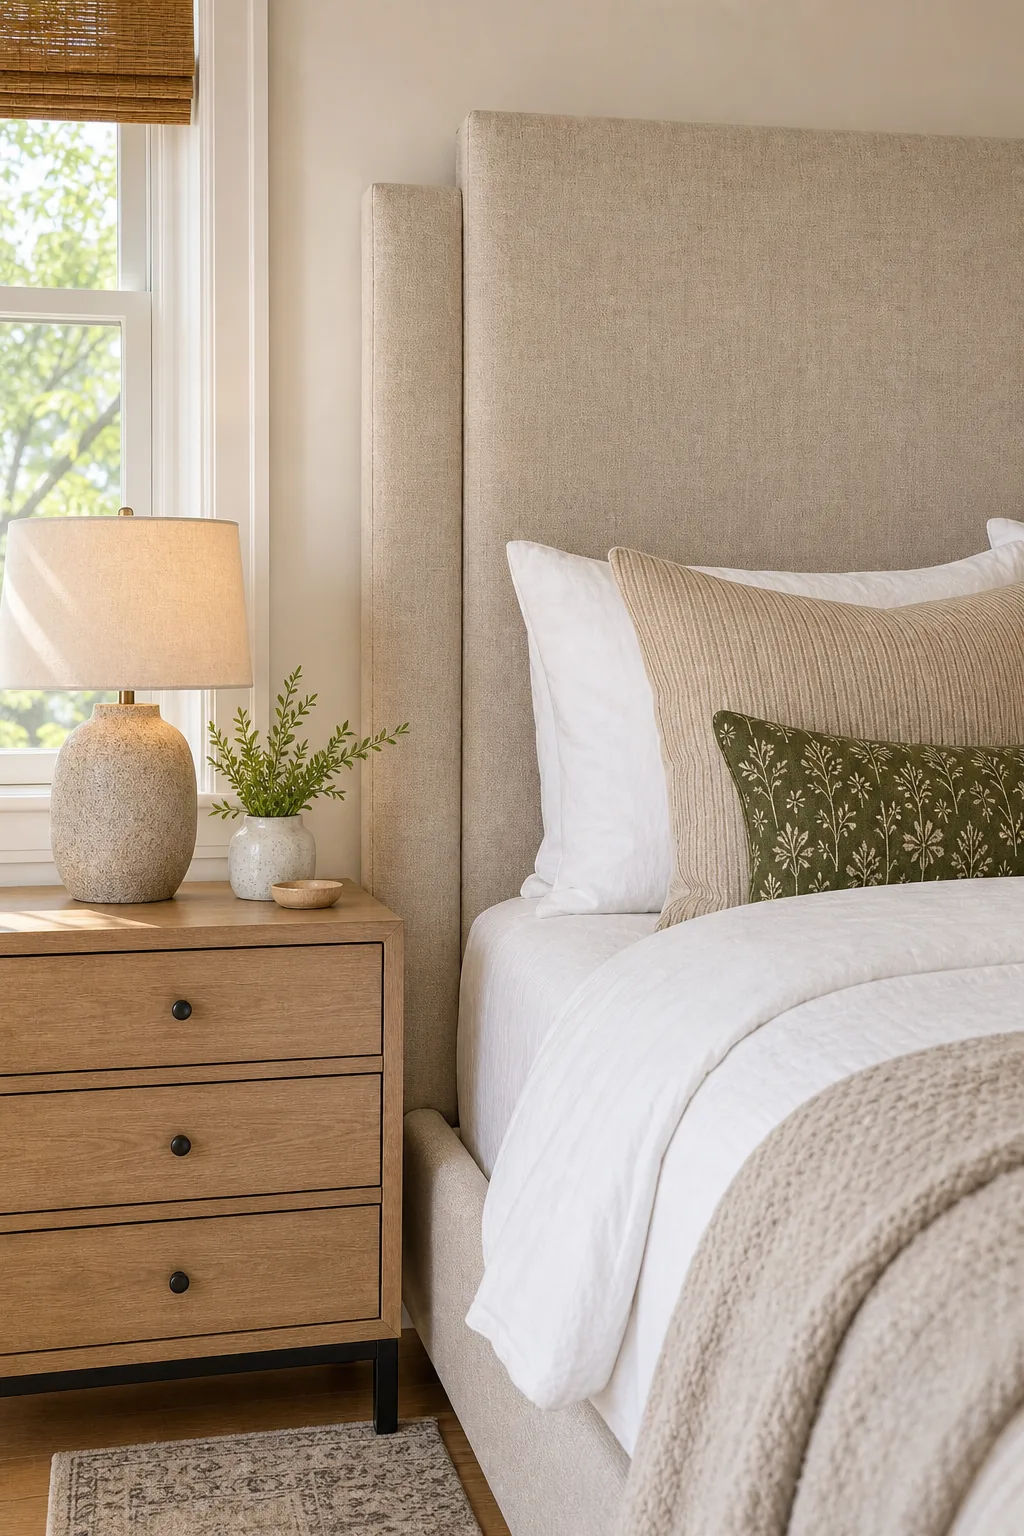
We highly recommend extending the panel exactly 2 to 4 inches beyond the outer edge of each nightstand. This precise extension frames the entire furniture grouping beautifully without overwhelming the surrounding wall space or interfering with nearby architectural features.
Mapping the Bedroom Wall Architecture
Before finalizing your overall dimensions, carefully evaluate the surrounding wall architecture to ensure your oversized panel will not visually crowd existing windows, swinging doors, or decorative ceiling molding. Taking these preliminary measurements prevents costly material mistakes and guarantees a perfectly centered final installation.
- Locate the exact center point of your mattress on the primary wall.
- Measure outward to the nearest door frame, window casing, or light switch.
- Subtract twelve inches from that distance to find your maximum safe width.
Maintaining at least twelve inches of generous negative space between the outer edge of your custom headboard and any adjacent architectural features prevents the room from feeling cramped, ensuring the oversized furniture piece feels intentionally designed rather than accidentally oversized.
Mastering the 60/40 Height Rule
Luxury bedroom styling relies heavily on the 60/40 visual ratio to ensure your custom piece makes a significant architectural impact behind the bed. Without this precise proportional balance, even the most expensive upholstery fabrics will look awkwardly squat and unfinished against a large, empty wall.
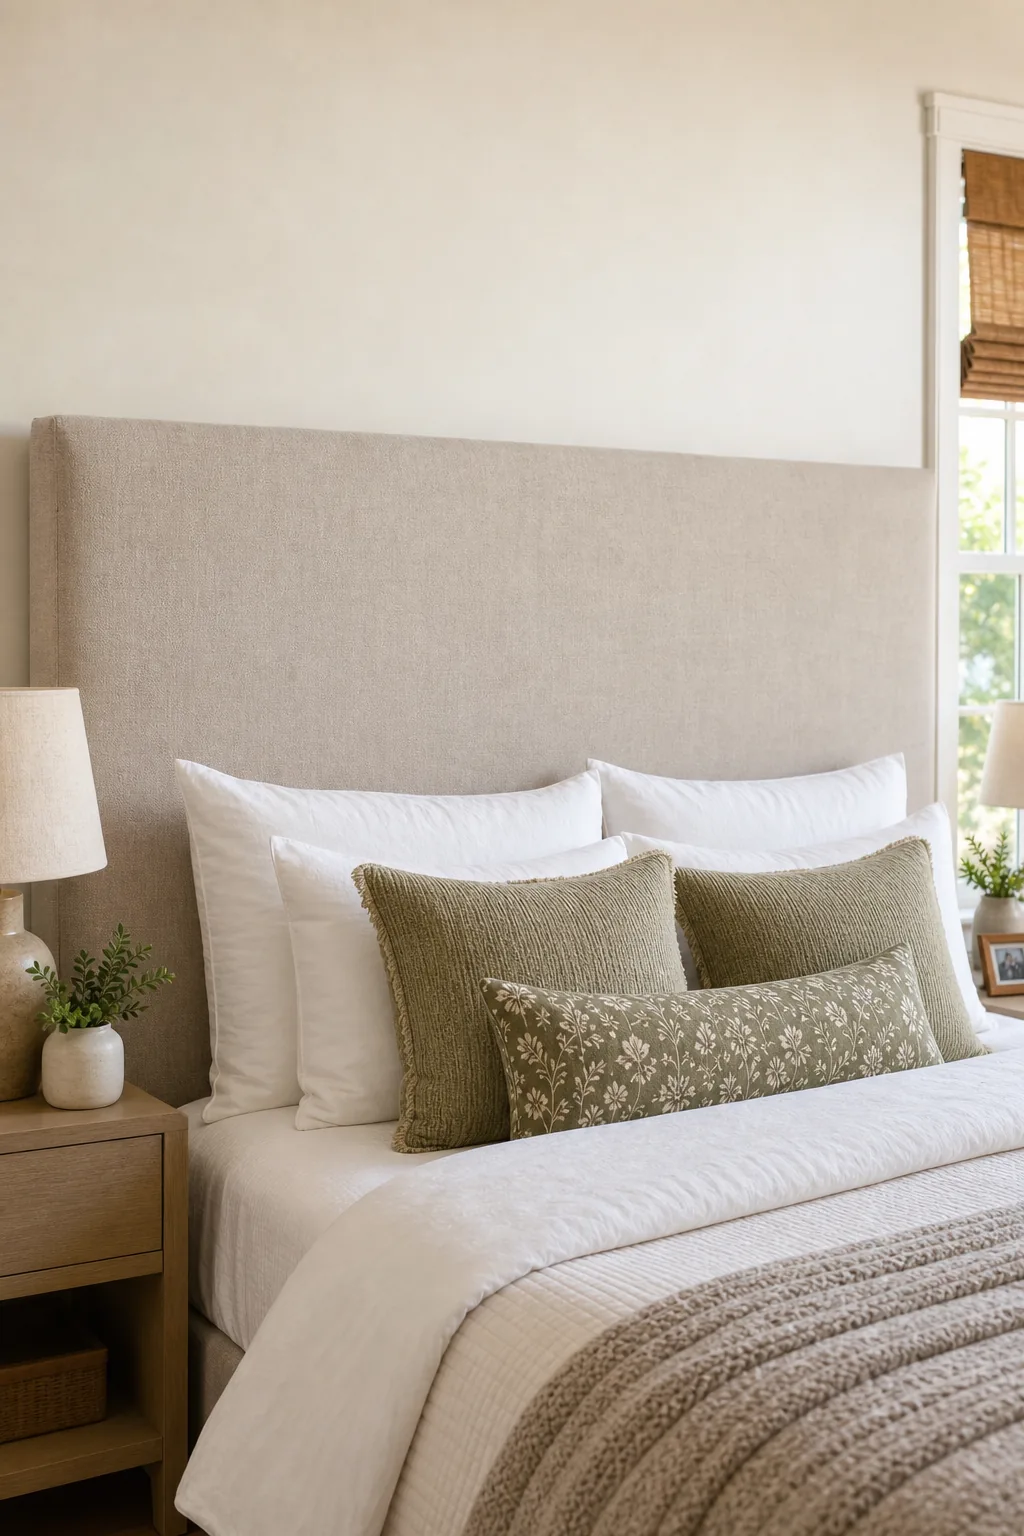
Exactly 60 percent of the visible headboard height should sit proudly above the stacked pillows, creating generous negative space. The remaining 40 percent acts as the immediate structural backdrop for the mattress, anchoring the heavy bed firmly within the overall room design.
Calculating Your Final Panel Height
To achieve the correct visual ratio, you must measure your specific bedding configuration before cutting any structural wood or ordering expensive upholstery materials. Standard mattress heights vary wildly, meaning a universal headboard height rarely provides that coveted, custom-built luxury aesthetic.
- Measure from the floor to the top of your standard decorative pillow stack.
- Calculate the remaining vertical height needed to achieve the 60 percent upper portion.
- Add these numbers together to determine your total finished wooden panel height.
Taking these precise measurements ensures the upper portion of your headboard remains fully visible and visually dominant. Even when the bed is fully styled with massive decorative cushions and heavy winter duvets, the upholstered woodwork will continue to frame the space beautifully.
The Master Sizing and Yardage Cheat Sheet
Purchasing the correct materials starts with matching your specific mattress dimensions to the required fabric yardage calculation for a fully extended oversized panel. Buying insufficient material halfway through the upholstery process usually results in mismatched dye lots and ruined project timelines.
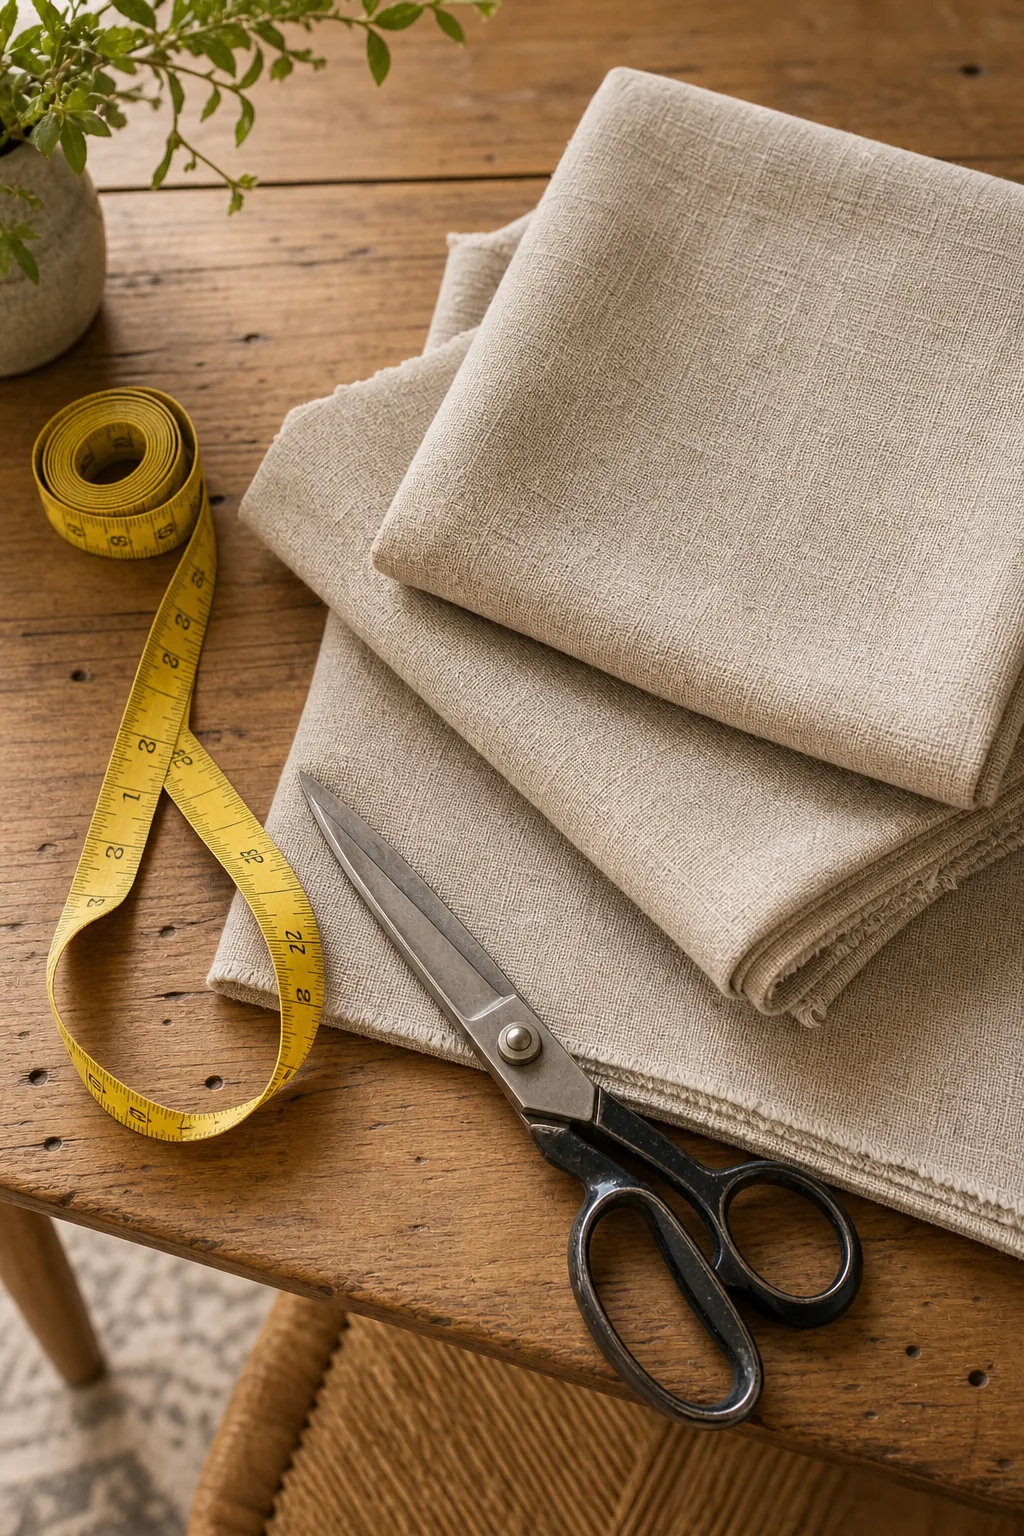
A standard extended Queen requires roughly 4.5 yards of solid fabric, while a massive King requires up to 6 yards to achieve a seamless wrap. Patterned textiles require significantly more yardage to ensure the motifs align perfectly across the wide center expanse.
| Bed Size | Mattress Width | Extended Headboard Width | Solid Fabric Yardage |
|---|---|---|---|
| Full | 54 inches | 104 to 110 inches | 4 yards |
| Queen | 60 inches | 110 to 116 inches | 4.5 yards |
| King | 76 inches | 126 to 132 inches | 6 yards |
| California King | 72 inches | 122 to 128 inches | 6 yards |
Selecting the Ideal Linen Material
Choosing a heavyweight upholstery linen ensures your finished piece will resist sagging, stretching, and daily wear while maintaining a beautifully textured, high-end appearance. Performance-treated fabrics naturally hide minor scuffs, resist hair oils, and require minimal maintenance over the lifetime of the furniture.
Selecting the Right Upholstery Foam
The internal layers dictate the final professional finish of your headboard, requiring specific structural materials that hold their shape over years of daily use. Cheap padding quickly compresses, leaving you with a lumpy, hollow-looking panel that betrays its DIY origins almost immediately.
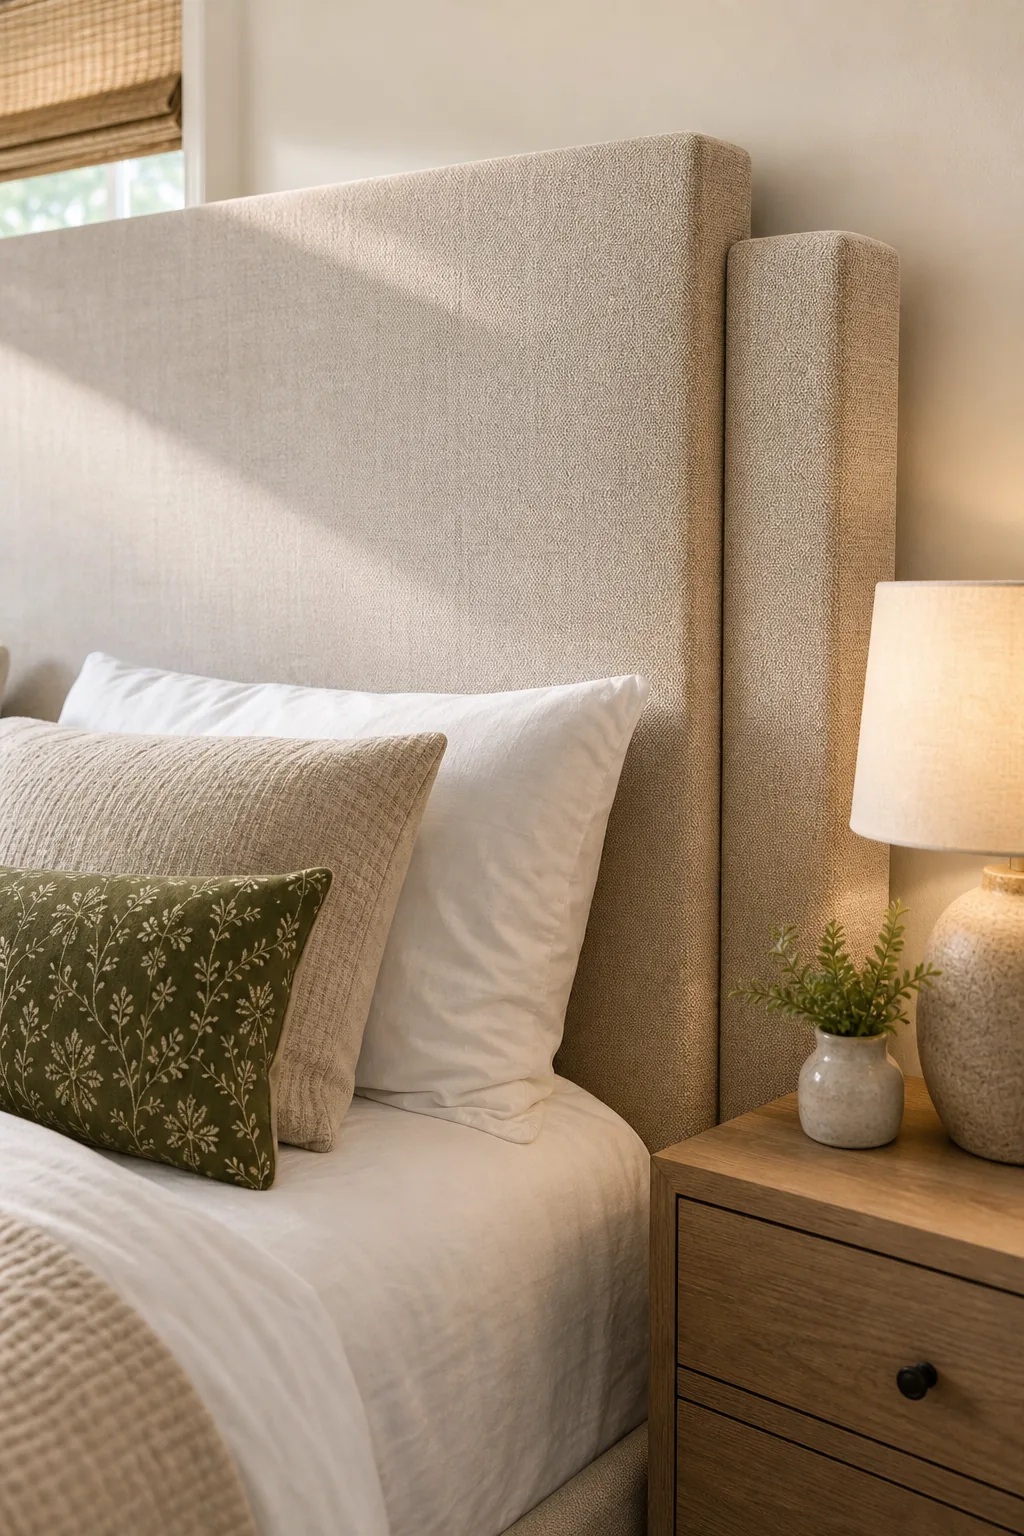
The secret to a custom look is not just the linen you choose, but how you prepare the underlying structure with a 2-inch high-density upholstery foam. This specific thickness achieves crisp, modern edges without pushing the bed too far into the room.
Assembling the Plywood Base Structure
Constructing the rigid internal frame requires a sheet of three-quarter-inch plywood cut to your exact extended dimensions. This thick wooden base provides the necessary structural integrity to support the heavy upholstery foam, thick batting, and tightly stretched linen fabric without bowing over time.
Planning the Hidden Outlet Gap
Oversized wall-mounted panels must sit perfectly flush against the drywall, which requires careful structural planning around existing electrical fixtures, floor trims, and bedside lighting cables. Failing to account for these architectural realities will leave your heavy headboard wobbling dangerously against the wall.
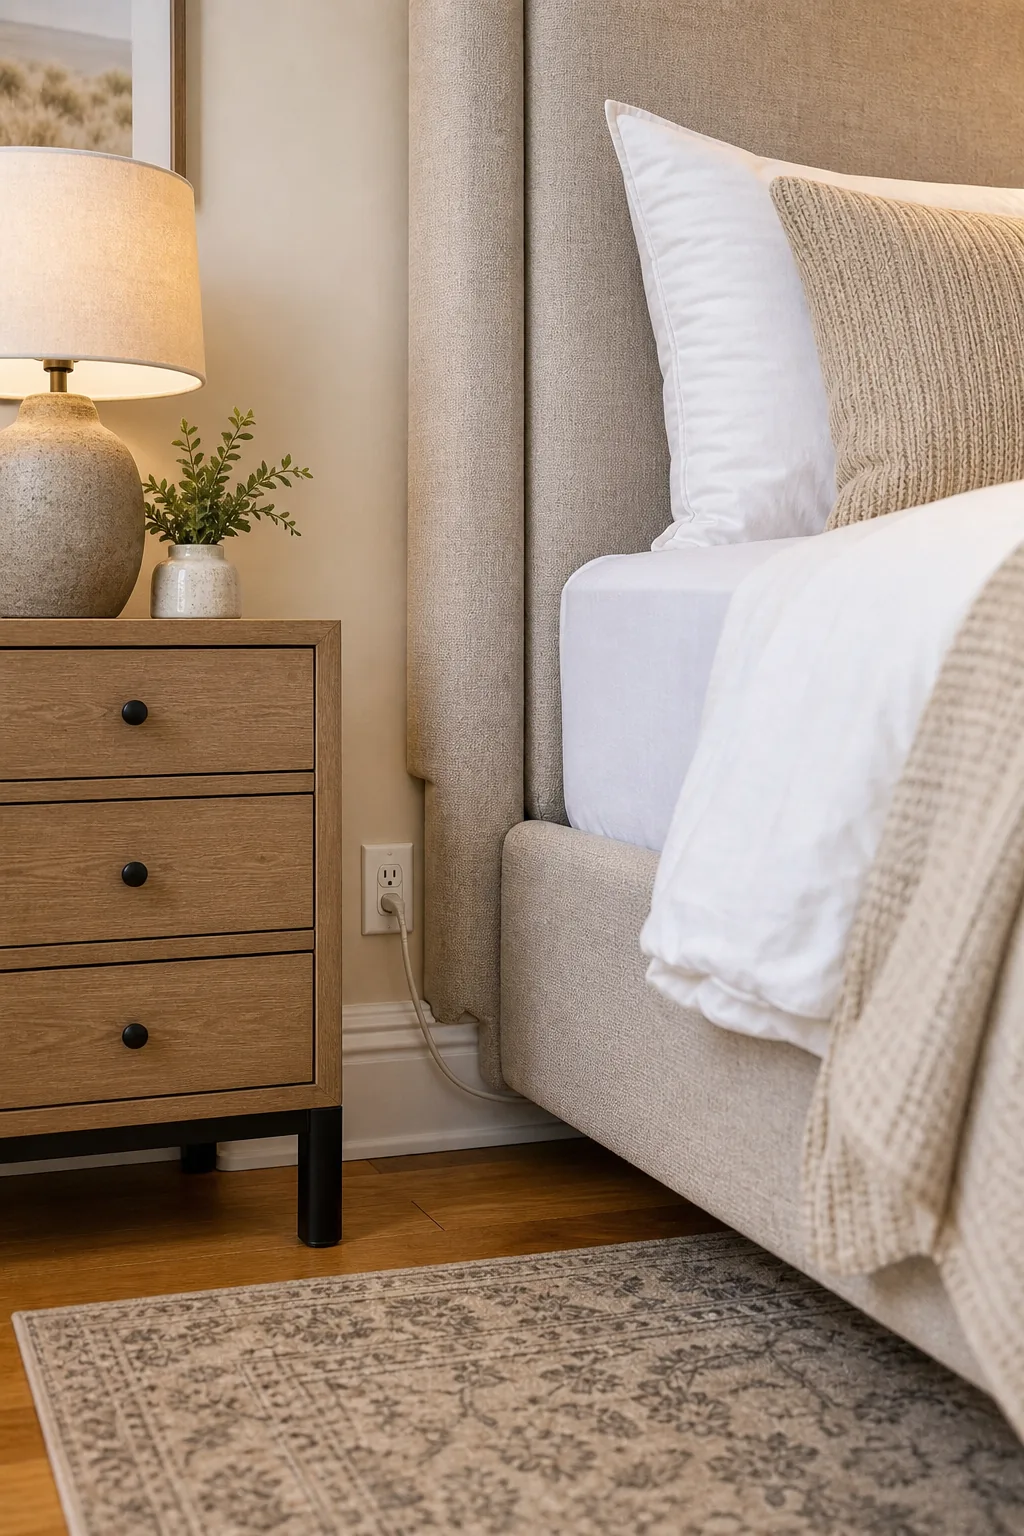
Cutting a precise 6-inch high by 4-inch wide gap at the baseboard level allows the upholstered headboard to bypass wall obstacles completely. This strategic notch ensures you never trap necessary power cords or block essential electrical outlets behind the heavy wooden frame.
Applying the Fabric Seamlessly
Stretching the linen over the foam and plywood core requires starting from the exact center and working outward. You must pull the thick material perfectly taut before driving heavy-duty staples into the wooden back to prevent unsightly wrinkles from forming along the edges.
The French Cleat Mounting System
A heavy, oversized custom build requires a robust mechanical solution, making the French cleat mount vastly superior to standard D-rings or picture wire. Traditional hanging hardware simply cannot support the massive weight of a fully upholstered, extended plywood panel over the long term.
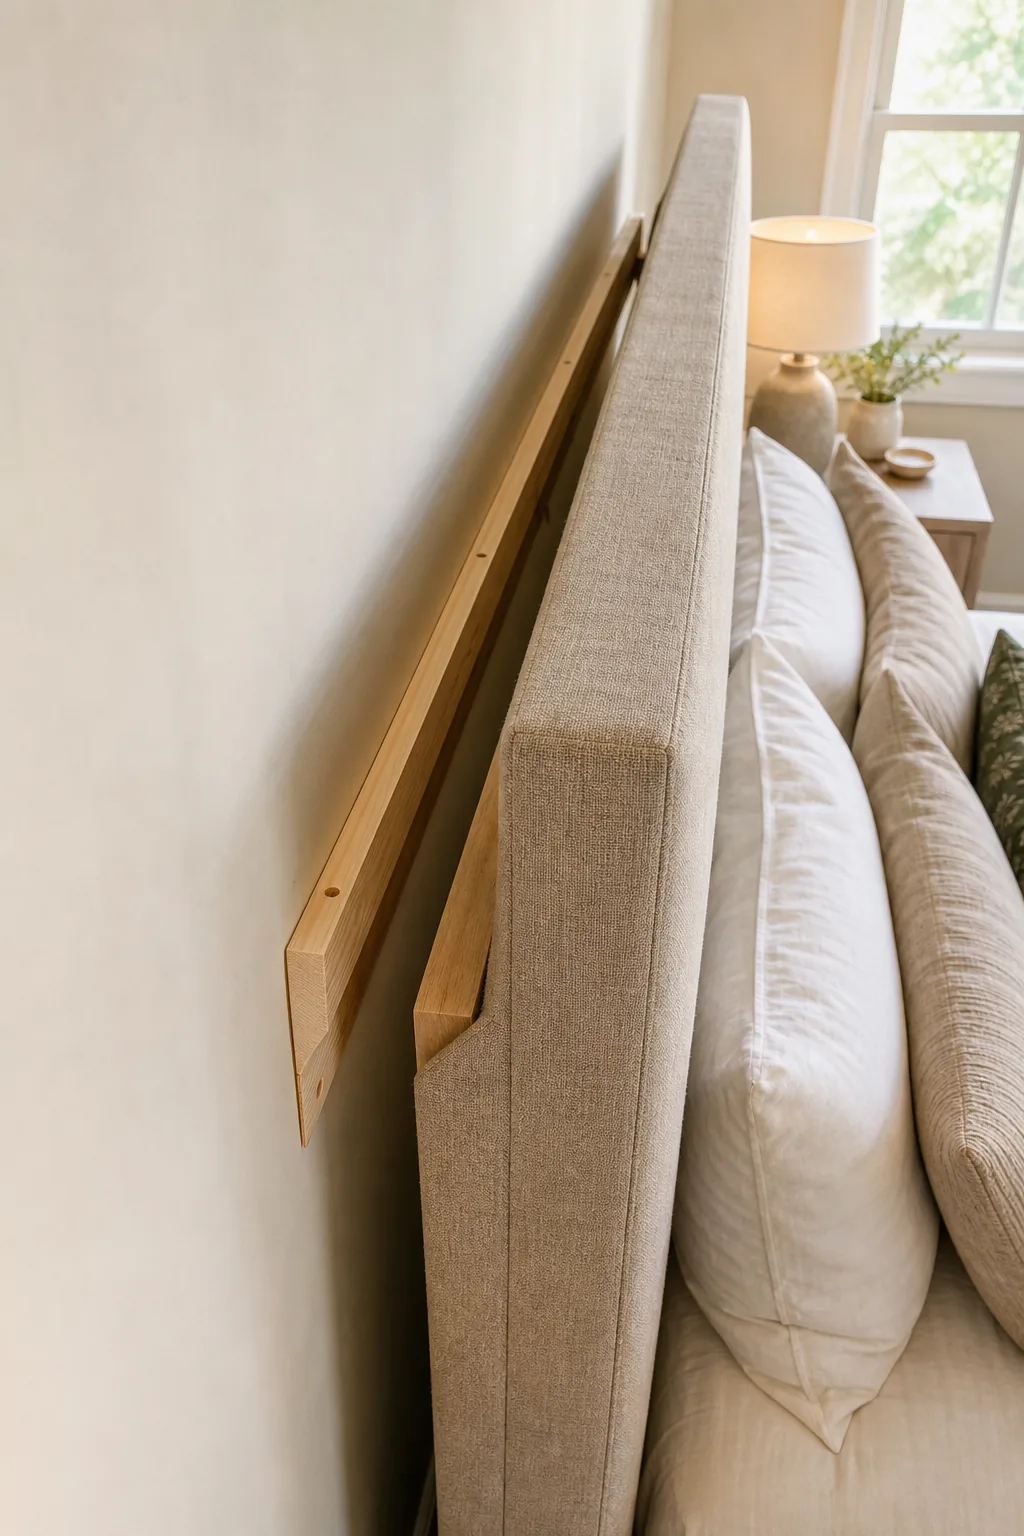
The interlocking 45-degree angles of the continuous wooden cleats distribute the massive weight evenly across multiple wall studs. This ingenious mechanical design continuously pulls the heavy panel inward, keeping it perfectly flush with the drywall while preventing any dangerous downward slipping.
Validating the Wall Anchor Weight Capacity
Because an oversized upholstered plywood panel can easily exceed one hundred pounds, relying on standard drywall anchors is strictly prohibited. You must anchor the wooden support system directly into the structural framing of your house to prevent catastrophic wall failure and potential injury.
Securing the Wall Cleat to the Studs
Installing the wall side of the mount requires absolute precision to ensure the final upholstered panel sits perfectly level and remains securely anchored above your mattress. A crooked wall cleat will permanently tilt your massive headboard, ruining the carefully planned visual symmetry.
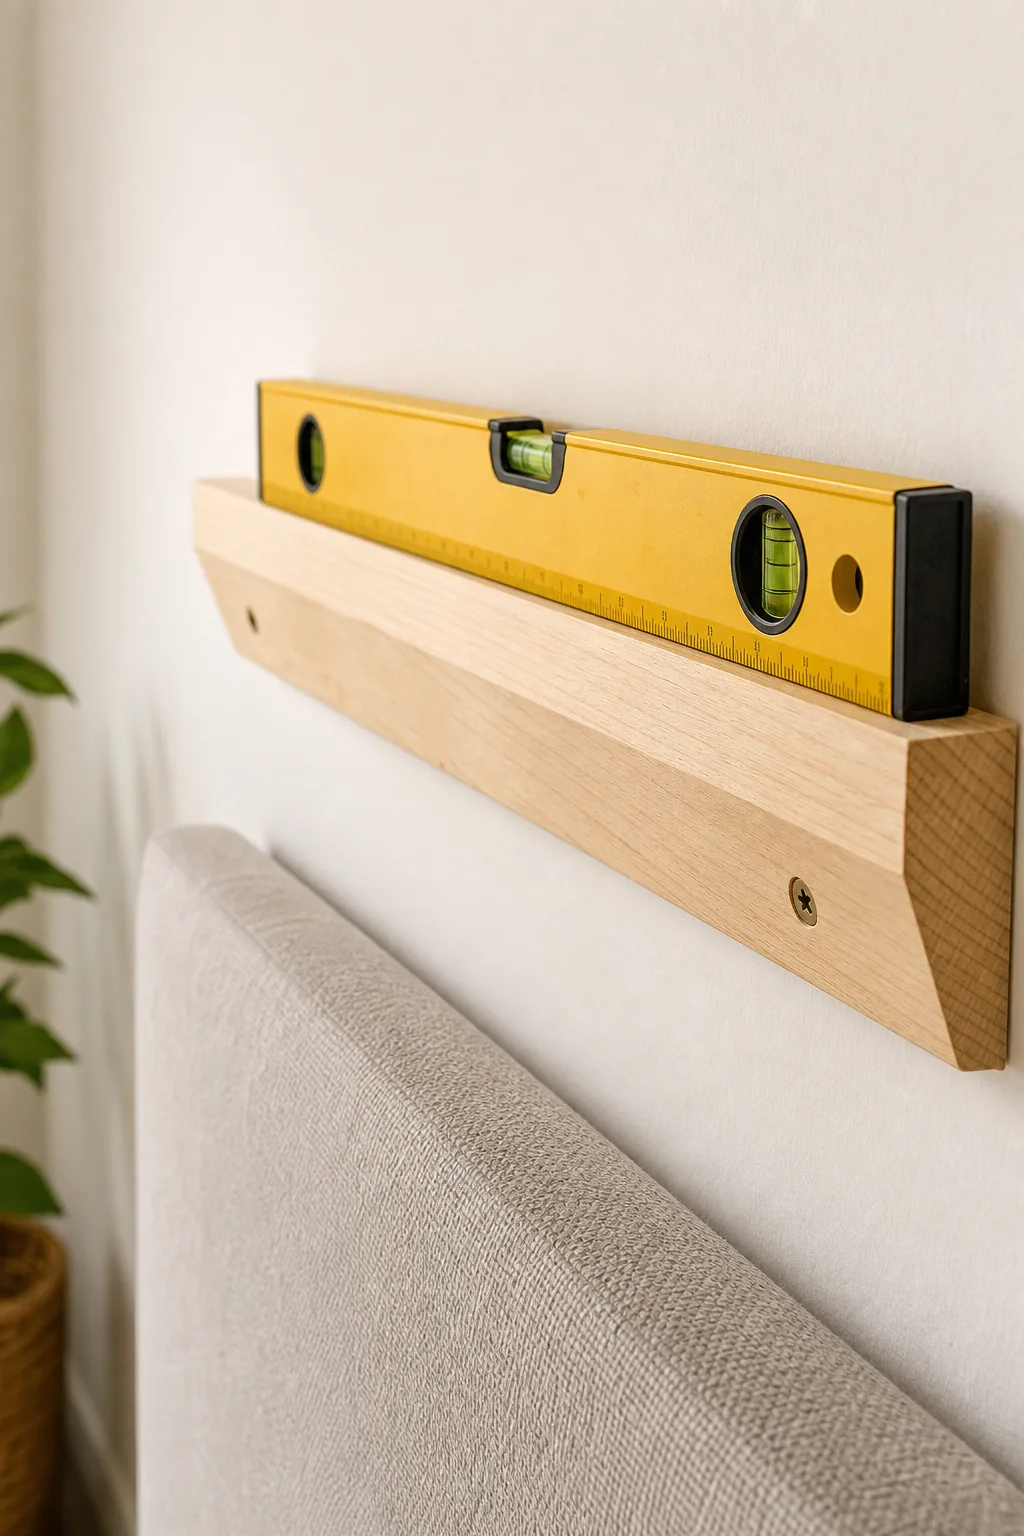
Before driving any screws into the wall, run through this quick verification to ensure a safe and perfectly straight installation across the required anchor points. Using 2.5-inch wood screws guarantees the hardware bites deeply enough into the structural framing to hold the weight.
Managing the Final Fabric Seams
Inspecting the outer edges of your newly upholstered panel allows you to catch any loose staples or folded corners before mounting the heavy piece. Taking five minutes to smooth the final fabric seams ensures the visible sides look just as professional as the front.
Hanging and Leveling the Headboard
The final installation step involves carefully lifting the heavy upholstered panel so the top wooden cleat locks securely and deeply into the anchored wall cleat. You will likely need two people to maneuver the oversized piece safely into its final resting position.

The angled wood naturally pulls the entire headboard tight against the wall, requiring no further adjustments once seated. This interlocking action instantly levels the massive frame, providing a beautifully secure, professional finish that will easily withstand years of daily use and movement.