
Dry Stack Garden Stone Wall: Exact Build Measurements
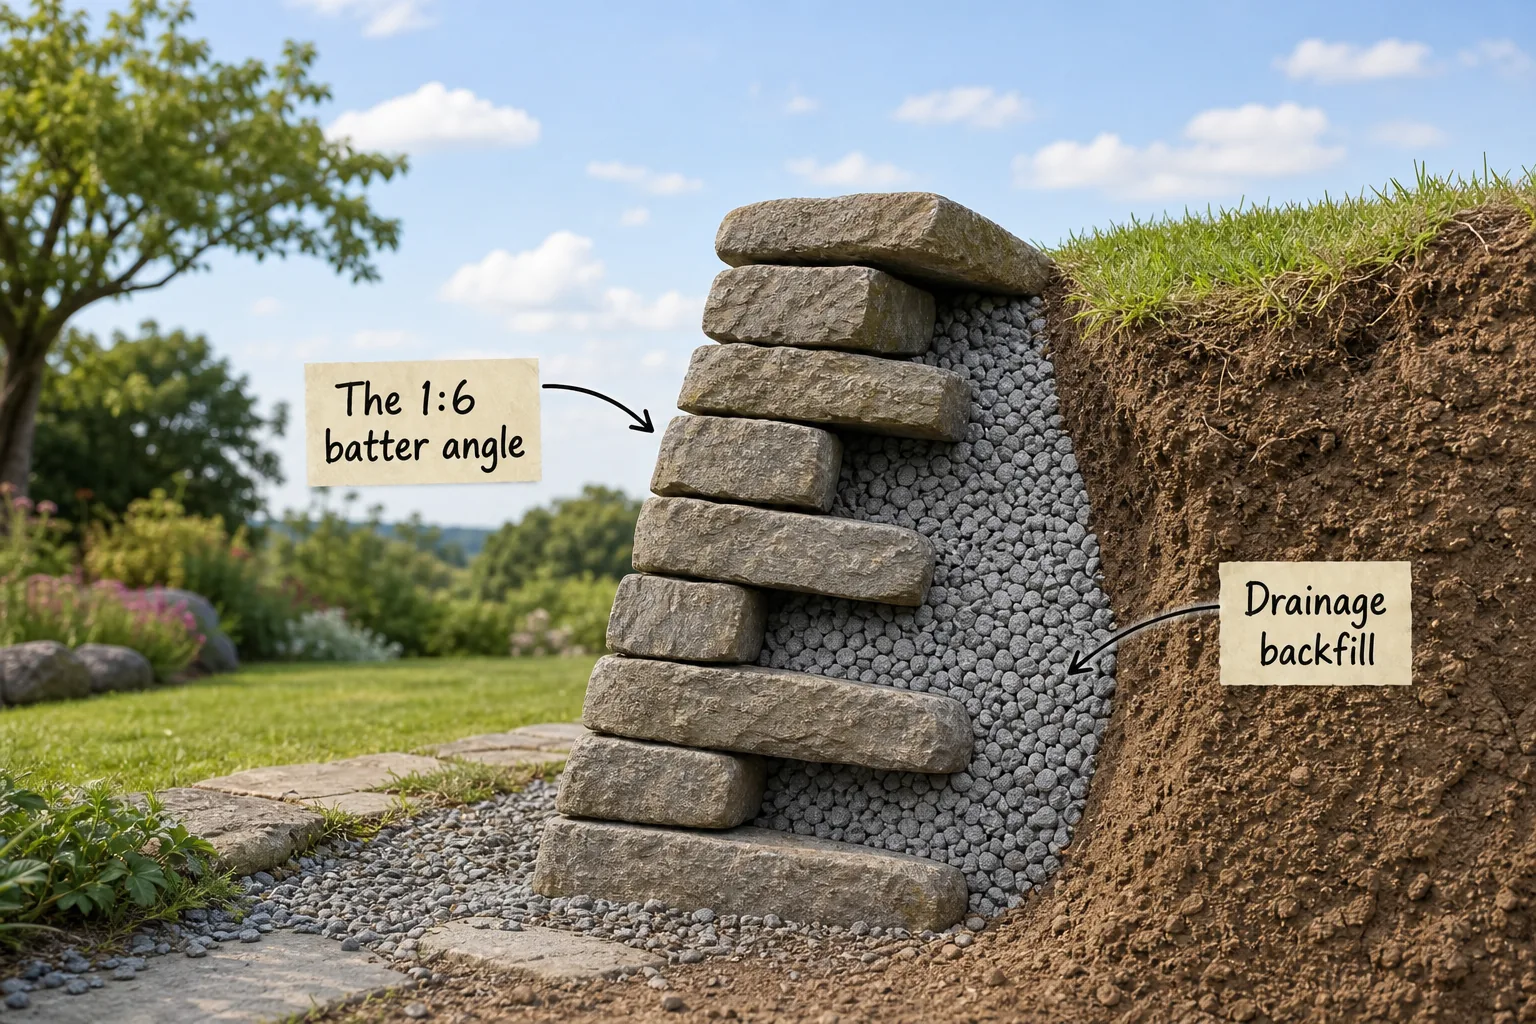
Planning a durable garden retaining structure requires the complete dry stack build guide and exact structural measurements detailed here. You will be able to calculate the precise dimensions, angles, and material layers required to construct a stable, long-lasting stone wall without mortar.
Digging the Foundation Trench
A stable wall begins entirely underground, requiring a trench dug to a depth of at least 6 inches plus 10 percent of the total planned wall height. Removing the soft topsoil ensures your heavy masonry rests entirely on a solid, unyielding subsoil base.
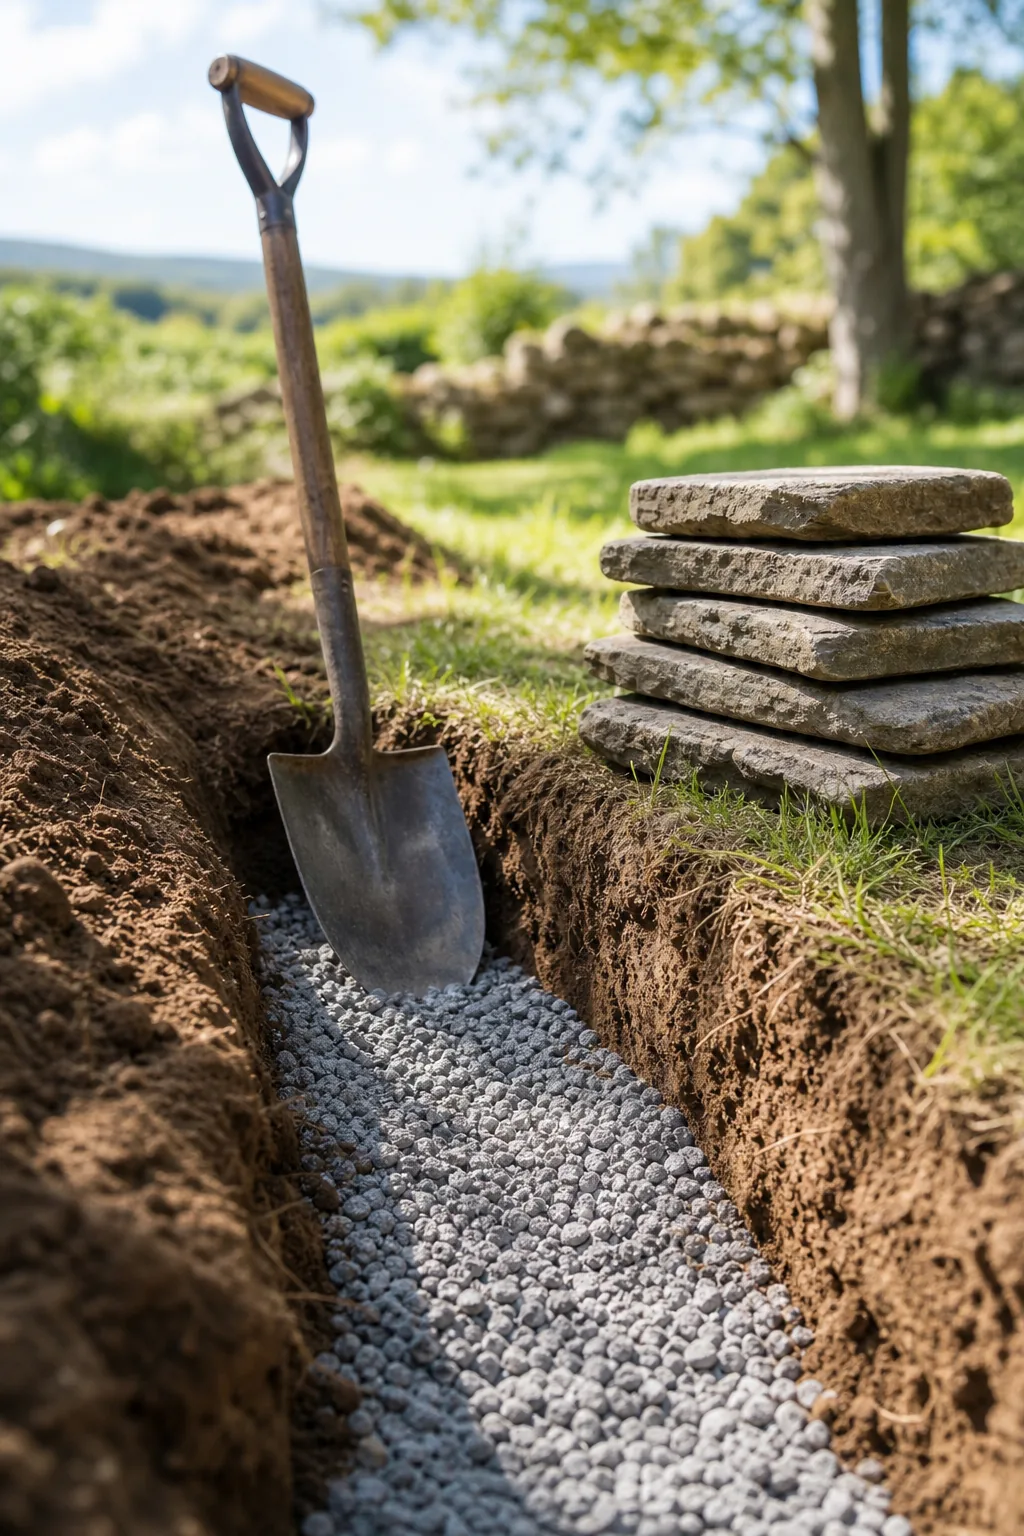
Sizing this excavation correctly ensures you have ample room for both the heavy base blocks and the critical drainage zone behind them. A cramped trench will force you to compromise on the gravel backfill, leading to inevitable water buildup and structural failure.
Verifying Trench Readiness
Before moving heavy materials into place, verify that your foundation trench is fully prepared to support the immense weight of the masonry. Taking the time to properly grade and compact the base prevents uneven settling that would crack the finished wall.
The Buried Base Course
The buried base course consists of the lowest layer of stones, which must sit completely below the final soil grade to prevent frost heave and base blowout. Exposing this foundational layer to freezing temperatures allows expanding ice to dislodge the stones.
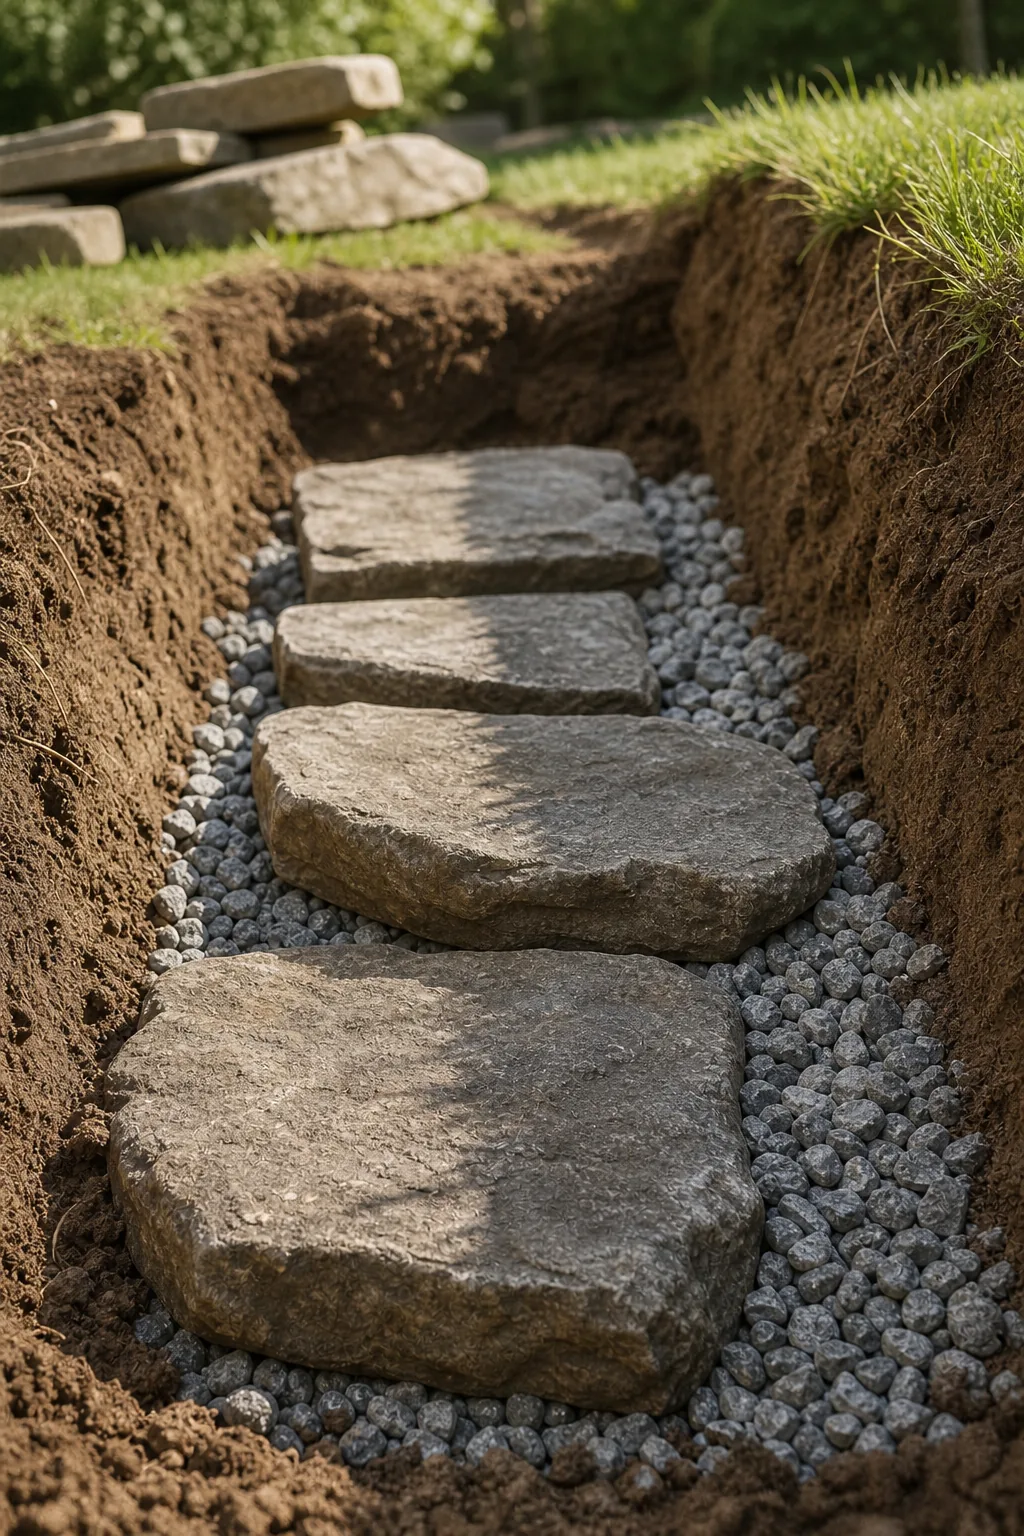
Use your largest, widest, and flattest stones for this critical foundation layer to distribute the immense weight evenly across the compacted gravel pad. Seating these blocks firmly with a heavy mallet ensures absolutely no rocking occurs under the extreme pressure above.
Building a Batter Guide Frame
Eyeballing the backward lean often results in a bulging face, so constructing a rigid wooden template is essential for maintaining the correct setback. A physical guide removes the guesswork and keeps your stacking angle perfectly uniform from the base to the cap.
- Cut two sturdy wooden stakes to match your planned total wall height plus an extra foot for driving into the soil.
- Drive them firmly into the ground at the ends of your trench, leaning them at the exact 1:6 angle.
- Run a taut, brightly colored mason line between the stakes to guide the placement of each horizontal course.
Moving this horizontal string line up the wooden frame as you build guarantees that the heavy masonry steps back uniformly across the entire length of the structure. This simple tool is the secret to achieving a professional, structurally sound retaining wall.
Setting the 1:6 Batter Angle
For structural integrity, the wall must lean backward into the slope, employing the 1:6 batter angle to actively resist outward lateral earth pressure. A perfectly vertical dry-stacked wall will quickly succumb to gravity and soil weight, bowing outward until it collapses entirely.
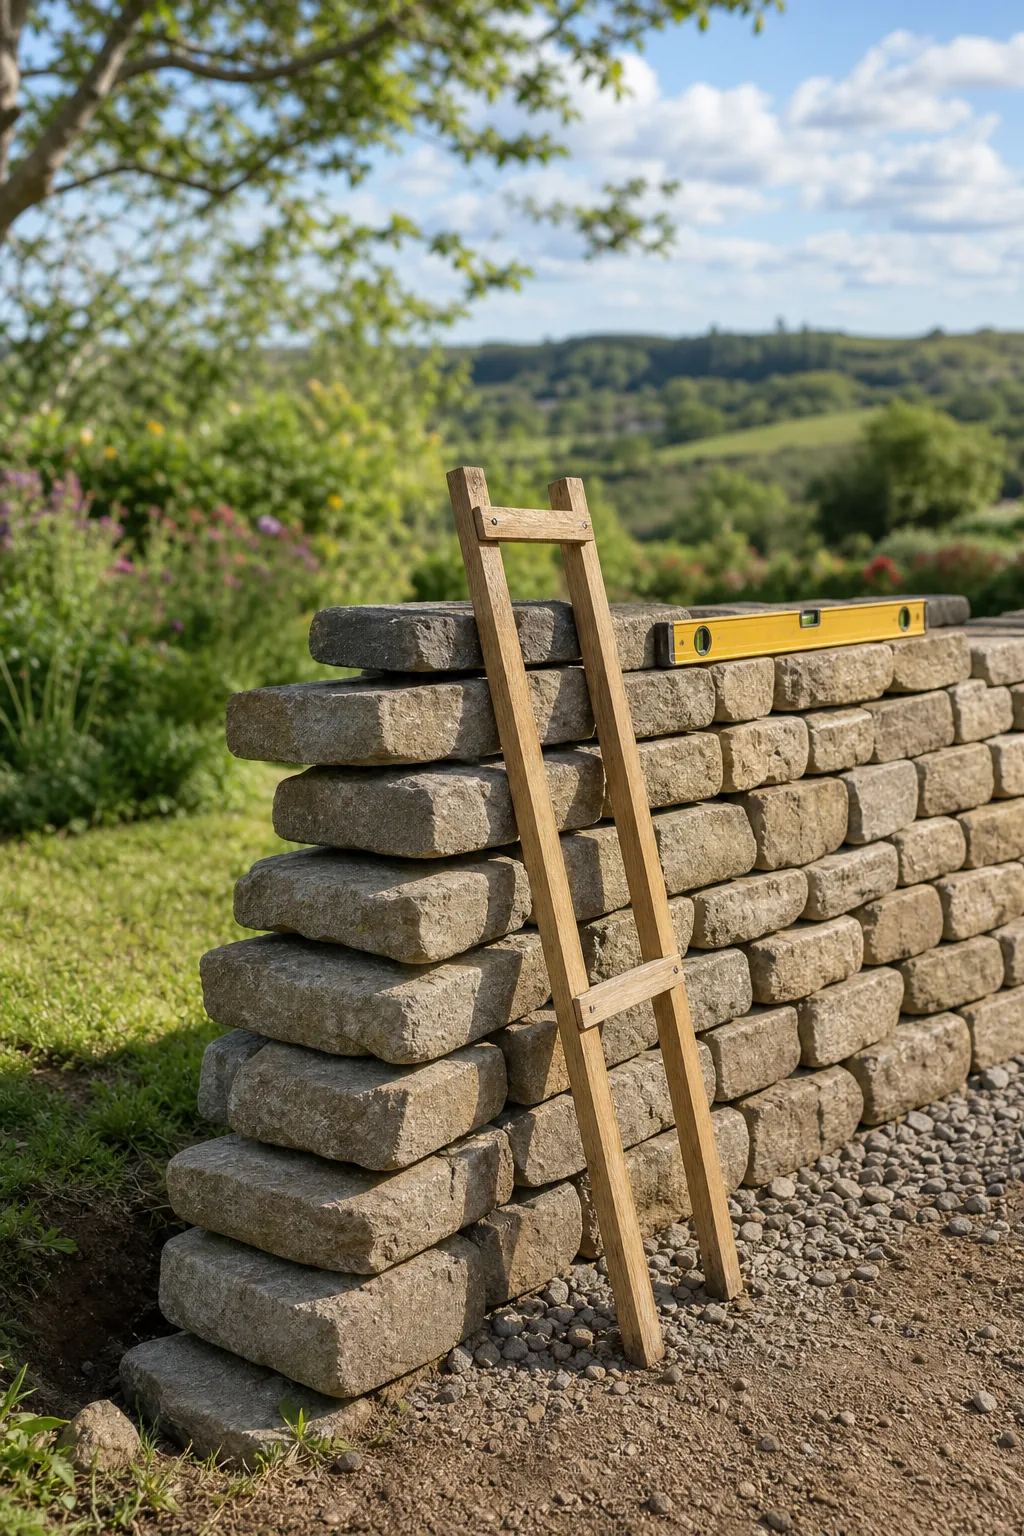
This exact ratio dictates that for every 6 inches of vertical height, the front face of the stones must step back by exactly 1 inch. Maintaining this precise geometry ensures the center of gravity remains safely tucked behind the visible front face.
The Complete Build Measurements
These baseline formulas ensure gravity works for the structure, dictating the exact base footprint and setback ratios required for long-term stability. Memorizing these proportions allows you to scale the retaining wall safely to match the specific elevation changes in your garden landscape.
| Total Wall Height | Base Stone Width | Foundation Trench Depth | Total Batter Setback |
|---|---|---|---|
| 24 inches | 12 inches | 8.4 inches | 4 inches |
| 36 inches | 18 inches | 9.6 inches | 6 inches |
| 48 inches | 24 inches | 10.8 inches | 8 inches |
The core formula calculates your required base stone width as exactly half of the total planned vertical height. Adhering to this mathematical rule provides a sufficiently wide footprint to prevent the heavy upper courses from tipping forward under saturated soil loads.
Verifying the Base Footprint
Calculating your maximum height before digging ensures the foundation accommodates both the 6-inch gravel pad and the necessary buried stone depth. Guessing at these dimensions often leaves builders with inadequate support, requiring them to tear down their progress and start over.
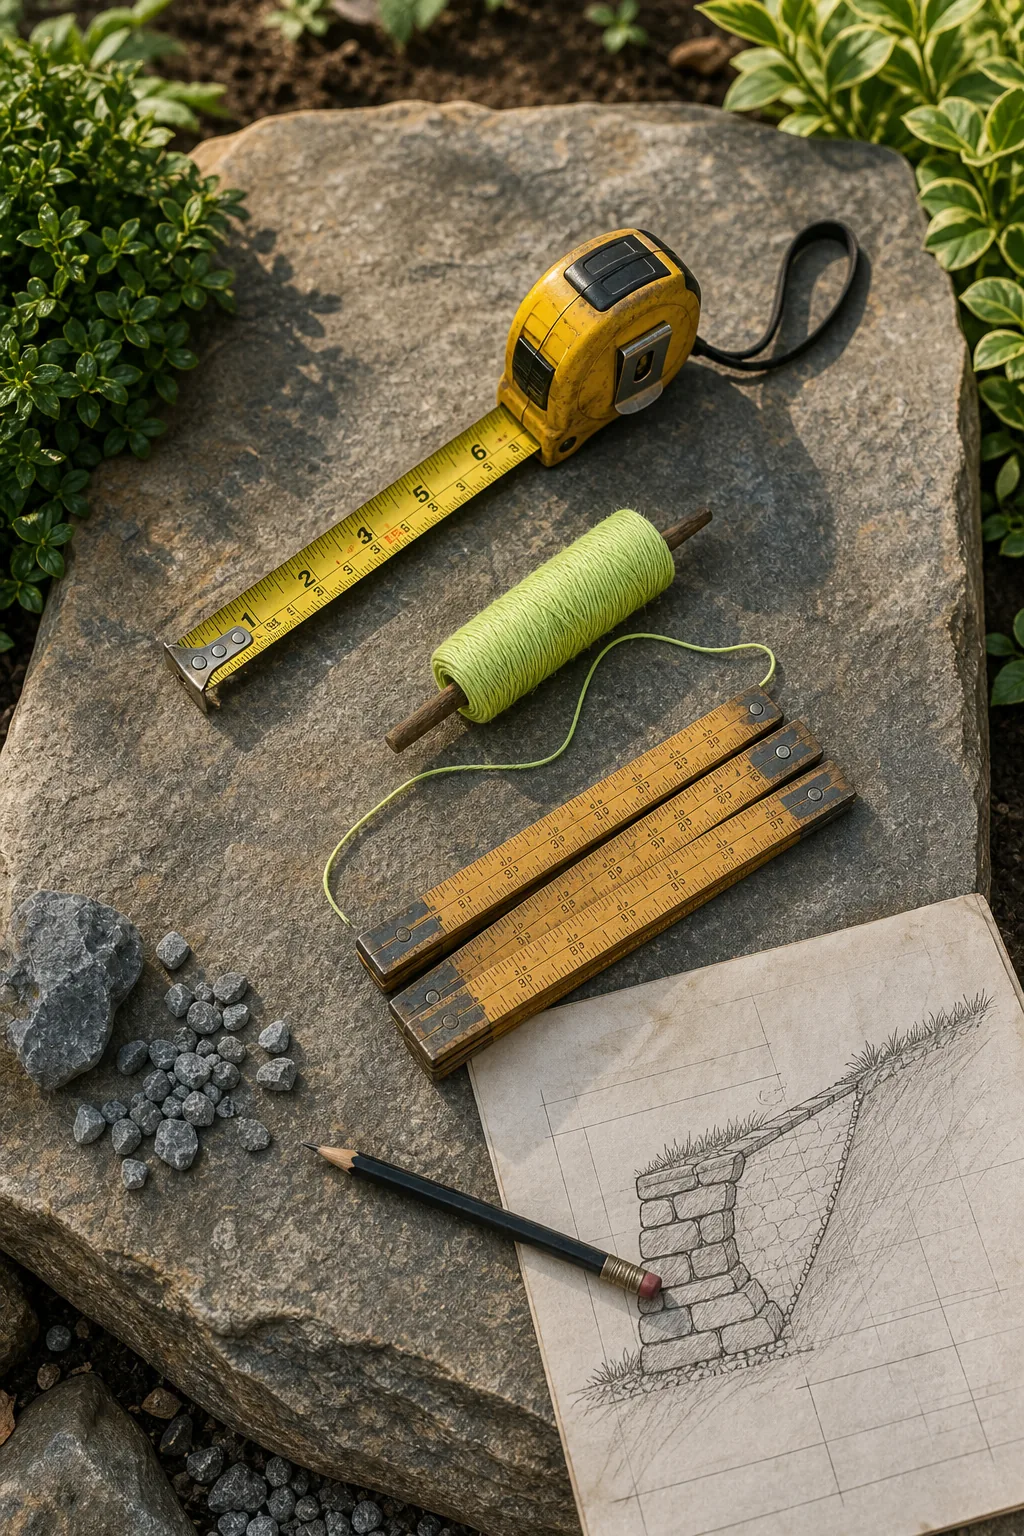
Confirming these exact dimensions before laying the first stone prevents the fatal error of building a tall structure on a dangerously narrow foundation. Always measure twice during the planning phase to guarantee your materials will safely span the required structural footprint.
Locking the Foundation Stones
Every block in the bottom course must be locked into the surrounding gravel to prevent micro-shifts that could destabilize the entire wall over time. Even a millimeter of movement at the base will translate into a massive structural flaw at the top course.
The Drainage Backfill Wedge
The drainage backfill is a minimum 12-inch wide zone of 3/4-inch clear crushed gravel placed directly between the stacked stones and the soil bank. This dedicated drainage space intercepts subsurface water before it can press against the back of your masonry.
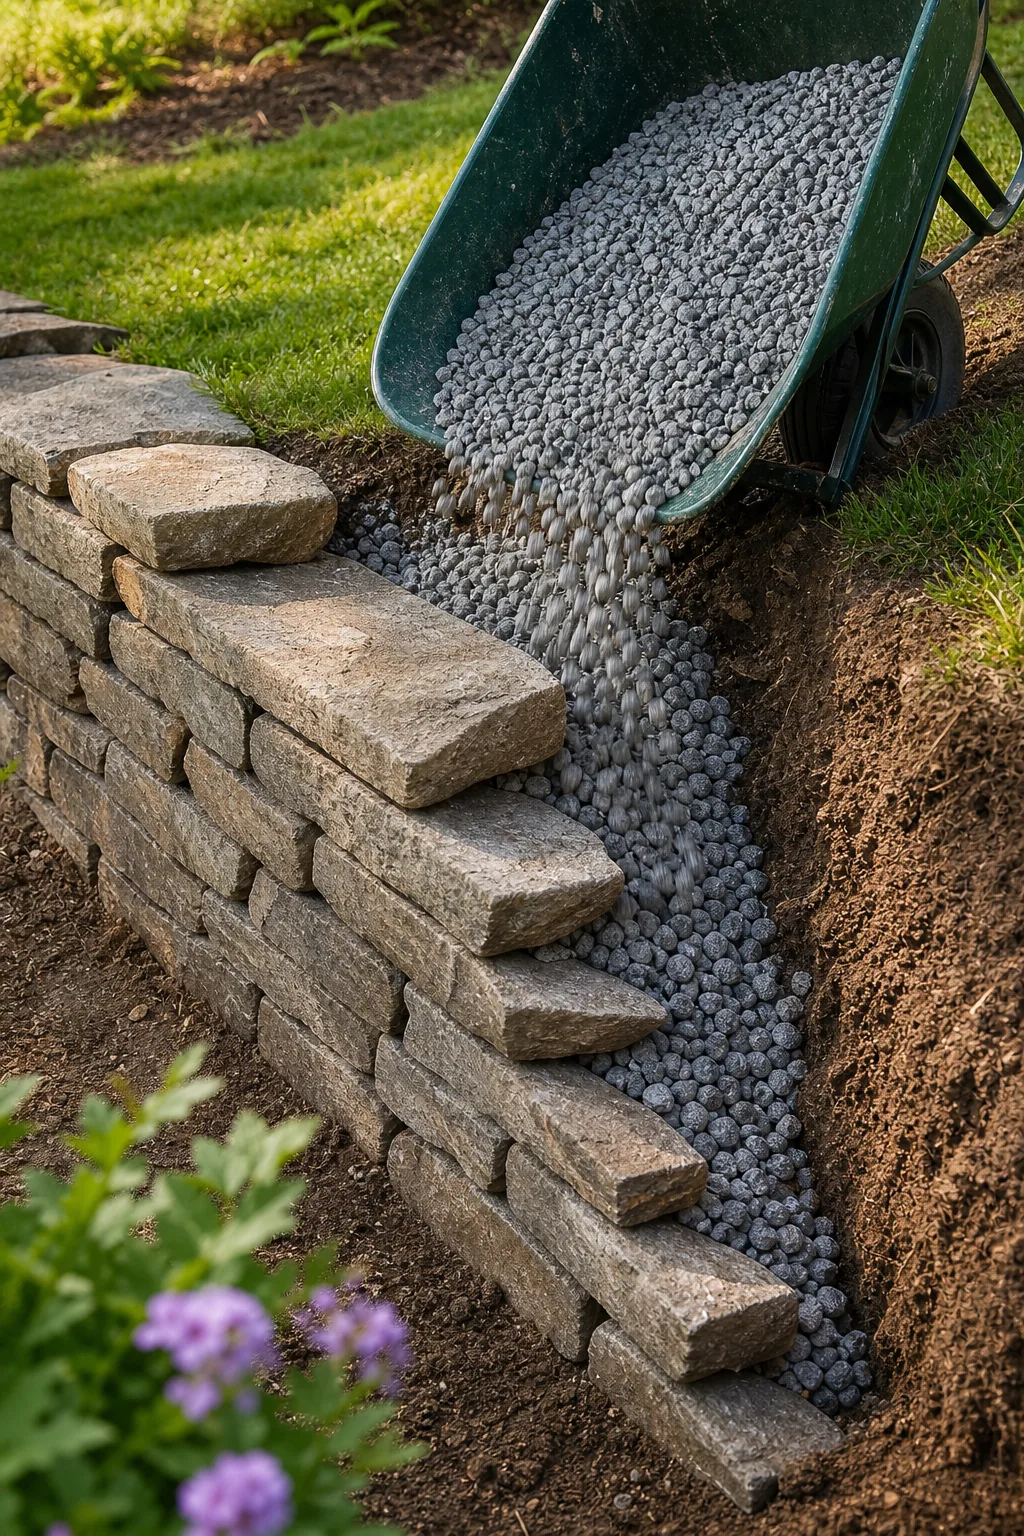
This porous wedge safely relieves hydrostatic pressure, which is the primary cause of retaining wall failure during heavy seasonal rainstorms. Without this gravel barrier, wet soil will expand and push with thousands of pounds of force, inevitably blowing out the stacked stones.
Preventing Soil Migration
Wrapping the soil side of the backfill trench with permeable landscape fabric stops fine dirt from washing into the gravel and clogging the vital drainage voids. Keeping the crushed stone perfectly clean ensures water flows rapidly down to the foundation trench.
Placing the Tie Stones
Structural tie stones are long, heavy rocks that span from the visible front face deep into the gravel backfill to anchor the courses. These critical pieces act like deadmen anchors, physically tying the freestanding masonry back into the heavy retained hillside.
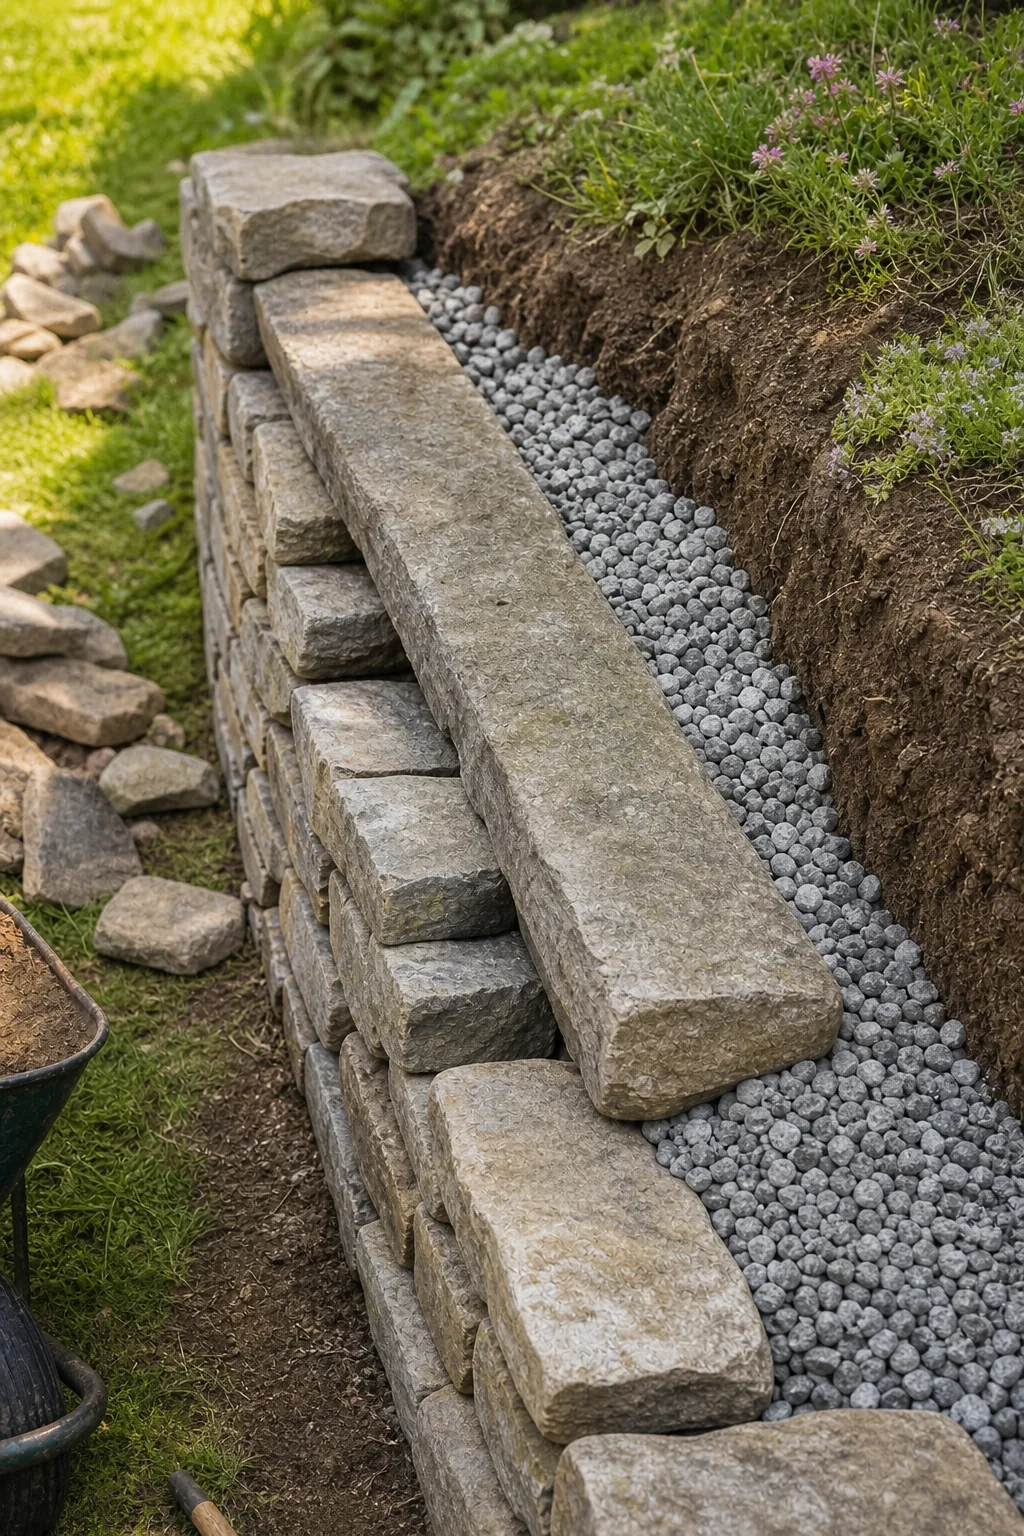
Place one tie stone approximately every 10 square feet of wall face so the weight of the gravel actively pulls the masonry inward. Staggering these deep anchors evenly across the build creates a unified, interlocking mass that resists outward bulging.
Stacking the Face Stones
Even with perfect measurements and a solid base, poor stacking technique in the middle courses will compromise the entire structure. Every stone must cross the joints of the layer beneath it, creating a woven pattern that distributes weight laterally across the wall.
Determining Cap Height
To resolve the final cap height? question, plan the top course so the bottom of the capstone sits perfectly level with the upper soil grade. This precise alignment leaves only the thickness of the stone exposed, creating a neat, intentional transition.
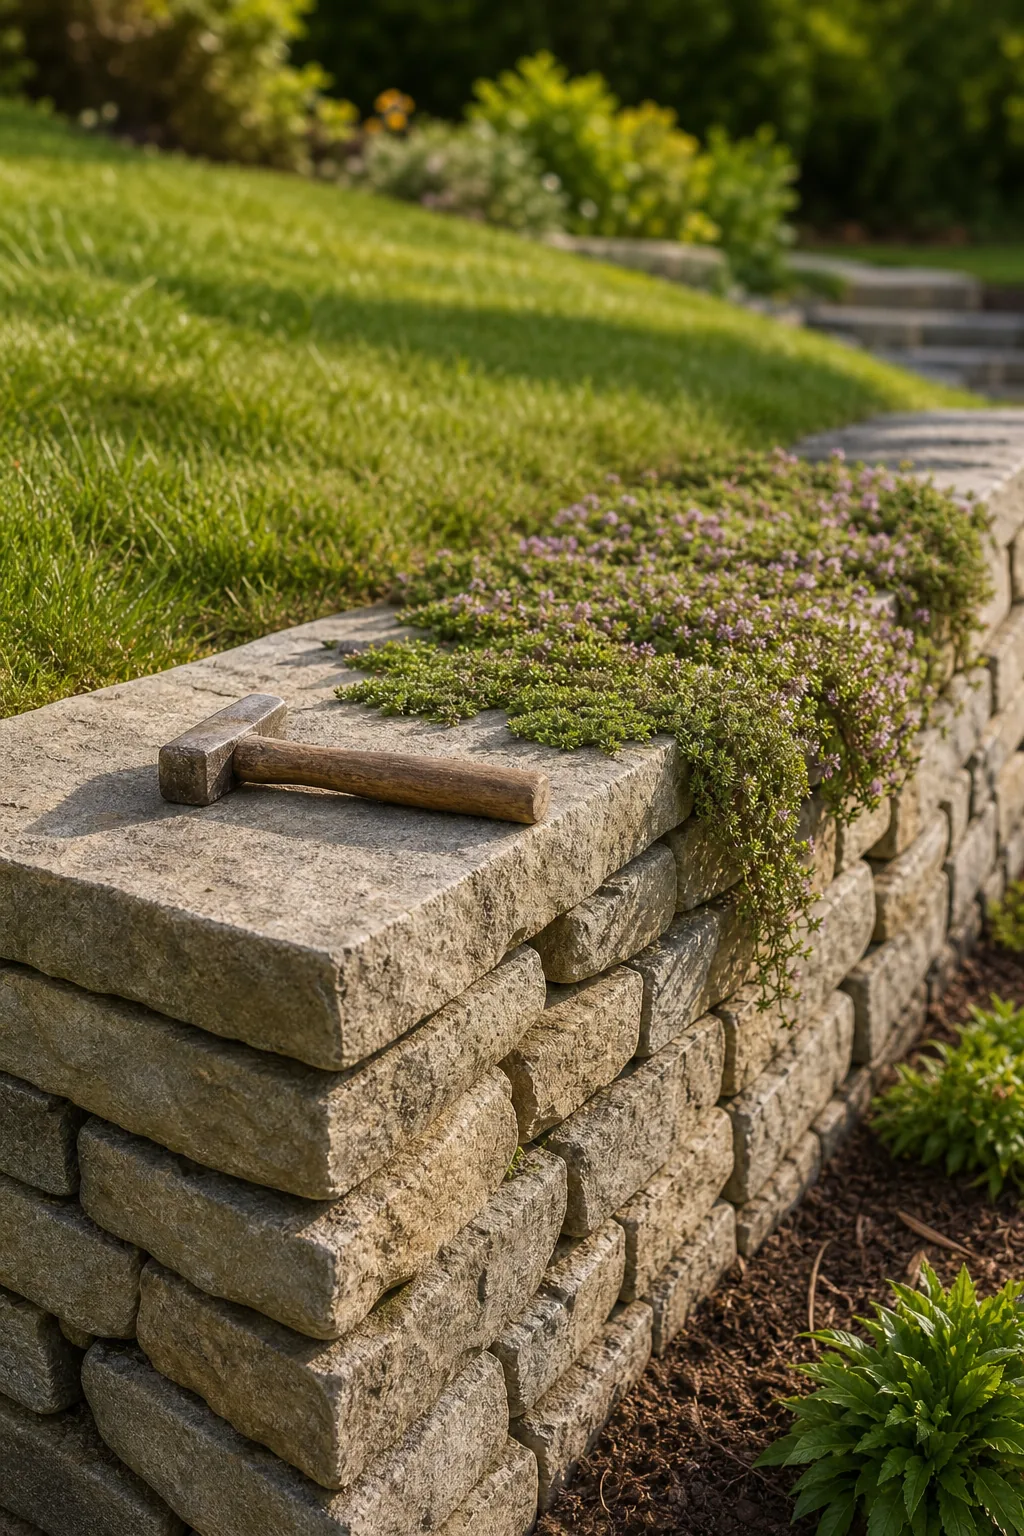
Select heavy, wide stones that span the entire depth of the wall to compress the underlying courses and lock the final layer into place. A massive capstone prevents the smaller face stones beneath it from being dislodged by frost or foot traffic.
Securing the Top Course
Because the uppermost stones lack the weight of subsequent layers to hold them down, they are the most vulnerable to shifting over time. Taking extra care to shim and level these final pieces guarantees the wall remains perfectly intact through harsh winters.
Blending the Top Slope
Grade the retained soil slightly downward just behind the capstones to create a shallow swale that directs heavy surface runoff away from the drainage backfill. Managing surface water effectively reduces the overall load on the hidden gravel drainage system below ground.
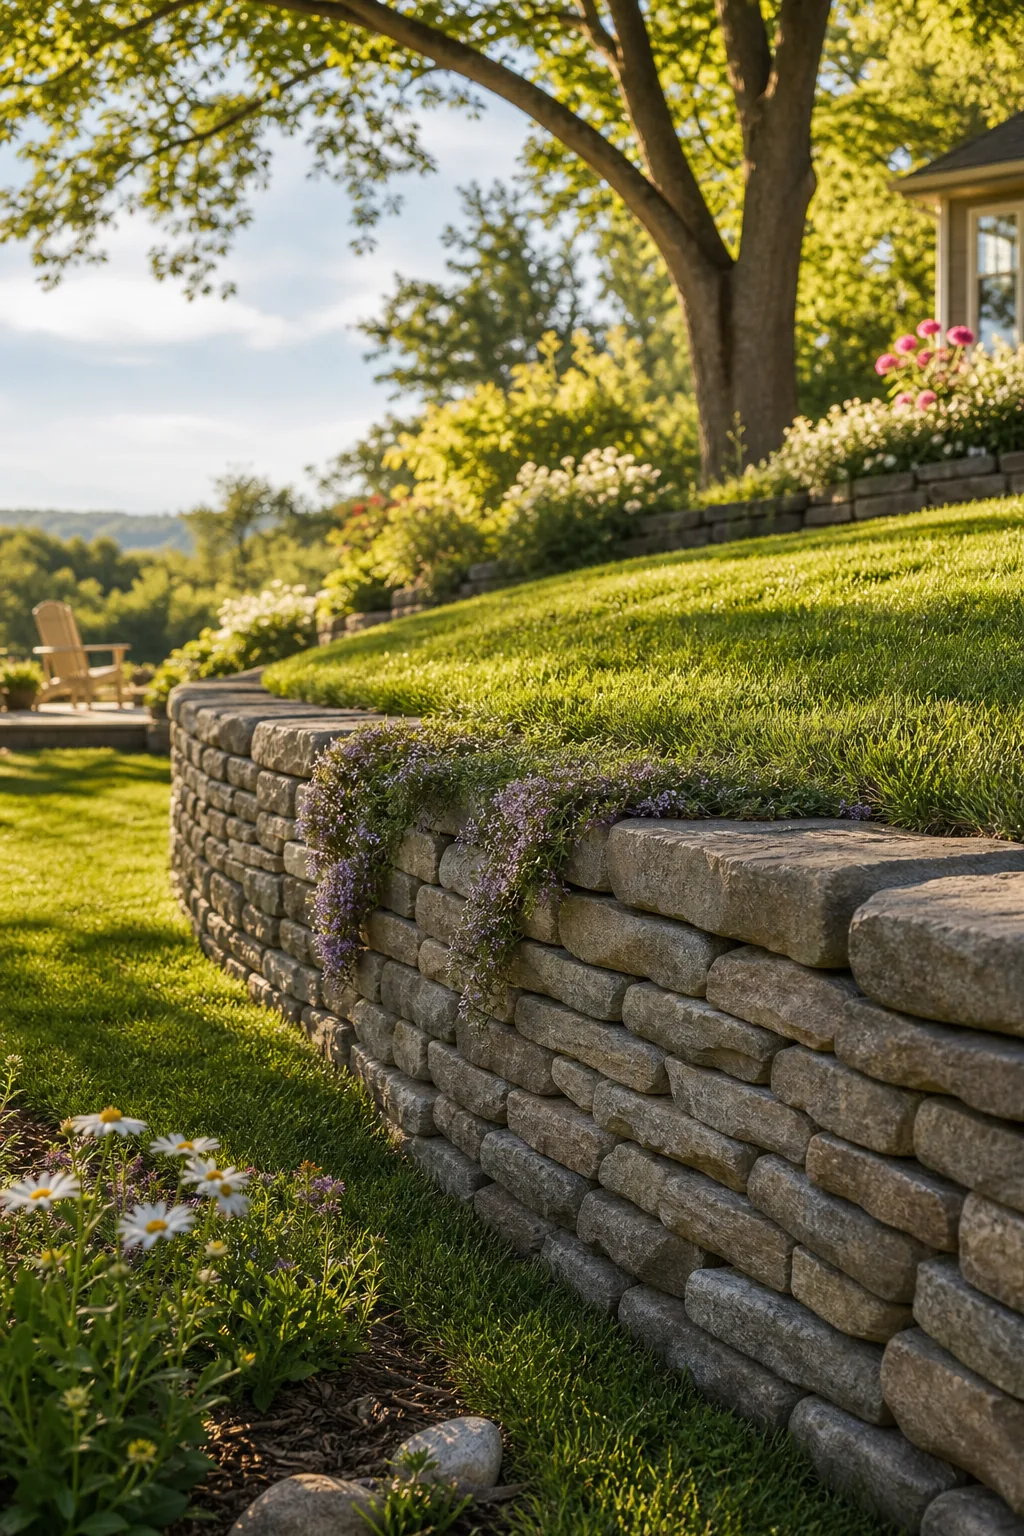
Planting shallow-rooted ground cover near the upper edge helps stabilize the topsoil without sending destructive deep roots into the masonry joints. This final landscaping step integrates the heavy stone structure naturally into the garden while protecting the integrity of the backfill.