Simple Front Yard Flower Bed Plan for a One-Saturday DIY
Transform your landscape before Monday by grabbing our Printable 5×12 ft One-Saturday Front Bed Plan, complete with exact plant quantities and a step-by-step weekend layout schedule. You will be able to mark out, prep, and plant a gorgeous curved front bed this Saturday using our simple layer-by-layer method.
Mapping the 5×12 Foot Footprint
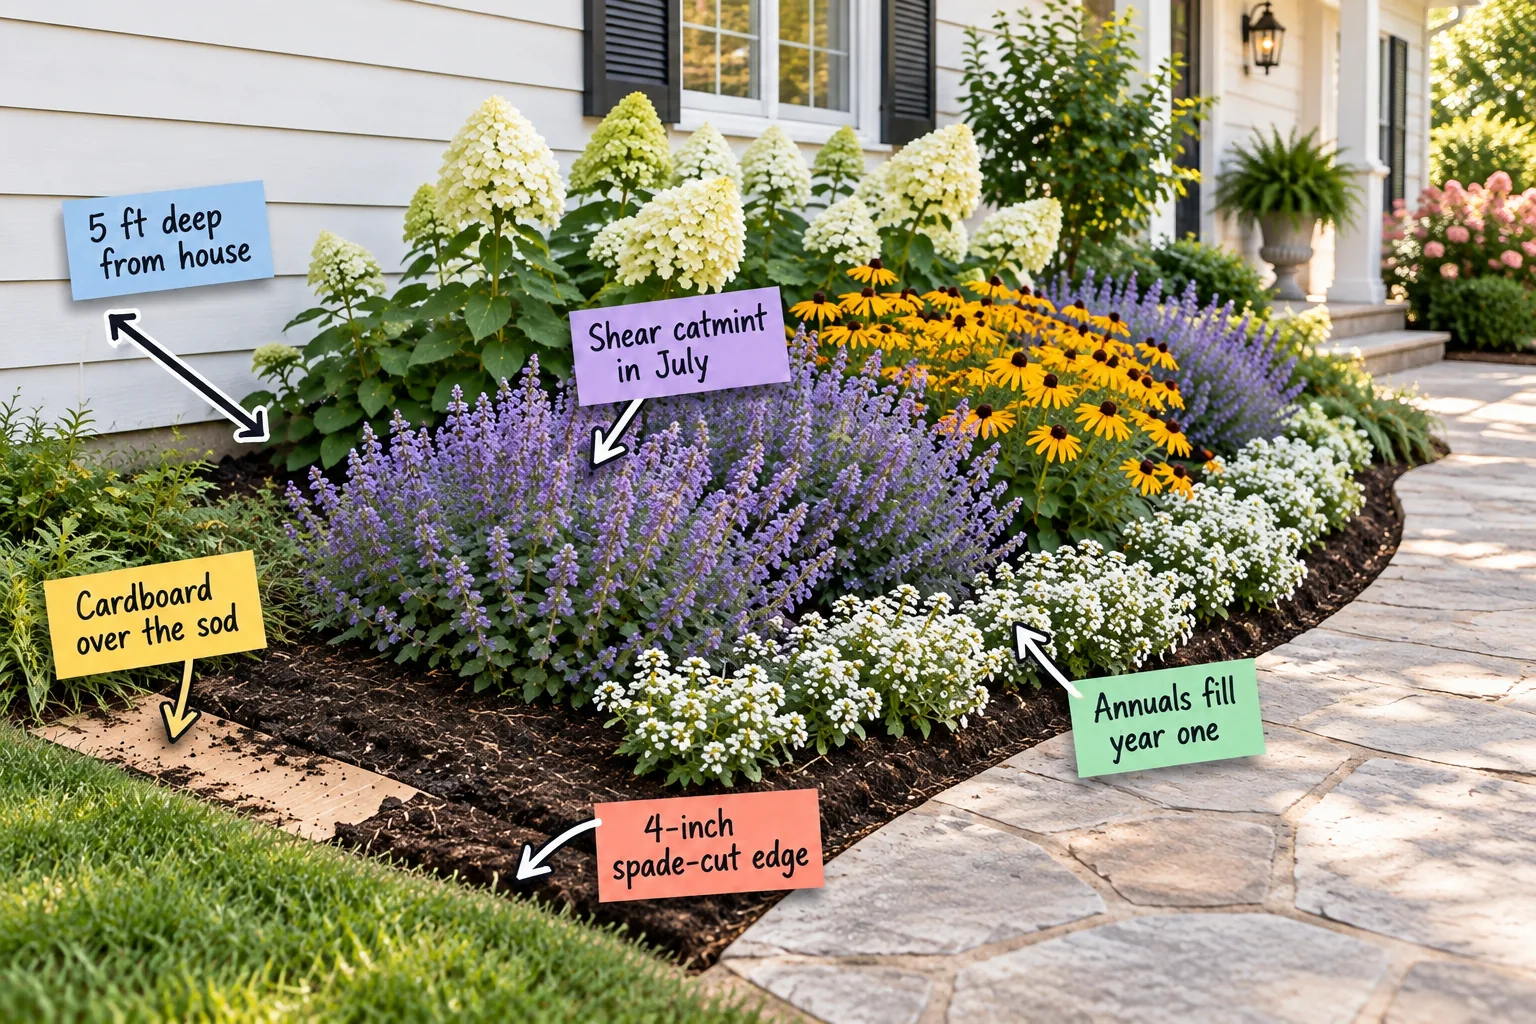
Start by measuring 5 feet deep from the foundation to establish the bed’s depth, ensuring the mature shrubs won’t rub against the siding.
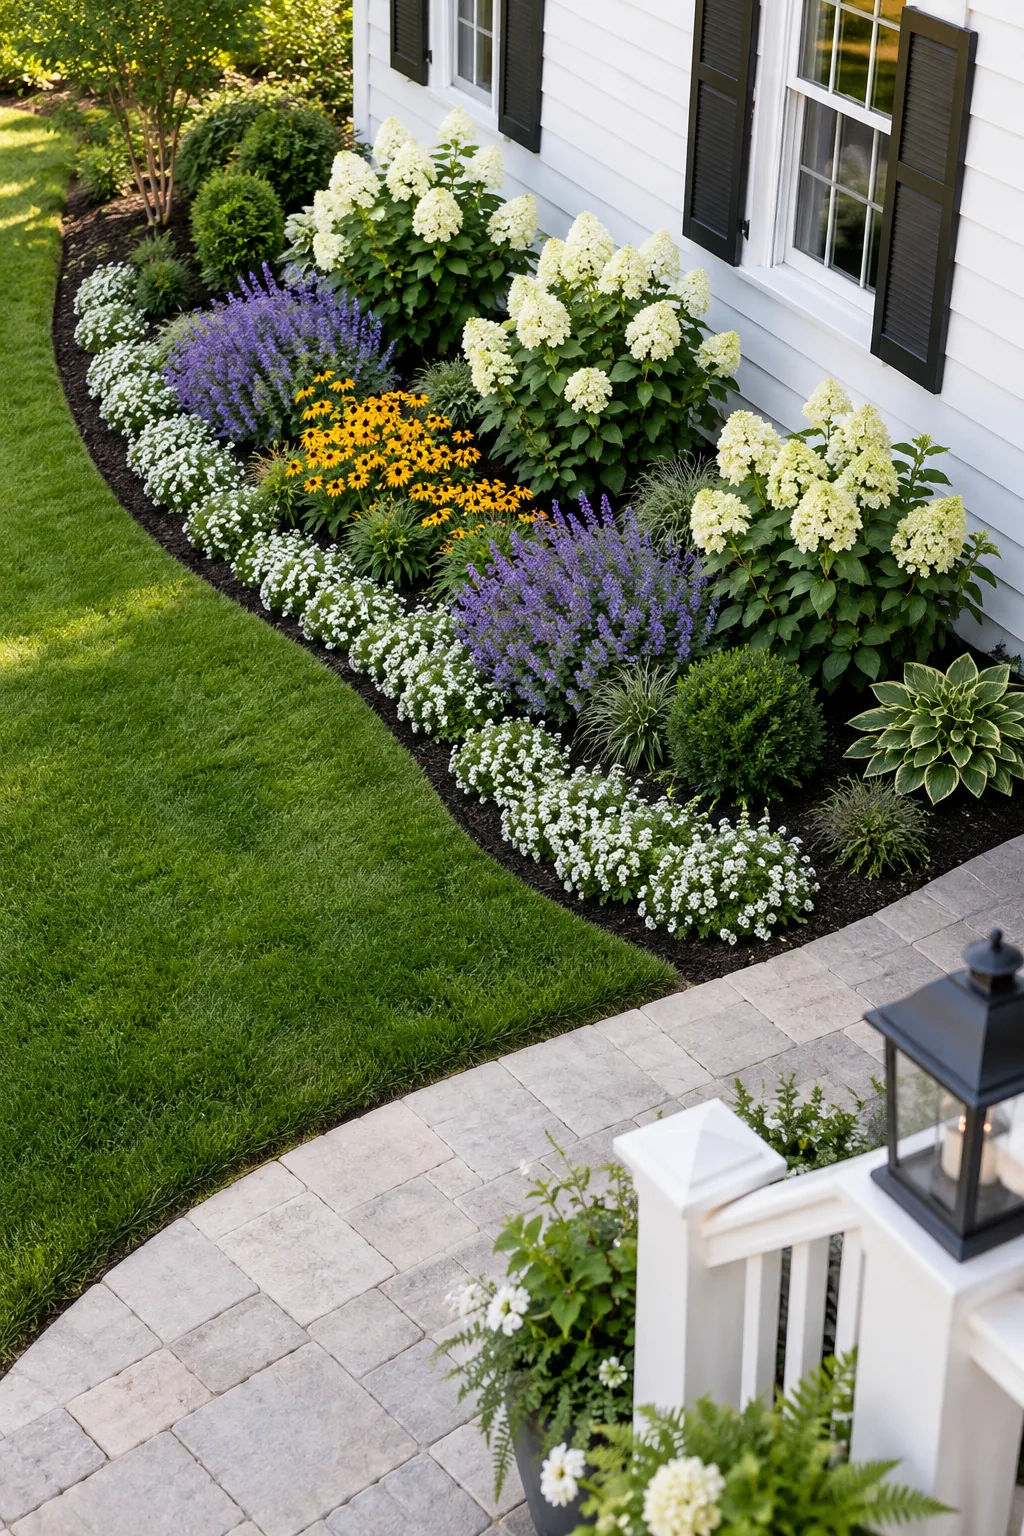
When I first laid out my Austin front yard, I grabbed a flexible garden hose to outline a gentle, sweeping curve that spans a 12-foot wide footprint along the front walkway.
Testing the Curve from the Street
Before you permanently commit to the hose line, walk out to the curb and check the shape from your neighbors’ perspective. You want to ensure the sweeping arch looks completely natural, visually balanced, and perfectly complements your home’s unique architectural style.
Smothering Sod With Cardboard
Skip the backbreaking work of digging up the lawn by using the sheet mulching method. Lay plain brown cardboard directly over the grass, wet it thoroughly, and cover it with a 2-inch layer of dark compost to naturally break down the sod beneath.
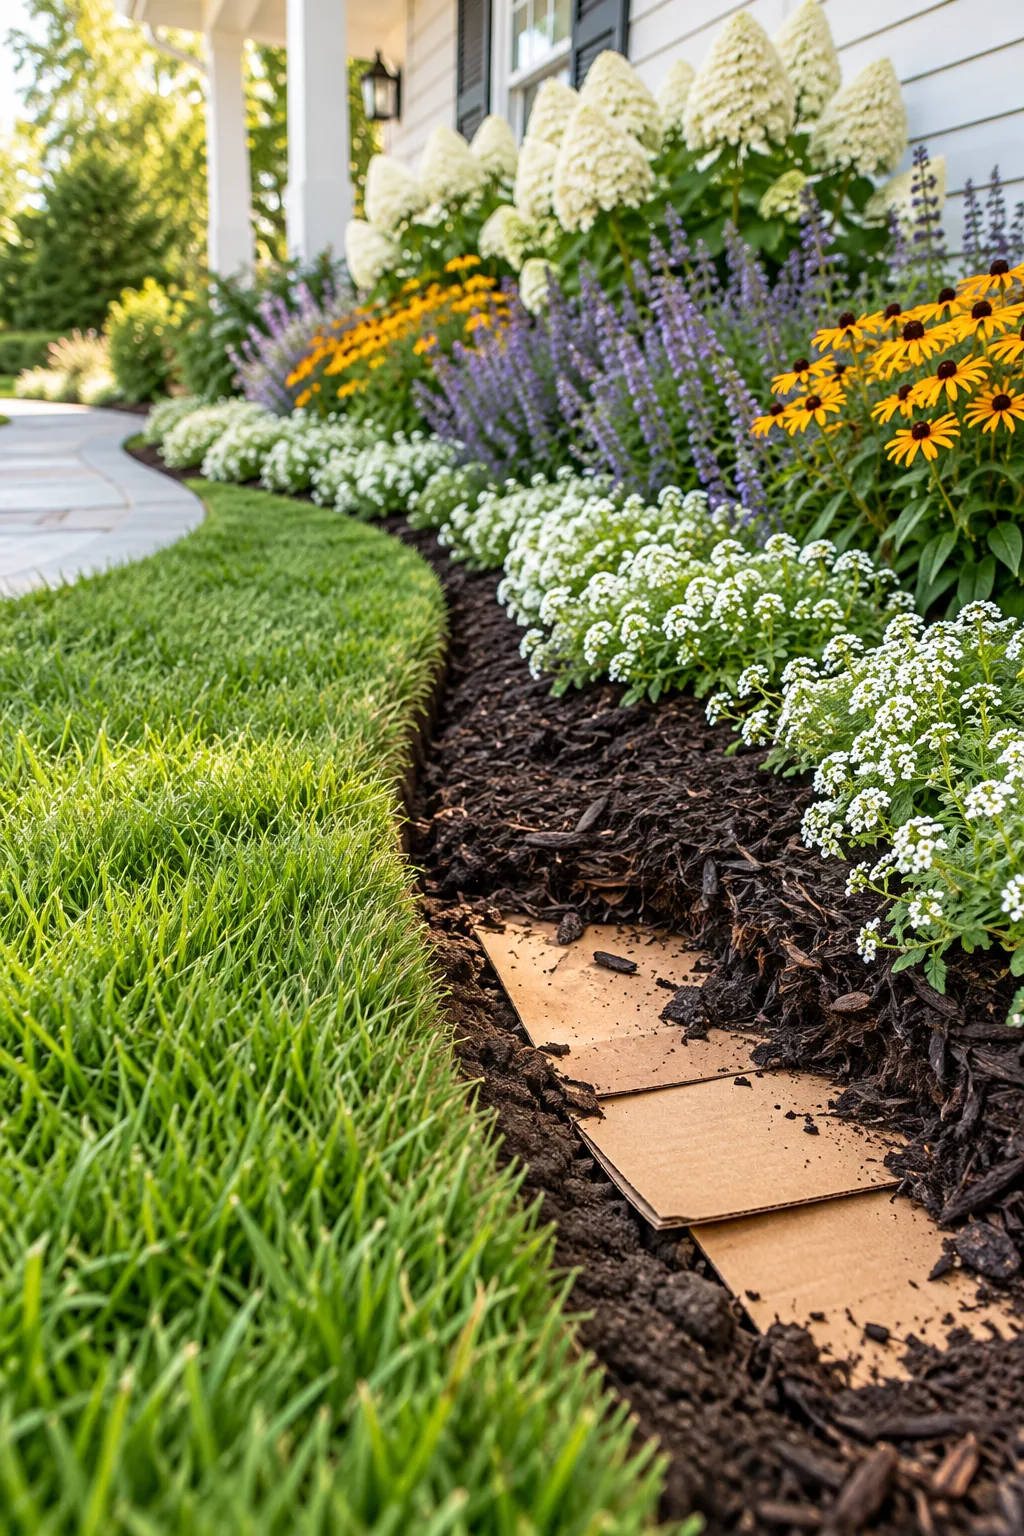
Sheet mulching is incredibly effective, but a few common setup errors will allow the stubborn lawn grass to survive and infiltrate your new bed.
Sourcing the Right Compost Blend
Always purchase a high-quality organic compost mix from your trusted local nursery rather than relying on heavy, compacted topsoil bags. The lighter, fluffier texture helps the new perennial roots establish quickly while providing essential nutrients to the smothering cardboard layer below.
Soaking the Base Layers Thoroughly
Hook up a standard oscillating sprinkler and run it over the freshly spread compost for twenty uninterrupted minutes. This deep soaking settles the organic matter into place, prevents wind erosion, and jumpstarts the natural decomposition of the smothered grass underneath.
Managing Heavy Clay Soils
If your front yard suffers from dense, sticky clay, the sheet mulching method is genuinely your best friend. The decaying cardboard and rich compost layer will actively invite earthworms up to the surface, naturally aerating the compacted ground without any backbreaking tilling.
Choosing the Best Shovel for Edging
A standard pointed digging shovel often creates a messy, slanted trench that allows grass runners to easily cross over. Investing in a dedicated half-moon edger guarantees a perfectly vertical four-inch wall that effectively stops aggressive lawn roots in their tracks.
Digging the 4-Inch Spade-Cut Edge
Create a sharp, professional boundary by digging a 4-inch deep vertical trench along the hose line using a half-moon edger or flat spade.
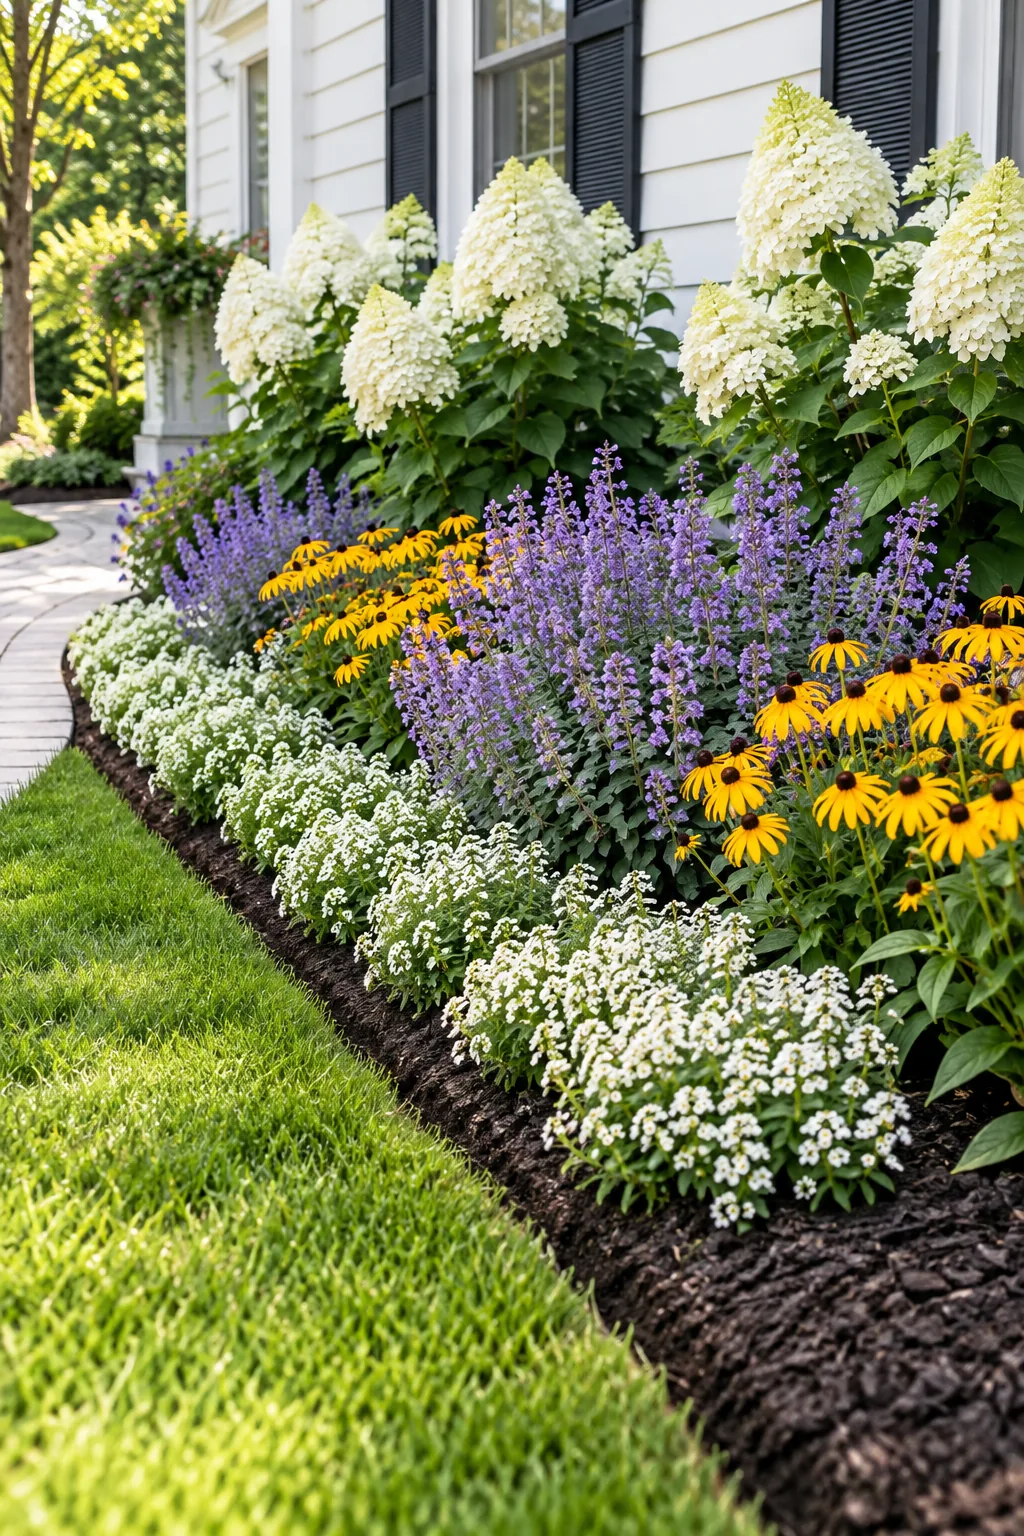
I used to dread edging until I bought a half-moon tool for my own driveway borders; this crisp physical drop-off prevents the surrounding lawn grass from creeping into the fresh mulch.
Removing the Cut Turf Properly
Once you slice through the grass, toss the excavated chunks of sod straight into your active compost bin. Alternatively, you can flip them completely upside down in the very back of the garden bed where they will harmlessly rot away unseen.
Maintaining the Trench Over Time
Plan to walk the entire perimeter with your sharpened flat spade once every spring before the new mulch arrives. Simply slicing away any winter grass runners instantly refreshes the crisp, professional appearance and maintains that crucial four-inch barrier for another year.
Anchoring the Back With Hydrangeas
Plant three dwarf panicle hydrangeas spaced 3.5 feet apart along the back row, keeping them at least three feet from the house.
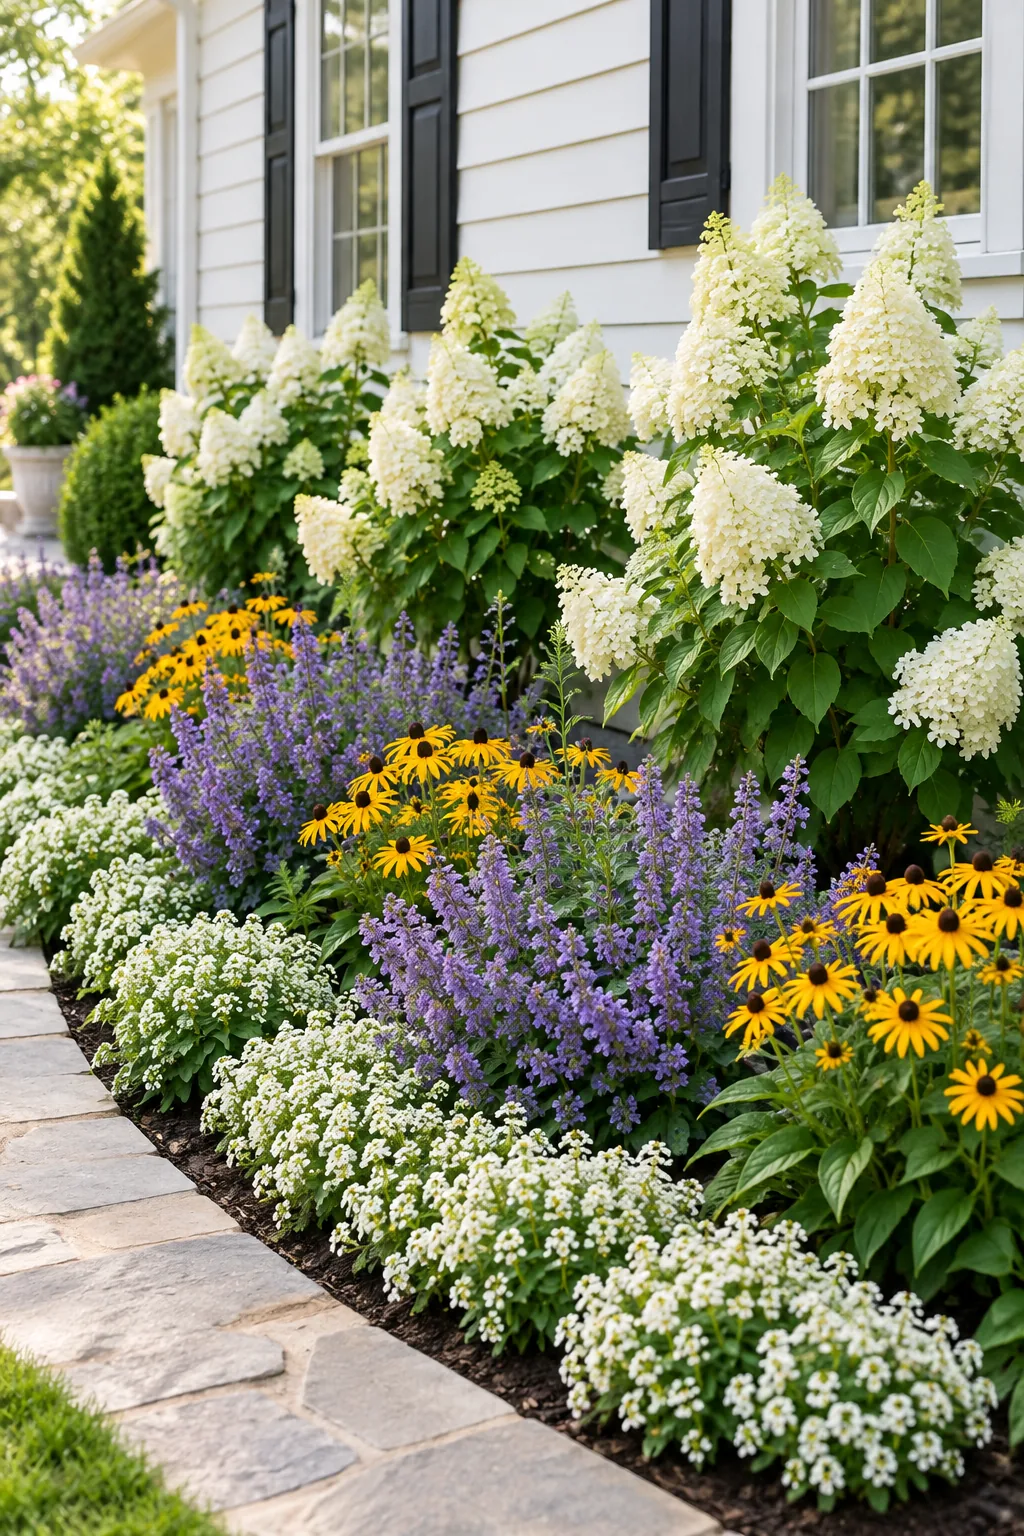
Planting these against my own brick siding taught me to respect their mature width; their structural white blooms provide a solid, reliable backdrop that anchors the entire floral arrangement.
Proper Depth for Shrub Root Balls
Always position your new nursery shrubs perfectly level, using this quick reference for standard pot dimensions to dig the right hole the very first time. Setting the crown slightly above your existing grade prevents dangerous root rot during heavy spring rainstorms.
| Pot Size | Hole Width | Hole Depth |
| 1 Gallon | 12 inches | 6 inches |
| 3 Gallon | 20 inches | 10 inches |
| 5 Gallon | 24 inches | 12 inches |
Adding Mid-Bed Color With Perennials
Fill the middle zone by staggering three violet catmint plants and three golden black-eyed Susans, placing them 24 inches apart.
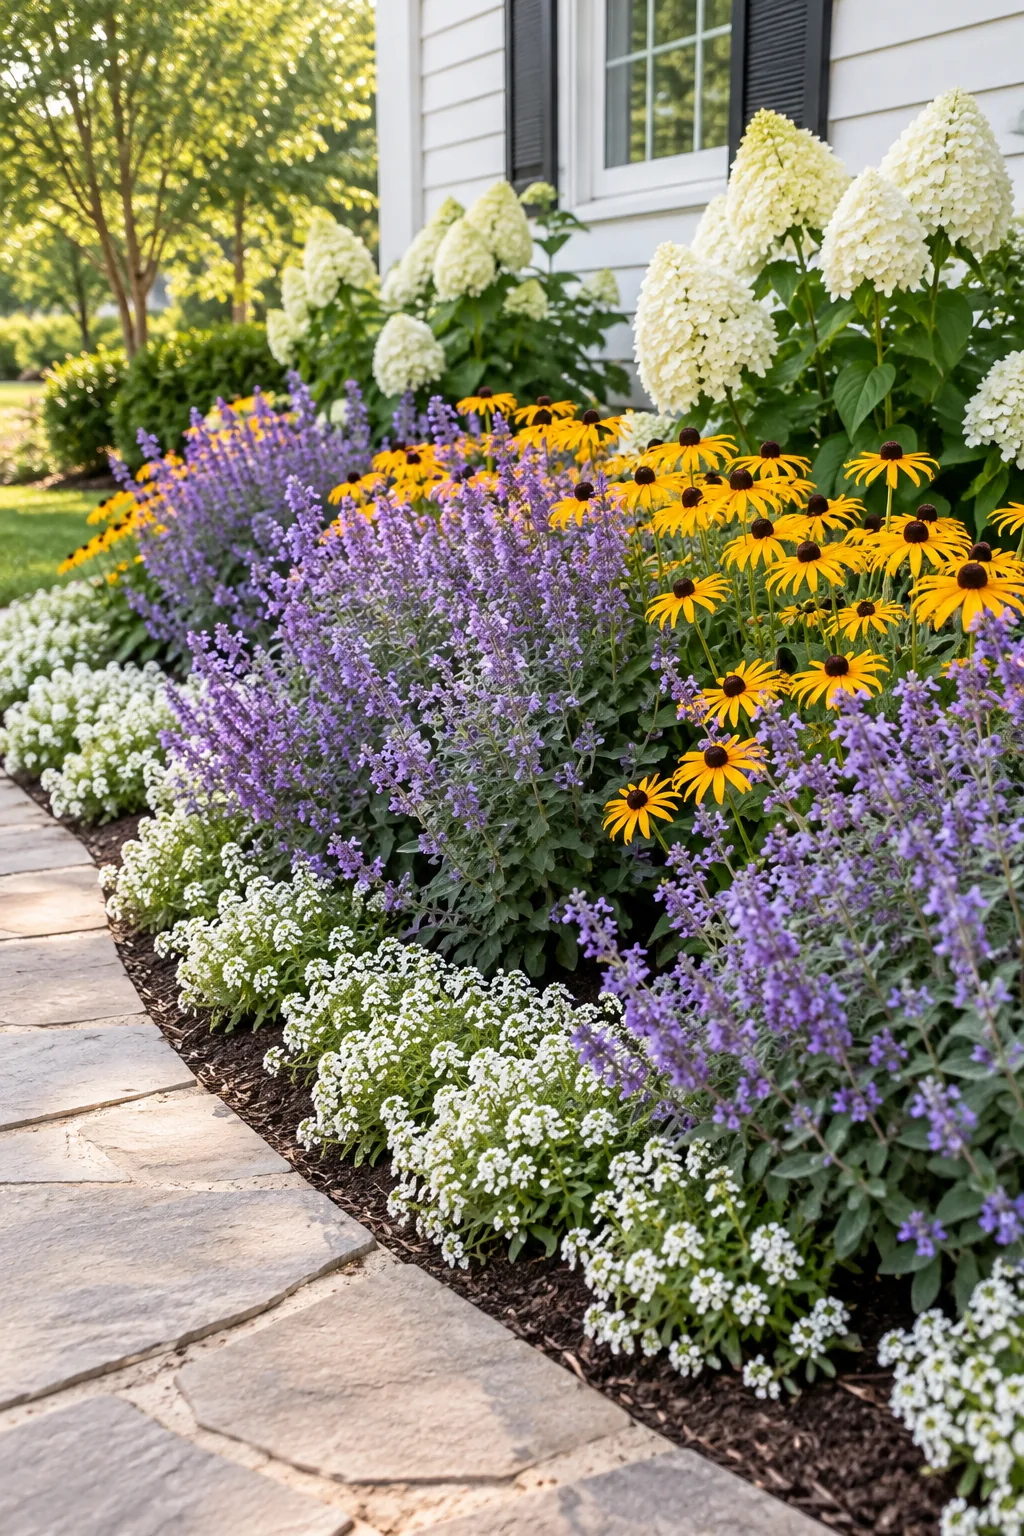
This alternating layout creates a dense, billowing wave of contrasting summer color that fills in beautifully year after year.
Spacing Plants for Maximum Airflow
Resist the overwhelming urge to pack the small nursery pots closer together for an instantly full look. Giving them a full two feet of breathing room prevents devastating powdery mildew from ruining your beautiful late summer floral display as the plants mature.
Filling Year-One Gaps With Annuals
Because the new perennials need a season to reach their mature width, plant a continuous ribbon of white sweet alyssum 8 inches apart along the very front.
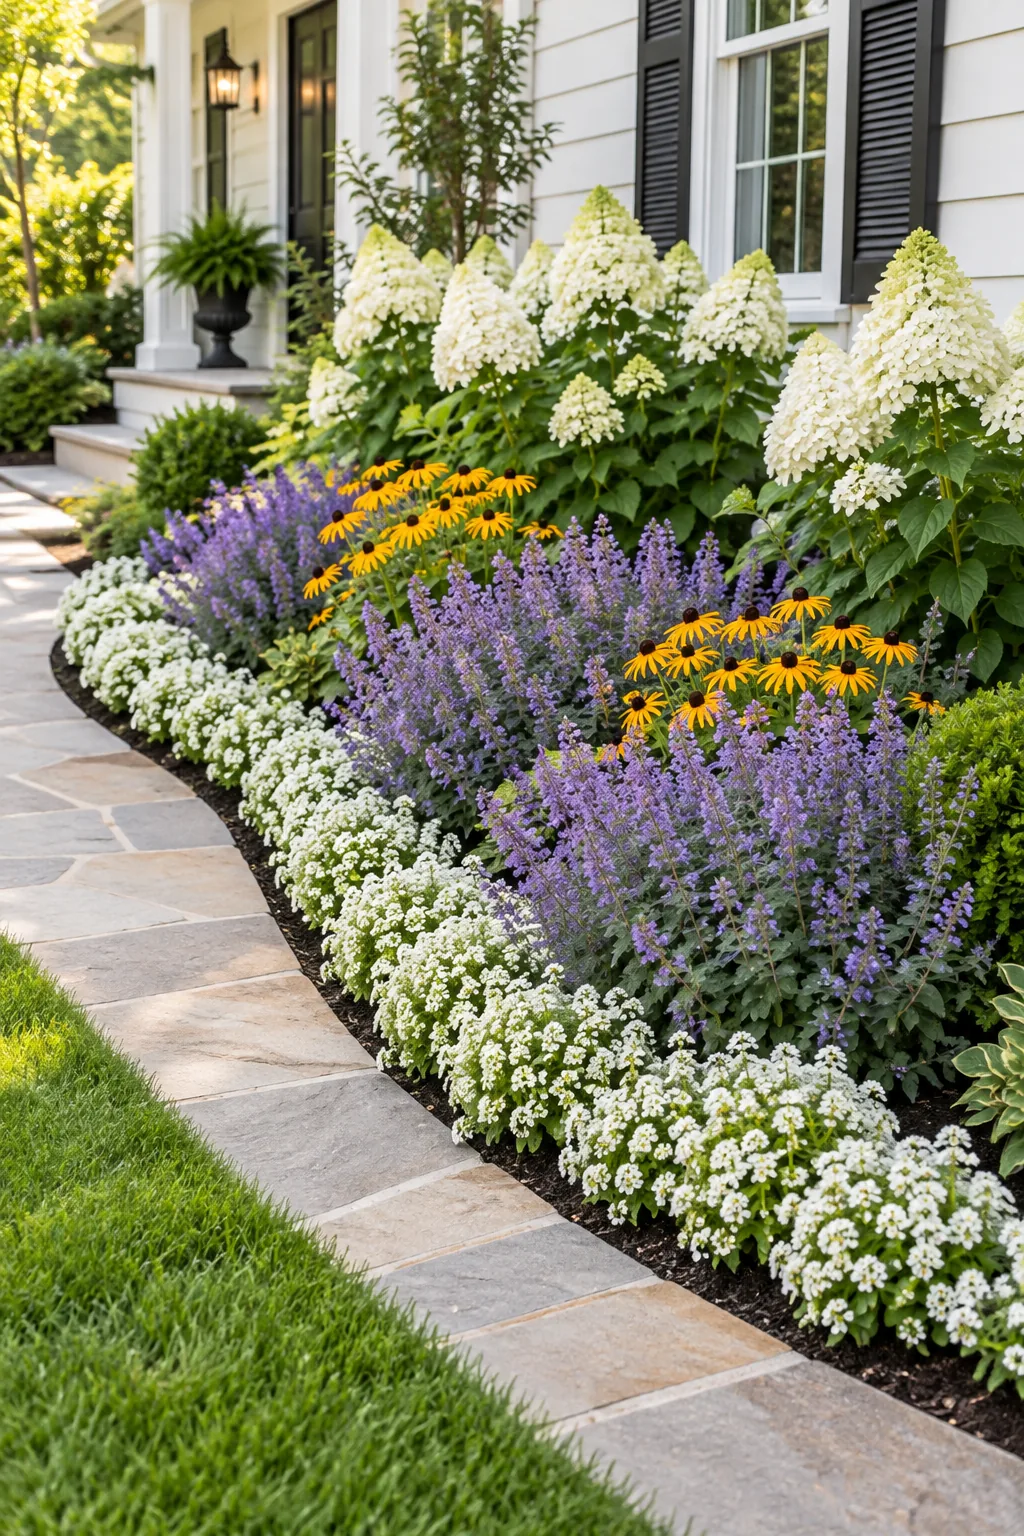
These fast-growing annuals provide instant fullness and suppress weeds while the permanent plants establish.
Swapping Annuals in the Fall
When the summer heat finally breaks and the white sweet alyssum begins to naturally fade away, pull the spent annuals out completely. You can easily replace them with vibrant garden mums or ornamental kale to keep the front border colorful through November.
Deadheading the Sweet Alyssum
Keep the delicate front border looking incredibly fresh by lightly snipping off the spent white flower clusters every few weeks. This simple five-minute maintenance task encourages the trailing plants to push out new buds continuously until the first hard winter frost arrives.
Watering the New Layers Deeply
Set your garden hose to a gentle shower setting and thoroughly soak the entire planted area every single morning. For the first two weeks, you must ensure the vital moisture reaches all the way down through the thick compost and cardboard layers.
Summer Pruning for Repeat Blooms
Maintain the bed’s tidy appearance by managing the aggressive growers mid-season. Once the first major flush of purple flowers fades, cut the catmint back by a third to trigger a fresh, compact wave of blooms that lasts into early fall.
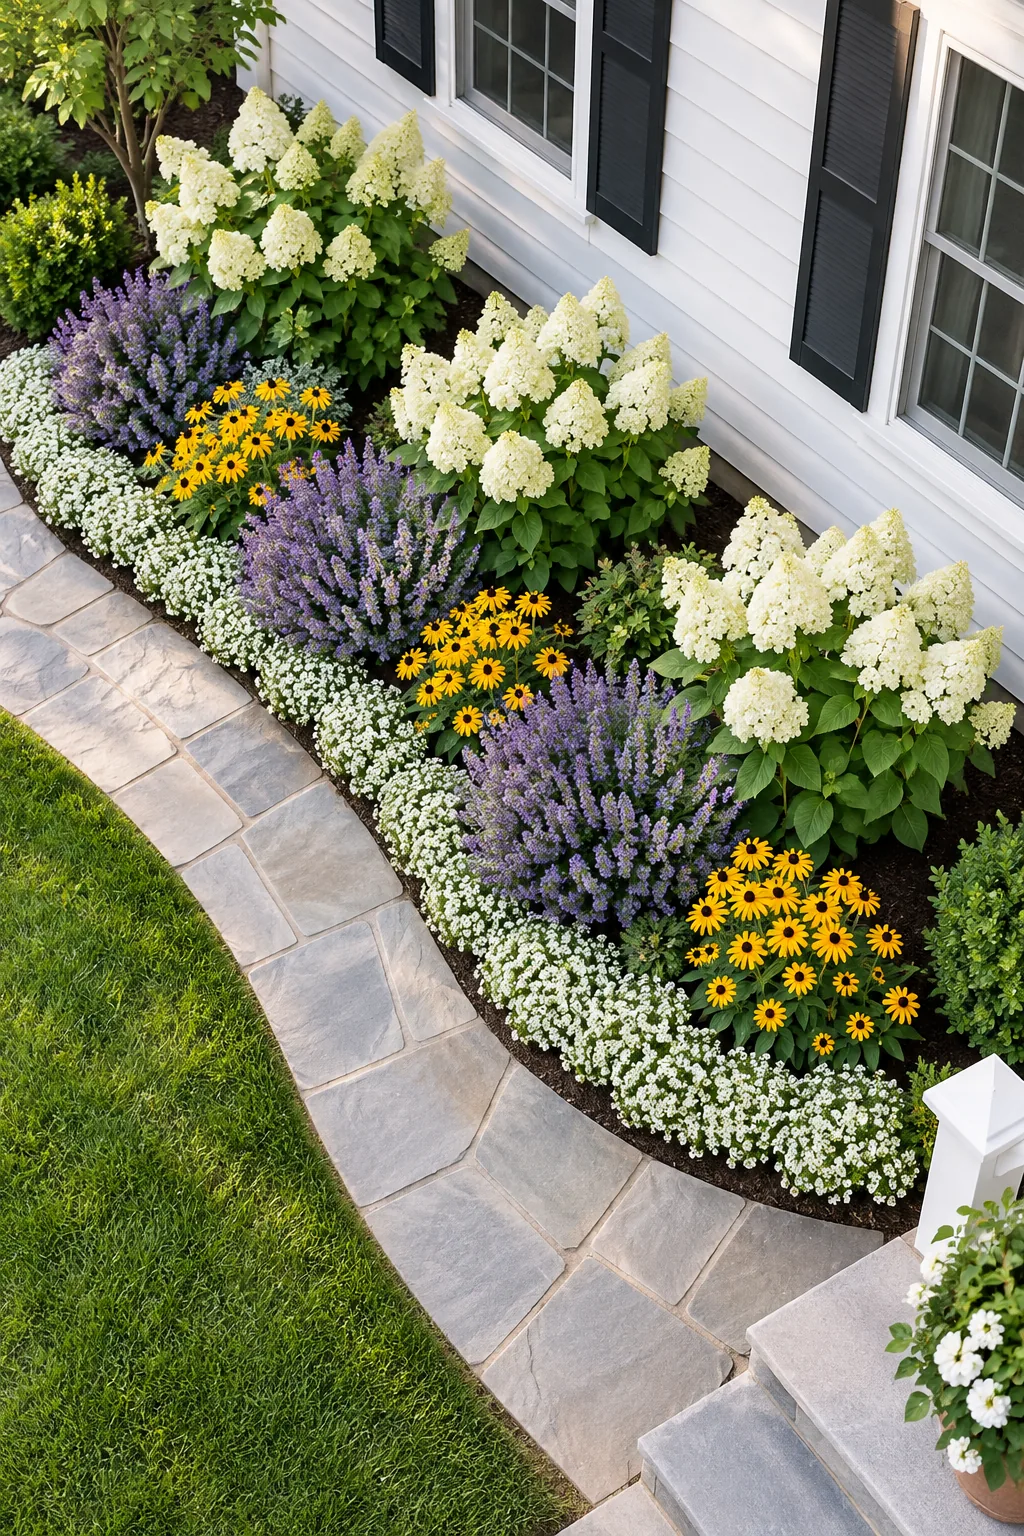
Using sharp hedge shears makes this summer trim incredibly fast, ensuring the plants stay rounded and lush rather than sprawling wildly over your carefully placed border annuals.
Applying a Hardwood Mulch Finish
Spread a thick three-inch layer of double-shredded hardwood mulch directly over the exposed compost between your new plants. This final protective blanket locks in essential soil moisture, suppresses future weed seeds, and gives the entire weekend project a beautifully finished, cohesive look.
Keeping Mulch Away from Stems
Carefully pull the dark wood chips back slightly from the base of every single hydrangea, catmint, and black-eyed Susan. Leaving a small bare ring around the crown ensures the delicate plant stems can breathe properly and naturally resist damaging fungal diseases.
Protecting the Bed from Neighborhood Pets
Newly turned soil and fresh compost act like an absolute magnet for curious neighborhood cats and digging dogs. Laying a few thorny rose trimmings or decorative landscape boulders between the young perennials naturally deters unwanted visitors while the delicate roots take hold.
Feeding the Bed in Early Spring
Broadcast a balanced, slow-release granular organic fertilizer evenly across the fading mulch just before the heavy spring rains arrive. This proactive feeding gives your returning perennials and shrubs the exact nutritional boost they need to wake up strong and bloom prolifically.
Photographing Your Weekend Progress
Remember to snap a quick picture of your grassy front lawn before you lay down the very first piece of cardboard. Looking back at that dramatic before-and-after transformation makes all the sweaty Saturday labor feel incredibly rewarding by Sunday morning.
Your Printable One-Saturday Bed Plan
Download the complete weekend guide to take to the nursery. It includes the exact shopping list of 3 hydrangeas, 3 catmint, 3 black-eyed Susans, and 12 alyssum, plus the hour-by-hour schedule to get the entire project planted before Sunday.
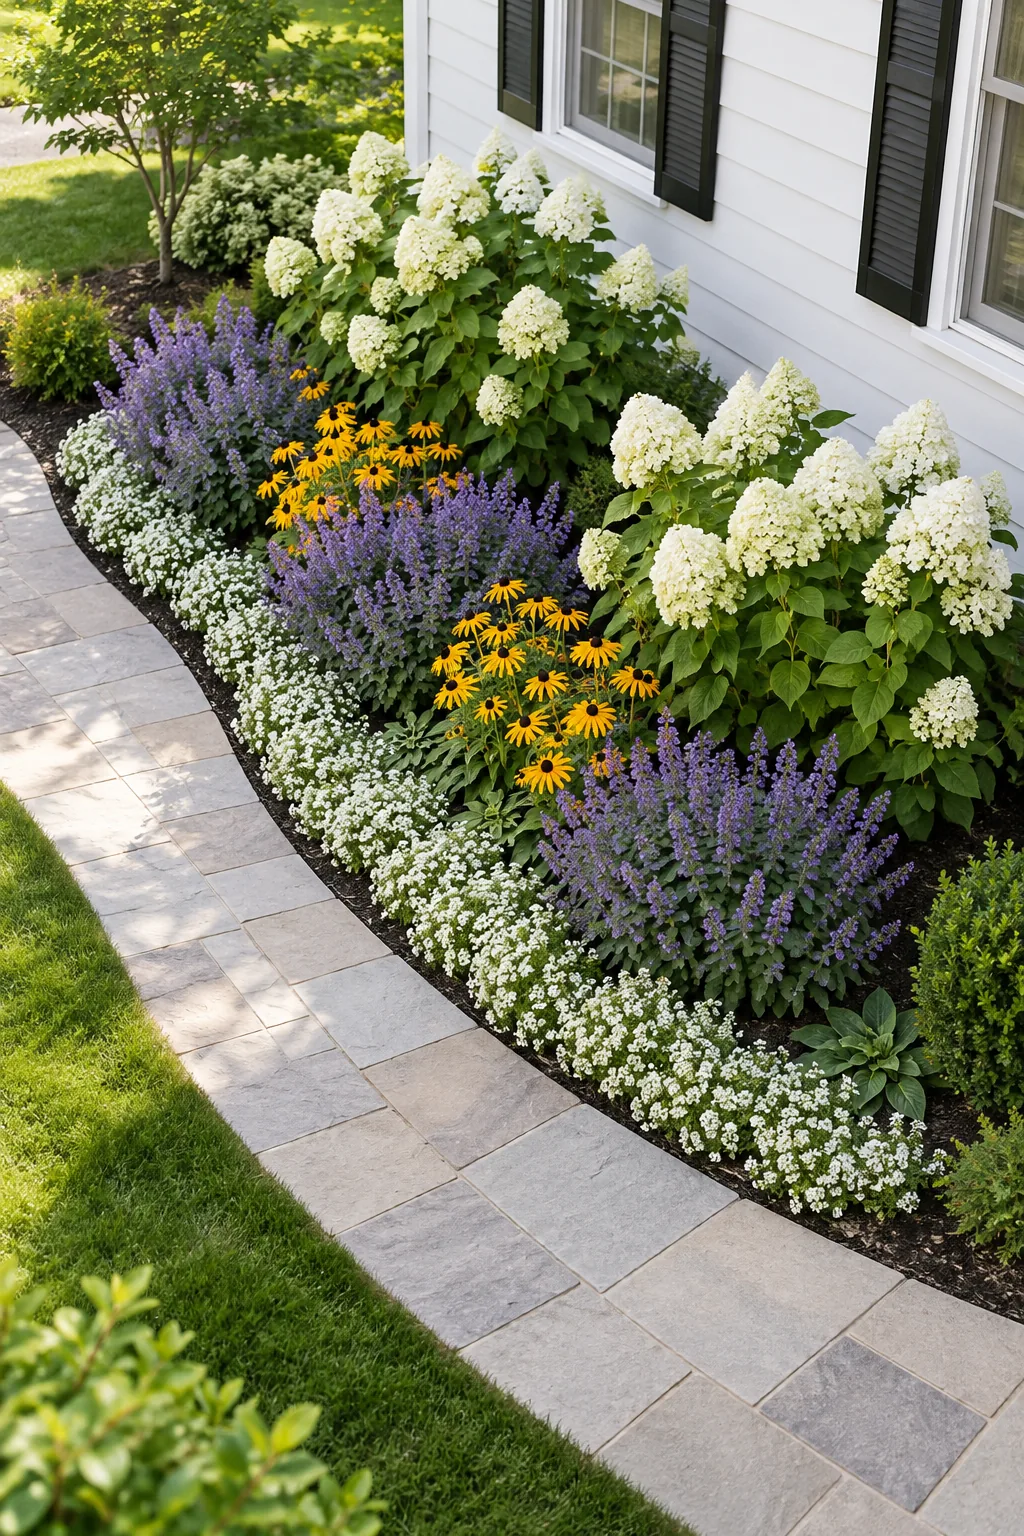
Before you head to the garden center, review this quick weekend timeline to ensure you have enough daylight to finish the heavy lifting.
More Front Yard Bed Styles to Try
If the classic white and purple palette isn't your favorite, try adapting the same 5×12 footprint with one of these distinct garden styles.
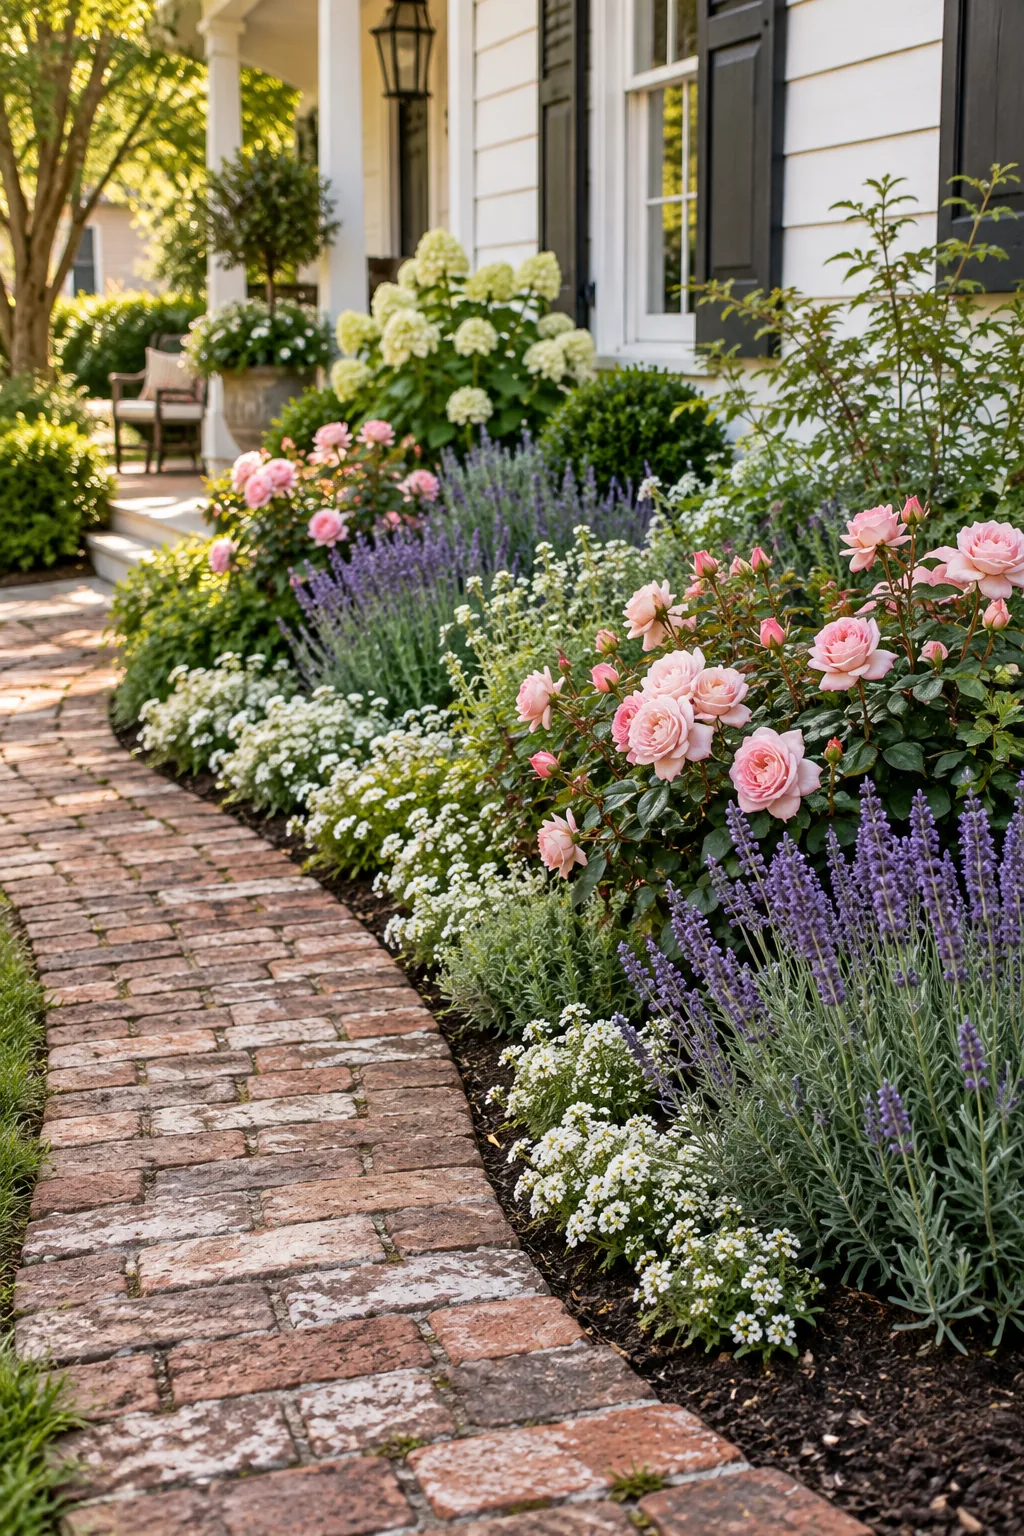
Romantic English Cottage Style: Swap the hydrangeas for soft pink roses and use fragrant lavender in the middle row for a romantic, heavily perfumed entrance.
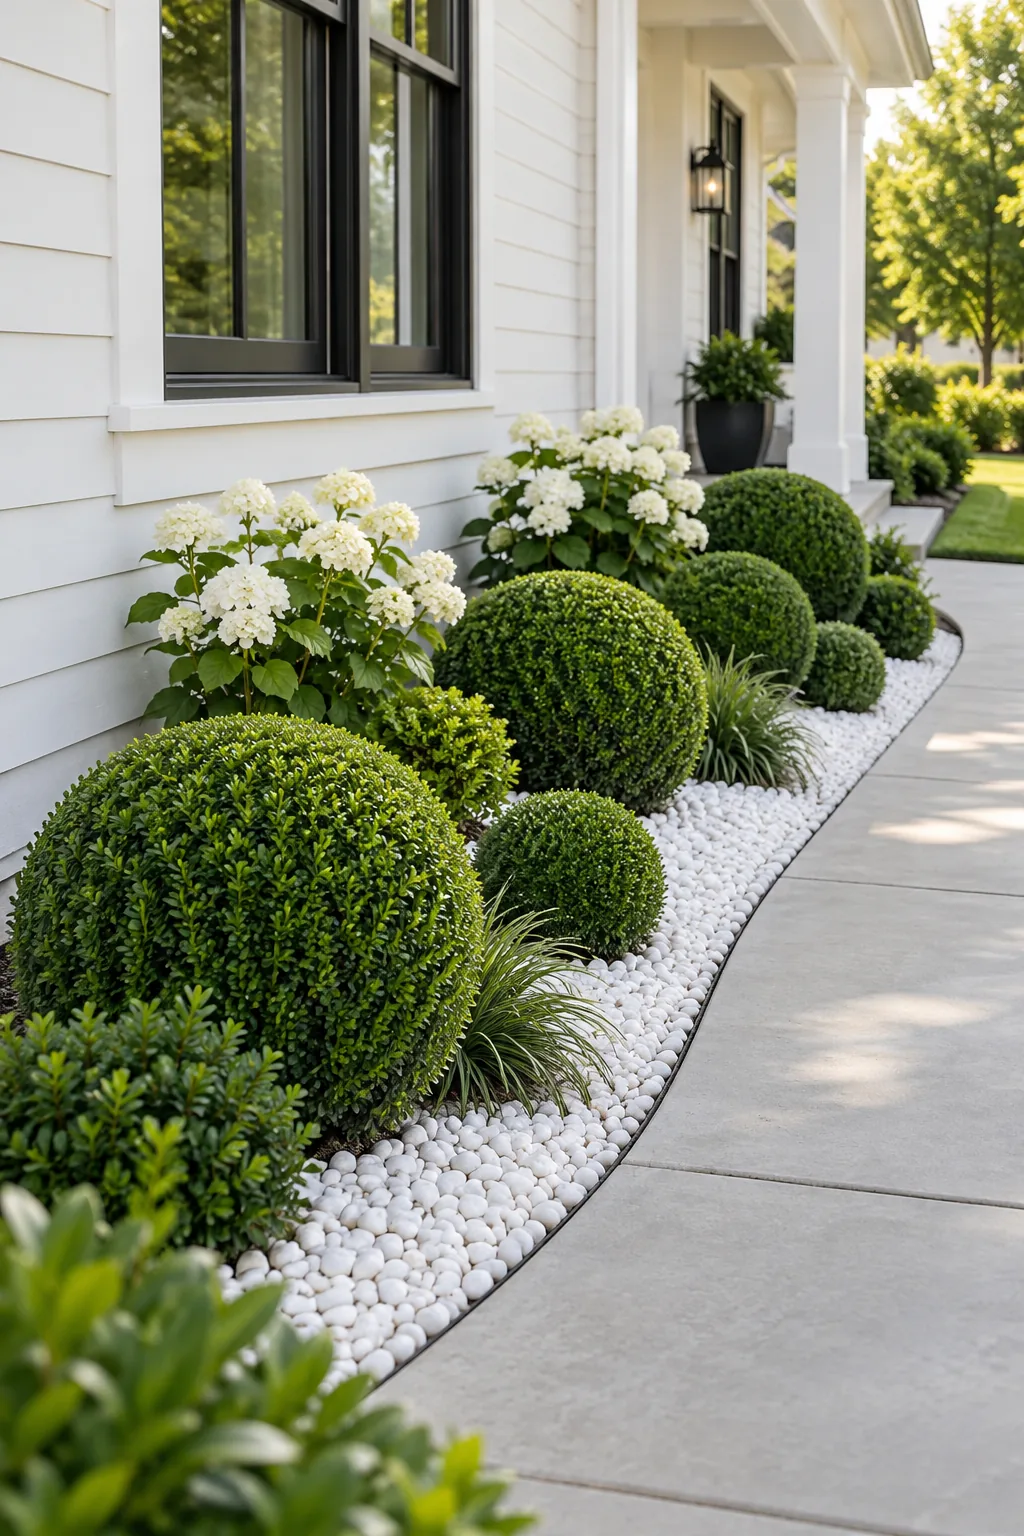
Clean Modern Minimalist: Focus entirely on structure by using varying sizes of evergreen boxwood spheres set against bright white gravel for year-round architectural interest.
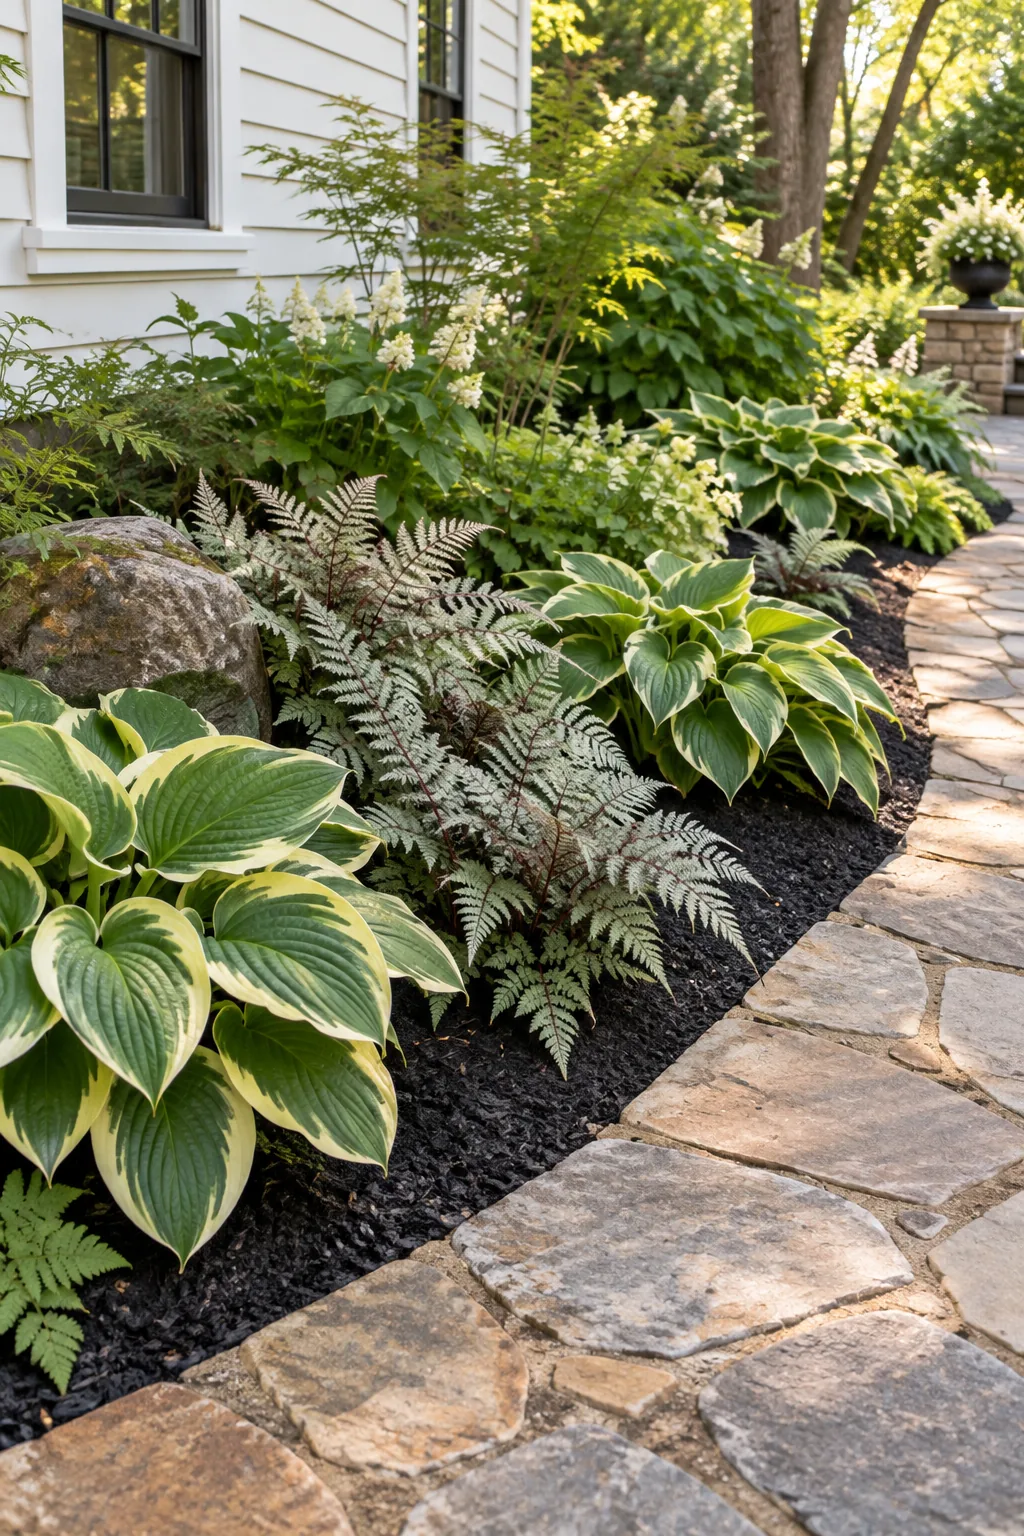
Lush Woodland Shade Garden: If your front yard faces north, rely on the striking foliage of variegated hostas and delicate painted ferns to brighten the shadows.