
Air-Filled New Year's Balloon Ceiling & Decor Count Chart
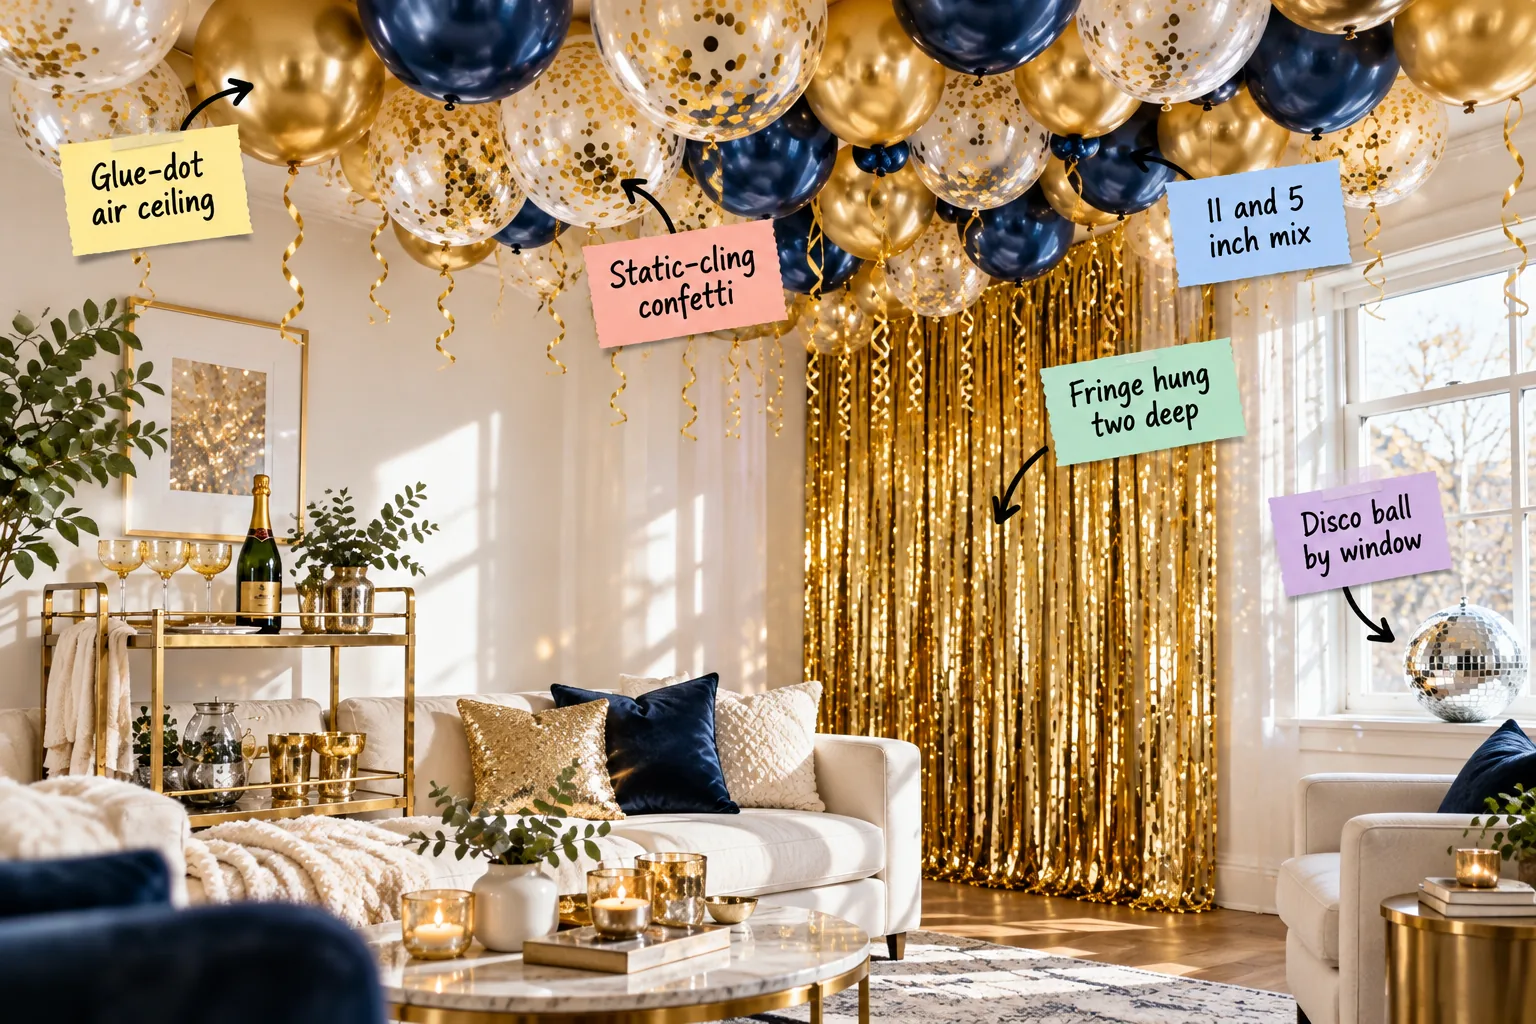
Skip the helium this New Year’s Eve with our printable balloon ceiling count chart and hour-by-hour hanging timeline. You will be able to calculate exactly how many balloons to buy and follow a stress-free schedule to build an air-filled ceiling before guests arrive.
The Glue-Dot Air Ceiling Alternative
To achieve a stunning floating effect without relying on expensive helium, you can anchor air-filled balloons directly to your ceiling. Using two heavy-duty glue dots per latex sphere creates a completely flush, seamless canopy that mimics traditional floating decorations perfectly.
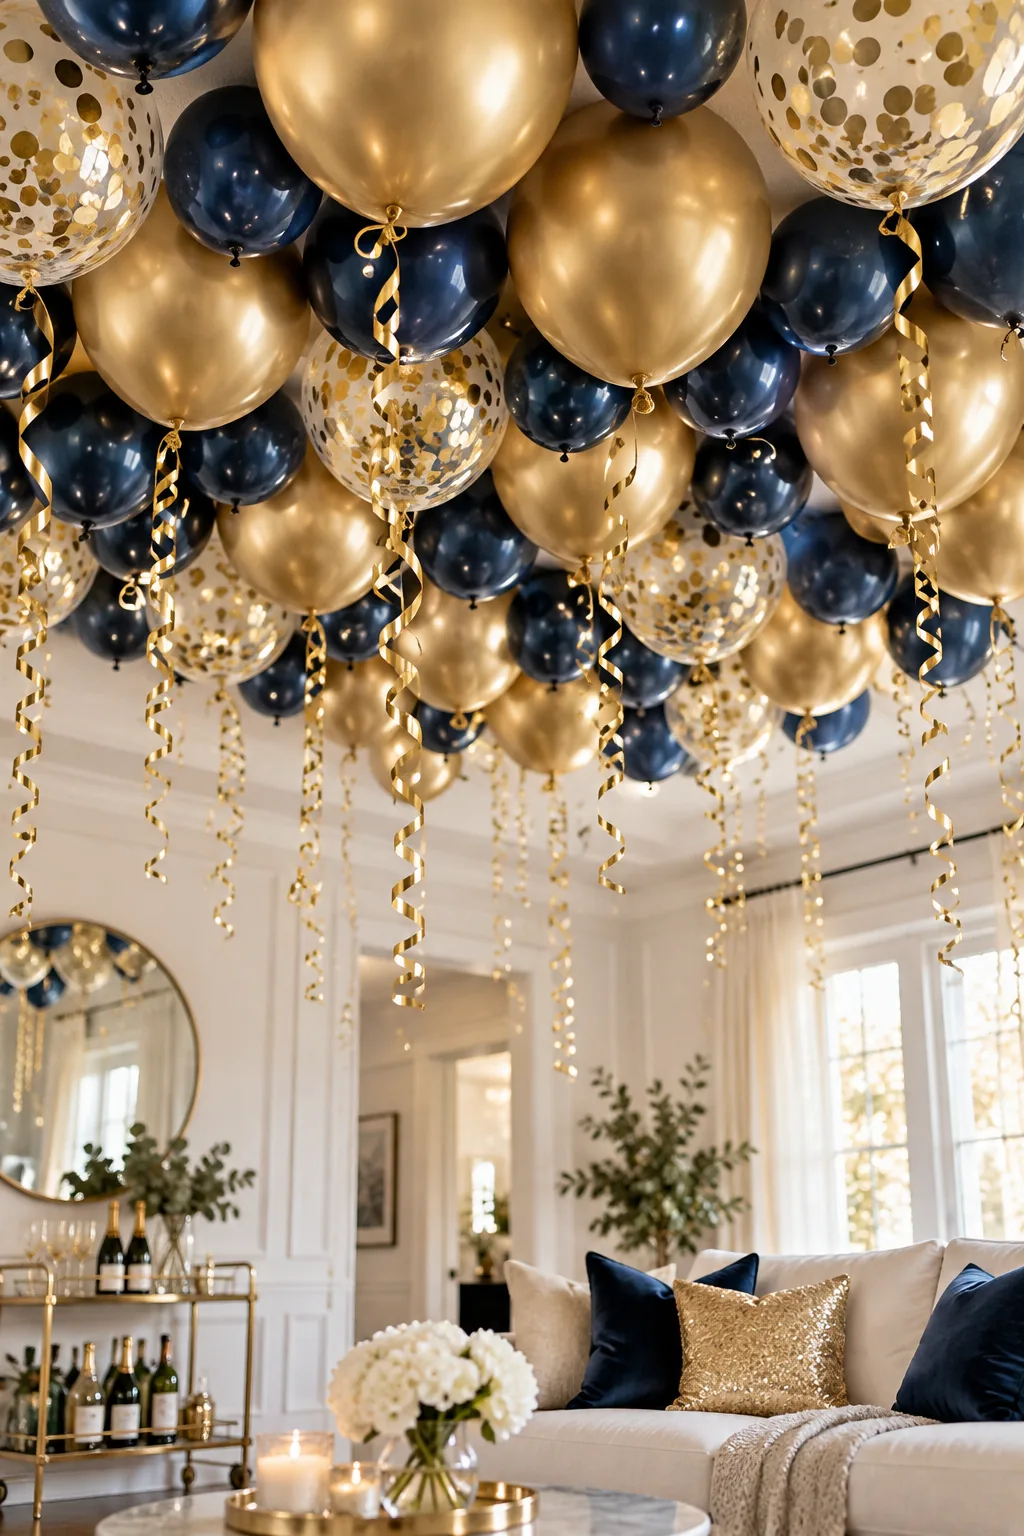
I always place the clear adhesive dots on opposite sides of the tied knot, pressing them firmly upward against the plaster. This technique completely hides the attachment point and ensures the balloons stay securely anchored through the entire night.
Prepping the Ceiling Surface
Even the strongest adhesive will fail if applied to a dusty surface, so run a clean, dry microfiber mop lightly over the ceiling area. Allowing the plaster to settle for twenty minutes before applying any glue dots ensures a long-lasting installation.
Sizing the 11-Inch and 5-Inch Mix
Mixing balloon sizes is a visual necessity for building a dense, professional-looking canopy that completely obscures the ceiling above your main seating area. A uniform ceiling looks flat, while varied sizes create natural depth and shadow.
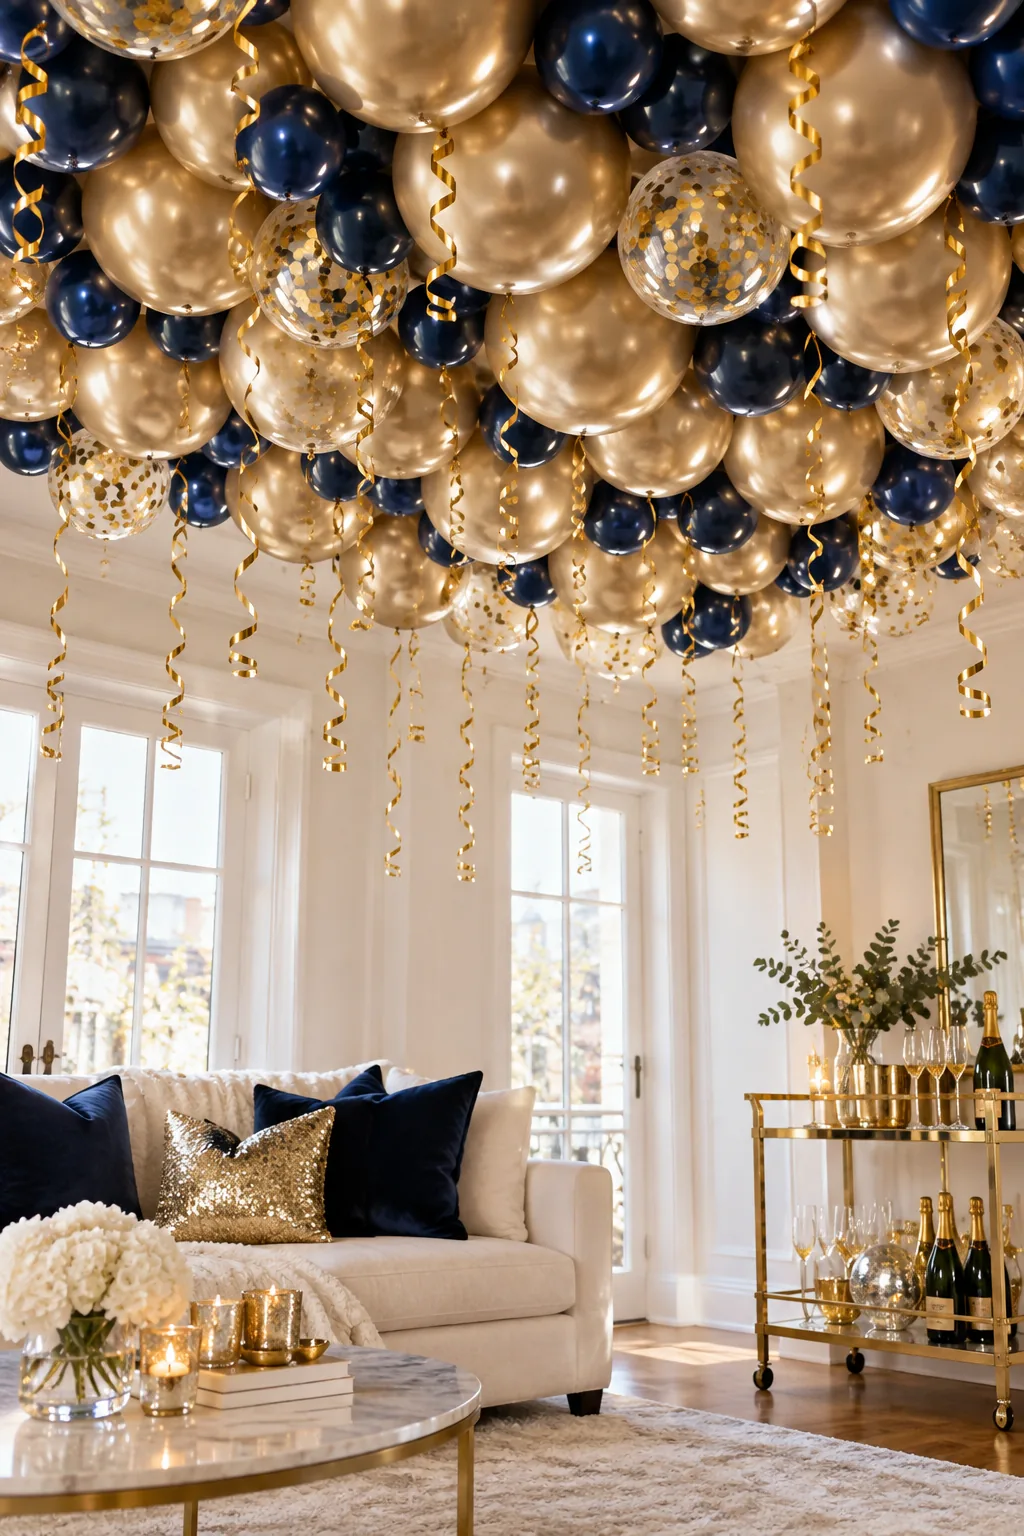
A strict ratio of three 11-inch balloons to one 5-inch balloon fills those awkward negative spaces perfectly. Tucking the smaller spheres between the larger base layer adds necessary dimension to the overhead arrangement.
Calculating Your Total Balloon Count
Determining exactly how many supplies to purchase prevents mid-installation panic and ensures your canopy looks intentionally lush rather than sparse and unfinished. Using a simple square-footage multiplier keeps your shopping list precise.
| Ceiling Area | 11-Inch Count | 5-Inch Count | Glue Dots |
|---|---|---|---|
| 4×4 ft (16 sq ft) | 48 balloons | 16 balloons | 128 dots |
| 6×6 ft (36 sq ft) | 108 balloons | 36 balloons | 288 dots |
| 8×8 ft (64 sq ft) | 192 balloons | 64 balloons | 512 dots |
Always buy an extra bag of both sizes to account for accidental pops during inflation. Having backup supplies on hand prevents stressful last-minute store runs when you are trying to finish the overhead layout.
Creating Static Cling for Confetti
Heavy gold foil confetti will simply pool at the bottom of standard air-inflated clear balloons unless you generate a strong static charge to hold it against the inner latex walls.
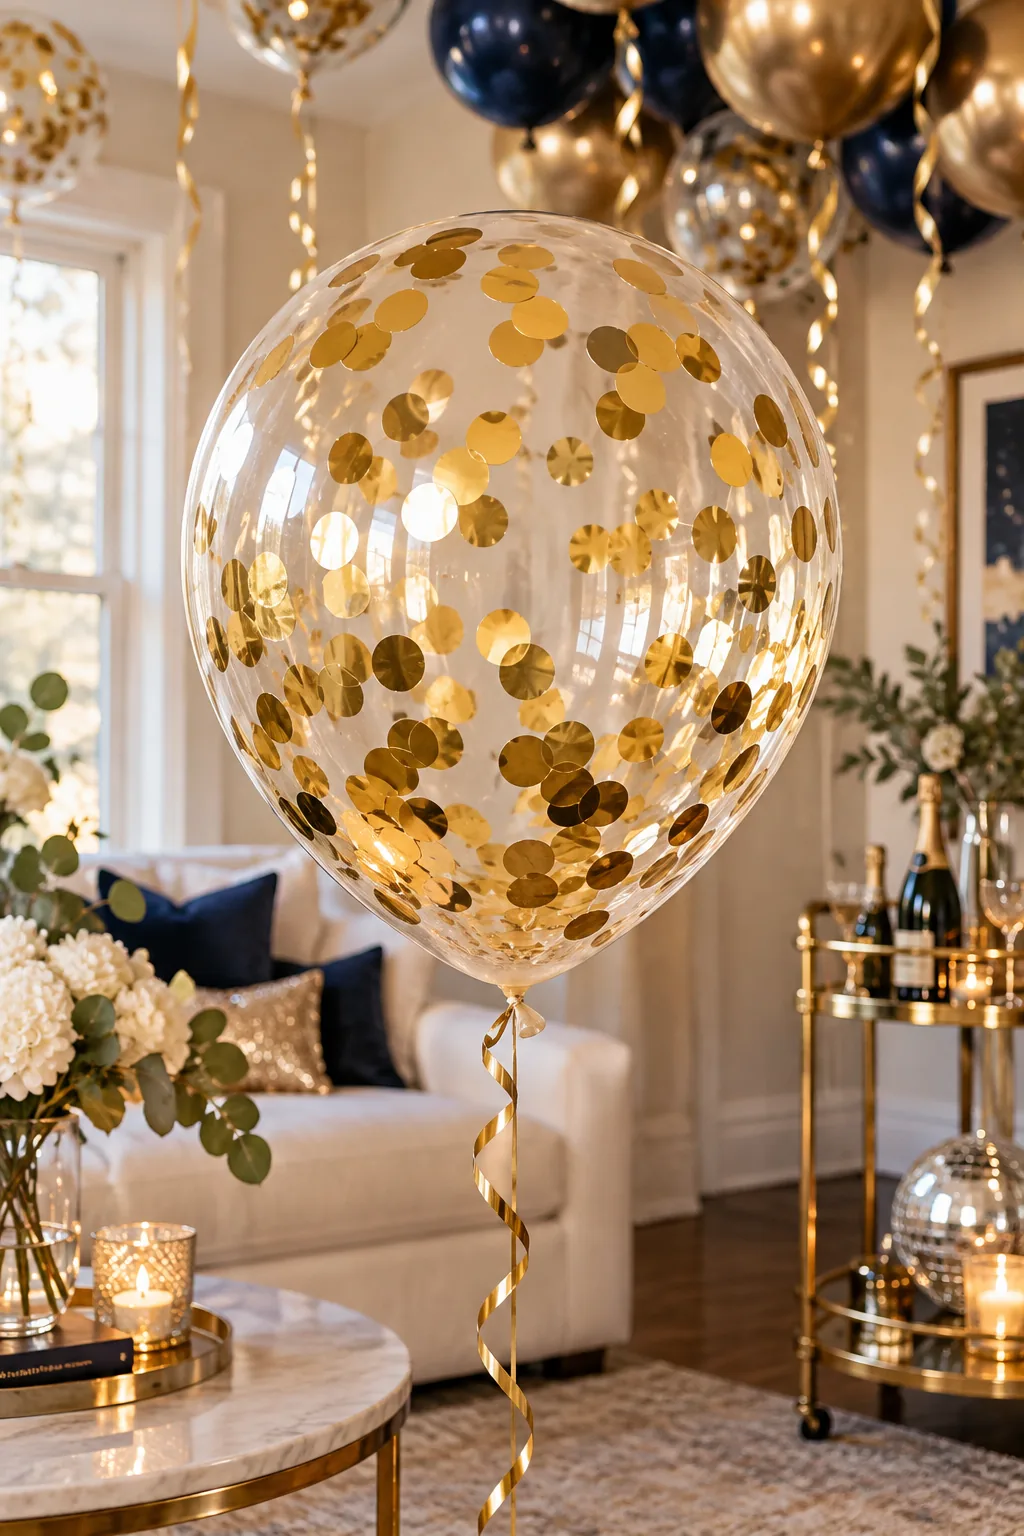
Getting the confetti to spread beautifully requires a quick extra step before tying the ribbon to ensure the metallic pieces adhere evenly across the interior.
Securing the Confetti Distribution
Without manual friction, the metallic pieces will never reach the top hemisphere of the balloon, leaving the ceiling canopy looking uneven and dull.
Applying this technique immediately after inflation guarantees the static charge remains strong enough to hold the foil pieces in place for the entire evening.
Measuring and Cutting Ribbon Tails
Sizing your curling ribbon tails uniformly ensures they hang beautifully without obstructing guests as they mingle and move beneath the overhead decorations. Establishing a consistent drop length makes the entire room look professionally styled.
- Determine the drop: Measure the distance from your ceiling down to exactly one foot above your tallest guest’s head.
- Add curling allowance: Add six extra inches to that measurement to account for the shrinkage that happens when you curl the ends.
- Batch cut: Wrap the ribbon around a piece of cardboard cut to your final length, then slice one end to create identical tails instantly.
Pre-cutting all your ribbons before starting inflation speeds up the entire assembly process and guarantees a perfectly level baseline across the entire room.
The Balloon Ceiling Count Chart & Timeline
Accurately planning your hanging schedule relies on the baseline metric of four large balloons per square foot to calculate your total required installation time. Sticking to a strict timeline prevents the latex from oxidizing before the countdown.

I used this exact hour-by-hour timeline for my own New Year’s Eve party last year, and the ceiling stayed flawlessly plump and glossy well past midnight.
Executing the Hanging Schedule
To keep the latex looking fresh and prevent early drooping, follow this exact schedule on the afternoon of your party.
Completing the heavy lifting early leaves you plenty of time to get dressed and arrange the appetizers before the first guest rings the doorbell.
Selecting the Right Ribbon Material
The type of ribbon you choose drastically affects how the tails hang and how much weight pulls down on your adhesive dots over time. Heavy materials will inevitably compromise the glue bond.
Sticking to standard metallic curling ribbon keeps the installation lightweight and ensures the delicate adhesive bond remains completely uninterrupted throughout the evening.
Hanging the Fringe Backdrop Two Deep
Layering metallic fringe curtains creates a luxurious, opaque photo backdrop that completely masks the everyday paint color or wall art behind it. A single layer often looks sparse under bright party lighting.

Hanging the second curtain exactly one inch to the right of the first offsets the strands, which effectively doubles the visual density of your backdrop for flawless photographs.
Positioning the Disco Ball by the Window
Utilizing natural golden-hour sunlight scatters festive light reflections across the room, establishing a celebratory atmosphere long before the evening lighting takes over. The shifting sunbeams create dynamic movement across your walls.
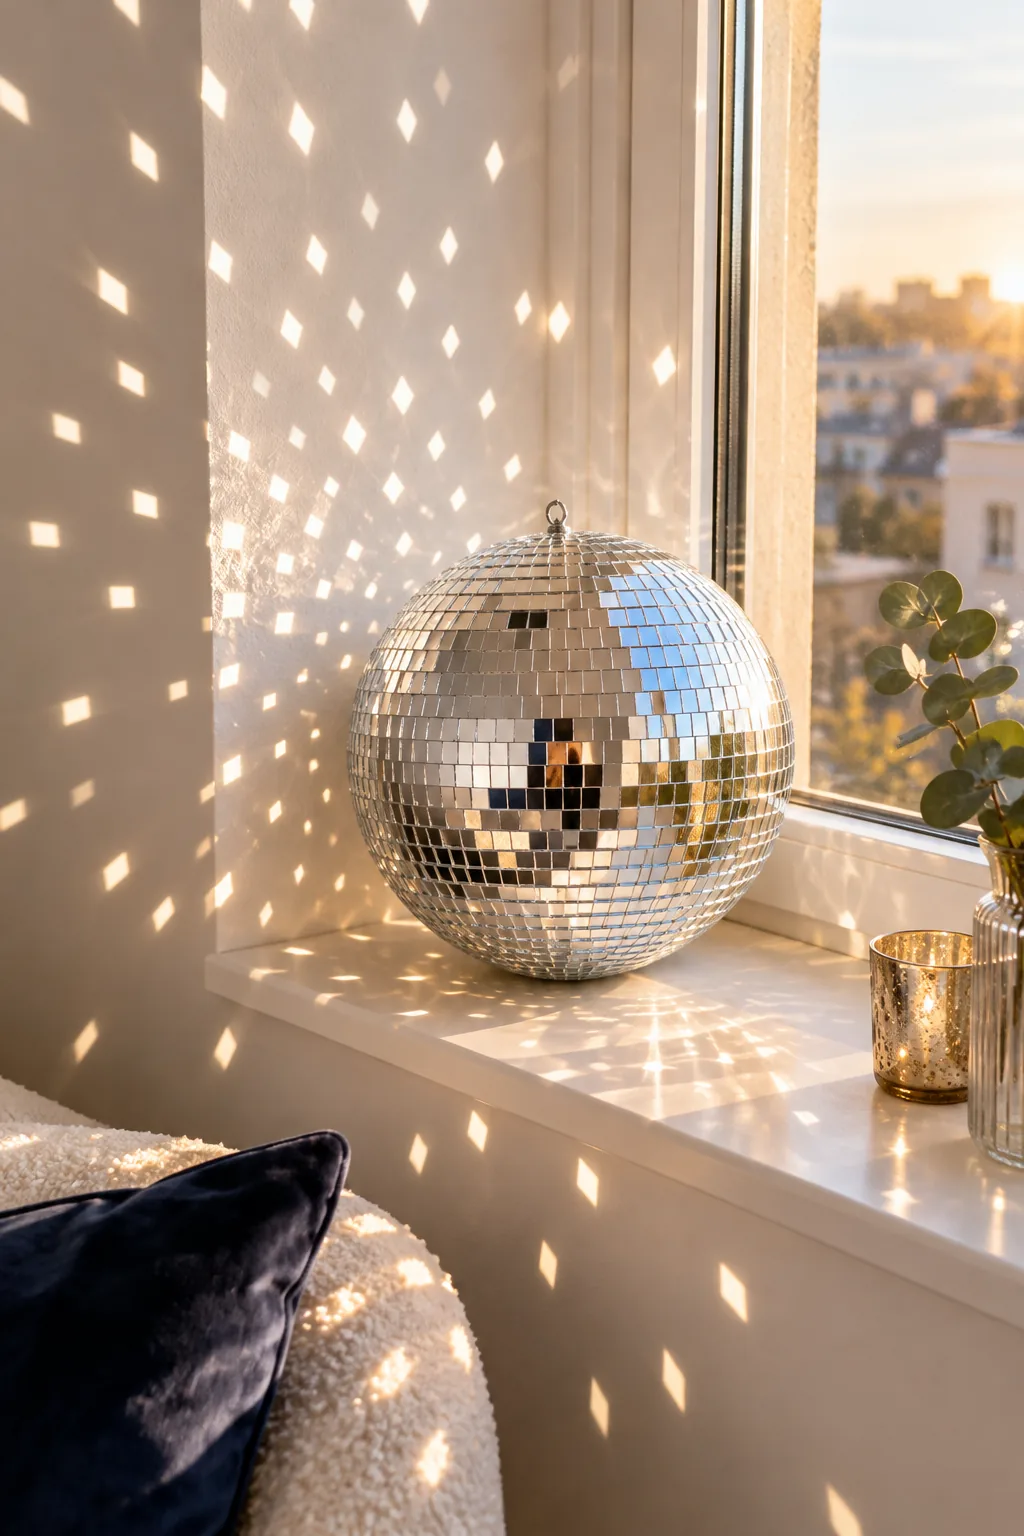
Placing an 8-inch mirrored ball on a west-facing windowsill catches those late-afternoon rays perfectly, a trick I always use in my brownstone to kick off the festive mood early.
Enhancing the Light Scatter
To maximize the reflections across your living room walls, keep the area immediately around the disco ball completely clear of tall floral arrangements or opaque decor pieces. An unobstructed light path is essential for the full effect.
Organizing the Glassware Flow
Arranging your champagne coupes in a tight triangle formation on the top tier makes it incredibly easy for guests to grab a glass without knocking over the surrounding bottles. This geometric setup looks highly intentional and organized.
More New Year's Eve Decor Themes
Explore these distinct color palettes and styling ideas to match your party's unique vibe.
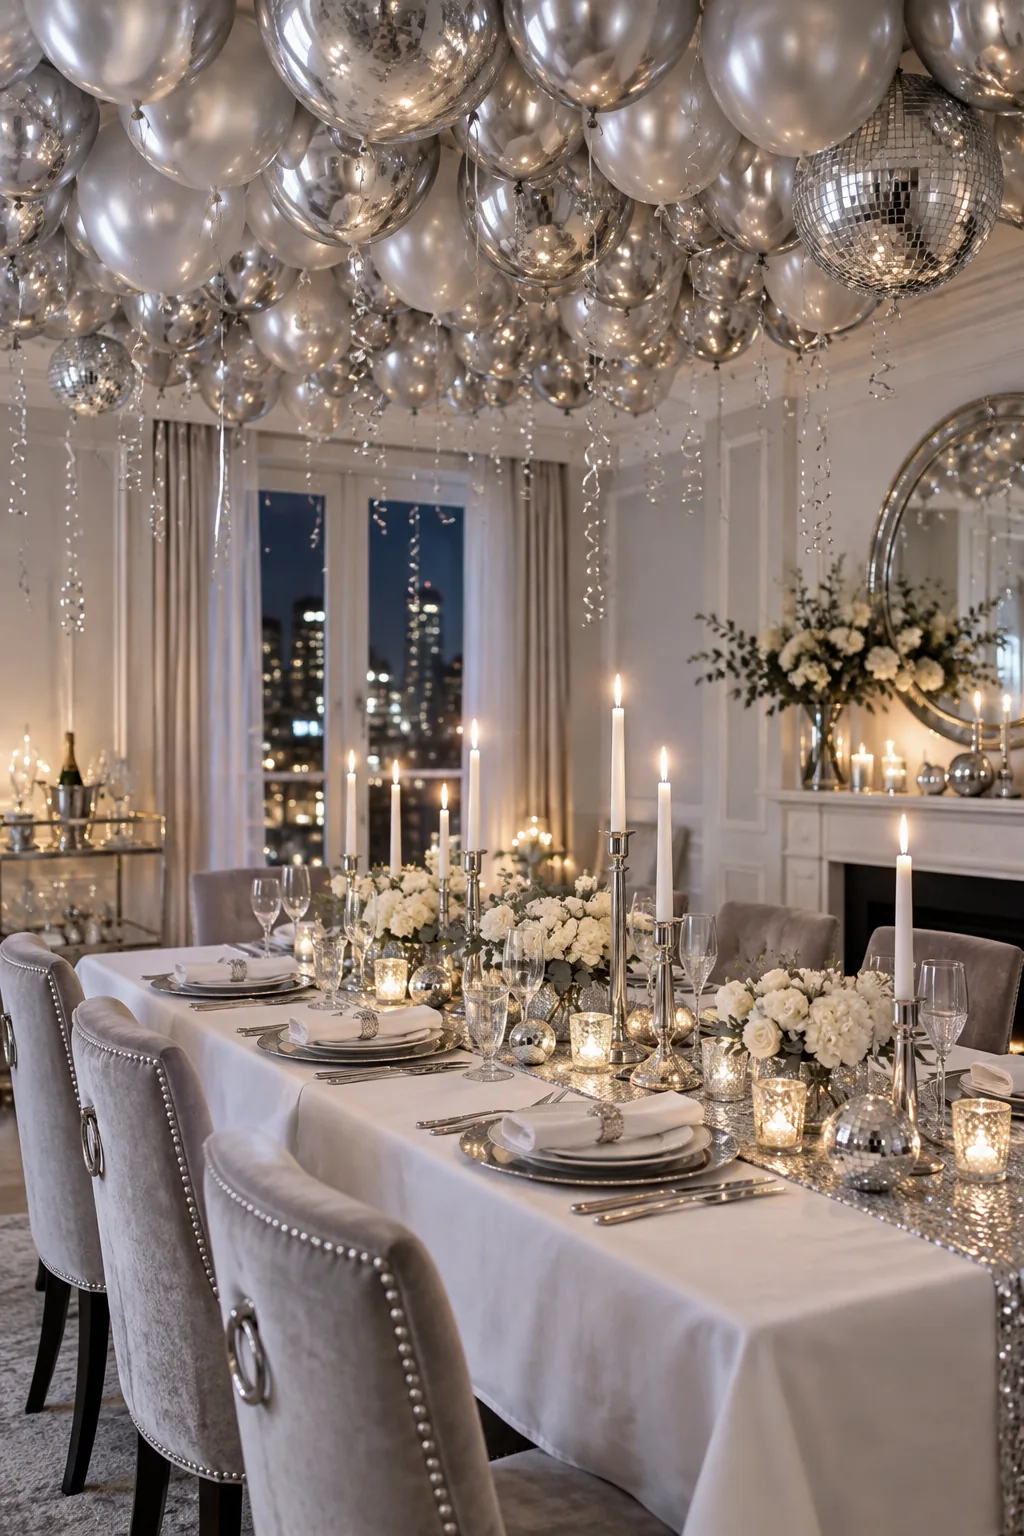
Silver monochromatic dining room: Stick to a strict silver and white palette for an elegant, icy aesthetic that looks stunning above a formal dinner table.
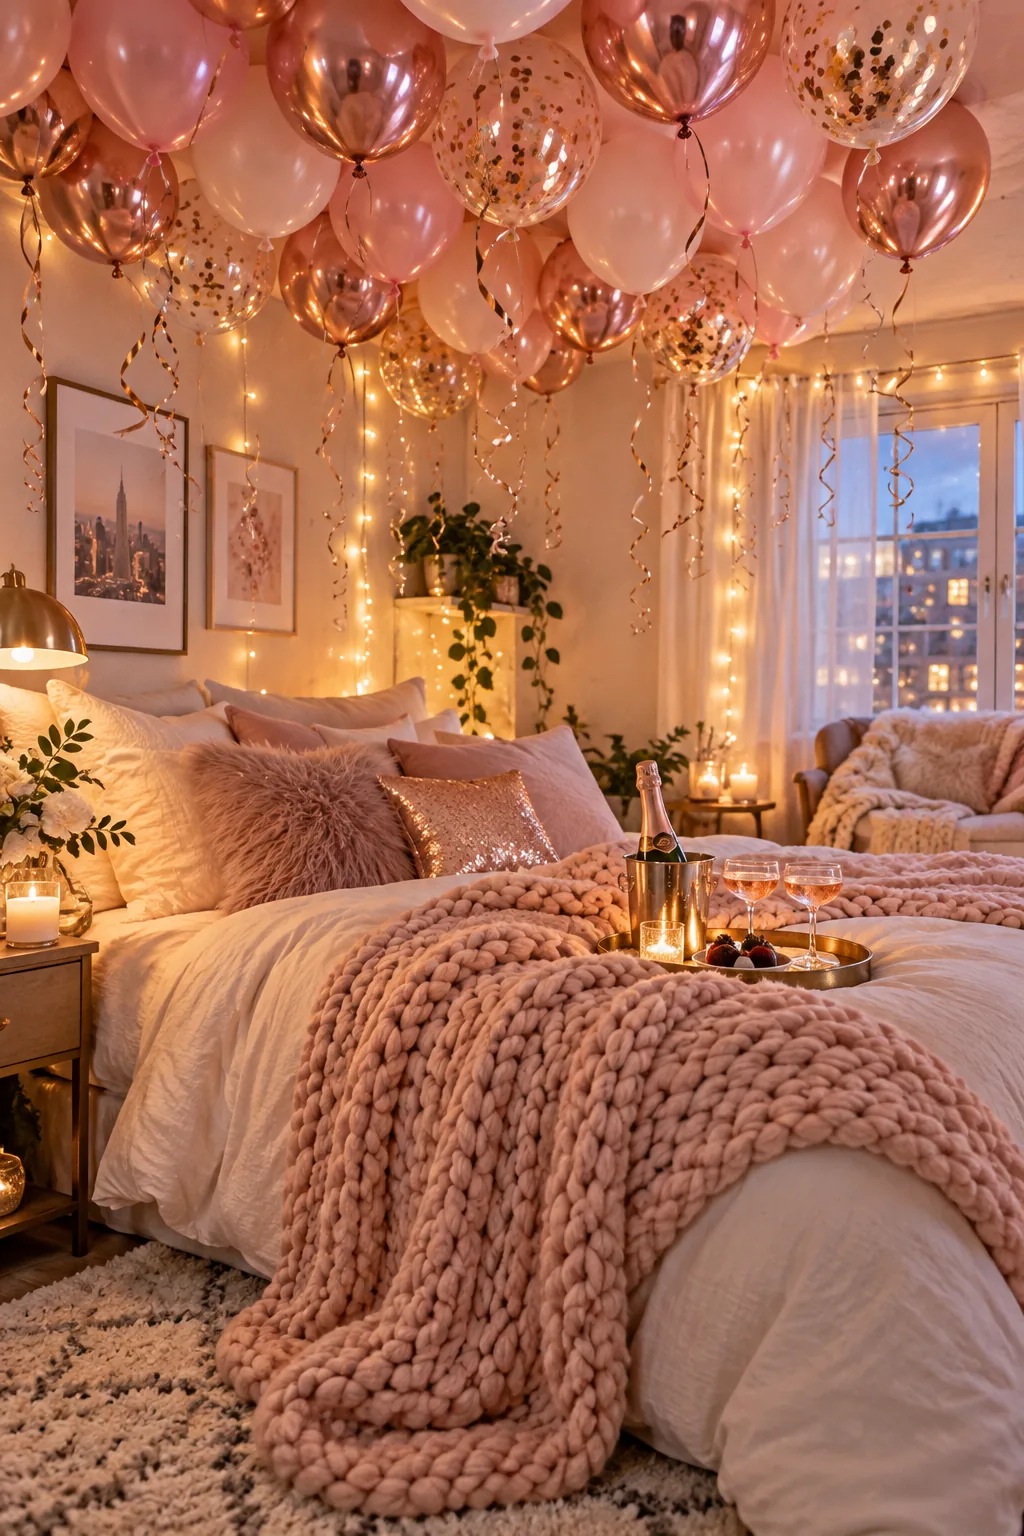
Rose gold bedroom corner: Warm up a quiet night in by mixing blush pink and rose gold balloons with soft, draped fairy lights.
Neon and black basement lounge: Embrace a vibrant club atmosphere by pairing electric neon balloons against dark, moody walls with glowing LED accents.

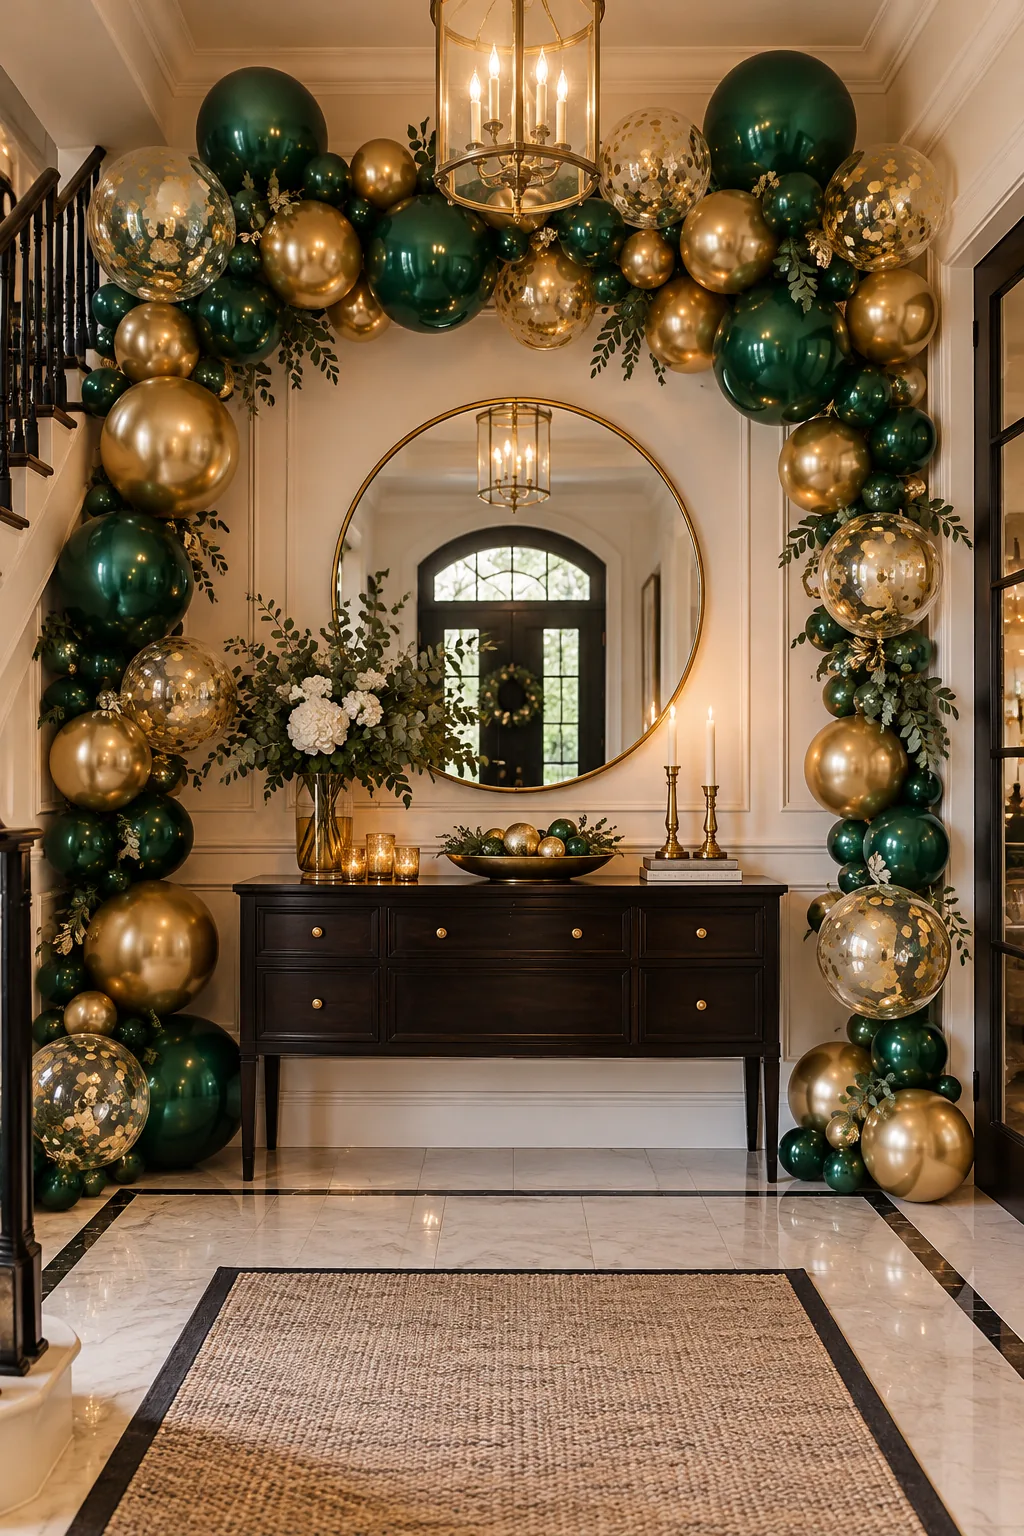
Emerald and brass entryway: Welcome guests immediately with a sophisticated arch of deep emerald and brushed brass balloons framing the front door.
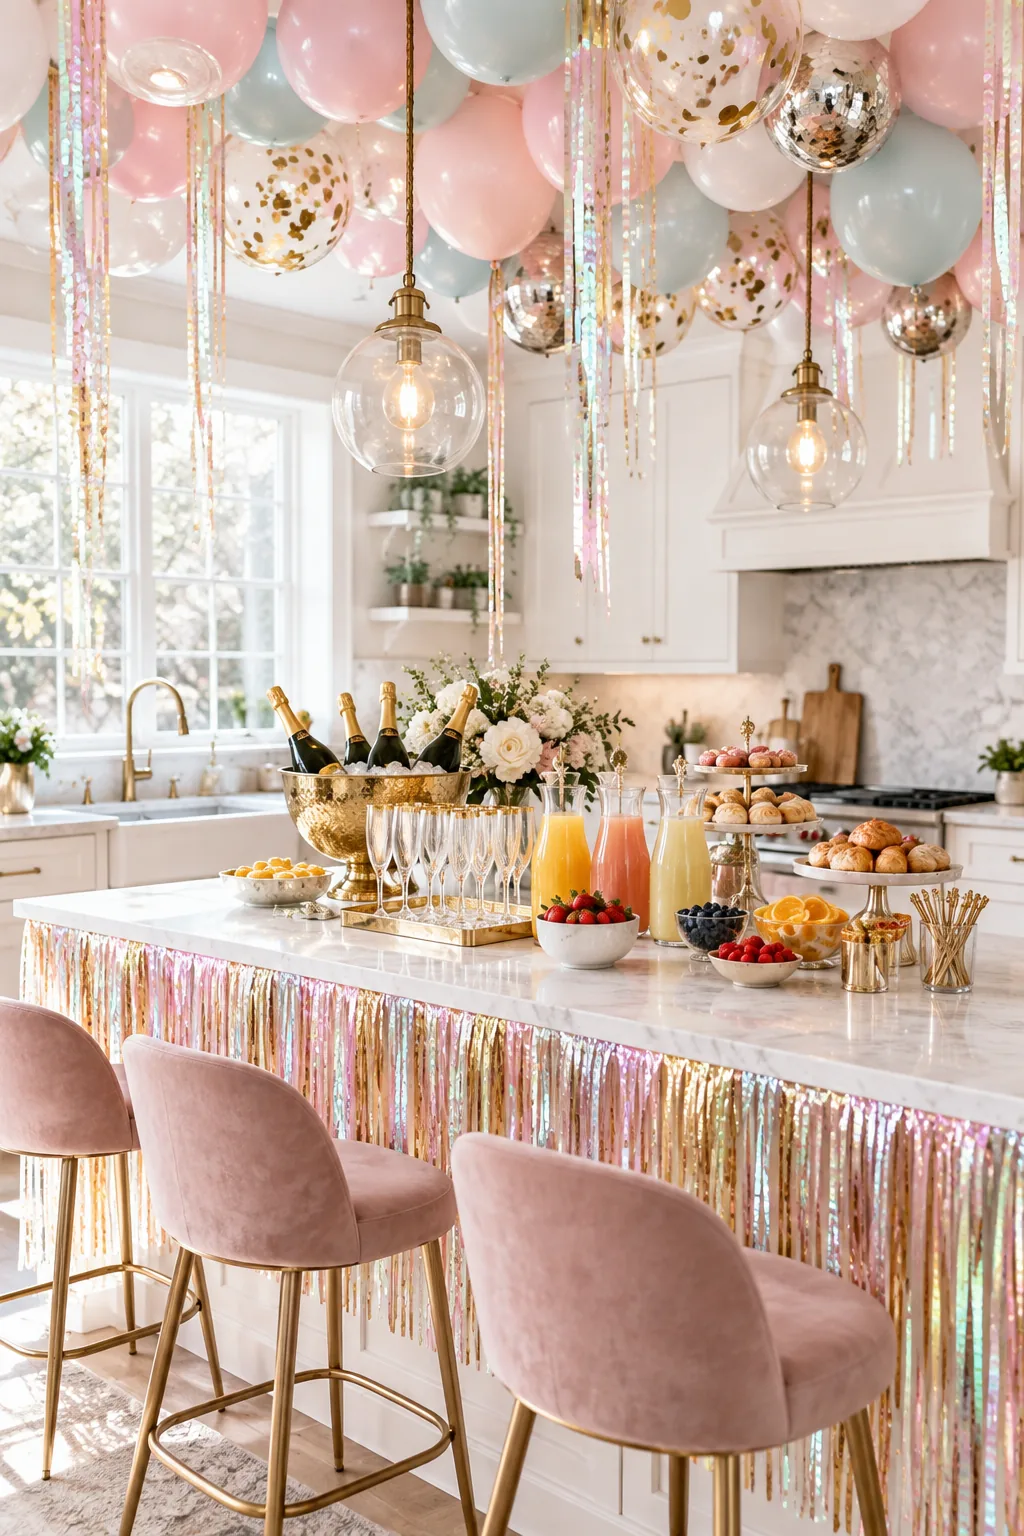
Pastel disco kitchen island: Keep the mood light and playful for a daytime celebration by using soft pastel balloons and iridescent foil fringe.
Styling the Midnight Bar Cart
Coordinating the beverage station’s metallic accents with the ceiling and wall decor unifies the room’s festive design, pulling the entire visual theme down to floor level. This vertical integration makes the space feel cohesive.

Using gold-rimmed coupes and brass ice buckets makes the drink station feel like a deliberate part of the architecture, an approach I love using for seamless holiday entertaining.