The 24-Inch Countertop Coffee Station Layout Plan
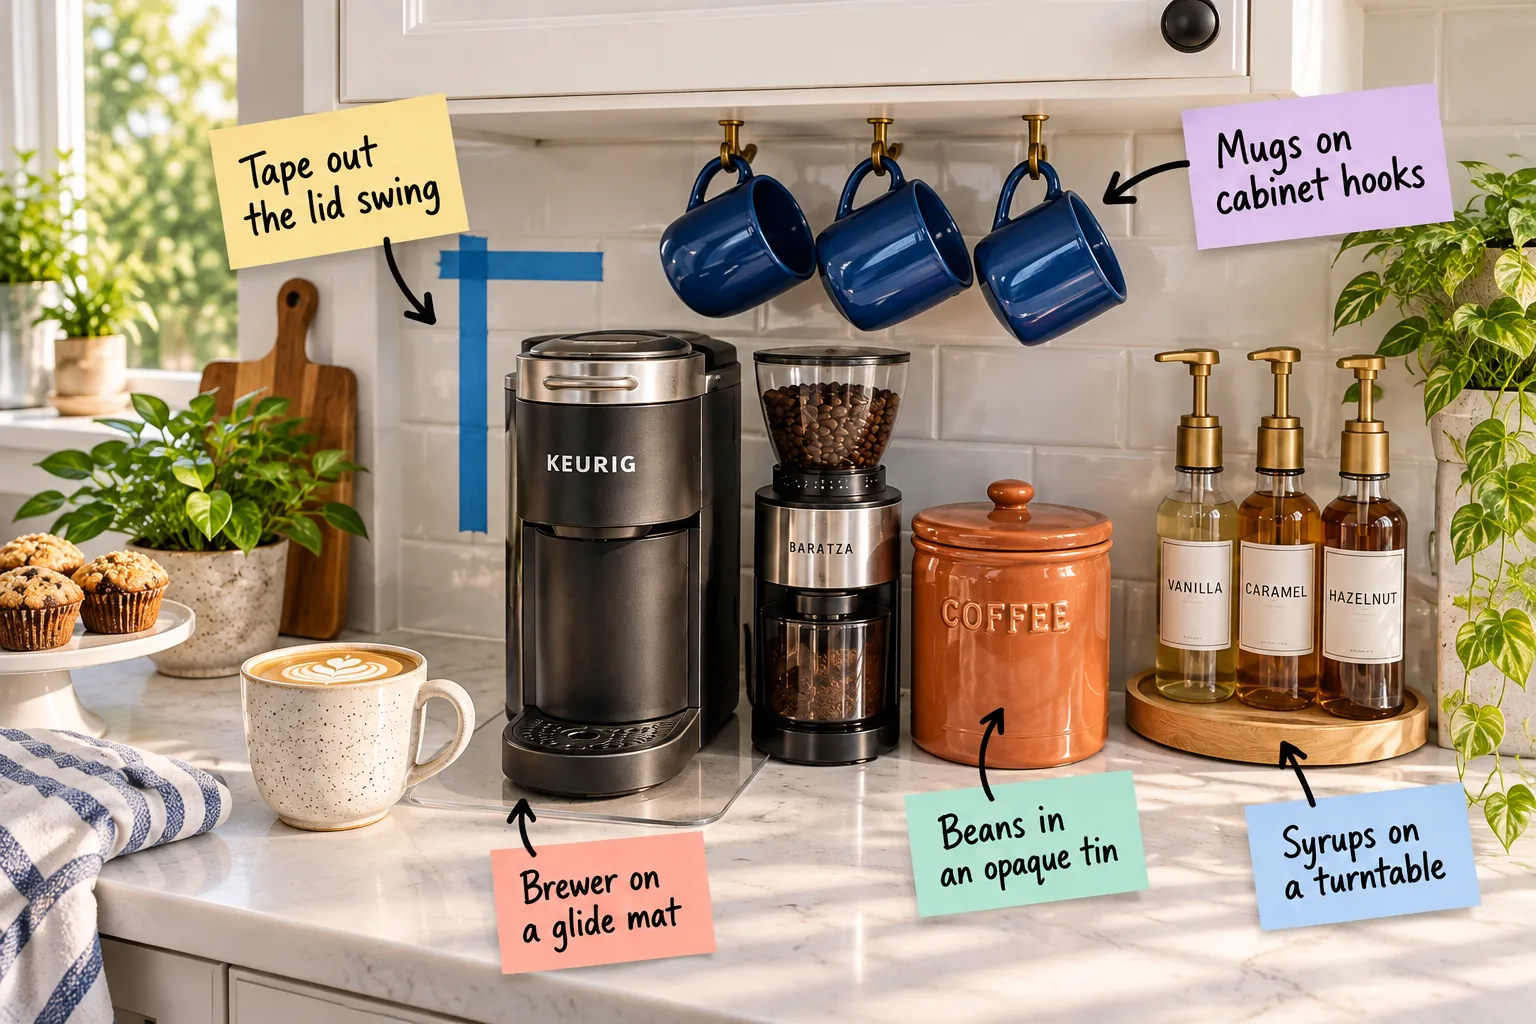
You can build a fully functional, clutter-free coffee bar beneath a single upper cabinet using our One-Cabinet Coffee Station Layout Sheet. This printable measuring sheet includes the exact 24-inch placement plan, essential clearance checks, and a sized shopping list to streamline your morning routine.
The 24-Inch Layout Blueprint
Start by defining the exact 24-inch footprint directly beneath one standard upper cabinet before buying any organizers.
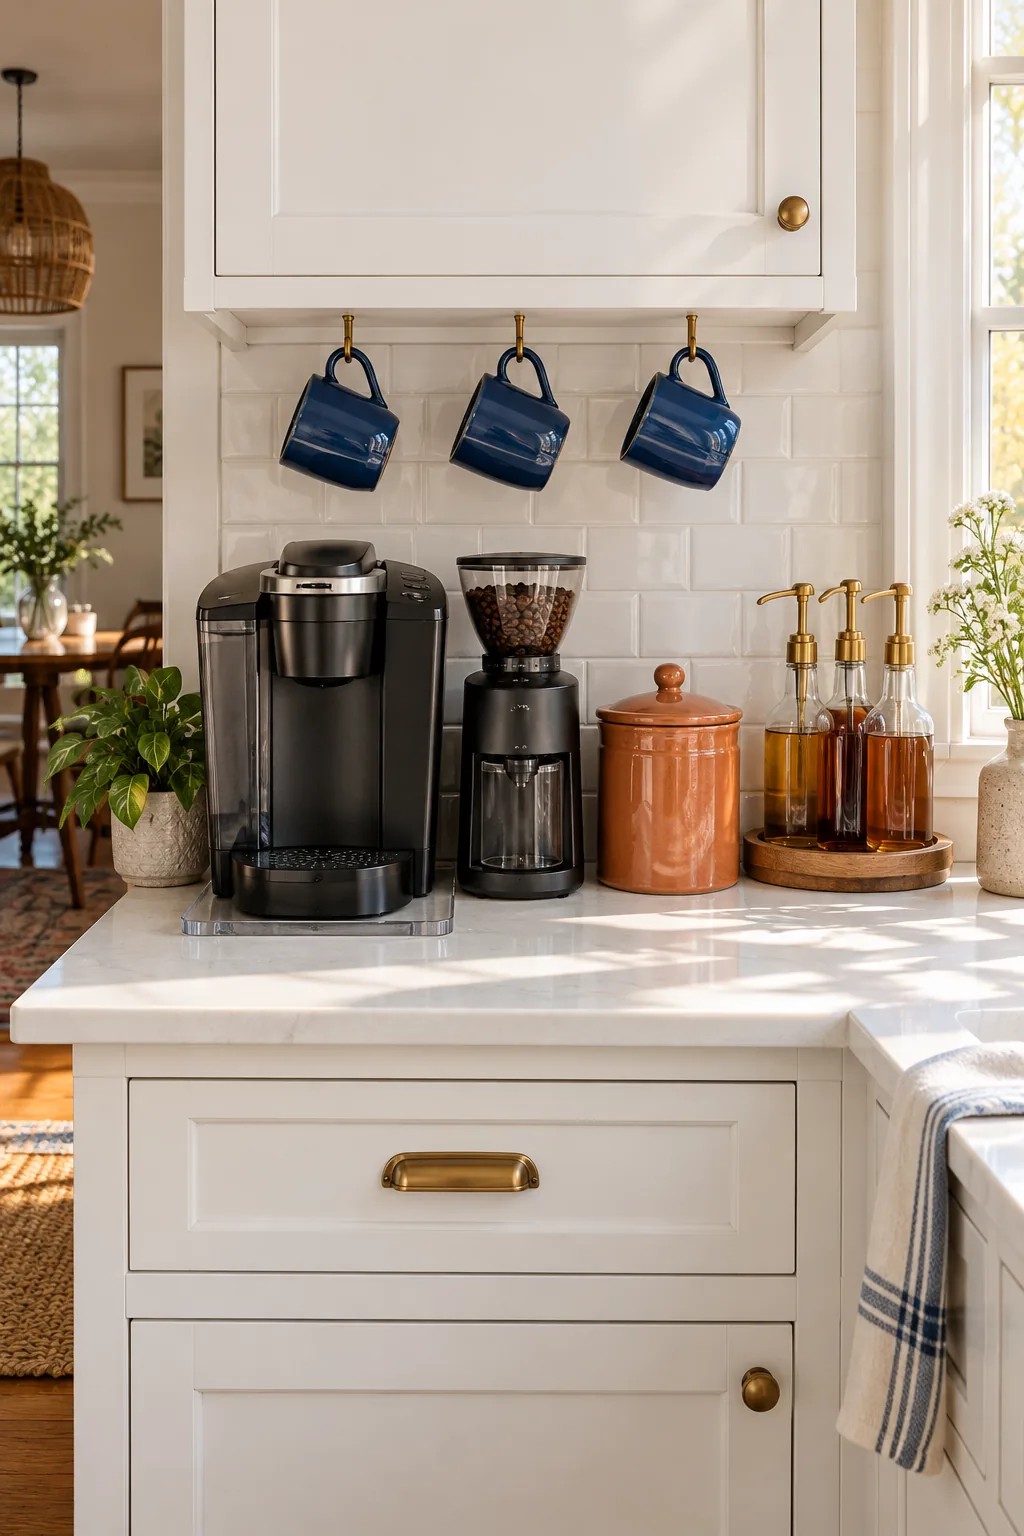
Print out the layout sheet to map your precise placements, ensuring your brewer, grinder, and daily accessories fit perfectly within this strict boundary.
Using the Printable Layout Sheet
The layout sheet provides a precise scale grid that helps you visualize the spatial relationship between your upper cabinetry and the counter space below.
- Trace your specific appliance footprints directly onto the paper grid.
- Mark the exact location of your wall outlets for cord management.
- Identify the dead zones where excess cables will eventually hide.
Pinning this sheet directly to your backsplash for a few days helps you test the ergonomics of the space before making any permanent purchasing decisions.
Sizing the Appliance Footprints
Measure the base of your preferred coffee maker and burr grinder to ensure they consume no more than 16 inches of combined width.
- Measure the brewer base width at its absolute widest point.
- Measure the grinder base width including the protruding catch bin.
- Add two inches for comfortable operational clearance between the machines.
Leaving this visual breathing room prevents the station from feeling cluttered and allows for the easy removal of the water reservoir during daily refills.
Mapping the Lid Swing Clearance
Standard upper cabinets sit 18 inches above the counter, but many pod brewers require 20 to 22 inches of vertical clearance when open.
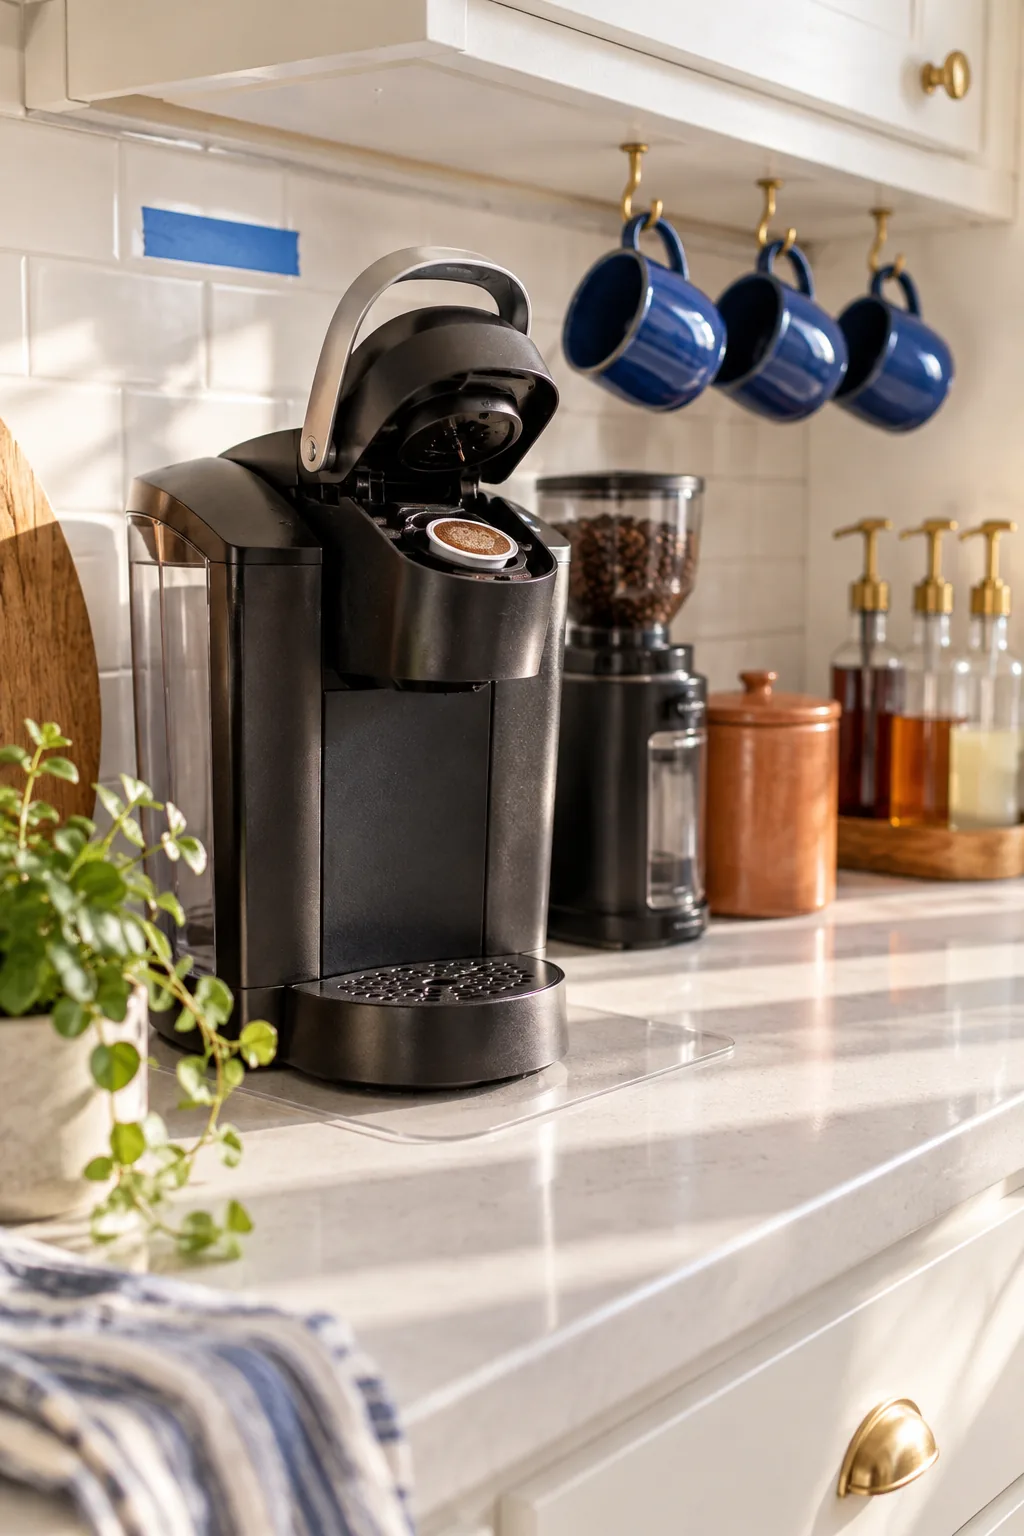
Mark this required height with blue painter’s tape on your backsplash to guarantee the machine can open fully without striking the light rail.
Checking Counter Depth Allowances
Most standard kitchen counters offer 24 to 25.5 inches of usable depth from the backsplash to the front bullnose edge.
| Appliance Size | Required Depth | Front Clearance |
|---|---|---|
| Compact Brewer | 12 inches | 12 inches |
| Standard Machine | 14 inches | 10 inches |
| Large Espresso Maker | 16 inches | 8 inches |
Reserving at least 10 inches of clear space in front of the machines provides a comfortable landing zone for prepping your daily cup without feeling cramped.
Adding a Glide Mat for Easy Access
Place the coffee maker on a thin, clear sliding appliance mat so the heavy machine easily pulls forward past the cabinet edge.
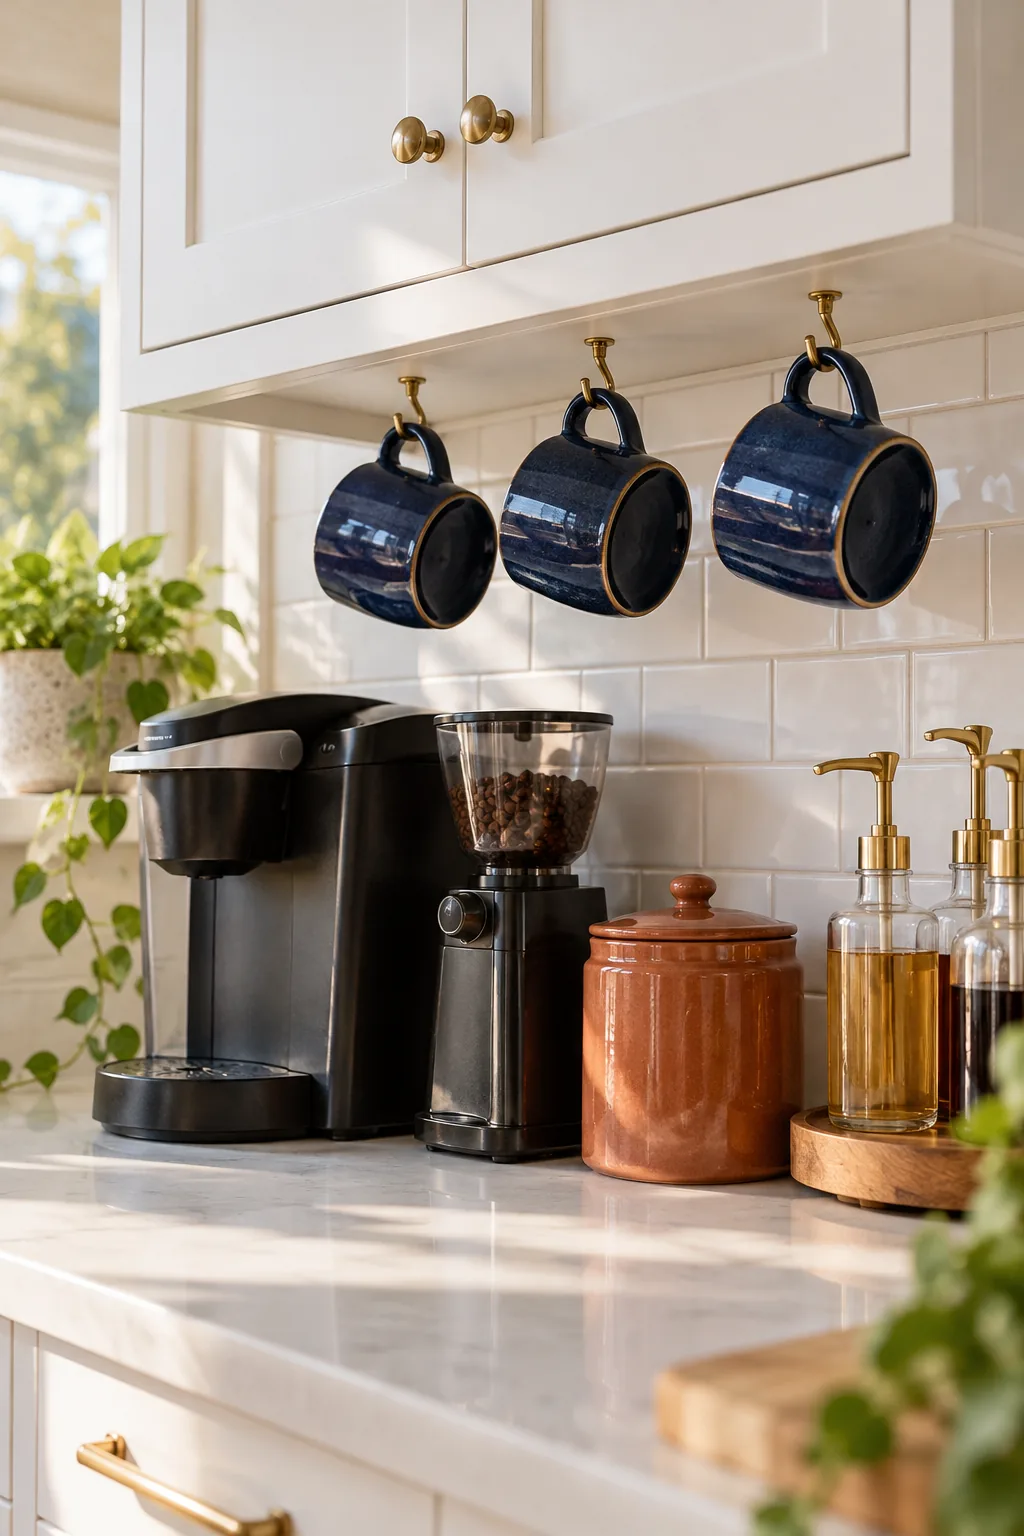
While commercial appliance trays work, they often add unnecessary bulk to a tight 24-inch space, whereas a simple acrylic sliding mat provides mobility with a much cleaner look.
Protecting the Quartz Counters
Dragging heavy appliances across bare countertops daily will eventually leave dark rubber scuff marks or micro-scratches on polished quartz surfaces.
Hanging Mugs on Cabinet Hooks
Free up counter space by installing small screw-in brass hooks underneath the upper cabinet, spacing them exactly 4 inches apart.
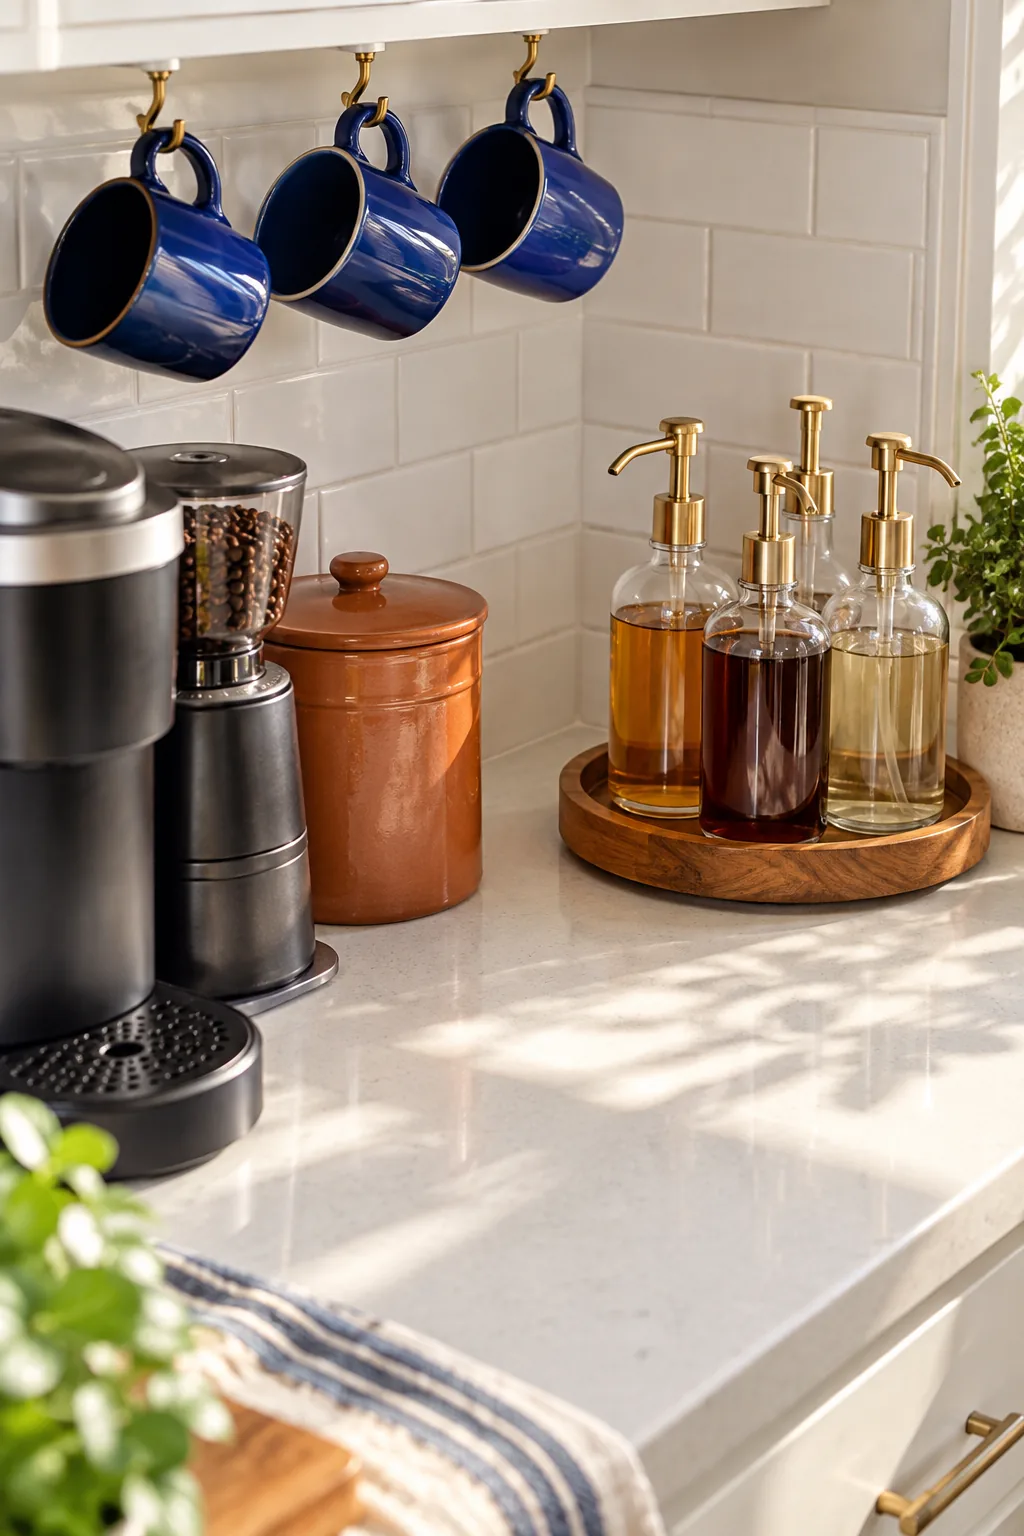
In my own Denver kitchen, this 4-inch spacing proved to be the magic number to keep wide ceramic mugs from clinking together when we open the cabinet doors above.
Selecting the Right Hook Hardware
Choose solid brass cup hooks with a minimum 7/8-inch opening to comfortably accommodate thick ceramic mug handles without scratching the delicate glaze. Ensure the threaded shank is no longer than 5/8 of an inch so it never pierces through the interior floor of the cabinet above.
Grouping Syrups on a Turntable
Utilize the deep, dark back corner of the counter by placing syrup bottles on a 9-inch or 10-inch wooden turntable.
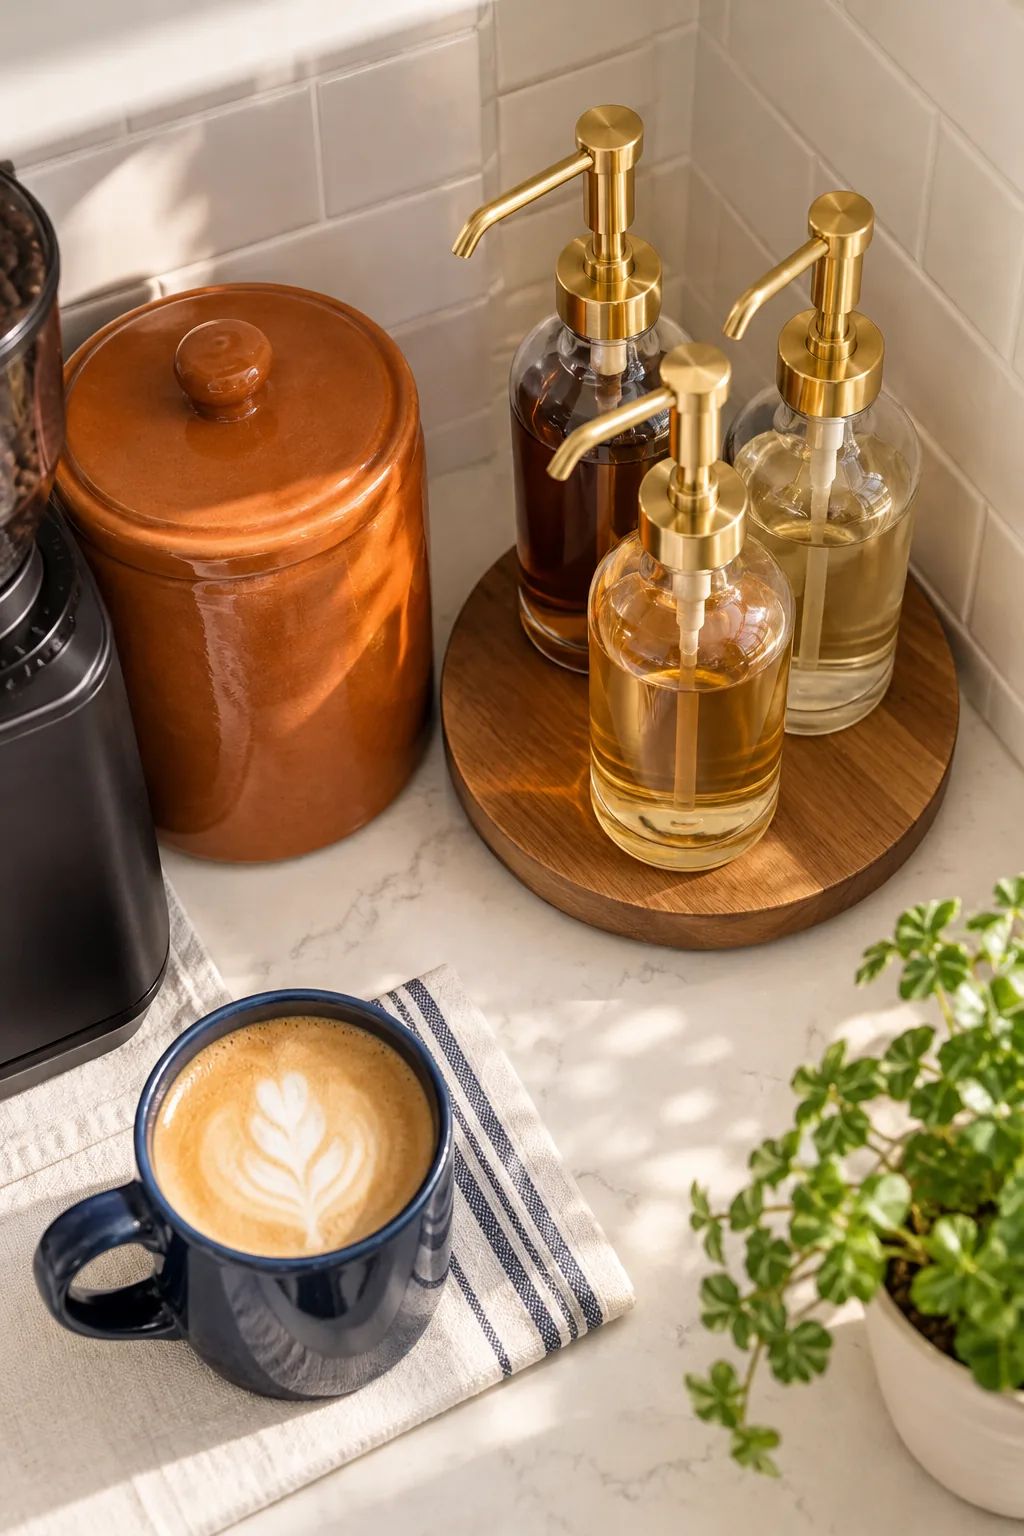
This simple rotating base keeps multiple flavors instantly accessible with a quick spin while keeping the front prep zone entirely clear for your mugs.
Sizing the Corner Carousel
A turntable larger than 10 inches will inevitably bump into the back of your coffee maker or hang awkwardly over the edge of the 24-inch zone. Stick to a compact 9-inch wooden model, which perfectly holds three standard 750ml syrup bottles equipped with tall dispensing pumps.
Storing Beans in an Opaque Tin
Keep whole beans fresh by storing them in a glossy terracotta airtight canister to block UV light, which degrades delicate coffee oils significantly faster than clear glass.
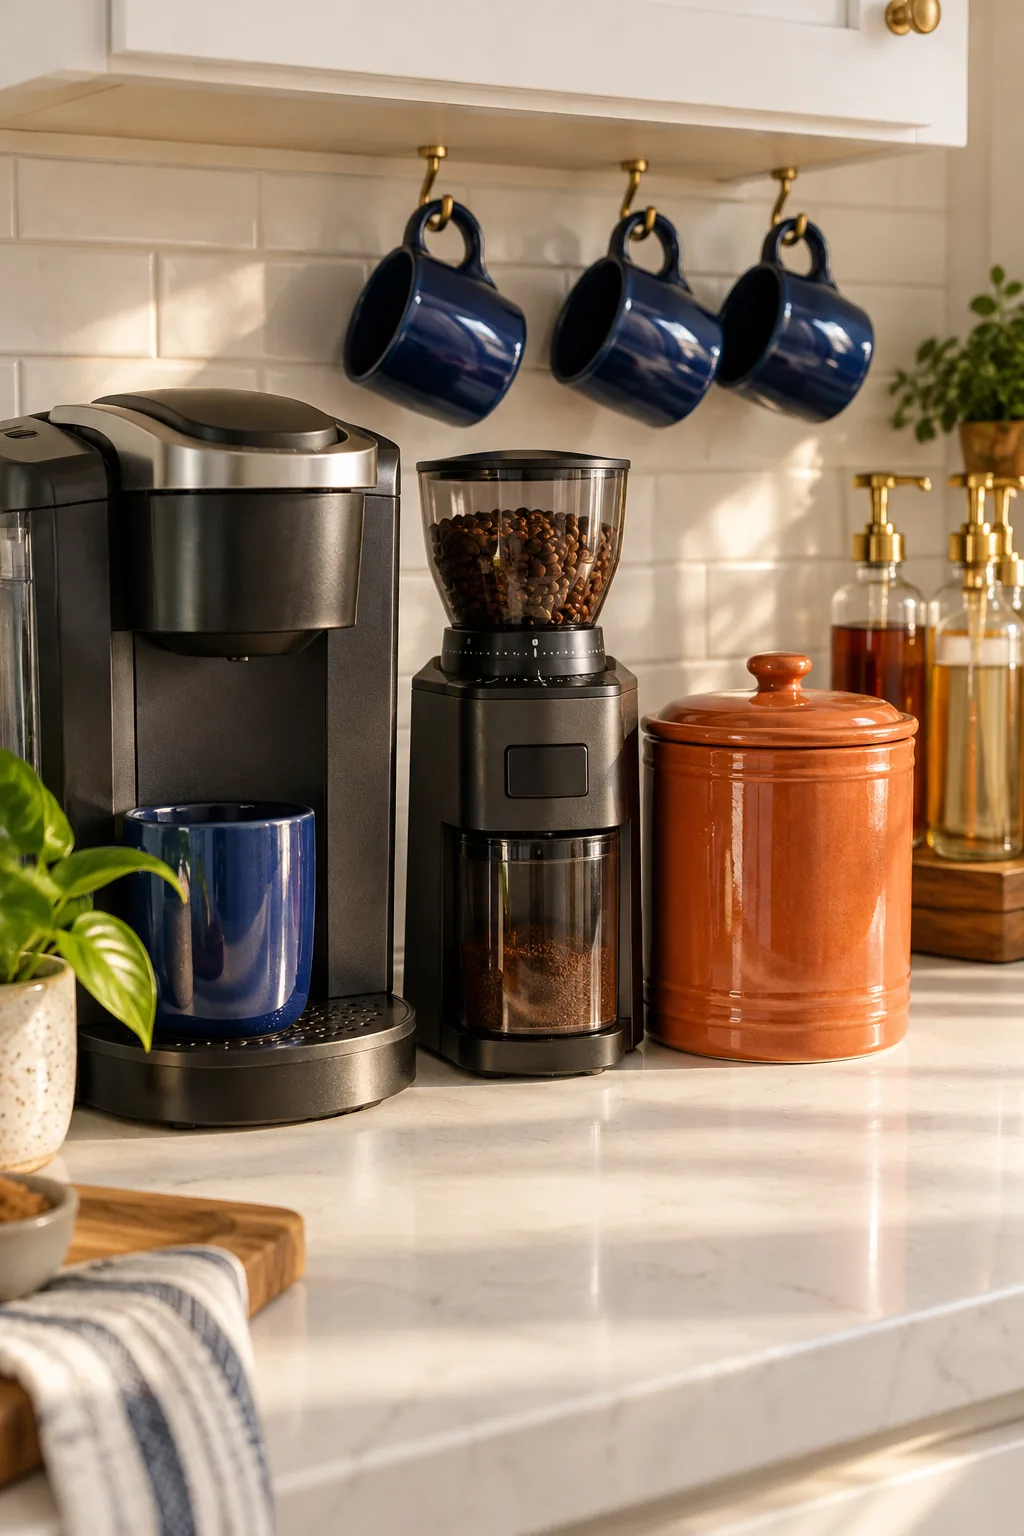
A beautiful canister elevates the look of the station, but its primary job is protecting your expensive roast from the elements.
Maintaining Bean Freshness
Coffee beans begin losing their complex flavor profiles just two weeks after roasting if exposed to constant ambient kitchen heat and humidity. Wash and thoroughly dry the terracotta tin between each new batch of beans to prevent old oils from turning rancid and tainting your fresh supply.
Positioning the Burr Grinder
Nestle the burr grinder directly between the pod brewer and the terracotta bean tin to create a tight, efficient prep triangle.
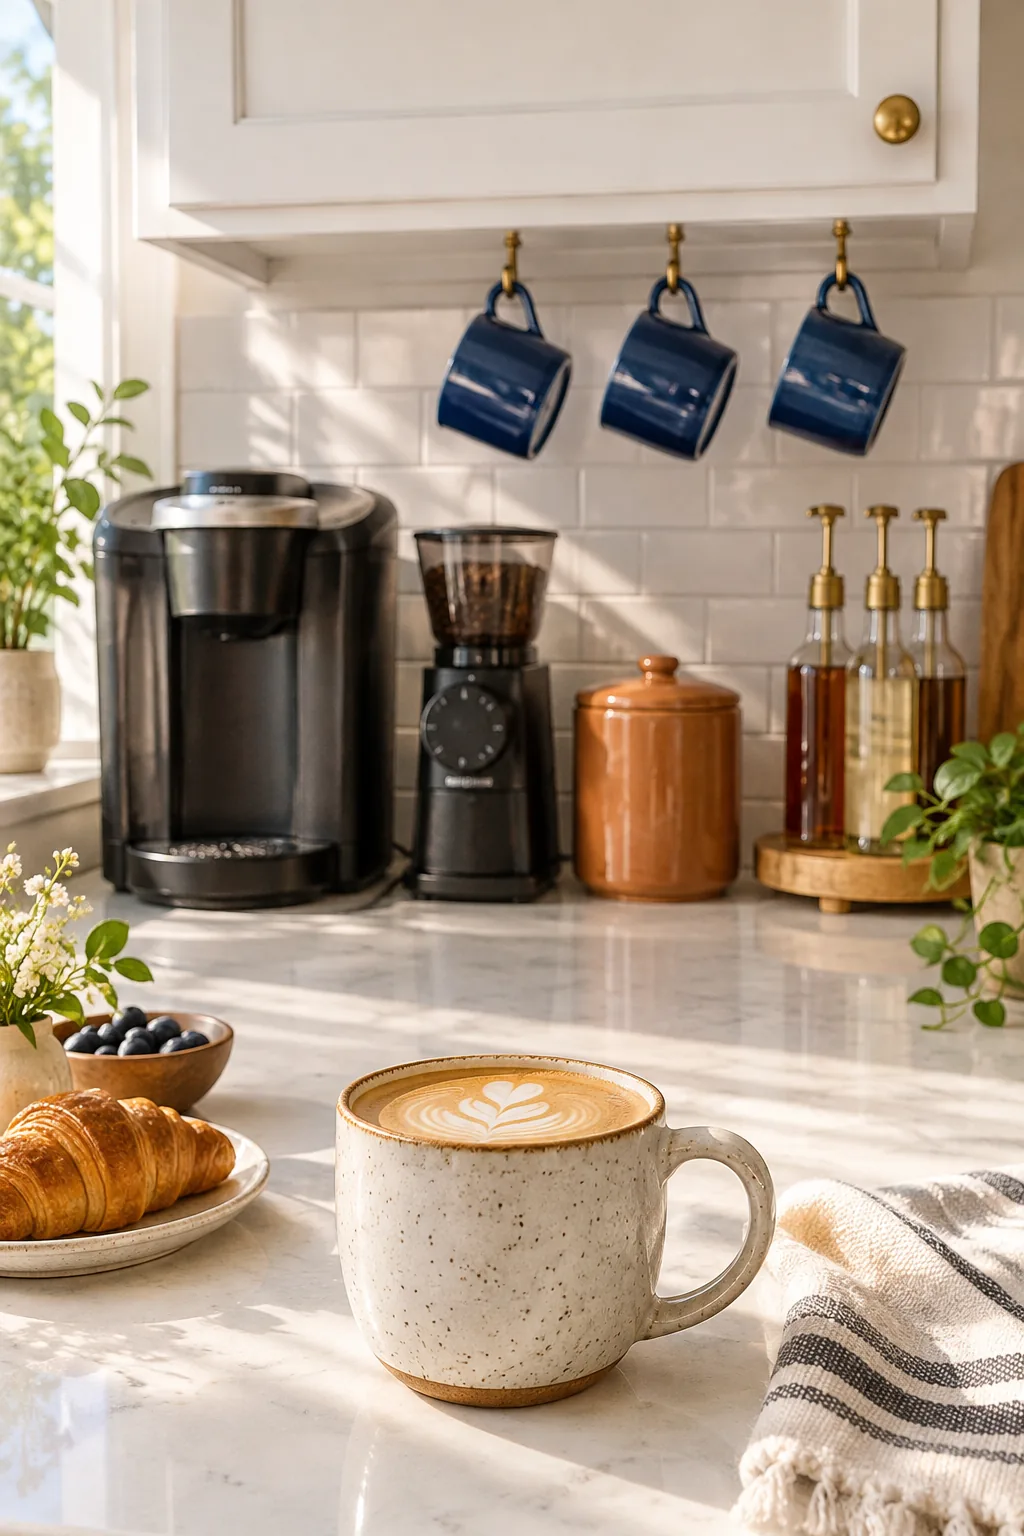
I always set up client coffee bars this way because it allows you to grind fresh beans and load the reusable pod without taking a single step away from the station.
Managing Appliance Cords
Gather the thick power cords from both the brewer and the grinder, securing them together tightly with a simple velcro cable tie. Tuck this bundled cord cleanly behind the grinder’s body to eliminate visual clutter and keep the back corner looking intentional and highly refined.
Illuminating the Coffee Station
A dedicated coffee zone requires proper task lighting to help you accurately measure grounds and check water levels early in the dark morning hours. Install a slim, motion-activated LED light bar directly behind the front lip of the upper cabinet to cast a clean, even glow over the entire footprint.
Planning for Water Refills
Positioning your brewer on the glide mat solves the vertical clearance issue, but you still need a highly convenient way to refill the heavy water reservoir. Keep a dedicated glass pitcher nearby, or ensure your coffee station is located within a single step of the main kitchen sink or refrigerator water dispenser.
Storing Reusable Pods and Filters
Keep your reusable pods and small paper filters tucked away in a shallow ceramic bowl placed right next to the burr grinder. This keeps the tiny, easily misplaced components beautifully contained and immediately accessible exactly where you need them during the grinding and loading phase.
The Daily Brewing Workflow
Arrange the finished station so the morning workflow moves naturally from right to left across the counter space.
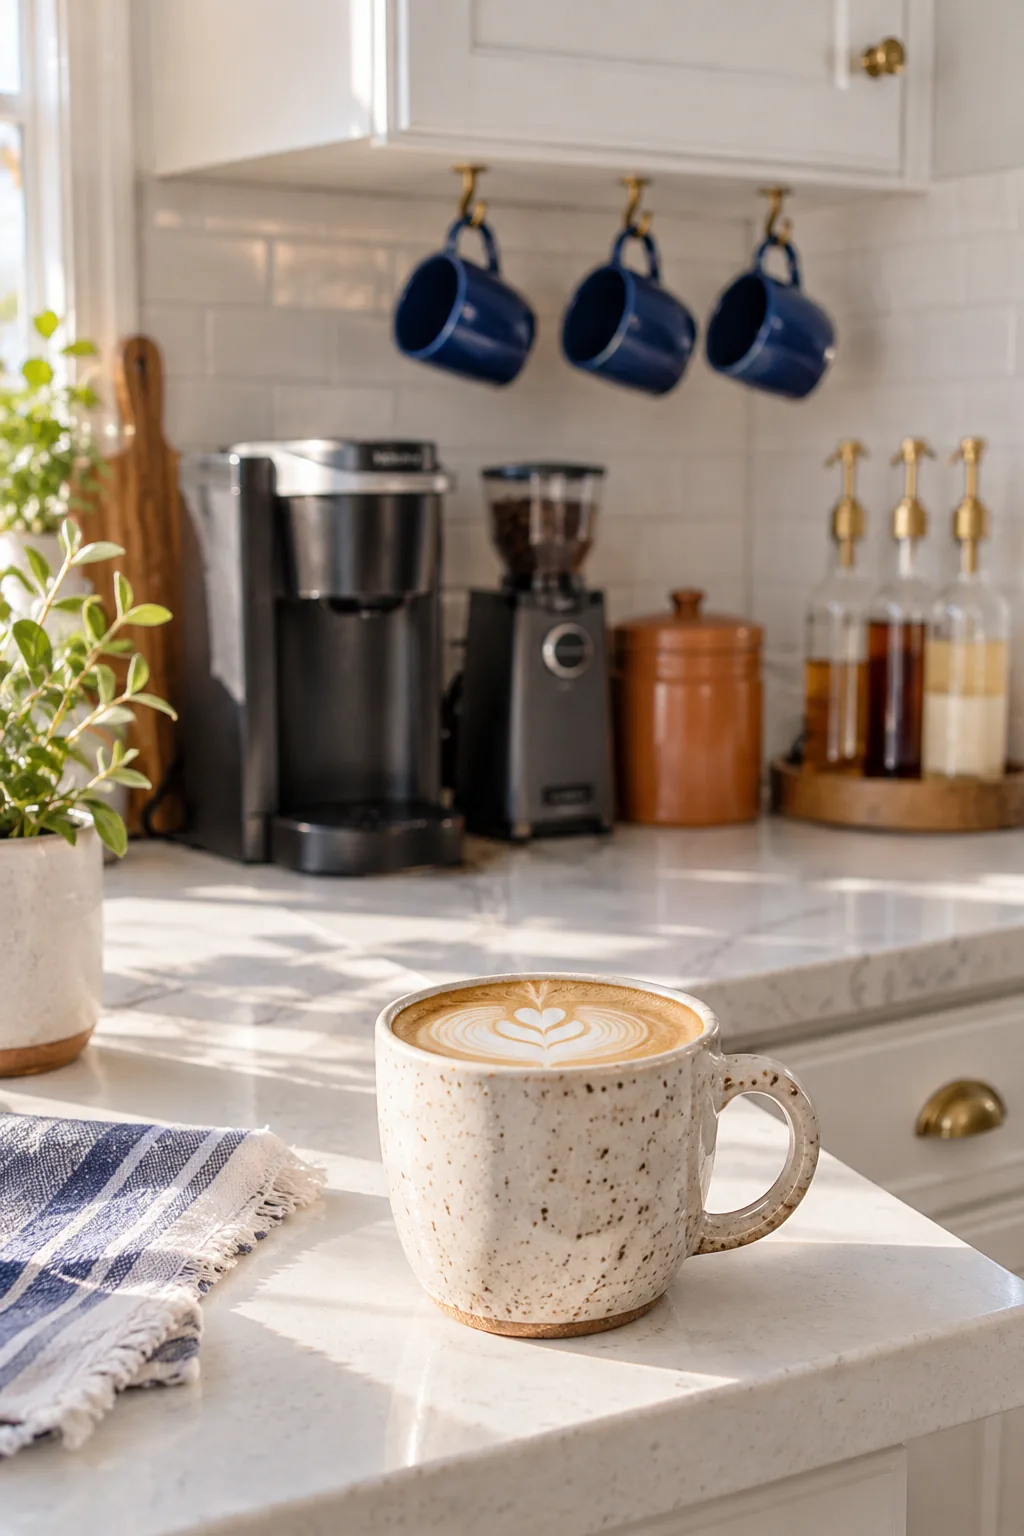
I love waking up to this setup; I grab a mug, pump a syrup, grind the beans, brew the coffee, and slide the machine back into place in one fluid motion.
Coffee Station Styles for Every Kitchen
Explore how this exact 24-inch layout adapts to different materials and color palettes.
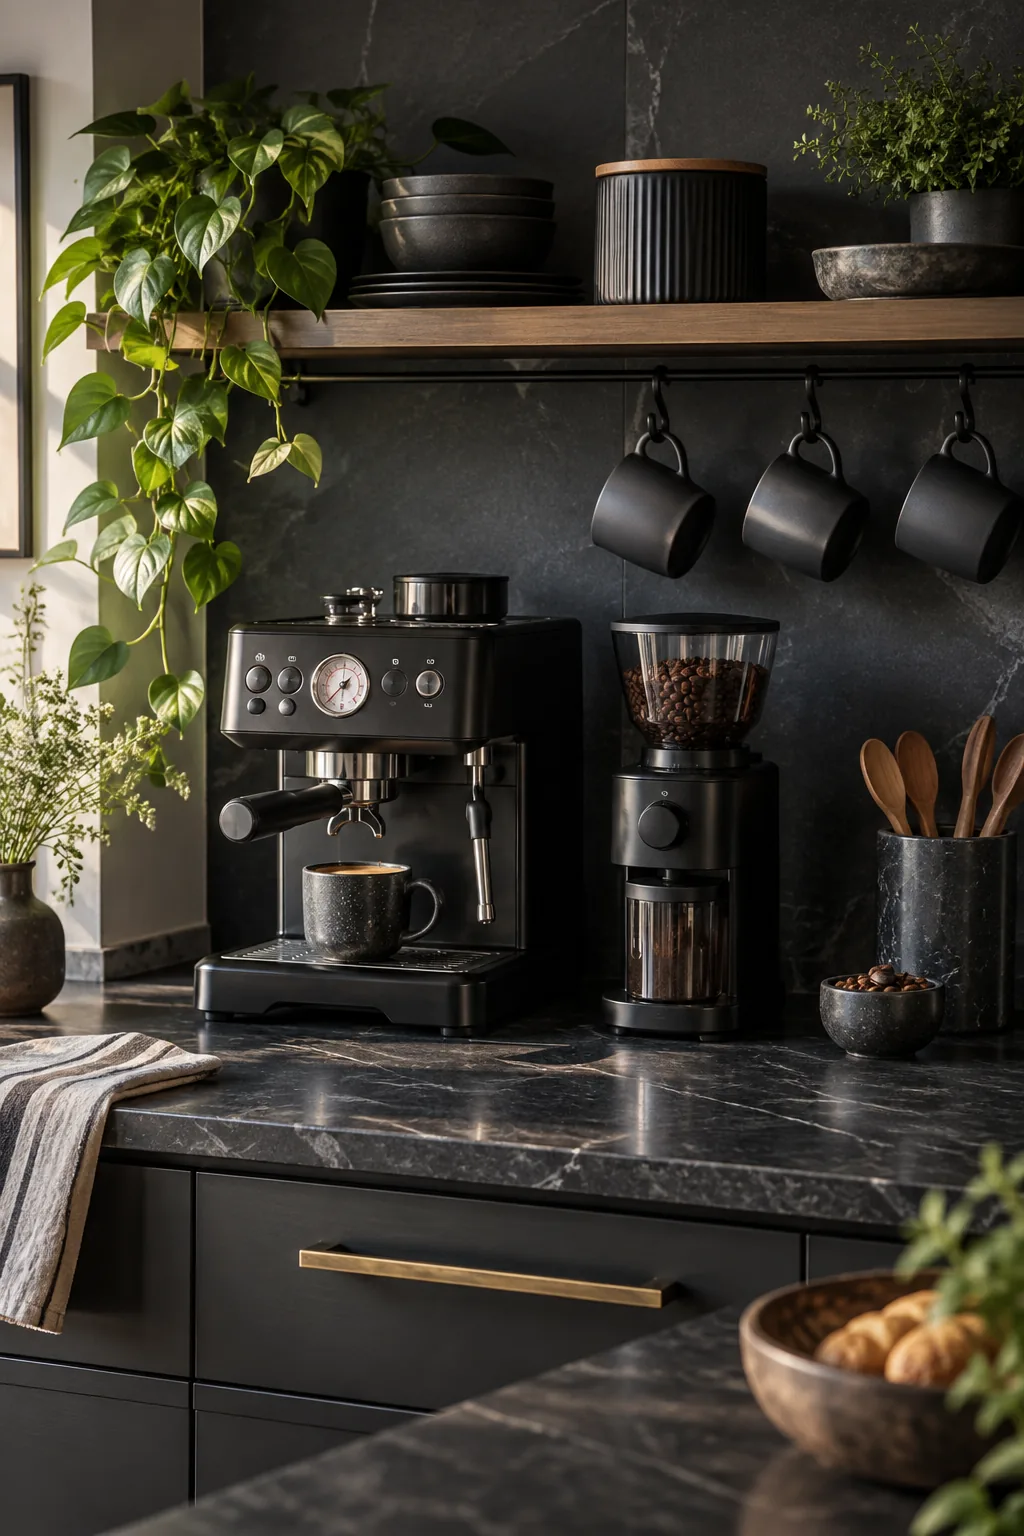
Matte Black Minimalist: Dark soapstone and matte black appliances create a moody, seamless look that hides coffee grounds effortlessly.
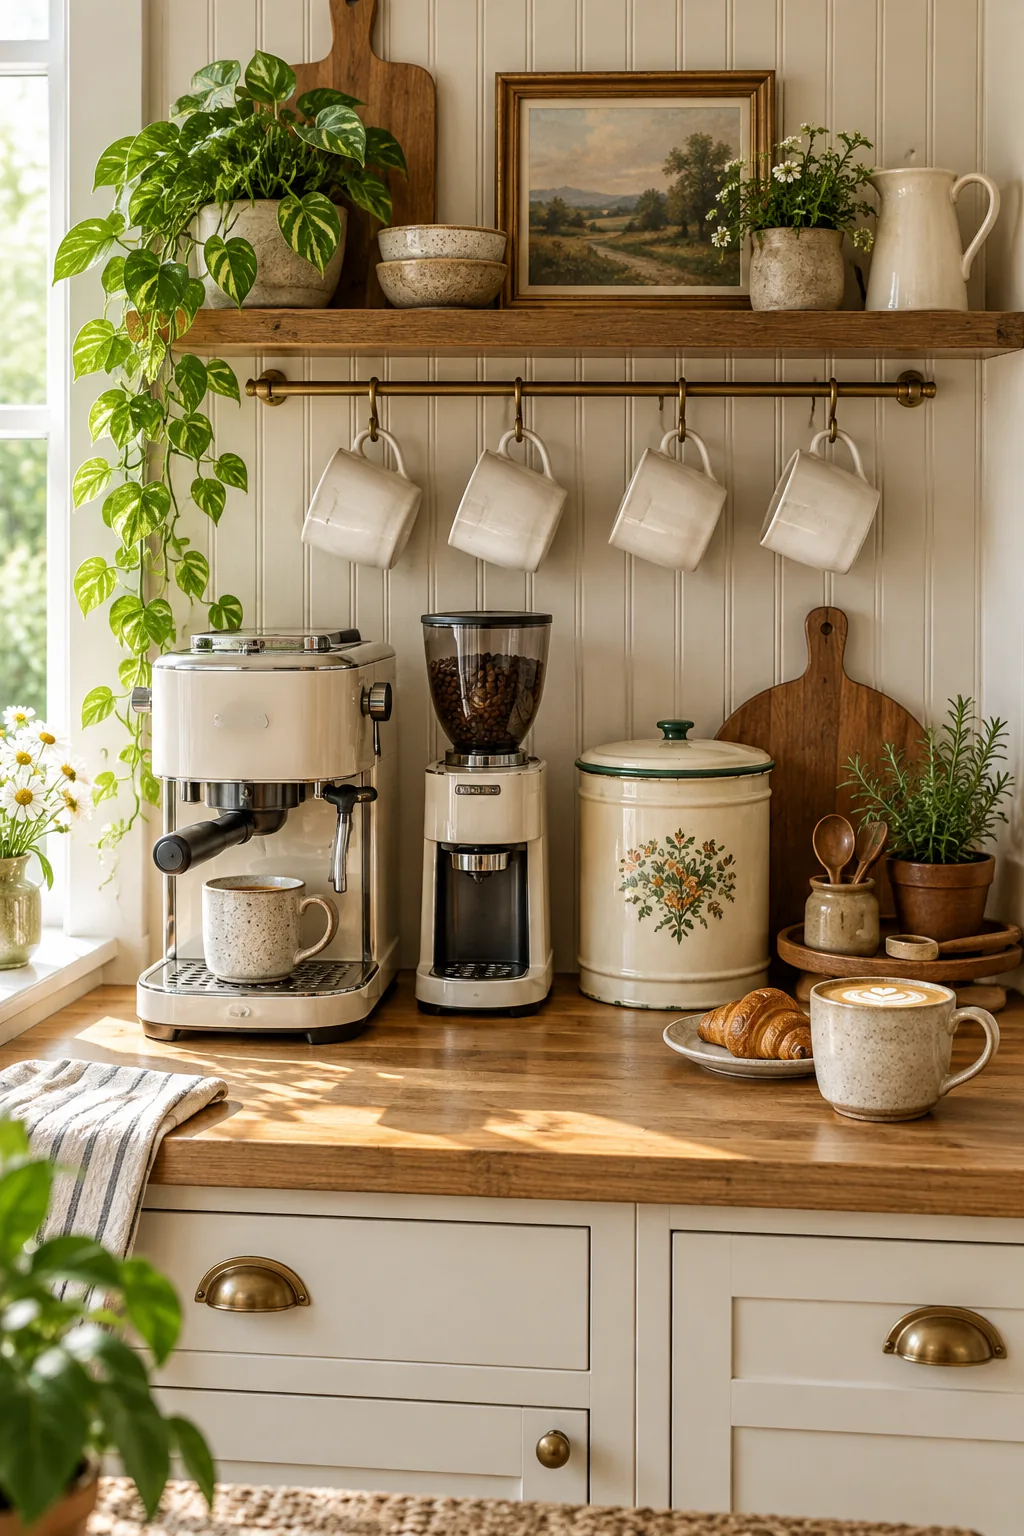
Warm Vintage Farmhouse: Warm butcher block and cream-colored appliances soften the technology for a cozy, welcoming morning space.
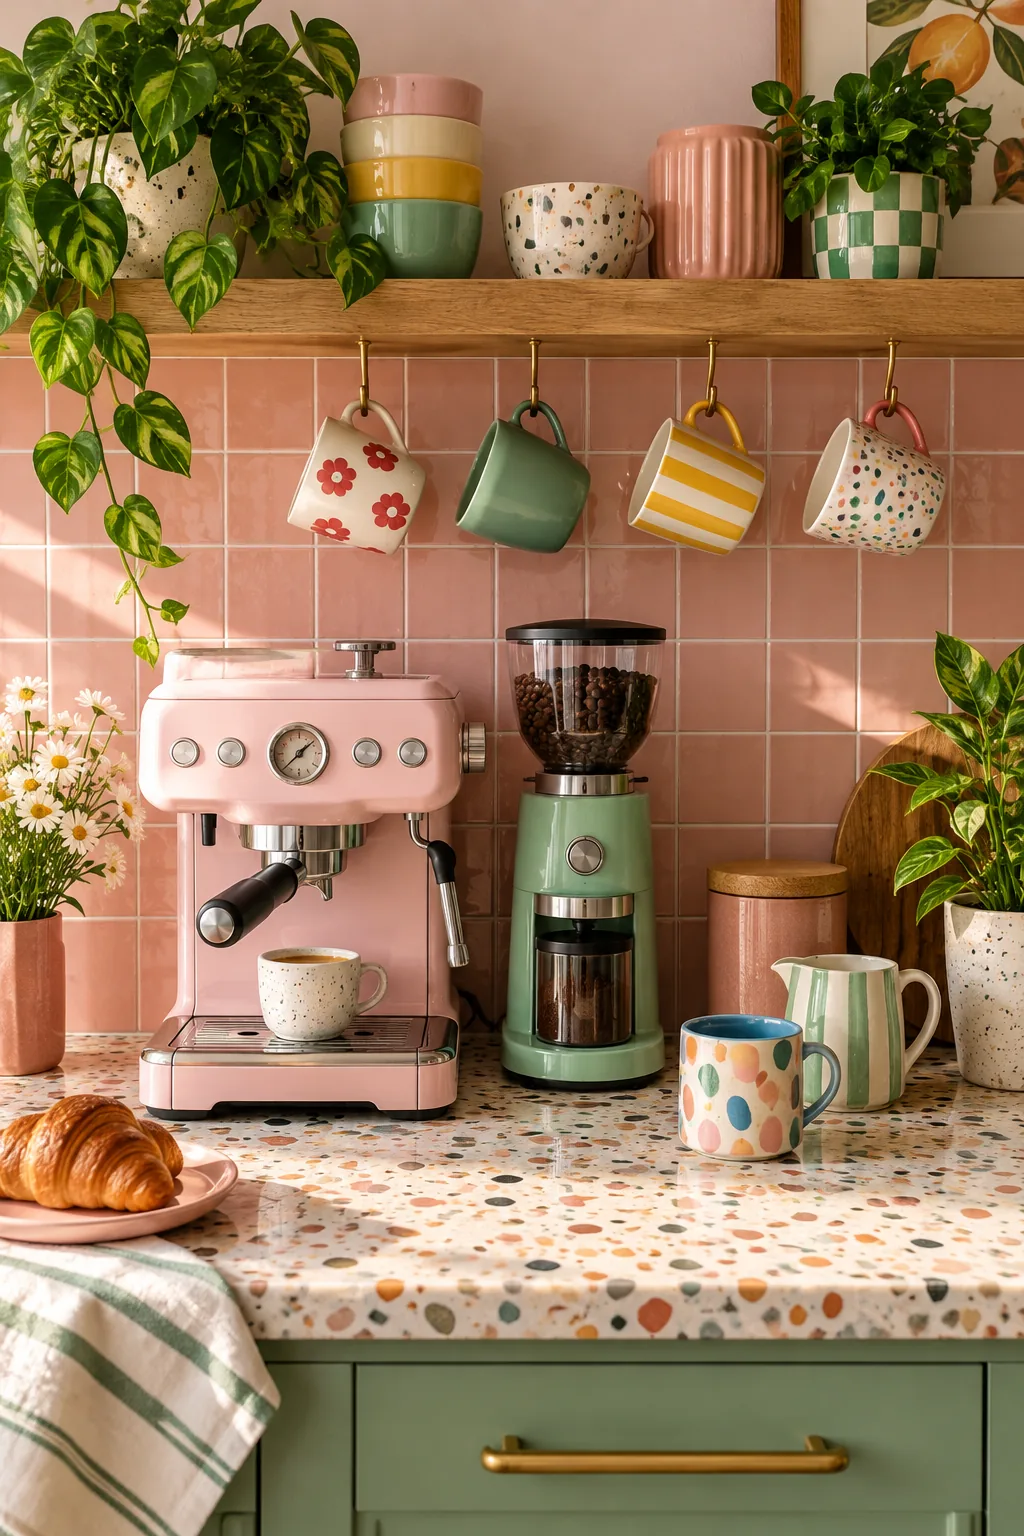
Colorful Retro Terrazzo: Pastel appliances and playful terrazzo counters turn a basic functional zone into a cheerful focal point.
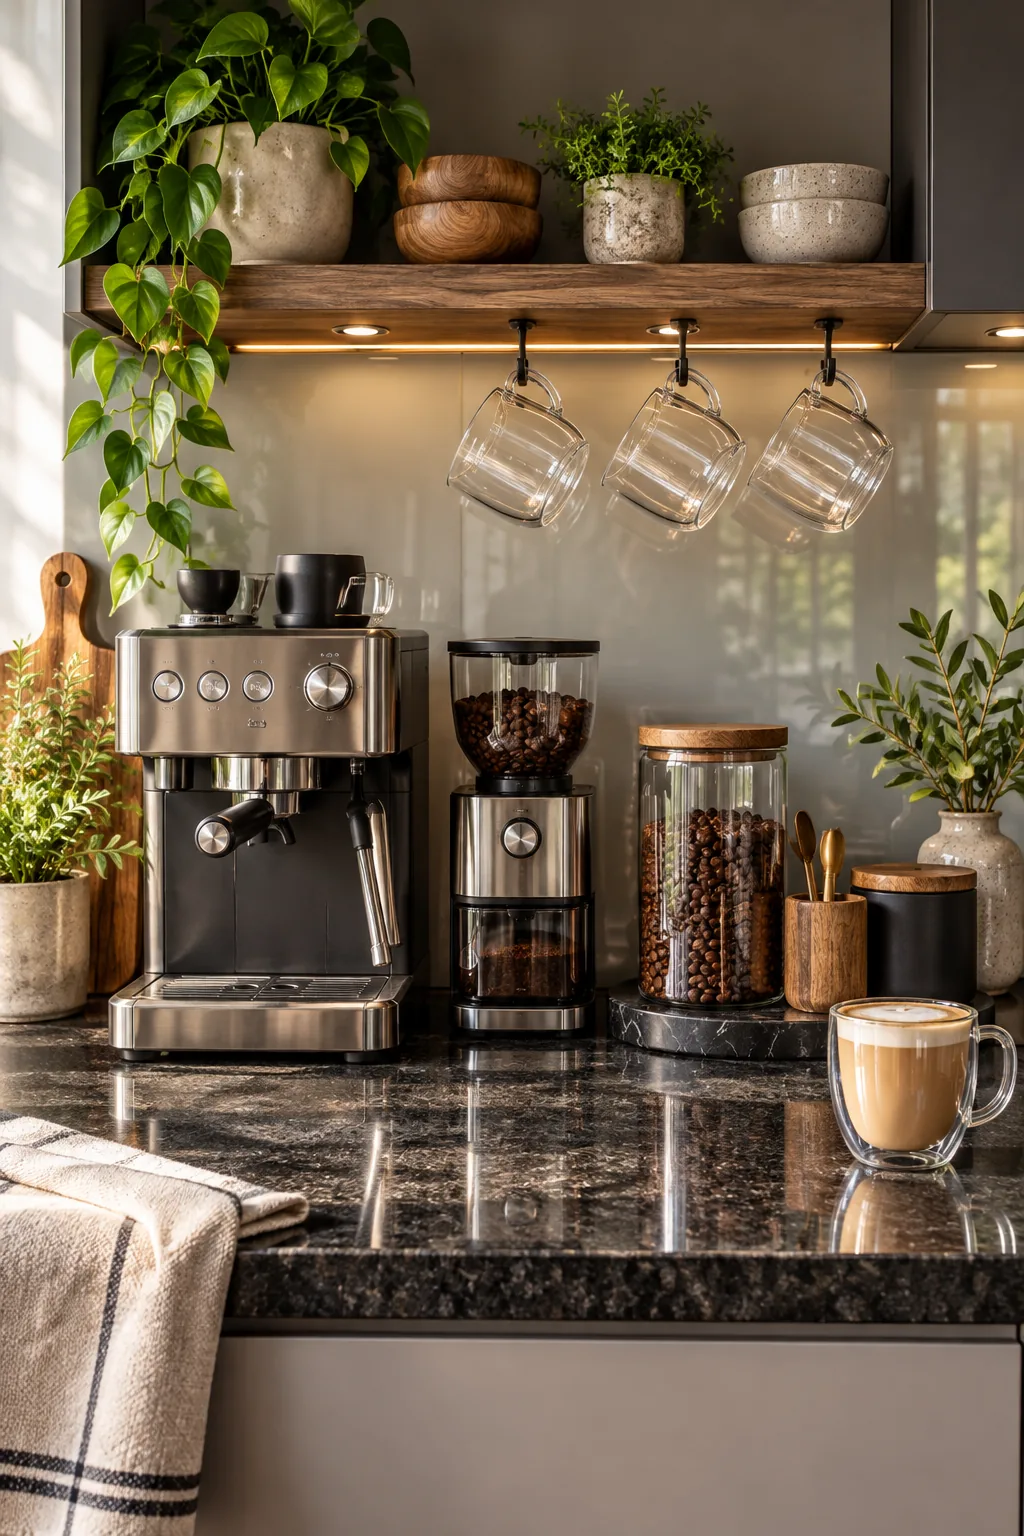
Sleek Stainless Modern: Polished stainless steel and double-walled glass mugs reflect light, making a tight corner feel much larger.
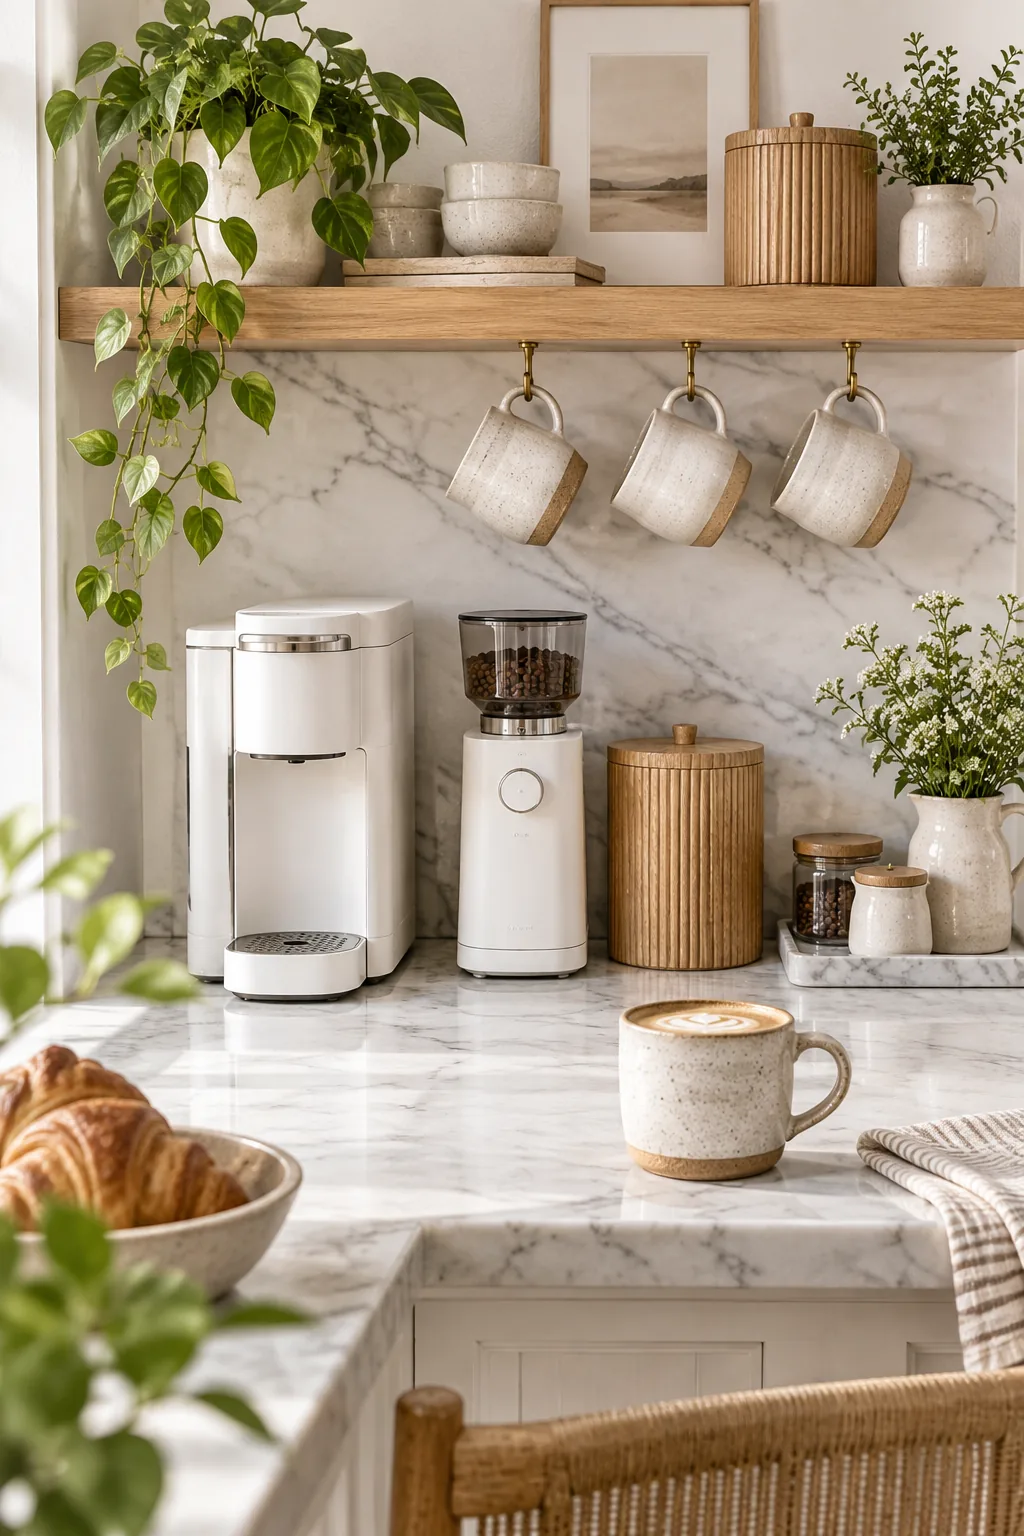
Scandi Oak and Marble: Ribbed light oak accessories add necessary warmth and texture to an otherwise crisp, all-white marble setup.