DIY Pool Patio Decor: Gray Slab to Resort Swagger Makeover
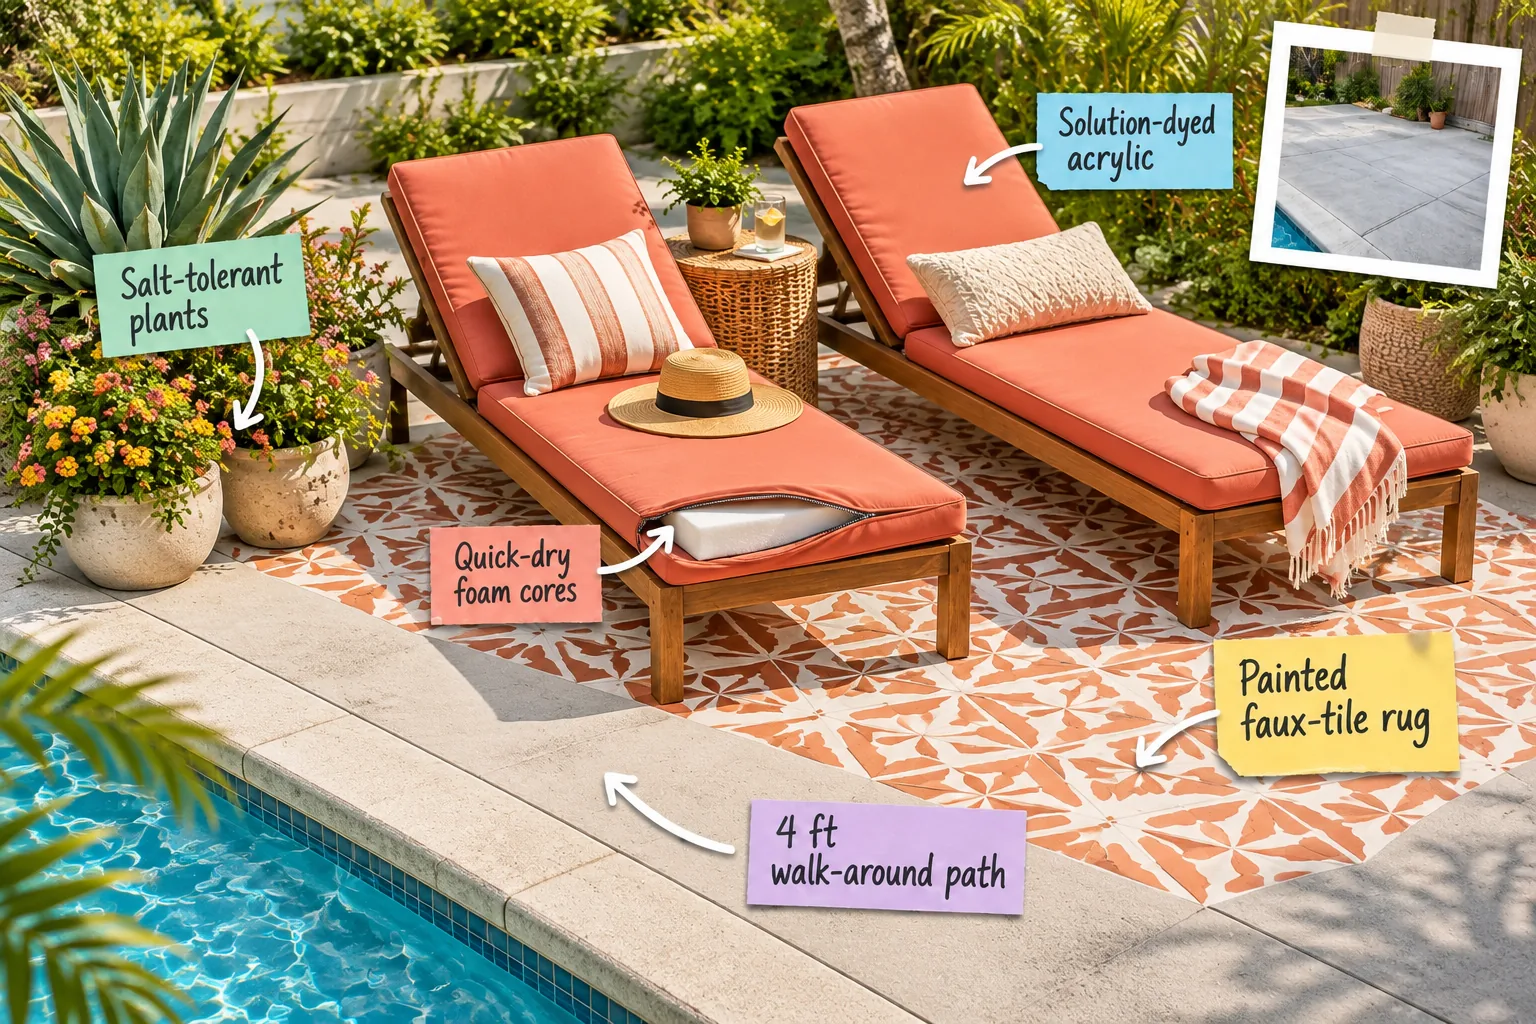
Transform your bare concrete pool deck into a luxury resort lounge with our printable two-page patio decor shopping list. You will be able to map out your layout, choose the right outdoor materials, and take our exact quantities straight to the hardware store.
Planning the 4-Foot Walk-Around Path
Maintain a minimum 4-foot clearance between the pool coping and the foot of your loungers to keep traffic flowing safely away from the water. This crucial measurement ensures wet swimmers have a safe, slip-free walkway without navigating around heavy furniture legs.
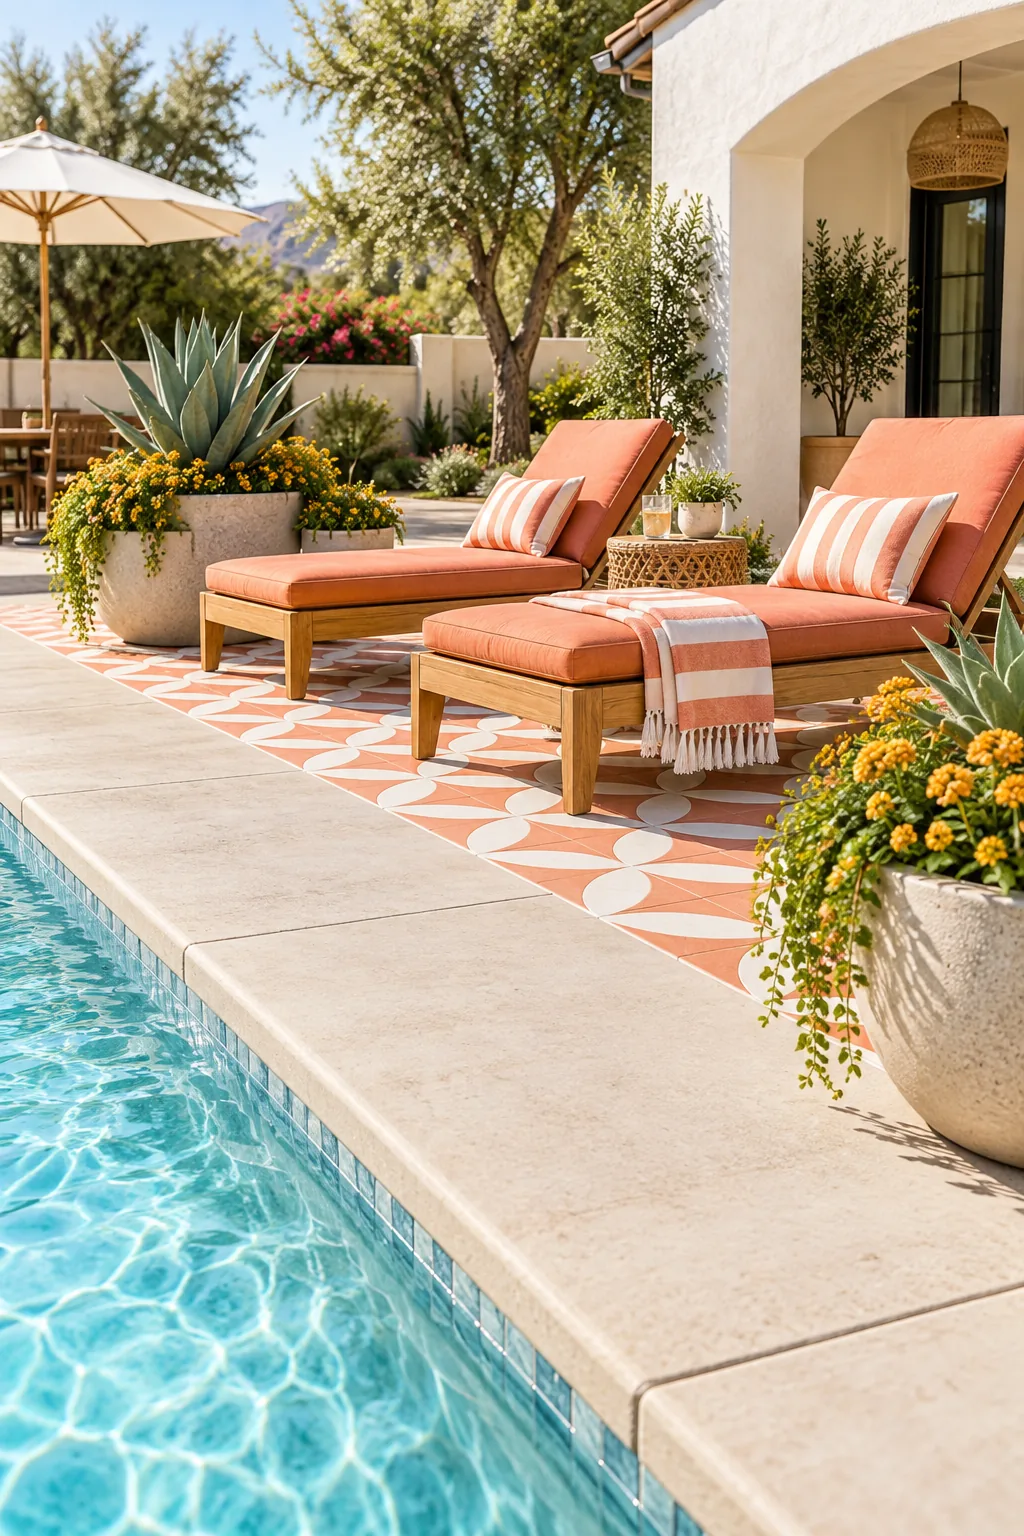
Last summer here in Austin, I learned the hard way that squeezing chairs too close to the pool means constantly dodging splashing kids. Giving yourself that dedicated walking lane completely changes how relaxing the entire patio feels during busy weekends.
Measuring Your Lounge Zone
Before buying any supplies, use painter’s tape to block out the exact footprint of your future seating area. You need to verify that your planned faux-tile rug dimensions leave enough room for side tables while preserving that essential safety perimeter.
- Mark the four-foot boundary from the water’s edge to establish your strict no-furniture zone.
- Tape the outer corners of your painted rug, ensuring it extends at least two feet beyond your loungers.
- Measure the final taped rectangle to calculate the total square footage for your concrete paint order.
Taking these precise measurements now prevents the absolute frustration of running back to the hardware store for a second gallon of base coat mid-project.
Prepping the Concrete Surface
A lasting painted finish requires a meticulously clean surface free of old pool chemicals, algae, and stubborn sunscreen oils. Power wash the entire deck using a specialized concrete degreaser to lift deep stains that would otherwise prevent the new paint from bonding. Use a stiff bristle push broom to work the degreaser into the porous surface before rinsing it completely clean.
Etching for Maximum Adhesion
Once the surface is completely degreased and rinsed, apply a liquid masonry etcher to open up the microscopic pores in the concrete slab. This critical chemical step creates a rough, sandpaper-like texture that gives your base coat something permanent to grip. Always wear protective rubber boots and safety goggles when handling the etching acid to prevent accidental skin irritation.
Painting the Faux-Tile Rug Foundation
Define the lounge zone visually using outdoor concrete deck paint in a crisp white and terracotta geometric pattern. Paint eliminates the mildew risks of traditional woven outdoor rugs while creating a permanent, cozy anchor for your poolside furniture.
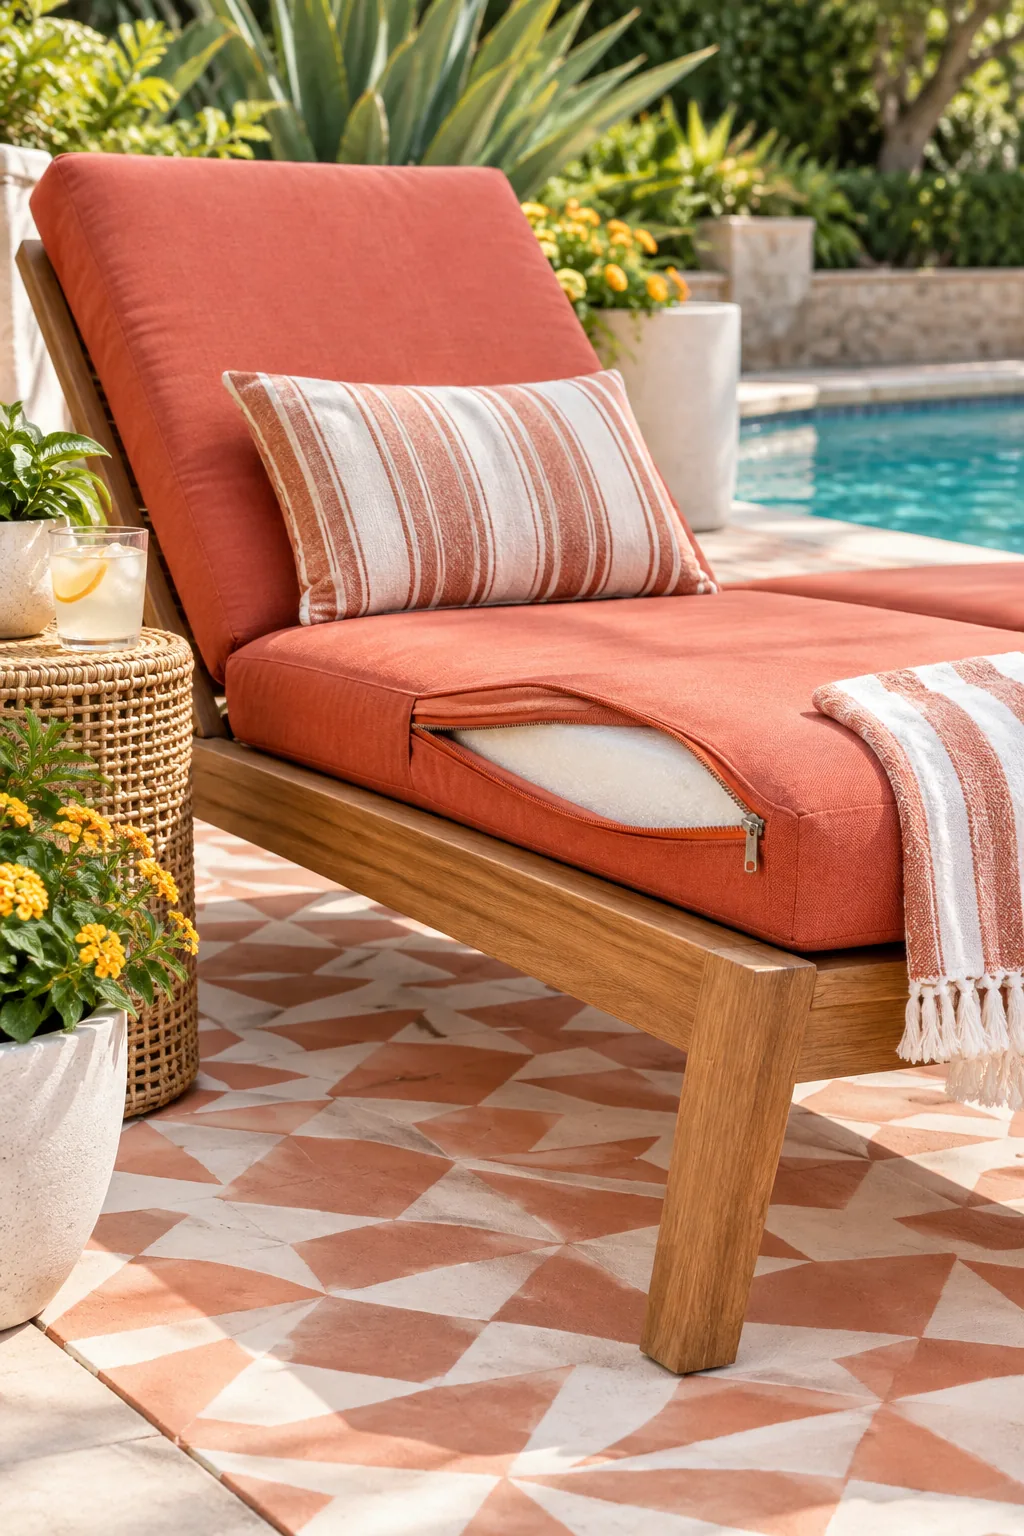
A painted foundation requires a specialized masonry bonding primer to ensure the terracotta pattern survives intense summer heat without bubbling or peeling.
Taping the Geometric Pattern
Create crisp, professional grout lines by pressing high-adhesion outdoor painter’s tape firmly into the dried white base coat. Use a small plastic squeegee to burnish the edges of every tape line, which blocks the terracotta topcoat from bleeding underneath. Pull the tape up while the final topcoat is still slightly tacky to prevent the dried paint from chipping.
Essential Anti-Slip Protection
Painted concrete becomes dangerously slick when splashed with pool water, so you must mix a clear anti-slip grit additive into your final protective topcoat. This invisible texture provides essential traction for bare, wet feet traversing the lounge area.
Curing the Painted Concrete
Allow the final sealed faux-tile rug to cure for a full 72 hours before moving any heavy wooden loungers back onto the deck. Rushing this vital drying phase will cause the furniture legs to gouge the fresh acrylic topcoat.
| Drying Stage | Time Required | Safe Activity |
|---|---|---|
| Base Coat | 4 hours | Taping patterns |
| Pattern Colors | 24 hours | Light walking |
| Clear Sealer | 72 hours | Placing heavy furniture |
Always check your specific paint manufacturer’s guidelines, as high backyard humidity or cooler overnight temperatures can significantly extend these necessary curing windows.
Selecting Weather-Resistant Furniture
Solid teak or powder-coated aluminum loungers offer the absolute best defense against the harsh, corrosive environment of a backyard pool. These durable frame materials easily resist both the constant moisture of wet swimsuits and the chemical impacts of chlorinated splashes. Simply wiping these frames down with a damp cloth once a month keeps them looking brand new.
Upgrading to Quick-Dry Foam Cores
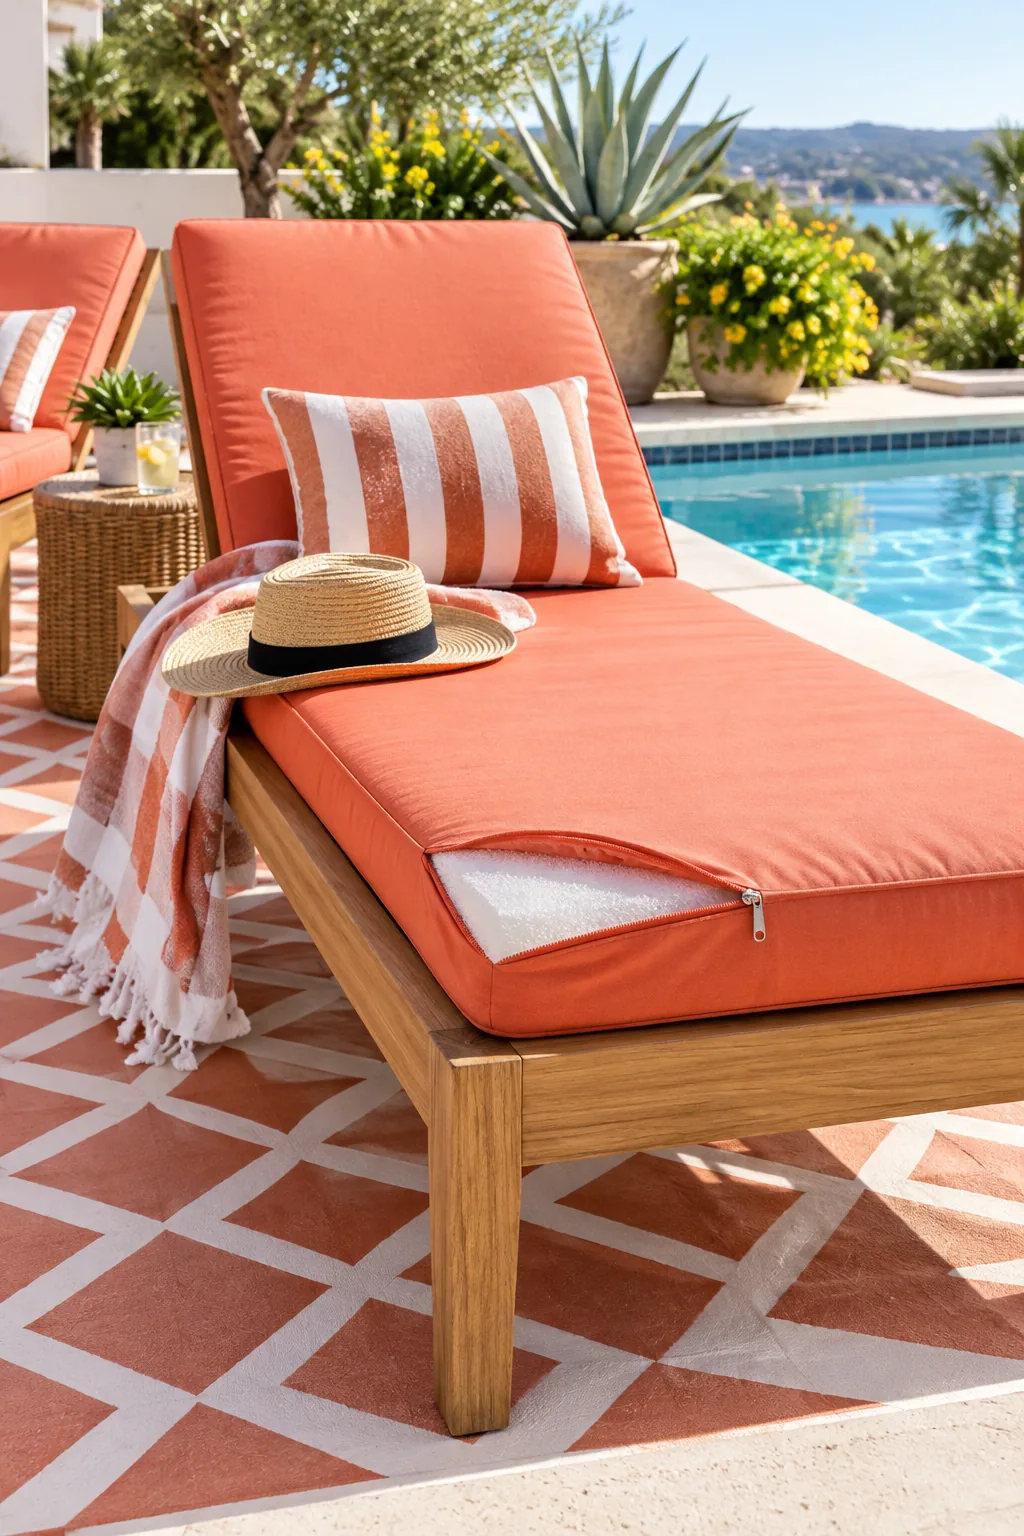
Standard polyurethane foam acts like a sponge, trapping rainwater and growing mold inside your beautiful new seating. Swap those dense inserts for reticulated quick-dry foam because its open-cell structure allows heavy splashes to drain straight through the bottom.
When you unzip a premium outdoor cushion, you should easily see this porous, web-like texture that entirely prevents internal moisture buildup.
Sizing Your Replacement Foam
Measure your existing cushion covers seam-to-seam and order the replacement quick-dry foam exactly one inch larger in both width and length. This intentional oversizing creates a plump, professional crown that fills out the fabric completely without sagging over time.
Choosing Solution-Dyed Acrylic Fabric
Full sun and harsh pool chemicals will destroy cheap printed polyester covers in a single season. Solution-dyed acrylic has UV-stable color mixed directly into the liquid polymer, ensuring bright hues remain vibrant year-round.
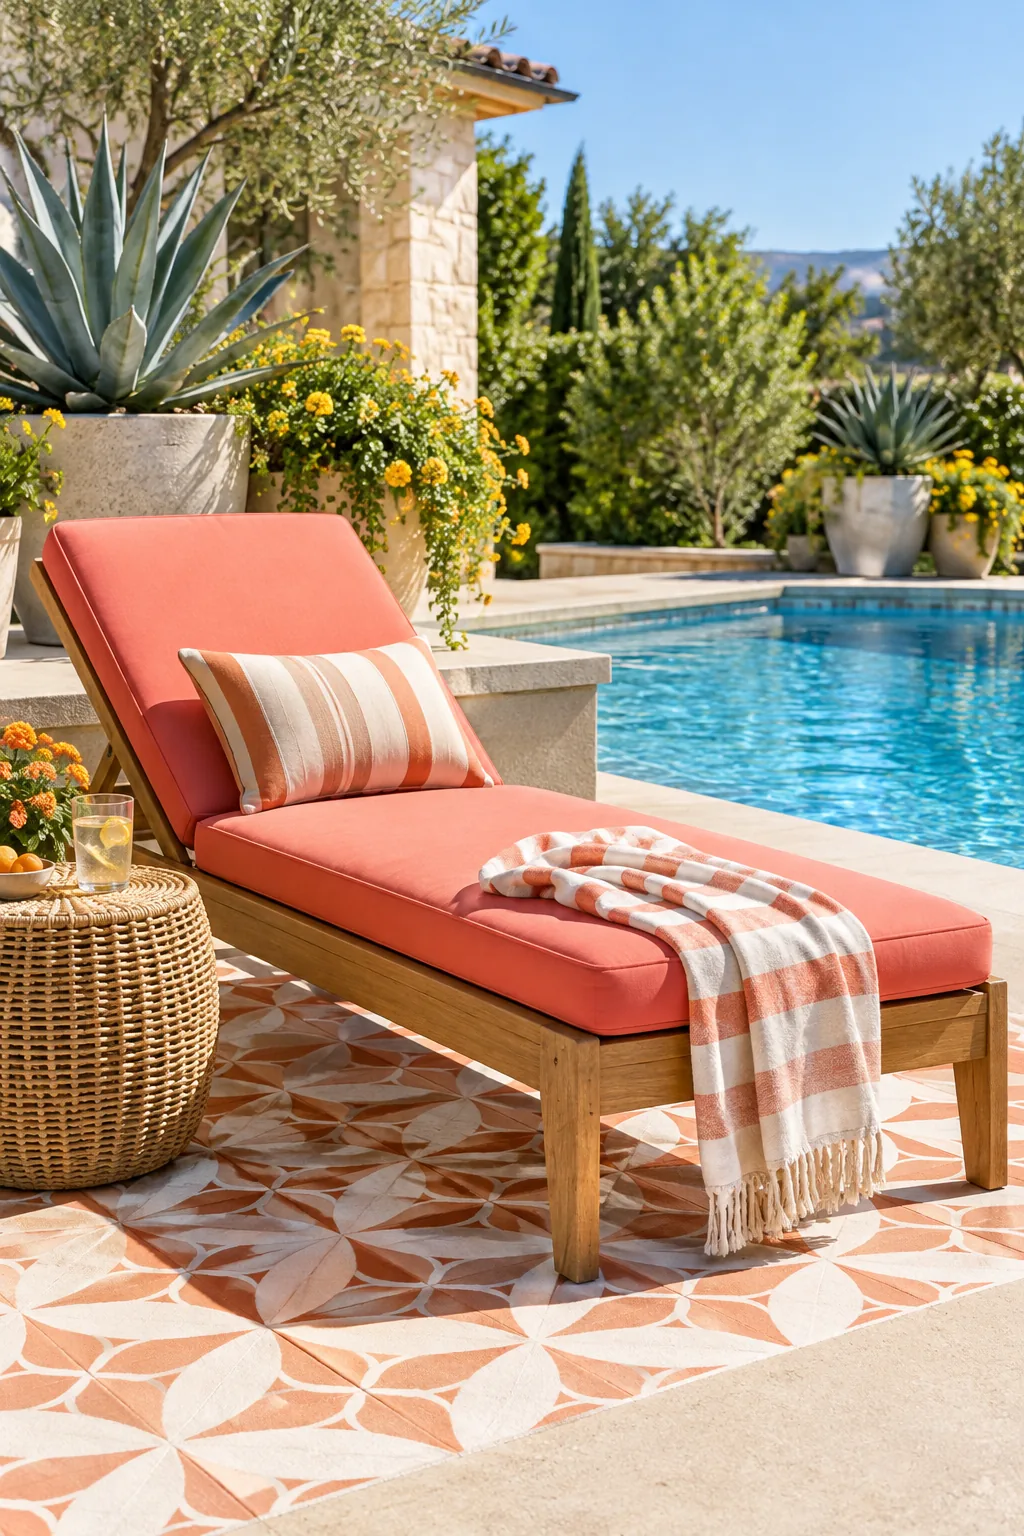
Investing in this premium synthetic canvas means your vibrant coral seating will easily survive daily exposure to dripping swimsuits and intense afternoon UV rays.
Maintaining Acrylic Cushion Covers
Even the most durable solution-dyed fabrics require routine maintenance to prevent environmental dirt from grinding into the woven fibers. Brush off dry debris weekly and immediately spot-clean any dropped sunscreen using a mild soap and lukewarm water solution. Never use a high-pressure power washer on your custom cushions, as the intense spray will destroy the waterproof seams.
Storing Cushions Off-Season
While quick-dry foam and acrylic canvas excel in harsh weather, storing them in a ventilated deck box during winter extends their lifespan significantly. Ensure the cushions are completely bone-dry before storing to prevent mildew from forming in the dark container.
Potting Salt-Tolerant Splash Zone Plants
Position heavy planters near the water’s edge to soften the hardscape and create a lush, private oasis. Select hardy, salt-tolerant varieties like agave and lantana that withstand both intense heat and constant splashing from saltwater or chlorinated pools.
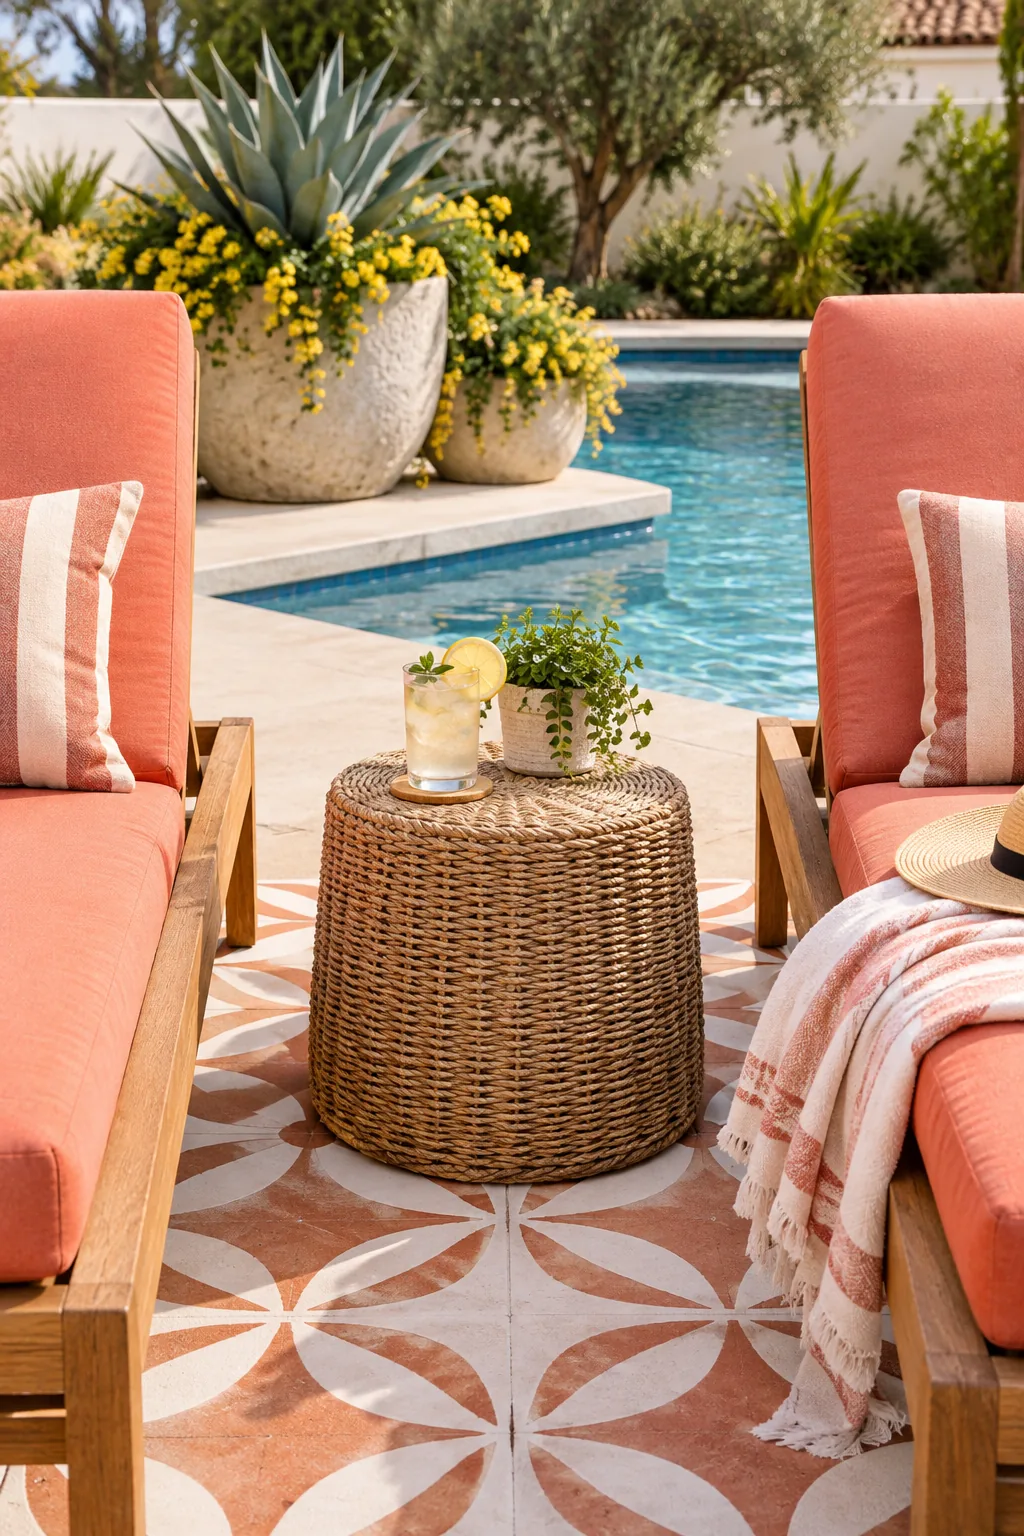
Grouping these resilient desert plants in staggered concrete vessels adds sculptural height while easily surviving the harsh microclimate right next to the coping.
Proper Drainage for Poolside Planters
Plants sitting directly on the pool deck can trap moisture underneath, leading to unsightly mineral rings on your newly painted concrete. Elevate every pot using hidden rubber riser feet to ensure excess irrigation water flows away quickly.
Choosing Heavy Concrete Planters
Lightweight plastic pots easily blow over during sudden summer thunderstorms, spilling messy potting soil directly into your pristine swimming pool. Invest in thick, heavyweight concrete or glazed ceramic planters that remain securely anchored even in high winds. If you live in a freezing climate, ensure your concrete pots are frost-proof so they do not crack during winter.
Adding Resort-Style Finishing Touches
Complete the luxury aesthetic with practical accessories that invite lingering and soften the harsh lines of the concrete hardscaping. A weather-resistant woven side table, a rolled striped towel, and a wide-brimmed hat make the space feel instantly lived-in.
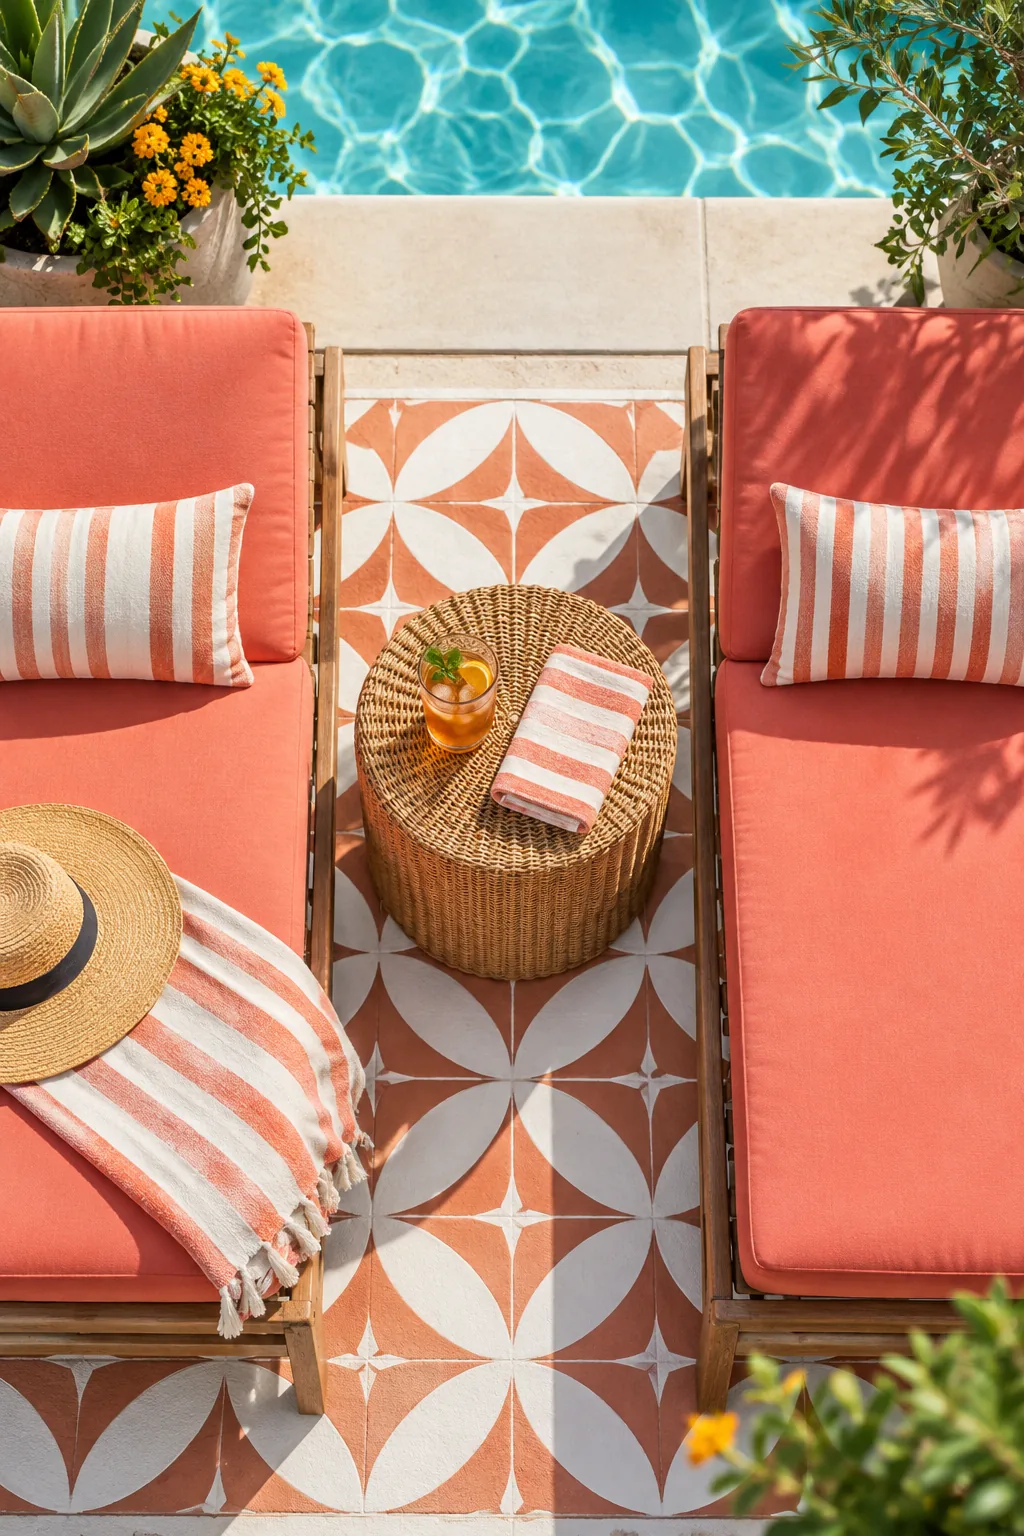
Whenever I host backyard brunches in Austin, keeping a small woven basket stocked with extra rolled towels right next to the loungers makes guests feel like they are relaxing at a high-end hotel.
Securing Lightweight Accessories
Breezy afternoons can quickly send hats and empty plastic tumblers flying into the water, clogging your expensive skimmer baskets. Choose weighted acrylic drinkware and tuck small personal items securely underneath the heavy lounger frames when stepping away for a swim.
Layering Outdoor Lighting
Extend the usability of your resort lounge into the evening by incorporating soft, ambient illumination around the perimeter. Solar-powered path lights tucked into the nearby landscaping provide a safe, warm glow without requiring complicated hardwired electrical connections.
Shading the Lounge Zone
An adjustable cantilever umbrella provides essential relief during the hottest parts of the afternoon without obstructing your carefully planned walking path. Position the heavy weighted base outside the painted rug area to maintain a clean, uncluttered visual aesthetic.
Your Printable Pool Deck Shopping List
Ready to transform your bare slab into a vibrant oasis? Download the complete two-page shopping list to take exact material quantities directly to the hardware store for a seamless weekend project.
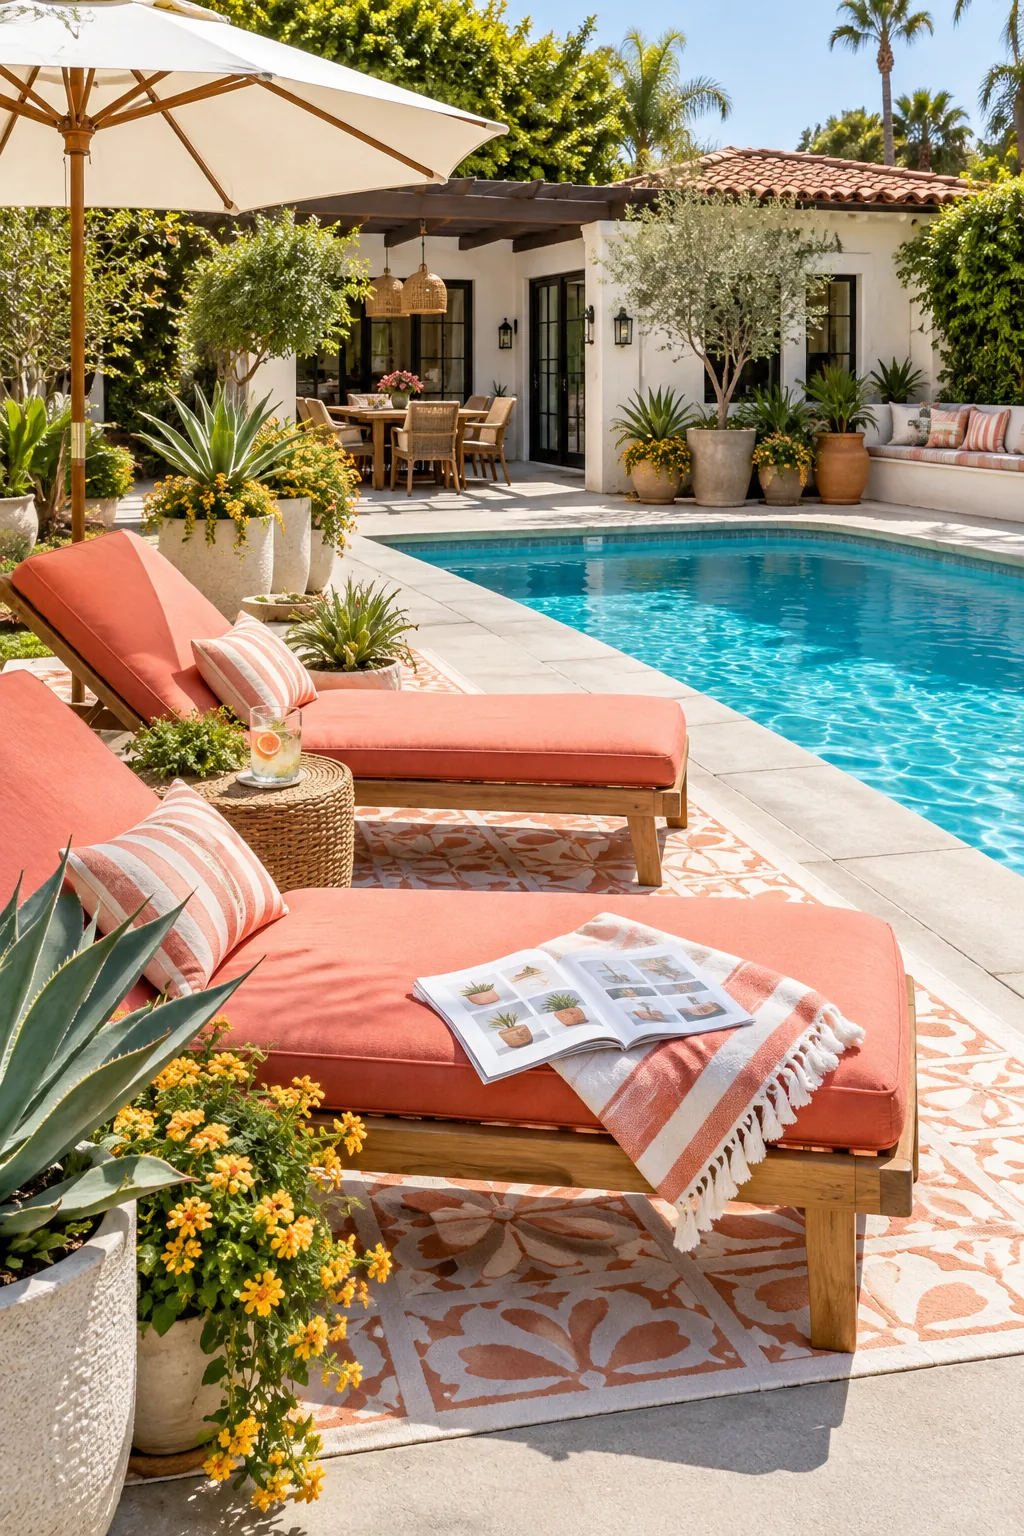
This comprehensive list includes everything required to recreate this exact look, precisely calculated for every ten feet of standard concrete pool decking.
- Outdoor Concrete Paint: 1 gallon base white and 1 quart terracotta per 100 square feet.
- Anti-Slip Grit: 1 packet of clear textured additive per gallon of topcoat sealer.
- Quick-Dry Foam: 2 sheets of 4-inch thick reticulated open-cell foam per lounger.
- Acrylic Fabric: 3 yards of solution-dyed coral canvas per cushion set.
- Splash-Zone Plants: 3 agave pups and 2 trailing lantana for the poolside grouping.
More Pool Patio Decor Styles
Adapt these durable outdoor materials to fit your favorite backyard aesthetic.
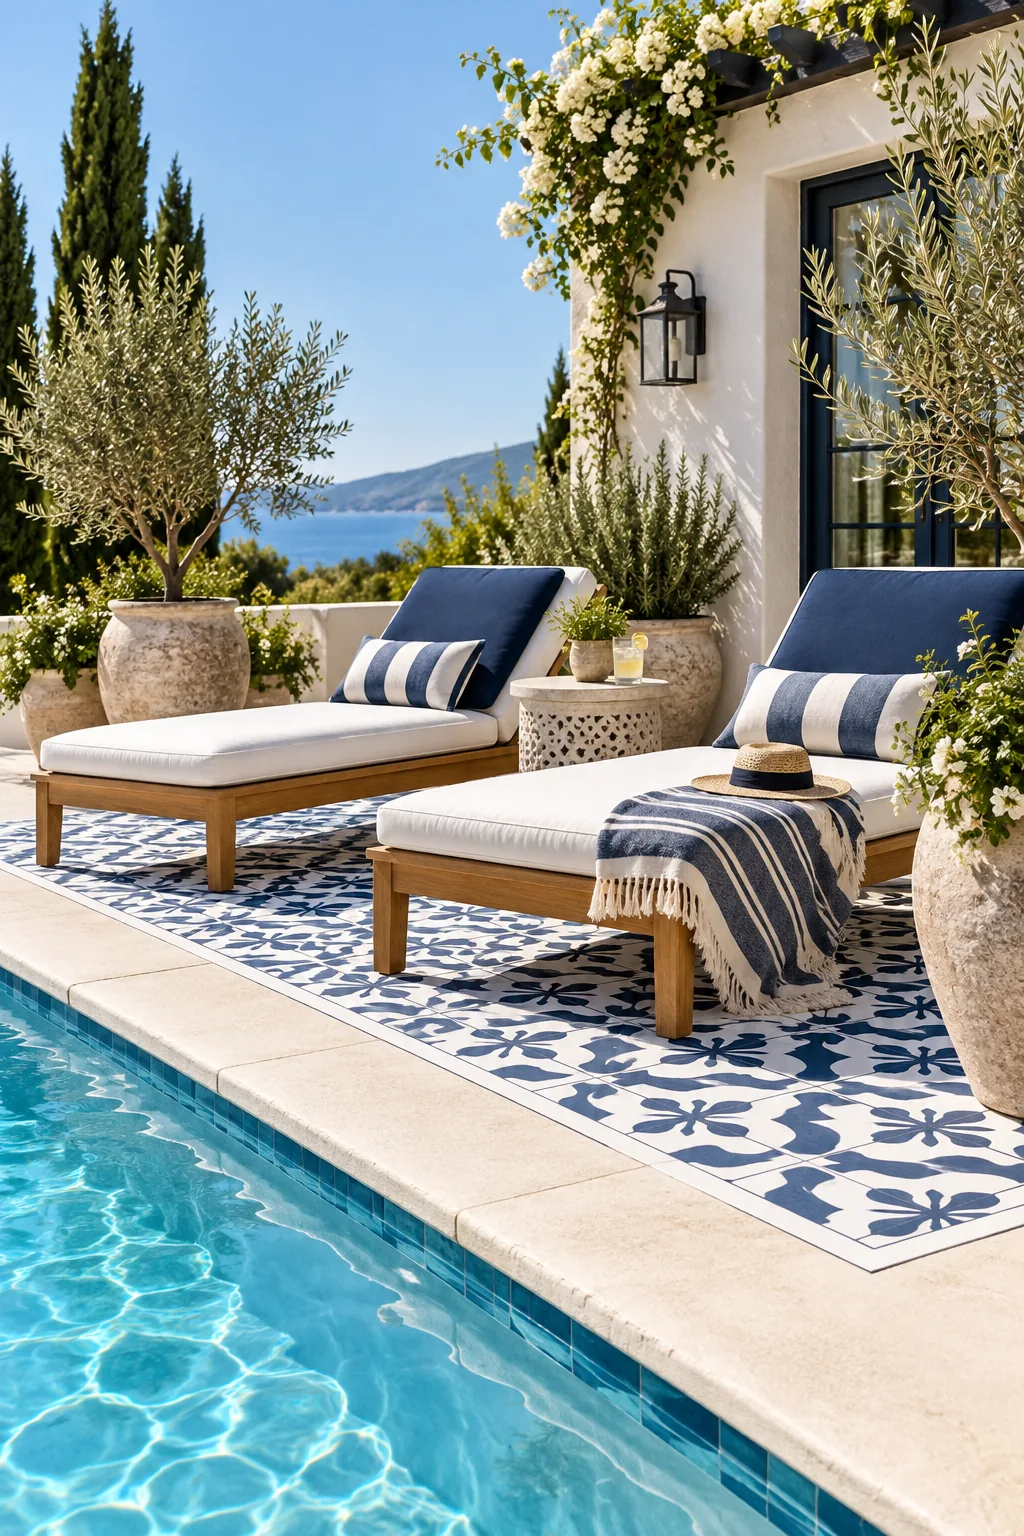
Mediterranean Blue: Swap the terracotta for crisp navy and white paint, and frame the lounge zone with elegant potted olive trees.
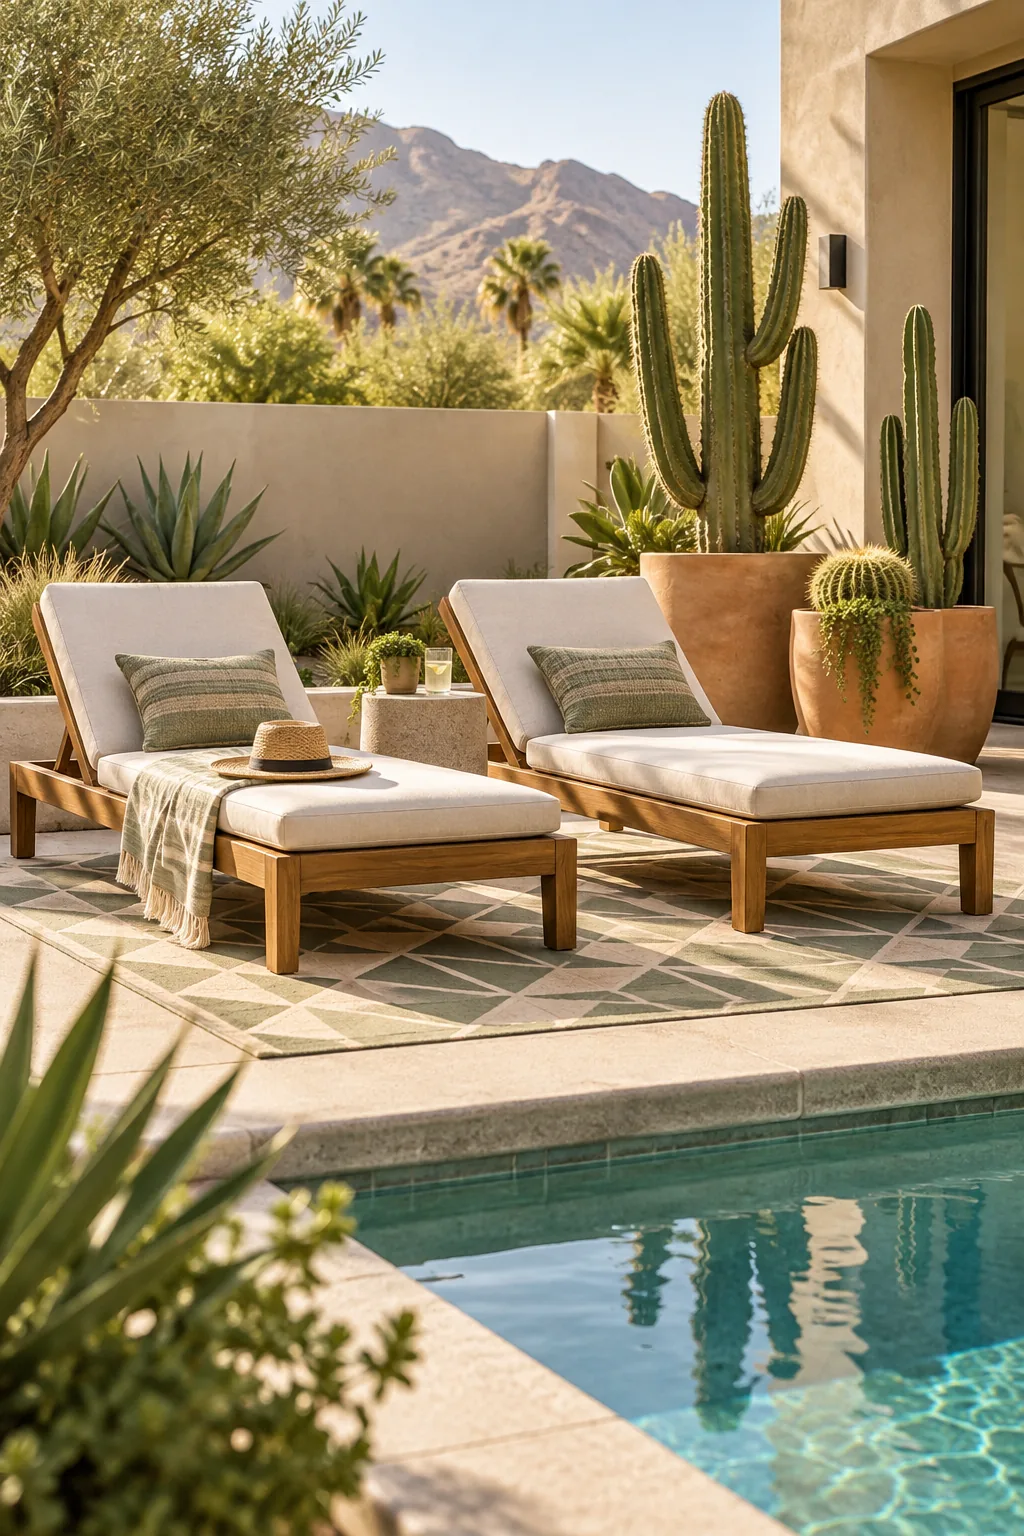
Desert Modern: Embrace a muted palette with a sand and sage rug, teak wood furniture, and striking structural cacti.
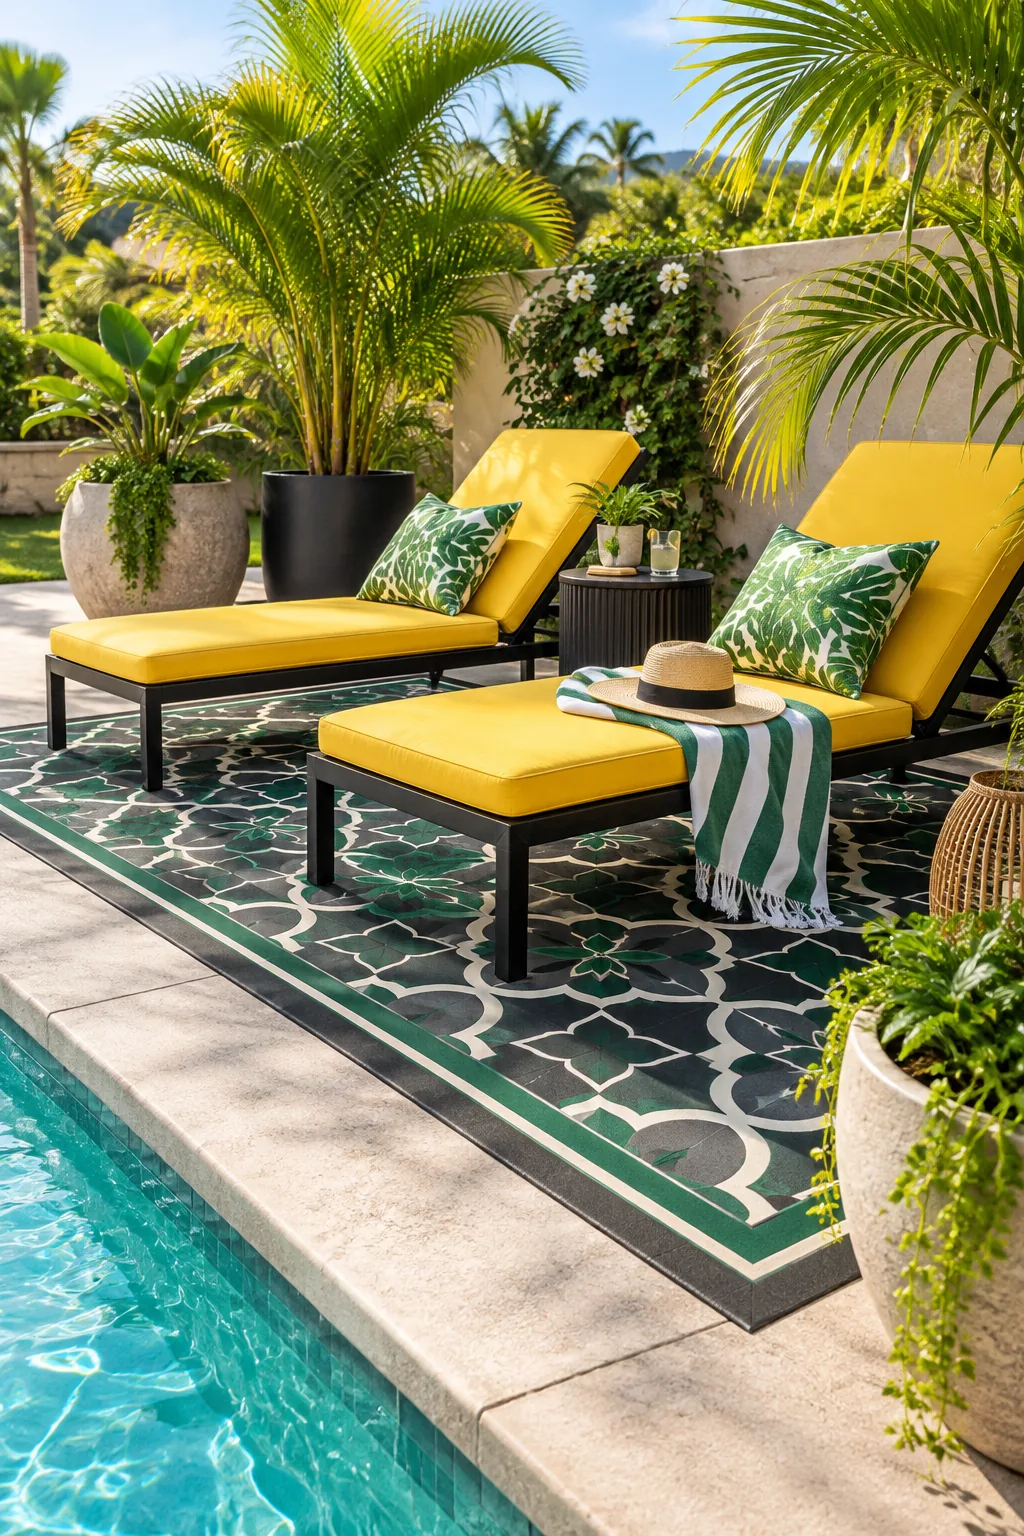
Tropical Oasis: Go bold with an emerald and charcoal painted foundation, bright yellow acrylic cushions, and lush potted palms.