
The Complete Front Door Wreath Sizing and Hanging Guide
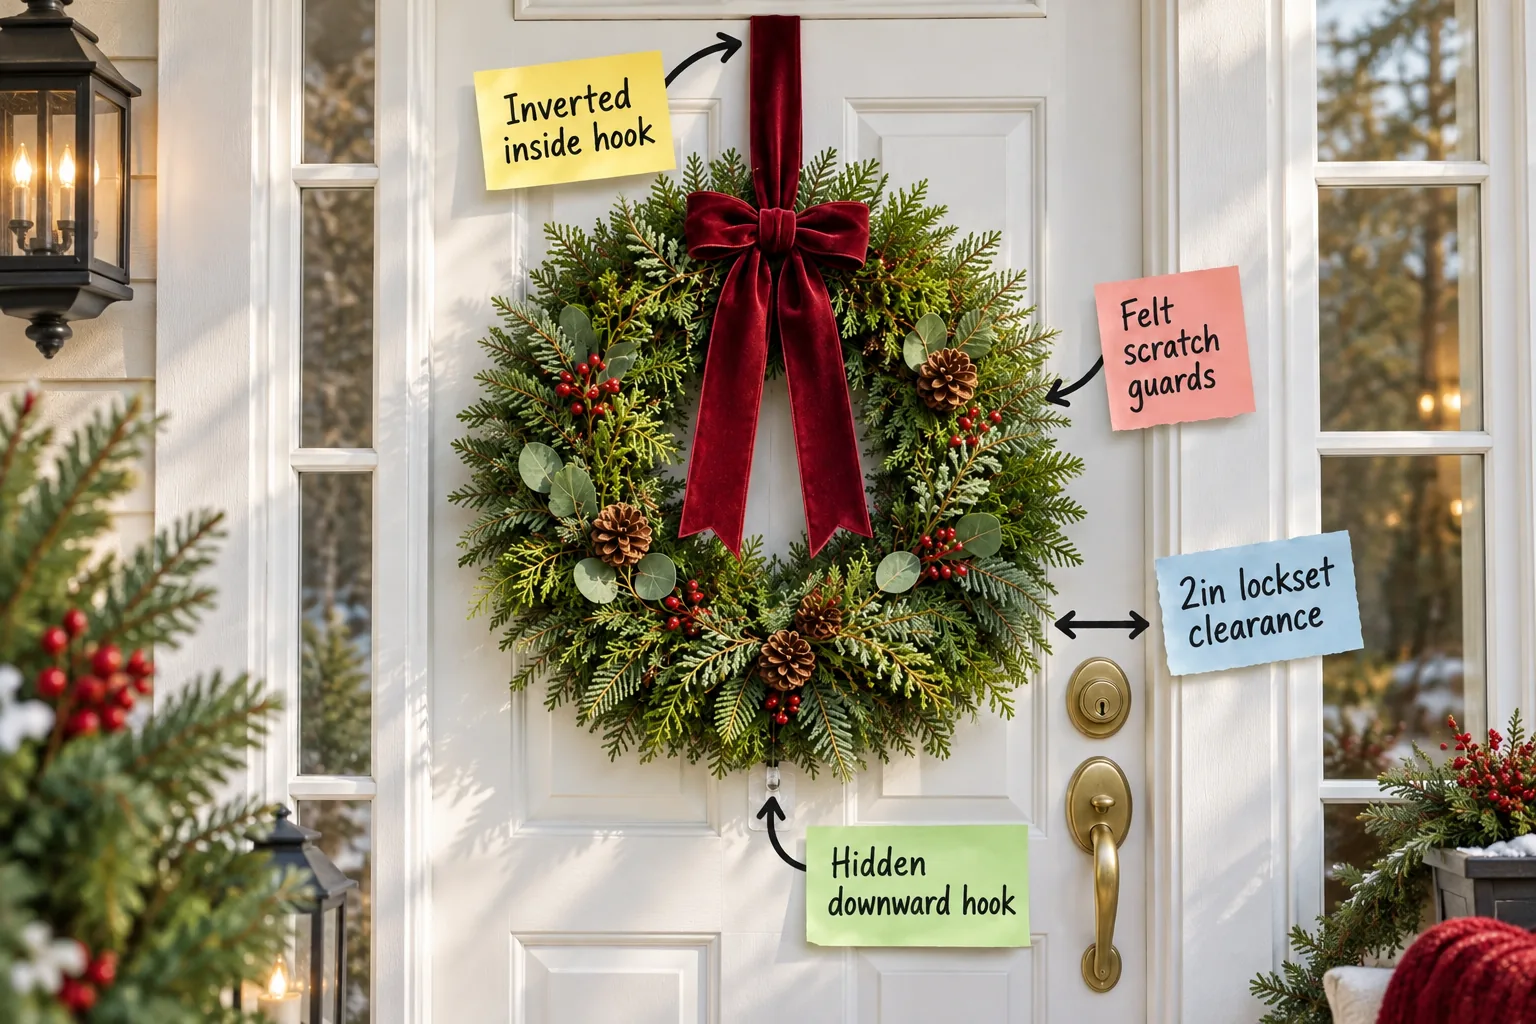
Using this complete wreath hanging and sizing guide, you will be able to confidently size, position, and secure any wreath to your front door without causing damage or dealing with swinging greenery. Mastering these exact measurements and hidden anchor tricks guarantees your seasonal display always looks flawlessly and professionally installed.
The Flawless Door Sizing Guide
Start by establishing the correct proportions for your entryway, matching a standard 36-inch wide front door to a 24-inch to 28-inch wreath. I always measure my own Boston apartment door before buying greenery, ensuring there is a comfortable border of visible paint on all sides.
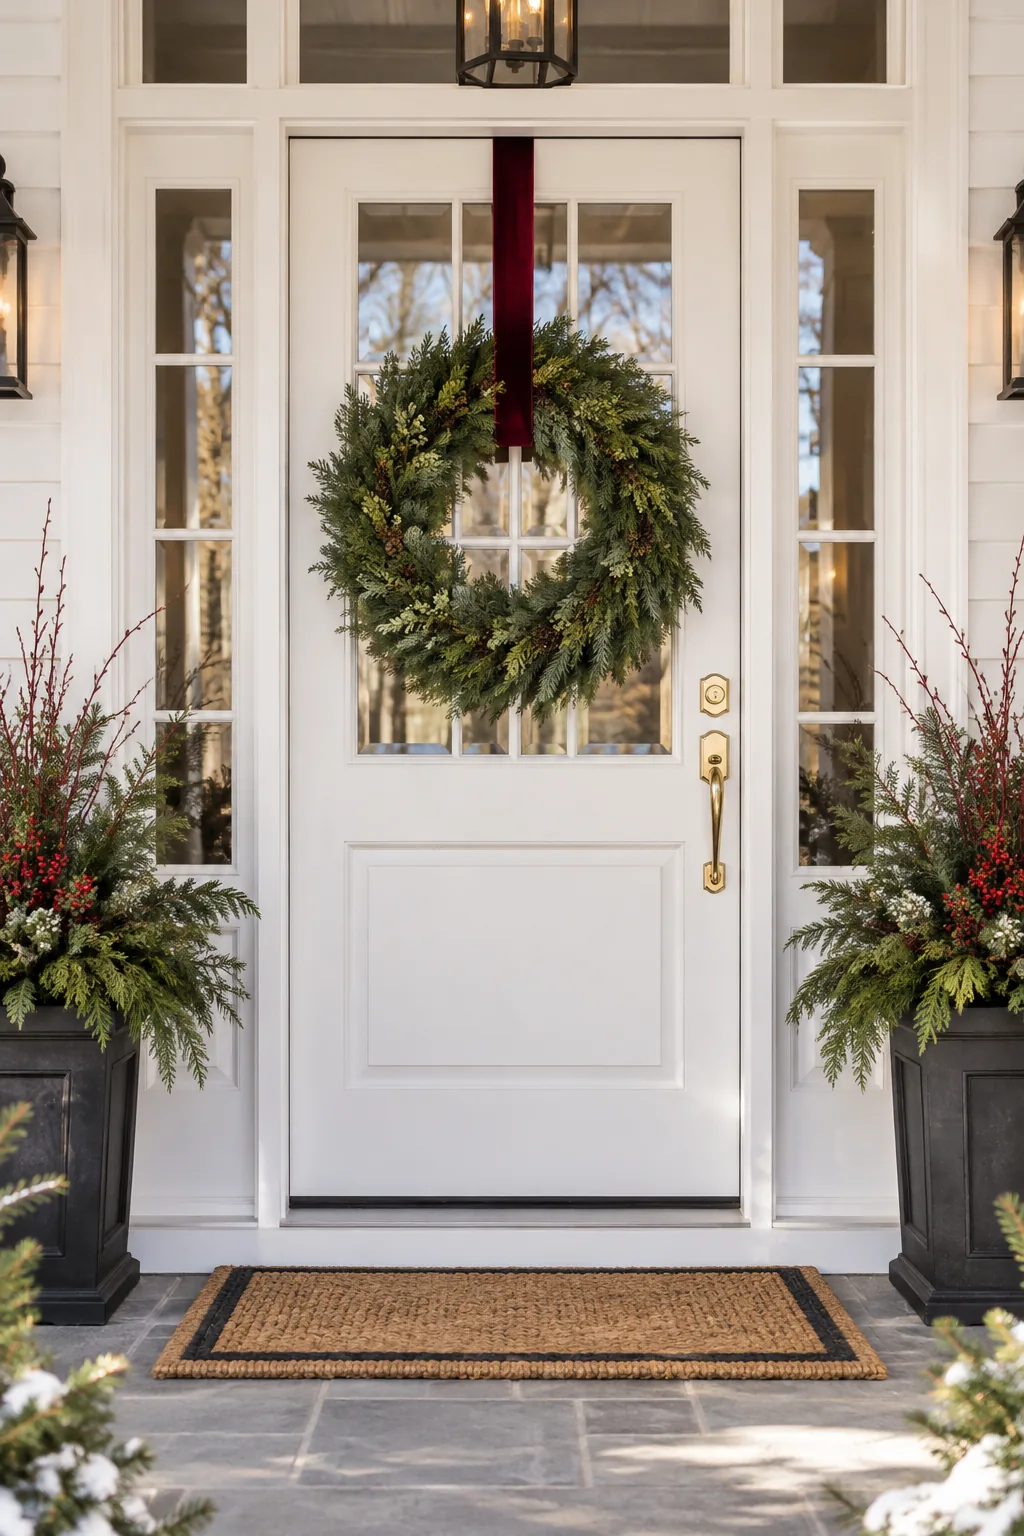
Before cutting any ribbon or placing hooks, confirm your greenery is perfectly scaled for your specific entryway.
Evaluating Door Hinge Strength
Heavy evergreen arrangements require careful support planning to prevent sudden falls during fierce winter storms. Check your heavy-duty door hinges to ensure they can handle the extra weight without sagging, especially if you plan to hang an oversized, fully decorated natural pine arrangement.
Calculating Wreath Weight Limits
Always weigh your fully decorated greenery on a standard bathroom scale before purchasing any suspension hardware. Guarantee the total weight stays well under the five-pound capacity of most heavy-duty utility hooks to prevent the arrangement from crashing onto your porch.
Measuring Your Lockset Clearance
Positioning the wreath requires careful attention to the door’s hardware to preserve both the decor and your hands. I learned the hard way on my own brownstone door that maintaining a strict 2-inch lockset clearance prevents crushed branches and scraped knuckles.
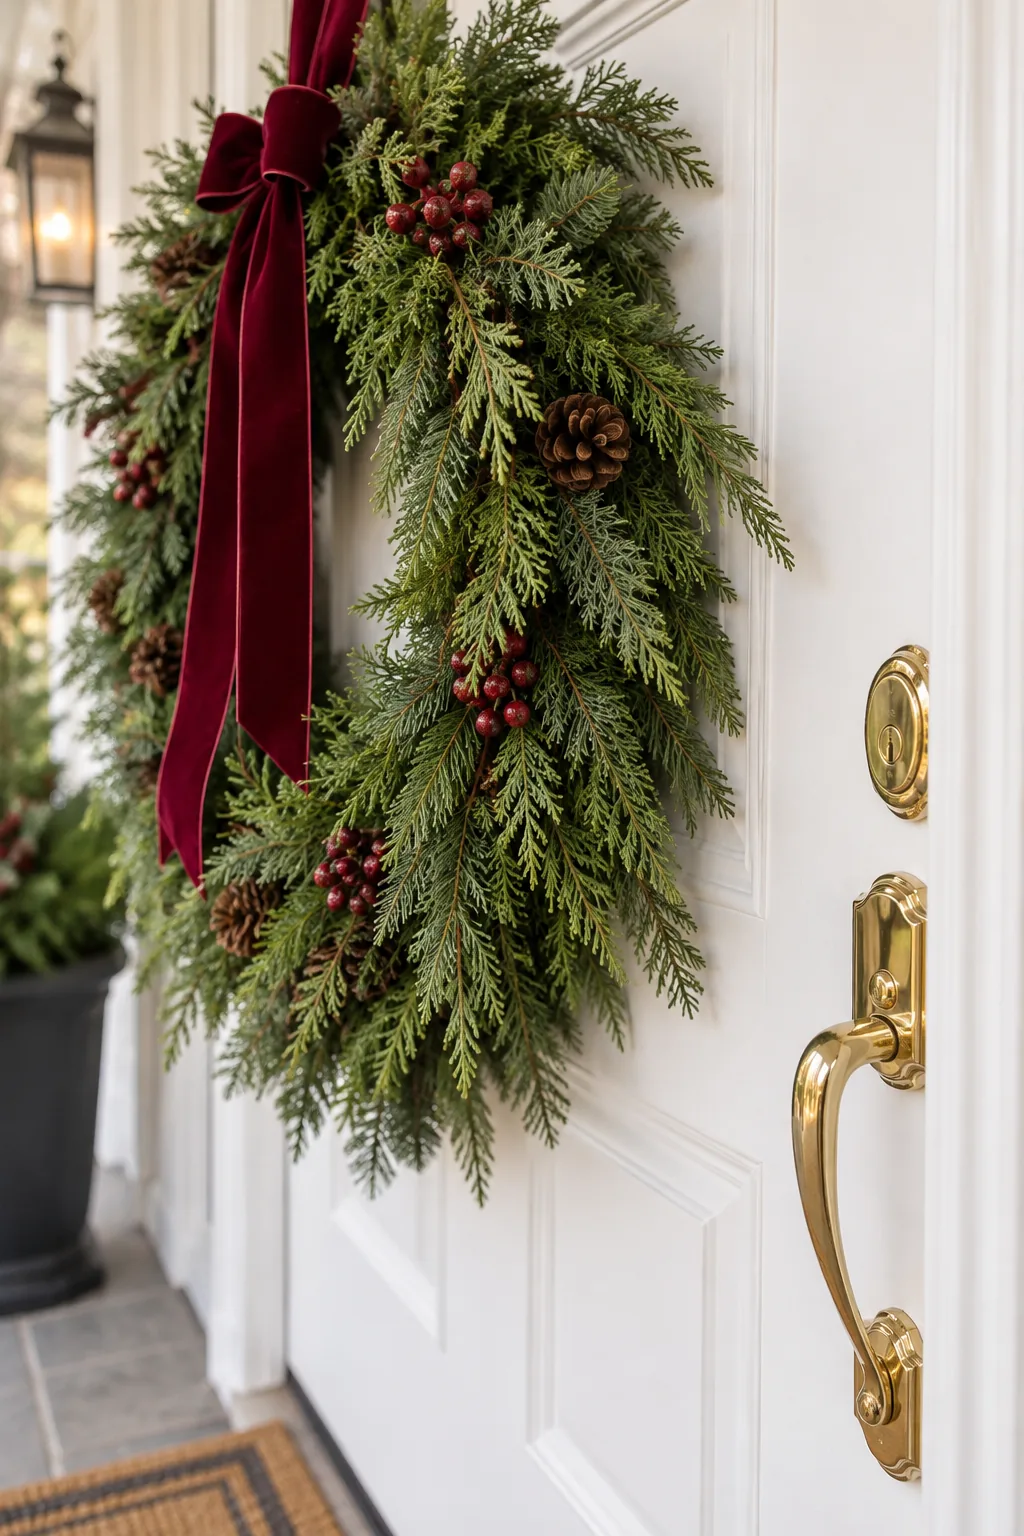
This negative space between the outermost edge of the greenery and the door handle ensures comfortable daily operation. Always check this gap while the door is fully open and closed to confirm the branches never interfere with the latch.
Accommodating Smart Lock Keypads
Modern entryways often feature bulky electronic keypads that require additional vertical clearance above the standard handle. Shift your greenery exactly one inch higher if your smart lock extends above a traditional deadbolt, keeping the motorized components completely unobstructed and accessible.
Selecting a Lay-Flat Ribbon
Achieving a seamless look over the top of the door starts with choosing the right textile for the suspension. Thick, heavily wired ribbons tend to bunch up and can severely compromise the tight seal of your exterior weatherstripping.
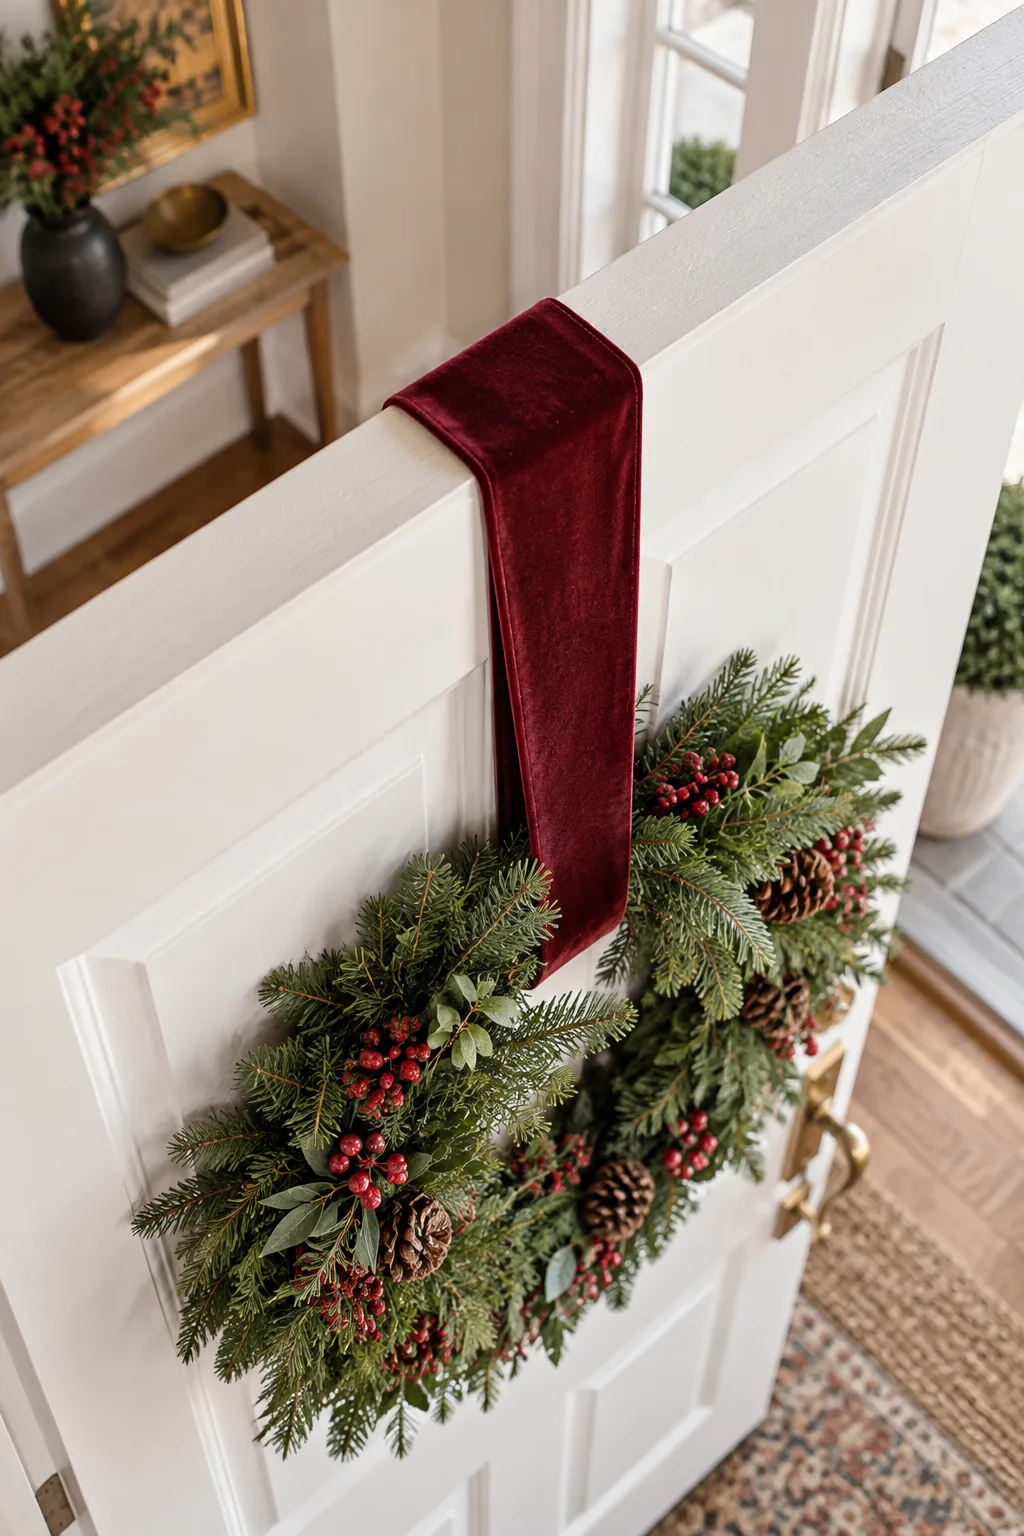
Choose a high-quality, unwired velvet or grosgrain ribbon that pulls perfectly flat across the top edge. This smooth profile allows the door to close securely without creating drafts or damaging the expensive fabric.
Determining Ribbon Yardage
Cutting the correct length of fabric prevents wasteful trimming and ensures you have enough material to reach your anchor points.
- Measure the distance from your desired exterior hanging height to the top of the door.
- Add the thickness of the door itself to account for the top edge.
- Include an extra 12 inches to reach the interior mounting hook securely.
This straightforward calculation guarantees you purchase enough continuous yardage for a flawless, unbroken vertical line. Always cut the ends at a sharp 45-degree angle to prevent the unwired fabric from fraying during installation.
Selecting the Best Adhesive Anchors
Not all mounting hardware survives the freezing temperatures and high humidity of a typical winter season. Invest in outdoor-rated adhesives specifically designed for exterior use, as standard indoor hooks will quickly become brittle and snap when the temperature drops below freezing.
Mounting the Inverted Inside Hook
Ditch the bulky over-the-door metal hangers that scratch paint and ruin expensive weather seals. I use an inverted inside hook on my own front door, mounting a heavy-duty adhesive anchor completely upside down on the interior side.
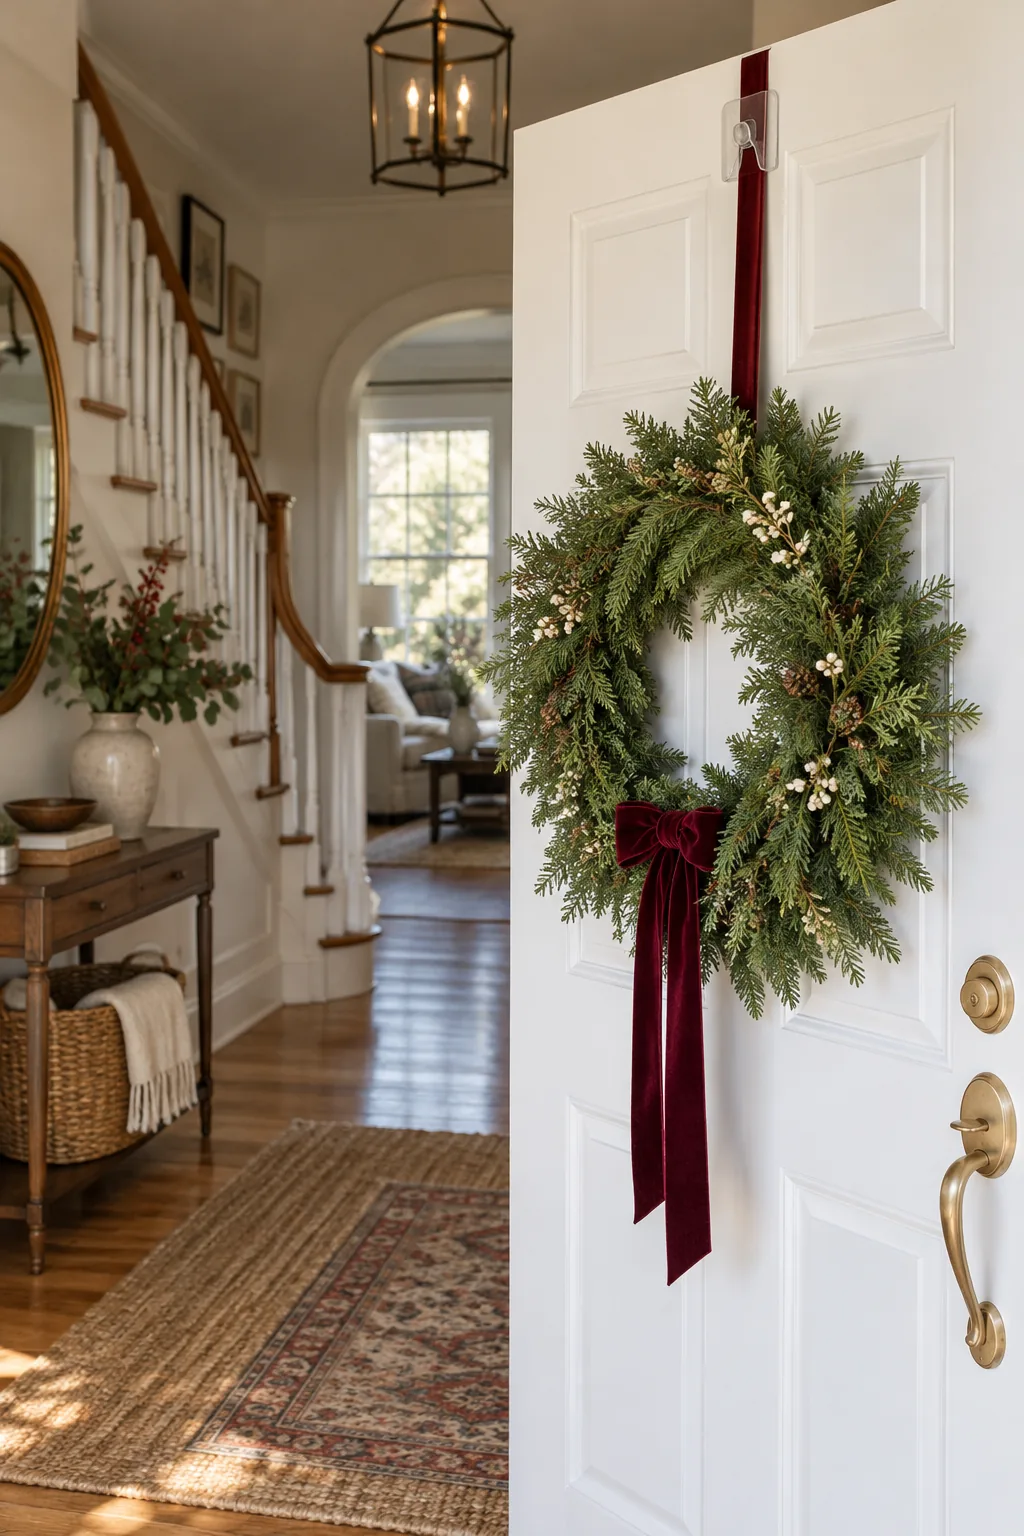
Loop the ribbon over the top edge and catch it directly on this hidden interior anchor to lock the hanging height securely in place. This technique completely hides the suspension mechanics from the street while protecting your exterior finish.
Prepping the Interior Surface
Adhesive hooks immediately fail if applied to a dusty or greasy door panel, especially in extremely cold weather. Wipe the interior mounting spot vigorously with rubbing alcohol and let it dry completely before pressing the plastic backing firmly into the painted surface.
Adjusting the Hanging Height
The vertical placement of your greenery dramatically impacts the overall curb appeal of your home. Aim to position the center of the wreath at eye level, which typically falls 57 to 60 inches from the porch floor.
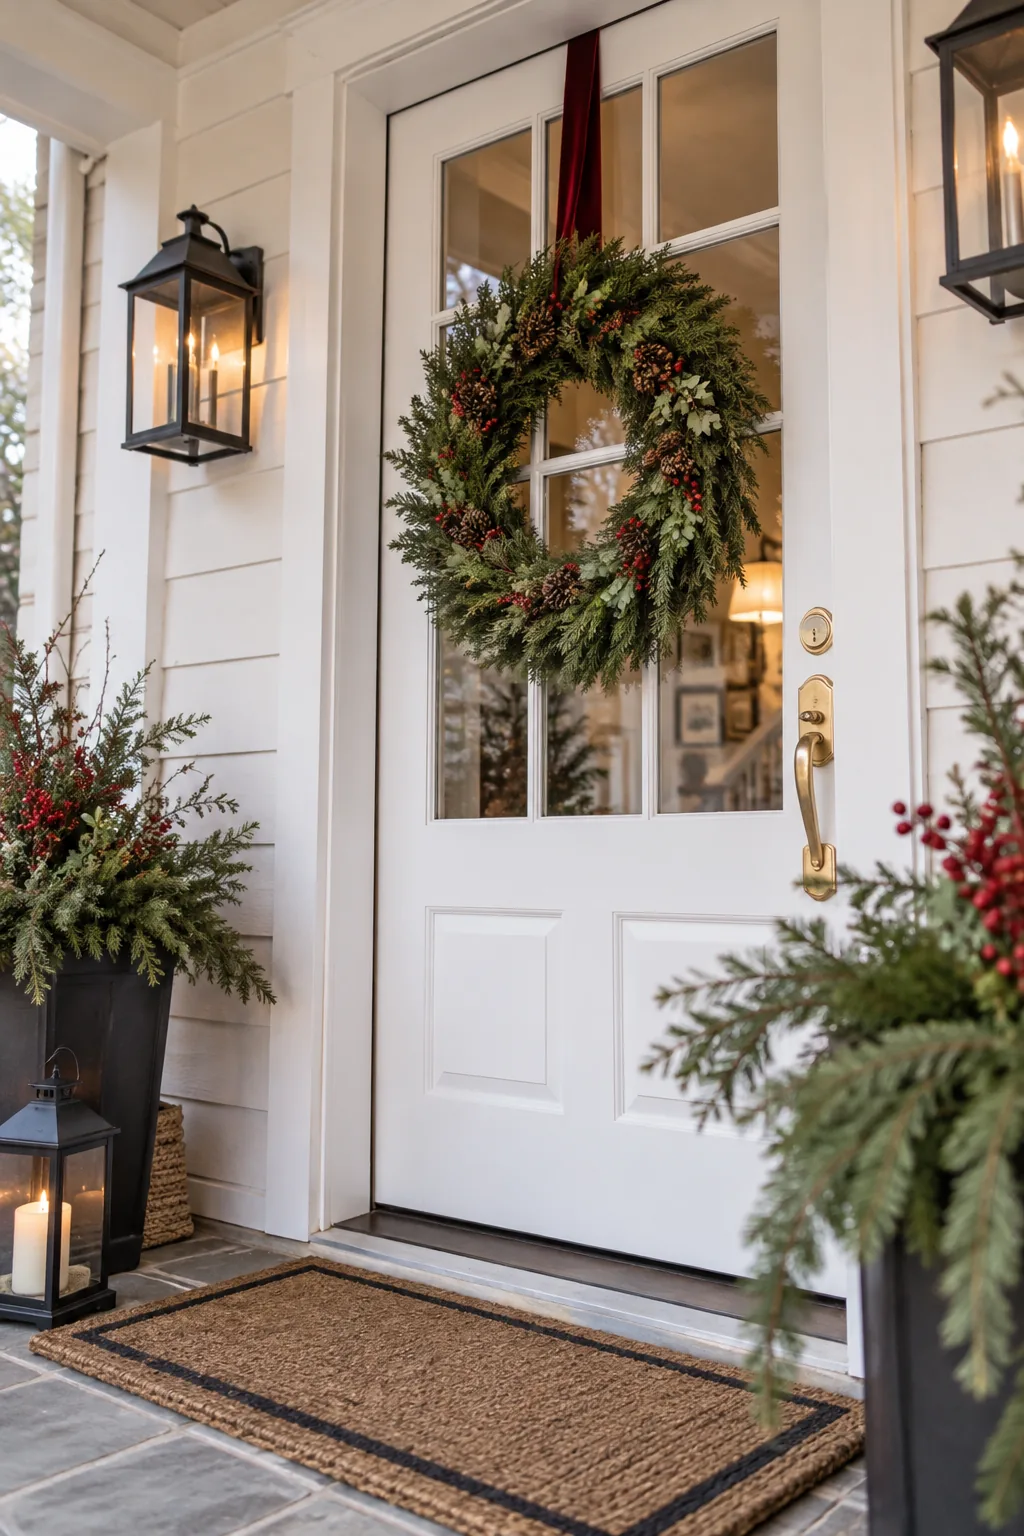
Adjust the ribbon length dynamically on the interior hook until the arrangement hits this precise sweet spot on the exterior. This standard gallery height naturally draws the eye and makes the entryway feel incredibly welcoming.
Centering on Glass Panes
Doors featuring large upper glass sections require a slight modification to the standard vertical placement rules. Align the top edge of your greenery exactly with the horizontal mullion dividing the glass panes to create a clean, architecturally pleasing visual anchor.
Avoiding Wire Frame Scratches
Wind and daily door operation will inevitably cause the rigid wire frame of the wreath to rub against your exterior. Acknowledge that this rigid wire frame acts like sandpaper against your expensive paint job unless you actively install a protective barrier beforehand.
Applying Felt Scratch Guards
Apply heavy-duty felt scratch guards directly to the back of the metal rings to stop this abrasive friction entirely.
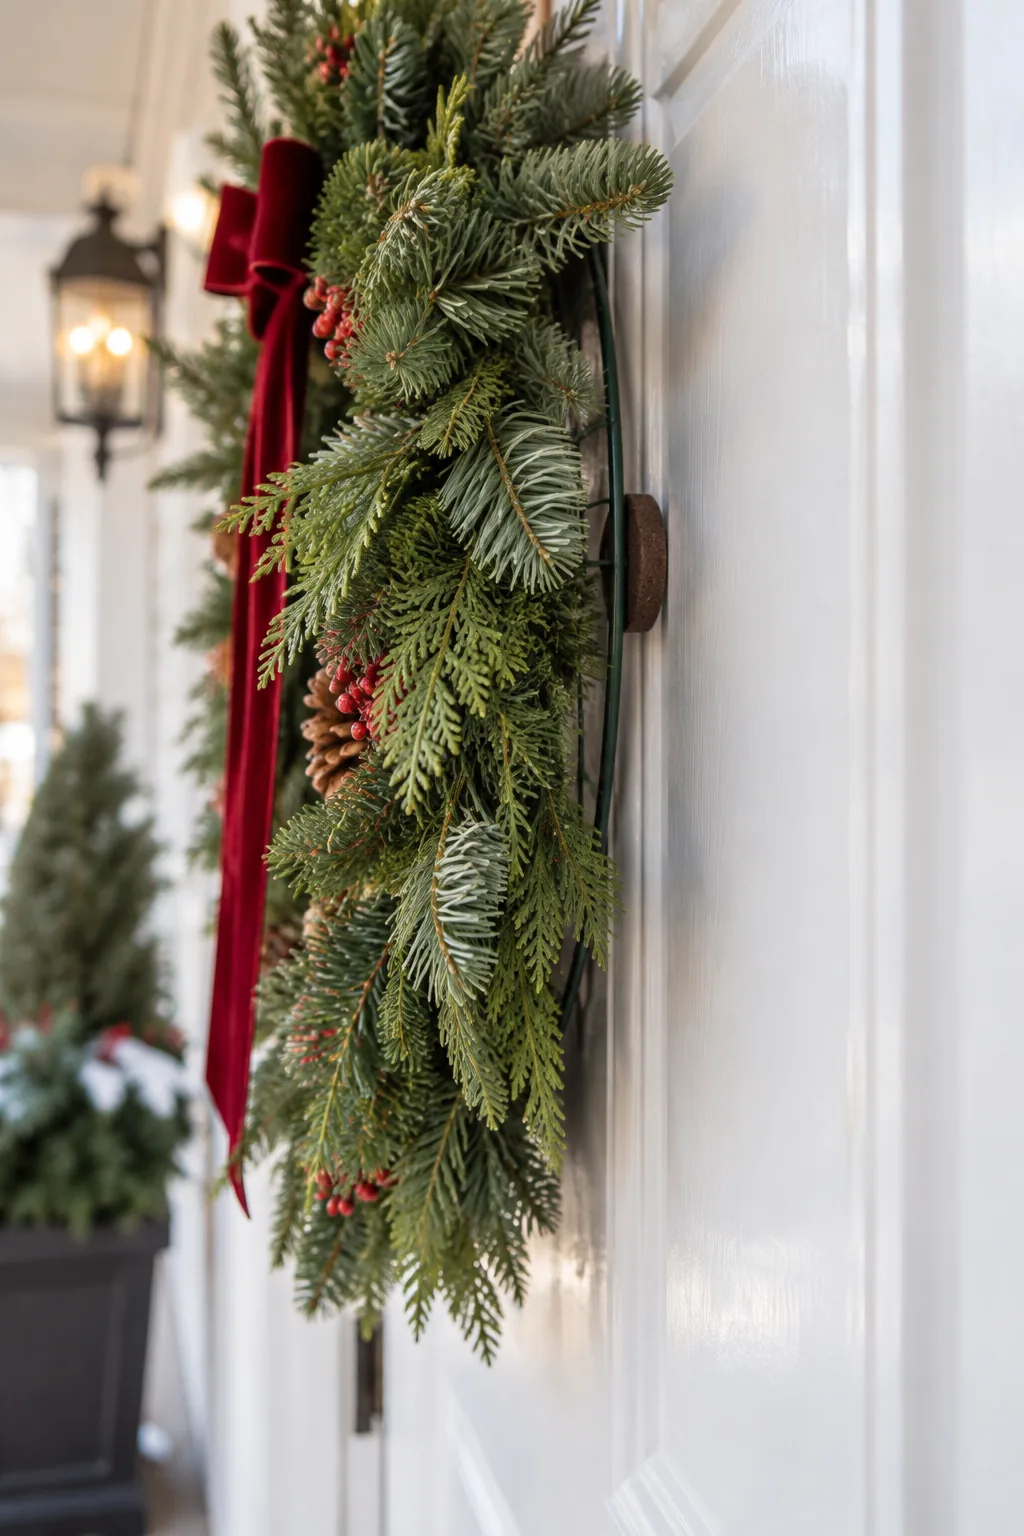
Space four protective pads evenly around the circular frame to create a soft barrier that rests gently against the paint. This simple addition preserves your expensive exterior finish through months of seasonal swinging and shifting.
Choosing the Right Padding Thickness
Standard cabinet bumpers are often too thin to bridge the gap between irregular pine cones and the flat door surface. Opt for quarter-inch thick furniture pads, which provide enough plush depth to keep every sharp twig safely elevated away from the wood.
Securing the Hidden Downward Hook
To prevent the wreath from swinging outward every time the door opens, you must anchor the base firmly. Apply a small, clear adhesive hook upside down on the exterior door, perfectly positioned to catch the bottom wire ring.
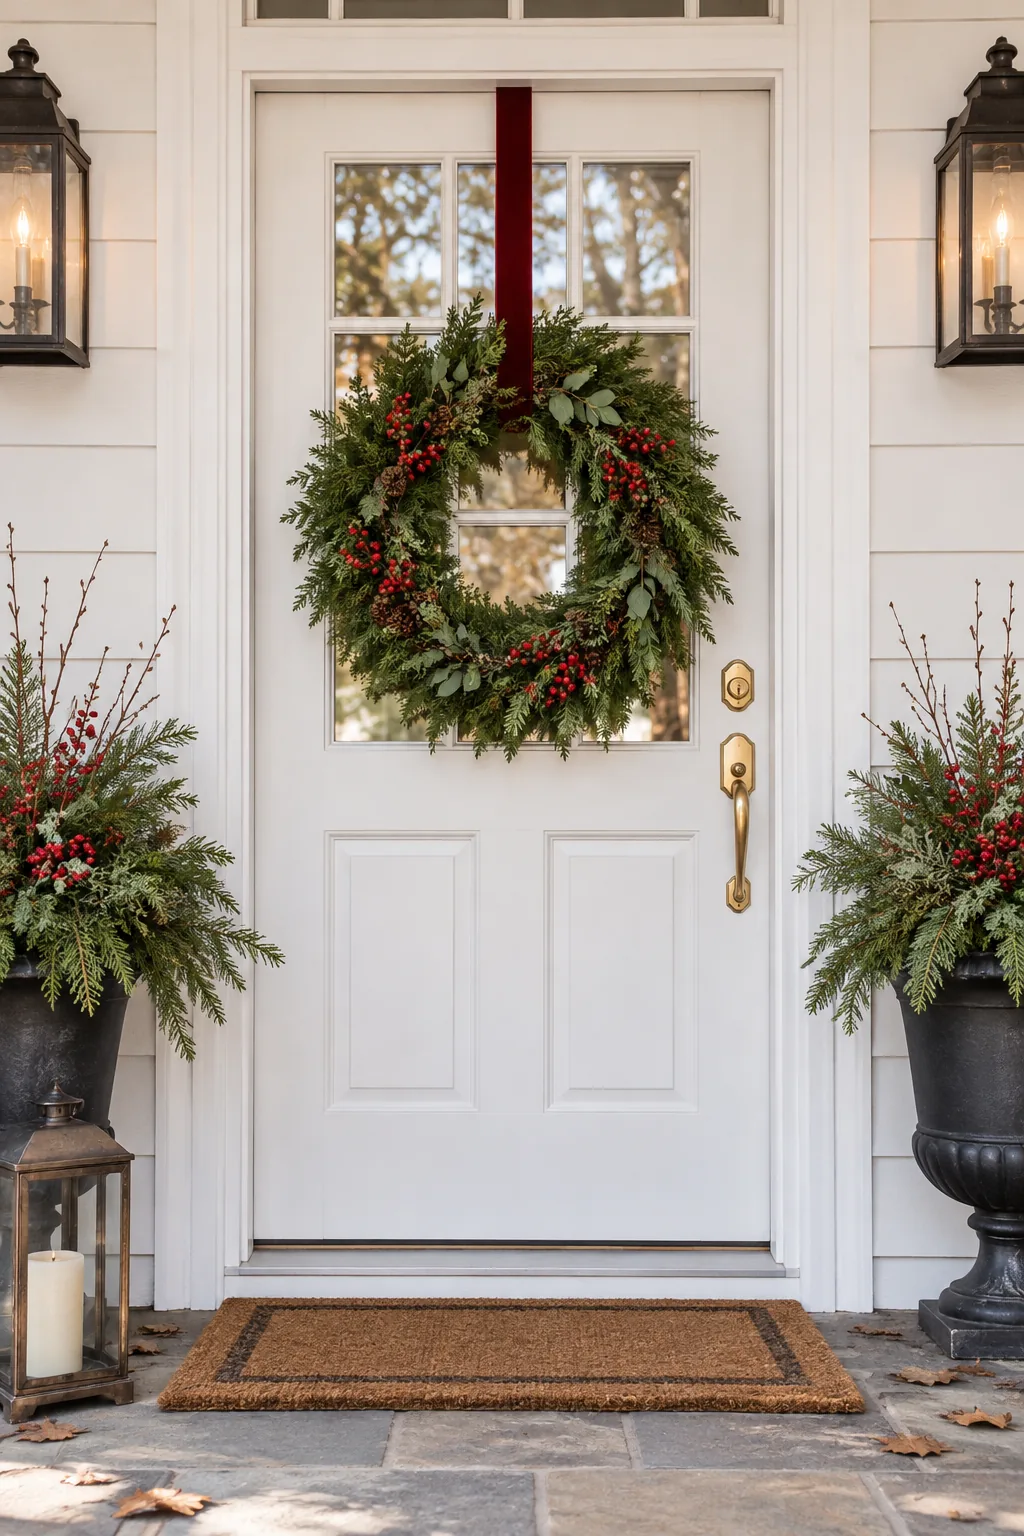
When the season ends, removing this hidden downward hook requires a specific technique to avoid pulling the cold exterior paint.
Aligning the Bottom Anchor
Finding the exact placement for the lower clip requires holding the greenery perfectly plumb against the door. Mark the lowest point of the wire frame lightly with a pencil before peeling the adhesive backing, ensuring the tension stays perfectly vertical.
Concealing the Anchor Mechanics
The lower clip must remain completely invisible from the porch to maintain the illusion of a magically floating arrangement. Gently tease the lower evergreen branches downward over the clear plastic tab until the hardware disappears entirely into the thick seasonal foliage.
Managing Extreme Temperature Swings
Freezing overnight temperatures can cause standard adhesives to become brittle and lose their initial grip on the paint. Press firmly on the plastic base of both your interior and exterior hooks for a full sixty seconds during installation to ensure a permanent winter bond.
Storing Your Suspension Materials
When January arrives, carefully roll your unwired velvet ribbon around a cardboard tube to prevent deep, permanent creases. Storing the fabric flat alongside your replacement adhesive strips guarantees you are completely prepared for a flawless, stress-free installation next holiday season.
5 Front Door Wreath Styles to Try
Find the perfect seasonal look to complement your home's unique architecture and color palette.
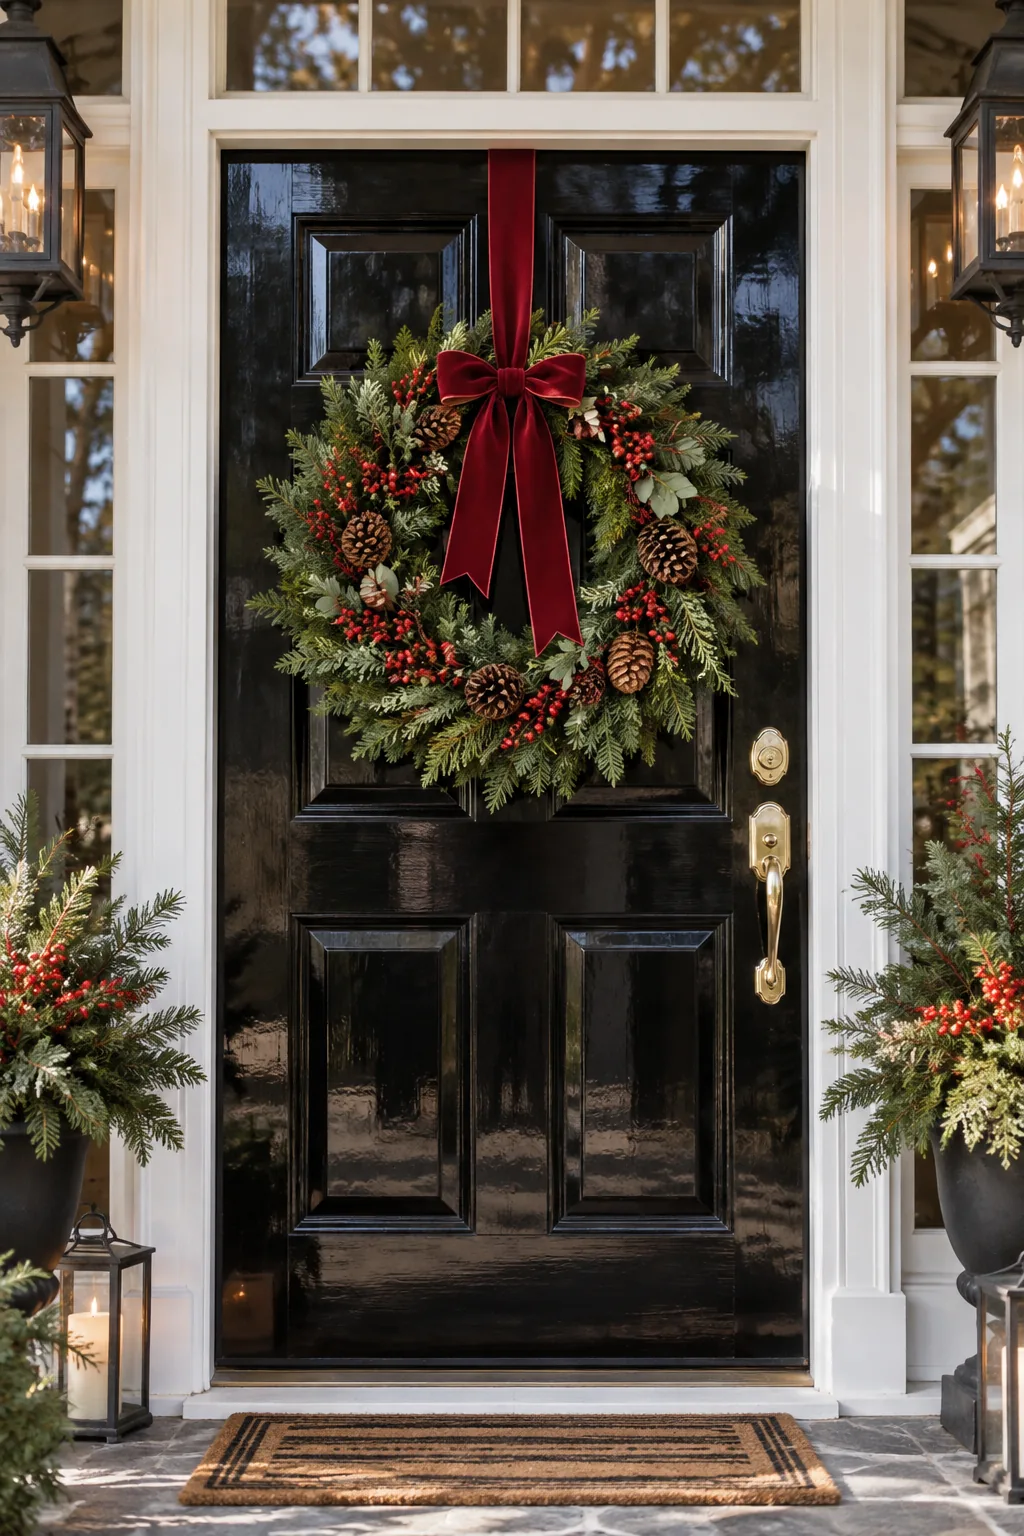
Classic Traditional Elegance: A classic red berry wreath pops against a glossy black door, offering timeless holiday appeal that pairs perfectly with polished brass hardware.
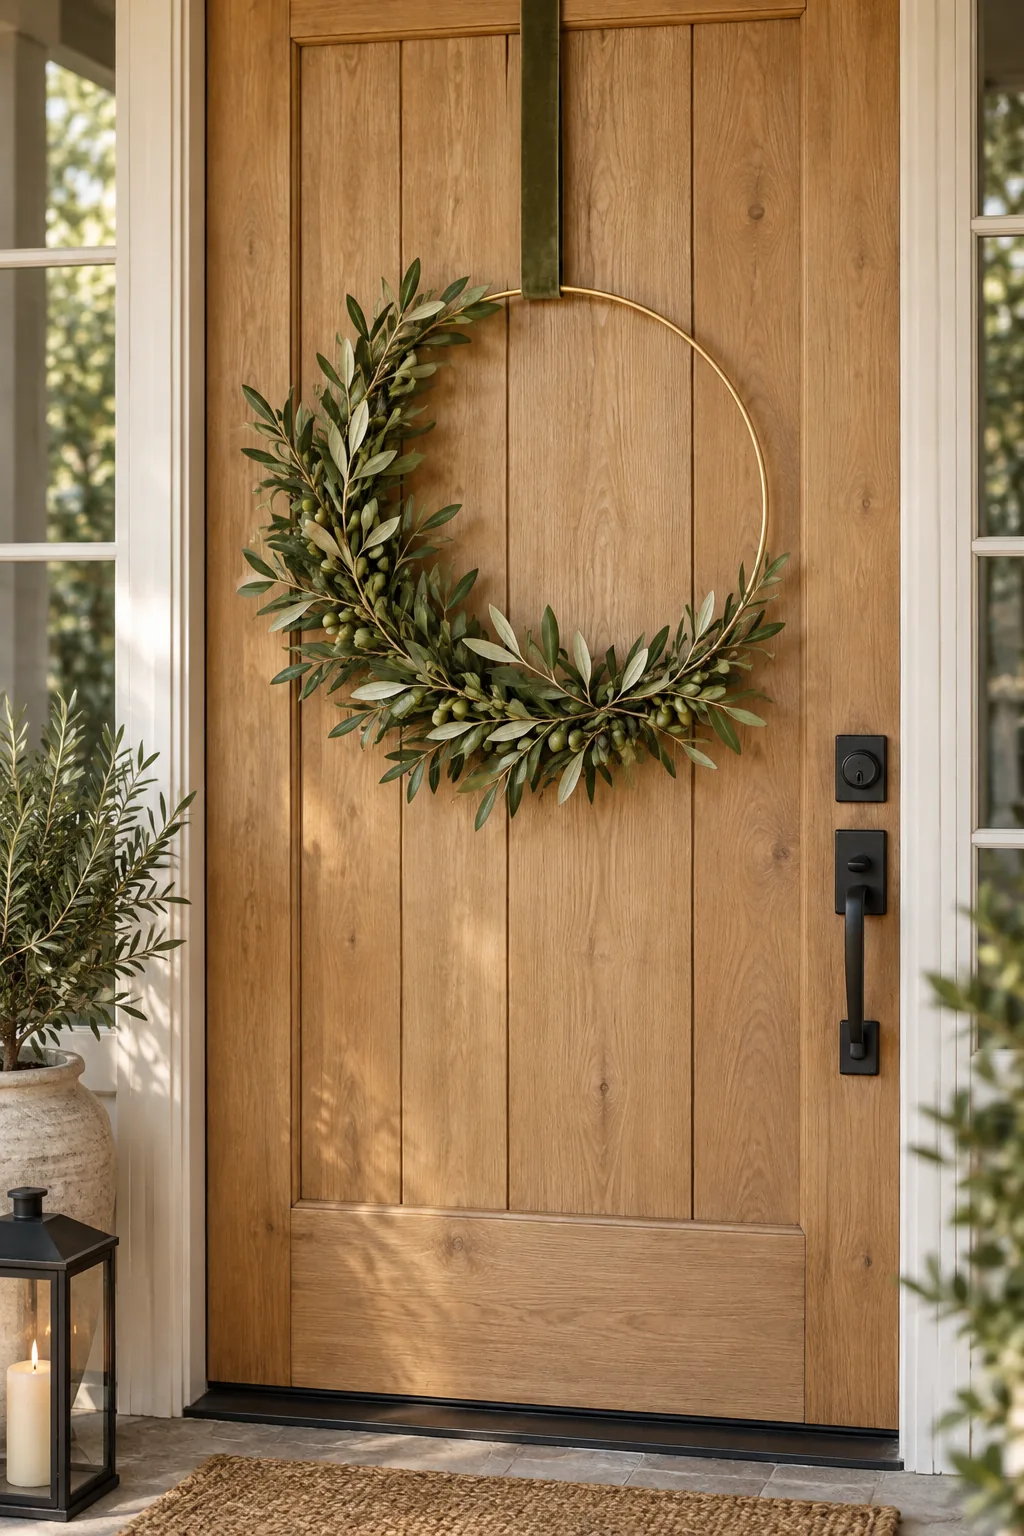
Modern Minimalist Hoop: An asymmetrical olive branch hoop brings minimalist elegance to a natural wood door, complementing sleek matte black locksets for a modern aesthetic.
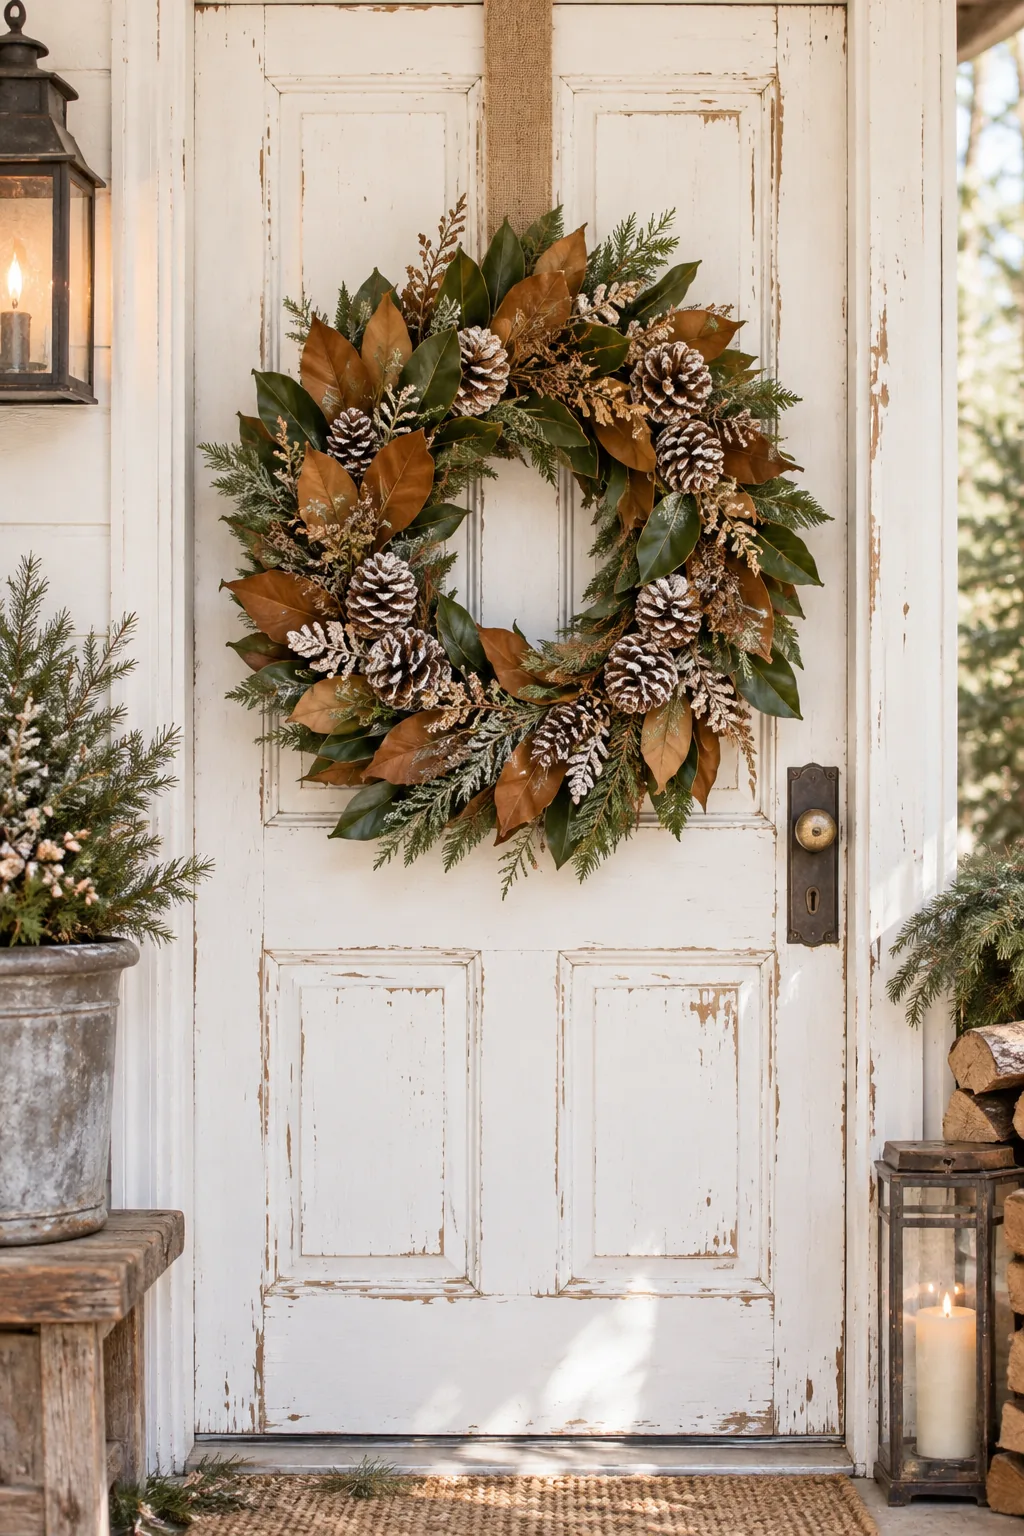
Farmhouse Rustic Charm: Dried magnolia leaves and frosted pinecones create rich texture on a distressed white door, delivering welcoming rustic charm that lasts all season.
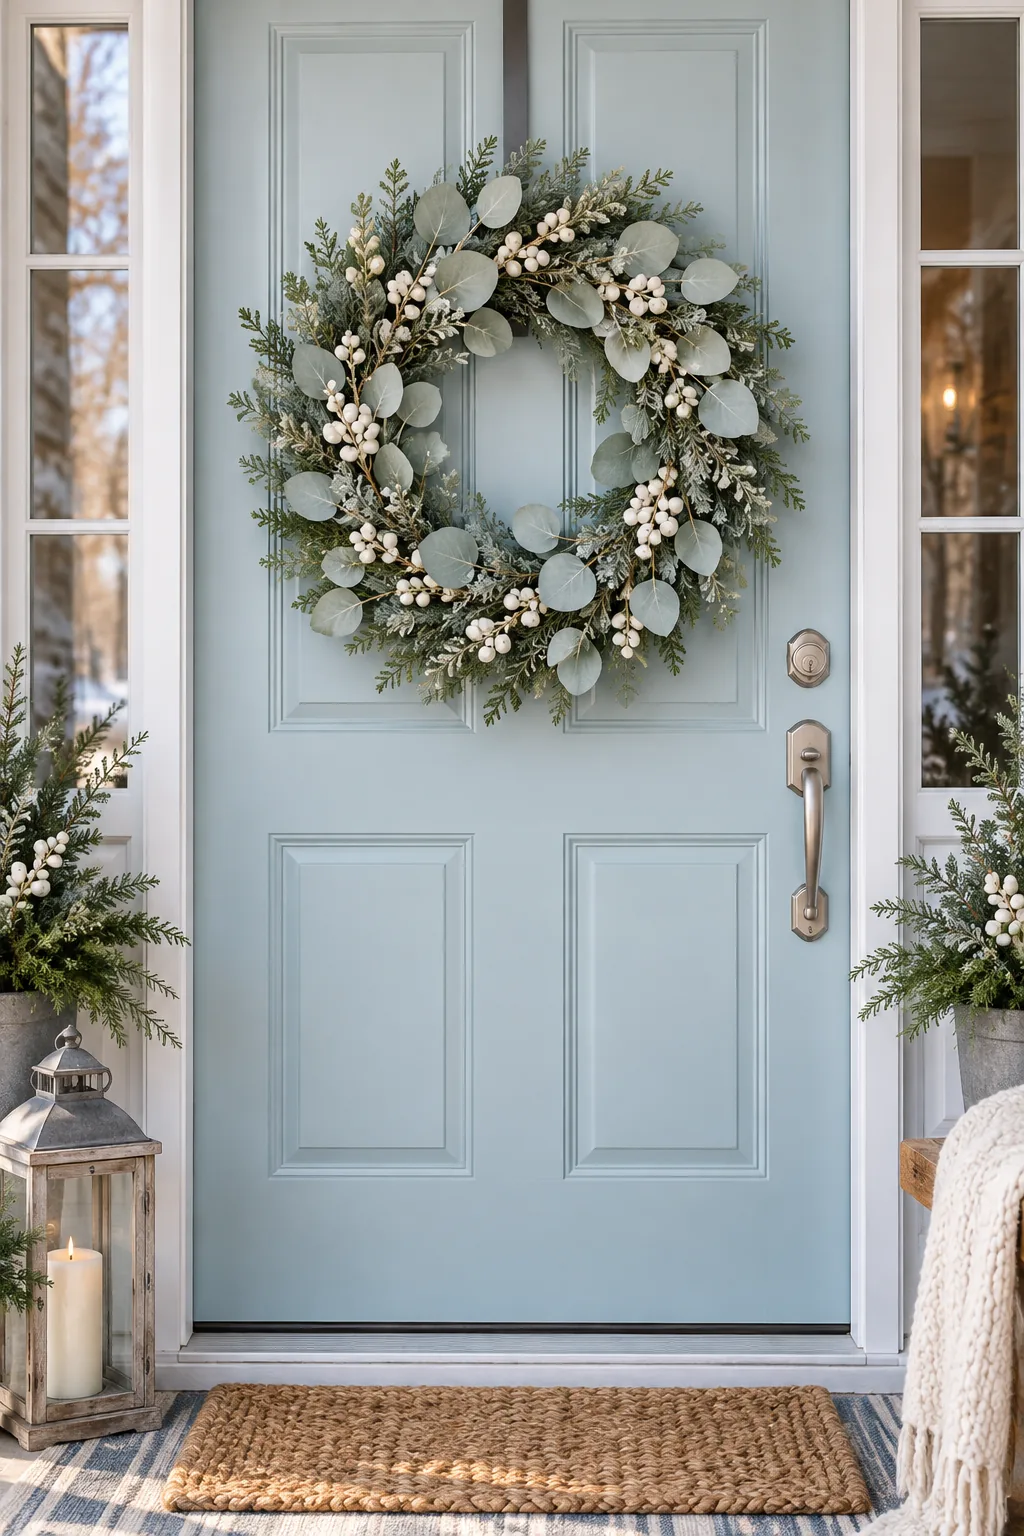
Fresh Coastal Winter: Silver dollar eucalyptus and white berries offer a fresh coastal take against a pale blue door, perfectly accented by brushed nickel hardware.
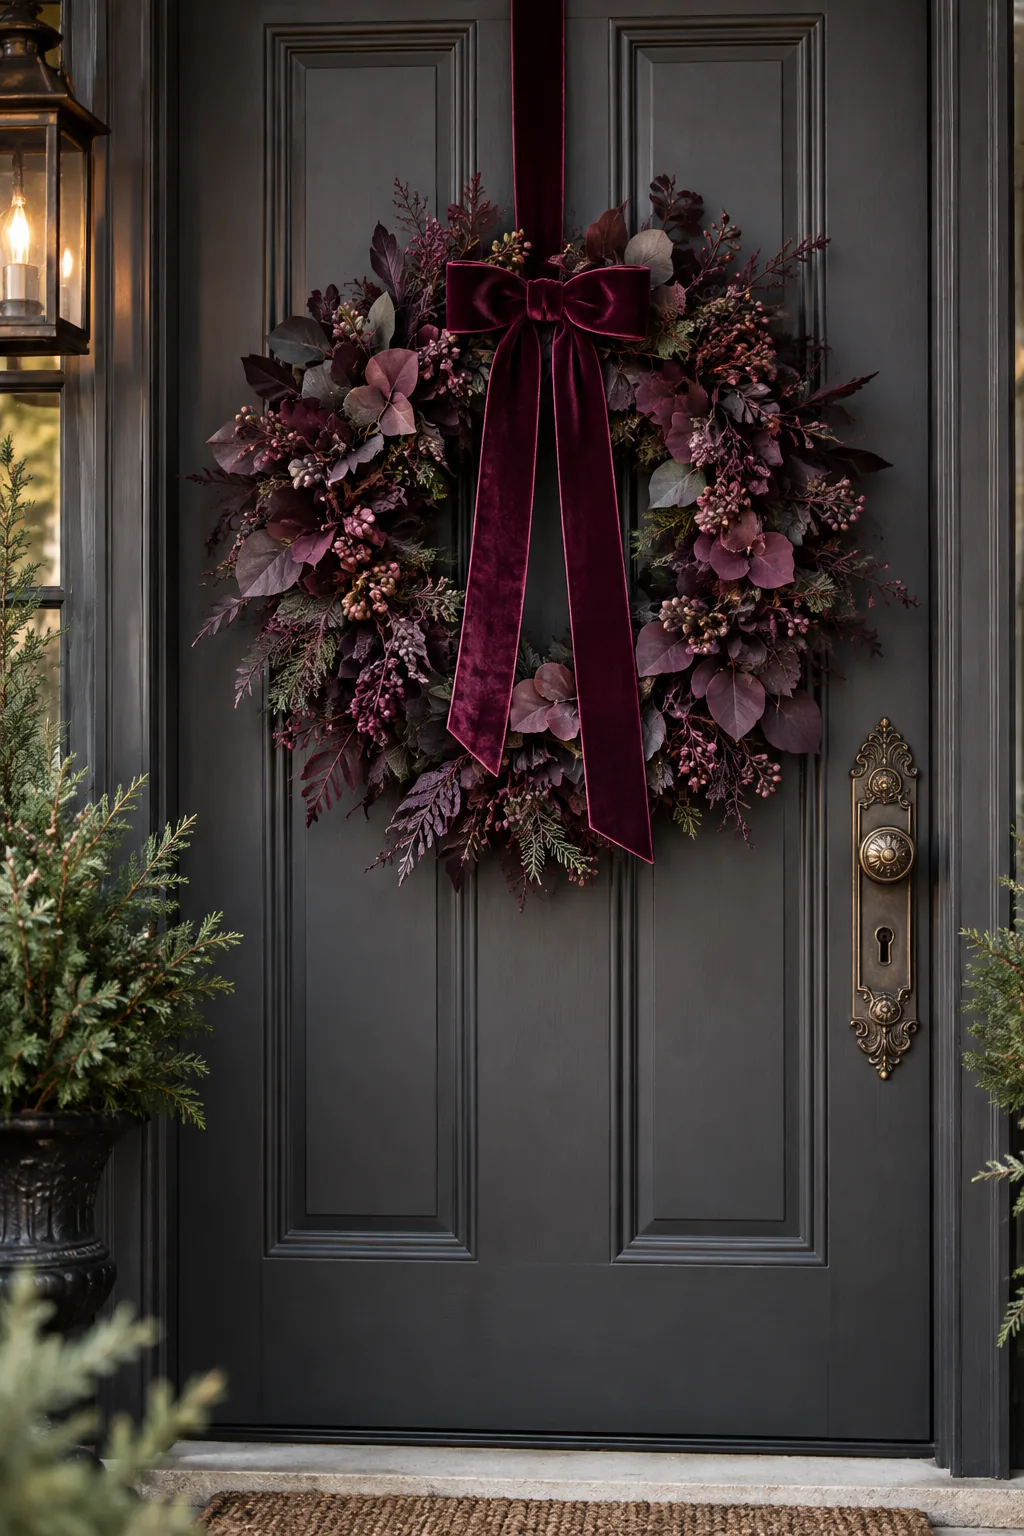
Moody Victorian Drama: Dark plum foliage and a matching velvet ribbon create a moody, dramatic entrance on a charcoal gray door with an ornate vintage lockset.
Final Tension and Wind Checks
Complete the installation by testing the tension between your interior ribbon and exterior base clip. The combination of the fabric pulling upward and the hidden hook anchoring downward should hold the arrangement perfectly flat against the door.
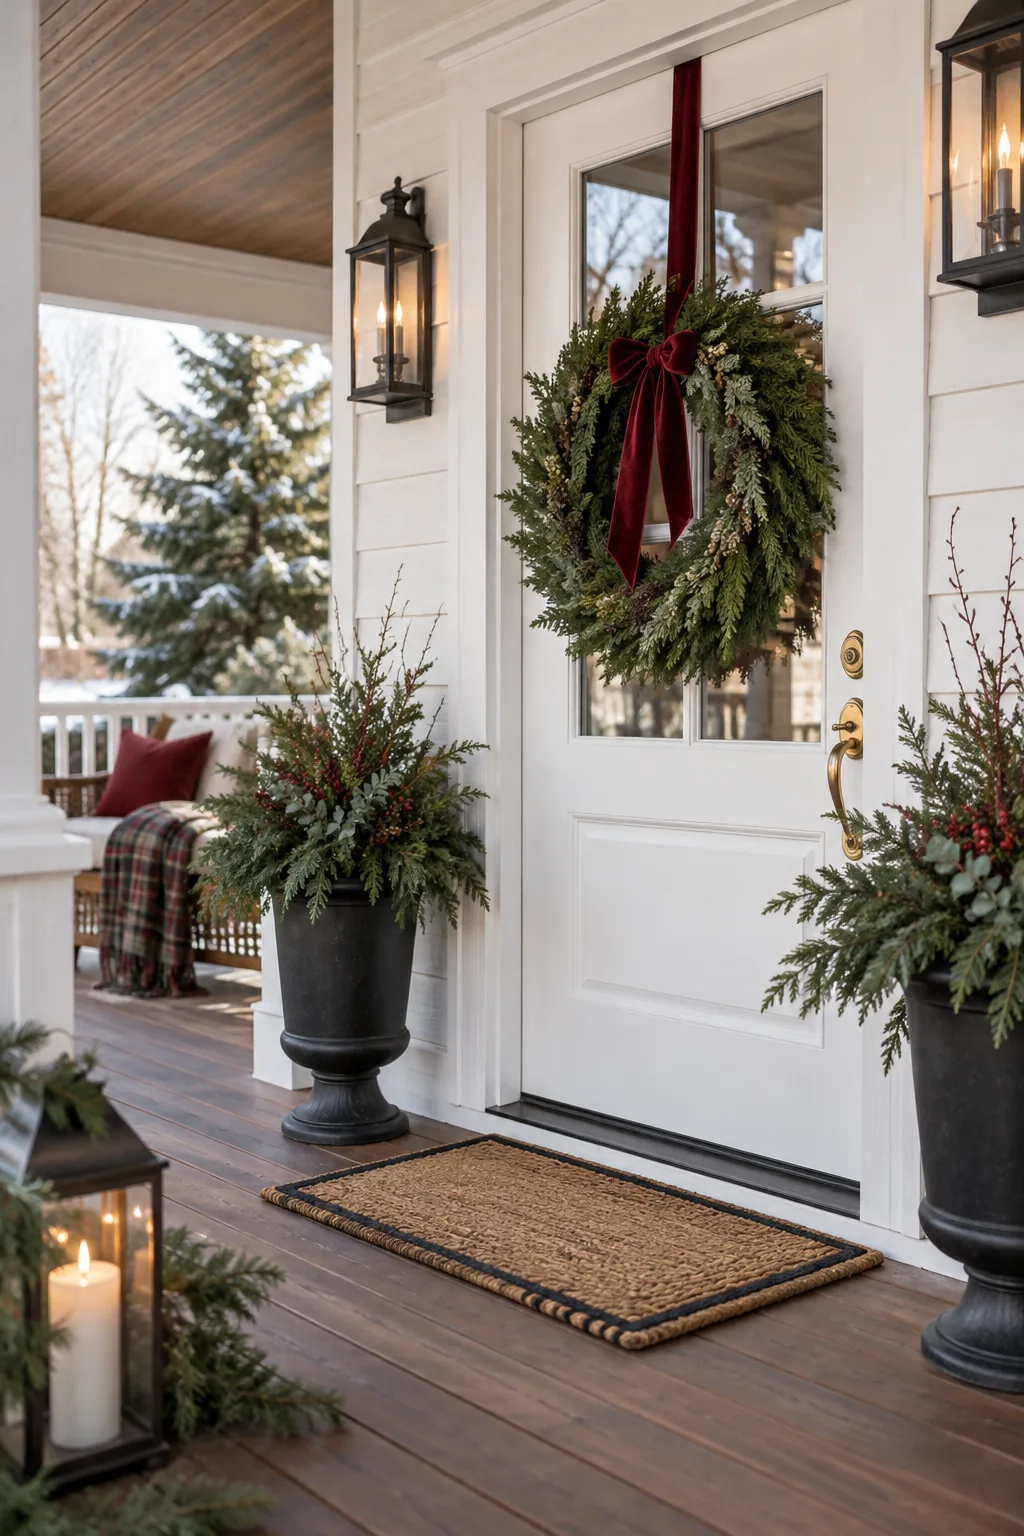
Test the door swing vigorously to ensure the greenery remains silent and secure. This balanced dual-anchor system guarantees your display is ready to withstand heavy winter winds without shifting or causing any damage to your home.