Organic Balloon Garland Guide: Printable Quantity Chart
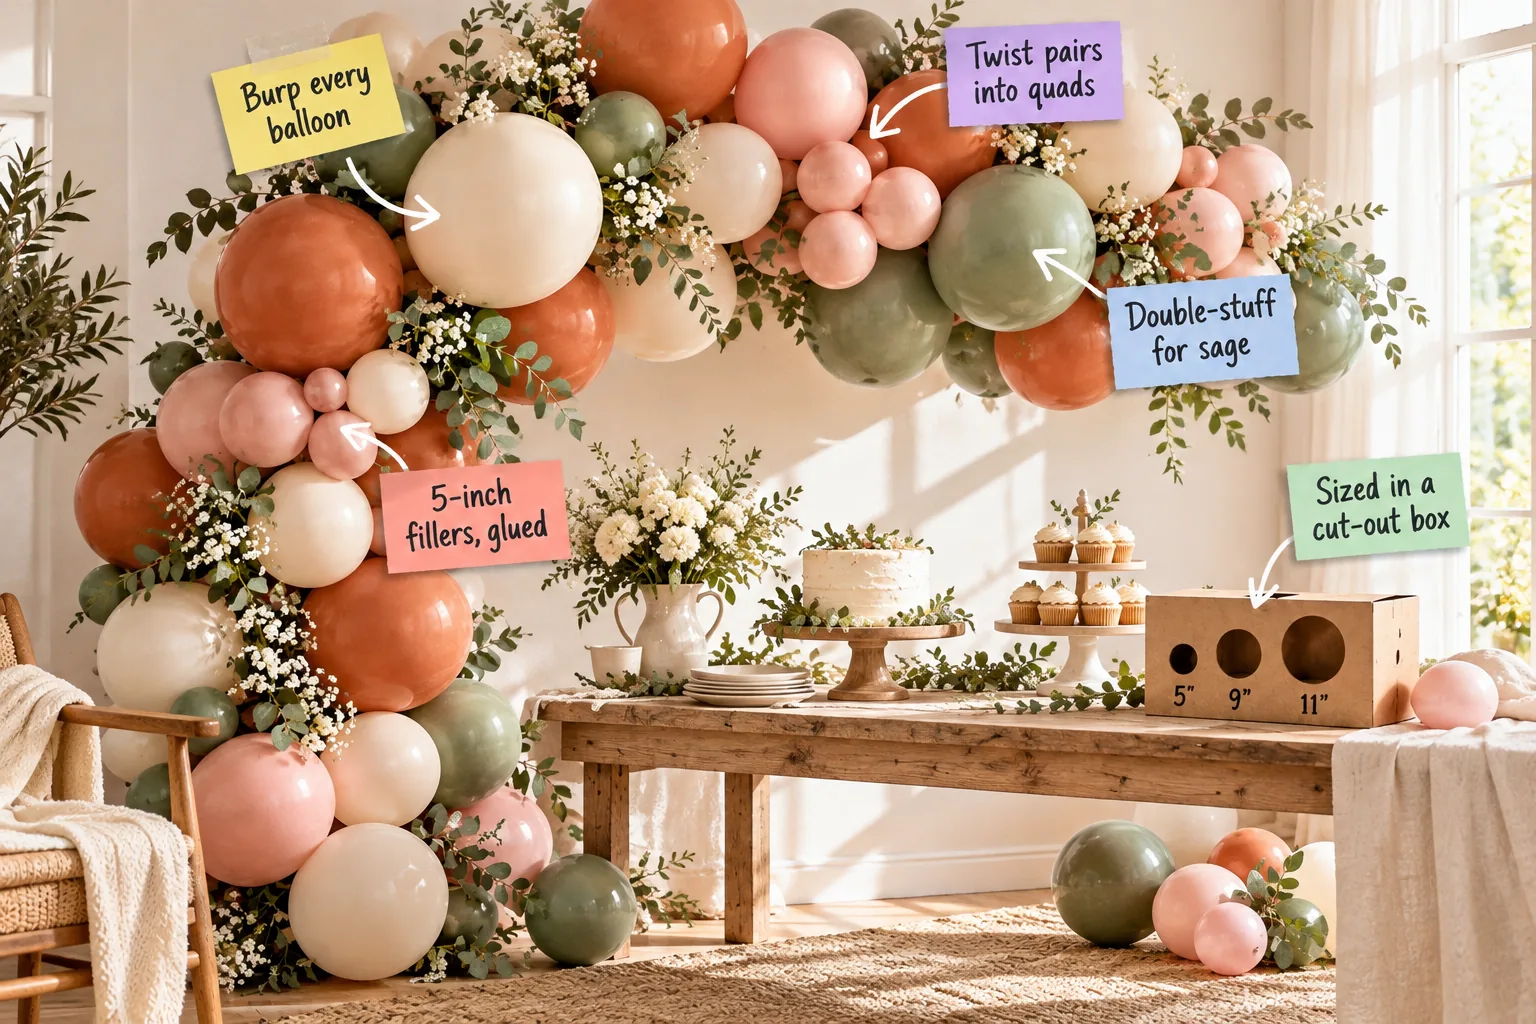
You can finally take the guesswork out of party prep and confidently build a stunning organic arch using my printable balloon quantity chart. This one-page guide calculates exactly how many 5-, 11-, and 17-inch balloons you need for flawless 6-, 10-, and 15-foot garlands.
Calculate Your Balloon Quantities
Start by downloading the printable balloon quantity chart to plan your exact supply order for the base layer. I used to guess my counts for my own apartment parties, inevitably running out of essential mid-sized terracotta balloons right before guests arrived.
Before you begin inflating your carefully calculated balloon order, set up a dedicated workspace with these non-negotiable tools to ensure a smooth, uninterrupted assembly process.
Select Professional-Grade Latex
Achieving a high-end aesthetic requires investing in professional-grade latex rather than thin, translucent grocery store brands. Thick, biodegradable latex stretches beautifully without popping and retains its vibrant, opaque color even when fully inflated to its maximum designated capacity.
| Balloon Size | Primary Role | Inflation Range | Quantity Needed (10 ft) |
|---|---|---|---|
| 5-Inch Mini | Gap filler and texture | 3 to 4.5 inches | 50 to 60 balloons |
| 9-Inch Standard | Bridging size variations | 7 to 8.5 inches | 30 to 40 balloons |
| 11-Inch Base | Main garland structure | 9 to 10.5 inches | 70 to 80 balloons |
| 17-Inch Jumbo | Focal point accents | 14 to 16 inches | 6 to 8 balloons |
| 24-Inch Giant | Dramatic floor anchors | 20 to 22 inches | 2 to 3 balloons |
| 360 Twister | Tying clusters to line | Fully stretched | 15 to 20 balloons |
Understanding the exact role and required quantity of each balloon size prevents you from accidentally wasting expensive jumbo balloons on hidden structural filler areas.
Double-Stuff for Custom Colors
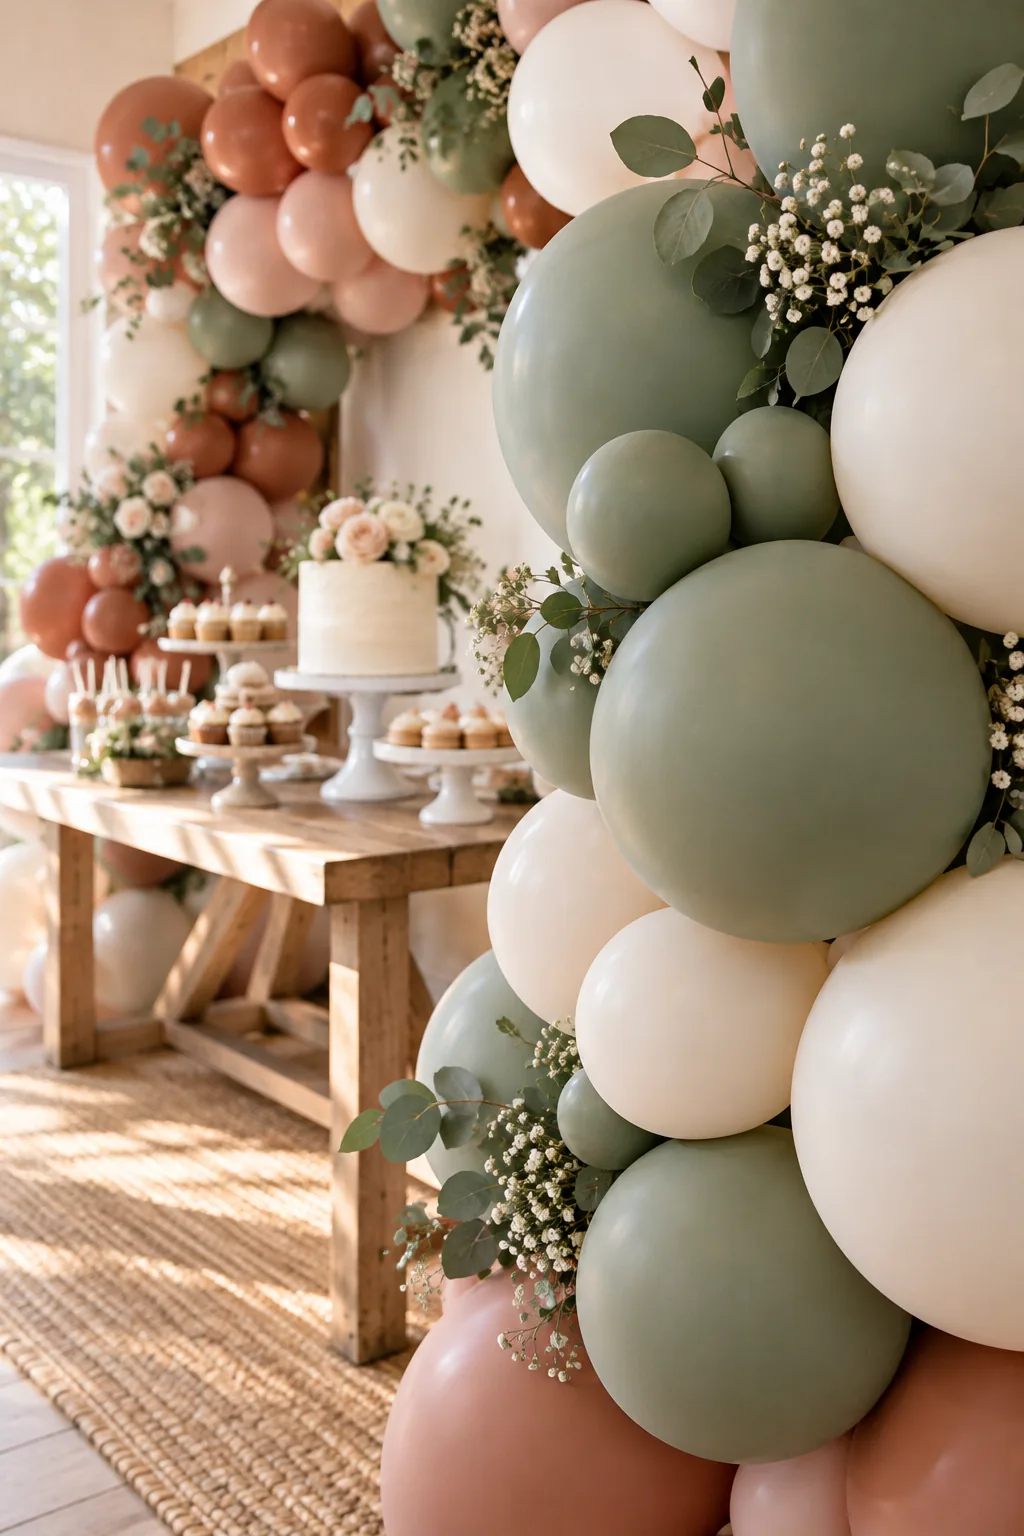
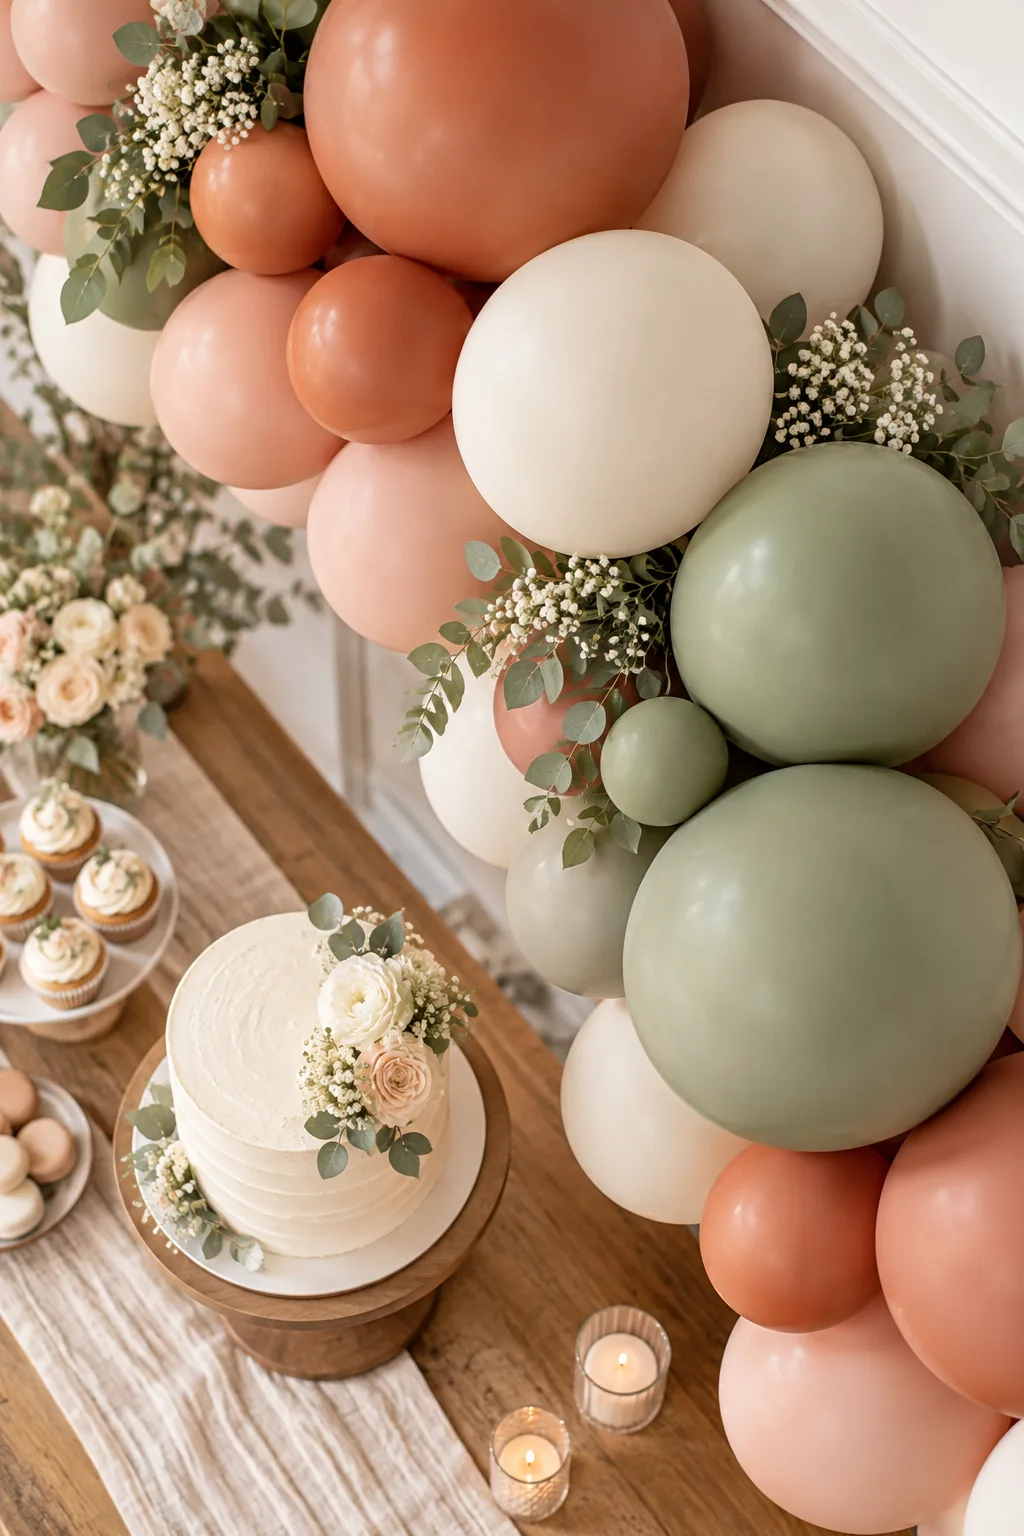
Standard colors rarely match sophisticated party palettes straight out of the bag, so you must double-stuff for sage. To achieve that muted, opaque dusty tone, nest a green balloon inside a darker metallic balloon before inflating them together as one unit.
Master the Nesting Technique
Pushing one uninflated balloon inside another requires a simple mechanical trick to avoid tearing the delicate necks. Slide the inner green balloon over a blunt wooden dowel, then gently push the stick directly into the outer metallic balloon until both necks align perfectly.
Size With a Cut-Out Box
An organic look requires deliberate variation, so every balloon must be sized in a cut-out box for perfect scaling. During a recent bridal shower project, using a cardboard box with 5-inch, 9-inch, and 11-inch holes ensured my mid-sized stepping stones were perfectly consistent.
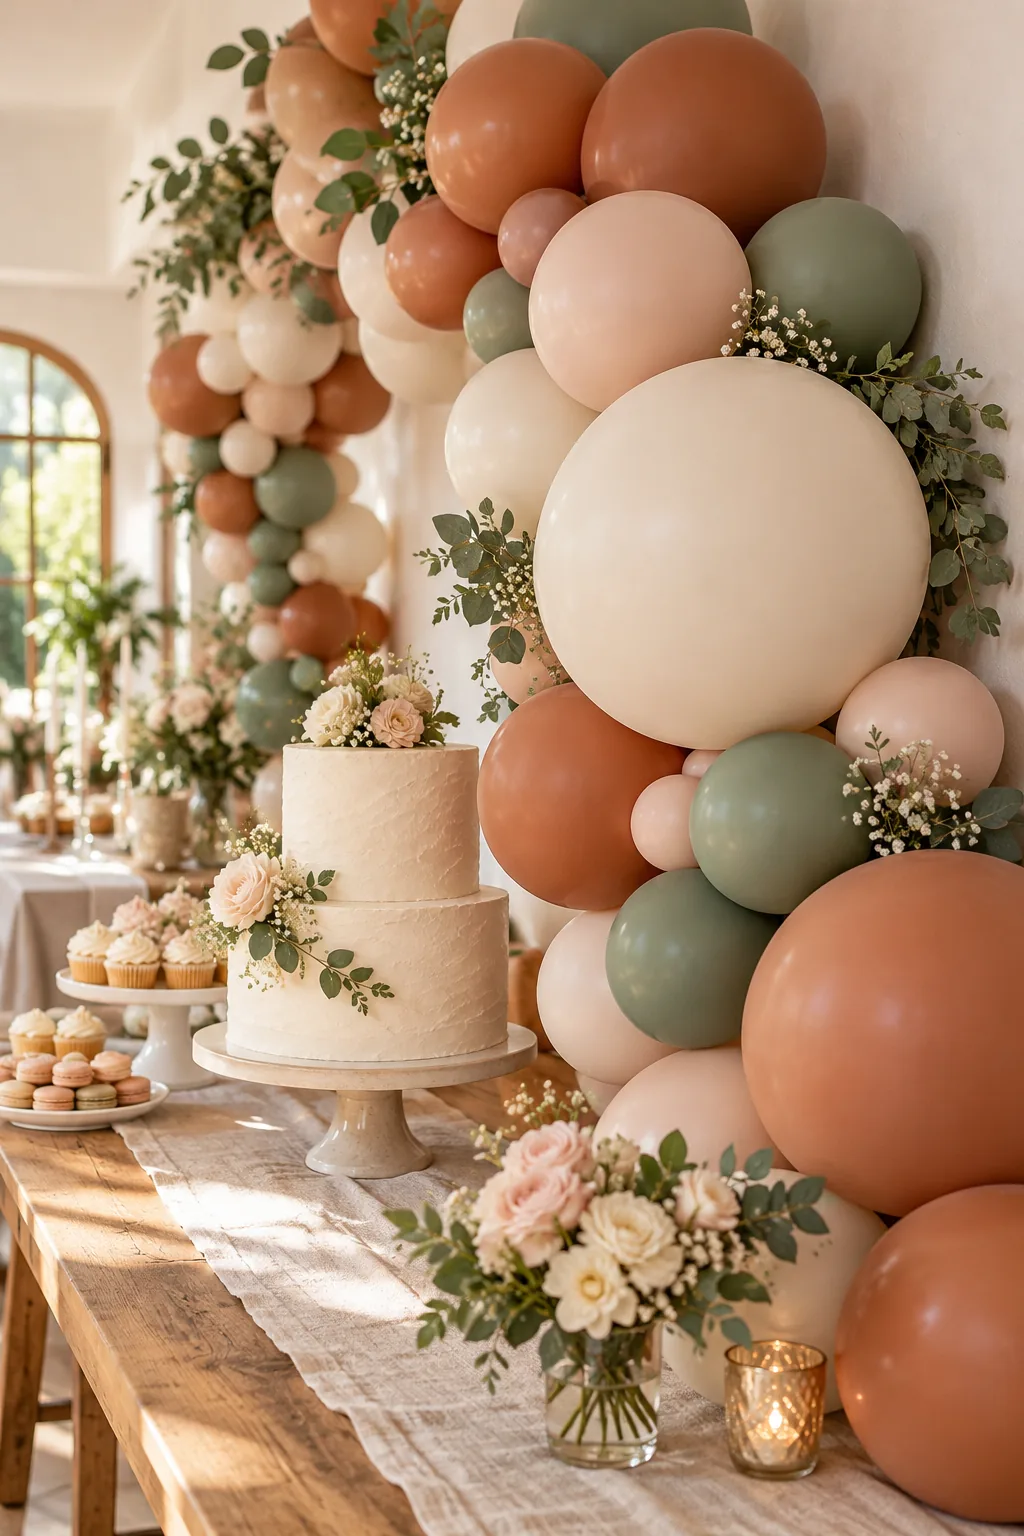
Follow a strict inflation sequence to guarantee your oversized 17-inch accents properly contrast with the smaller base layers without looking haphazard.
- Fully inflate your 11-inch balloon using the electric pump until it reaches its maximum pear-shaped capacity.
- Hold the inflated balloon over the 9-inch circular hole in your cardboard sizing box without forcing it through.
- Release air slowly from the neck until the balloon easily slips through the hole without touching the edges.
- Repeat this exact sizing process for half of your 11-inch balloons to create intentional, measurable dimension.
- Leave the remaining half of your 11-inch balloons slightly larger to serve as the bulky foundational base.
- Keep your 5-inch and 17-inch balloons entirely separate from this specific sizing box routine to preserve their extreme scale.
Burp Every Balloon for a Round Shape
Fully inflated latex naturally forms a stiff pear shape that creates awkward gaps in your final arch. You must burp every balloon by pressing it gently against your chest to release a small burst of air, softening it into a velvety-matte perfect sphere.
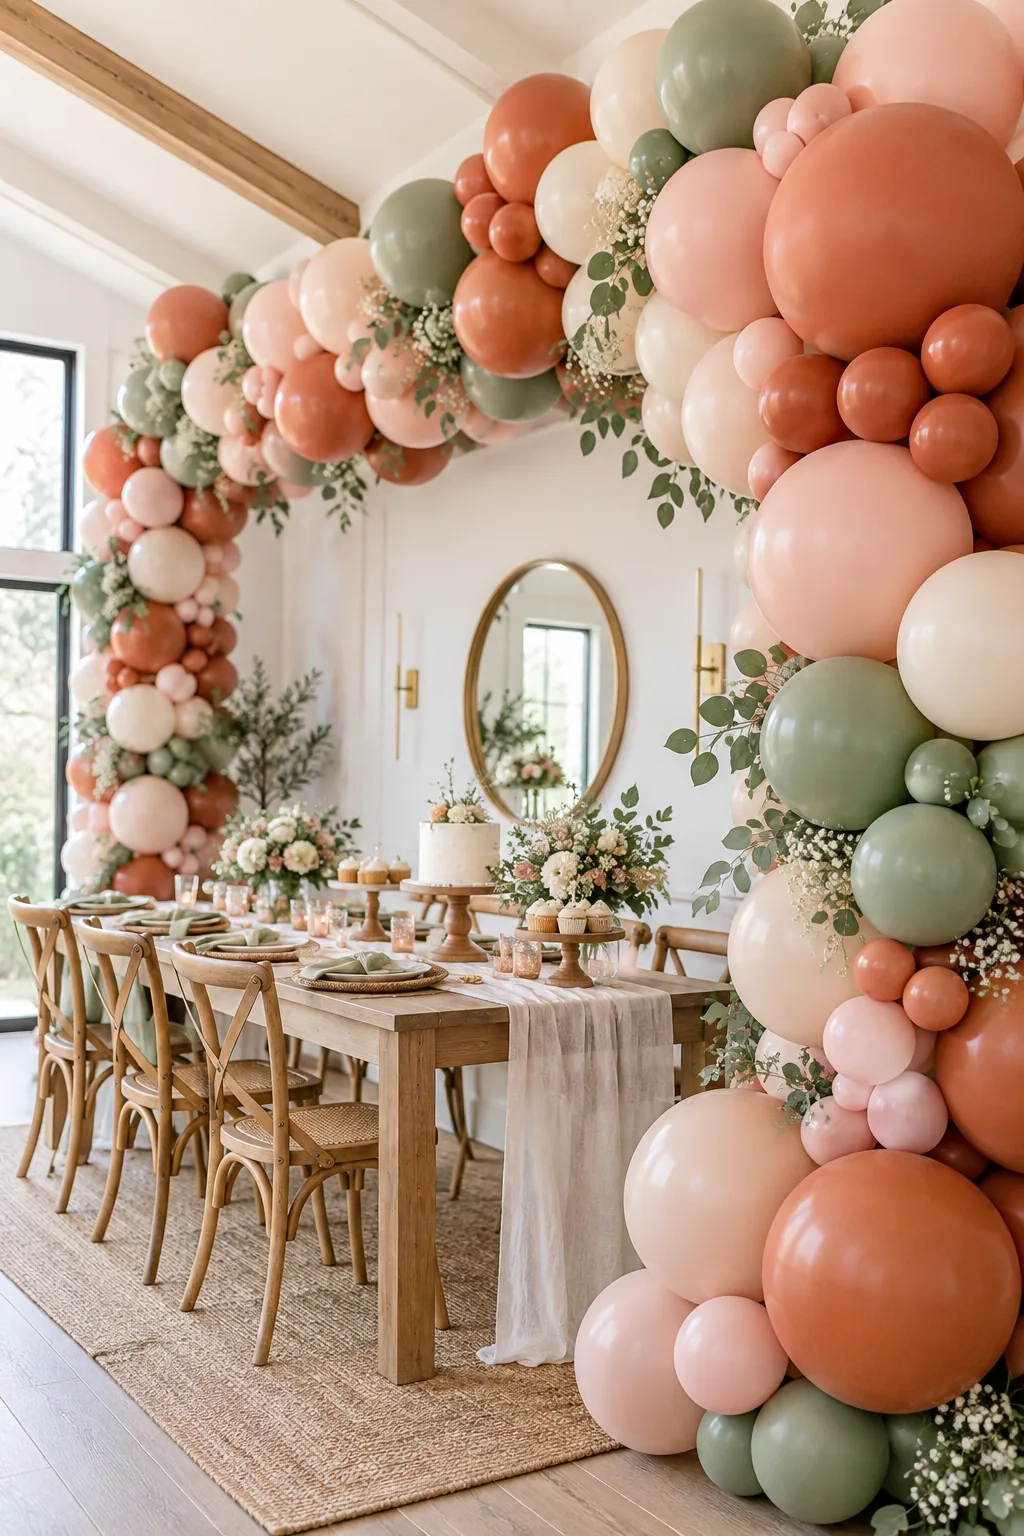
If pressing against your chest feels awkward after the fiftieth balloon, you can use your flat work table to achieve the exact same spherical shape.
Tie Necks Tight to Prevent Leaks
A beautifully shaped balloon will quickly deflate if the knot is loose or sits too high on the neck. Stretch the latex neck as far as possible, wrap it completely around two fingers, and pull the lip tightly through the loop to lock the air securely inside the sphere.
Twist Pairs Into Quads
Never tie single balloons directly to your main string, as they will slide around and ruin the structure. Instead, tie two identically sized balloons together by their necks to form a pair, then twist pairs into quads by crossing them over each other twice.
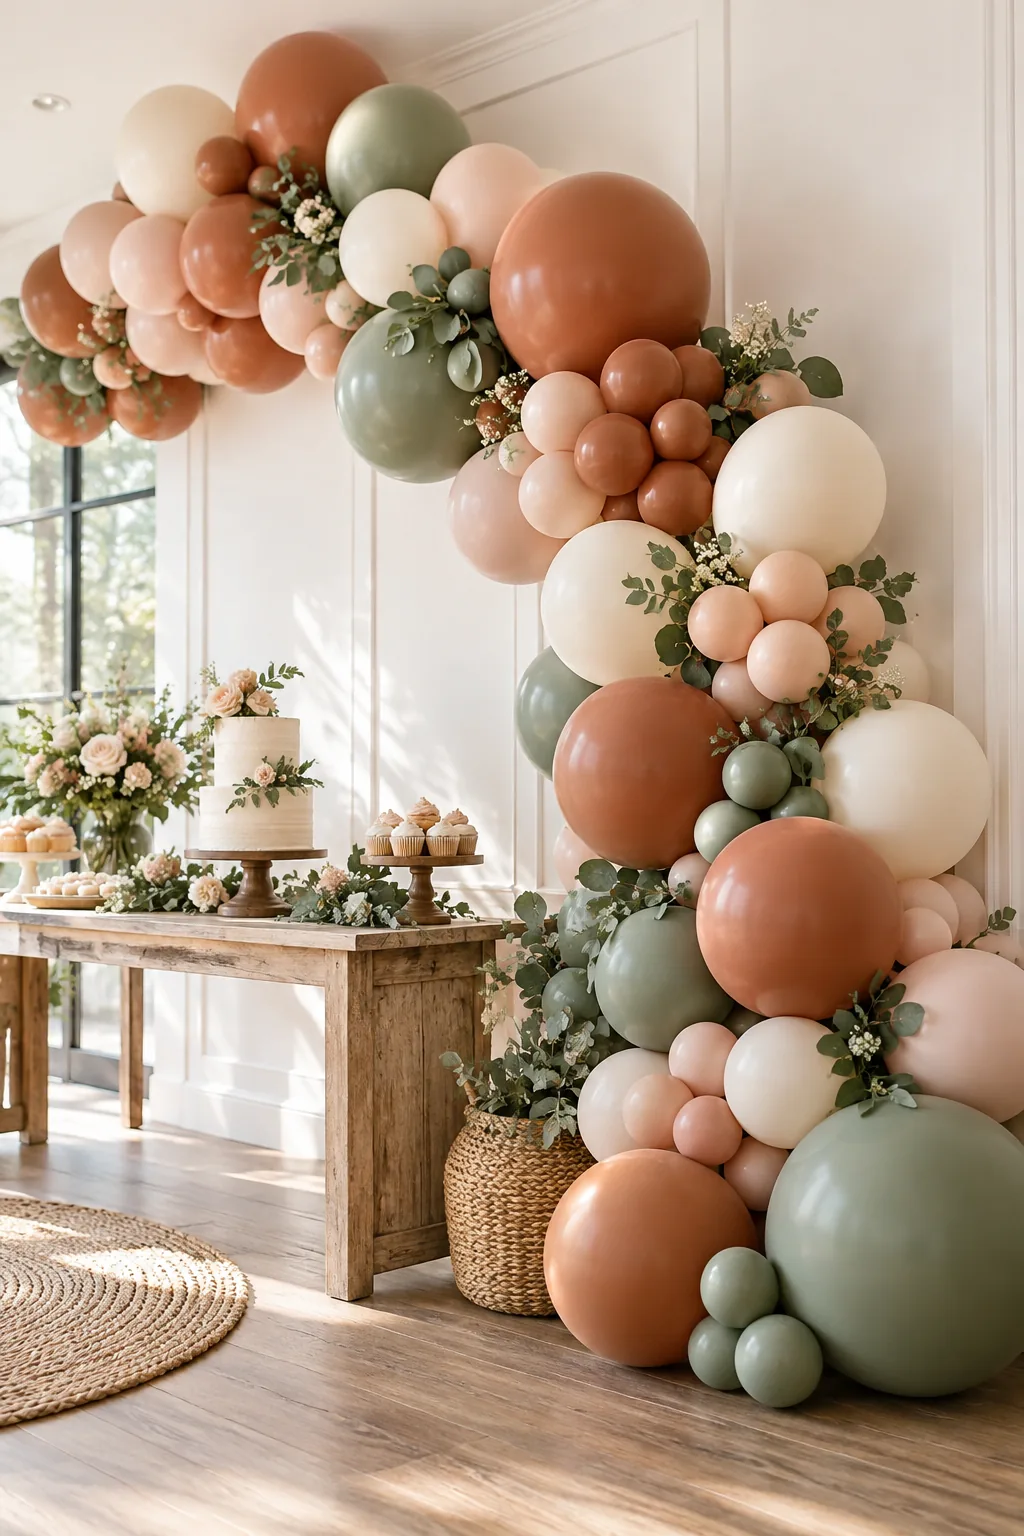
Mix Sizes Within Your Clusters
While your initial building blocks should consist of identically sized pairs, assembling the larger structural quads requires strategic mixing. Combine one pair of 11-inch balloons with one pair of 9-inch balloons to create an asymmetrical quad that naturally curves when stacked against the next cluster.
Build the Garland Core
Cut a length of heavy-duty monofilament, leaving two extra feet at each end for hanging the sweeping main arch structure. I hang my line from two temporary wall hooks in my living room, sliding the first quad on and wrapping in a figure-eight around two balloons.
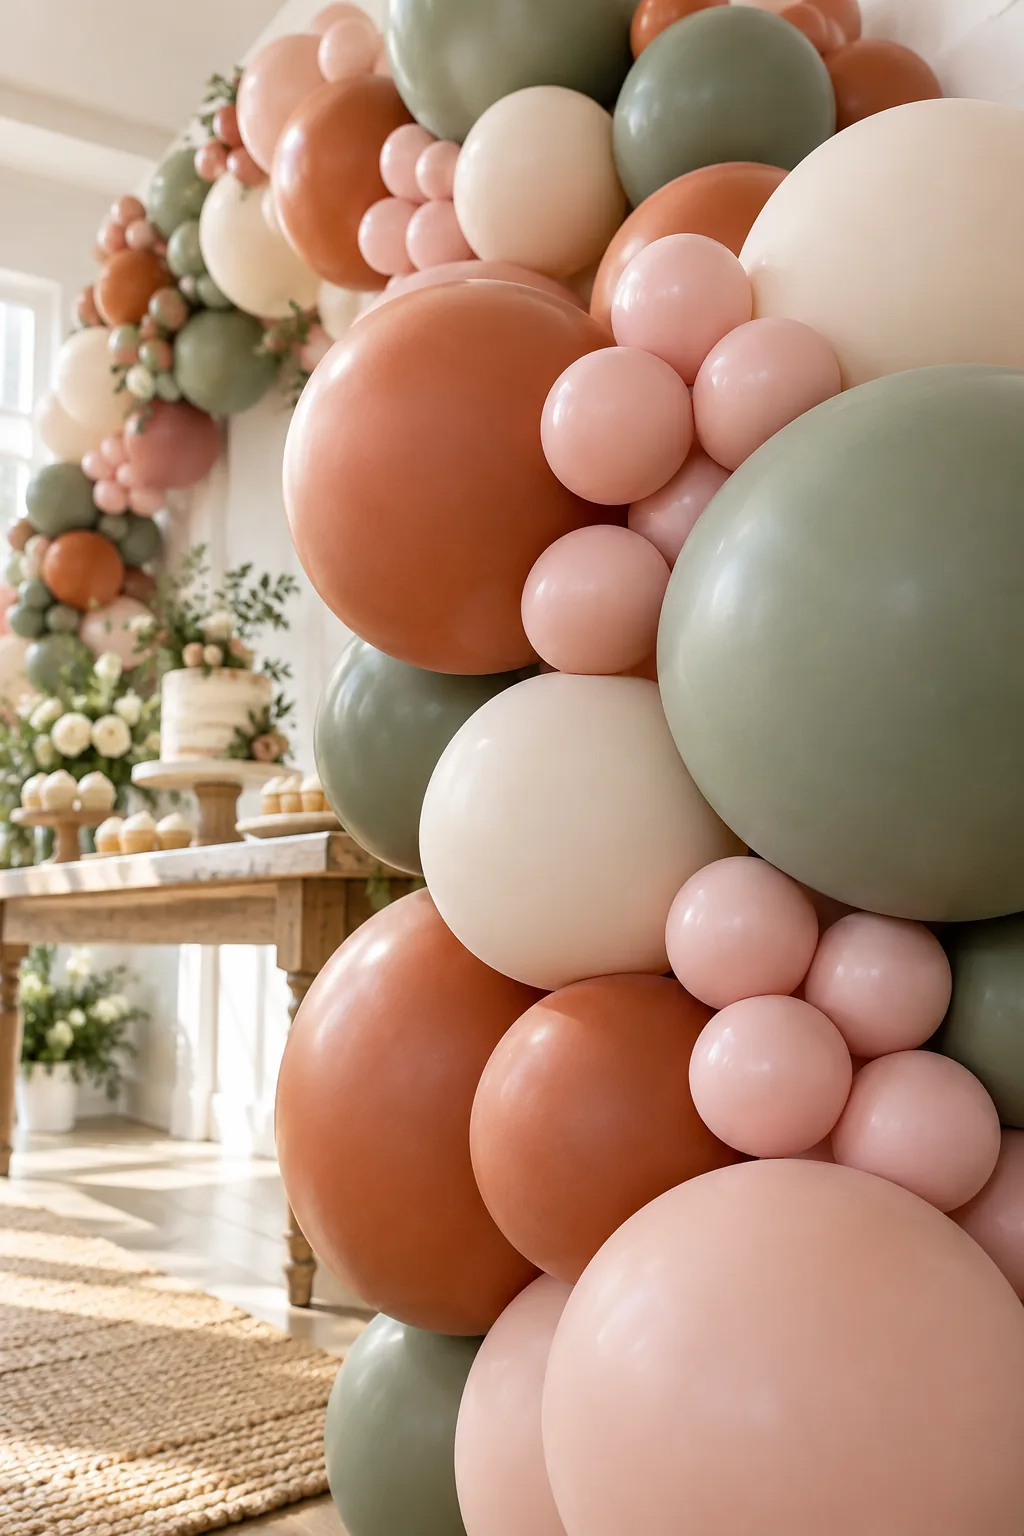
Pack the Clusters Tightly
A common mistake is leaving too much space between your quads, resulting in a floppy, unstable arch that reveals the internal string. Push each new four-balloon cluster firmly against the previous one before wrapping the fishing line, ensuring the latex surfaces grip each other tightly for maximum structural integrity.
Anchor the Arch Securely
Heavy installations require robust wall anchors to prevent them from crashing down onto your dessert spread. Attach heavy-duty adhesive hooks to the wall, tie a spare twisting balloon around the hook, and stretch it tightly over your central garland core to lock the entire structure in place.
Add Jumbo Balloon Accents
Before applying your tiny gap fillers, strategically place your massive 17-inch jumbo balloons to establish the primary visual flow. Tie these oversized accents directly into the main fishing line core at alternating angles, creating a dramatic, sweeping focal point that guides the eye down the installation.
Step Back to Check Proportions
Before finalizing any permanent placements, physically step back ten feet from your living room wall to evaluate the overall shape. This distant perspective instantly reveals lopsided clusters, unintended color blockings, and structural dips that remain completely invisible when you are standing right against the latex.
Glue 5-Inch Fillers for Fullness
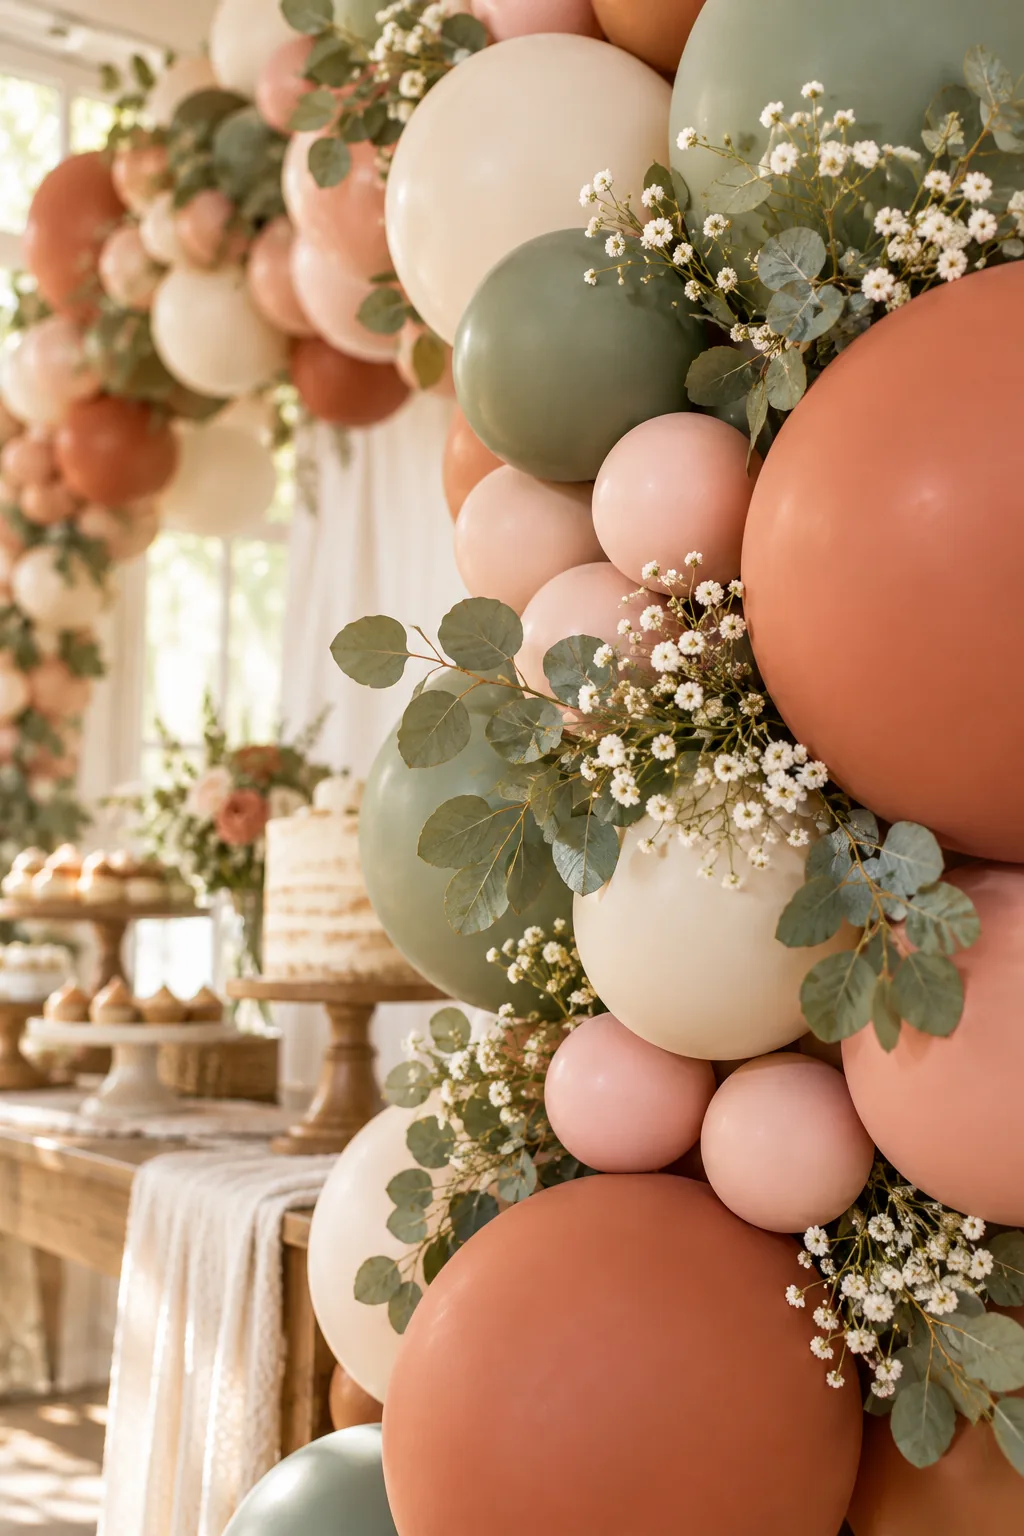
Once the main structure is securely hung, step back to identify any mechanical gaps where the fishing line shows. Use low-temperature adhesive dots to attach your 5-inch fillers, glued directly into these crevices to hide the joints and create a lush, seamless surface.
Hide the Wall Anchors
Exposed plastic hooks and stretched twisting balloons instantly ruin the professional illusion of a floating organic arch. Carefully slide your adjacent 11-inch balloons over the anchor points, using the natural friction of the tightly packed quads to completely conceal the underlying mechanical hardware from your guests.
Weave in Fresh Greenery
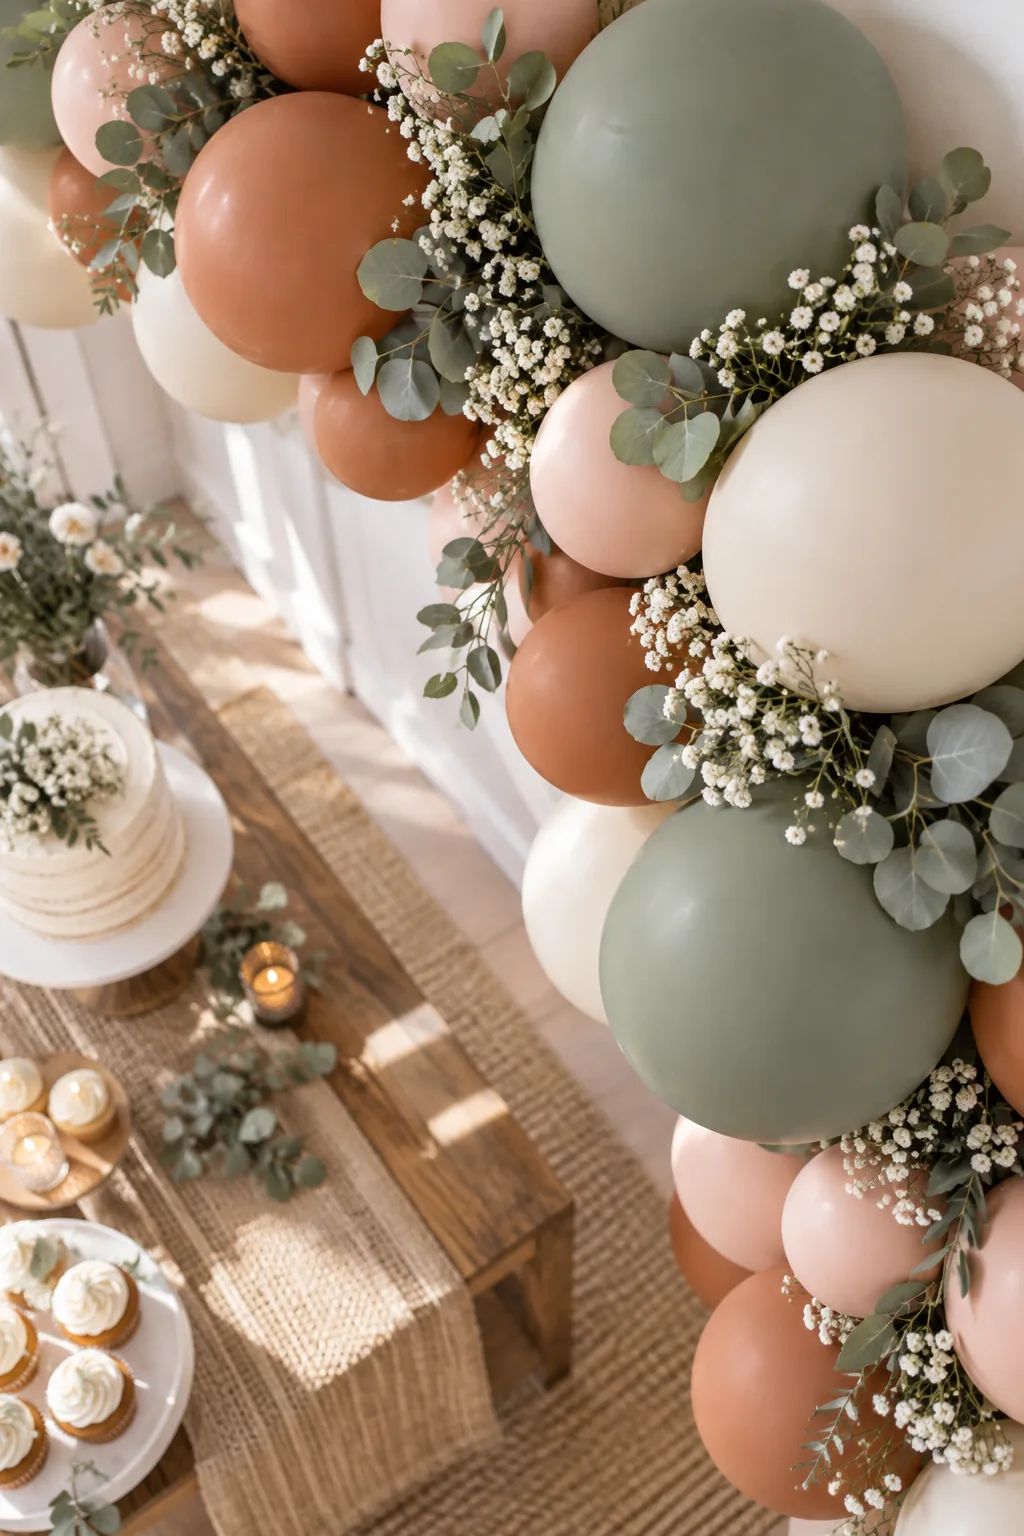
Complete the organic aesthetic by integrating natural textures that beautifully soften the harsh latex edges along the wall. Tuck stems of baby’s breath and dusty eucalyptus sprigs directly into the tightest balloon joints, letting the foliage cascade naturally toward your beautiful dessert table.
5 Stunning Balloon Garland Styles
Discover how changing your color palette and styling can completely transform the organic garland technique for any event.
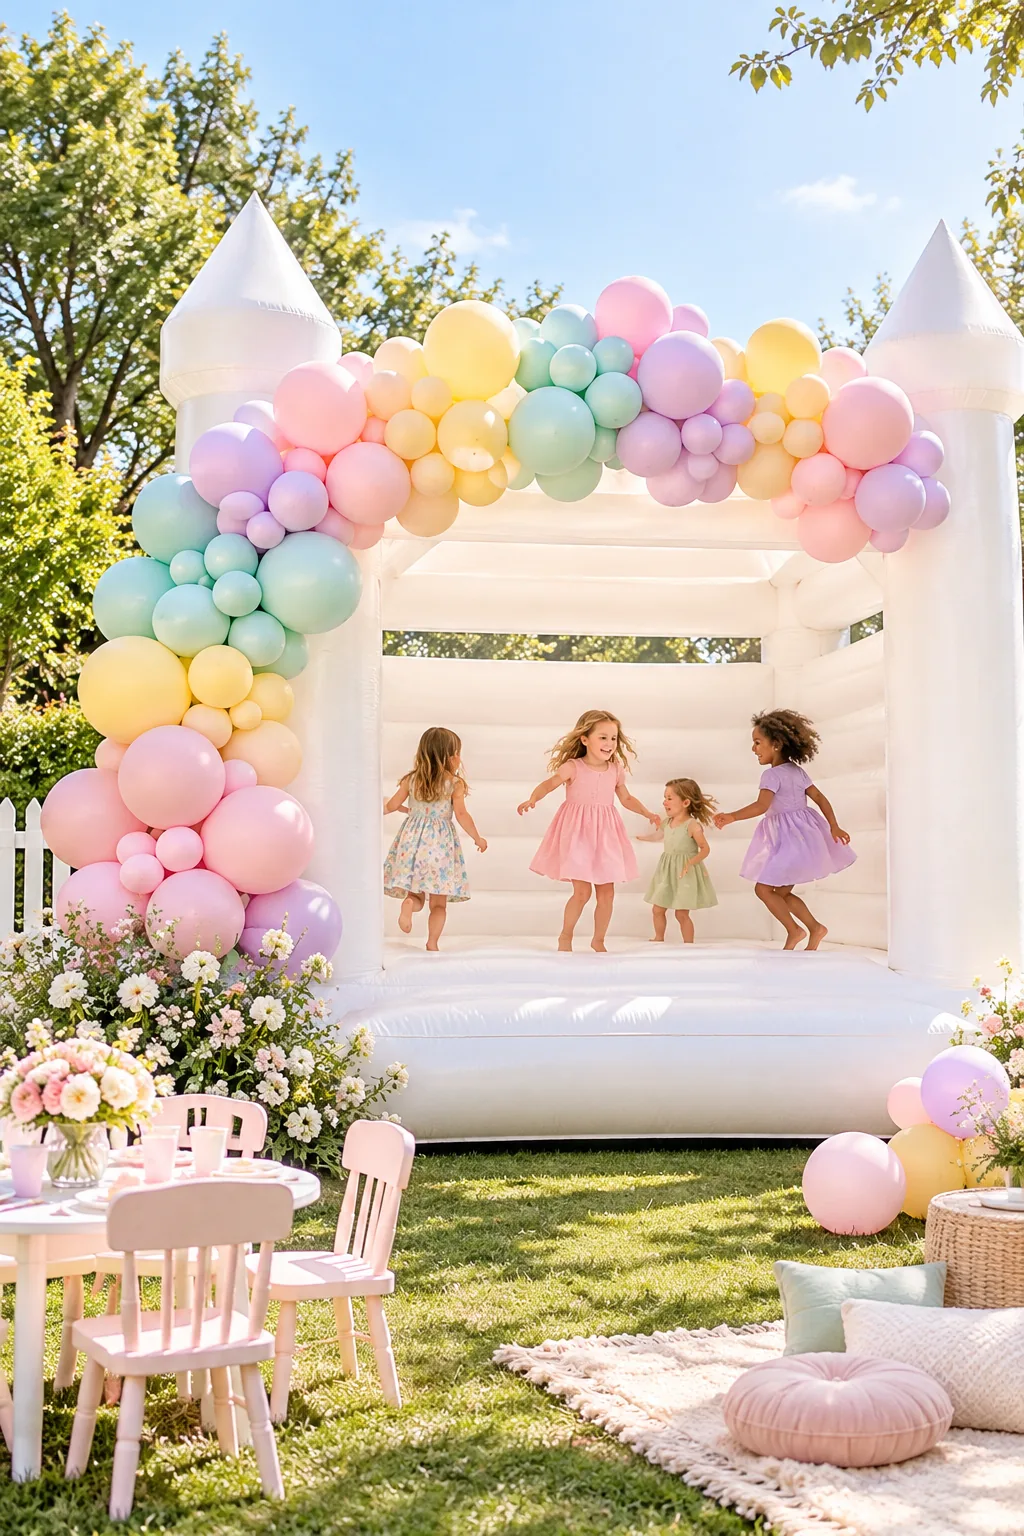
Playful Pastel Rainbow Arch: Soft matte pastels create a whimsical vibe perfect for a first birthday, especially when draped over a modern white bounce house.
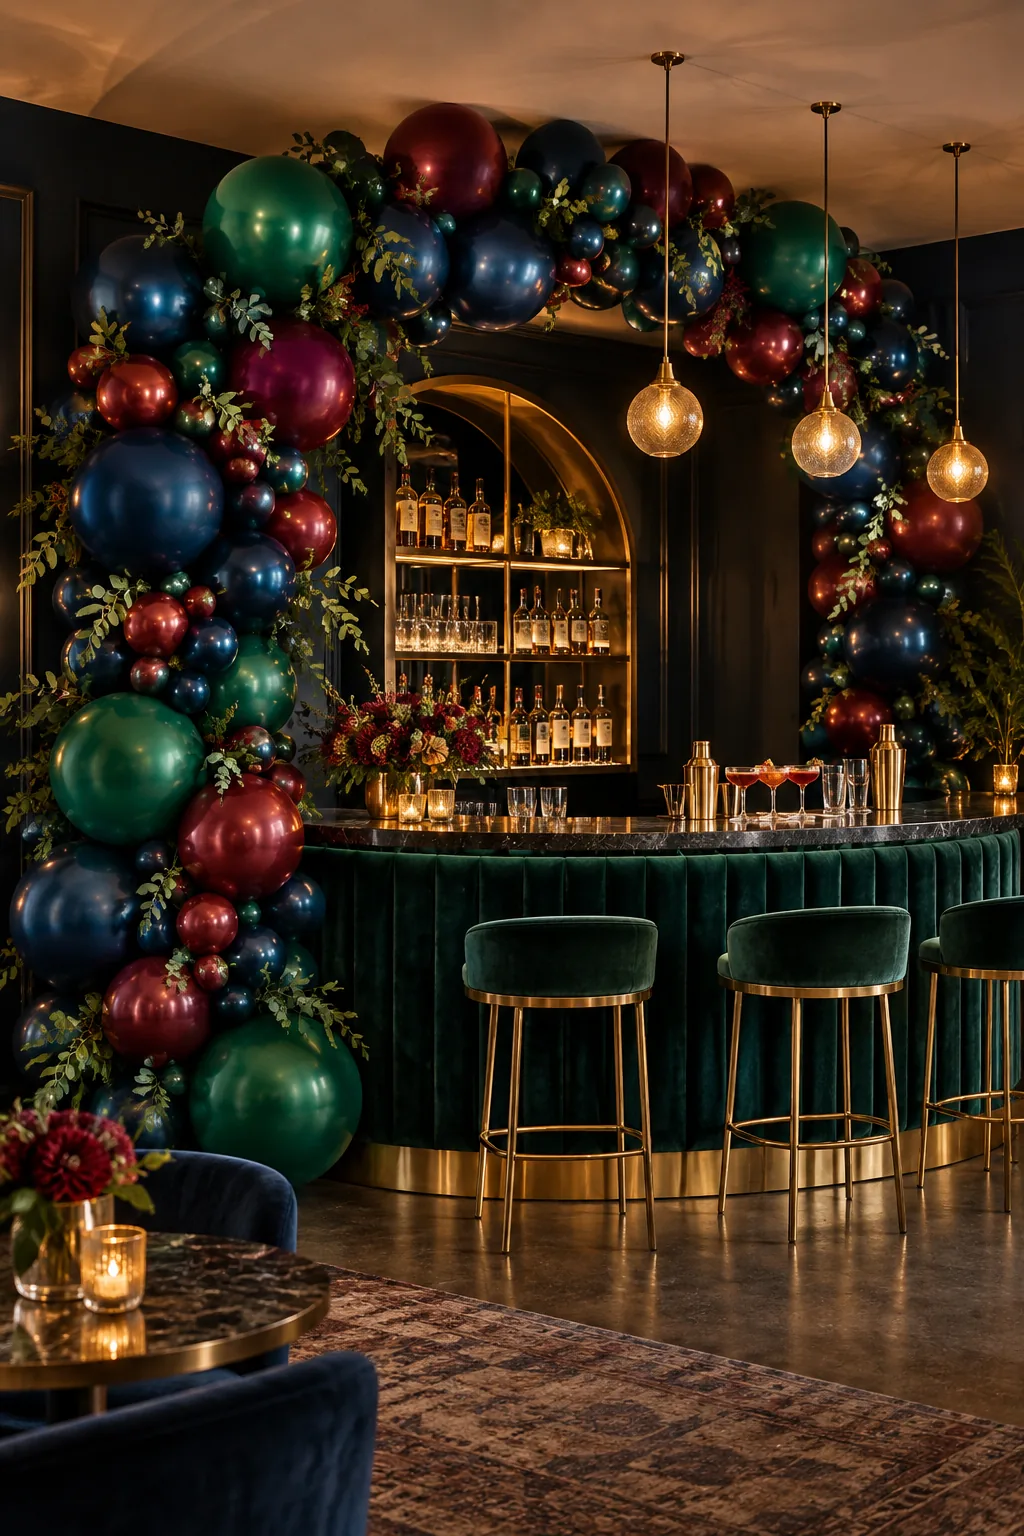
Moody Jewel-Toned Evening Bar: Deep emerald and burgundy balloons mixed with metallic gold accents transform a standard garland into sophisticated evening cocktail decor.
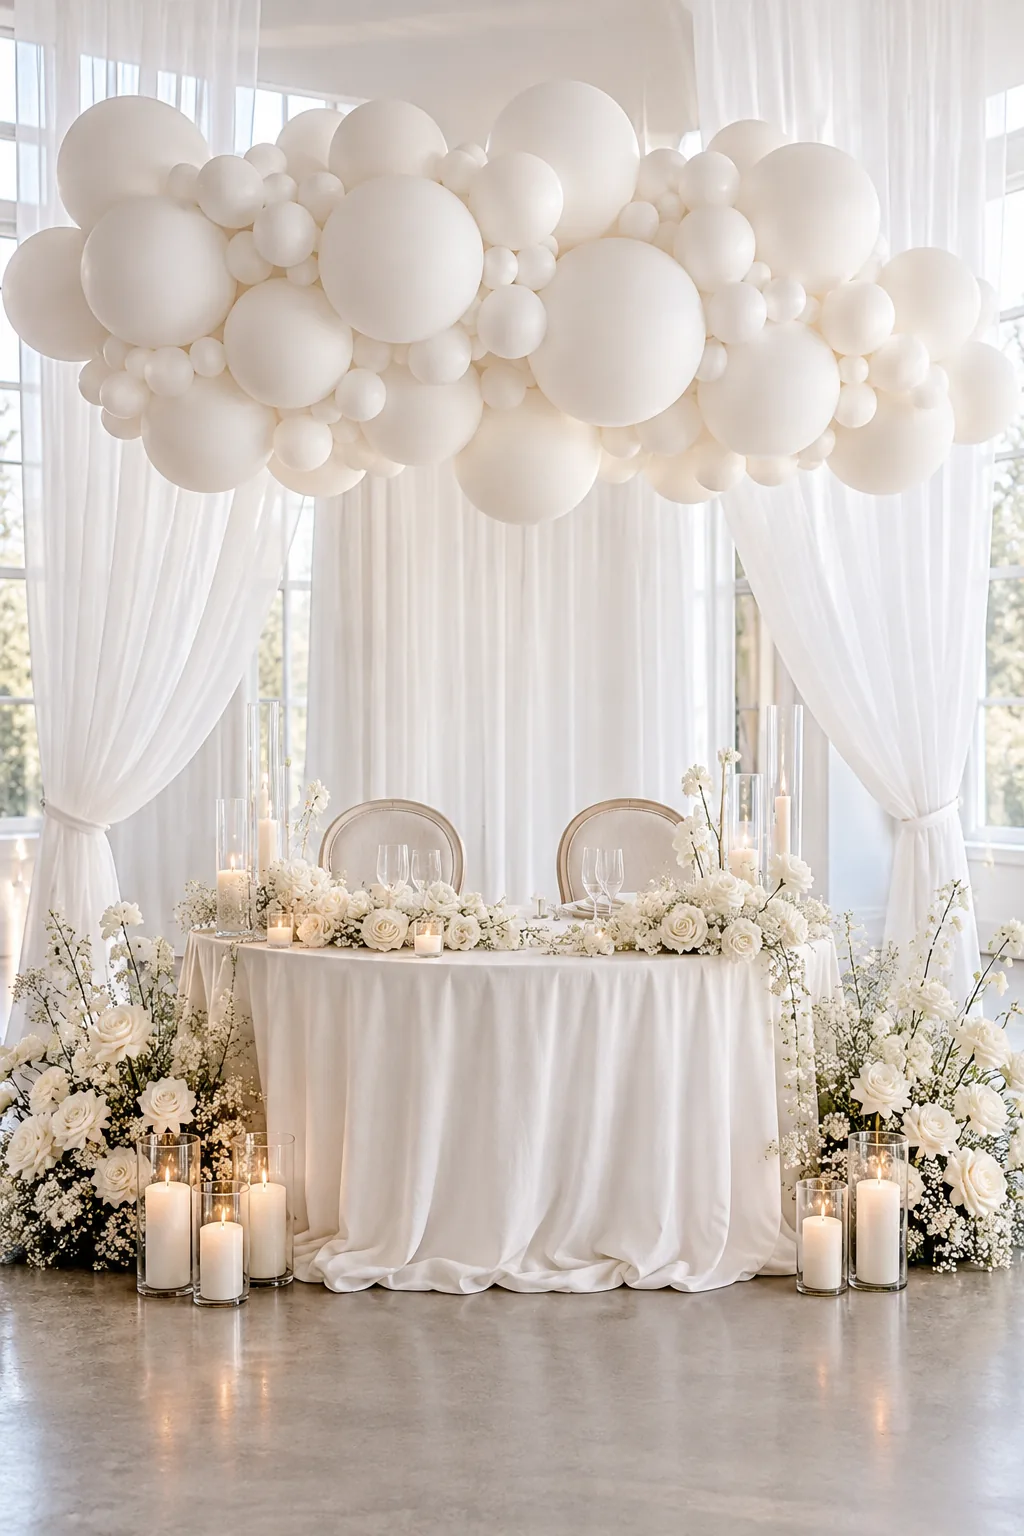
Monochromatic Bridal Balloon Cloud: An entirely white, matte balloon installation feels incredibly elegant for a bridal shower when paired with sheer drapery and fresh roses.
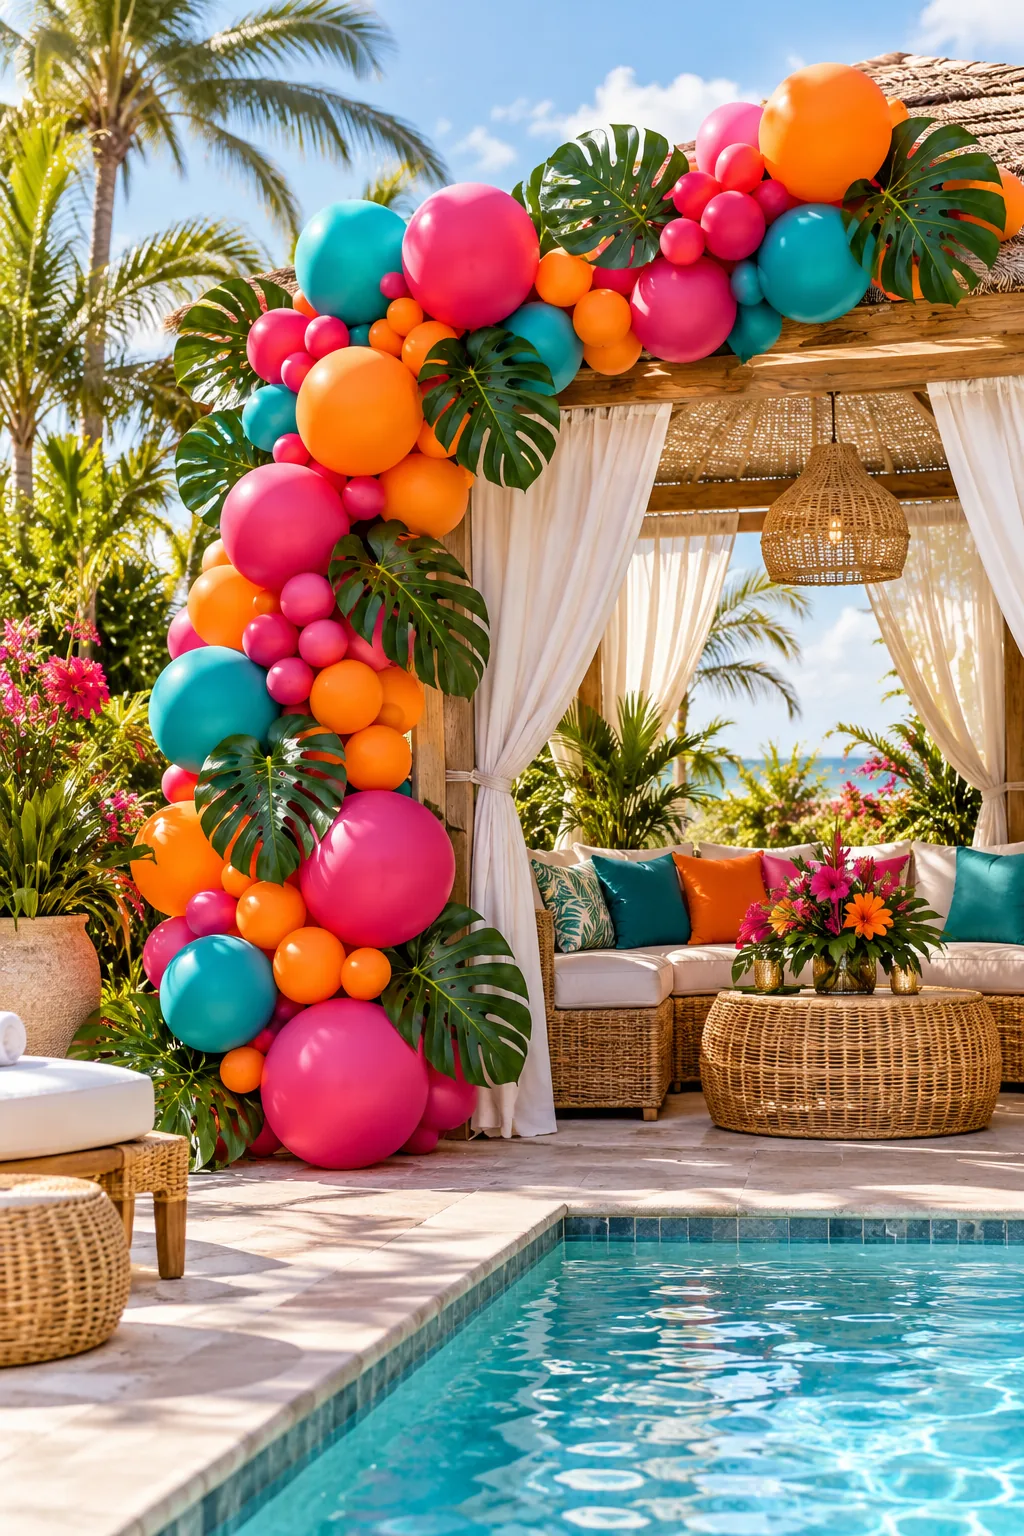
Vibrant Tropical Cabana Garland: Brightly colored balloons mixed with oversized real monstera leaves instantly set a lush, tropical mood for a summer pool party.
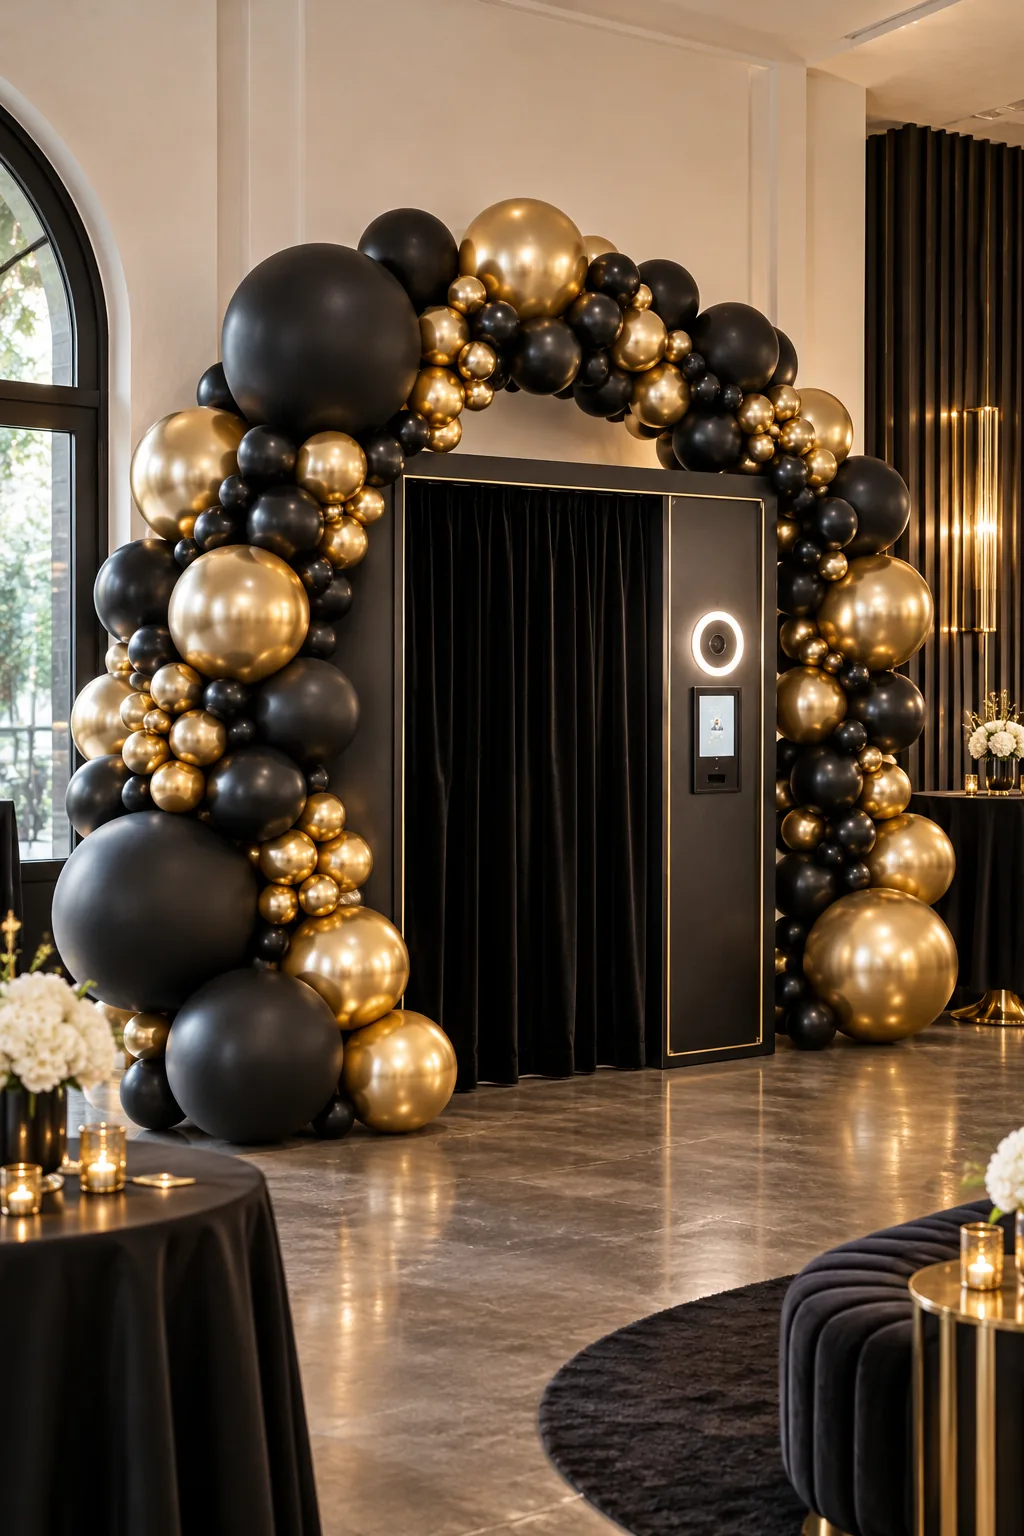
Sleek Black and Chrome Gold: Pairing deep matte black balloons with highly reflective chrome gold creates a striking, high-contrast backdrop ideal for a milestone anniversary.