
Bathroom Tub Shopping Guide: The Pro Fit & Size Checklist
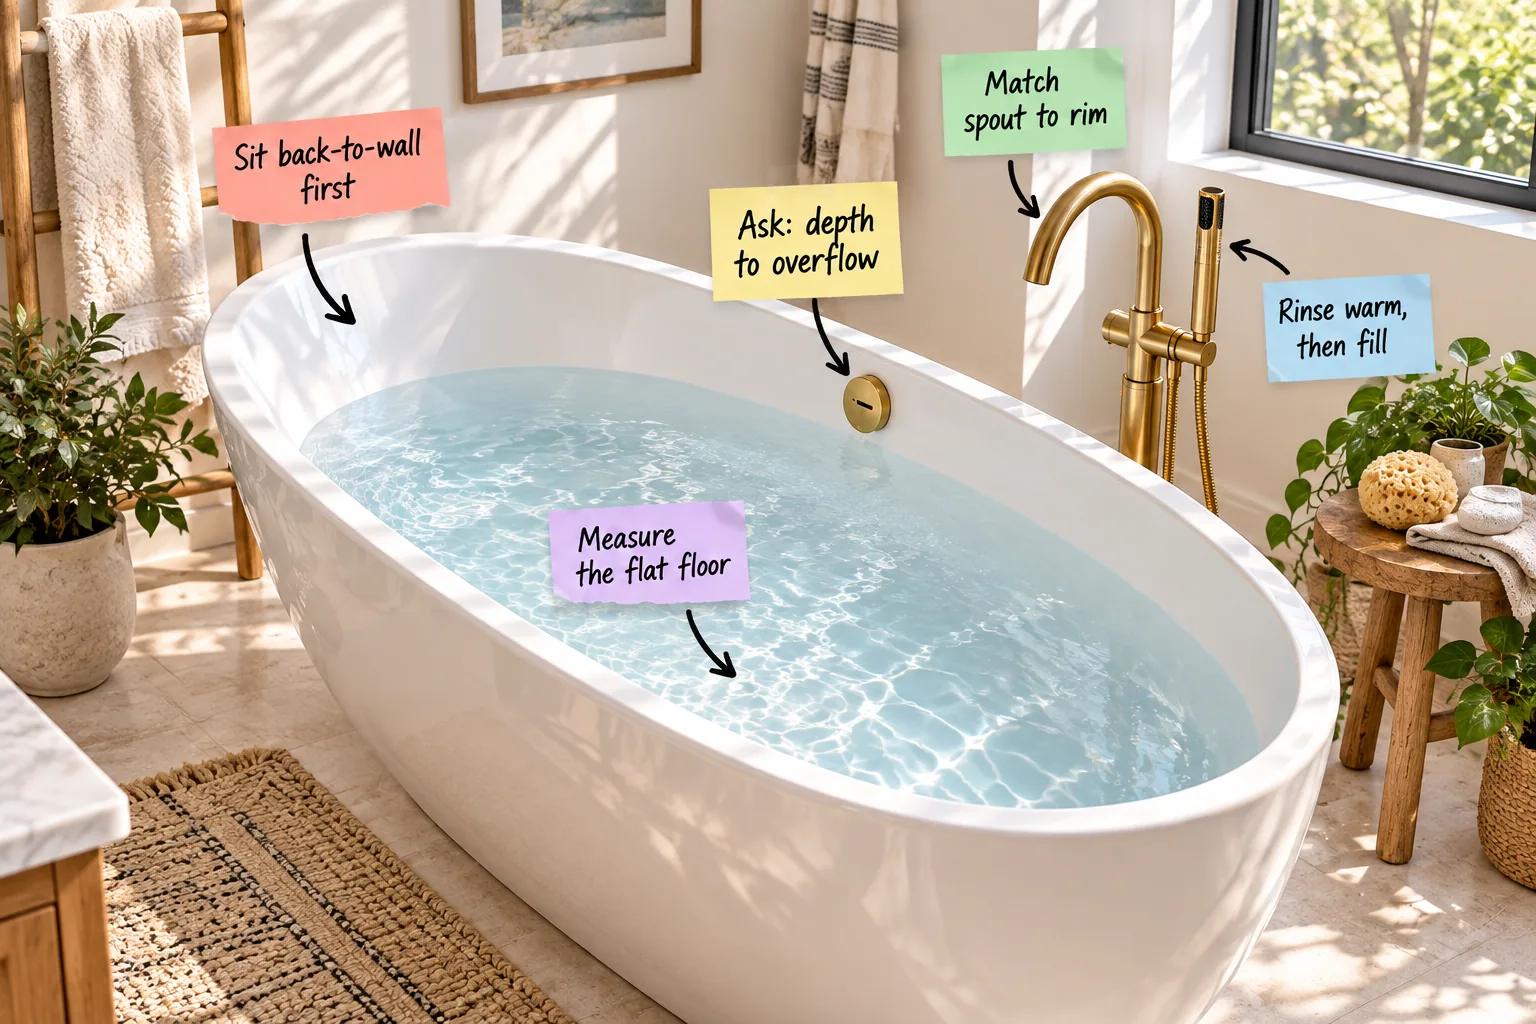
Planning a bathroom remodel means you need our printable Bathroom Tub Fit Checklist to confidently match flat-floor length to your legs, true soaking depth to the overflow, and tub gallons to your water heater. You will be able to measure your body and room to confidently select a freestanding tub that fits your plumbing and space perfectly.
Find Your Floor-Sit Measurement
Before you even step foot in a plumbing showroom, you must establish your ideal reclining footprint by sitting on your floor with your back against a wall. Replicate the approximate angle you prefer to lounge at while bathing to find your natural baseline.
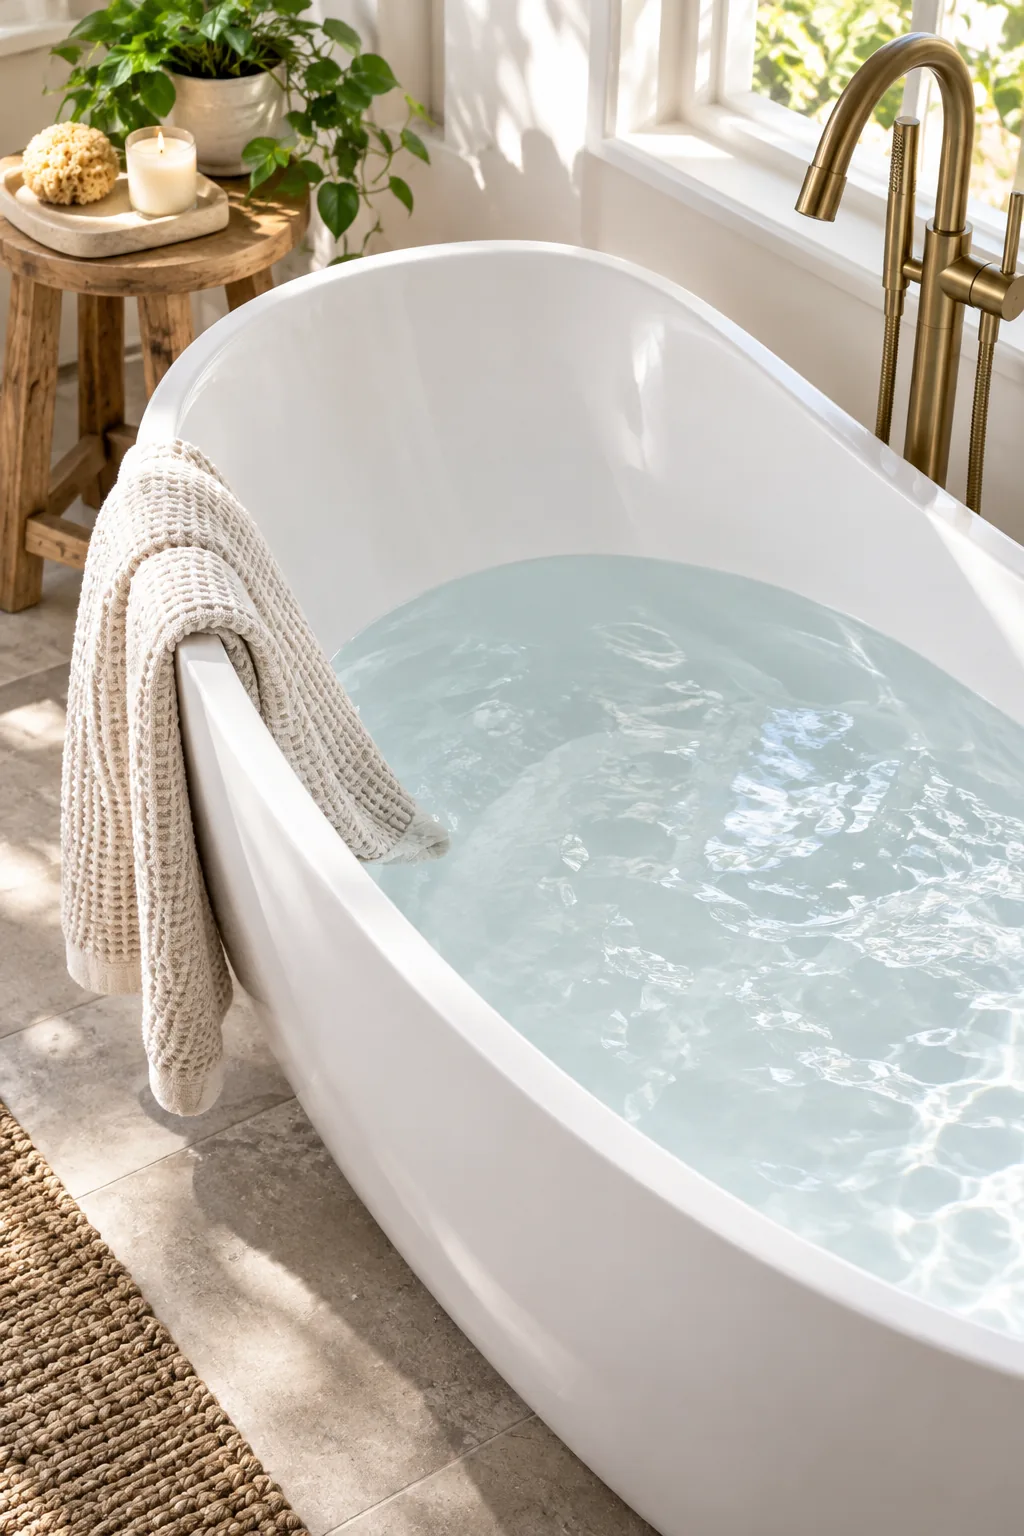
Once you are perfectly comfortable, measure the exact distance from the wall to your heels. This personalized floor-sit measurement becomes your primary tool for evaluating whether a beautiful tub will actually support your body without making you slide underwater.
Account for Recline Angles
Eastern bathing traditions often favor a steep, upright seated posture, while Western designs typically encourage a deeply sloped, lounging recline. Recognize that a steeper interior backrest requires significantly less overall floor length to keep your shoulders comfortably submerged.
Measure the Flat Interior Floor
Do not be fooled by the impressive overall length printed on a tub’s specification sheet, because the swooping exterior curves dictate nothing about your legroom. The only critical number is the flat interior floor length from the footwell to where the backrest curve begins.
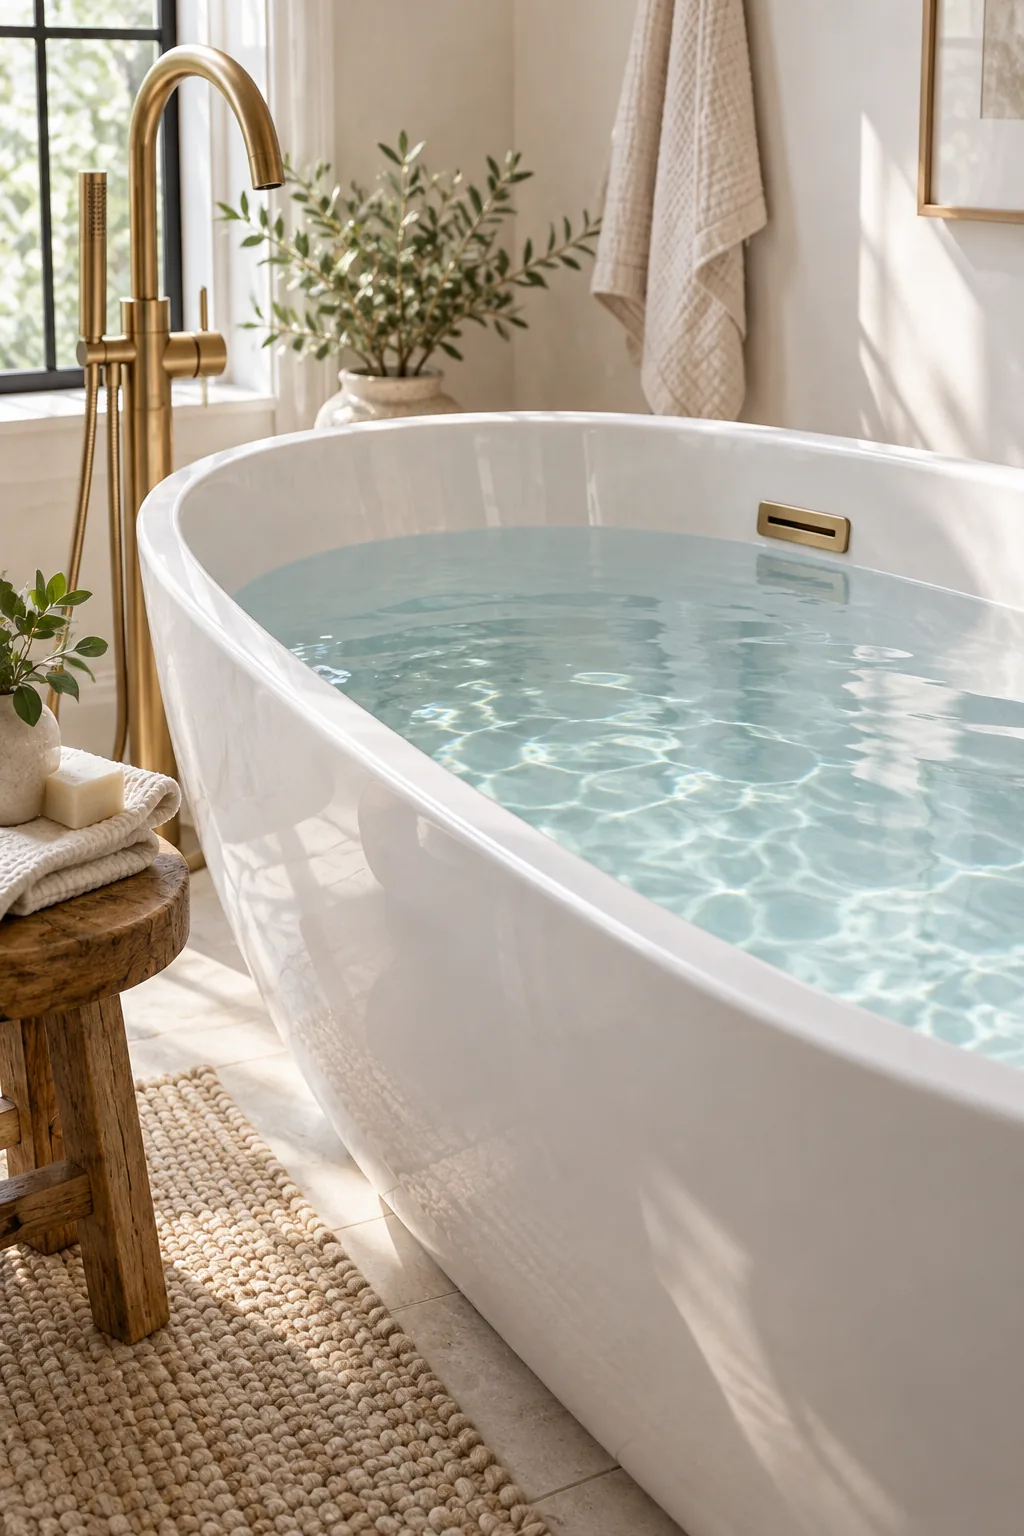
Compare this internal dimension directly to your floor-sit measurement to ensure your heels will not cramp against the front wall. If the flat basin is too short, your knees will be forced upward into the cold air.
| Overall Tub Length | Flat Floor Length | Best For Leg Length |
|---|---|---|
| 59 inches | 39 inches | Up to 38 inches |
| 65 inches | 44 inches | Up to 43 inches |
| 71 inches | 49 inches | Up to 48 inches |
Account for the Drain Location
A center drain allows two bathers to recline on opposite ends, but it splits the available flat floor length in half. If you are bathing solo, always specify an end-drain configuration to maximize your uninterrupted legroom across the entire basin.
Check the Depth to Overflow
In a recent Denver primary suite remodel, my client bought a towering tub only to realize the internal basin stopped inches below the rim. You must specifically ask for the depth to overflow, measuring from the interior floor up to the round drain cover.

This critical vertical dimension represents your true soaking depth, completely ignoring the base pedestal and empty rim space. If this number is less than fifteen inches, most adults will struggle to keep their chest and shoulders submerged.
Match Gallons to Your Water Heater
I learned this lesson the hard way in my own home when I installed a massive soaking tub but could only fill it halfway with warm water. A standard fifty-gallon water heater physically cannot fill a seventy-gallon tub with hot water.

It is heartbreaking to install a massive, beautiful soaking tub only to discover you can never fill it past your waist with warm water. Before you commit to a high-capacity model, check your mechanical room.
Factor in Body Displacement
When you step into the bath, your body mass pushes the water level upward, meaning you require fewer total gallons to reach the overflow line. Factor in this water displacement so you do not needlessly upgrade your plumbing infrastructure for empty volume.
Align the Filler Spout and Rim
Floor-mounted fillers introduce complex geometry, as the curved brass spout must arch perfectly over the tub’s edge to deliver water into the basin. The spout’s reach must easily clear the combined thickness of the exterior rim and inner wall.

If the spout is too short, the water stream will crash onto the rim and splash down the exterior, ruining your floors. Always verify the manufacturer’s spout reach dimension against the tub’s specific wall profile.
Position the Floor-Mount Rough-In
You must finalize your tub and filler selections before your contractor pours the concrete or lays the subfloor. The brass rough-in valve must be permanently bolted into the floor joists precisely where the filler pole will stand, leaving zero room for later adjustments.
Plan Clearances for Cleaning
During an early project, I squeezed a beautiful tub into a tight alcove, only to realize my client could not fit a mop behind it. You must leave a minimum of four inches of clearance between the tub and any surrounding walls or vanities.

This breathing room allows a cleaning wand to easily reach trapped dust and inevitable water splashes. Generous spacing also frames the tub as a sculptural focal point, enhancing the visual balance of your entire bathroom layout.
Secure the Freestanding Base
Even a heavy cast-iron tub can shift over time if bumped repeatedly by a vacuum or a heavy bather. Ask your plumber to apply a thick bead of heavy-duty silicone adhesive beneath the hidden base to anchor the fixture securely to your floor tile.
Evaluate Floor Weight Limits
A large acrylic tub filled with seventy gallons of water and an adult bather can easily weigh over eight hundred pounds. Have your contractor verify that your existing floor joists can handle this concentrated structural load without requiring expensive sistering or steel reinforcement.
The Warm-Rinse Sequence
Modern acrylic and classic cast iron both act as massive heat sinks that will rapidly cool your carefully drawn bathwater. Pre-heating the cold material using a warm-rinse sequence with your hand shower ensures your bath stays hotter for much longer.
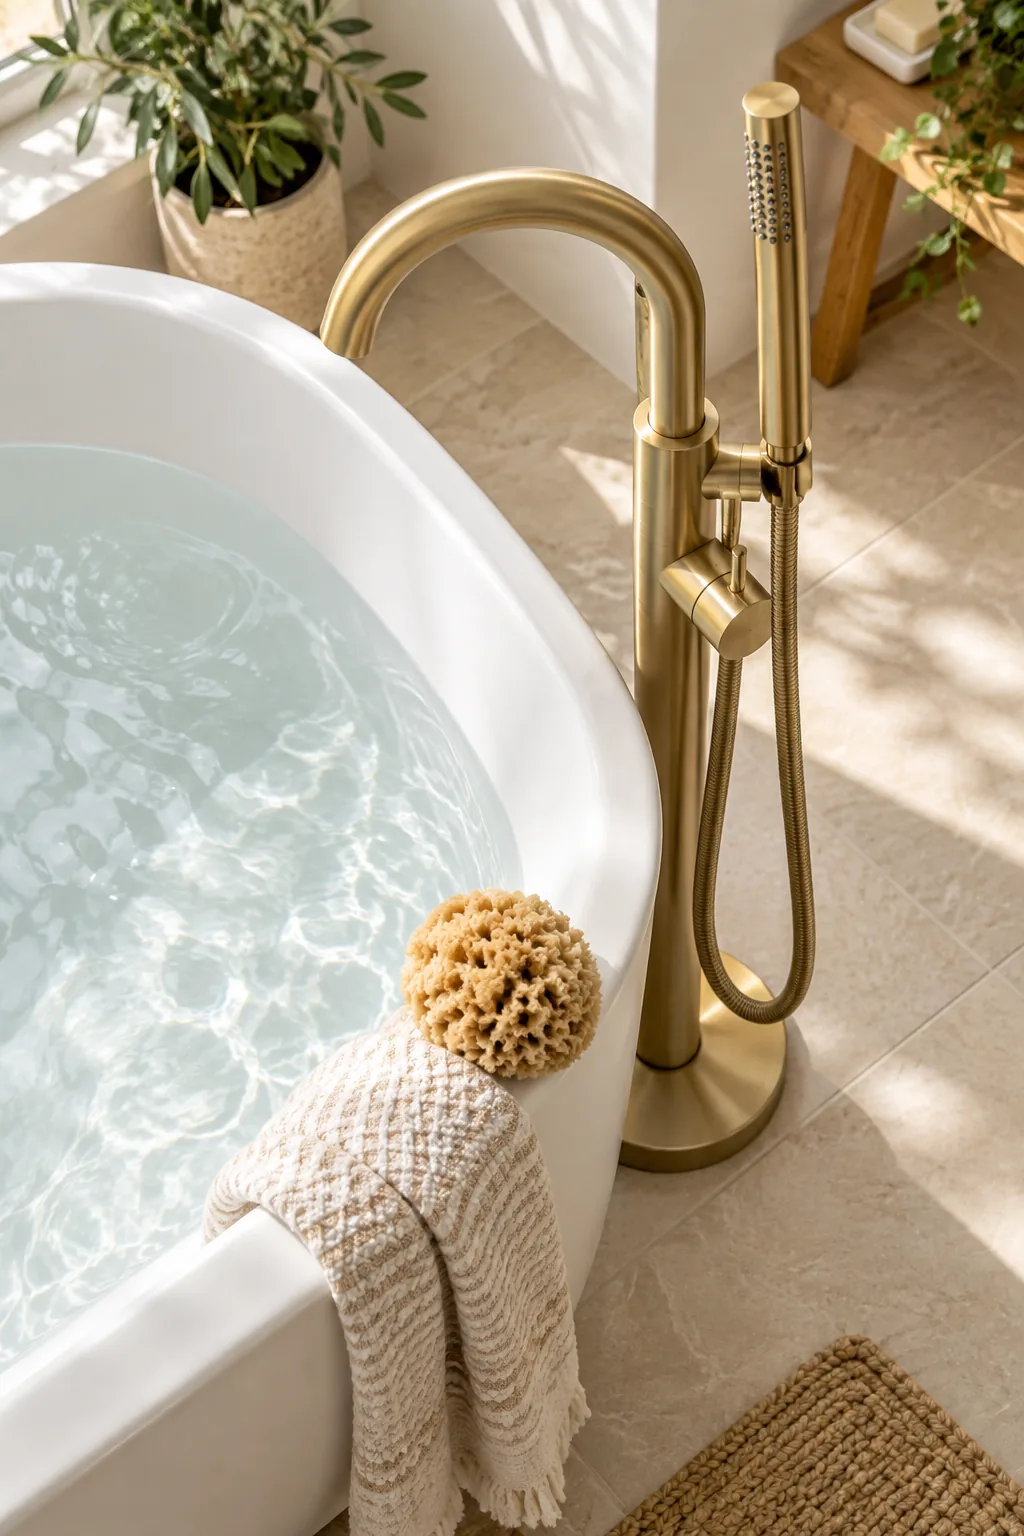
Start this routine while the tub is completely empty to build a thermal foundation that radiates back into the water. This simple ritual transforms a quick wash into a deeply restorative, spa-like experience.
- Activate the hand shower: Divert the water to the handheld wand and wait for the stream to turn fully hot.
- Spray the interior walls: Slowly trace the wand along the sloped backrest and flat floor to warm the chilled material.
- Fill the basin: Switch the diverter back to the main spout and fill the pre-heated tub to your desired depth.
Freestanding Tub Styles to Consider
Once you know your measurements, you can confidently choose a silhouette that defines your bathroom's atmosphere.
Modern Organic Stone: Matte stone resin holds heat beautifully and pairs perfectly with high-contrast matte black plumbing fixtures.

Traditional Elegance: A painted cast iron clawfoot tub offers timeless character and allows you to introduce a subtle accent color.

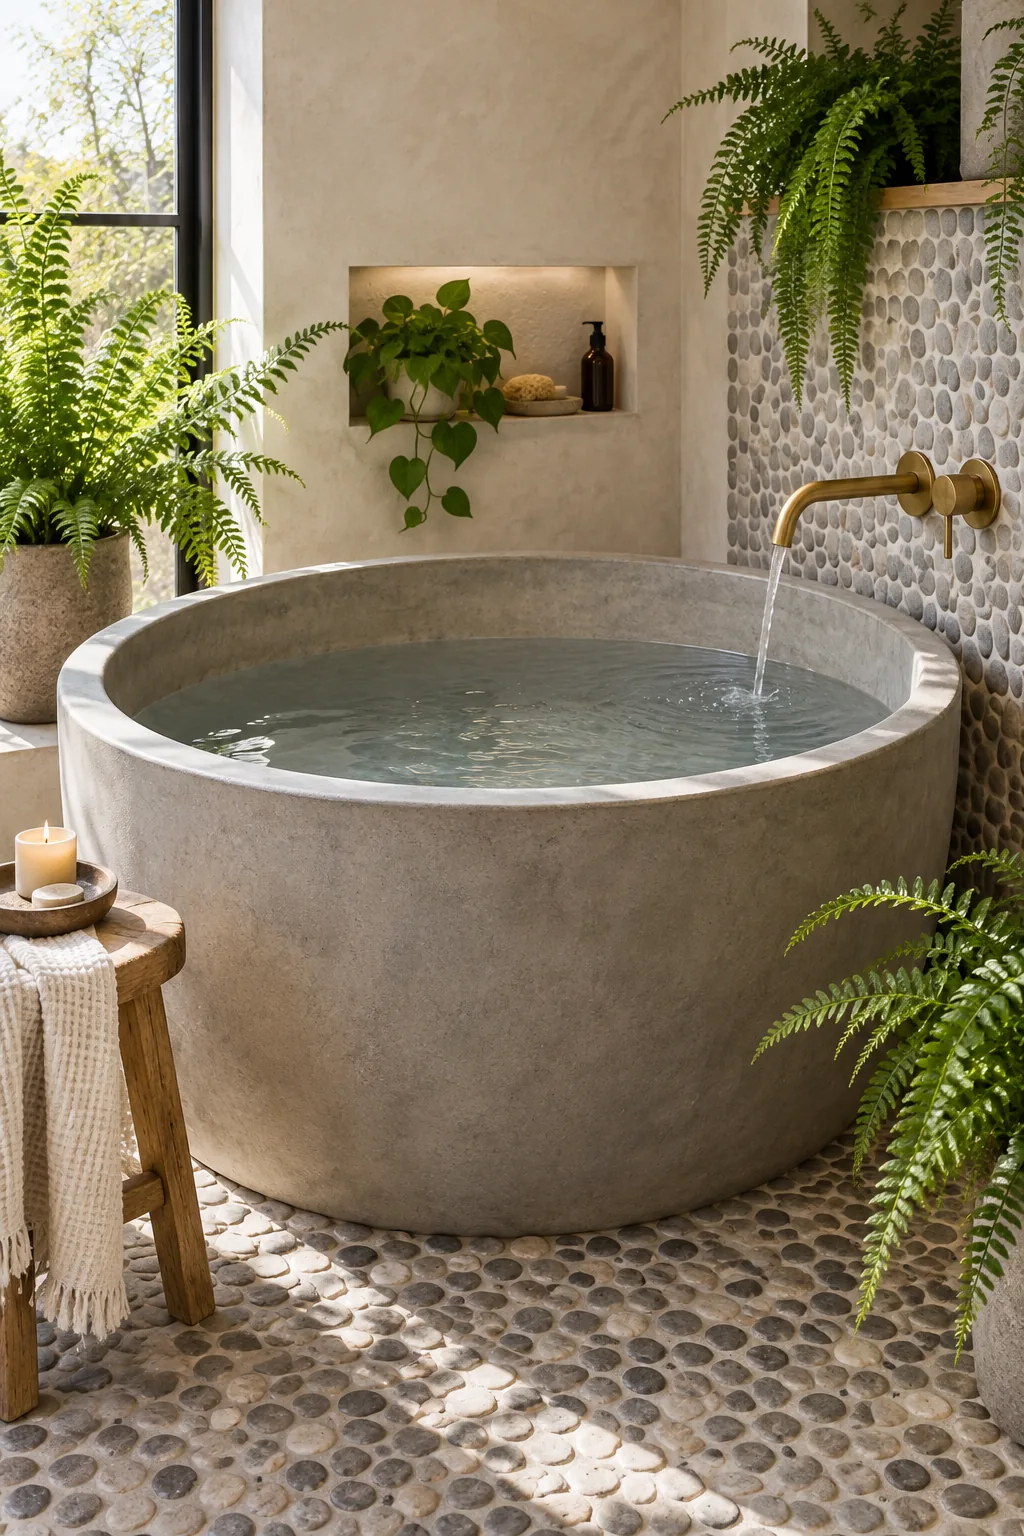
Spa Minimalist: A deep, round Japanese-style soaking tub saves floor space while providing an incredibly immersive upright soak.
Your Printable Tub Fit Checklist
Bringing all these technical specifications together protects your remodeling investment and guarantees a perfectly proportioned bathing experience. Record your household’s baseline metrics to confidently rule out any fixtures that look stunning but fail to accommodate your body.

Ready to head to the plumbing showroom? Print this summary sheet and fill in your personal household numbers so you can confidently rule out any tubs that look beautiful but will not function in your space.