Valentine's Decor: The Grocery Rose Vignette & Shopping List
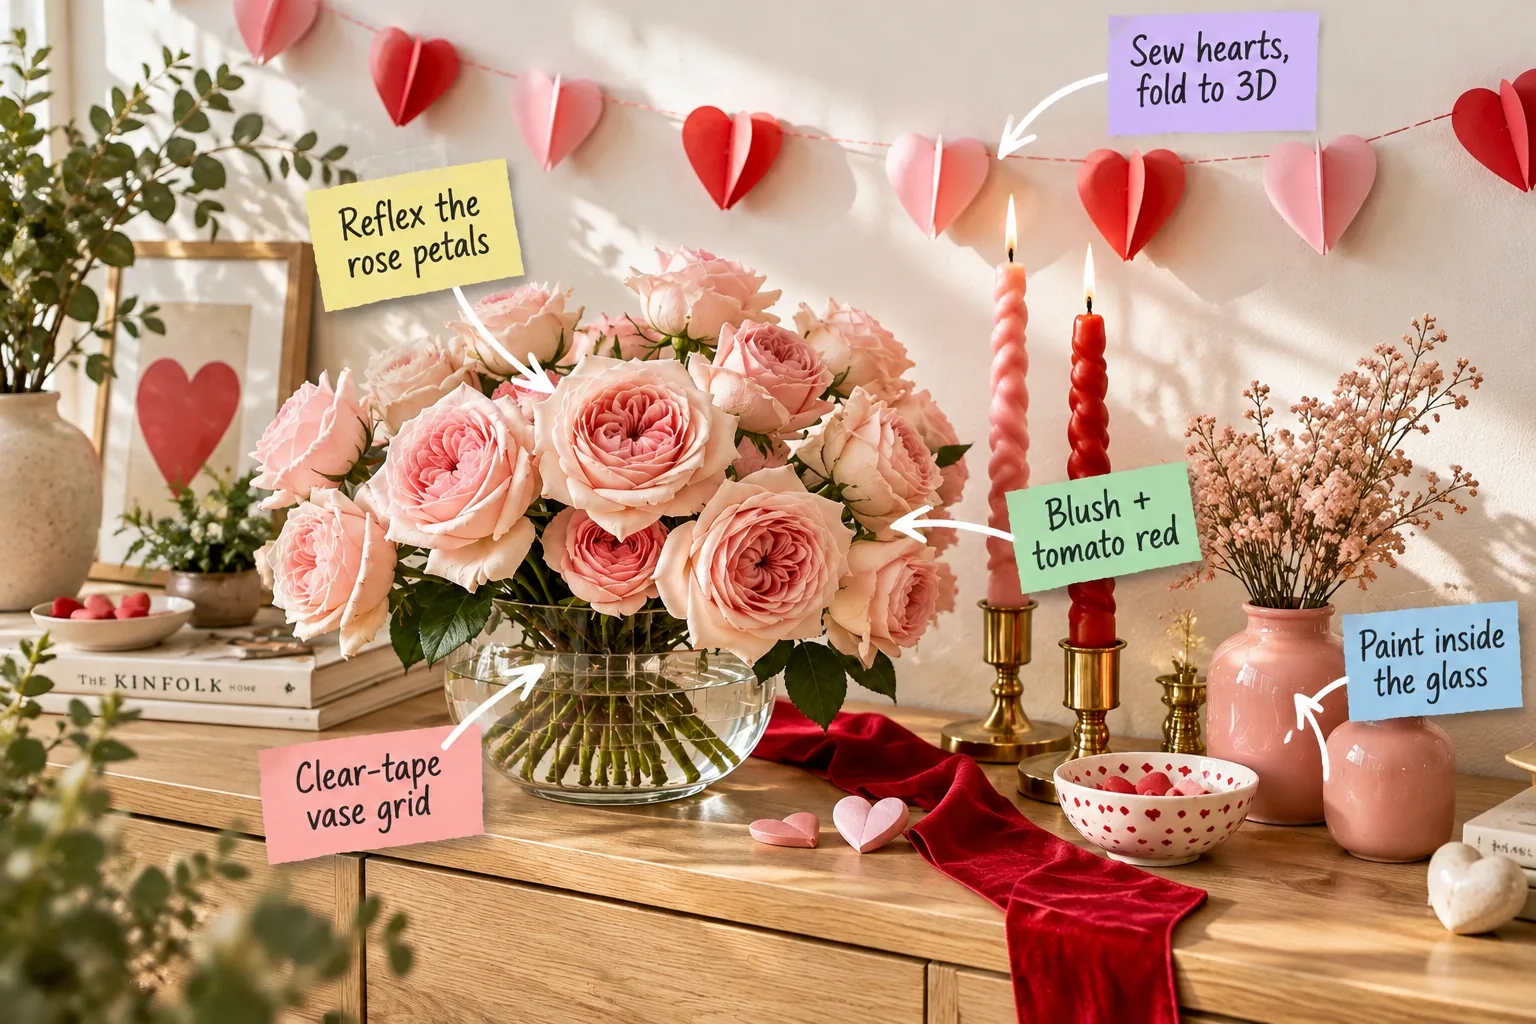
Grab our printable Valentine’s vignette shopping list and styling order to turn basic supermarket blooms and craft supplies into a high-end sideboard display. You will be able to shop for exact supplies and style this complete romantic vignette using professional florist techniques.
The Blush and Tomato Red Palette
Establish the foundational color scheme that anchors your entire vignette before buying a single flower. Aim for a strict 70/30 ratio of blush to tomato red to keep the overall setup deeply romantic, highly curated, and never visually overwhelming in your dining space.
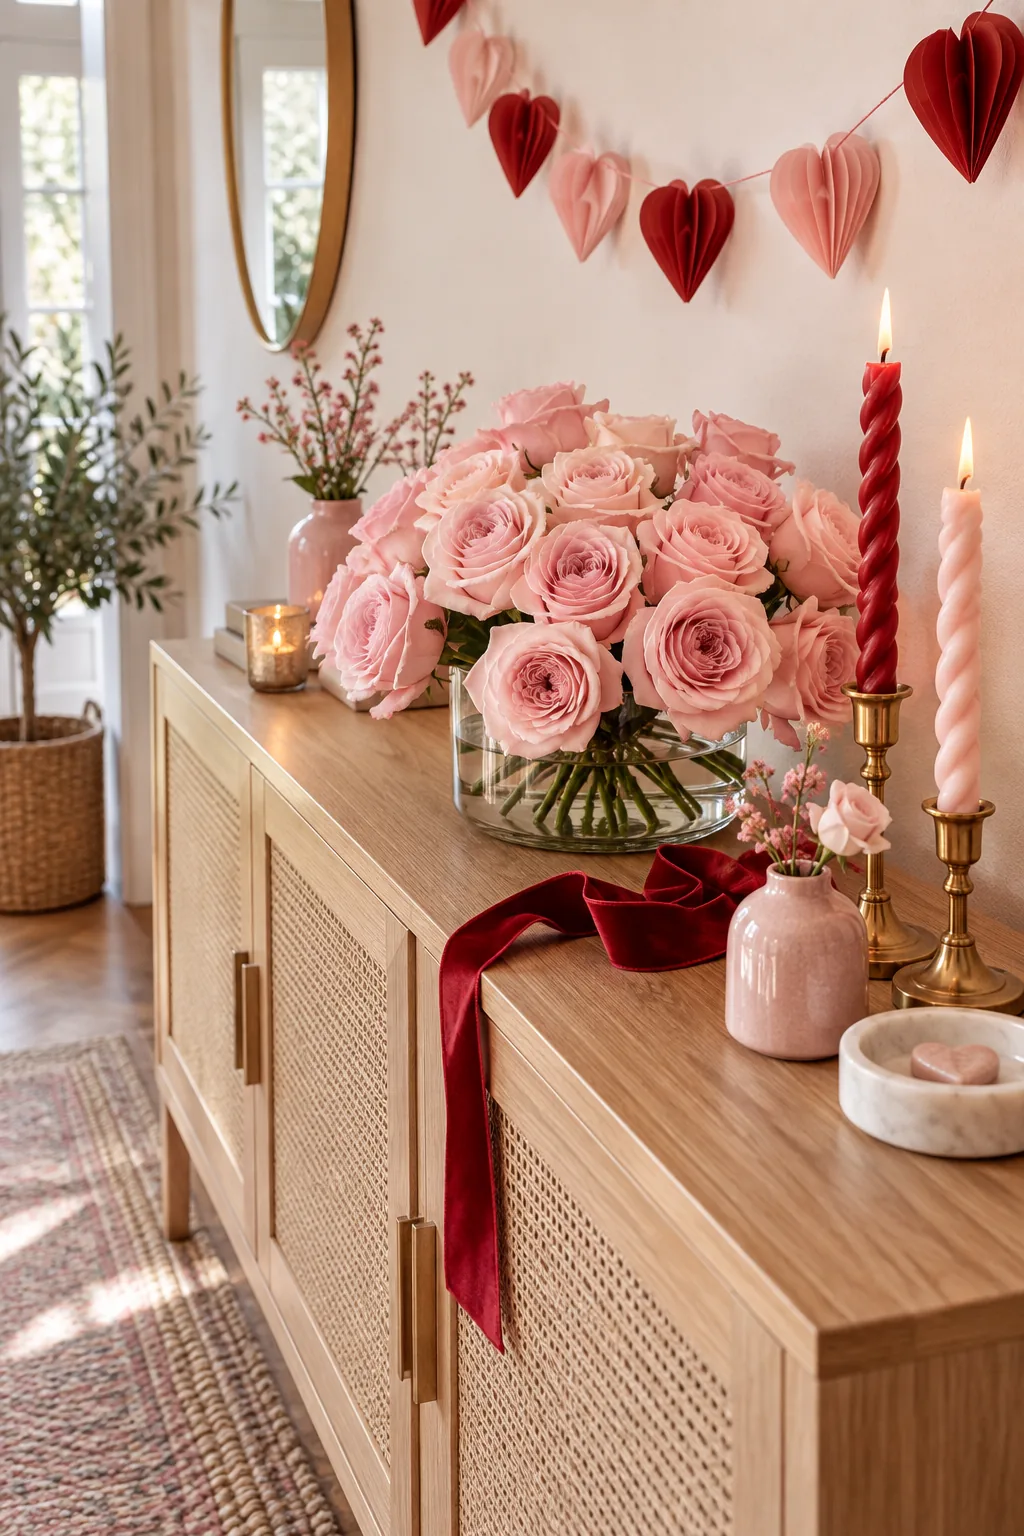
Soft blush pinks naturally diffuse the intense, high-contrast energy of the bright tomato red tapers and velvet ribbon. This precise color balance ensures your eye travels smoothly across the styled sideboard without getting stuck on one single bright focal point.
Sewing the 3D Heart Garland
Create a custom textured backdrop by cutting heavy paper hearts and running a straight machine stitch directly down their centers. Maintain a strict 2-inch spacing between each heart as you sew to guarantee a beautifully balanced, sweeping drape across your wall.
| Paper Weight | Stitch Length | Tension | Needle Size |
|---|---|---|---|
| 65 lb cardstock | 3 mm | Medium | 80/12 |
| 80 lb cover | 3.5 mm | Medium-High | 90/14 |
| 100 lb cover | 4 mm | High | 100/16 |
| Felt sheets | 4 mm | Low | 90/14 |
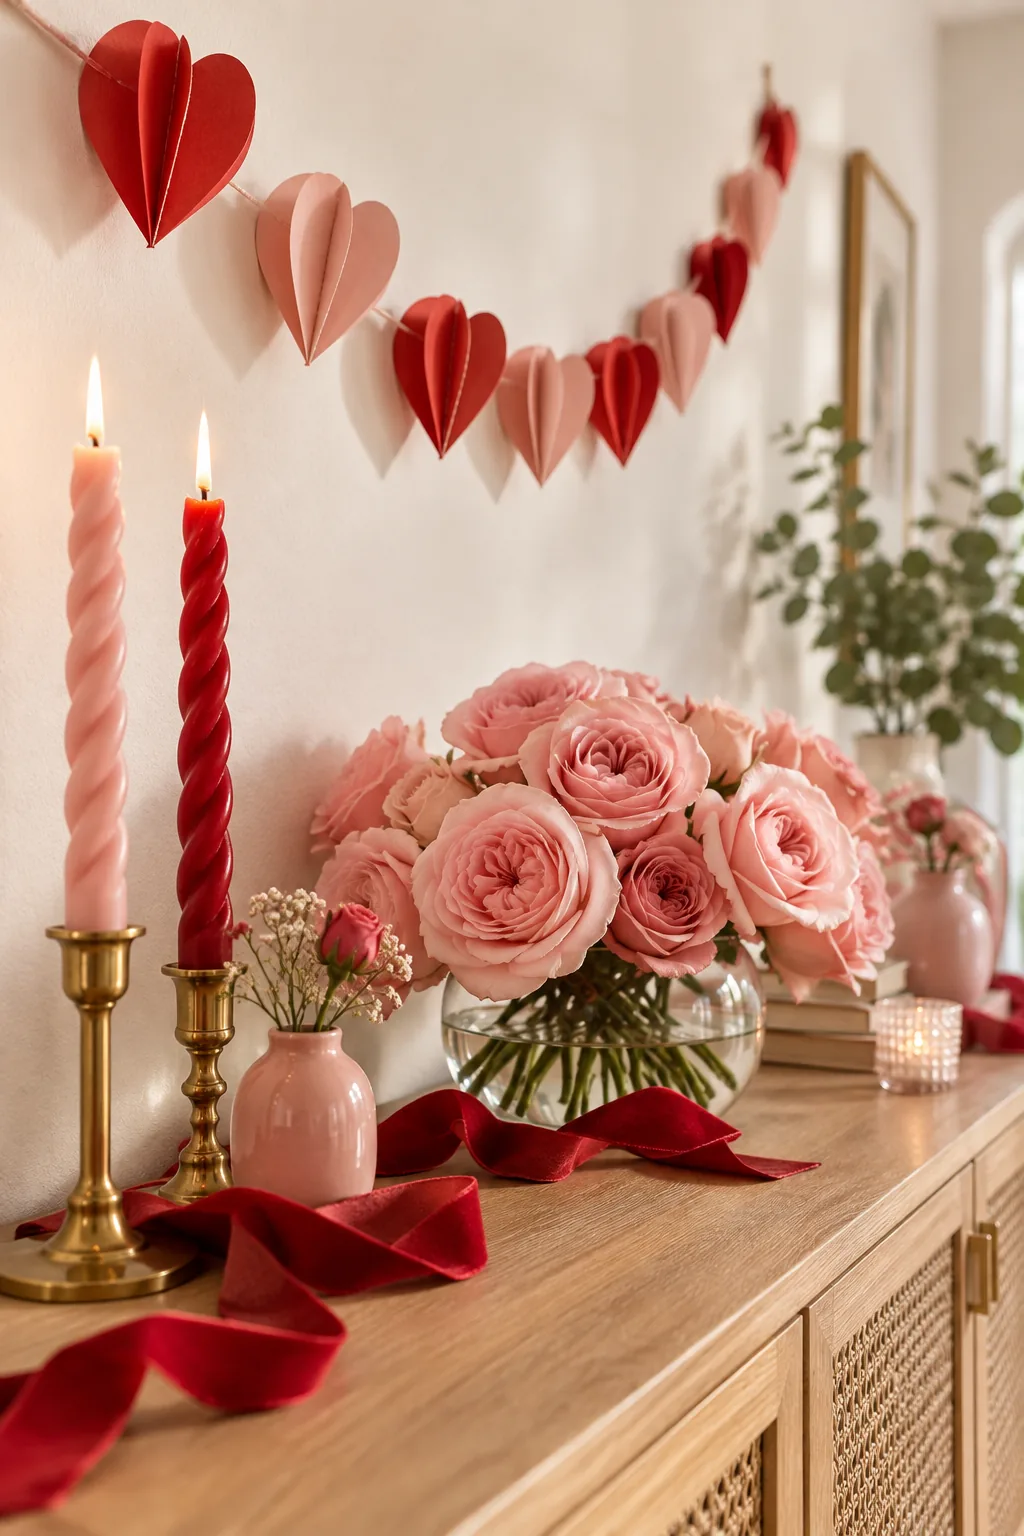
Folding the paper hearts open along this stitched center line instantly creates a dynamic 3D effect that beautifully catches the ambient candlelight. This simple structural fold prevents the finished garland from looking flat and lifeless against your wall or mirror.
Painting the Glass Bud Jars
Before mixing your paint, ensure your paper garland’s central sewn hinge is crisply folded to create that perfect 3D volume. Machine stitching creates a sharp, symmetrical crease that manual folding simply cannot replicate on heavy, high-quality craft cardstock.
Getting that perfectly smooth, opaque finish requires dialing in the right paint consistency before you start pouring into your standard clear glass jars. Rushing this preparation step usually results in streaky, translucent spots that ruin the high-end ceramic illusion.
Taping the Invisible Vase Grid
Support heavy blooms in a wide, low vase using a professional florist grid to maintain absolute control. In my Boston apartment, I constantly use 1/4-inch clear waterproof tape stretched across the mouth of the vessel to keep top-heavy arrangements from collapsing.
- Wipe the entire rim of the glass vase with rubbing alcohol to ensure the surface is completely dry.
- Stretch strips of clear tape horizontally across the opening, spacing them exactly one inch apart.
- Cross the first layer with vertical strips to create a tight, symmetrical checkerboard pattern.
- Wrap a single continuous band of tape around the outer rim to lock all the grid ends securely.
This invisible waterproof structure holds every single delicate stem exactly where it is placed during the styling process. You can confidently build a sprawling, asymmetrical shape without ever worrying about the heavy rose heads flopping over the slippery glass sides.
Reflexing Grocery Store Roses
Before manipulating the petals, slide your thick rose stems into the structural clear tape grid to establish the overall foundational shape. I always build this secure grid first in my own styling projects so the delicate reflexed blooms never crush against each other.
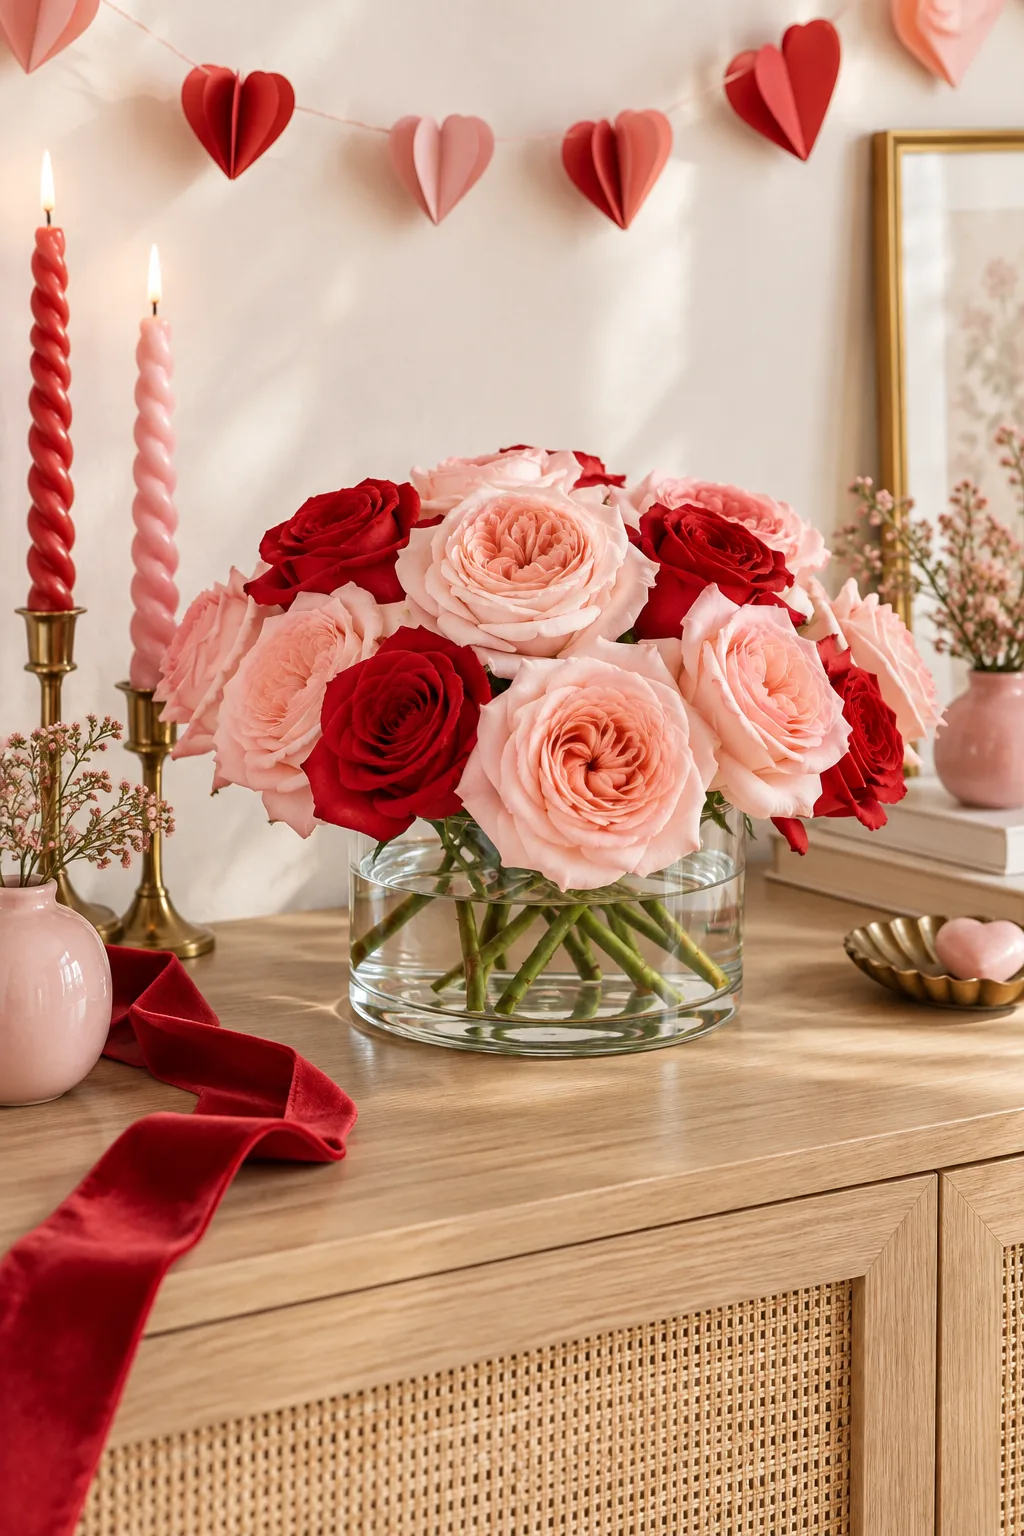
While reflexing is a brilliantly simple technique to transform standard supermarket roses into expensive garden varieties, handling delicate grocery store blooms incorrectly can quickly ruin the arrangement. Rushing the process often leads to bruised, torn, or prematurely wilted flower heads.
Adding Height with Spiral Tapers
Once your stems are fully hydrated, gently pop the outer petals backward at their base to visibly double the physical size of the bloom. This specific physical technique of folding the petals inside-out creates the immediate illusion of an expensive, fully blown garden rose.
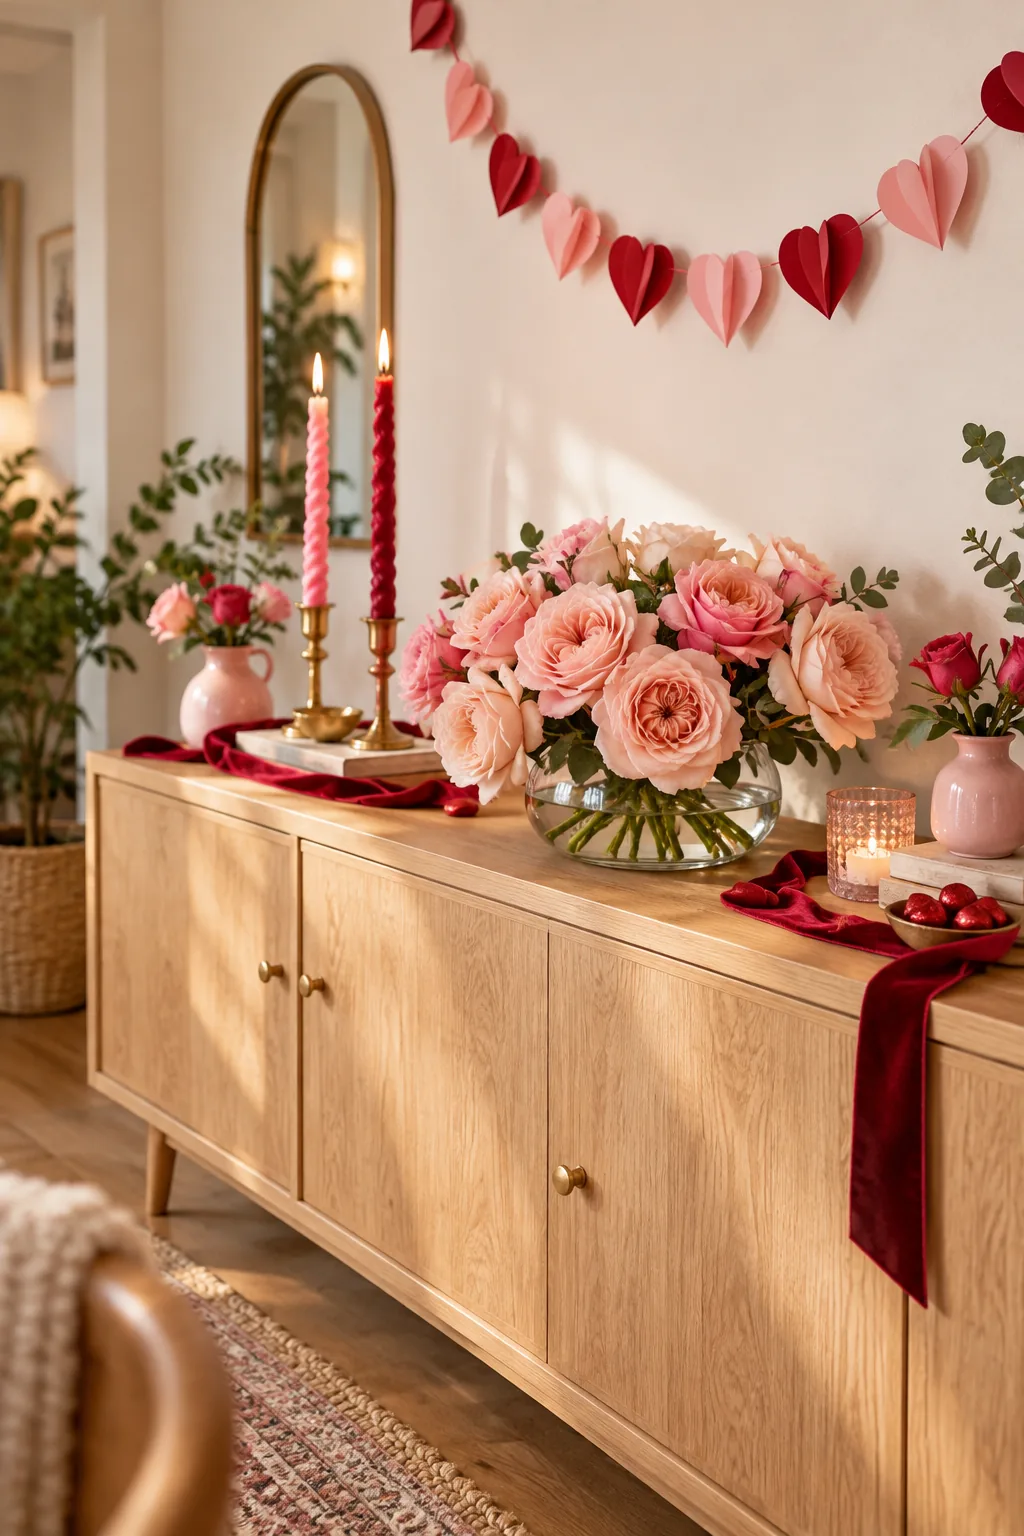
Break up the dense roundness of the floral arrangement by introducing spiral-twisted candles in low, heavy brass holders. Place a 10-inch and a 12-inch taper asymmetrically on the sideboard to draw the eye upward and cast a warm, flickering romantic glow.
Grounding the Vignette with Velvet
Connect the lush floral centerpiece with the smaller surrounding accents using a continuous length of 2-inch wide tomato-red velvet ribbon. Drape it loosely across the wooden sideboard, allowing the heavy fabric to pool naturally near the painted bud jars and patterned ceramic bowl.
The Valentine’s Vignette Shopping List
Bring the entire aesthetic together with our one-page printable guide that tracks every single element of this romantic setup. Gathering all your materials before starting ensures you can execute the professional florist tricks seamlessly without ever interrupting your creative styling flow.
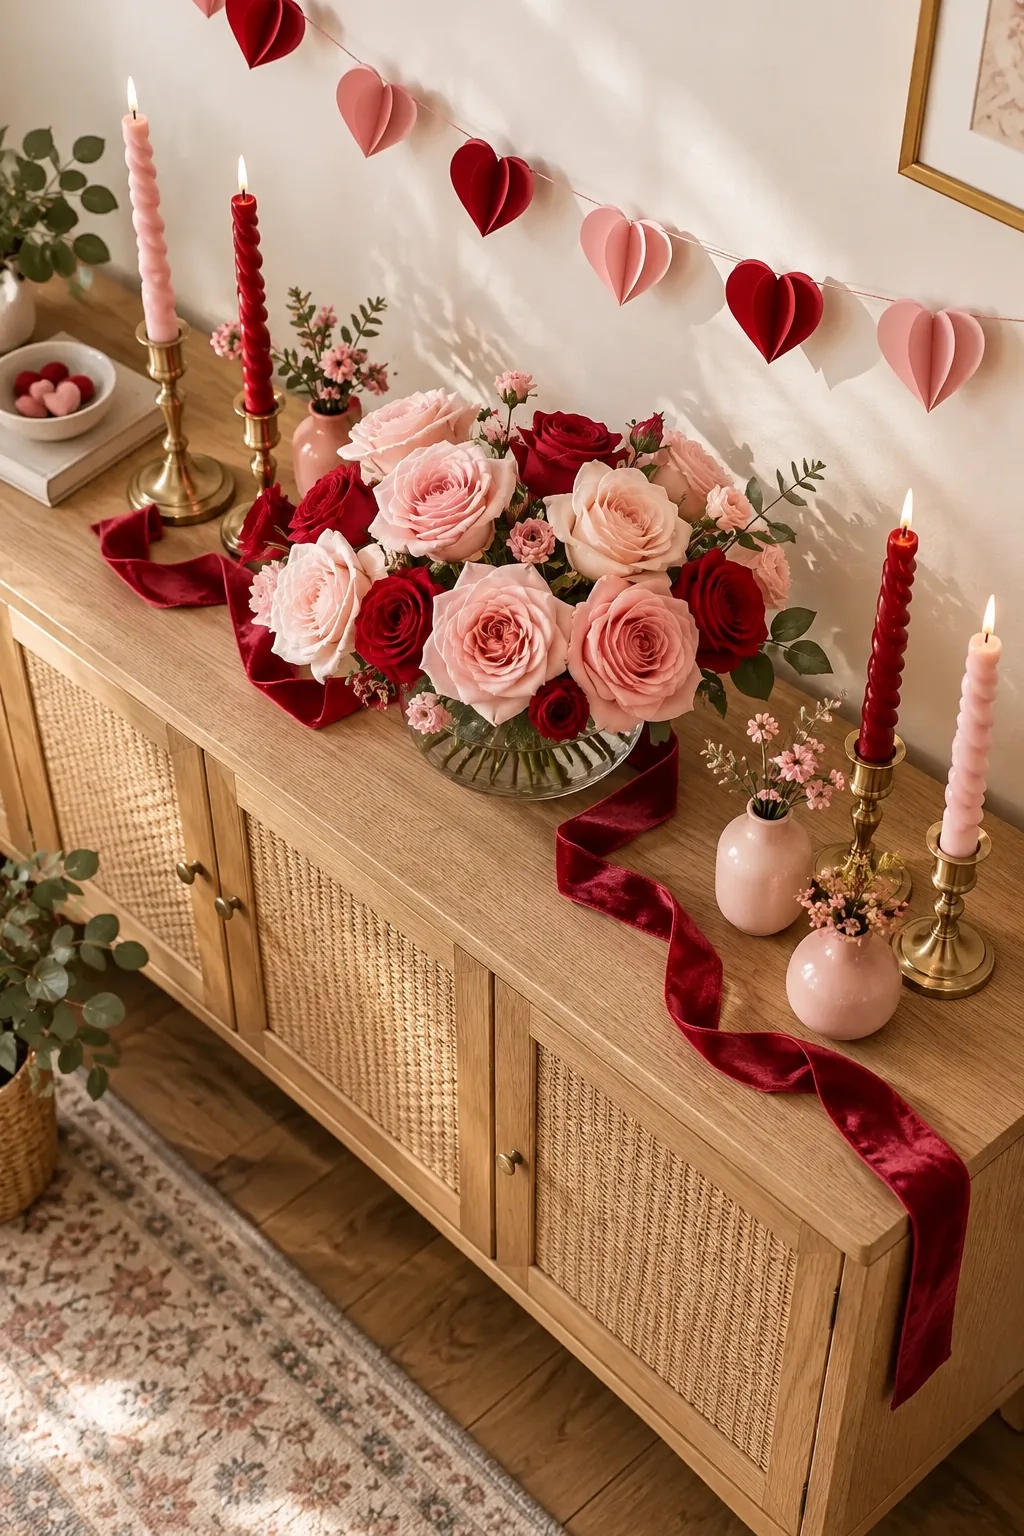
Follow this exact shopping checklist and sequential order to guarantee you have the correct quantities for the roses, tape, candles, ribbon, and paint. Tracking these specifics allows you to recreate this exact high-end sideboard display using accessible supermarket and craft store supplies.
- 2 dozen blush grocery store roses (stems stripped and hydrated)
- 1 roll of 1/4-inch clear waterproof floral tape
- 2 spiral taper candles (one 10-inch, one 12-inch in tomato red)
- 3 yards of 2-inch wide tomato-red velvet ribbon
- 1 bottle of opaque glossy pink heavy craft acrylic paint
More Ways to Style the Romantic Vignette
Discover how changing the palette and vessels can adapt this floral setup for any room.
Moody Dark Academia: Swap bright reds for deep burgundy and plum to give the vignette a dramatic, sophisticated edge.
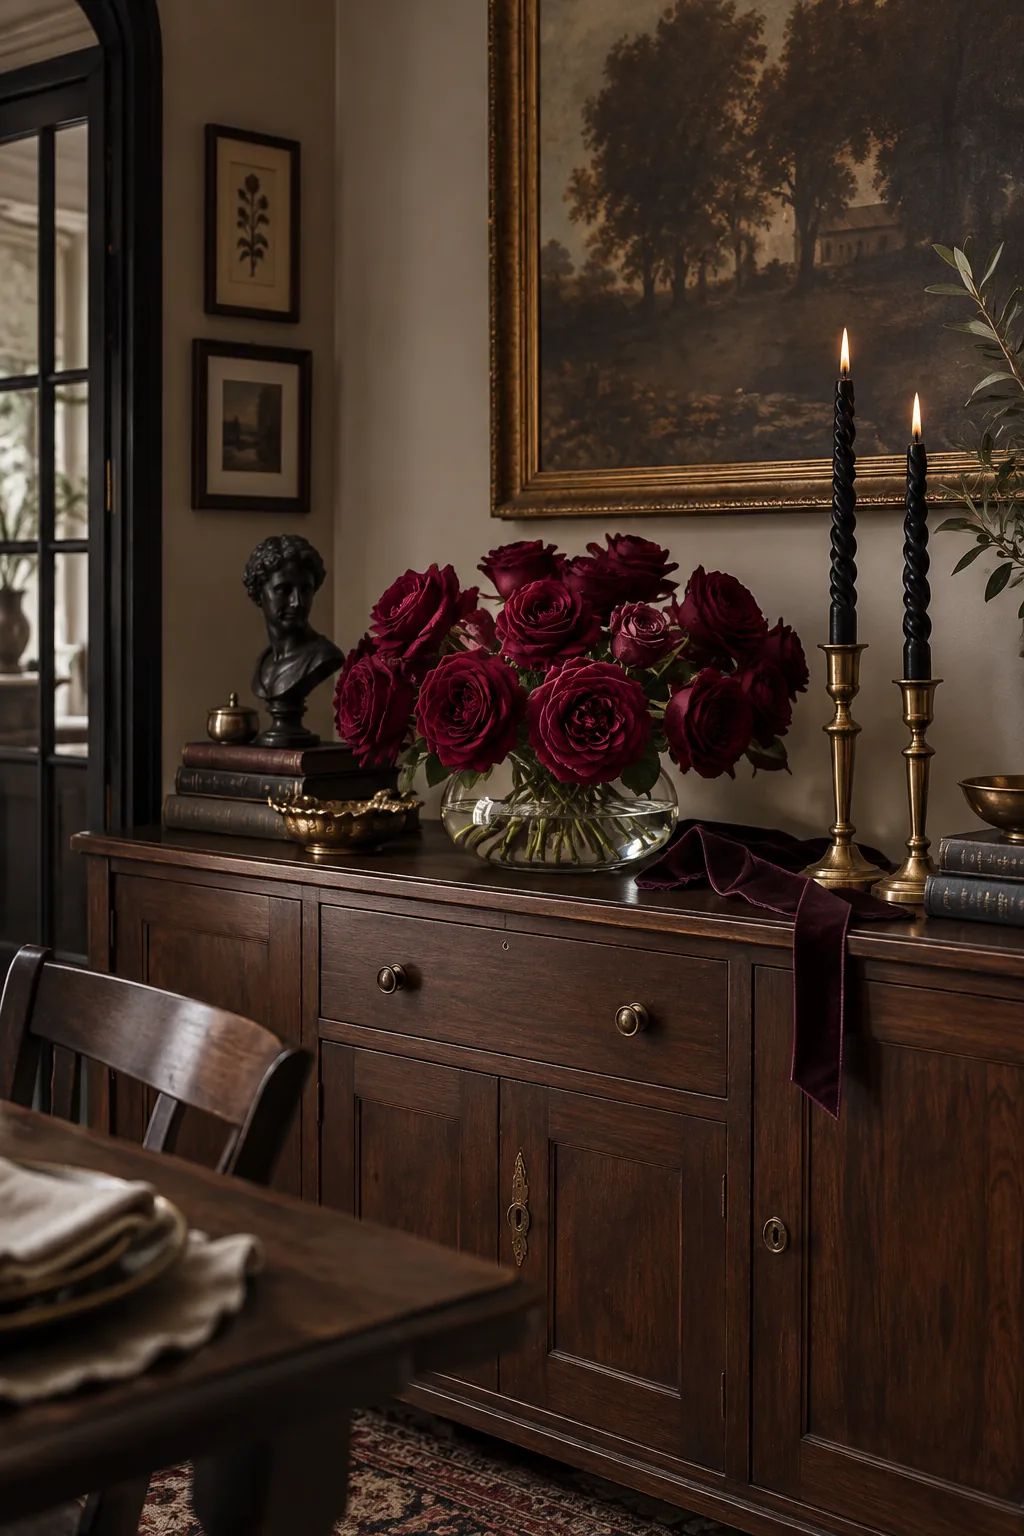
Scandi Minimal Entryway: Embrace negative space with a sparse arrangement of pale peach blooms and crisp white ceramics.
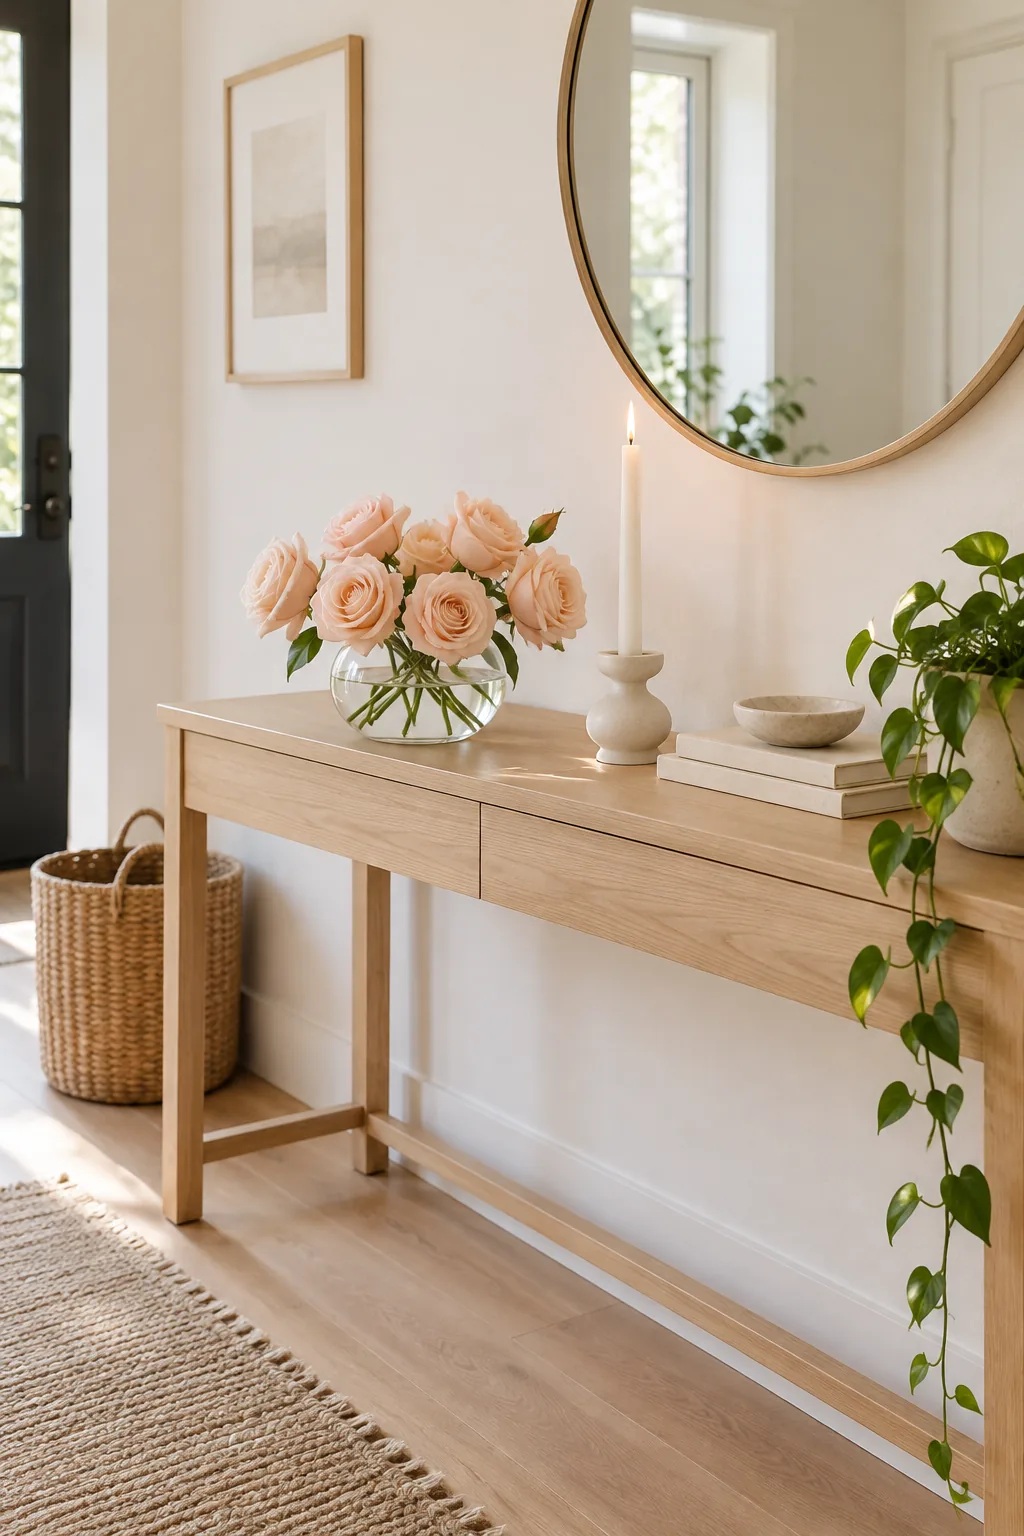
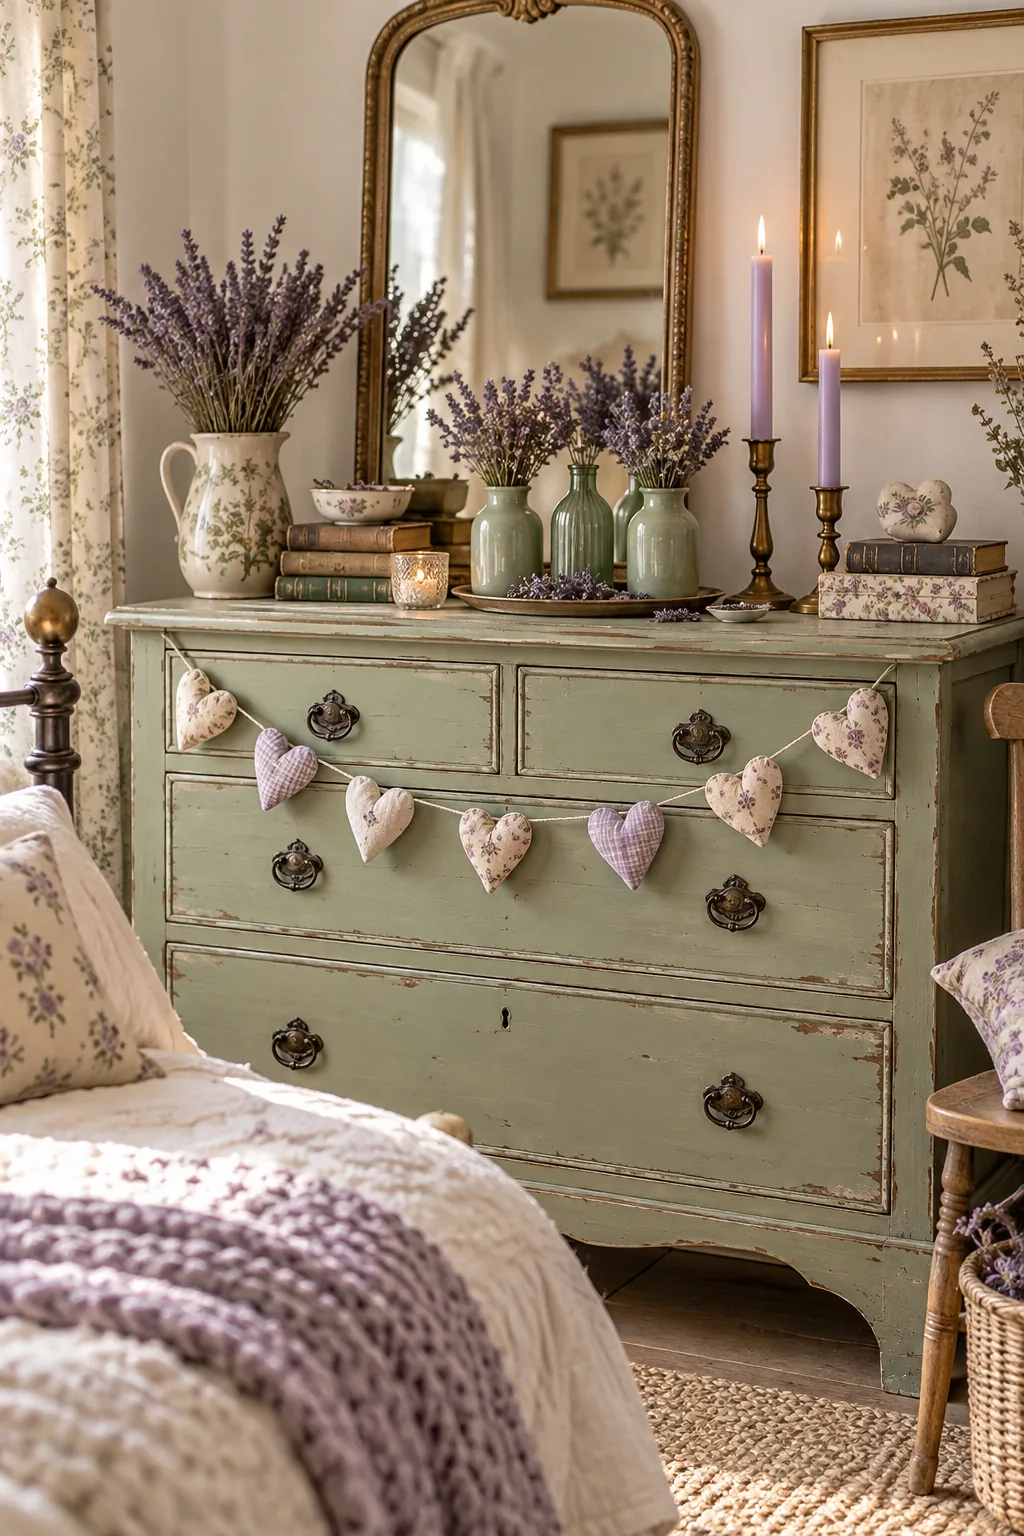
Vintage Cottagecore Bedroom: Use painted sage jars and dried lavender to create a soft, enduring romantic look for the bedroom.