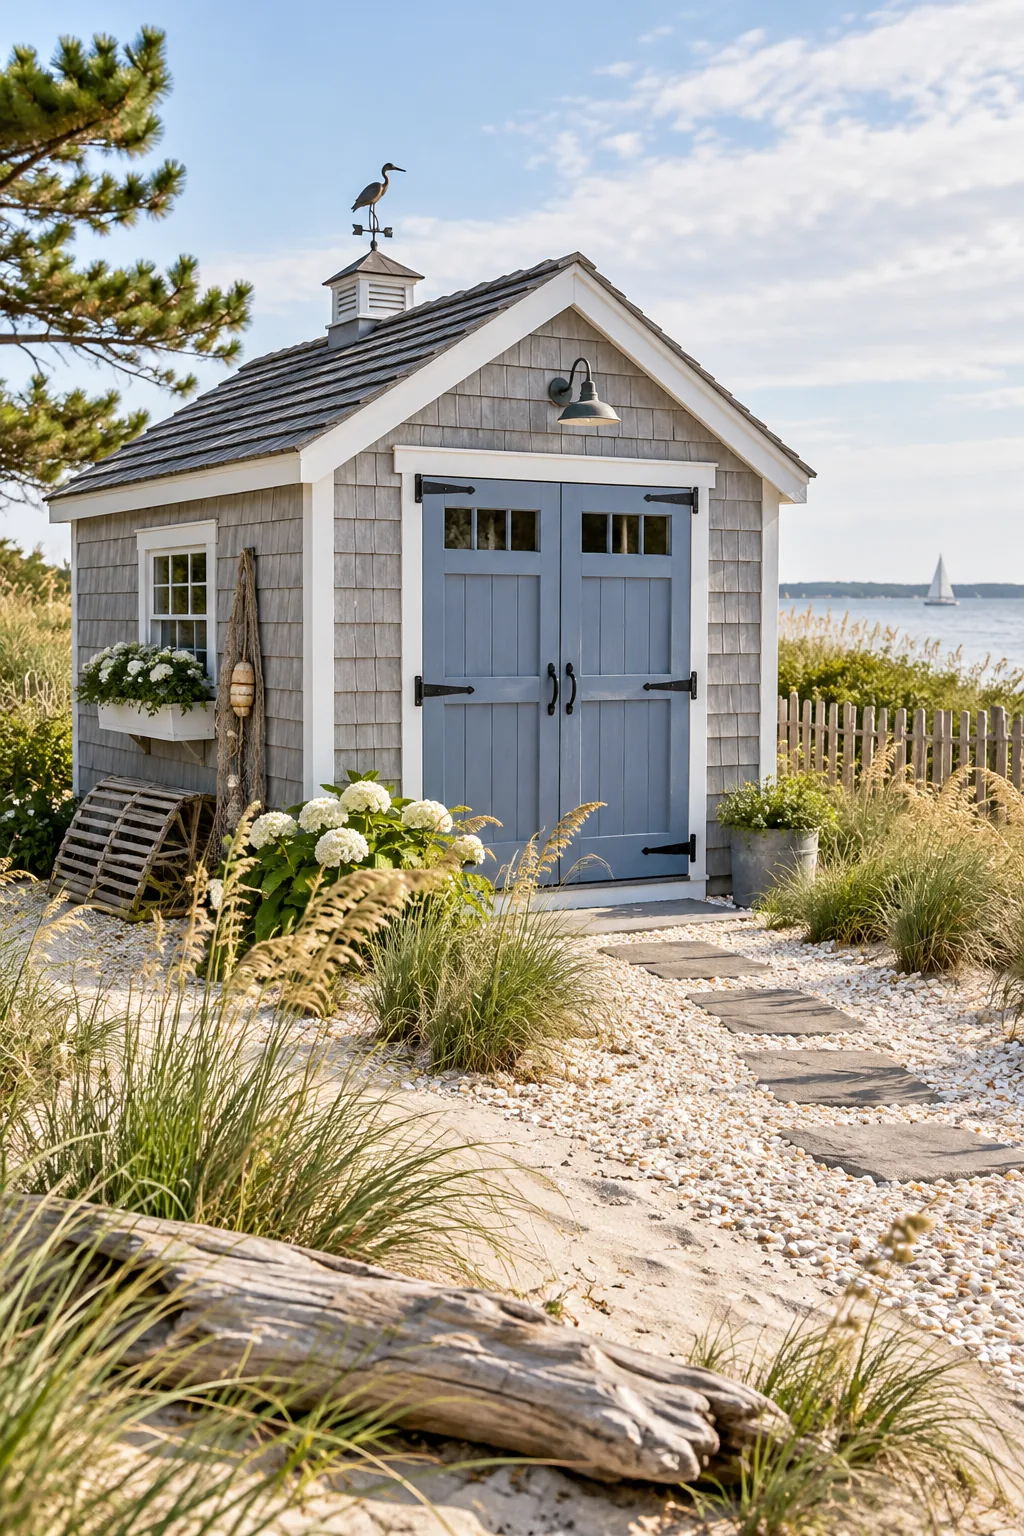
Simple Landscaping Around a Shed: The Weekend Border Plan
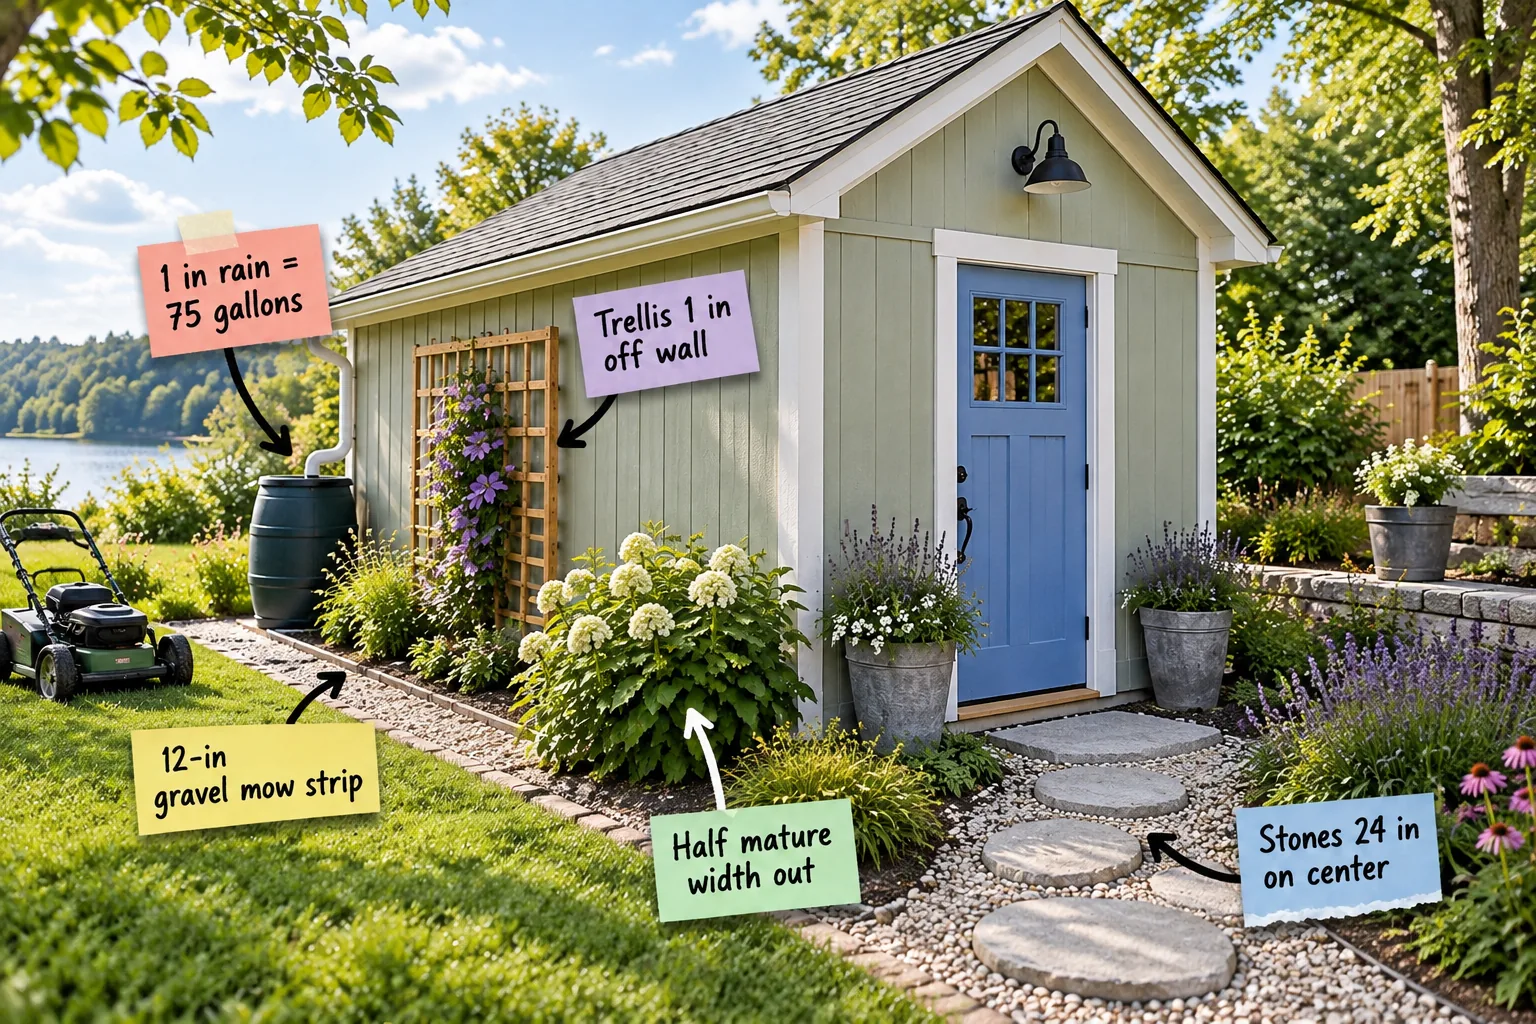
You can measure, buy materials, and install a complete low-maintenance landscape border this weekend using the Two-page printable Shed Border Shopping & Measuring Sheet for 8×10 and 10×12 sheds. This complete guide provides exact gravel bags, edging feet, stone counts, and trellis quantities.
The Weekend Shed Border Plan
Seeing the complete staked-out layout before digging ensures the proportions fit the 10×12 footprint perfectly, which is exactly how I avoided buying too much gravel for my own Austin backyard studio. You can grab the printable Shed Border Shopping & Measuring Sheet here.
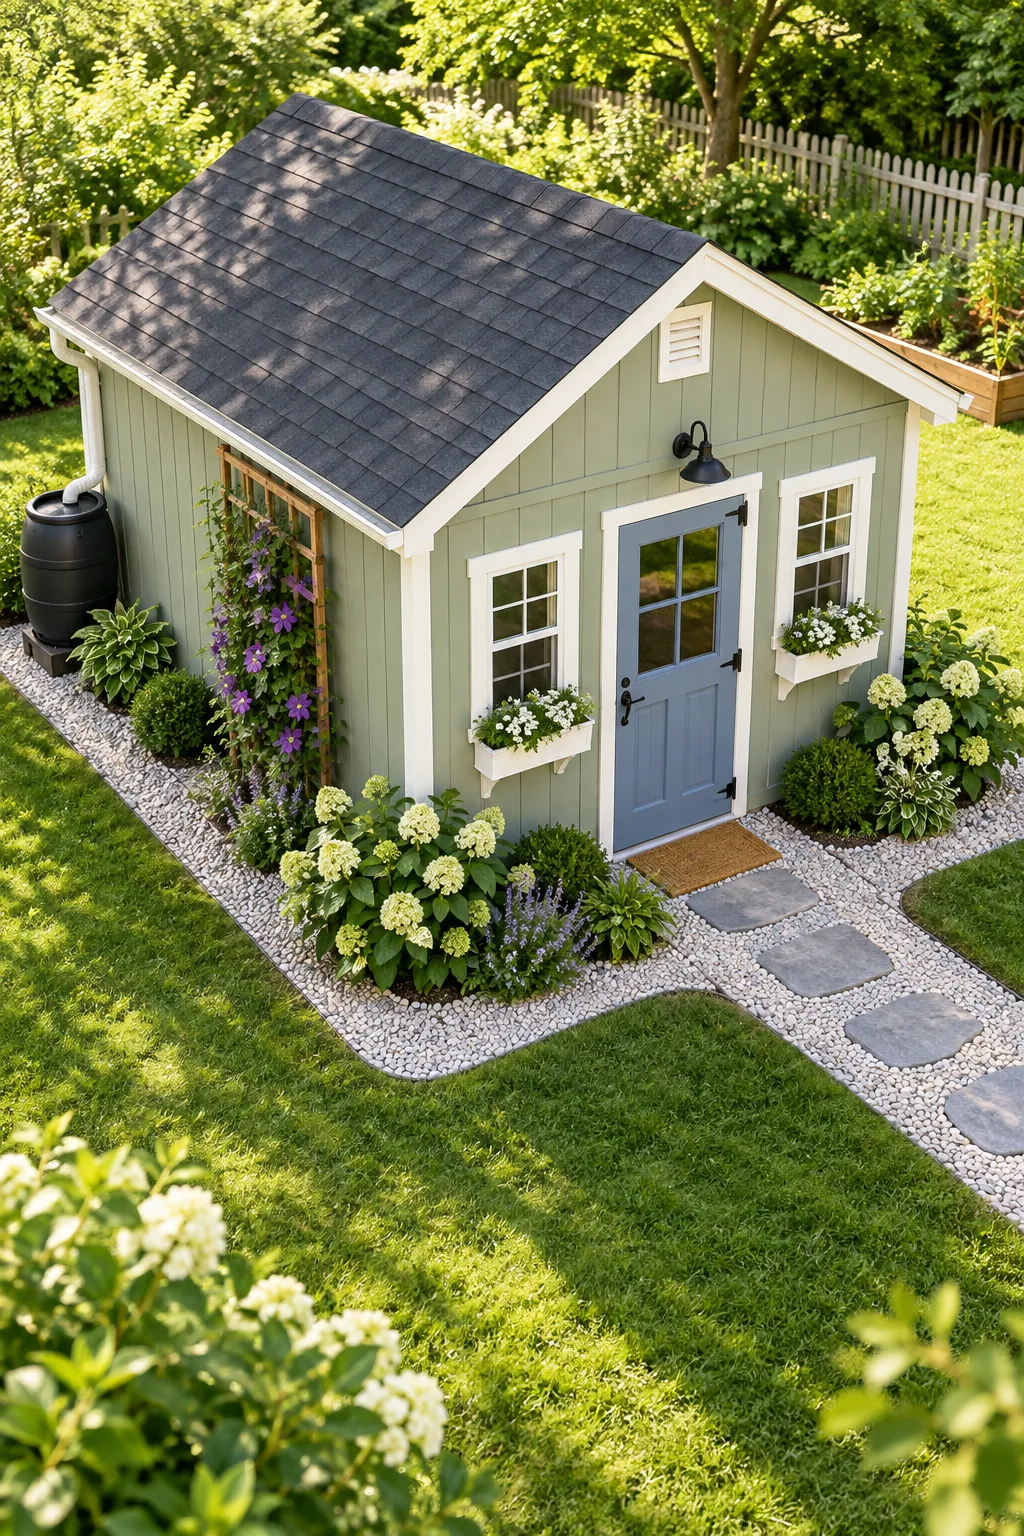
Having those exact numbers in hand means you can confidently hit the home center once, load up your supplies, and start staking out your perimeter lines before lunch. Follow this simple sequence to get your foundation prepped and planted quickly.
- Measure and mark the footprint: Use wooden stakes and a brightly colored mason line to outline the exact 12-inch perimeter around your shed base, ensuring your corners remain perfectly square and your dimensions are locked in before you ever pick up a shovel.
- Excavate the shallow trench: Dig out the existing grass and topsoil to a consistent depth of two inches, creating a smooth, flat base that will eventually hold your heavy weed barrier and decorative stone securely in place through all seasons.
- Install the heavy weed barrier: Roll out a high-quality, commercial-grade landscape fabric across the dirt, overlapping any necessary seams by at least six inches and pinning the material down firmly with metal landscape staples spaced every three feet.
- Place the stepping stones: Position your heavy flagstones along the primary walking path first, adjusting their spacing until they feel completely natural to walk on and checking that each stone sits perfectly level before you pour any surrounding materials.
- Backfill with washed gravel: Carefully pour your selected river rock or pea gravel around the stones and along the walls, using a wide steel rake to level the surface flush with your surrounding lawn for a seamless visual transition.
- Plant the outer corners: Dig your oversized planting holes well outside the newly established gravel perimeter, giving your foundational cottage shrubs plenty of uncompacted soil and room to expand their root systems over the years without crowding the structure.
Defining the 12-Inch Mow Strip
The 12-in gravel mow strip serves as a crucial defensive barrier, providing exactly enough clearance for a standard lawn mower wheel to pass safely. Creating this clean zone prevents damp grass clippings from sticking to your siding and accelerating wood rot.
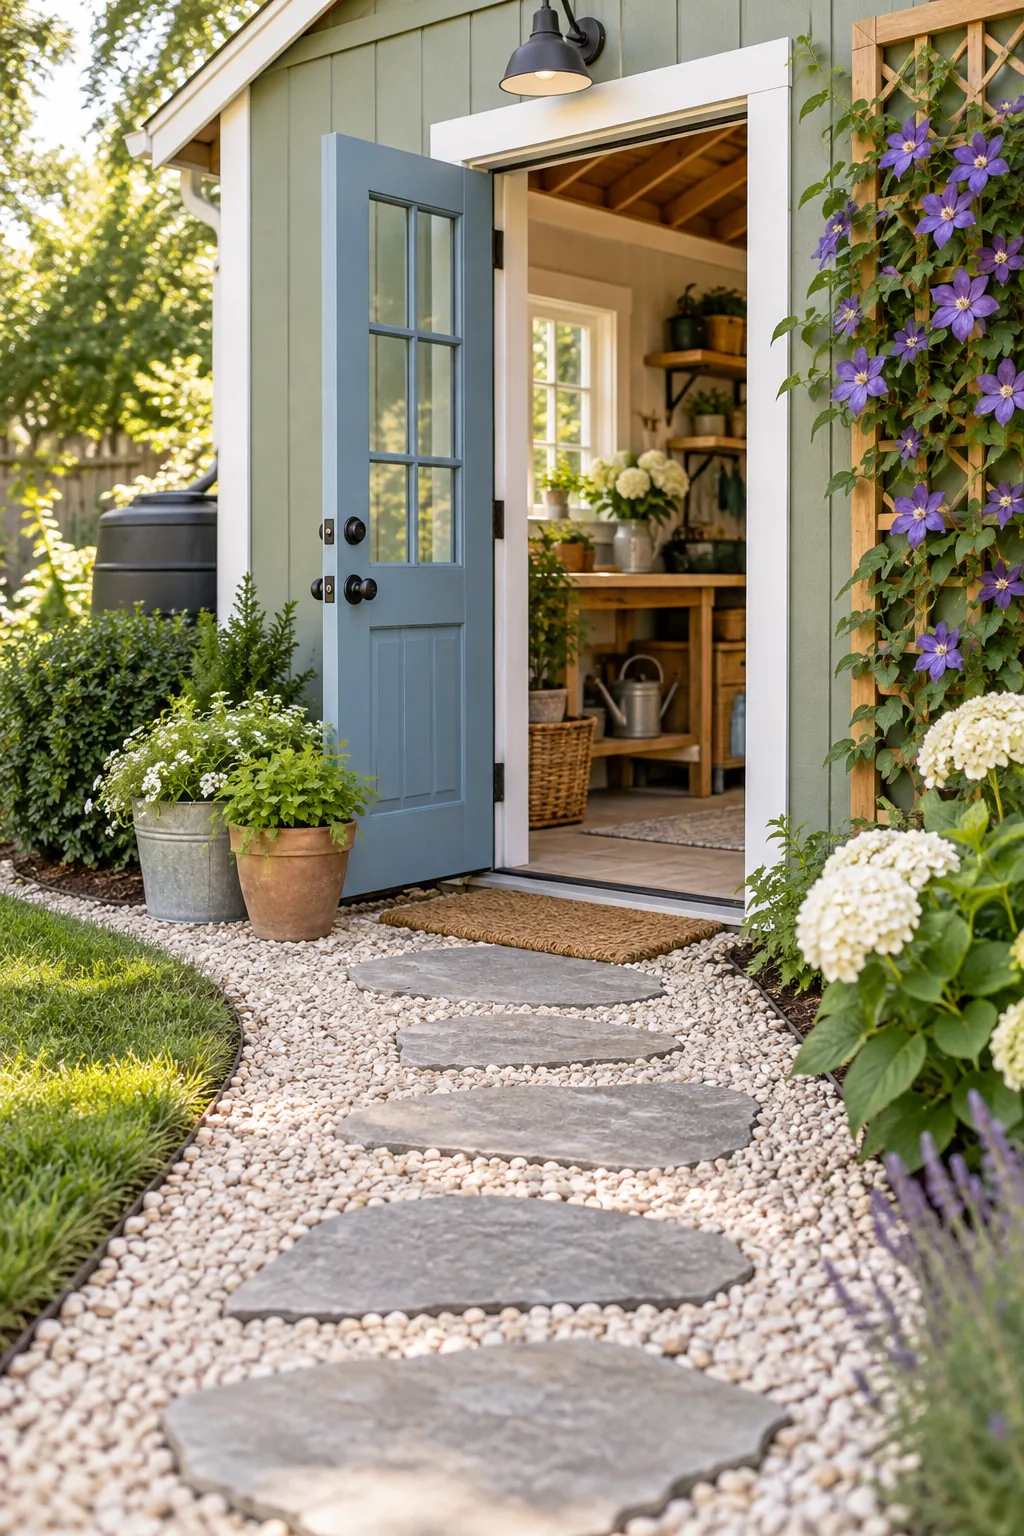
Cutting a clean edge makes the gravel installation much easier and keeps the final look sharp across the changing seasons. I always take my time on this step because a crisp border beautifully defines the entire landscaping project.
Choosing the Right Gravel
Selecting a pale washed river rock or smooth pea gravel provides a beautiful visual contrast against darker shed colors. When I built my own shed border, choosing a lighter stone completely brightened up the shady corner of my yard.
| Gravel Type | Visual Style | Drainage Speed | Volume Required |
| Washed Pea Gravel | Soft, rounded cottage look | Moderate to fast drainage | 0.5 cubic feet per linear foot |
| 1-Inch River Rock | Substantial, rustic texture | Very rapid surface drainage | 0.6 cubic feet per linear foot |
| Crushed Granite | Crisper, modern architectural lines | Slower, compacts very easily | 0.4 cubic feet per linear foot |
| White Marble Chips | High-contrast, formal aesthetic | Moderate drainage speed overall | 0.5 cubic feet per linear foot |
| Dark Slate Chips | Contemporary flat profile | Excellent surface shedding | 0.5 cubic feet per linear foot |
A standard two-inch depth requires about 0.5 cubic feet of gravel per linear foot of your 12-inch wide trench. Checking your exact perimeter measurements before ordering bulk delivery is absolutely essential to avoid costly shortages.
Spacing the Stepping Stones
Setting the stones 24 in on center matches a comfortable natural walking stride, ensuring you step on the flat surfaces rather than awkwardly shuffling through loose gravel. I learned this after initially placing my stones too close together, making carrying terracotta pots out to the shed incredibly frustrating.
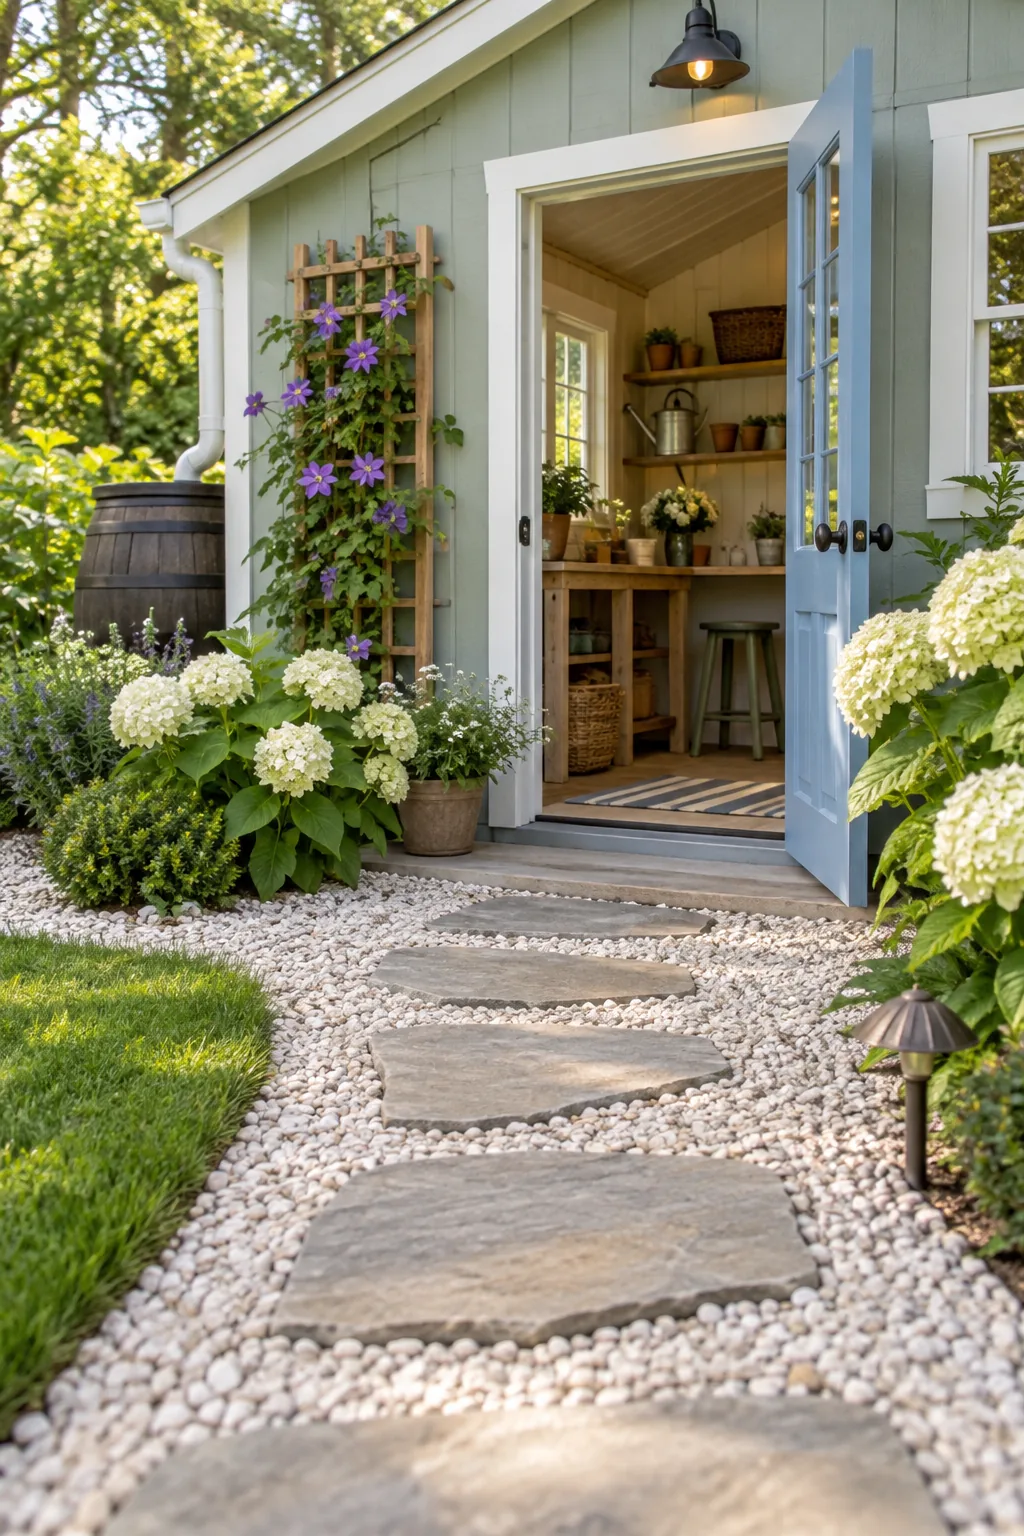
Leaving adequate gaps between the heavy flagstones allows the surrounding pea gravel to settle deeply into the joints. This friction locks the entire pathway into a stable, shifting-free surface that easily supports heavy wheelbarrows.
Placing the Corner Shrubs
Planting the root ball exactly half the mature width out from the wall prevents moisture damage by ensuring essential airflow circulates behind the foliage. Securing this breathing room keeps your siding perfectly dry.
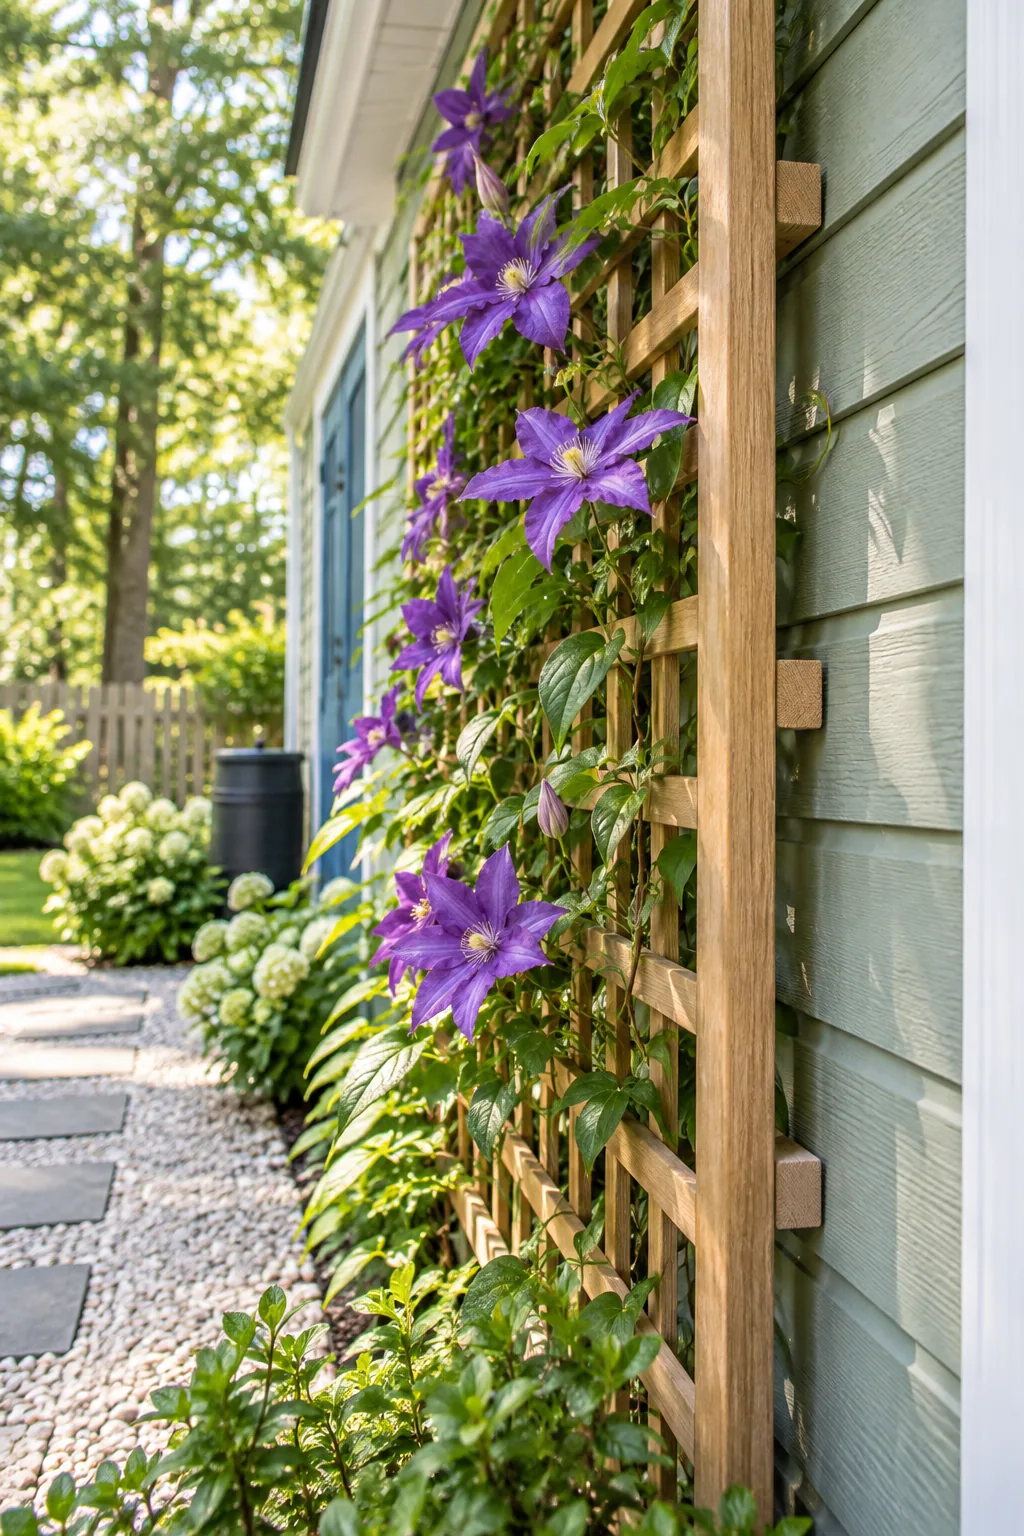
Foundation plantings often fail when gardeners misjudge the intensely dry microclimate right next to the shed walls. I once lost a beautiful hydrangea because I planted it directly under a roof overhang where it never received natural rain.
Mounting the Clematis Trellis
Mounting the trellis 1 in off the wall is critical for plant health and siding preservation, giving the purple clematis vines ample room to twine upward. This deliberate spacing guarantees damp leaves never sit plastered against your wooden structure.
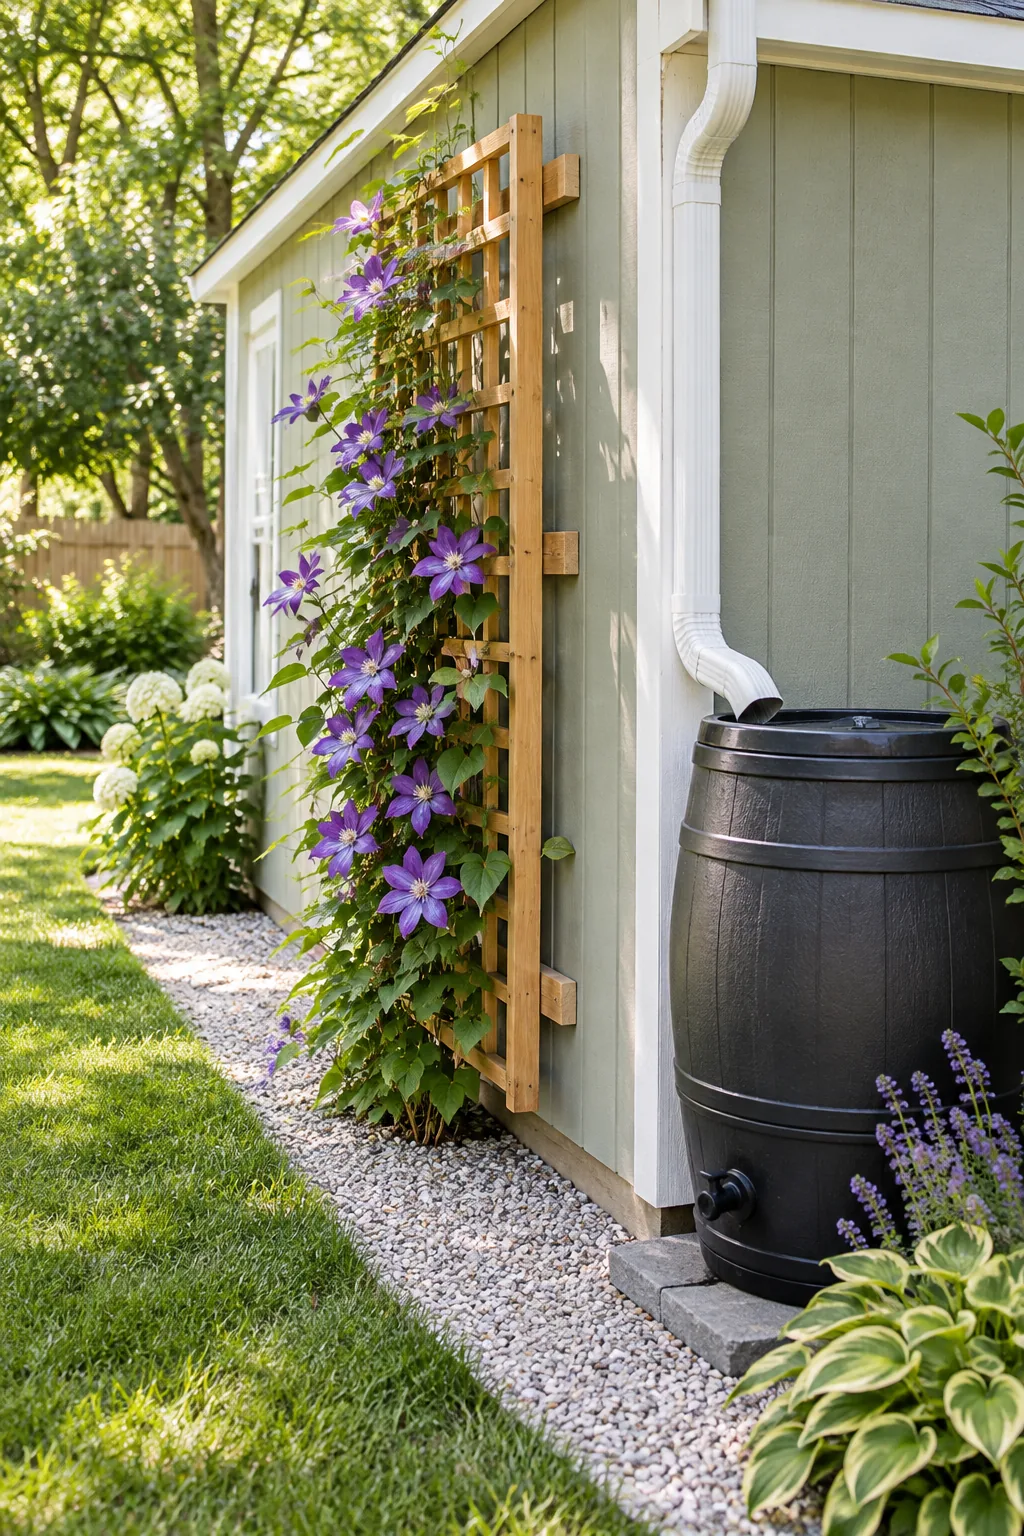
You can easily achieve this crucial gap by slipping thick plastic washers or custom-cut wooden blocks over your mounting screws. Secure these spacers tightly before driving the hardware permanently into the wooden wall studs.
Sizing the Rain Barrel
Managing the intense water flow from your short gutter downspout protects your new gravel trench from washing out. Setting up a proper catchment system is vital for handling sudden, heavy seasonal thunderstorms without eroding your pathway.
- Calculate the roof runoff: Because 1 in rain = 75 gallons on a standard shed roof, you must size your collection system to handle a massive volume of water very quickly during intense spring thunderstorms.
- Elevate the barrel base: Stacking heavy concrete cinder blocks underneath the tank creates enough gravity pressure to attach a standard garden hose and water your nearby corner shrubs effortlessly without needing an electric pump.
- Install a debris screen: Securing a fine stainless-steel mesh filter over the top intake hole prevents falling autumn leaves and rough roof grit from washing down and clogging the internal spigot mechanism over time.
- Route the overflow hose: Attach a dedicated corrugated drainage pipe near the top rim to direct excess water safely away from the shed foundation and gravel trench when the container inevitably reaches maximum capacity.
- Plan for winter drainage: Empty the entire collection system and leave the bottom brass valve completely open before the first hard freeze of the season to prevent the rigid plastic walls from expanding and cracking.
A standard 50-gallon barrel will fill remarkably fast during a steady spring downpour. Making sure that routed overflow hose is securely attached is an absolute necessity for protecting your carefully leveled stepping stones from sudden washouts.
Framing the Door with Containers
Because a standard shed roof sheds 75 gallons per inch of rain, routing that overflow hose discreetly behind your decorative entrance planters keeps the pathway dry. Flanking the door with heavy galvanized tubs anchors the cottage aesthetic.
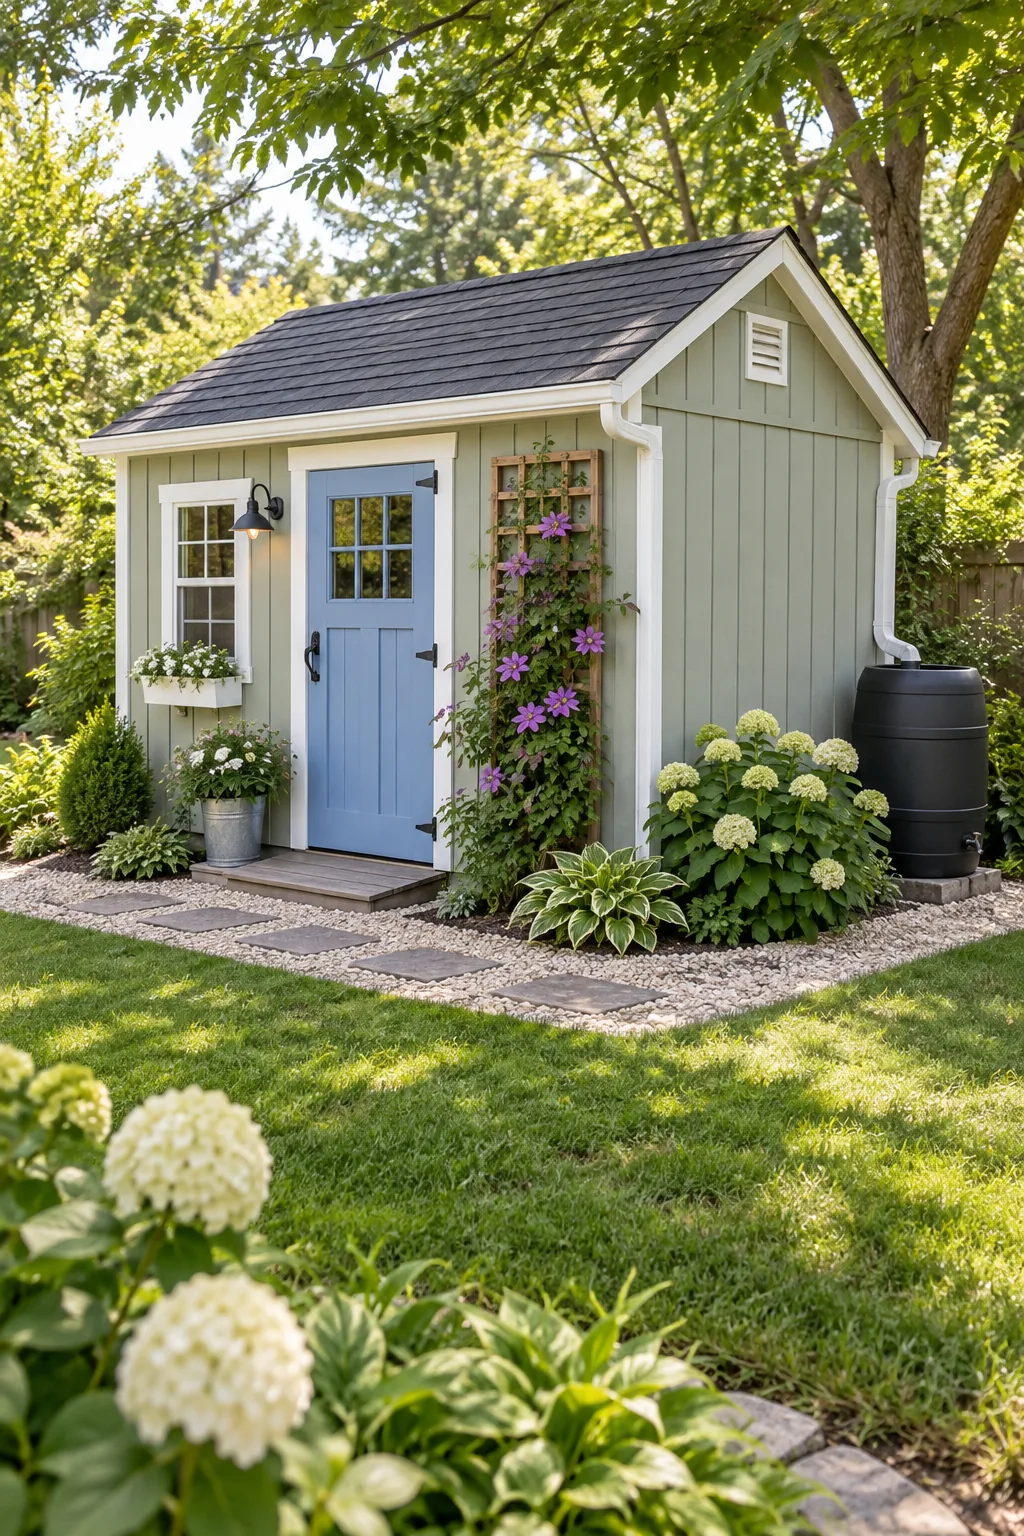
Planting fragrant lavender or vibrant salvia in these elevated pots adds immediate height and welcoming color right at the threshold. This simple container strategy perfectly completes your weekend landscape transformation without digging into the compacted gravel.
More Shed Landscaping Styles
Adapt the basic border measurements to fit your favorite backyard aesthetic.
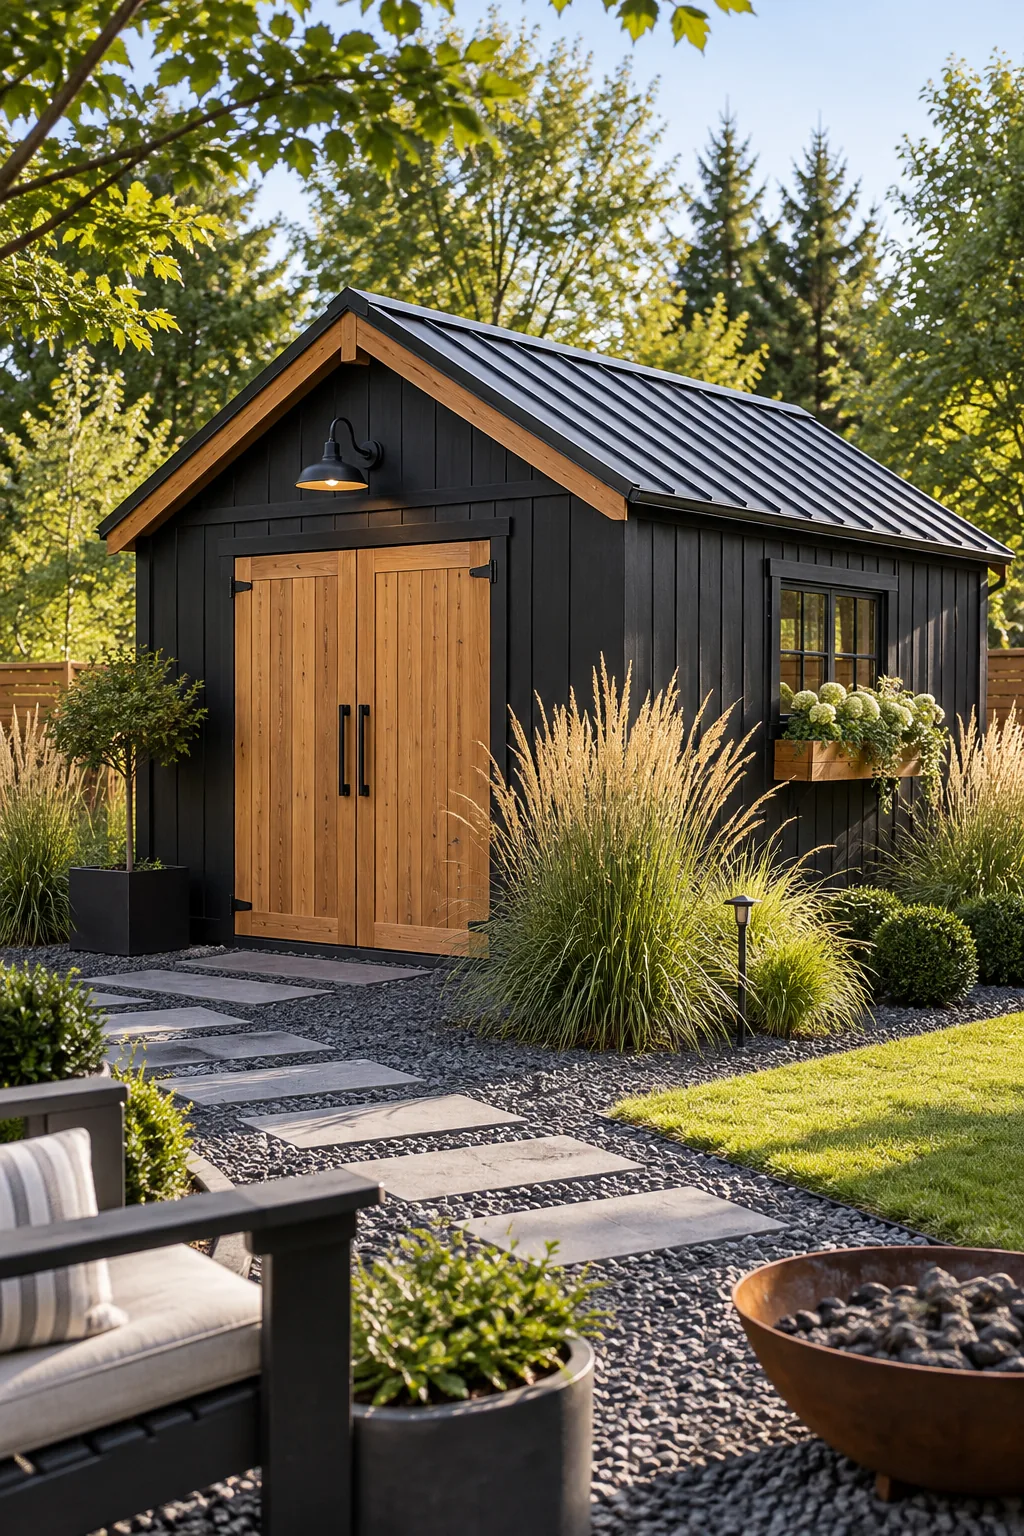
Modern Black and Cedar: Swap cottage blooms for architectural grasses and use crushed black granite to give a dark shed a sharp, contemporary edge.
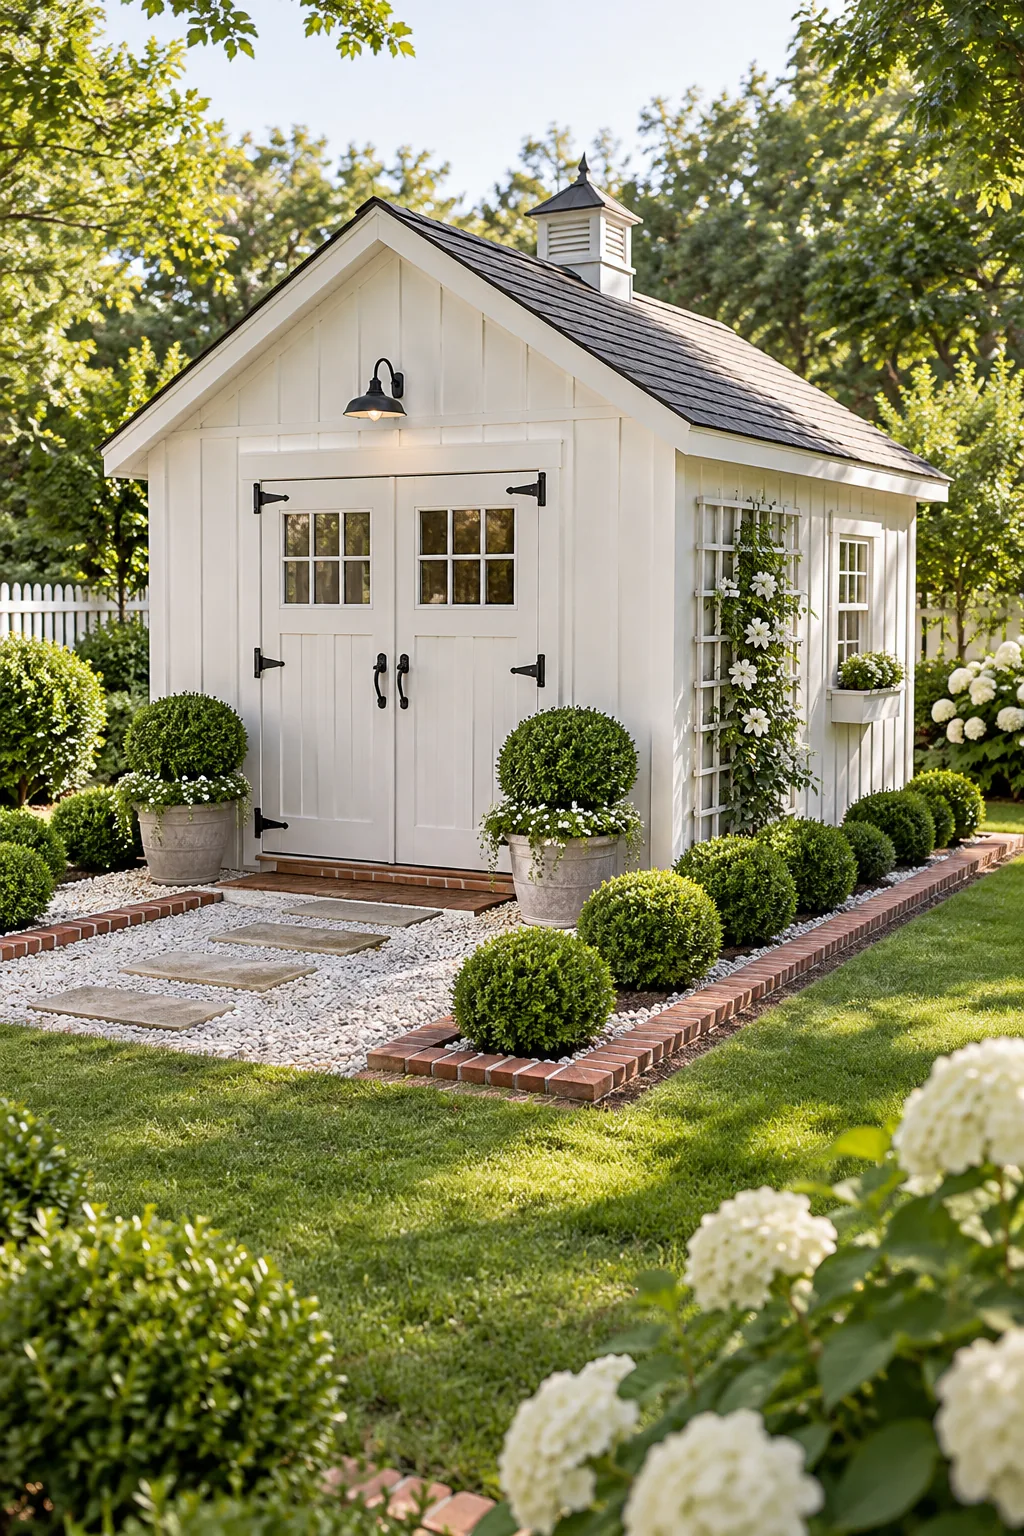
Classic White Farmhouse: Frame a white shed with traditional red brick edging and clipped boxwood spheres for a formal, tidy appearance.
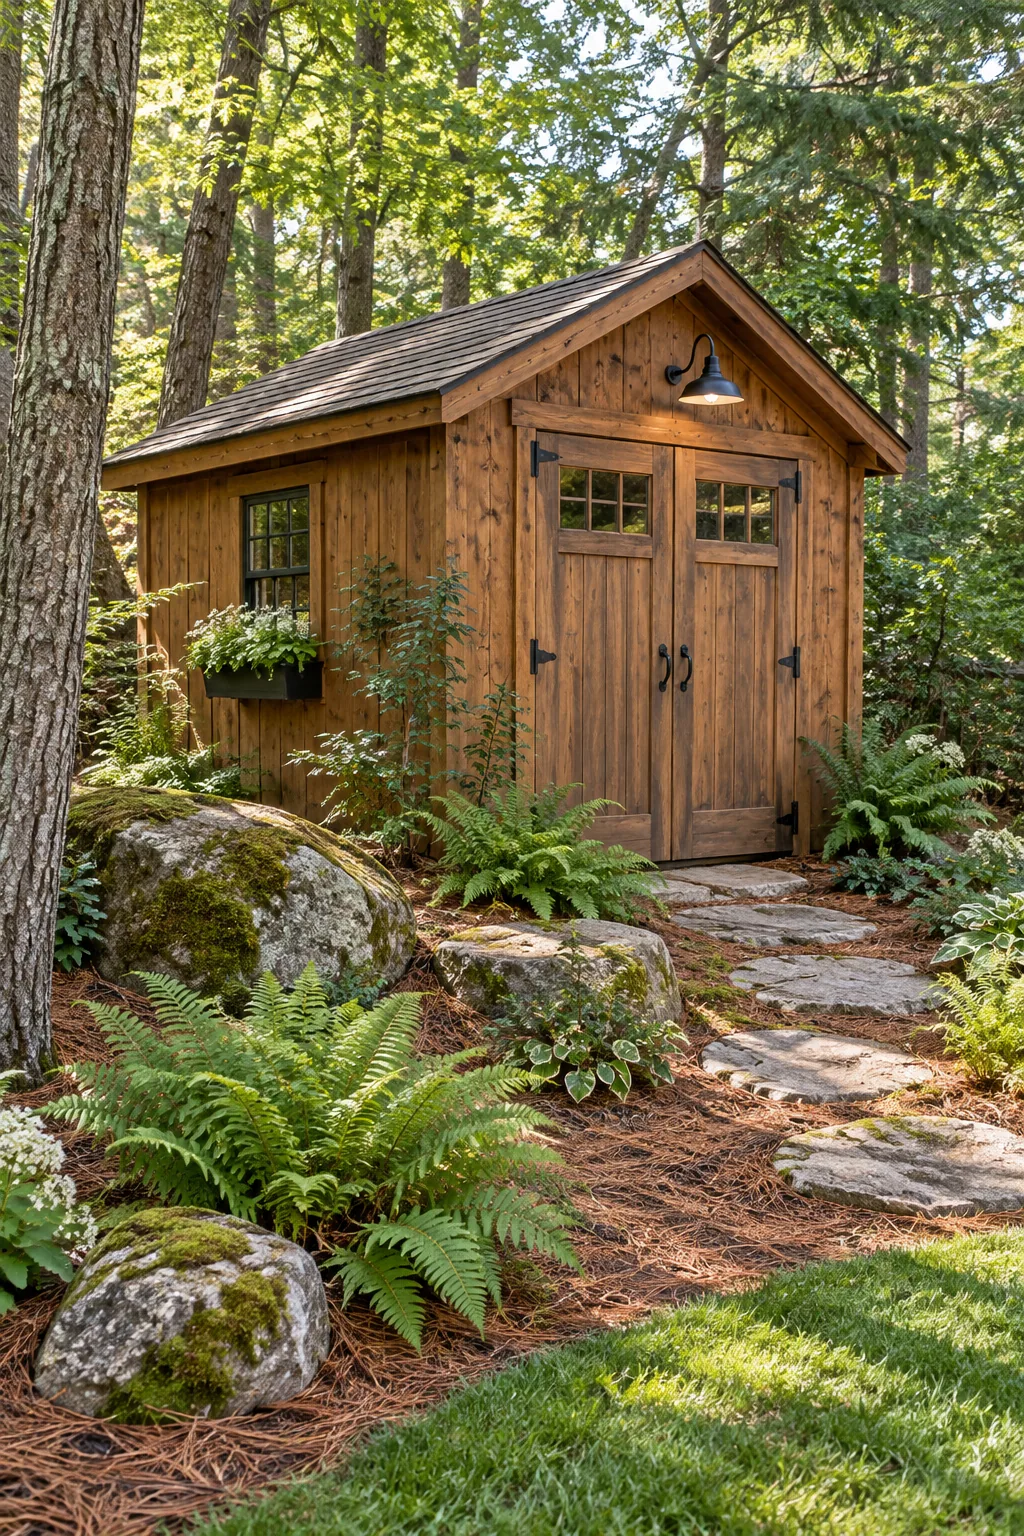
Rustic Woodland Cabin: Blend a stained wood shed into the trees by using pine needle mulch, native ferns, and irregular mossy boulders.
Coastal Beach Hut: Surround a weathered gray shed with a mix of sand, crushed oyster shells, and breezy sea oats for a relaxed maritime feel.