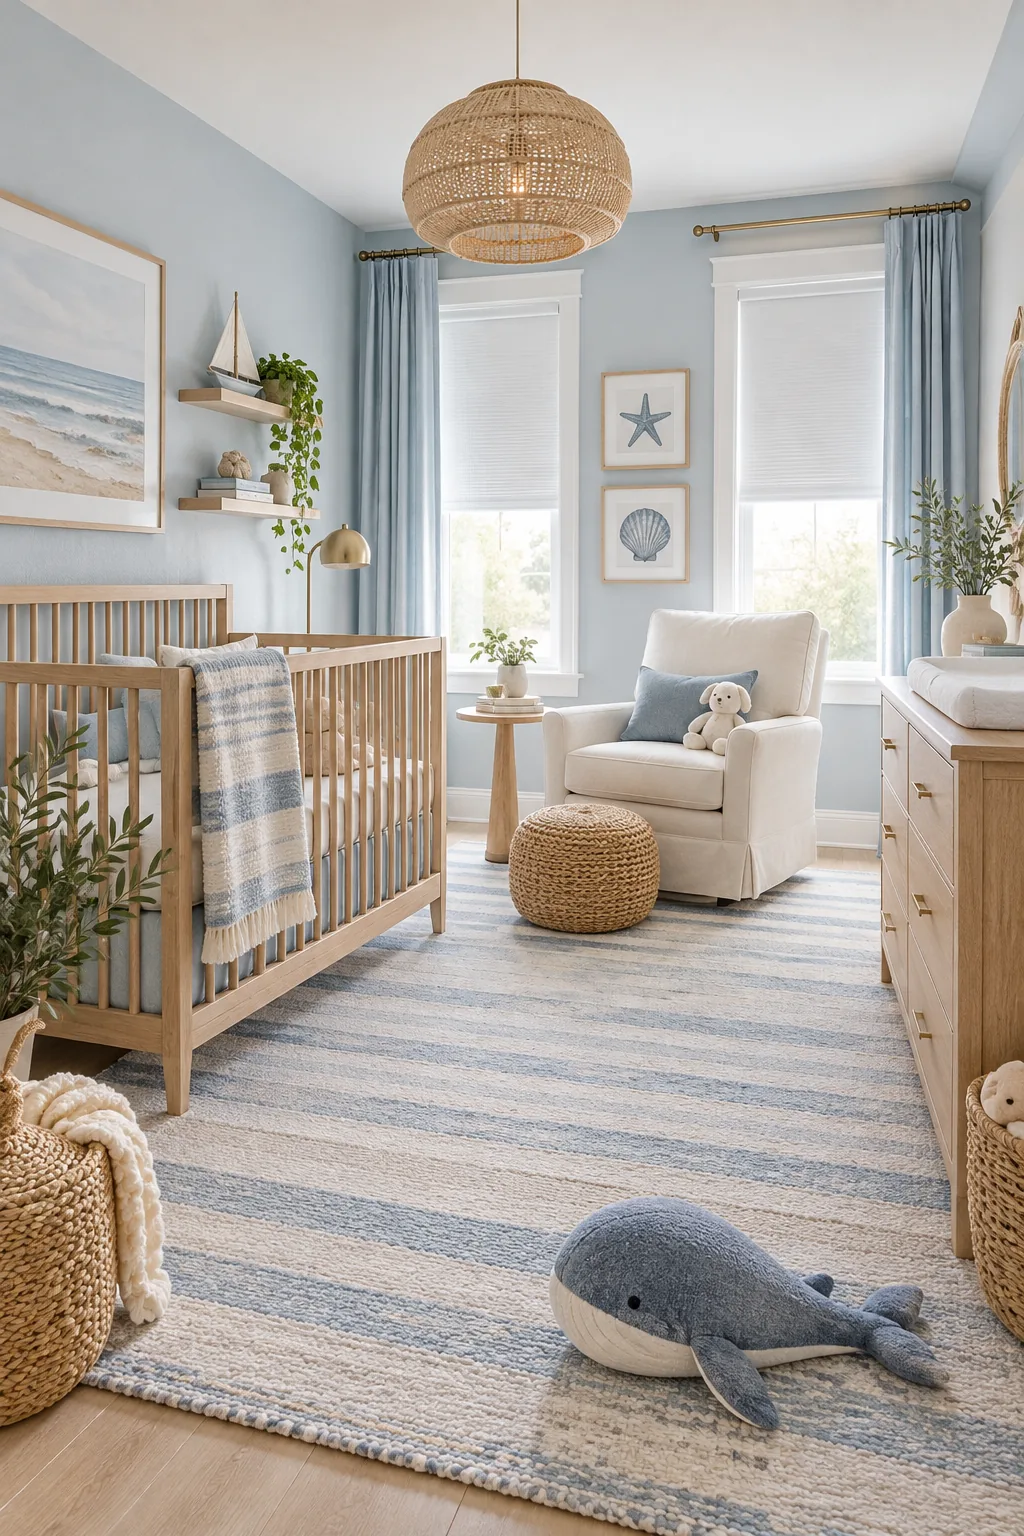
Girl Nursery Setup: The Complete Layout & Lighting Checklist
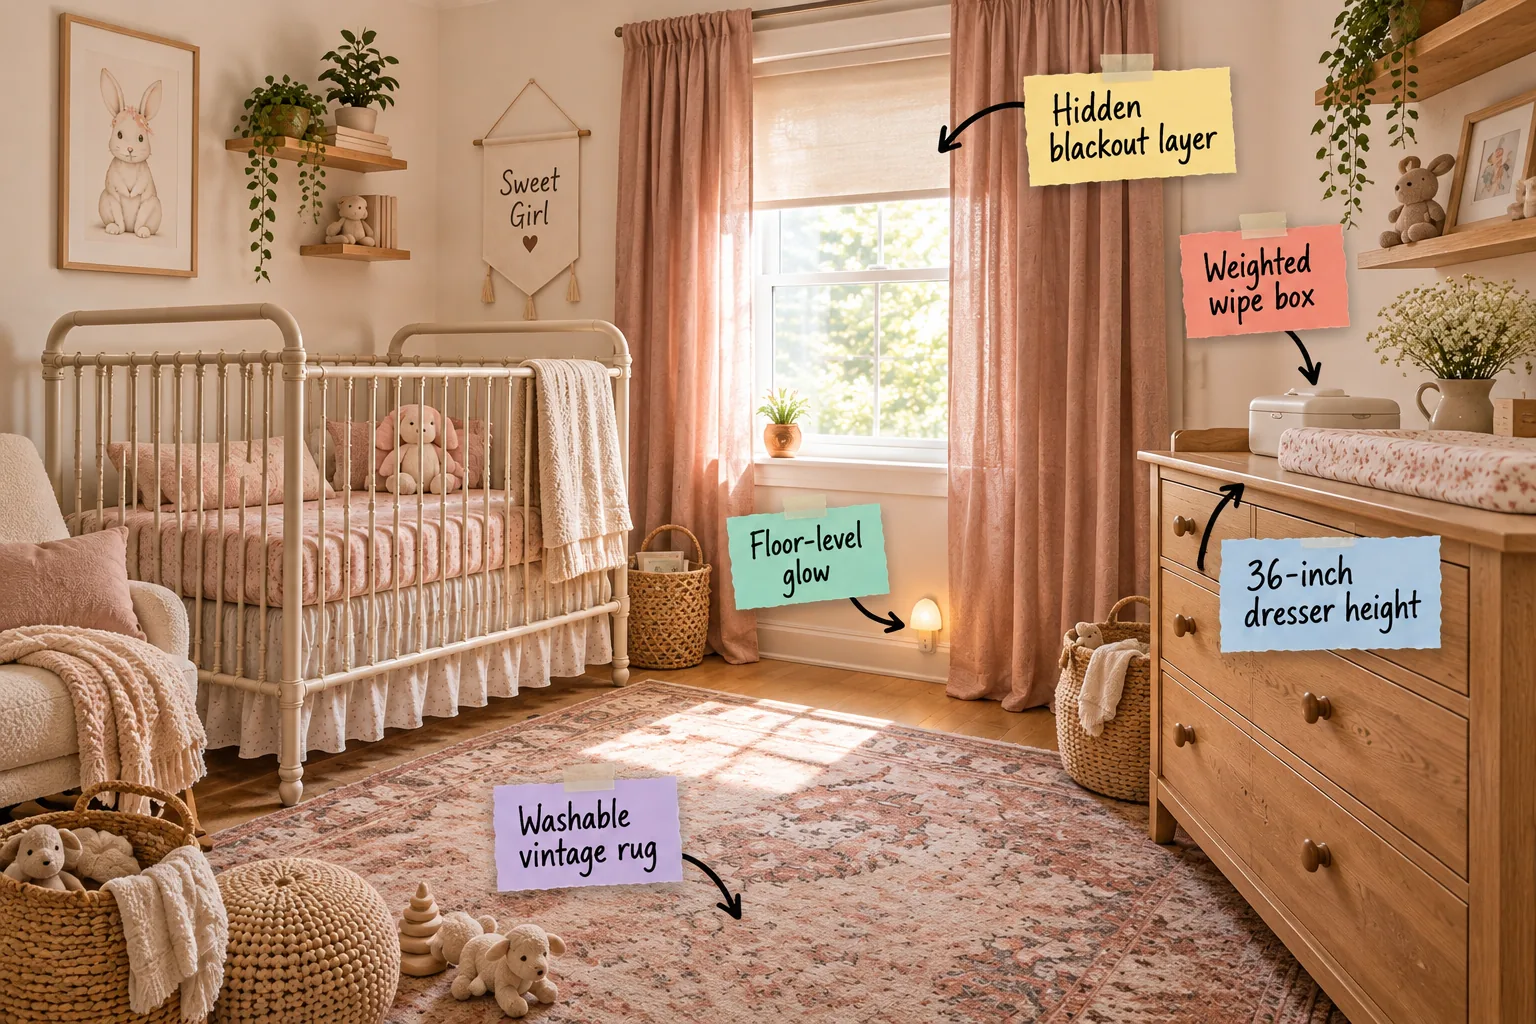
Design a beautiful and functional environment for you and your baby using this complete nursery layout and lighting checklist. You will be able to arrange your furniture for safety and layer your lighting for smoother night wakings immediately.
Grounding the Room With a Washable Vintage Rug
Start your room design from the floor up by selecting a beautiful rug that handles inevitable spills while easily maintaining a soft, vintage aesthetic. A washable textile provides the perfect foundation for a space that demands both high style and practical daily balance.
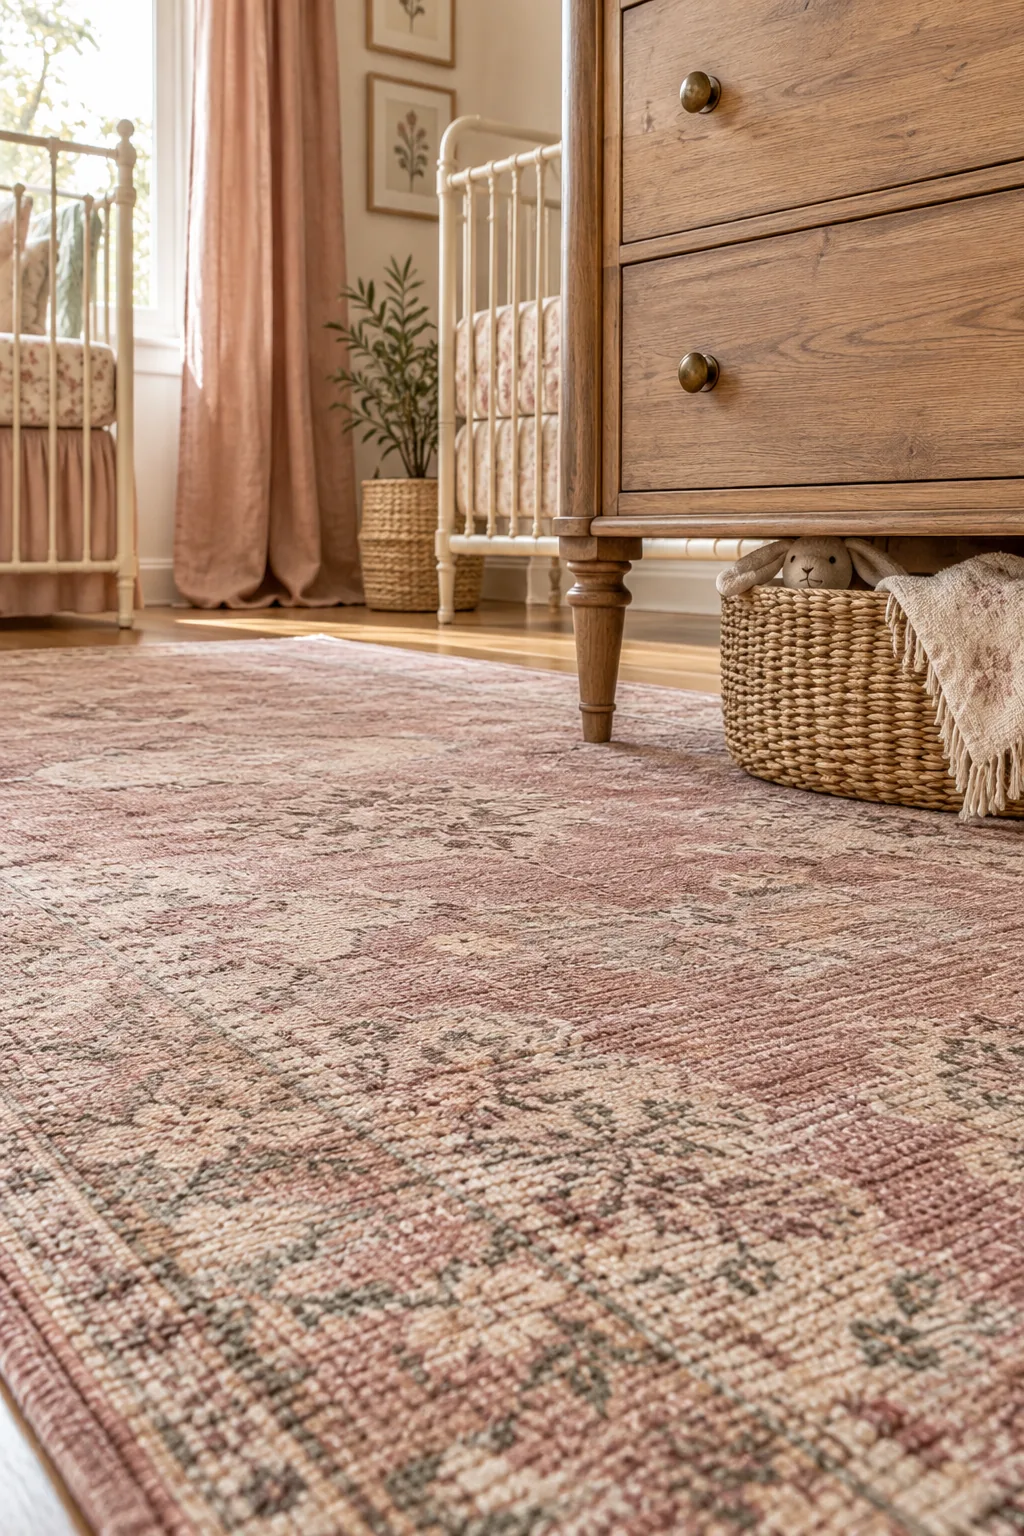
Plan to leave exactly 6 to 8 inches of bare floor space around the rug’s edges to visually frame the textile, which makes the nursery feel significantly larger and far more intentional than a wall-to-wall carpet.
Selecting the Right Rug Pad for Hardwood Floors
A washable rug requires a substantial underlayer to prevent dangerous slipping when you are carrying your baby across the room. Choosing the correct pad material protects your expensive hardwood floors from long-term scratching while adding crucial acoustic dampening.
| Pad Material | Thickness | Best Floor Type |
|---|---|---|
| Felt and Rubber | 1/4 inch | Hardwood |
| 100% Natural Rubber | 1/8 inch | Laminate |
| Memory Foam | 3/8 inch | Tile |
Always trim your rug pad exactly 1 inch shorter than the rug on all sides so the edges taper smoothly to the floor, preventing a harsh visual line and eliminating a frustrating tripping hazard near the doorway.
Maintaining Clear Pathways for Late Nights
Arrange your major furniture pieces to maintain a minimum clearance of 36 inches along the primary walking path between the door, the crib, and the changing station. This generous spacing ensures you can navigate safely in the dark without bumping into sharp corners.
Guiding Night Wakings With a Floor-Level Glow
Place a small plug-in nightlight near the baseboard with a color temperature of exactly 2700K to illuminate your walking path safely. This specific placement keeps the light source low, preventing beams from shining directly into the crib and waking the baby.
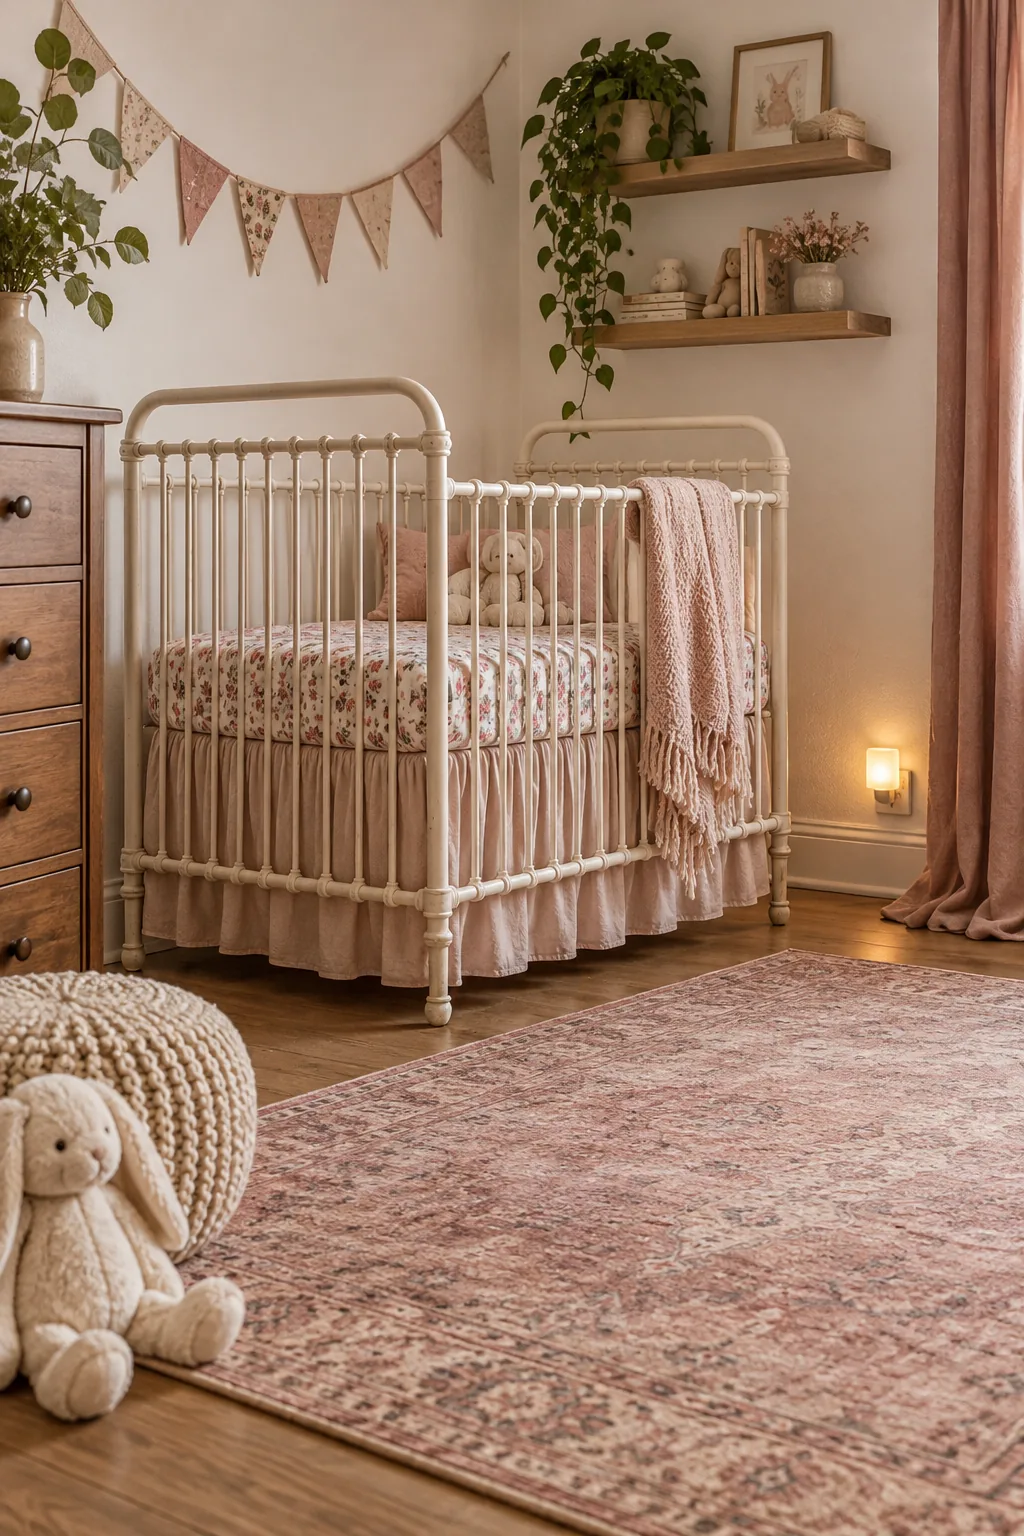
While any dim light helps you navigate, the color of that light plays a crucial role in how quickly you and your baby return to sleep.
Avoiding Overhead Glare During Feedings
Relying on standard ceiling fixtures during midnight wakings shocks the baby’s developing circadian rhythm and makes settling them back down nearly impossible. Instead, build a dedicated low-light ecosystem that you can control entirely from your comfortable feeding chair.
- Install a dimmable wall sconce directly beside the glider to provide focused task lighting.
- Place a small, shielded table lamp on a side table to cast a soft, indirect pool of light downward.
Always test your newly layered lighting from a seated position in the feeding glider to ensure no bare bulbs are visible from the baby’s resting eye level. This simple check guarantees the environment remains perfectly soothing during those delicate twilight hours.
Positioning the Crib Away From Windows
Keep the vintage-style crib at least 3 feet away from all windows, blind cords, and heavy wall art to guarantee a completely safe sleep environment. This critical distance prevents curious toddlers from reaching dangerous hazards once they learn to stand.
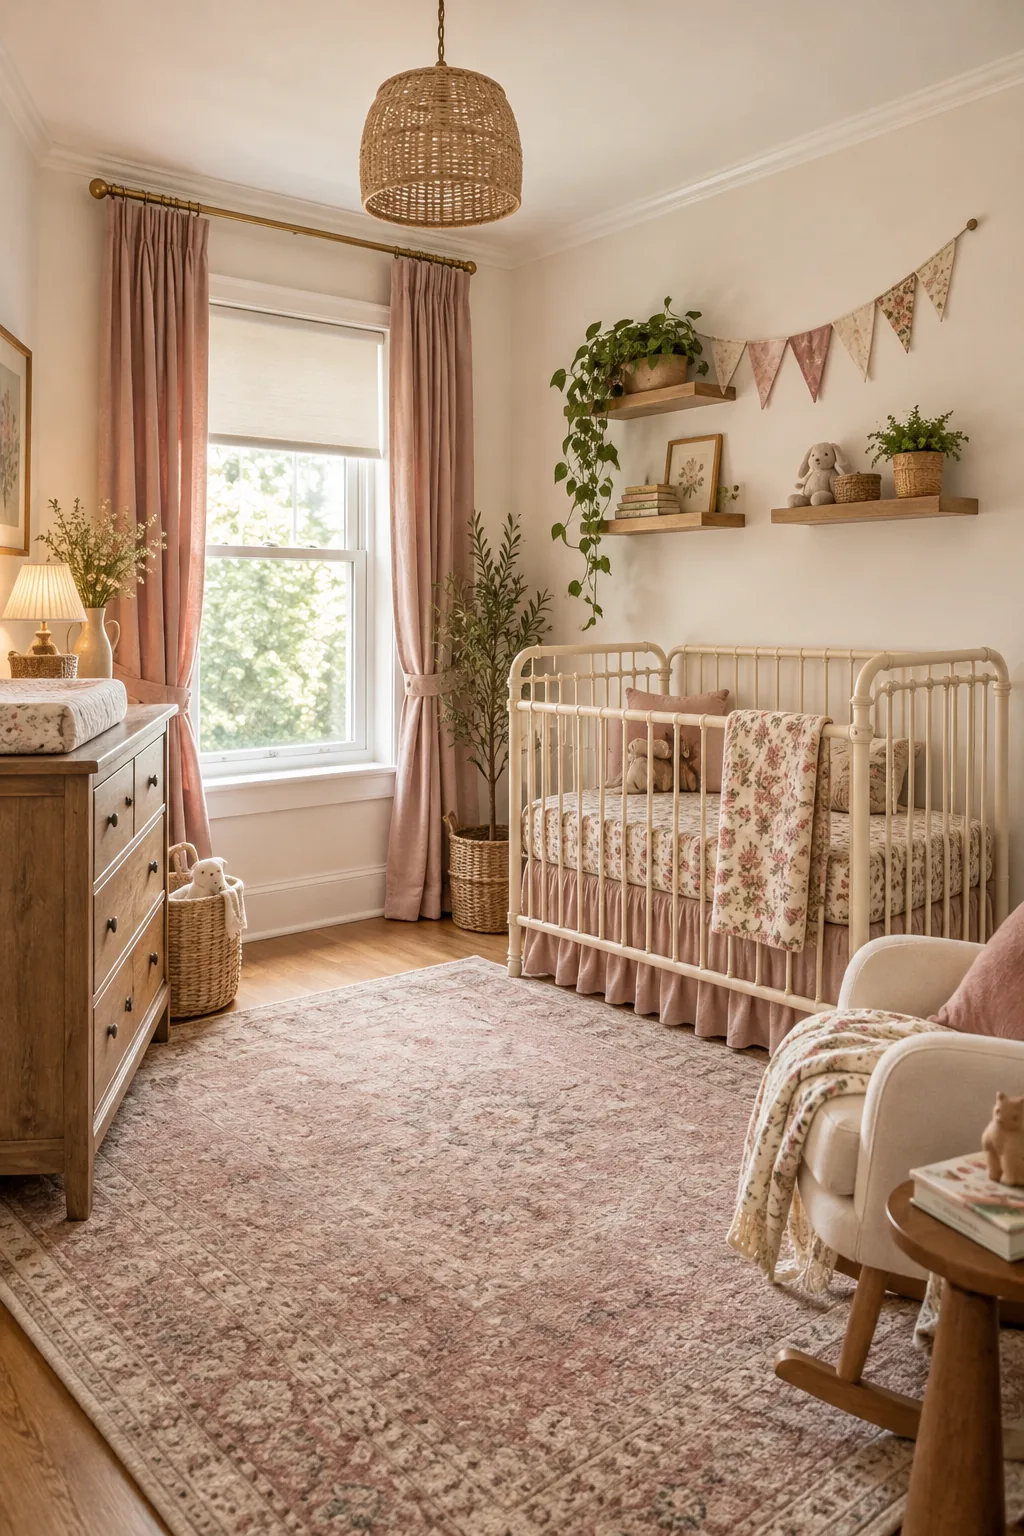
Placing the crib on an interior wall rather than an exterior one also helps regulate the ambient temperature around the baby year-round, protecting them from unexpected drafts during winter and intense radiant heat during the summer months.
Managing Airflow Around the Crib
Install a quiet ceiling fan centrally in the room to promote continuous air circulation, which pediatricians recommend for a safer sleep environment. Set the blades to rotate counterclockwise in the summer to create a gentle, cooling downdraft without blowing directly on the mattress.
Establishing a Symmetrical Sleep Zone
Center the crib along the longest uninterrupted wall to create a strong focal point that instantly grounds the room’s visual weight. Flanking the crib with matching floating shelves or identical botanical art prints introduces a calming, harmonious symmetry that reflects Eastern principles of balanced energy.
Layering Curtains Over a Hidden Blackout Shade
Mount a crisp blackout roller shade tightly inside the window frame to block disruptive early morning light, then hang dusty rose linen curtains outside the frame. This dual-layer approach provides total darkness for naps while adding beautiful, soft texture to the walls.
In my own daughter’s nursery, installing the curtain rod 4 to 6 inches above the window trim successfully drew the eye up, making our standard eight-foot ceiling feel incredibly tall and transforming a basic window into a grand architectural feature.
Choosing the Best Blackout Material
Select roller shades manufactured with a true acrylic blackout backing rather than relying on standard room-darkening fabrics that eventually let sunlight bleed through. A precision-cut inside mount eliminates the glowing halo effect that often ruins daytime naps in brightly lit suburban homes.
Choosing a Dresser With a 36-Inch Height
Repurpose a beautifully crafted warm wood dresser as your primary changing station, ensuring the broad top surface sits at a standard 36-inch height. This specific measurement acts as an ideal ergonomic counter height for most adults standing at the furniture.
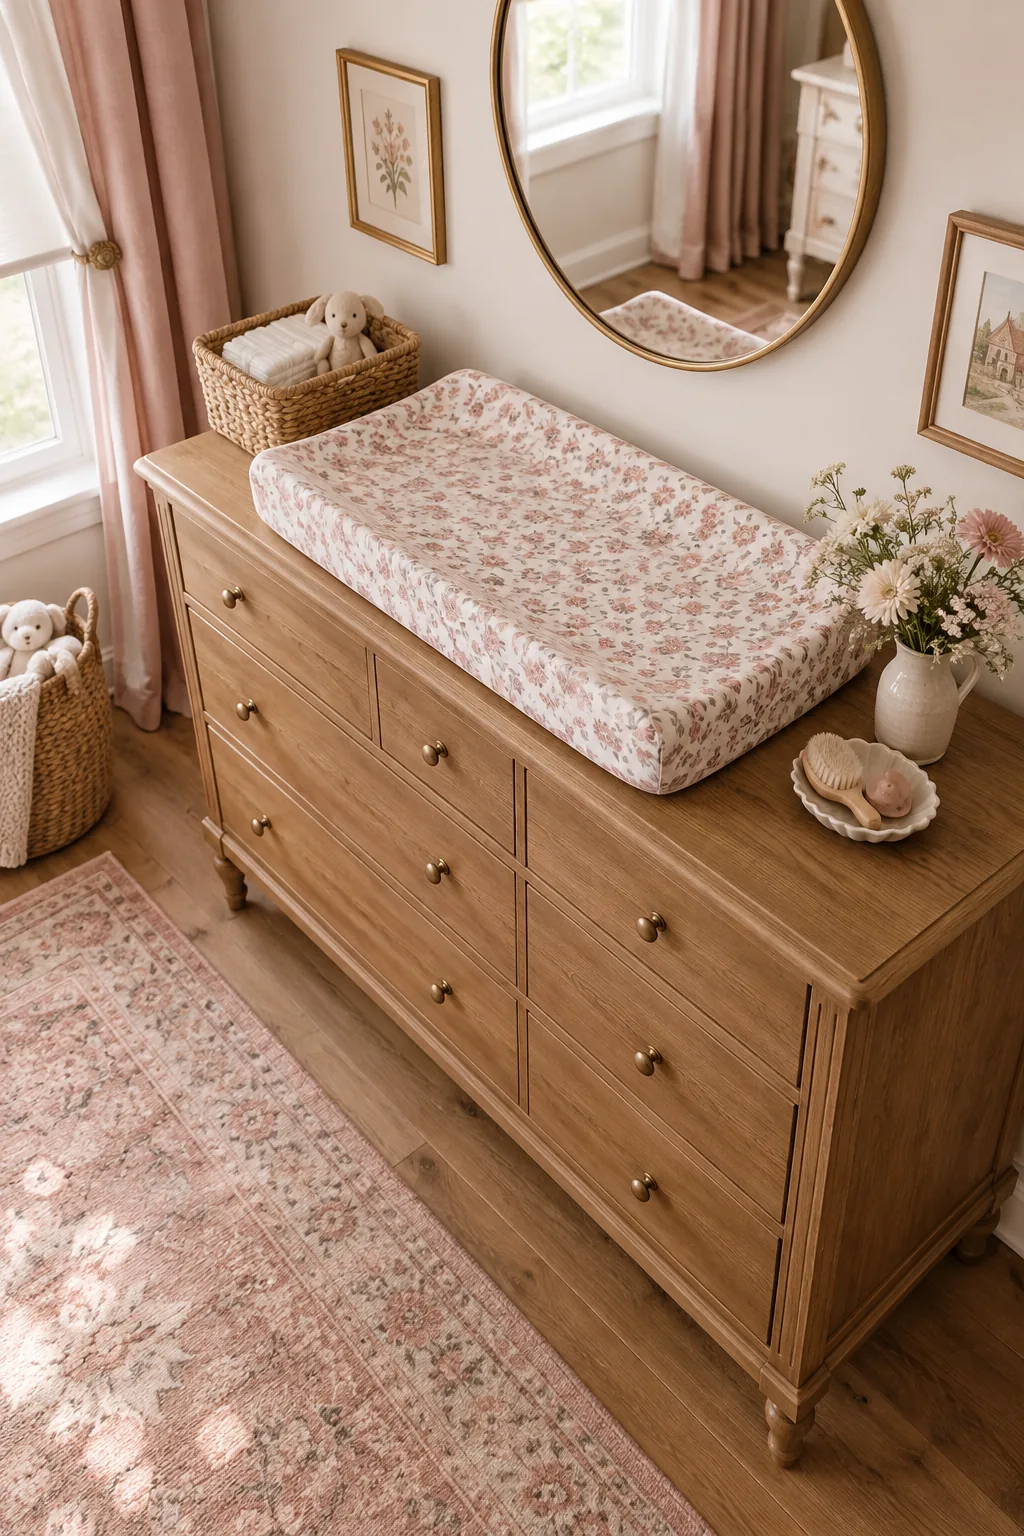
I learned quickly with my first baby that maintaining this exact ergonomic height prevents severe lower back strain during the dozens of diaper changes you will inevitably perform each week, keeping you comfortable and pain-free.
Organizing the Top Drawer for Quick Access
Dedicate the entire top drawer exclusively to overflow diapering supplies, using rigid acrylic dividers to separate the backup wipes, extra rash creams, and fresh swaddles. This hidden organization keeps the visible dresser surface beautifully uncluttered while ensuring you never run out of essentials mid-change.
Utilizing Wall Space for Floating Shelves
Mount a pair of shallow floating shelves exactly 18 inches above the dresser surface to display delicate keepsakes and small framed photos safely out of reach. This strategic vertical spacing prevents the baby from grabbing items while keeping the display visually connected to the furniture.
Securing the Changing Pad for Active Babies
After my youngest learned to roll unexpectedly, I realized you must anchor your contoured changing pad directly to the back of the dresser using the provided hardware, rather than relying solely on a non-slip rubber bottom that can easily shift.
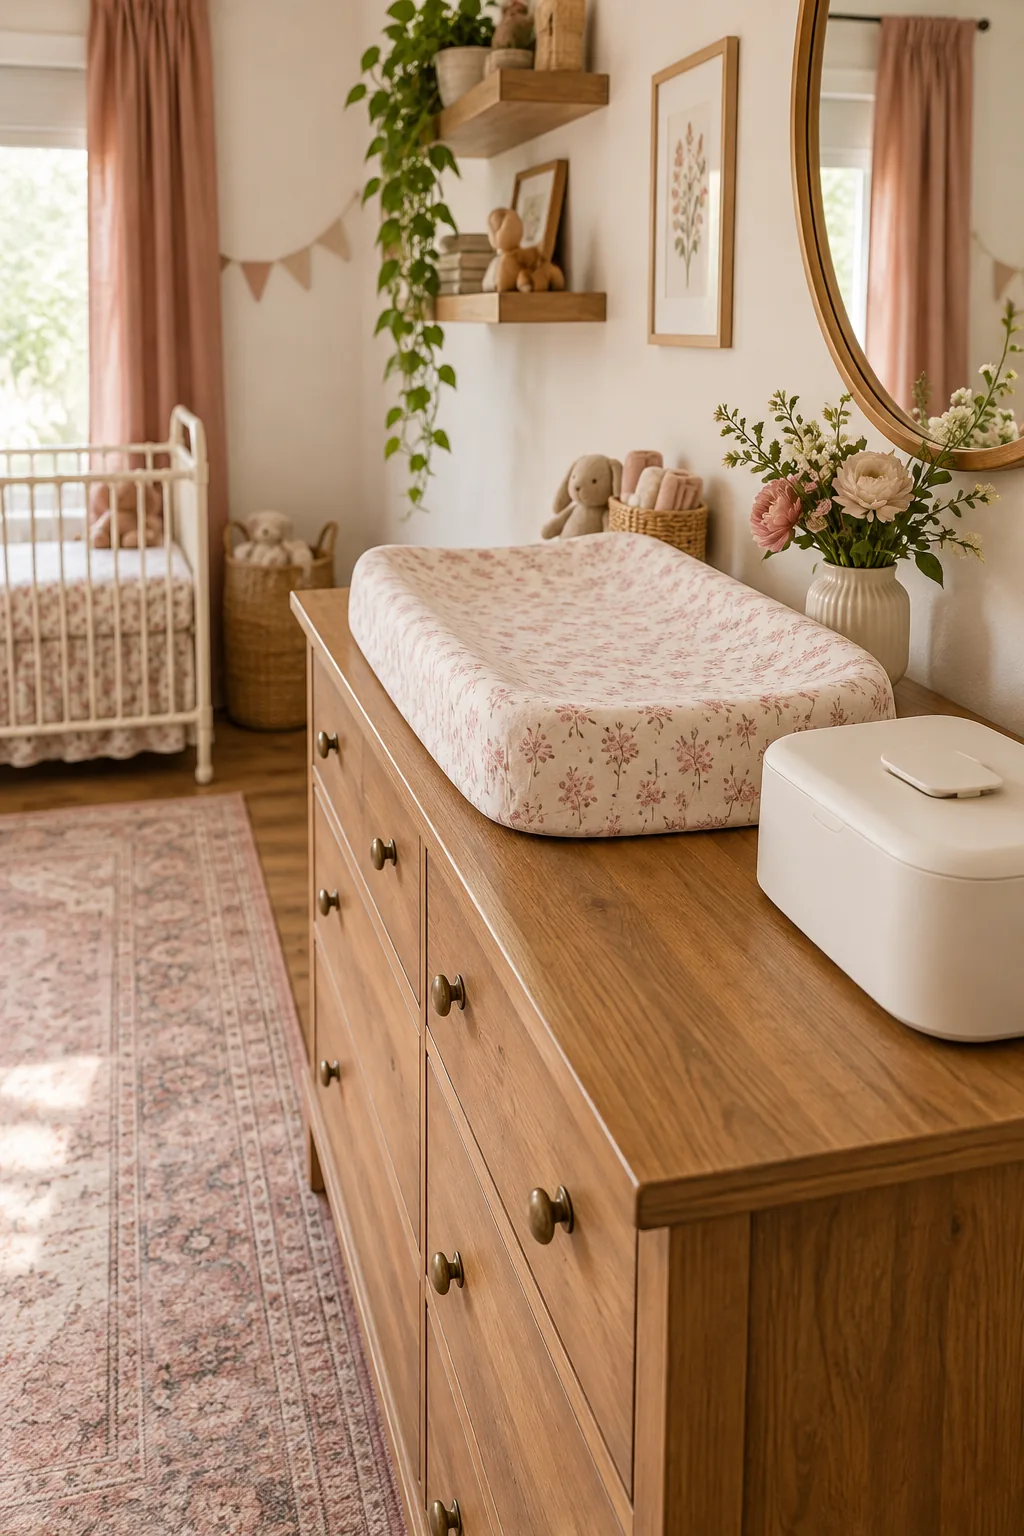
- Locate the wooden studs in your nursery wall using a reliable magnetic stud finder.
- Attach heavy-duty metal anti-tip brackets to the solid wood back of the dresser.
- Secure the opposite end of the brackets directly into the wall studs with long screws.
Always secure the heavy wood dresser to the wall studs with an anti-tip kit before the baby becomes mobile enough to pull up on the drawers. This non-negotiable safety step prevents catastrophic furniture tip-overs as your child begins exploring their environment.
Streamlining Diaper Changes With a Weighted Wipe Box
Organize the top dresser surface so that clean diapers, soothing creams, and wet wipes sit strictly within arm’s reach, allowing you to always keep one hand firmly on the baby. A minimalist tray helps corral these daily necessities into a neat, intentional vignette.
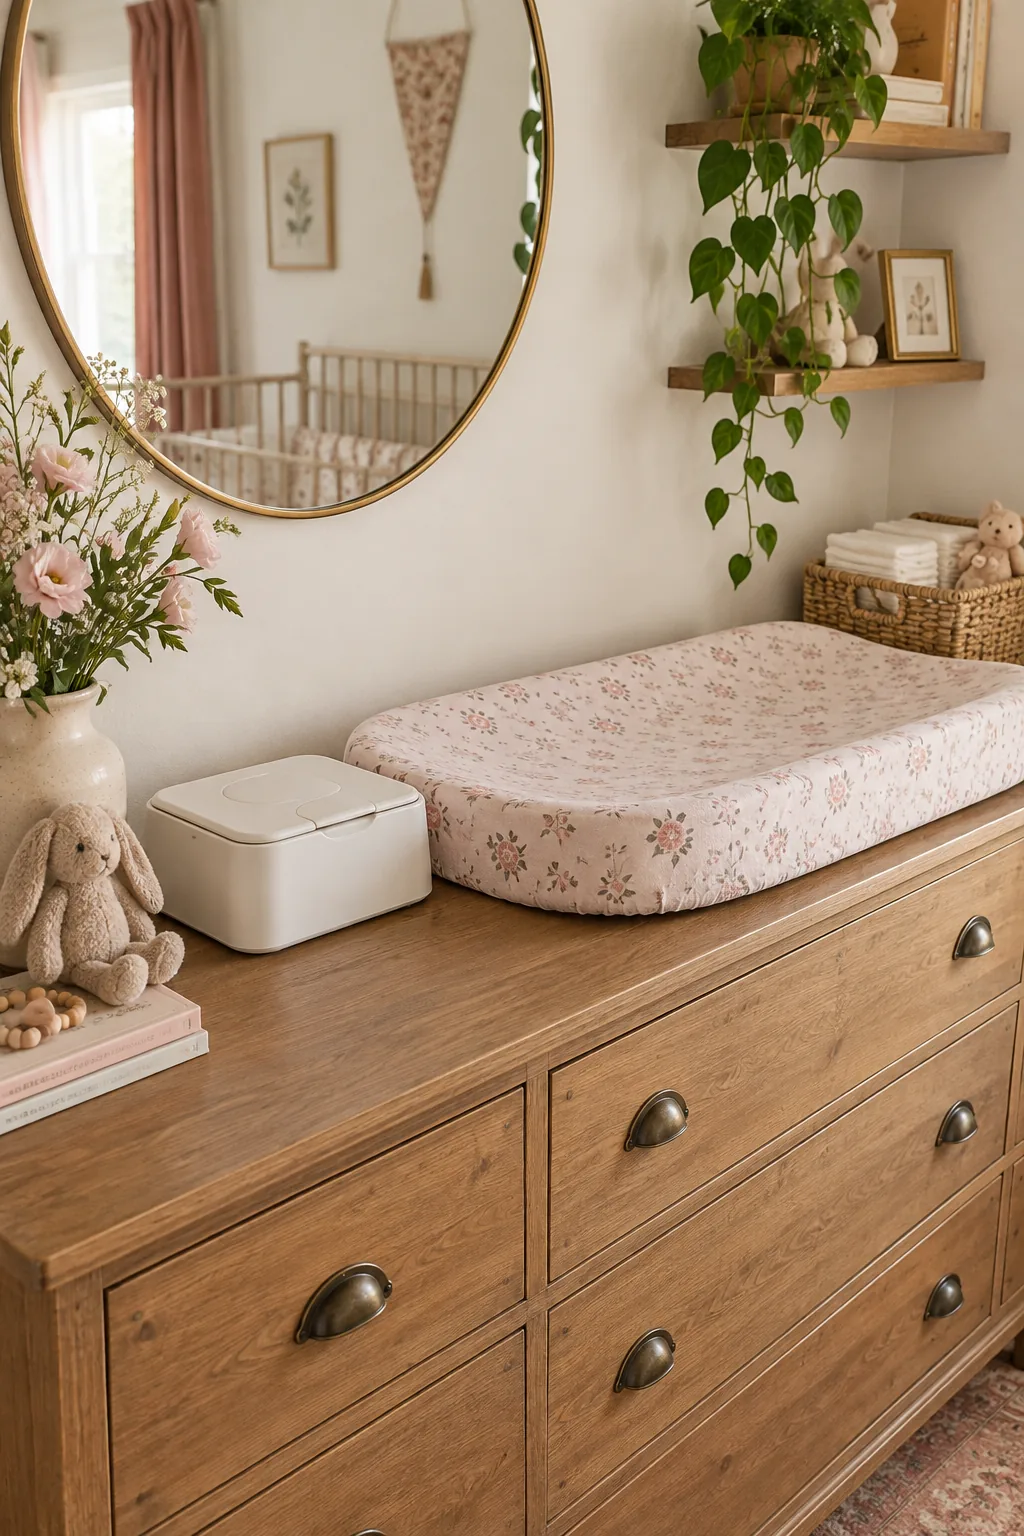
A sleek, weighted wipe box is absolutely essential here because it prevents the entire plastic container from lifting off the dresser when you urgently pull a single wipe one-handed during a messy and chaotic diaper change.
Managing Nursery Odors With a Sealed Pail
Tuck a hands-free, steel diaper pail tightly against the side of the dresser to contain lingering odors without eating up valuable floor space. Choosing a model with a step-pedal ensures you can dispose of soiled items instantly without ever taking your hands off your baby.
The Complete Nursery Layout and Lighting Checklist
Synthesize these strict spatial rules and thoughtful lighting strategies into a final room check to ensure your beautifully styled nursery is also highly functional. Confirming these specific measurements will make your daily routines and midnight wakings significantly smoother.
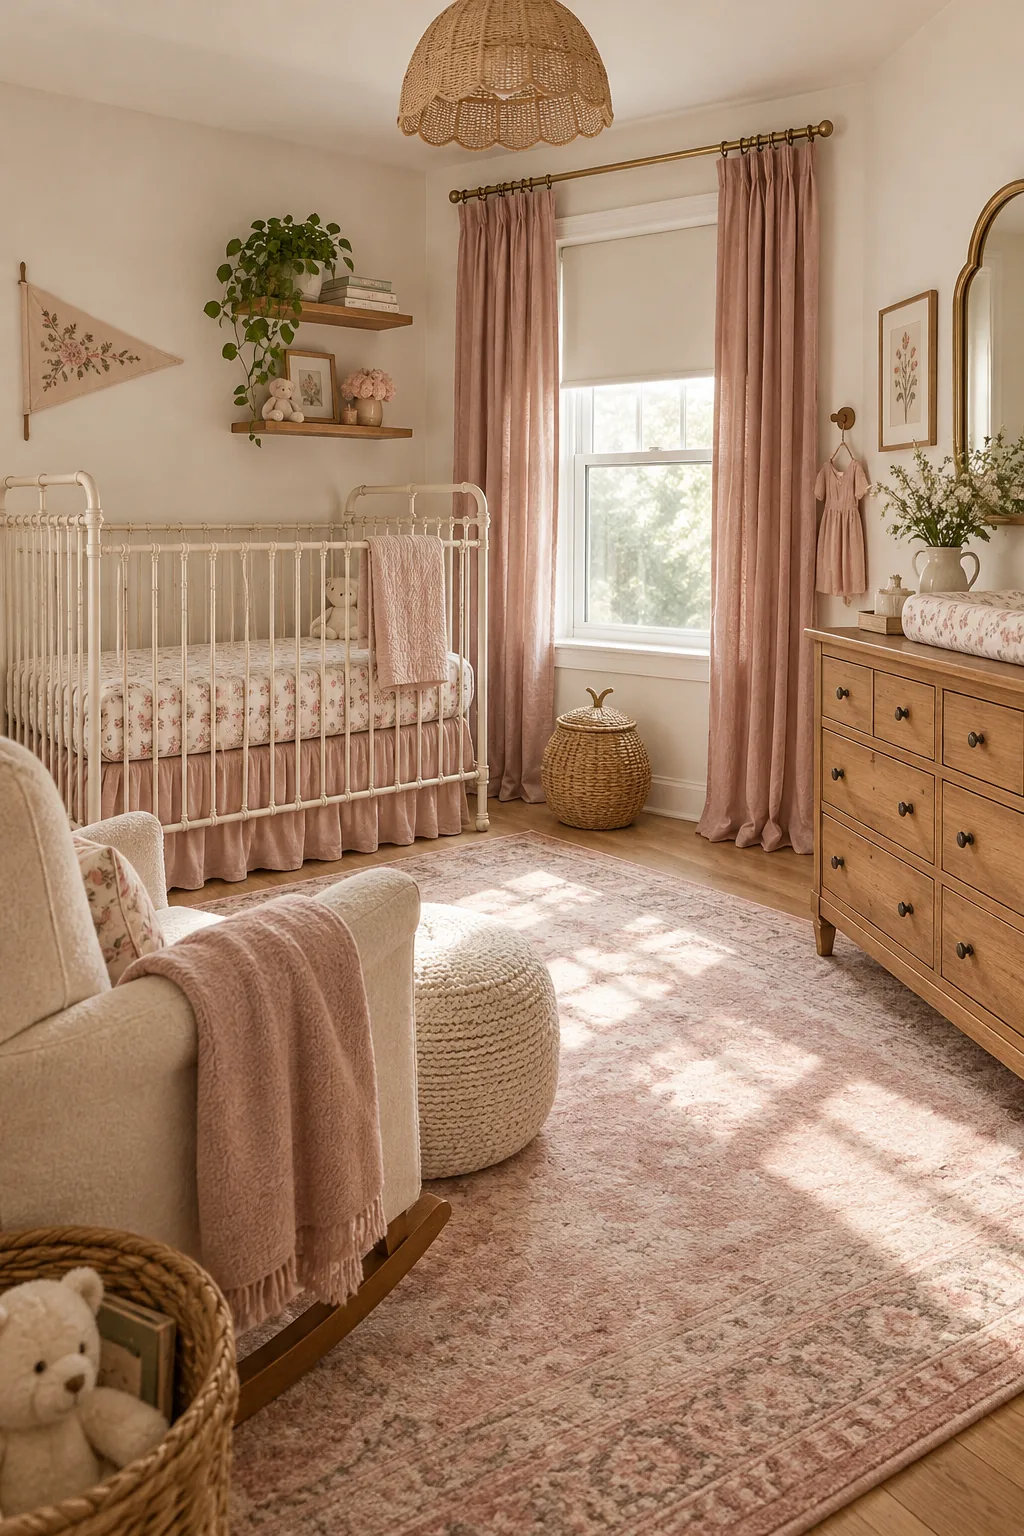
Before you consider the room finished, walk through the space one last time to verify these essential spatial and lighting measurements.
More Nursery Layout Inspiration
Explore how these same layout rules adapt beautifully to different nursery aesthetics.
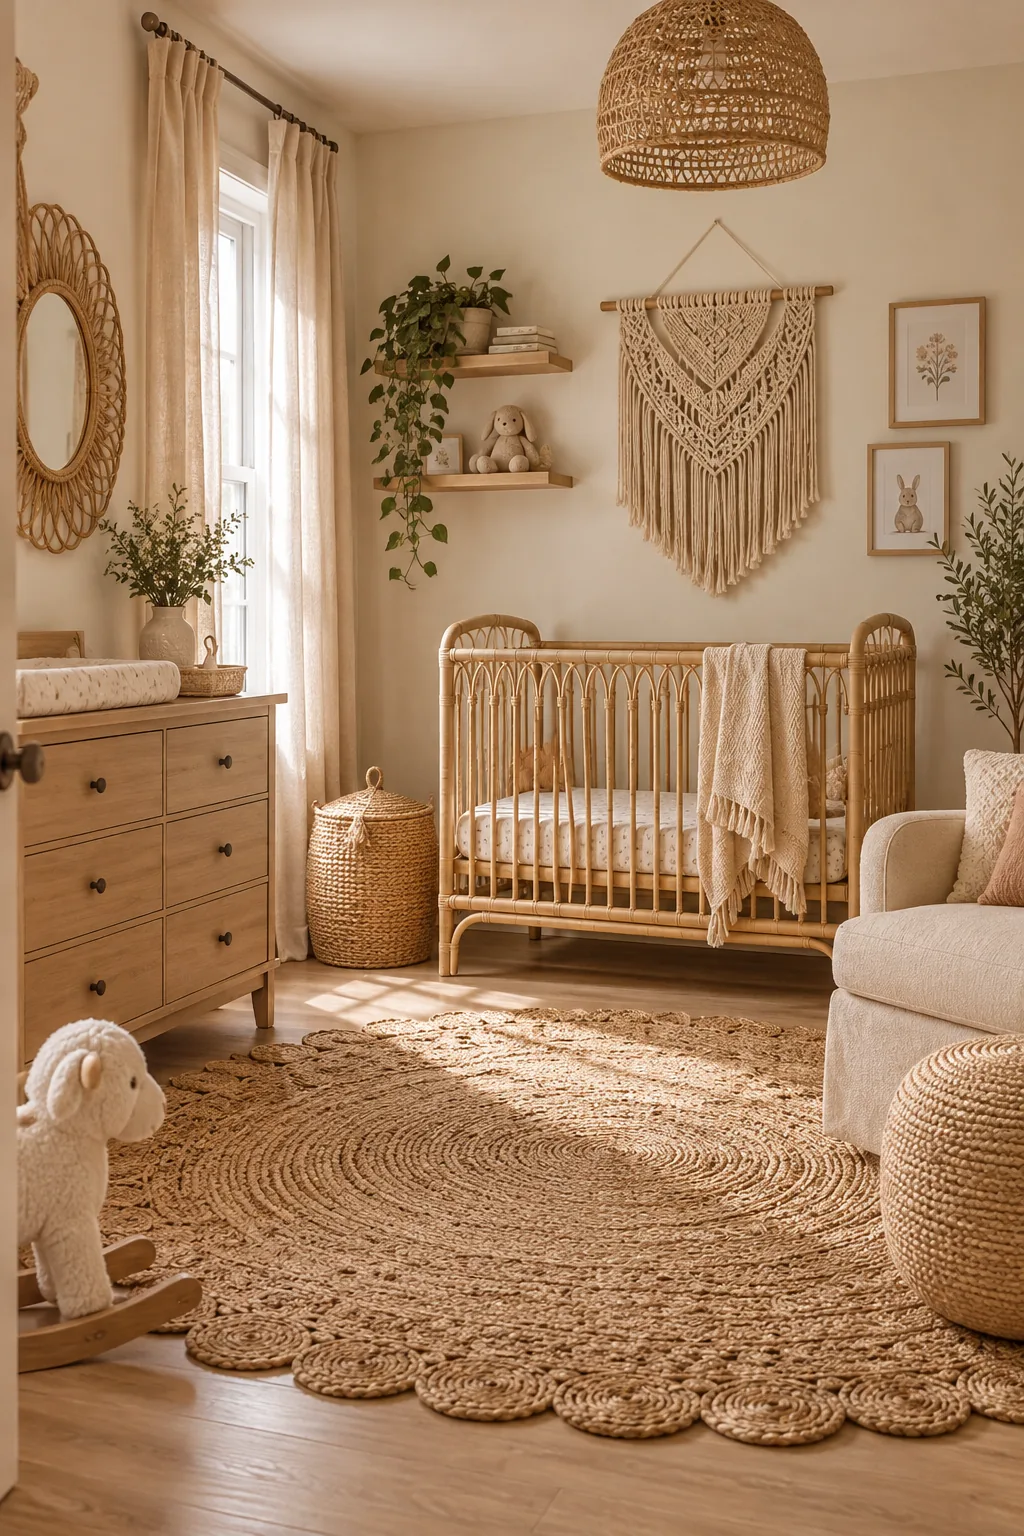
Neutral Boho Rattan: Warm sand tones and a rattan crib define this relaxed boho space. Copy the look by pairing macrame wall hangings with a textured natural fiber rug.
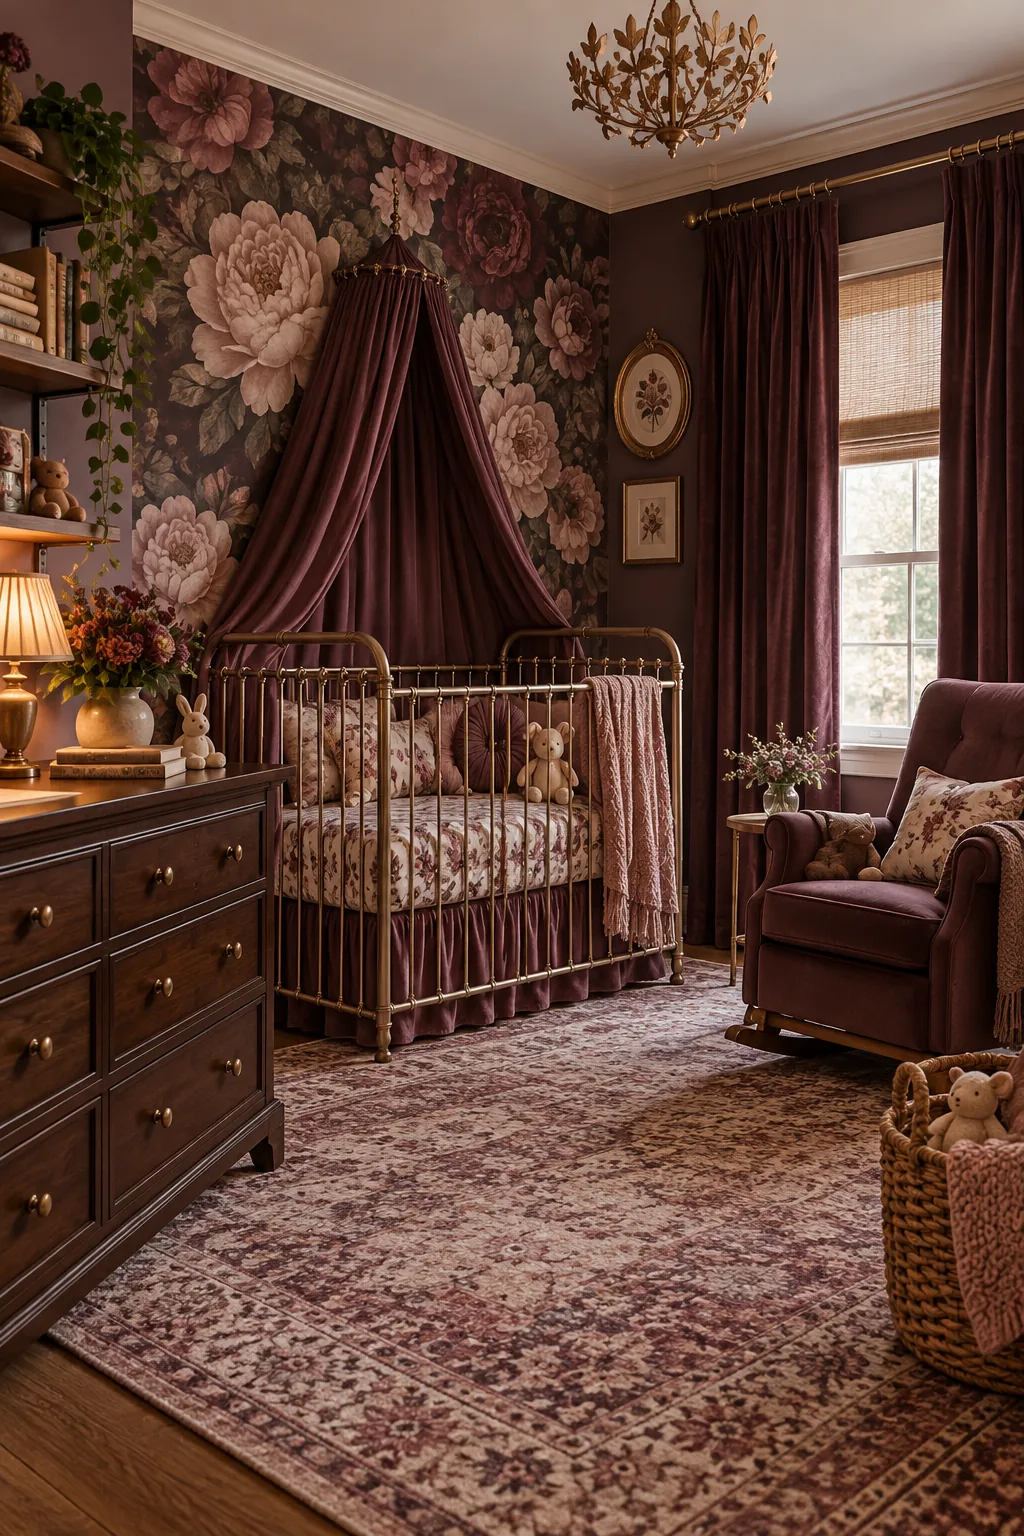
Moody Plum Floral: Deep plum accents and dramatic floral wallpaper create a moody, sophisticated atmosphere. Recreate this by painting the dresser a rich aubergine to ground the room.
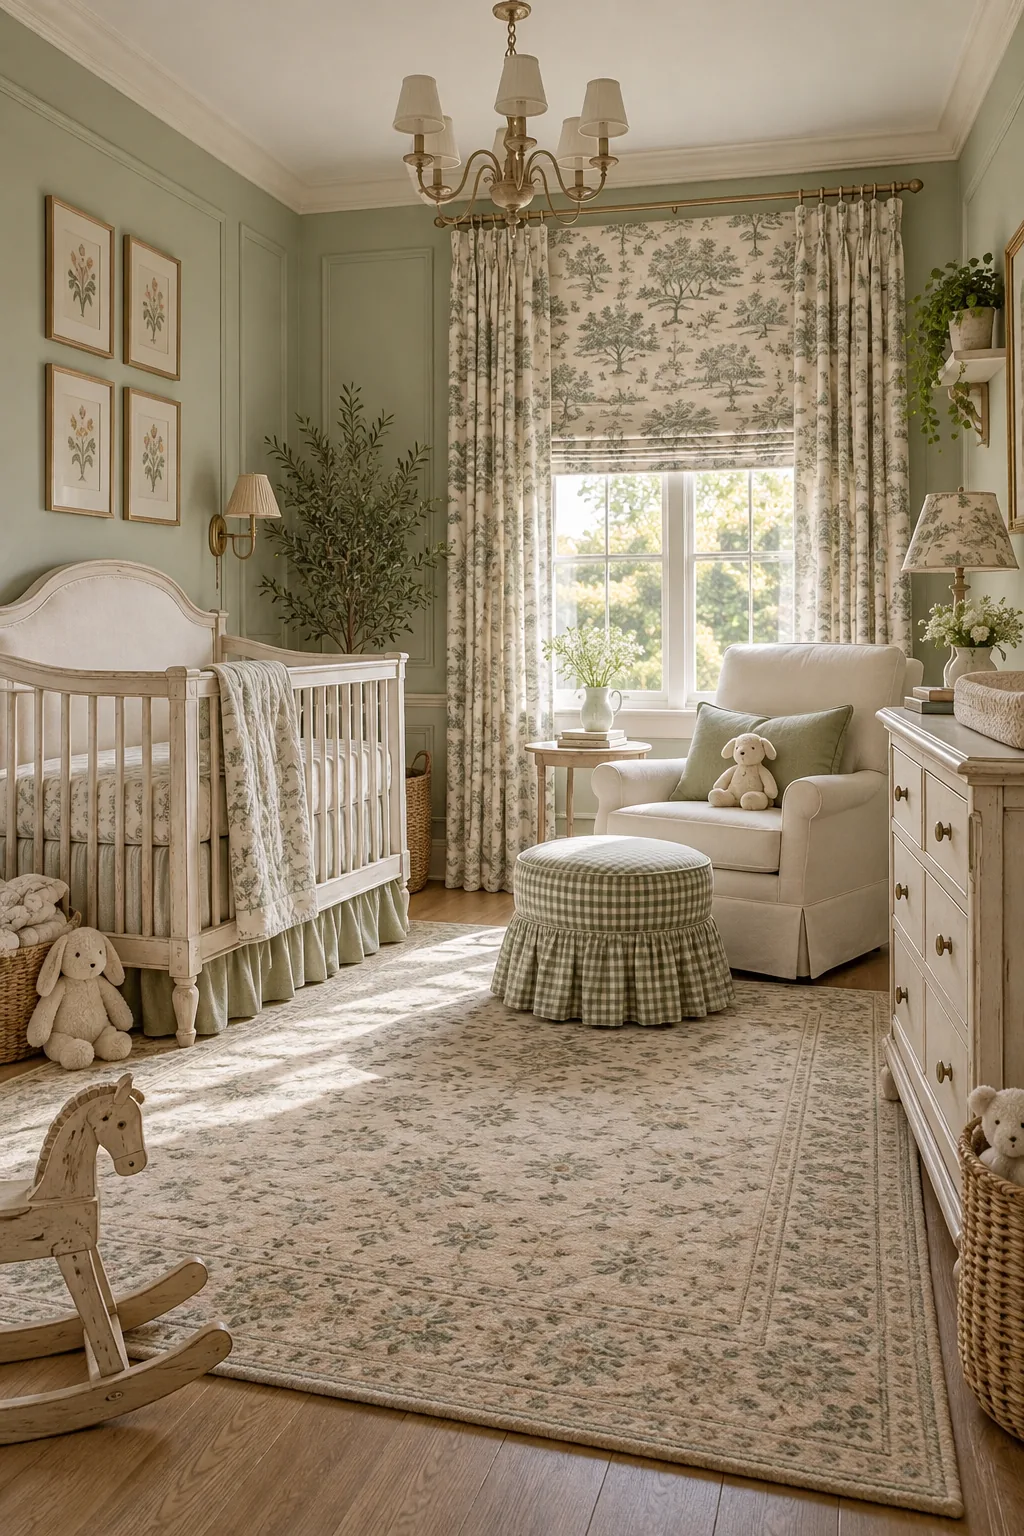
Classic French Country Sage: Soft sage greens and whitewashed furniture bring a classic French country feel. Achieve this style by layering toile fabrics over a crisp white blackout shade.
Modern Coastal Light Oak: Crisp blues and light oak finishes offer a fresh, modern coastal vibe. Bring this into your home by using clean-lined furniture and a subtle striped rug.