Window Box Planting Guide: Get Your Free Plant-Count Sheet
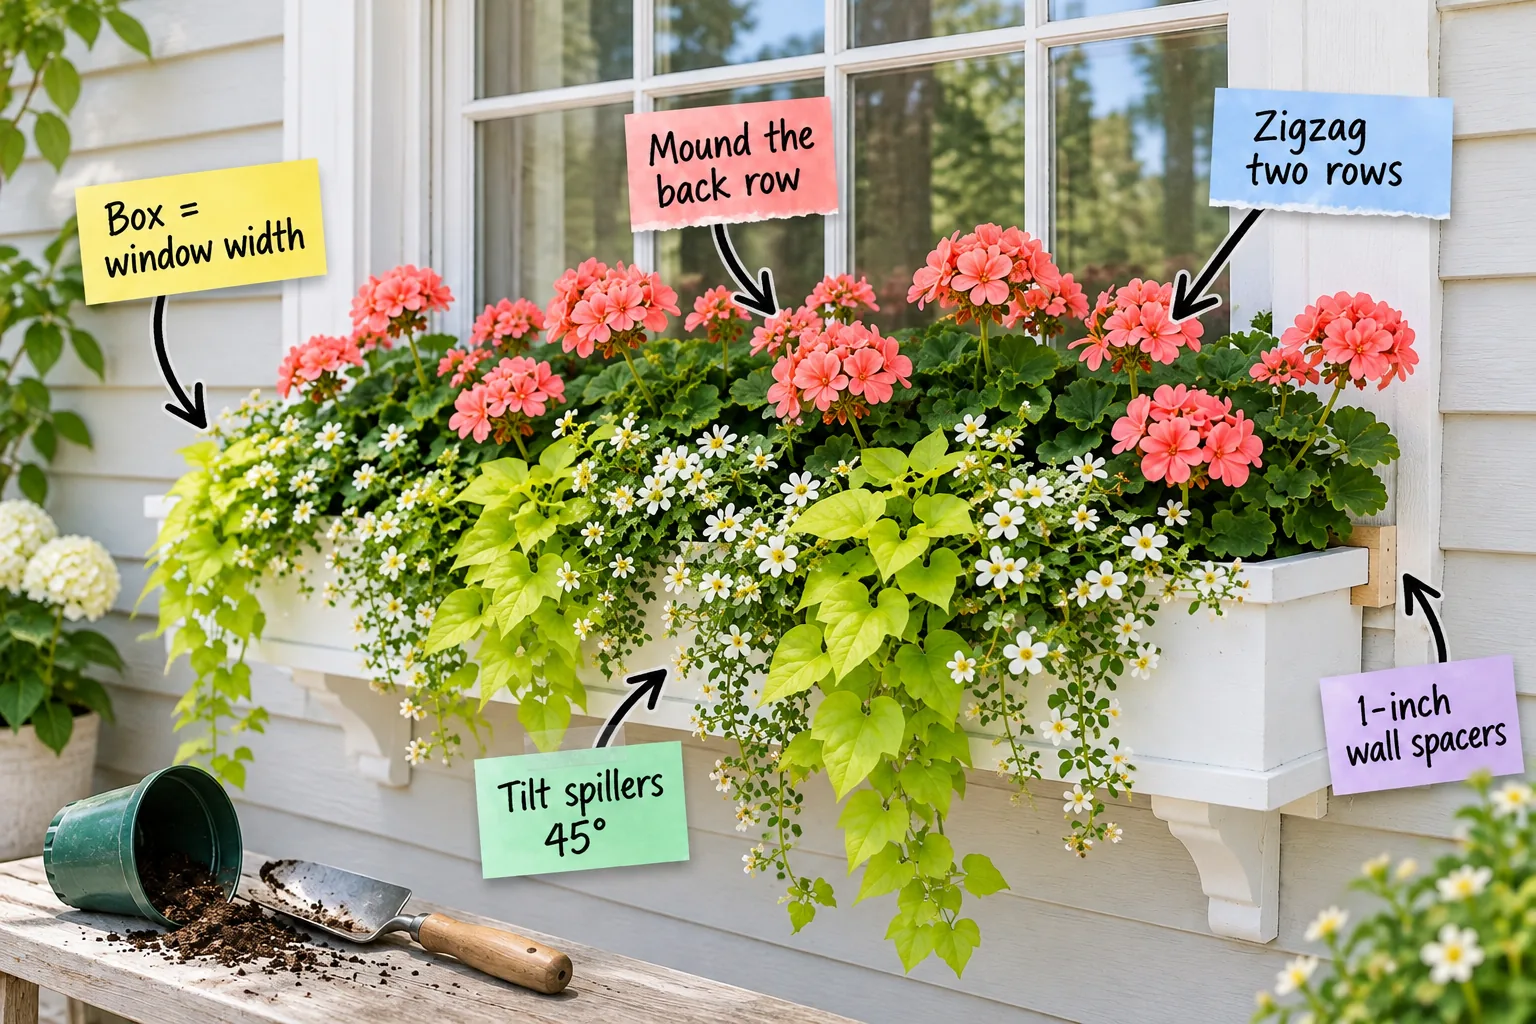
You will be able to correctly size your box, space your plants using our printable cheat sheet, and angle your trailers for an immediate, lush cascading effect. Download our Window Box Planting Sheet to get exact plant counts and a zigzag layout diagram for a street-stopping spill.
Match Your Box to the Window Width
For proper architectural balance, the box ends must line up perfectly flush with the outer edges of your white window trim. A standard 36-inch window box serves as our baseline, but measuring from the outside trim edges dictates the exact custom length you need to buy.
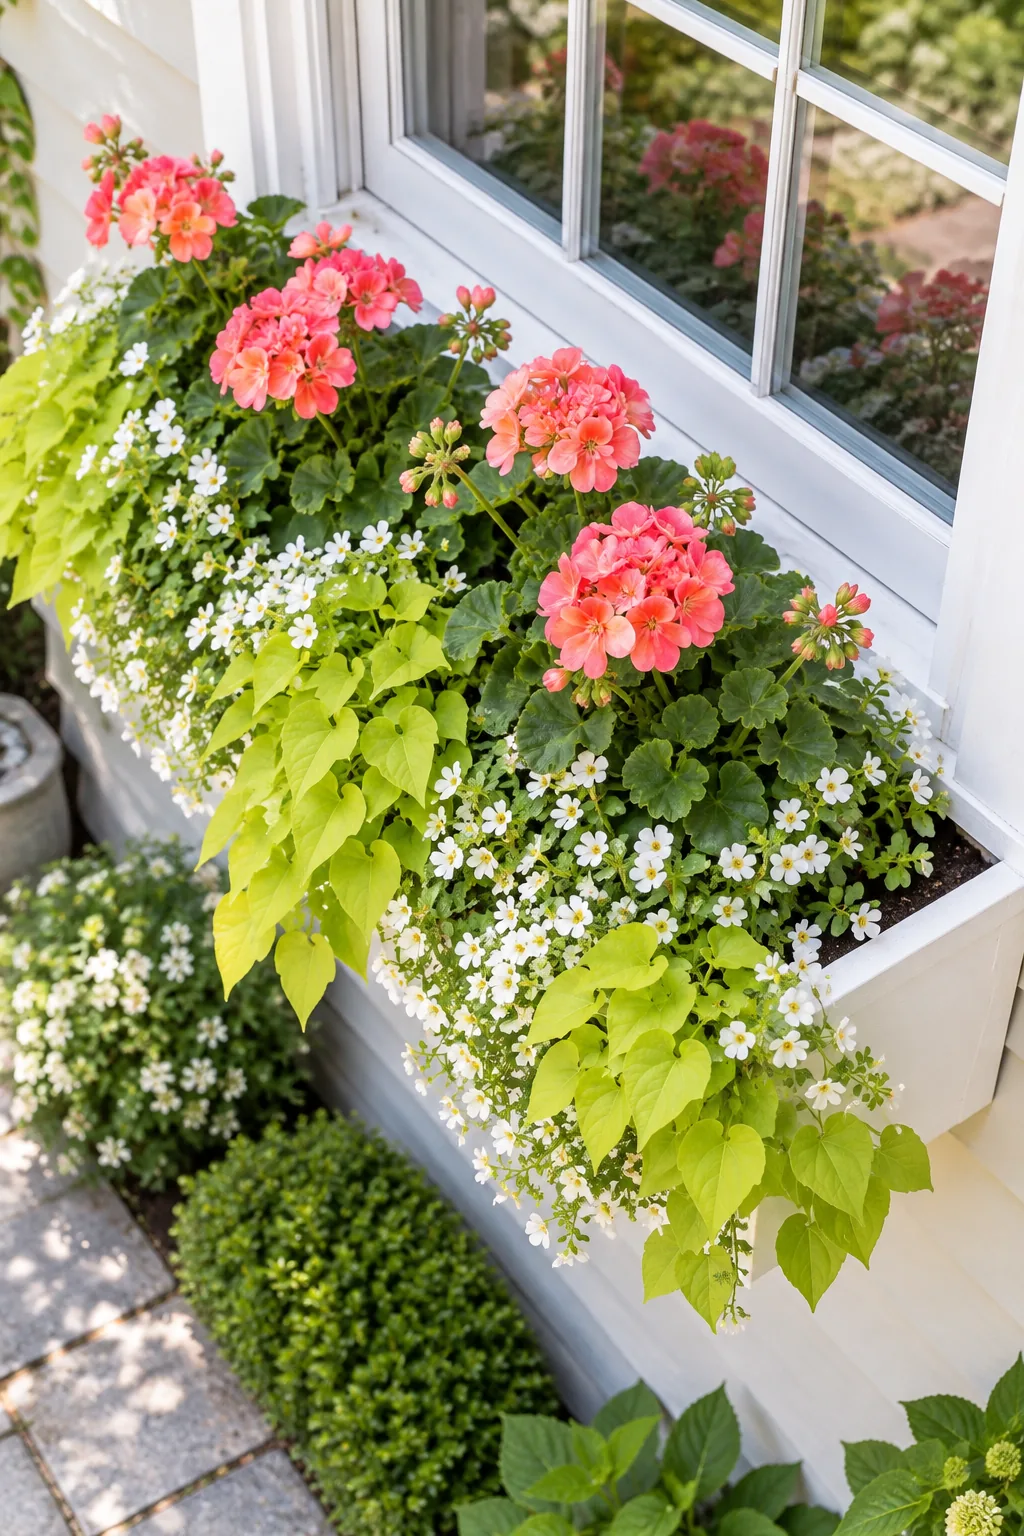
Getting these baseline dimensions right is the very first step, but a common measuring error can easily throw off the proportions of your entire exterior facade. Ensuring your container perfectly mirrors the architectural lines of your home creates a custom, built-in appearance before you add any soil.
Prevent Rot with Wall Spacers
You should never mount a wooden or fiberglass planter directly flush against your home’s siding, as trapped moisture will quickly damage the facade. Installing simple hardware buffers protects your exterior walls while providing the necessary structural support for a heavy, fully watered container throughout the season.
- Measure the mounting holes: Locate the pre-drilled attachment points on the back panel of your window box to determine exactly where the structural supports will sit.
- Cut the wooden blocks: Saw pressure-treated lumber into small, uniform squares to serve as your dedicated, weather-resistant wall spacers.
- Position the hardware: Place these 1-inch wall spacers directly behind the pre-drilled holes so they rest completely flat against the exterior clapboard.
- Drive the heavy bolts: Secure heavy-duty lag screws through the box interior, through the wooden spacers, and firmly into the structural wall studs.
Creating this deliberate shadow gap between the box back and the clapboard allows continuous airflow, preventing trapped moisture from rotting the wood over the humid summer. This small structural detail ensures your facade remains pristine while supporting the immense weight of the wet soil.
Prep the Soil and Drainage Layers
Fill the mounted container with a lightweight, well-draining potting mix rather than heavy, compacted garden soil. I used to fill my boxes right to the brim, and every time I watered, muddy soil would instantly wash down my clean white clapboard siding, creating a massive mess.
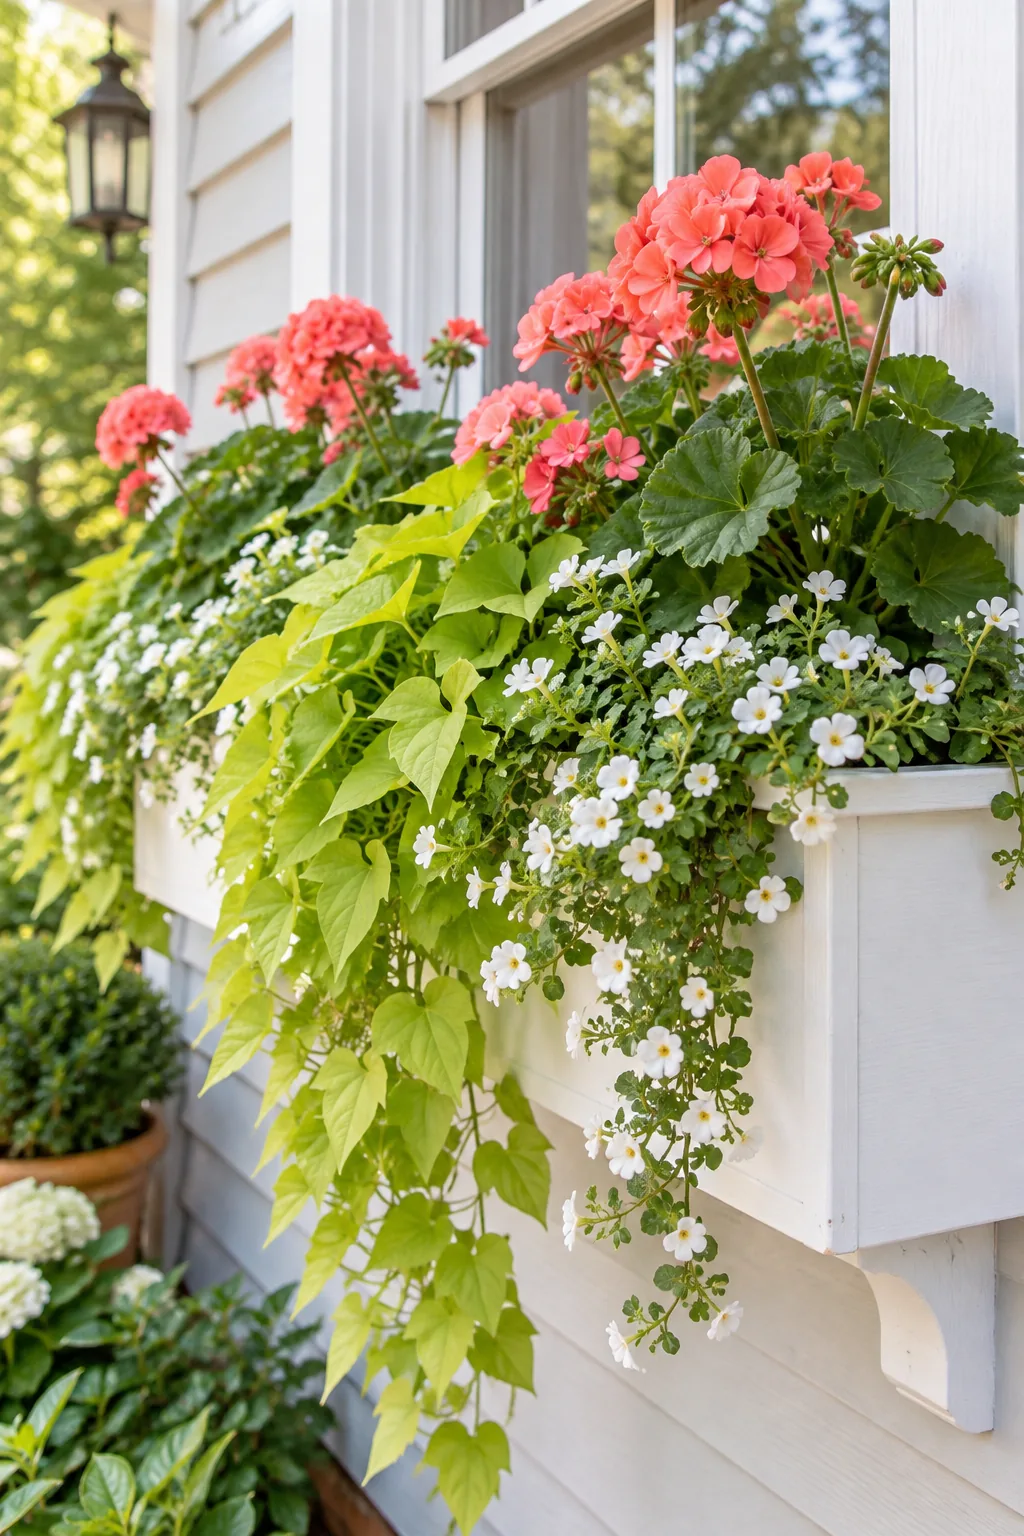
To prevent this messy runoff, leave exactly one inch of space between the final soil line and the top rim of the box. This recessed top margin acts as a shallow, temporary reservoir, holding the water just long enough for it to soak deeply into the root zone.
Stagger the Layout in Two Rows
When arranging your nursery pots, absolutely avoid planting your thrillers and spillers in a single, crowded straight line. You want to stagger your plants in a two-row zigzag layout to maximize airflow and encourage vigorous, multidirectional growth throughout the heavy summer blooming season.
- Position the upright thrillers: Place your tall geraniums in the back row, spacing them evenly to anchor the visual height of the entire floral arrangement.
- Offset the cascading spillers: Plant the trailing vines in the front row, offsetting them directly between the back-row plants rather than directly in front of them.
- Check the lateral spacing: Ensure every rootball has at least two inches of horizontal room to expand without competing for immediate nutrients or root space.
- Weave the middle layer: Tuck smaller filler flowers into any remaining gaps to smoothly bridge the visual transition between the tall back row and the heavy front spill.
This staggered geometric approach gives every individual plant enough room to expand while weaving their foliage together into a seamless, gap-free canopy. The offset placement ensures that no single plant is completely blocked from the essential morning sunlight.
Mound the Back Row for Visibility
Set the base of every back-row geranium on a targeted soil mound about 2 inches higher than the front row. Last summer, I skipped this crucial elevation trick, and my vigorous sweet potato vines completely swallowed my beautiful pink blooms by the middle of July.
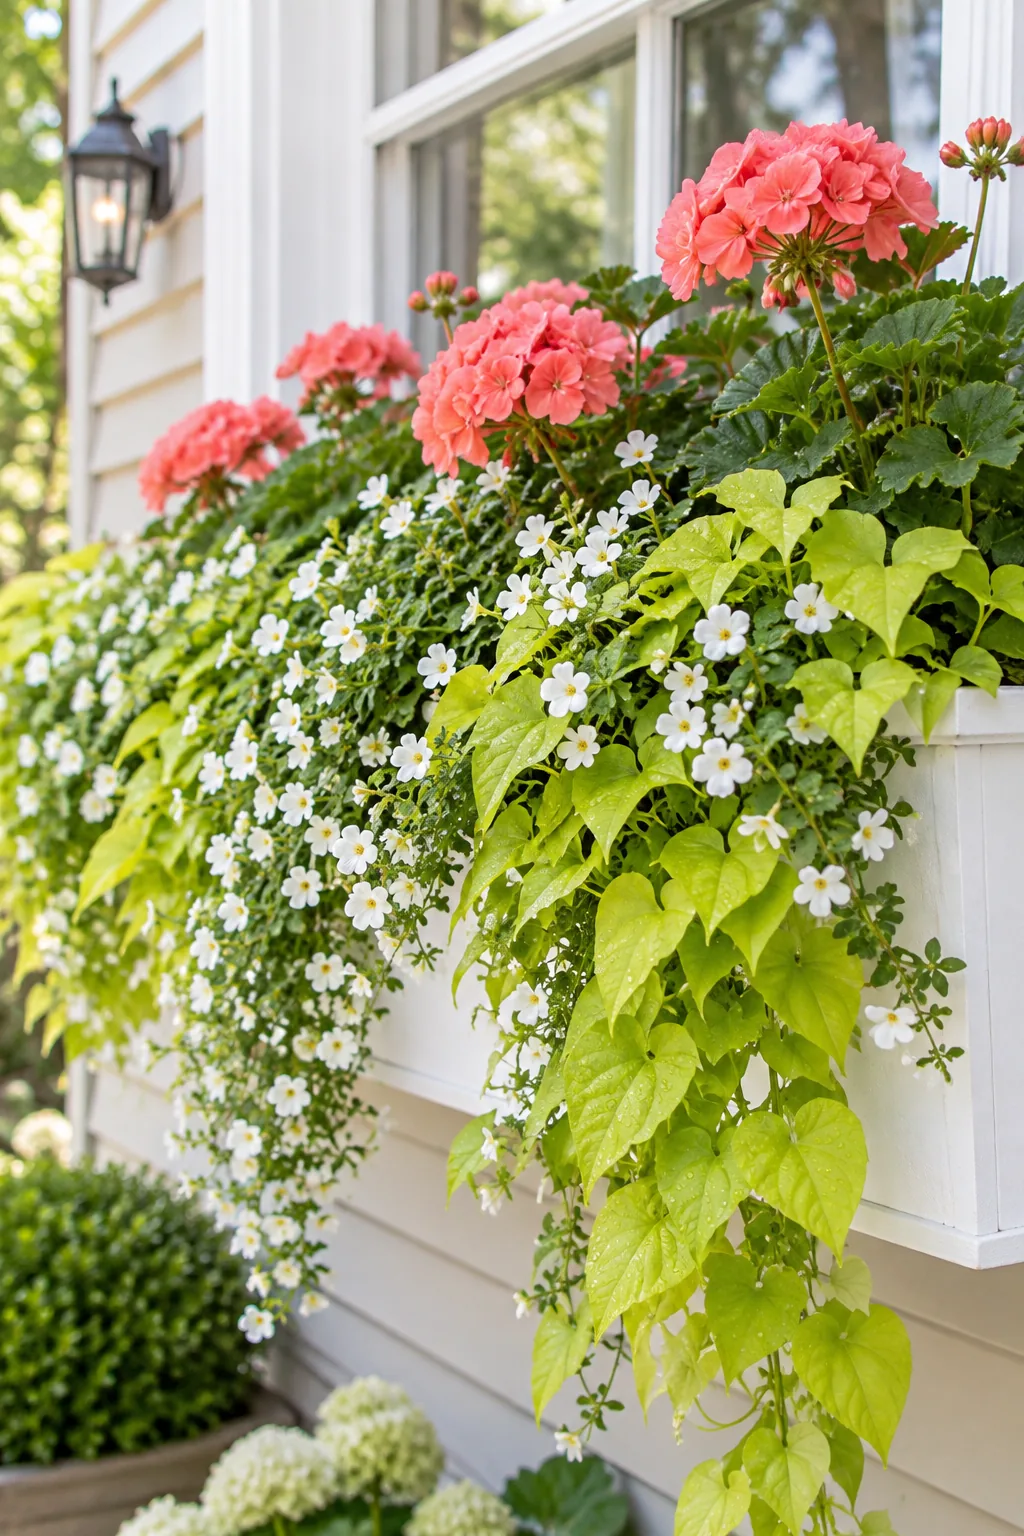
Building these individual mounds before unpotting the plants gives the roots a deeper base to grip while instantly boosting the overall height. This slight elevation ensures their coral-pink blooms stand clear above the aggressive trailing plants as the season rapidly progresses.
Tilt the Front Spillers Forward
You should never plant trailing vines straight up and down, as they will waste precious weeks growing vertically before finally bending over the edge. Instead, tilt the trailing sweet potato vine and bacopa rootballs 45 degrees toward the front lip during the initial installation process.
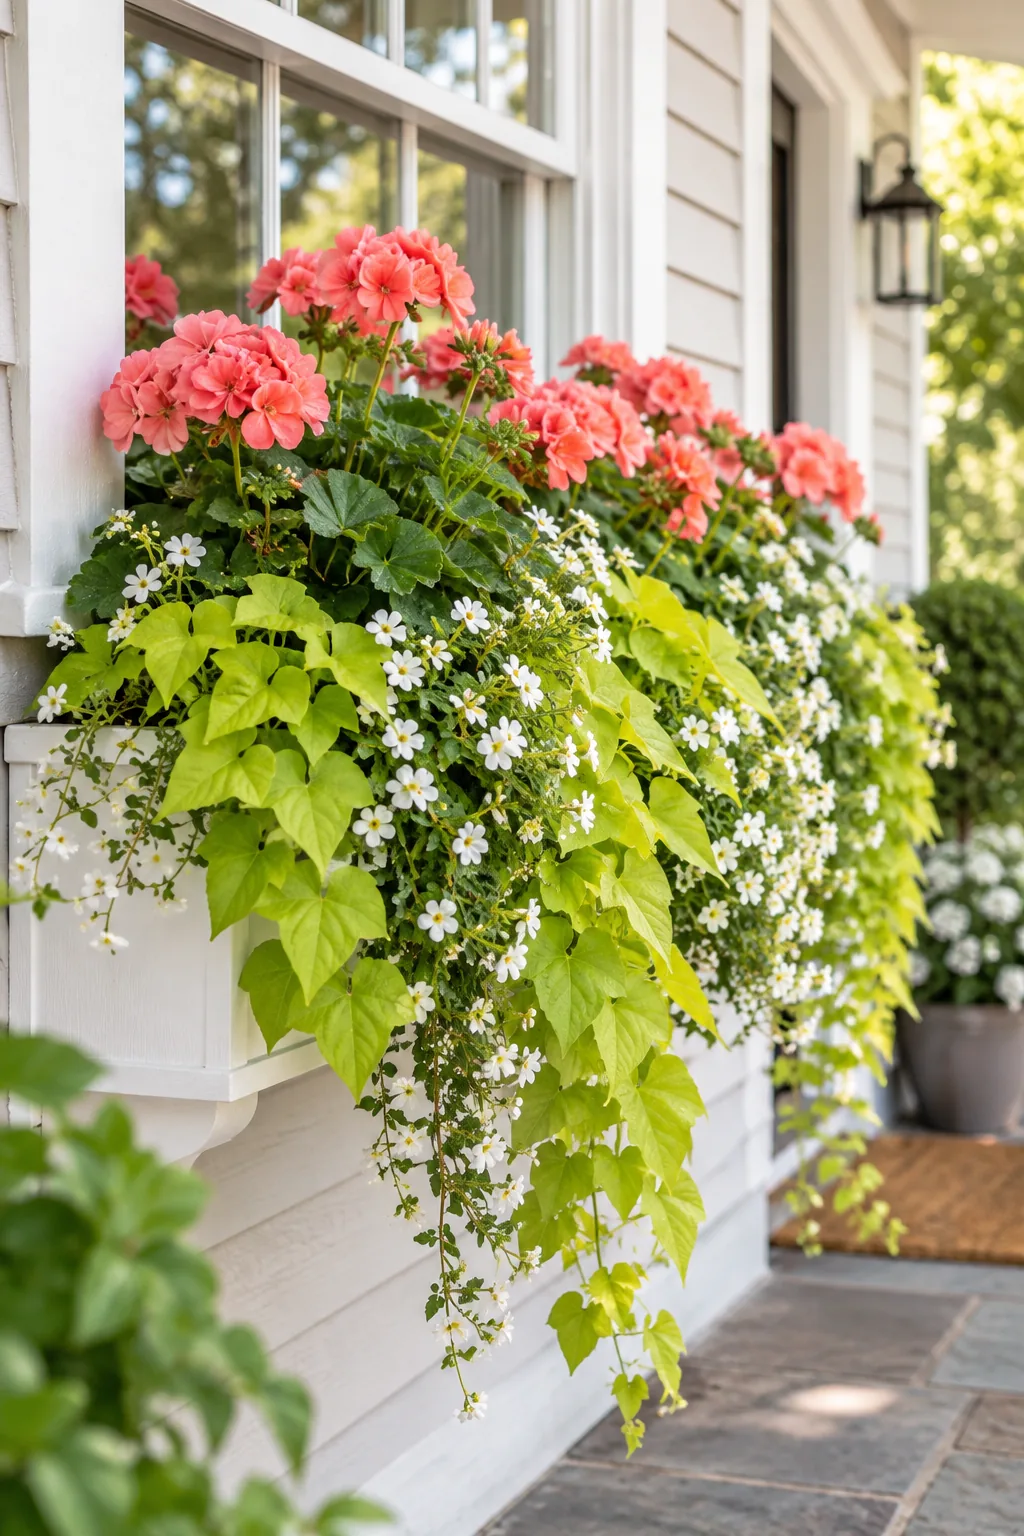
Angling them forward ensures their stems immediately cascade over the box face without having to bend, creating an instant, lush visual impact. Because this dense root system competes fiercely for moisture, you must establish a strict hydration routine to maintain this vigorous growth all summer long.
Maintain the Spill with Daily Watering
A densely packed container dries out significantly faster than a traditional garden bed, especially when exposed to direct afternoon sunlight. Because this dense root system competes fiercely for moisture, a targeted watering approach ensures every layer thrives without causing any physical damage to the plants.
You must check the moisture level daily, as the vigorous sweet potato vine and bacopa require consistent hydration to maintain their street-stopping spill. Feeling the soil an inch below the surface dictates exactly when to water during the absolutely hottest summer months.
Download the Plant-Count Cheat Sheet
Take the guesswork out of your nursery trip with our comprehensive Window Box Planting Sheet. This one-page printable provides the complete zigzag layout diagram, the tilt-and-fill sequence, and the precise plant combinations needed to recreate this exact cascading look at your own home.
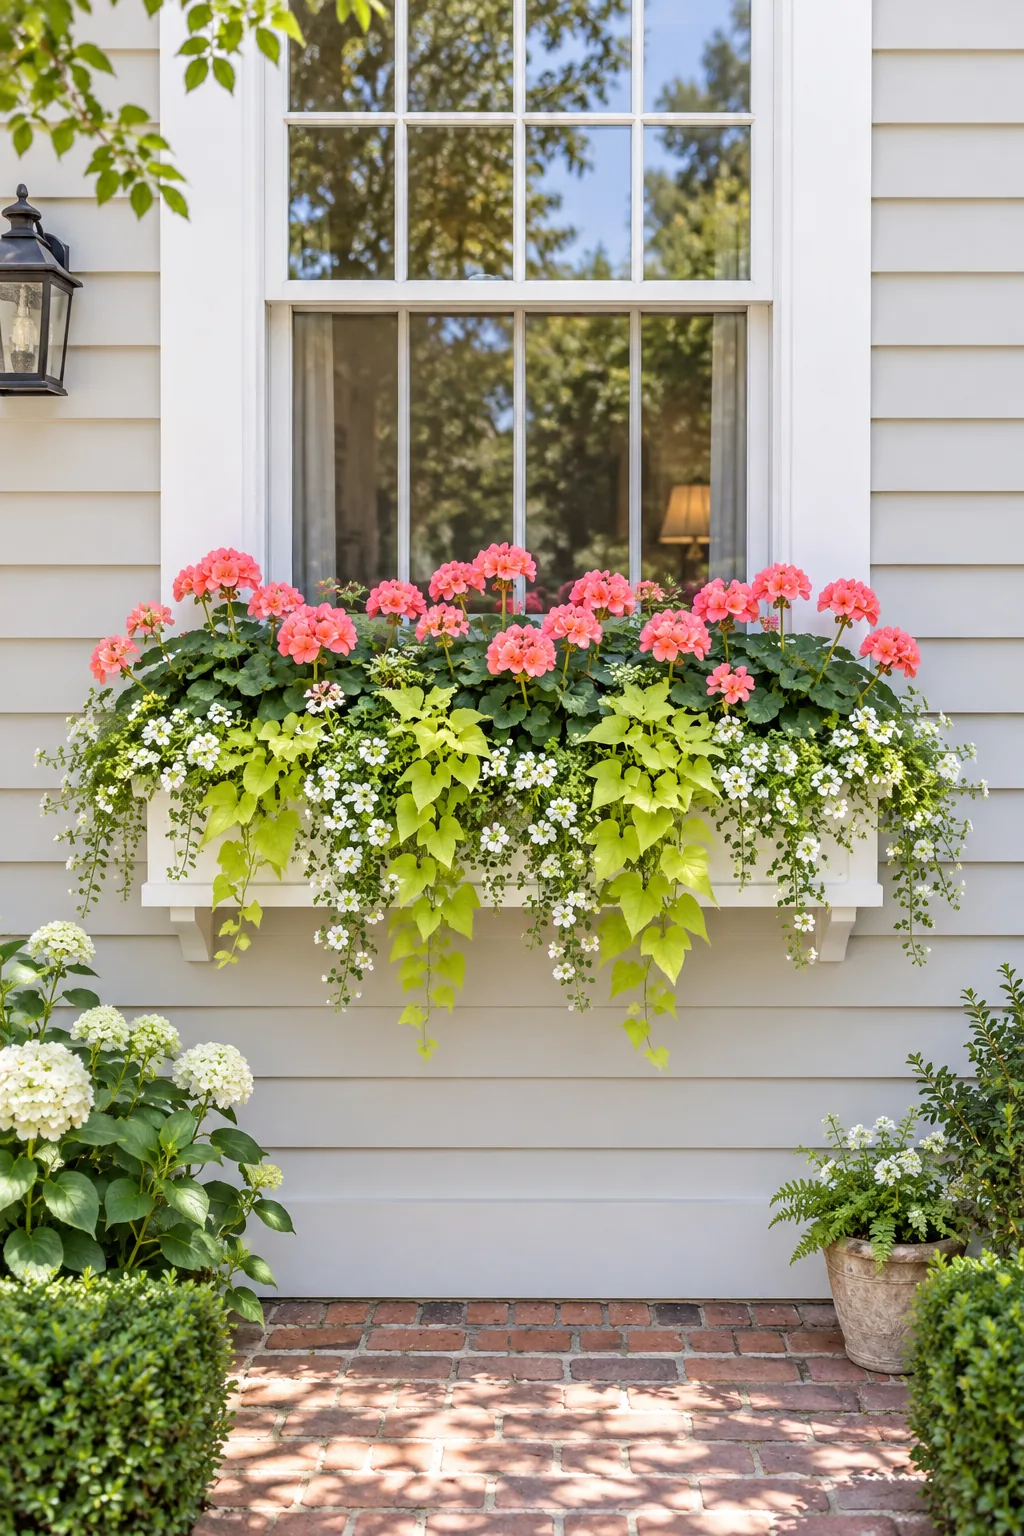
Scaling this dense, overflowing design to fit your specific home exterior requires matching your container length to the correct number of thrillers and spillers. Print the full cheat sheet to take these exact plant counts directly to the local garden center for easy shopping.
| Box Length | Back Row (Uprights) | Front Row (Trailers) | Total Plants |
|---|---|---|---|
| 24 inches | 3 pink geraniums | 2 sweet potato vines, 2 bacopa | 7 plants |
| 30 inches | 4 pink geraniums | 3 sweet potato vines, 2 bacopa | 9 plants |
| 36 inches | 5 pink geraniums | 3 sweet potato vines, 3 bacopa | 11 plants |
| 42 inches | 5 pink geraniums | 4 sweet potato vines, 3 bacopa | 12 plants |
| 48 inches | 6 pink geraniums | 4 sweet potato vines, 4 bacopa | 14 plants |
| 60 inches | 8 pink geraniums | 5 sweet potato vines, 5 bacopa | 18 plants |
Window Box Styles for Every Exterior
Find the perfect plant palette and container material to match your home's unique architecture.
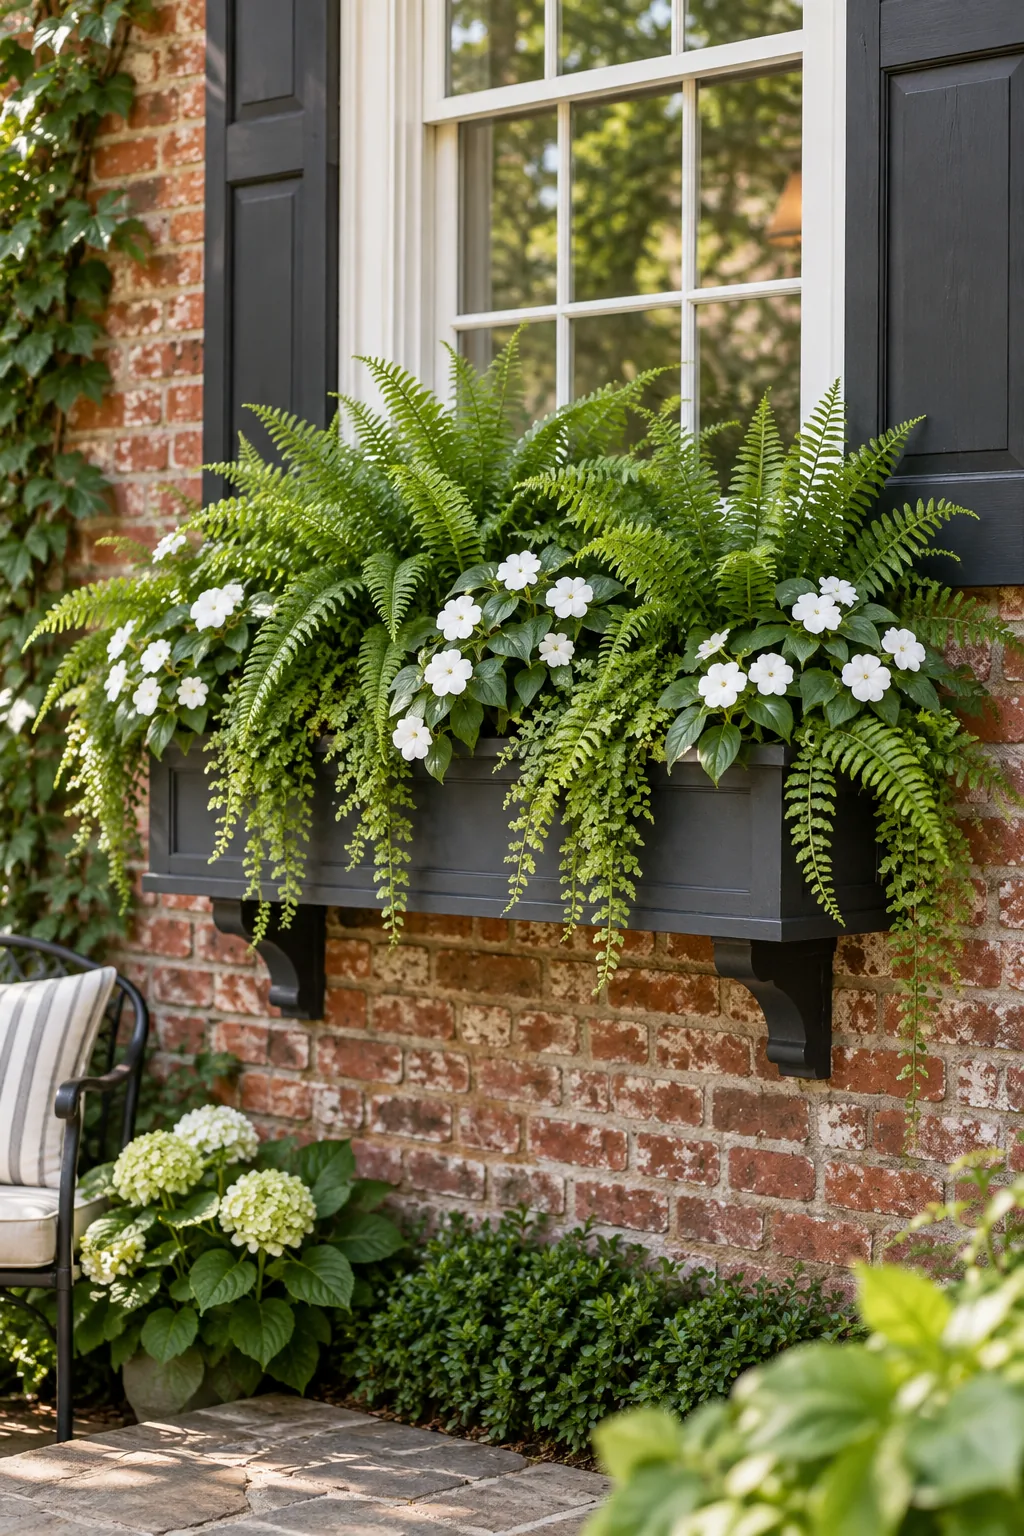
Shade-loving fern display: Swap sun-loving geraniums for lush ferns and white impatiens to brighten up a dark, north-facing brick wall.
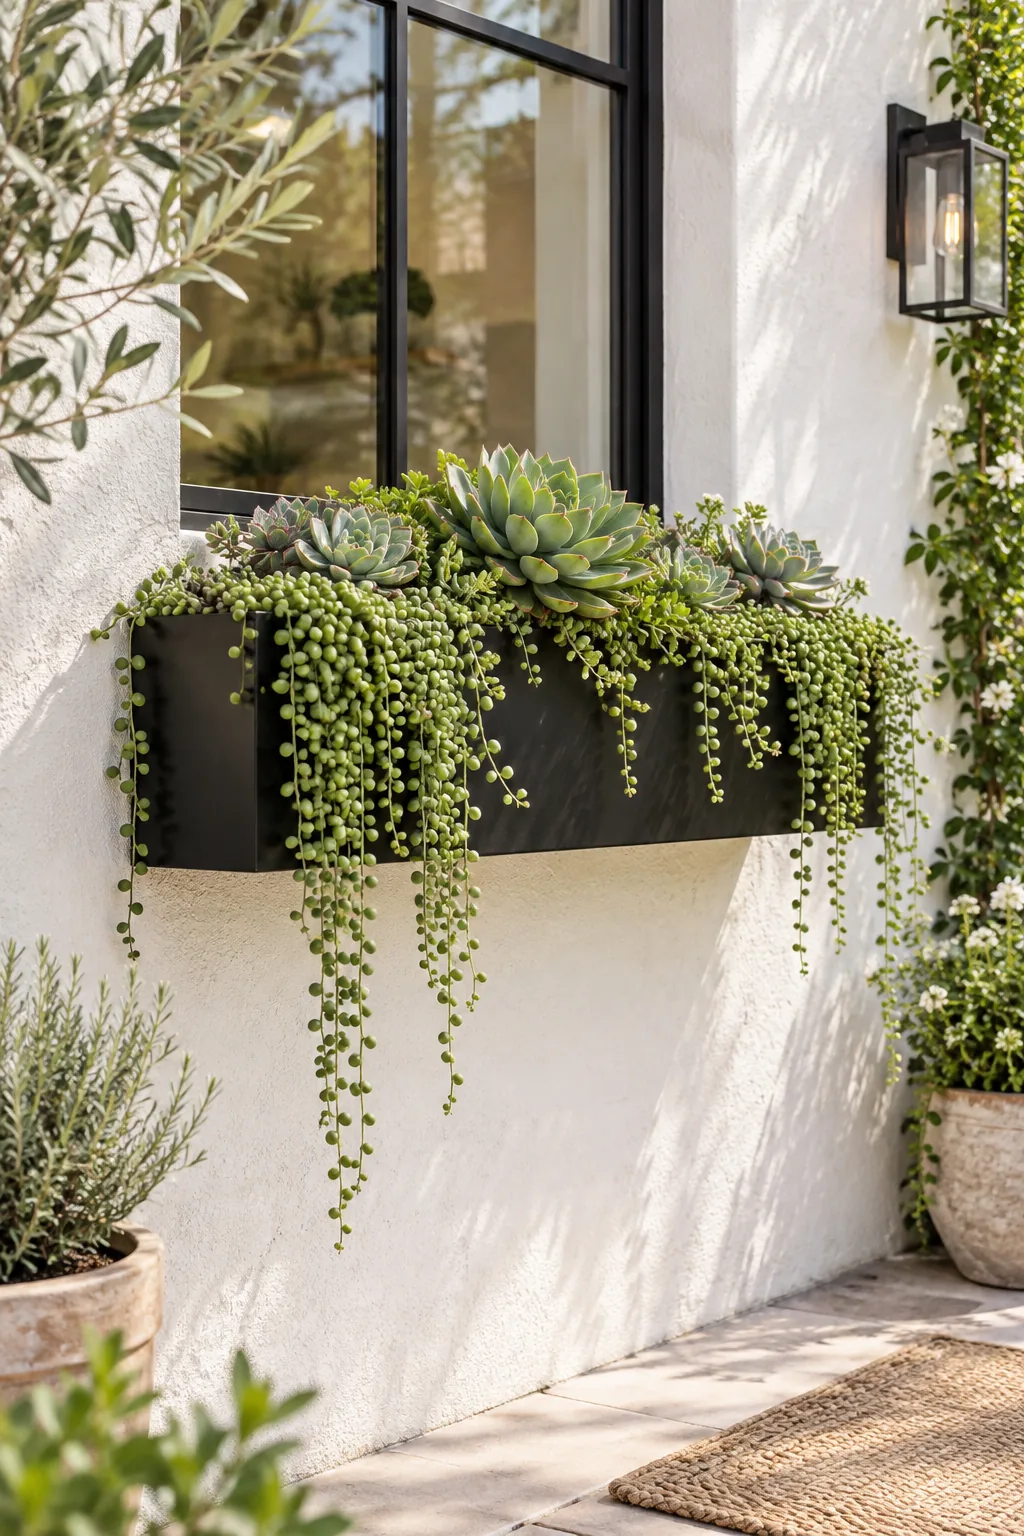
Modern succulent metal box: Use a sleek matte black trough filled with trailing string of pearls and structural echeveria for a low-water contemporary aesthetic.
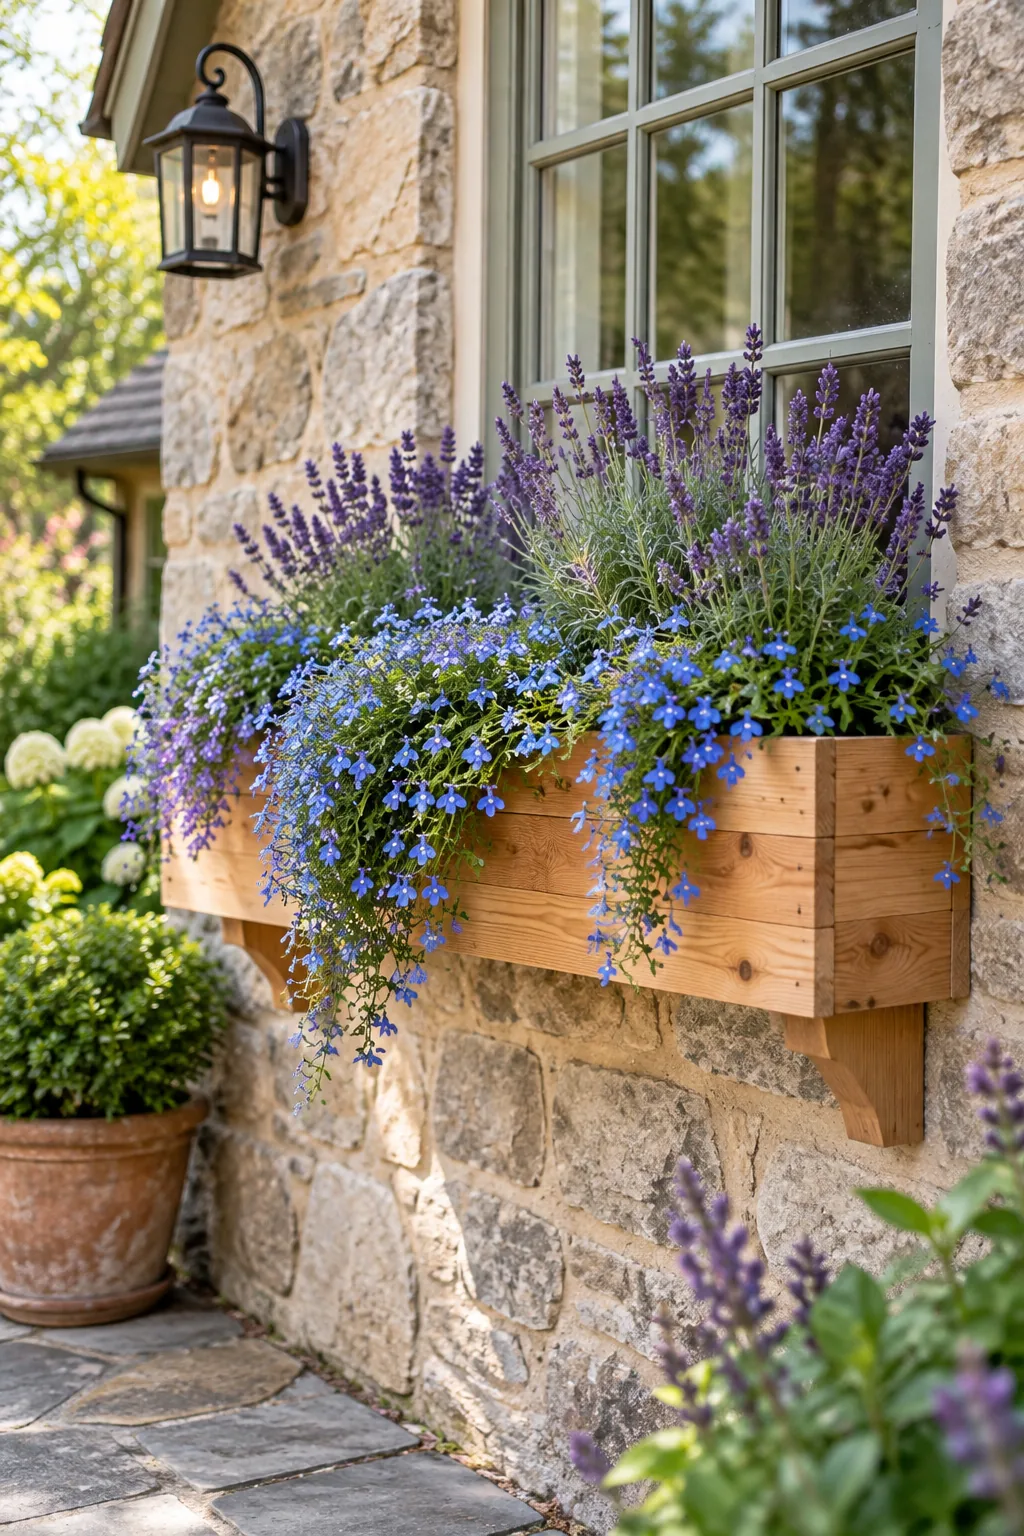
Rustic lavender wood planter: Pair fragrant purple lavender with spilling blue lobelia in a raw cedar box to complement a cozy stone cottage exterior.
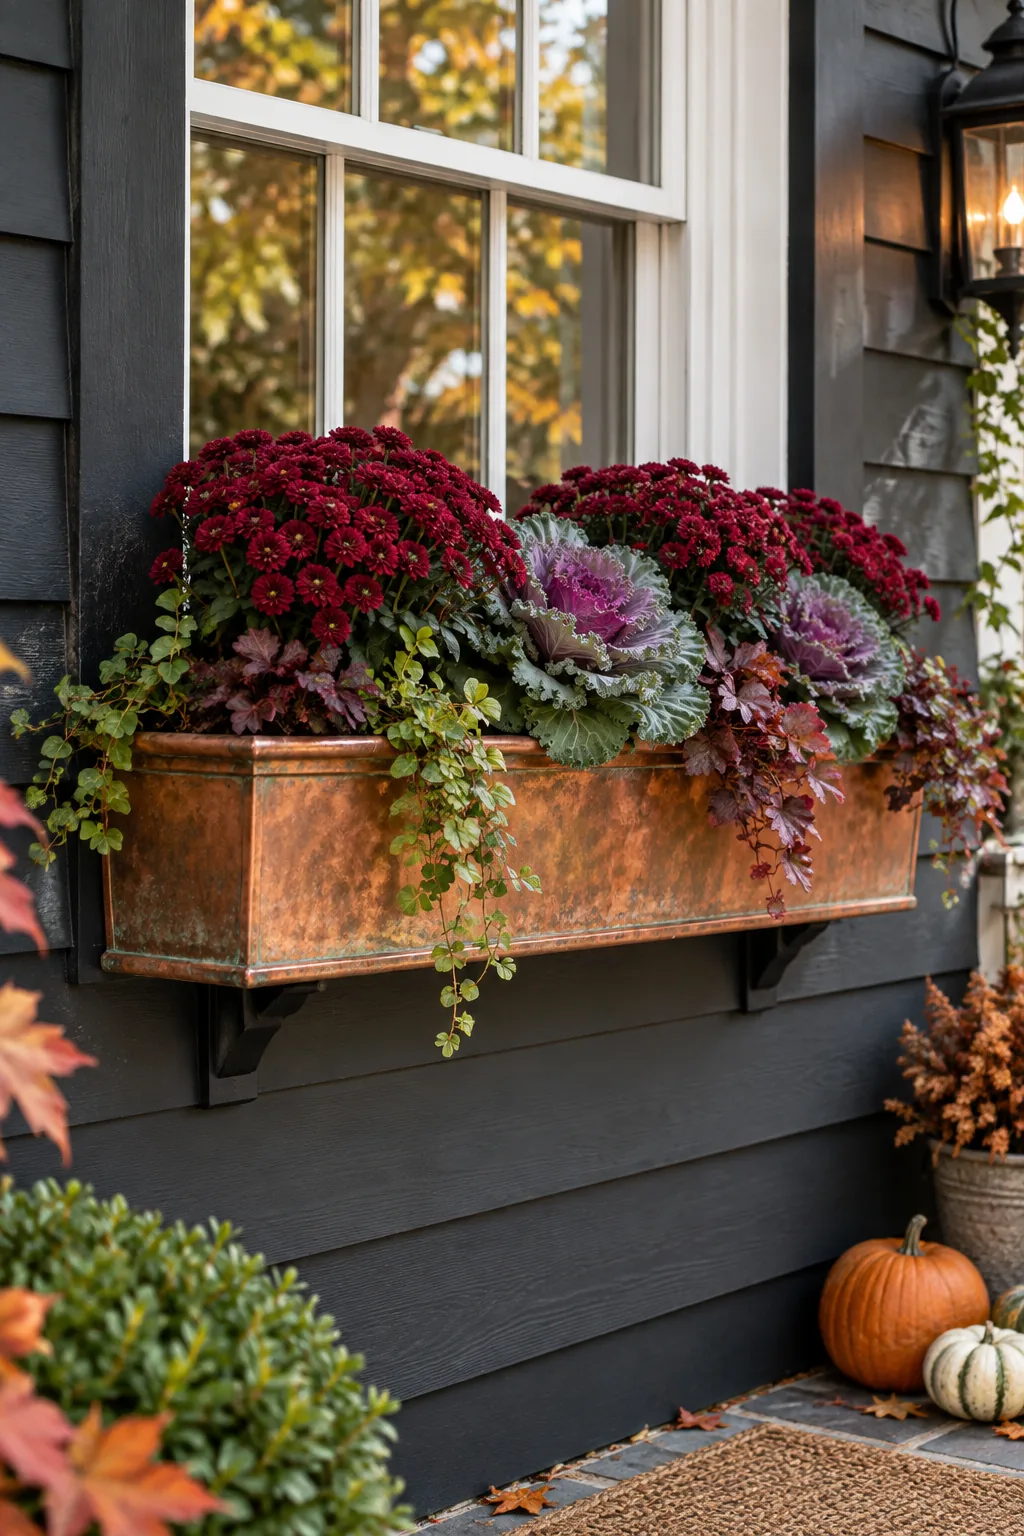
Autumn copper window box: Transition into cooler weather with deep burgundy mums and ornamental cabbage housed in a rich, weathering copper container.