
Simple Side of House Landscaping: Weekend Plan & Checklist
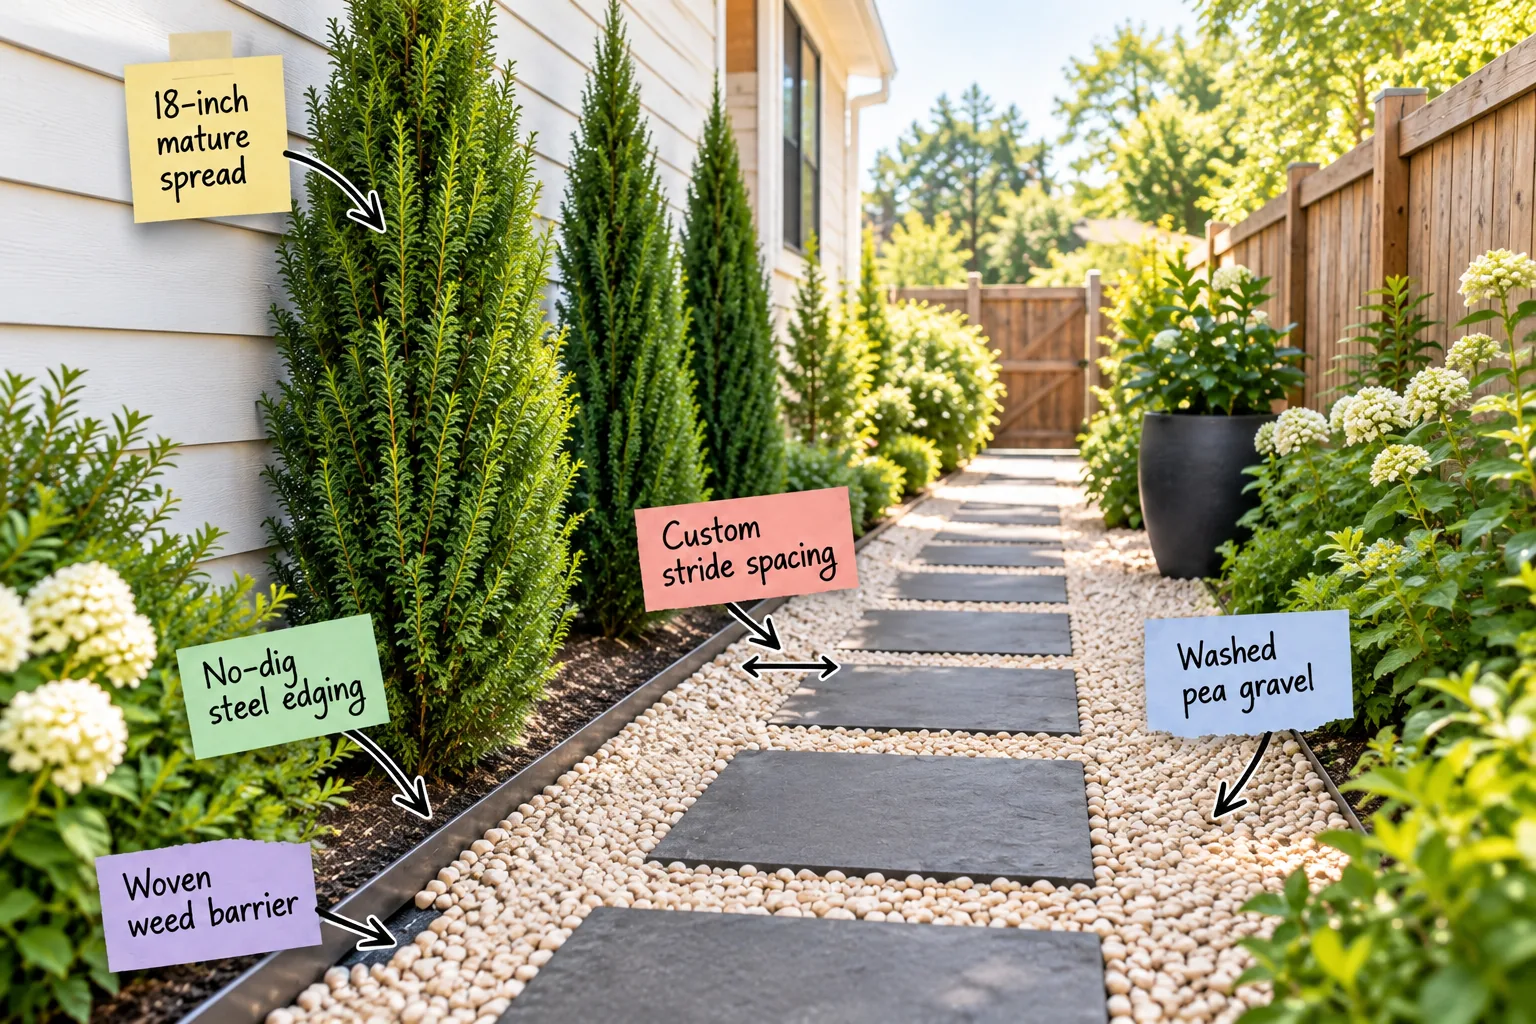
Upgrade that neglected narrow side yard this weekend with our exact material calculator and step-by-step installation checklist to finally build the clean, modern path you’ve been dreaming of.
Planning Your Weekend Side Yard Materials
Calculate your exact material needs before starting by measuring the total length and width of your side yard to determine the square footage for the weed barrier and gravel volume.
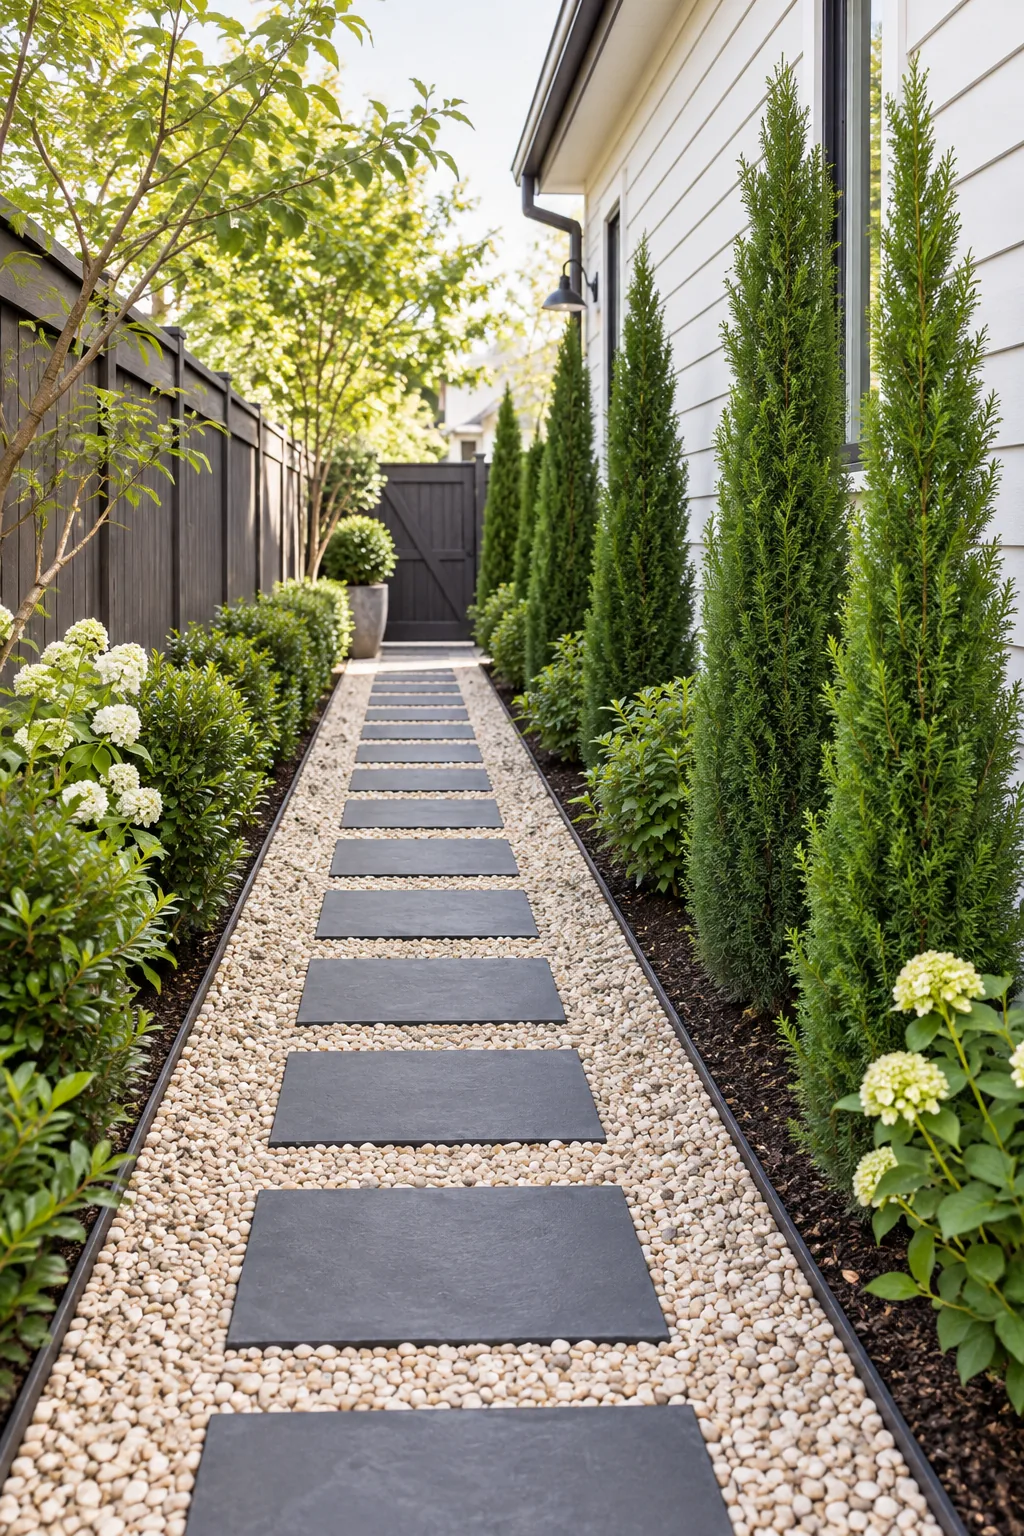
Before heading to the landscape supply yard, finalize your exact project dimensions to prevent multiple trips and over-ordering heavy materials.
Calculating the Total Gravel Volume
Take the guesswork out of ordering by multiplying your total path square footage by the planned 2-inch depth to determine exactly how many cubic yards of washed pea gravel you need for a single, stress-free delivery.
Assessing the Existing Side Yard Conditions
Before purchasing your landscaping supplies, grab a cup of coffee and carefully evaluate the current state of your narrow side yard to spot any hidden drainage issues, buried utility lines, or uneven grading that needs correcting first.
Marking the Path Boundaries
Use brightly colored marking paint or a simple string line to outline the exact perimeter of your new walkway, ensuring the borders run perfectly parallel to your home’s exterior siding so the final result looks intentionally designed.
Excavating the Walkway Trench
Dig out the marked area to a consistent depth of about 3 inches using a flat spade, removing all existing turf, aggressive roots, and loose topsoil to create a highly stable, flat base for your incoming materials.
Preparing the Soil Base for Proper Drainage
A lasting gravel path begins with a perfectly graded soil foundation that slopes gently away from your home’s foundation to prevent rainwater from pooling against the siding and causing expensive structural damage over time.
| Distance from house | Required drop |
| 1 foot | 1/4 inch |
| 3 feet | 3/4 inch |
| 5 feet | 1.25 inches |
Verify the slope using a standard level resting on a long, straight board, making minor dirt adjustments with your spade until the bubble indicates a steady, reliable downward angle away from the house.
Compacting the Subgrade Firmly
Use a heavy steel hand tamper to aggressively compact the graded dirt, ensuring your heavy stepping stones will not settle unevenly or sink dangerously after the first heavy rainstorm hits your newly landscaped side yard.
Securing the Woven Weed Barrier
Lay a heavy-duty commercial weed fabric directly over the leveled soil to prevent deep-rooted weeds from ruining the path, running the material slightly up the sides of the trench to create a continuous protective bowl.
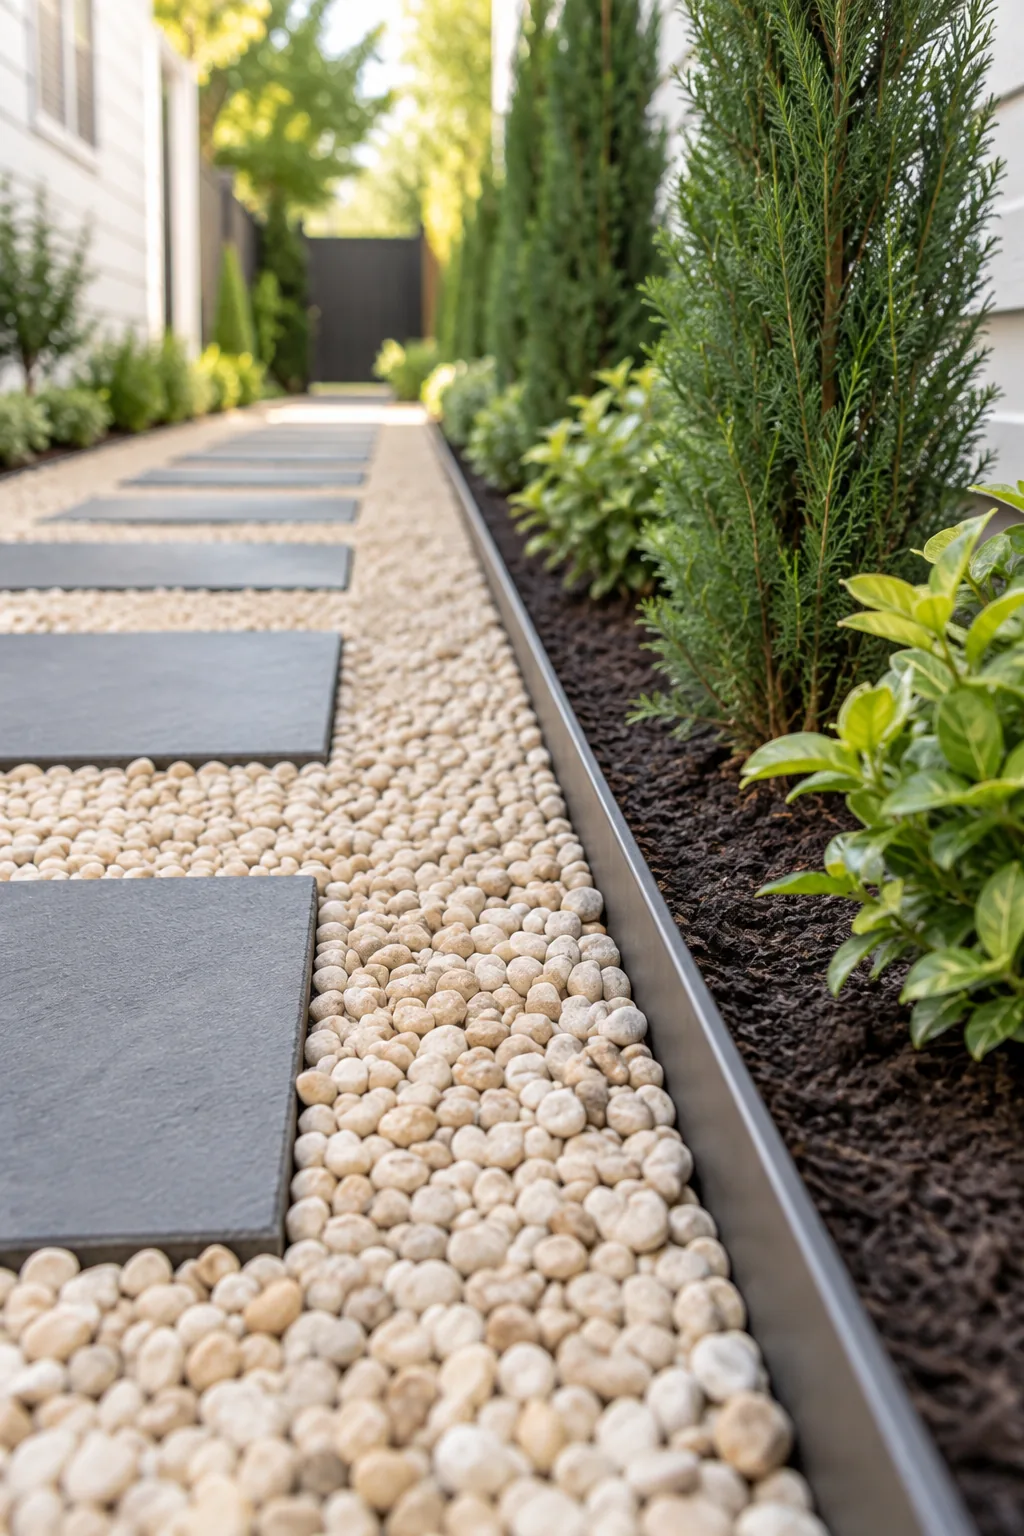
A pristine gravel path relies entirely on the invisible foundation beneath it, making proper fabric installation critical. When I built my first Austin side path, I skimped on staples and the fabric bunched up immediately.
Trimming the Weed Barrier Edges
Once the fabric is pinned securely into the soil, use a sharp utility knife to trim any excess material extending beyond the trench, ensuring no ugly black plastic remains visible once the metal edging and gravel are installed.
Creating Crisp Lines with No-Dig Steel Edging
Separate the path from adjacent soil beds using a rigid metal border to keep the small stones neatly contained within the walkway and completely out of your dedicated planting zones.
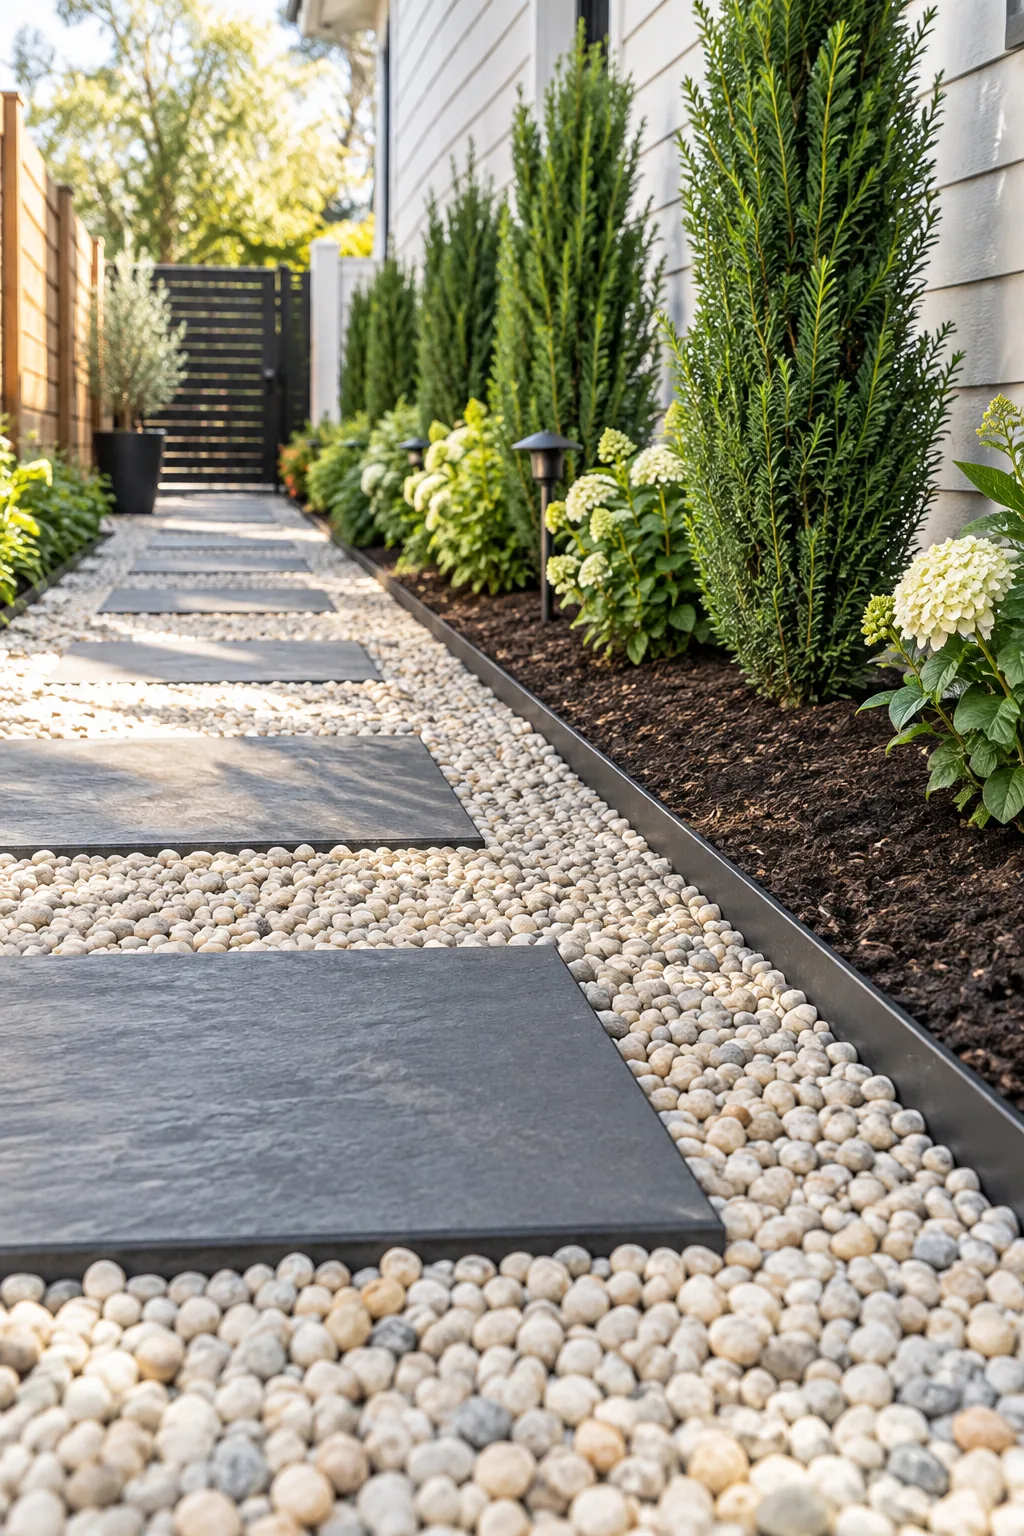
Position the metal strips so the top edge sits about half an inch above the planned gravel line, creating a clean, modern aesthetic that visually defines the space while holding back mulch.
Anchoring the Metal Edging Spikes
Drive the included heavy-duty steel spikes through the pre-drilled edging tabs every 2 feet along the entire border, striking them firmly with a rubber mallet to maintain a perfectly straight line that withstands accidental lawnmower bumps.
Connecting Multiple Edging Sections
Slide the overlapping ends of the steel borders together using the built-in locking tabs, ensuring the joints sit entirely flush so no loose gravel can escape through the seams and spill into your adjacent garden beds over time.
Filling with Washed Pea Gravel
Pour a 2-inch deep layer of pale, smooth stones to create a comfortable walking surface that drains instantly during heavy downpours, completely eliminating the puddles that used to plague your narrow side yard.
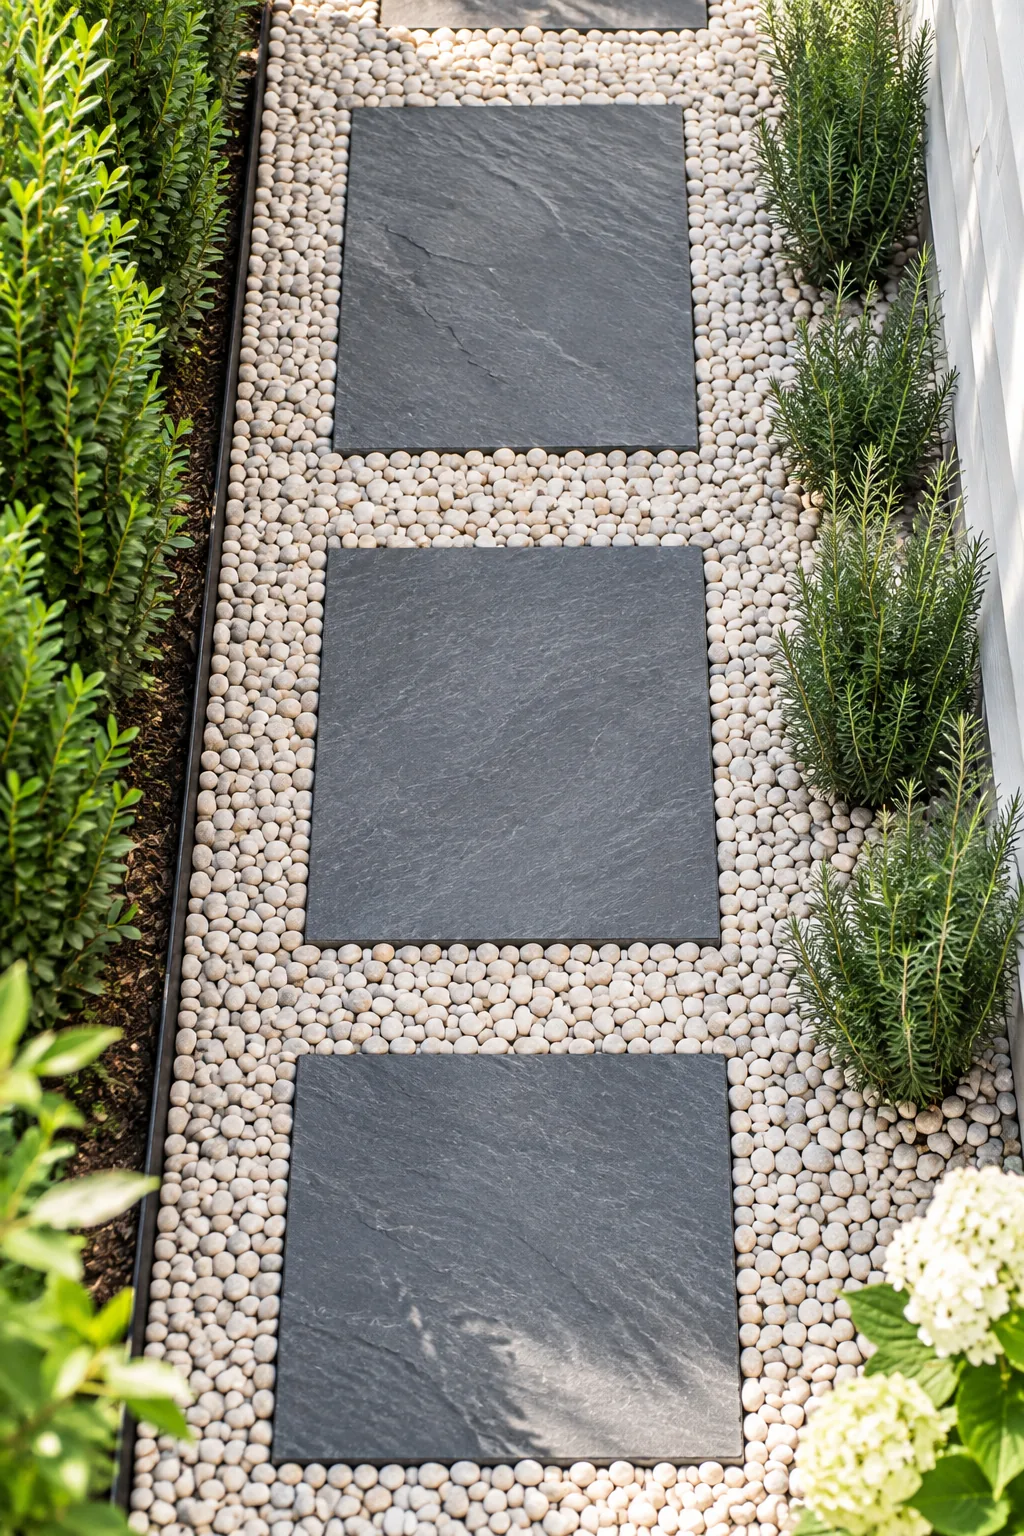
Choosing a washed variety prevents a muddy silt layer from forming at the bottom of your path during the first rain, keeping the entire walkway permanently clean and highly functional.
Raking the Gravel to a Level Depth
Spread the dumped gravel evenly across the weed barrier using a heavy steel bow rake, pulling the stones smoothly from edge to edge until the entire surface sits perfectly flat and ready to support the stepping stones.
Choosing the Right Stepping Stone Material
Select heavy, dark-colored concrete or natural slate pavers that provide a strong visual contrast against the pale gravel, ensuring they are thick enough to support your full body weight without cracking under daily pressure.
Calculating Custom Stride Spacing
Position the dark rectangular stepping stones based on your natural walking gait rather than relying on a standard visual template or arbitrary spacing measurements that might feel awkward to navigate.
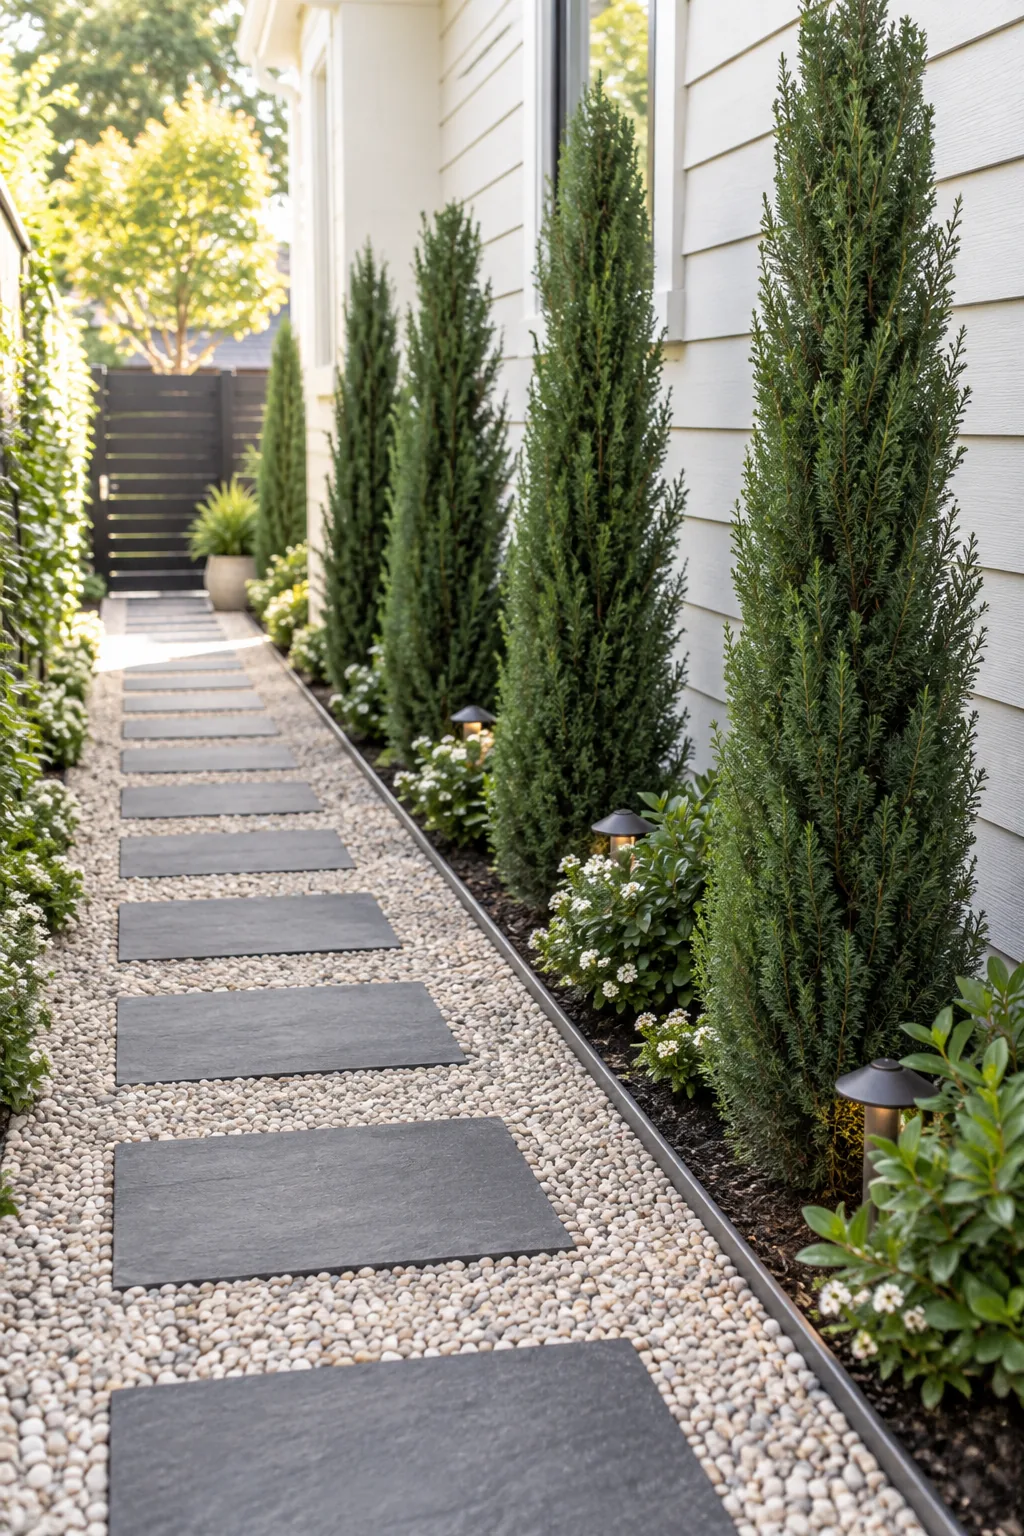
Taking the time to adjust the stone placement to your own body makes the path feel completely effortless to use every single day.
Testing the Stepping Stone Layout
Walk casually down the unanchored stones several times at your normal pace, shifting individual pavers slightly forward or backward until you no longer have to stretch, shorten, or stutter your steps to hit the center.
Setting and Stabilizing the Stepping Stones
Wiggle each heavy paver firmly into the gravel bed until the top surface sits perfectly flush with the surrounding stones, eliminating any dangerous tripping hazards and locking the heavy blocks permanently into place along the finished walkway.
Selecting Shrubs with an 18-Inch Mature Spread
Plant tall, narrow evergreens against the house siding to add vertical interest without encroaching on your newly built walkway or aggressively brushing against your clothes as you pass by.
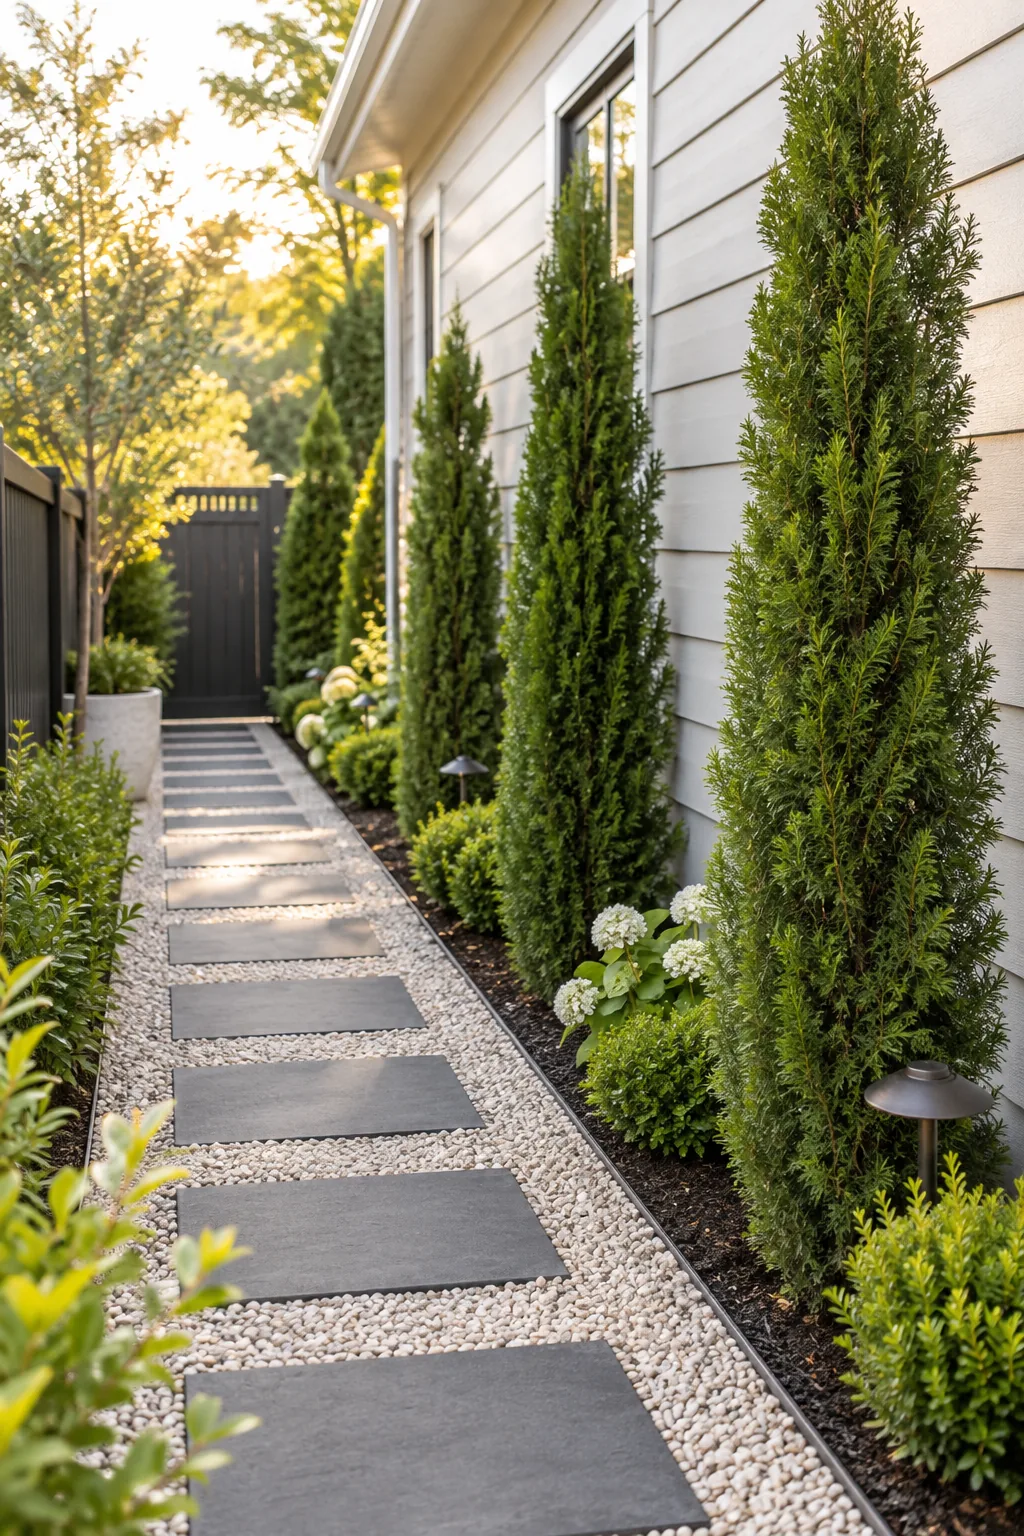
Check the plant tags specifically for the mature width, ensuring they will not exceed an 18-inch mature spread when fully grown. I once planted standard boxwoods here, and within three years they completely swallowed my walkway.
Digging the Nursery Planting Holes
Excavate planting holes twice as wide as the original nursery pots, carefully keeping the excavated dirt entirely off your pristine new gravel path by working exclusively from the outer edge of the adjacent soil bed.
Positioning the Evergreen Shrubs
Place each narrow shrub into its hole so the root flare sits slightly above the surrounding soil level, allowing the roots to breathe properly and preventing long-term rot issues that commonly kill side yard foundation plantings.
Watering and Mulching the Plantings
Soak the newly planted evergreens deeply at the base, then apply a thick layer of dark hardwood mulch around the stems to retain crucial moisture during hot summer afternoons while keeping aggressive weeds from stealing soil nutrients.
Adding Low-Voltage Landscape Lighting
Install small, bronze path lights along the outer edge of the walkway to illuminate the stepping stones safely at night, positioning the fixtures exactly halfway between the newly planted evergreen shrubs for balanced lighting.
4 Side Yard Landscaping Looks to Try
Choose a materials palette that perfectly matches your home's exterior style.
Modern Desert Warmth: Swap dark slate for concrete pavers and use warm-toned gravel to complement drought-tolerant sculptural plants.
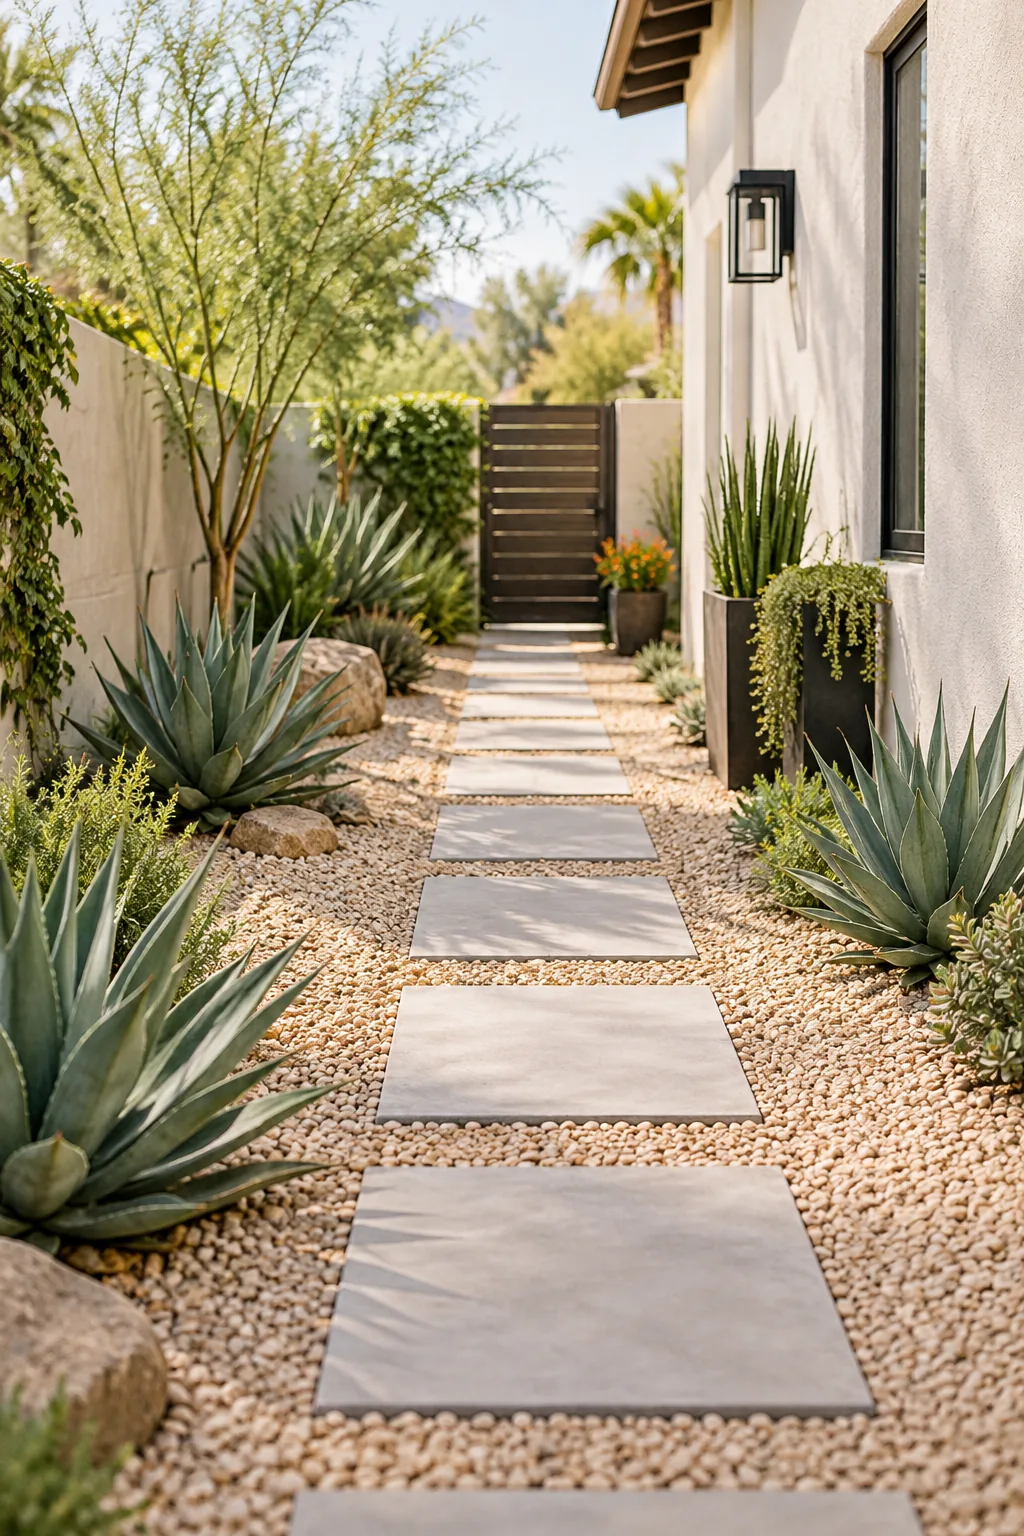
English Cottage Charm: Use reclaimed tumbled bricks instead of gravel to create a romantic, aged look that welcomes creeping ground covers.
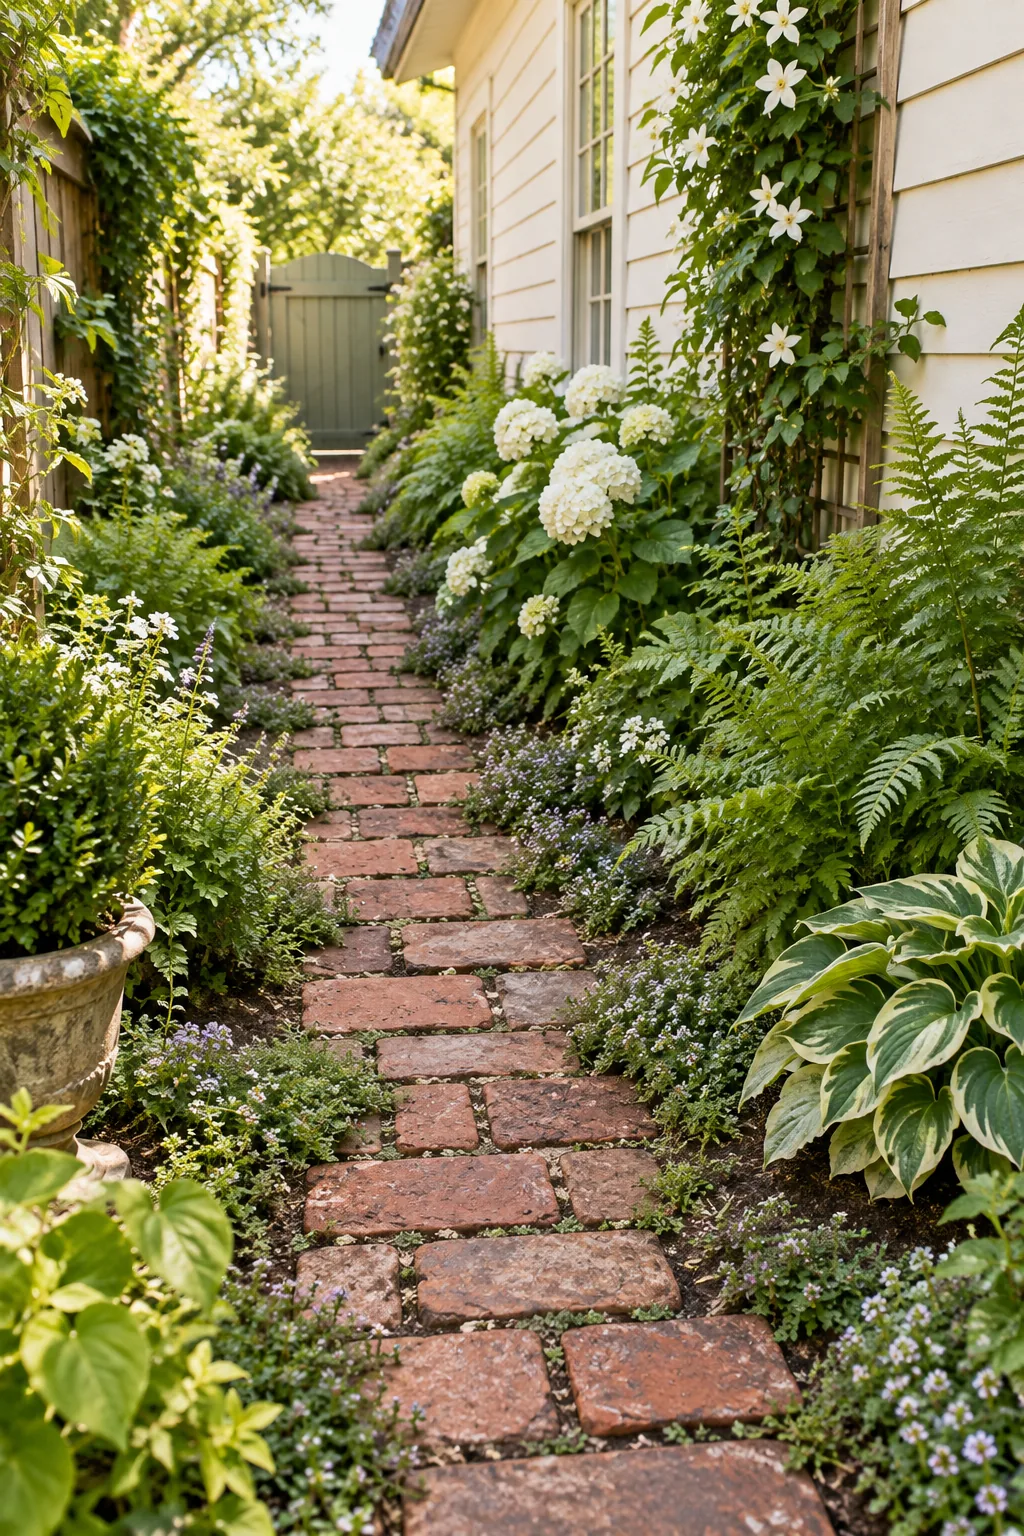
Tranquil Zen Garden: Pair oversized irregular flagstones with smooth, dark river rock for an organic, meditative walking path.
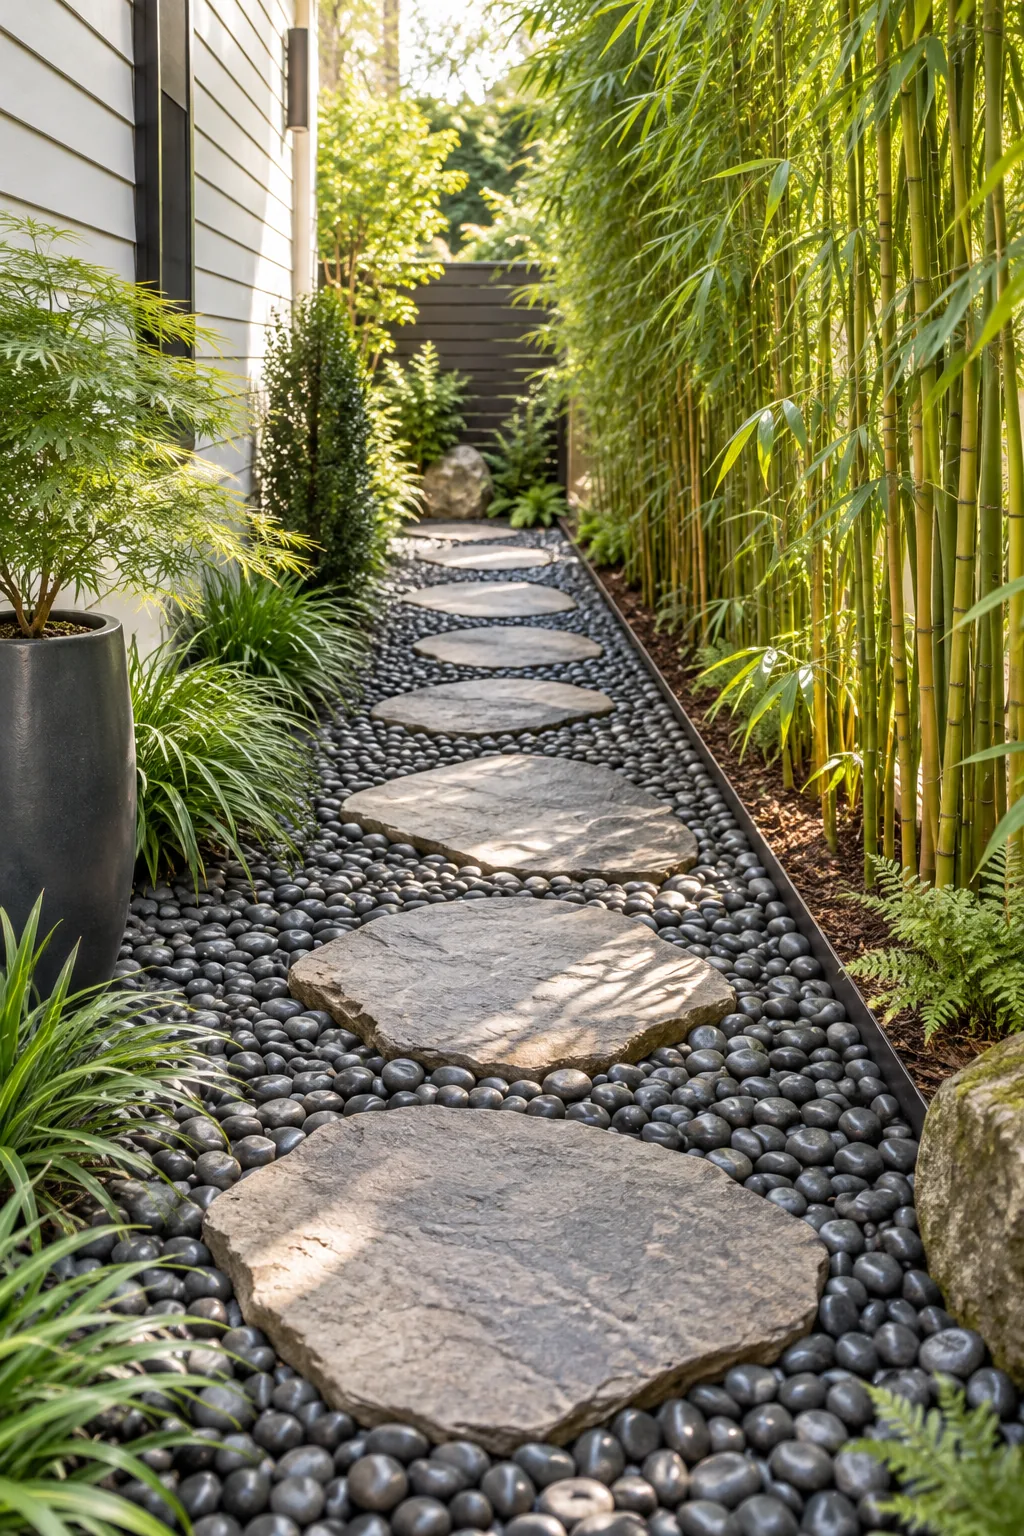
Coastal Contemporary Brightness: Brighten a dark side yard instantly by combining pale travertine stones with a crushed white shell base.
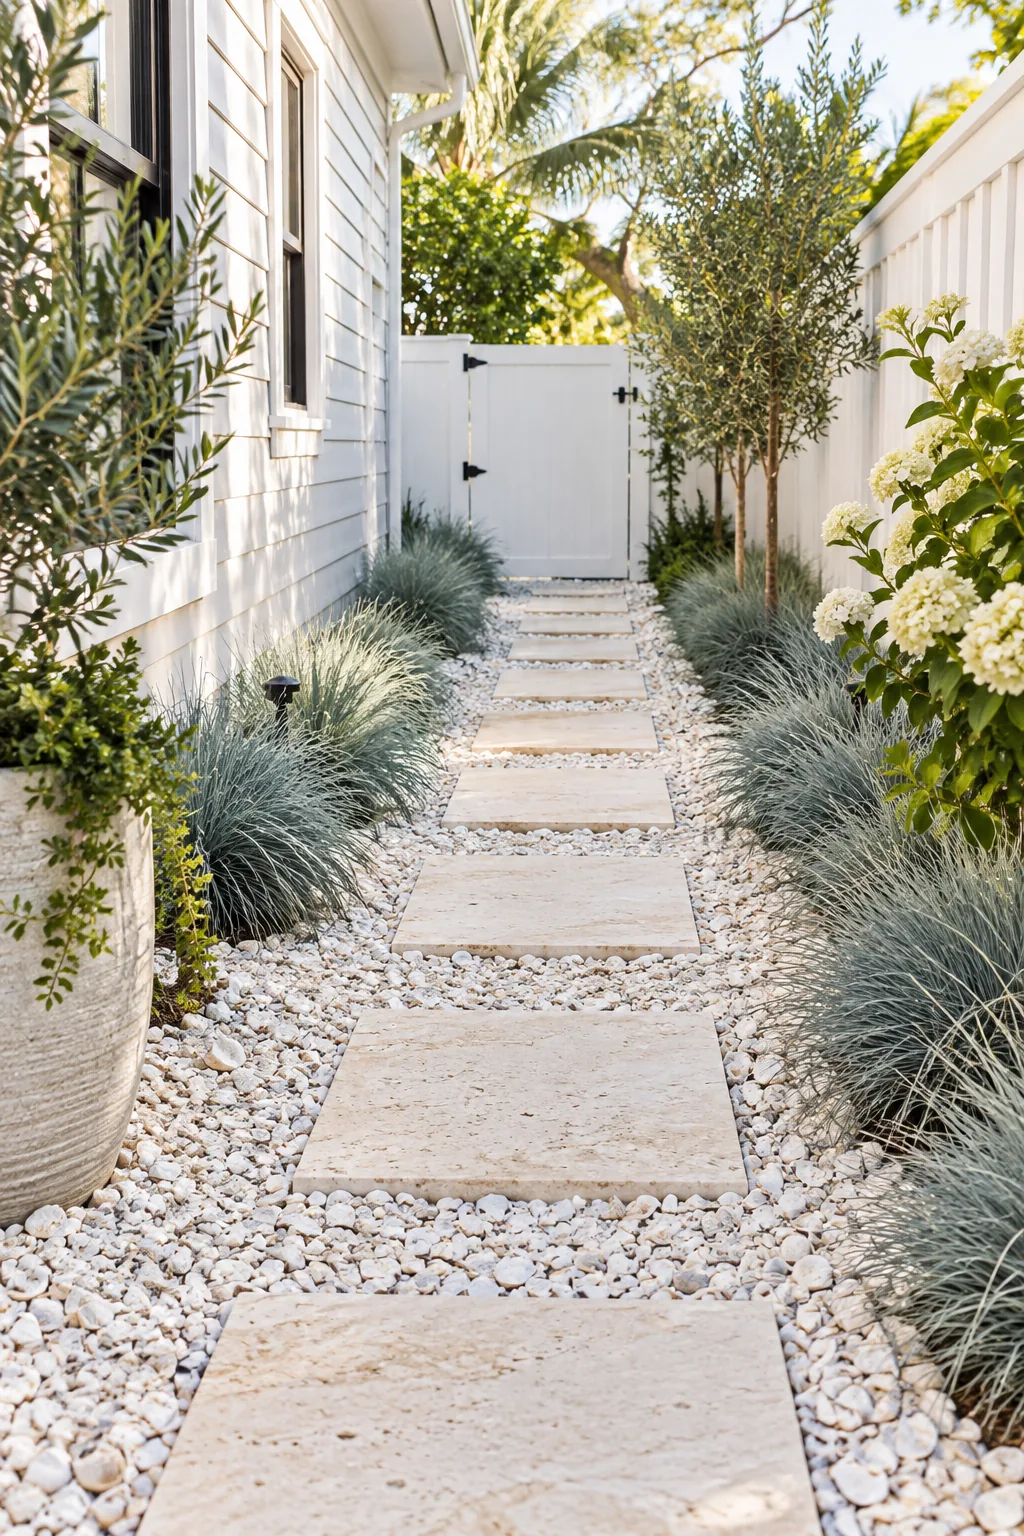
Maintaining a Clean Gravel Path
Keep the side yard looking polished with minimal ongoing effort by clearing seasonal debris before it breaks down and introduces unwanted weed seeds directly into the clean stones.
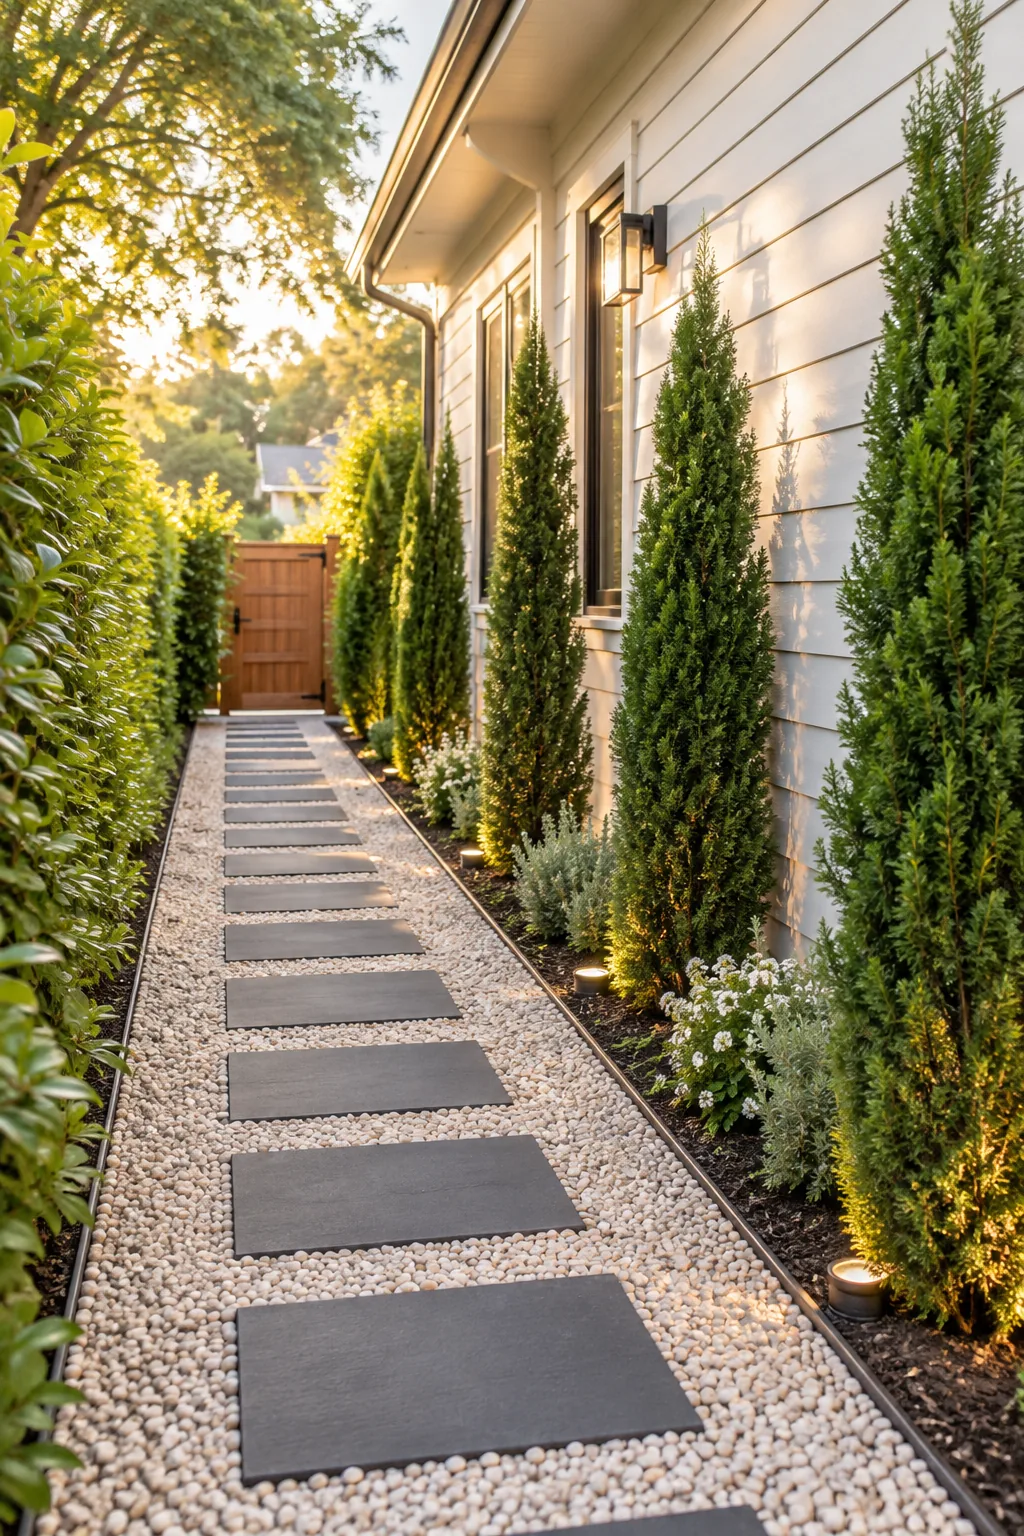
Use a flexible leaf rake lightly over the surface once a month to redistribute any displaced gravel without disturbing the weed barrier below. My weekend rake-down takes exactly five minutes and is genuinely my favorite quiet garden chore.