
11+ Stunning Kitchen Cabinet Crown Molding Ideas for Your Home
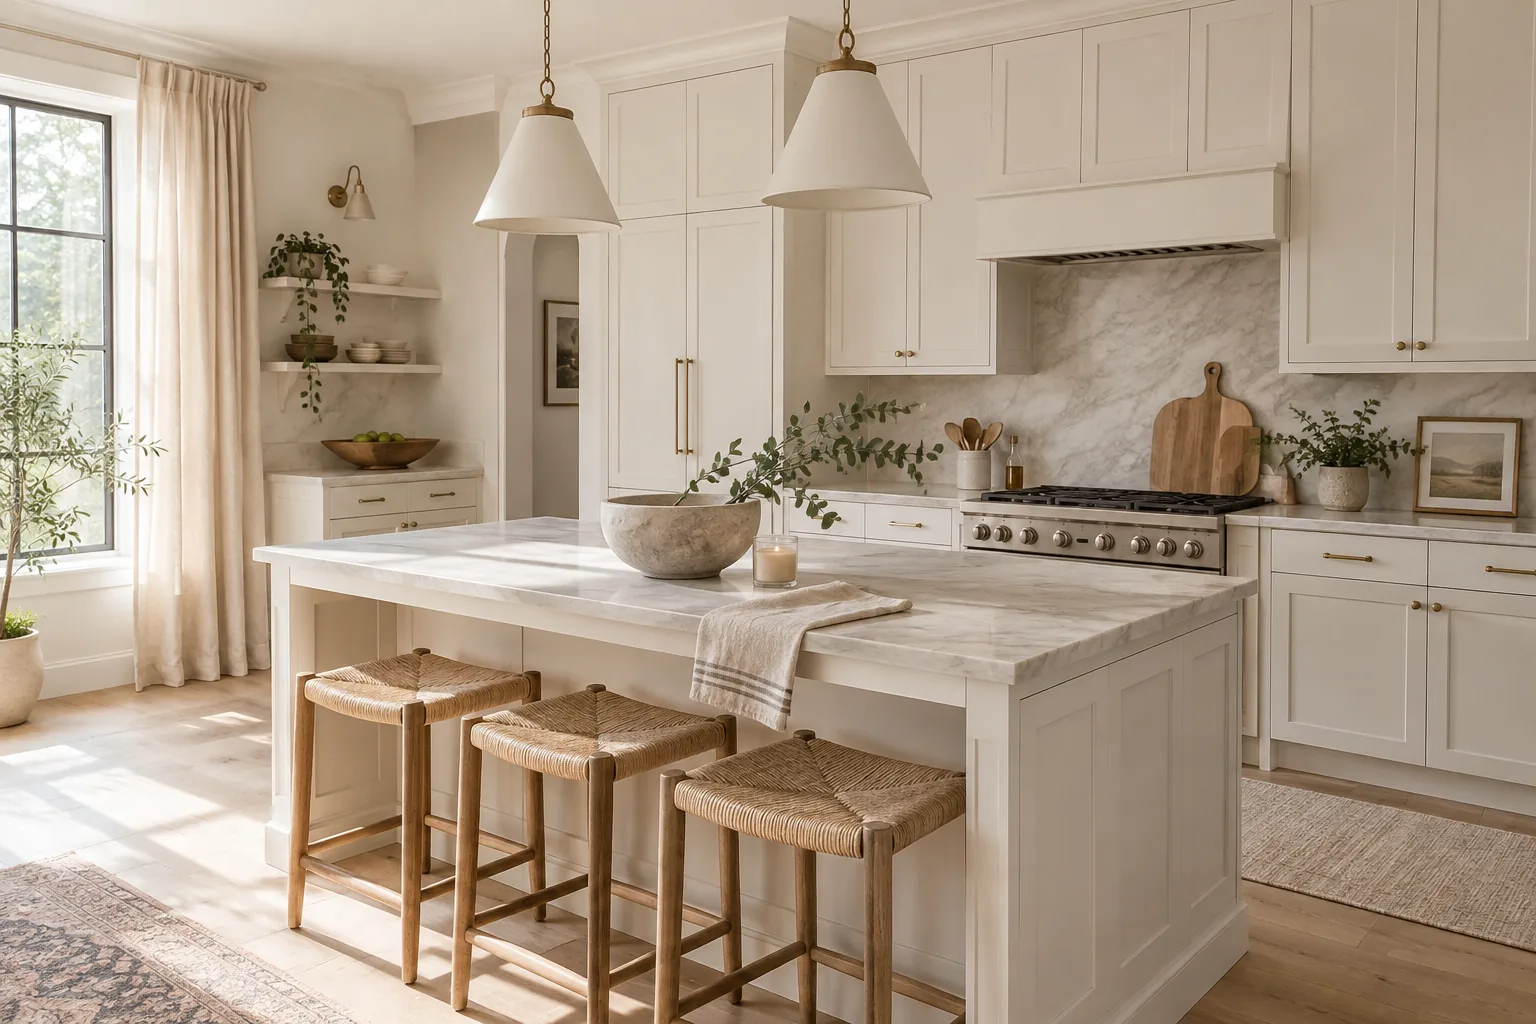
Taking your cabinets all the way to the ceiling completely changes the feel of a kitchen. I love using kitchen cabinet crown molding to bridge that awkward gap and give the room a custom, built-in look.
1. Stacked Fascia Molding
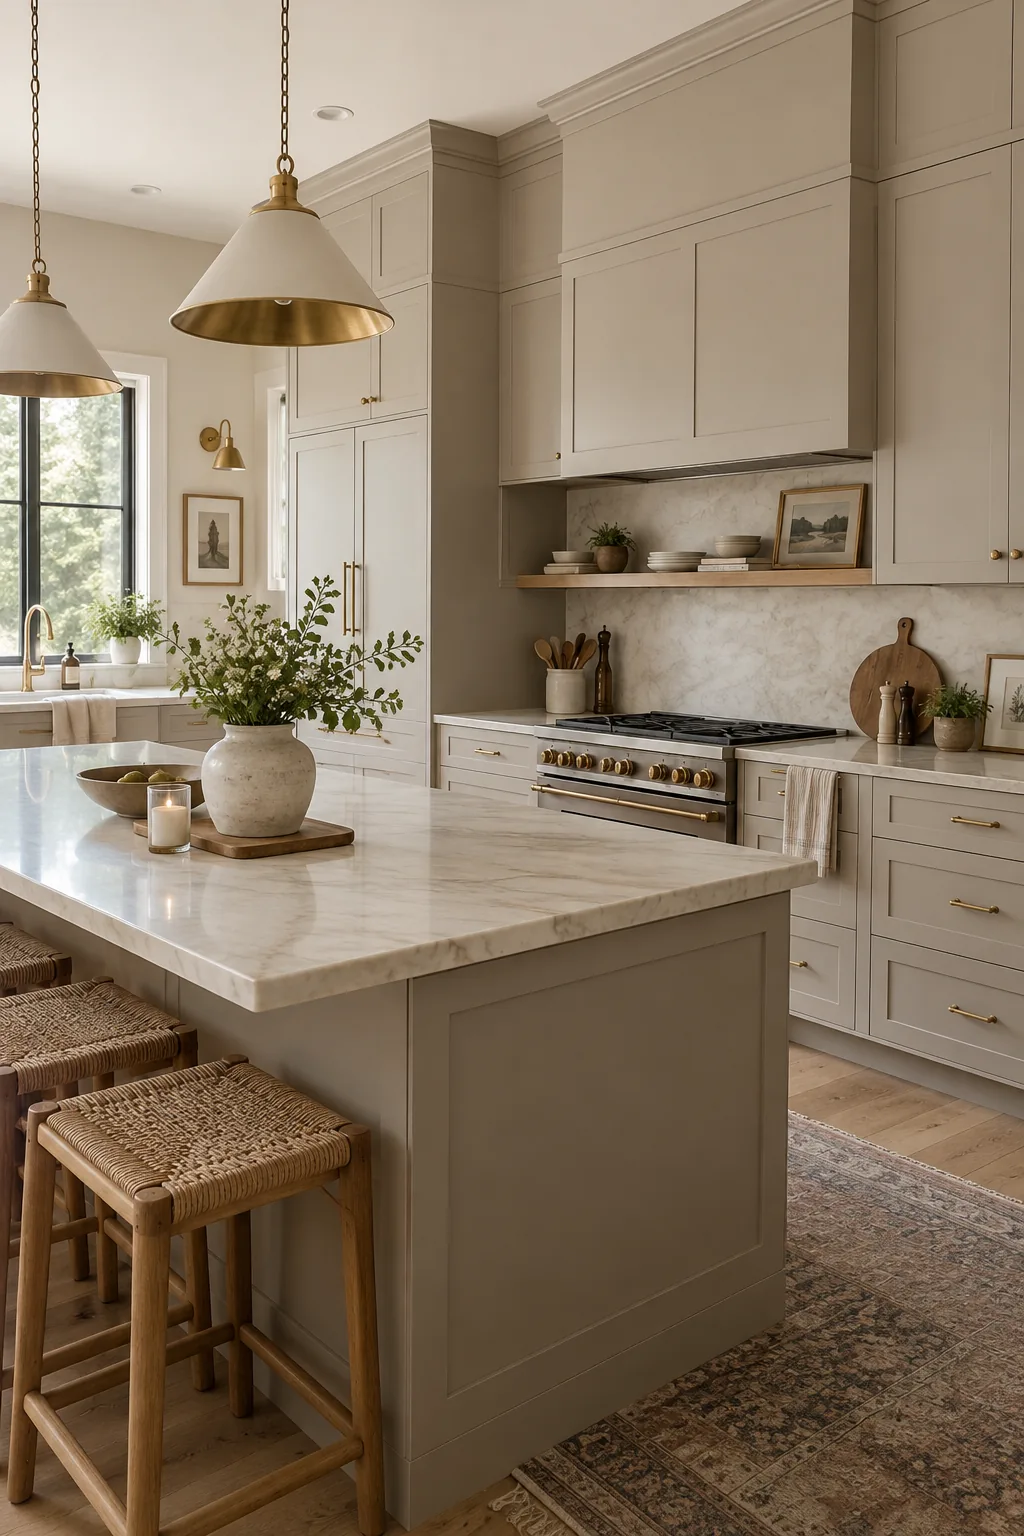
I always suggest a stacked fascia approach when clients have a foot of empty space above their upper cabinets. You just install a flat board vertically above the cabinet box and attach the actual crown to the top of that. It fills the gap perfectly without looking heavy.
Just make sure to match the paint sheen exactly.
Why it works: It creates the illusion of towering custom cabinetry on a standard budget.
2. Simple Shaker Crown
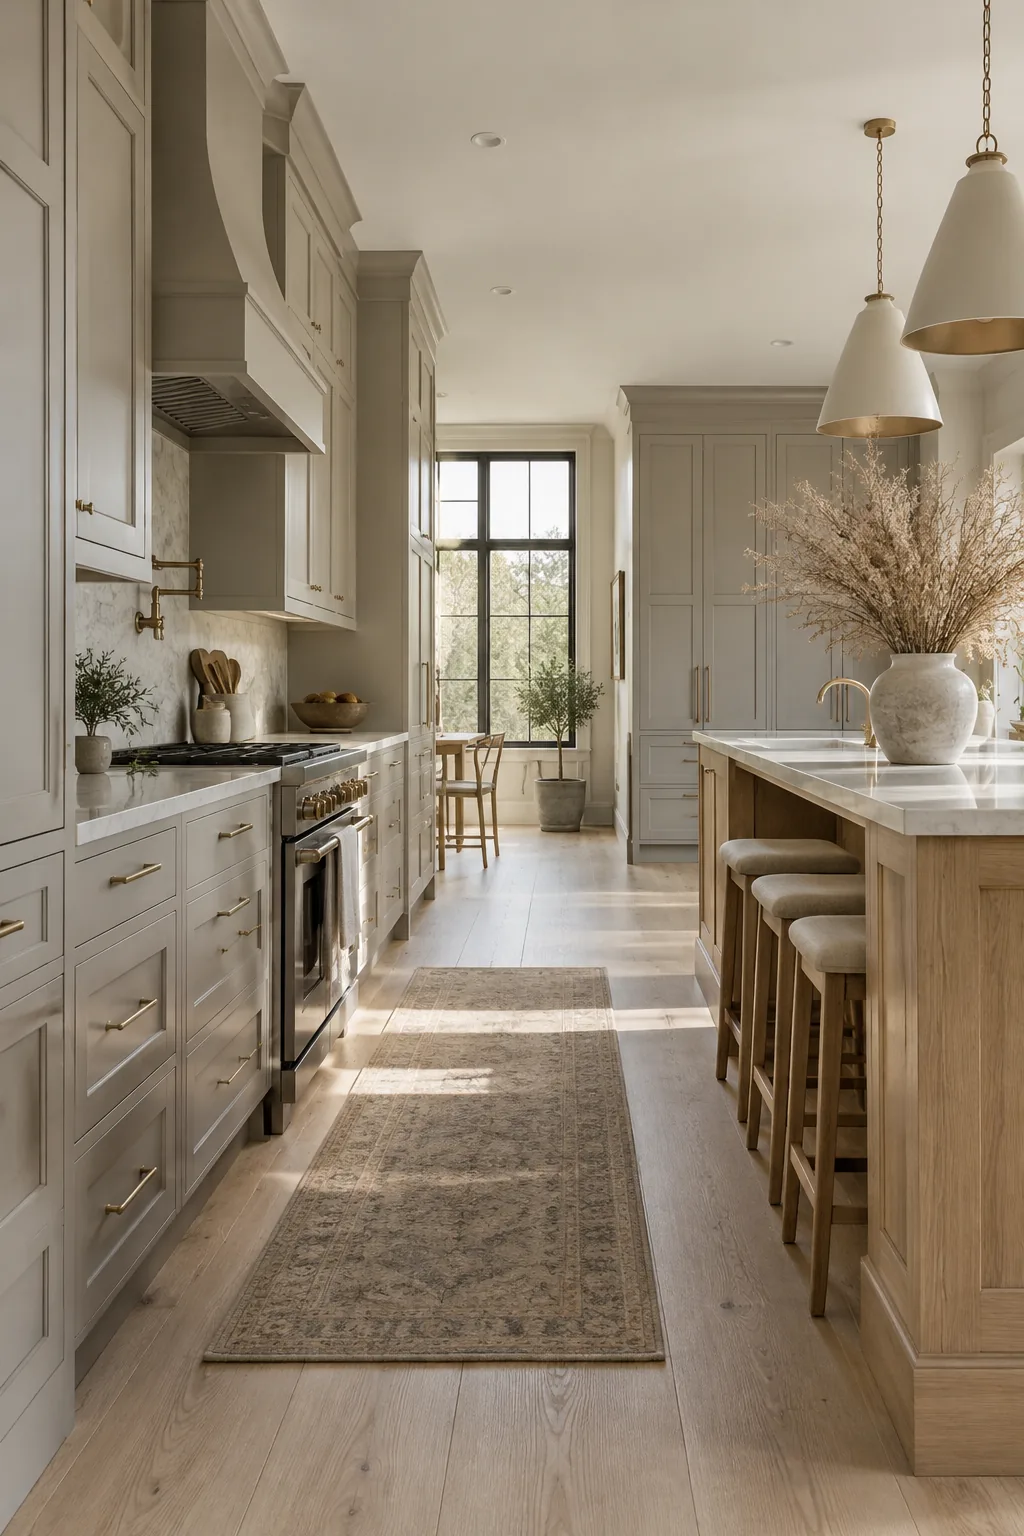
A standard Shaker-style kitchen requires clean lines with zero fussy curves.
We typically use a flat piece of trim angled at 45 degrees to cap off these cabinets. This straight-edge approach mirrors the square panels on the doors below. It keeps the whole design feeling incredibly modern and intentional.
3. Contrasting Ceiling Color
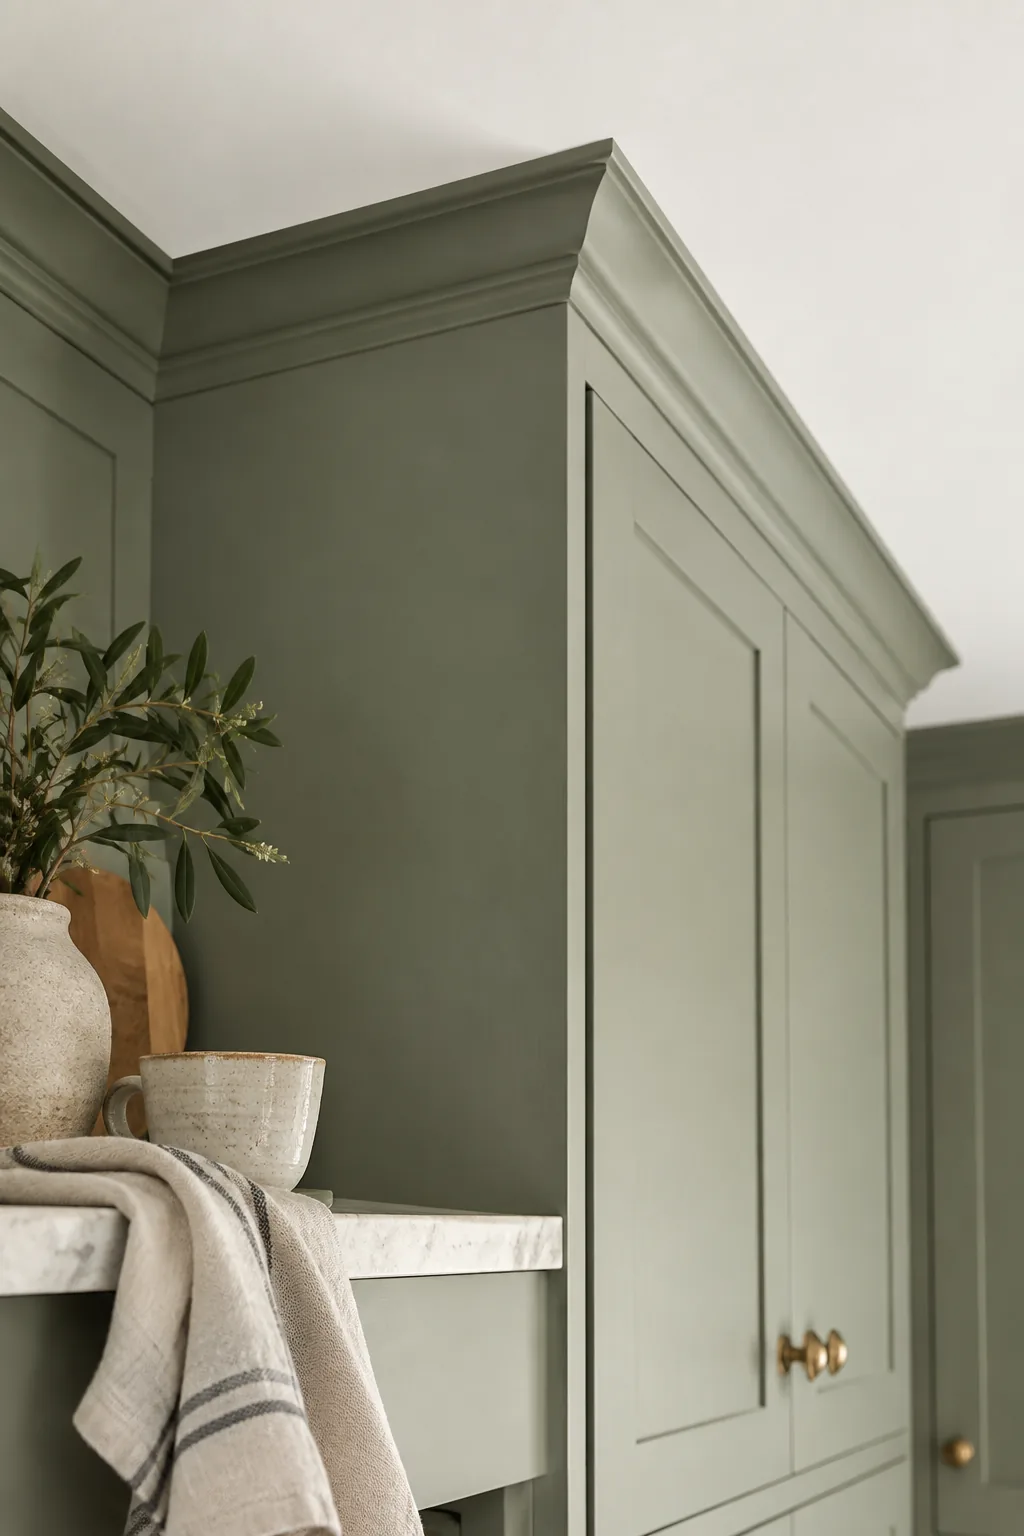
Paint your crown molding the exact same color as your cabinets instead of defaulting to ceiling white. This draws the eye straight up to the ceiling line. The unbroken block of color makes your ceilings feel at least a foot taller than they actually are. It also hides any slight unevenness where the wall meets the drywall. If your ceiling itself is painted a dark color, this cabinet-matched trim provides a gorgeous crisp border.
4. Stepped Traditional Molding
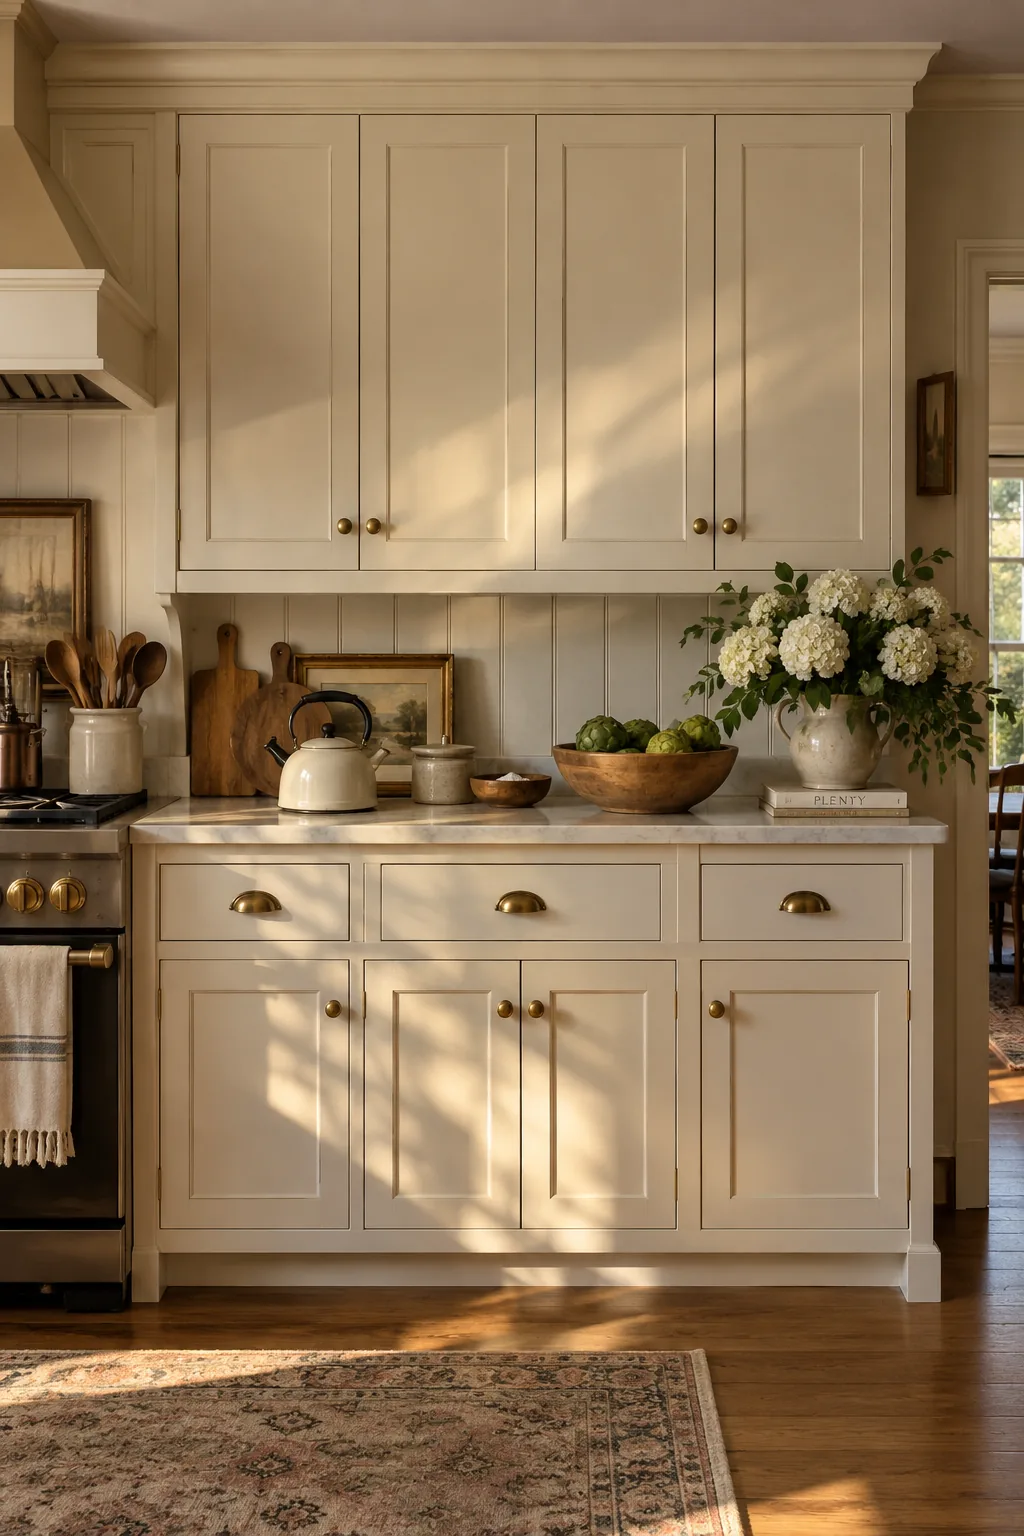
Older homes often feature uneven ceilings that make a single piece of trim look wavy and warped. Using a two-piece stepped molding hides these imperfections beautifully. The flat base board absorbs the ceiling dips, while the top decorative piece stays perfectly level.
Nobody will ever notice the ceiling is slightly sloped.
5. Rustic Wood Beams
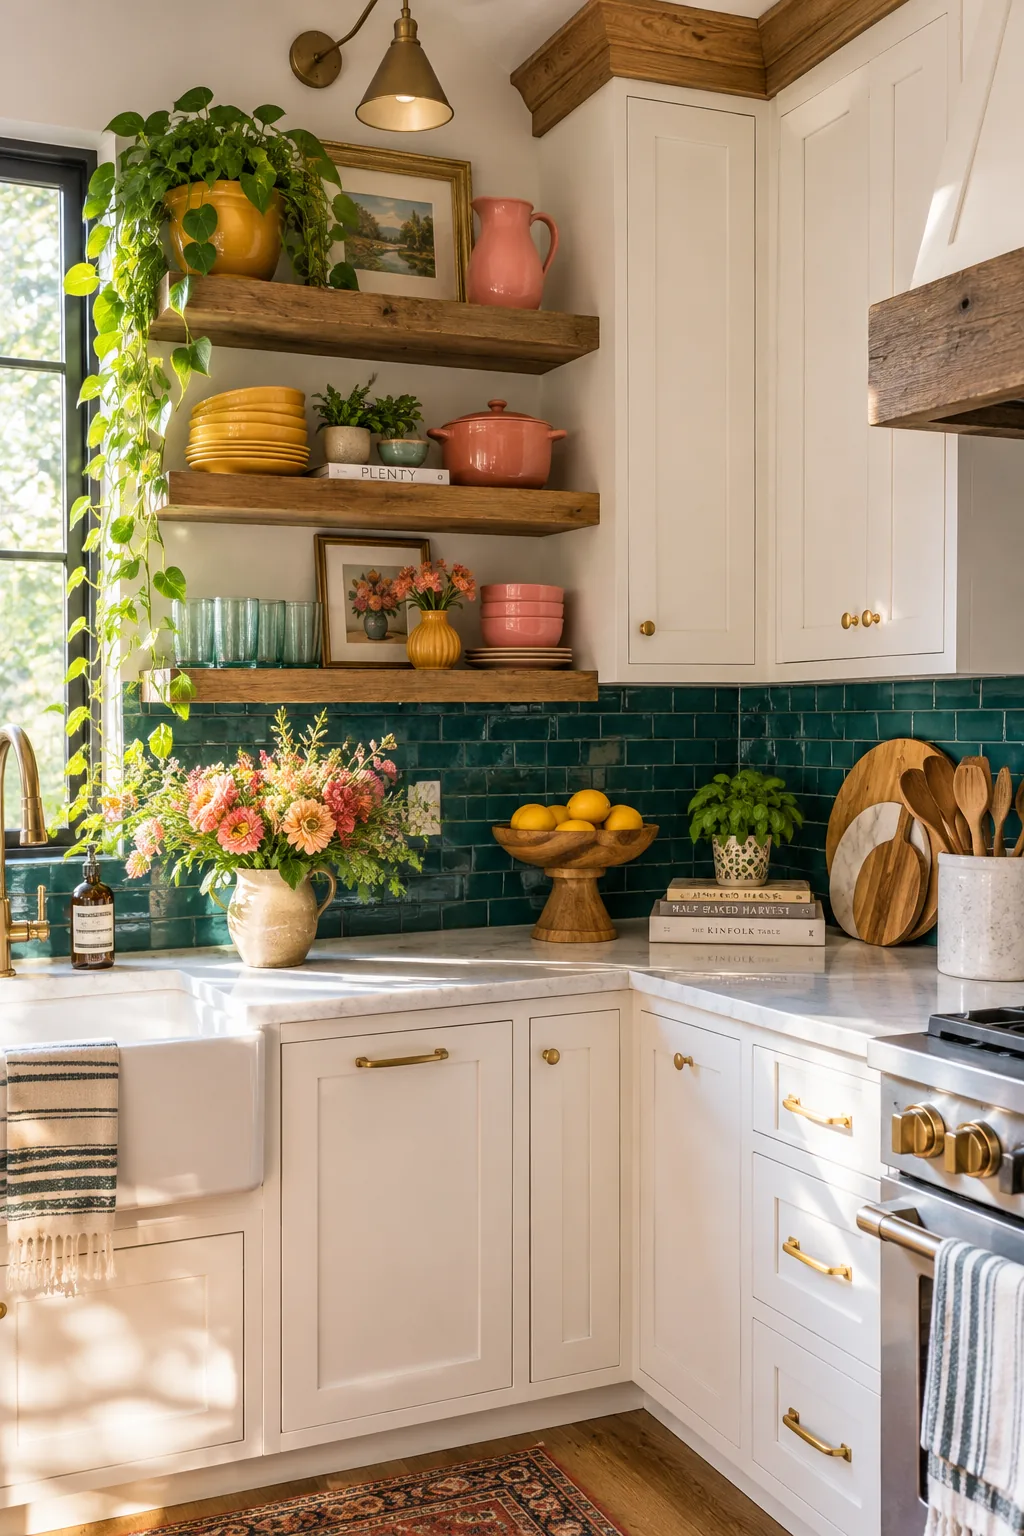
A warm, organic finish completely transforms a sterile white kitchen.
Capping painted cabinets with natural wood crown molding brings immediate texture to the room. I love pairing this with floating wood shelves to tie the whole aesthetic together.
It gives you that high-end farmhouse feel without going overboard.
6. Smooth Cove Molding
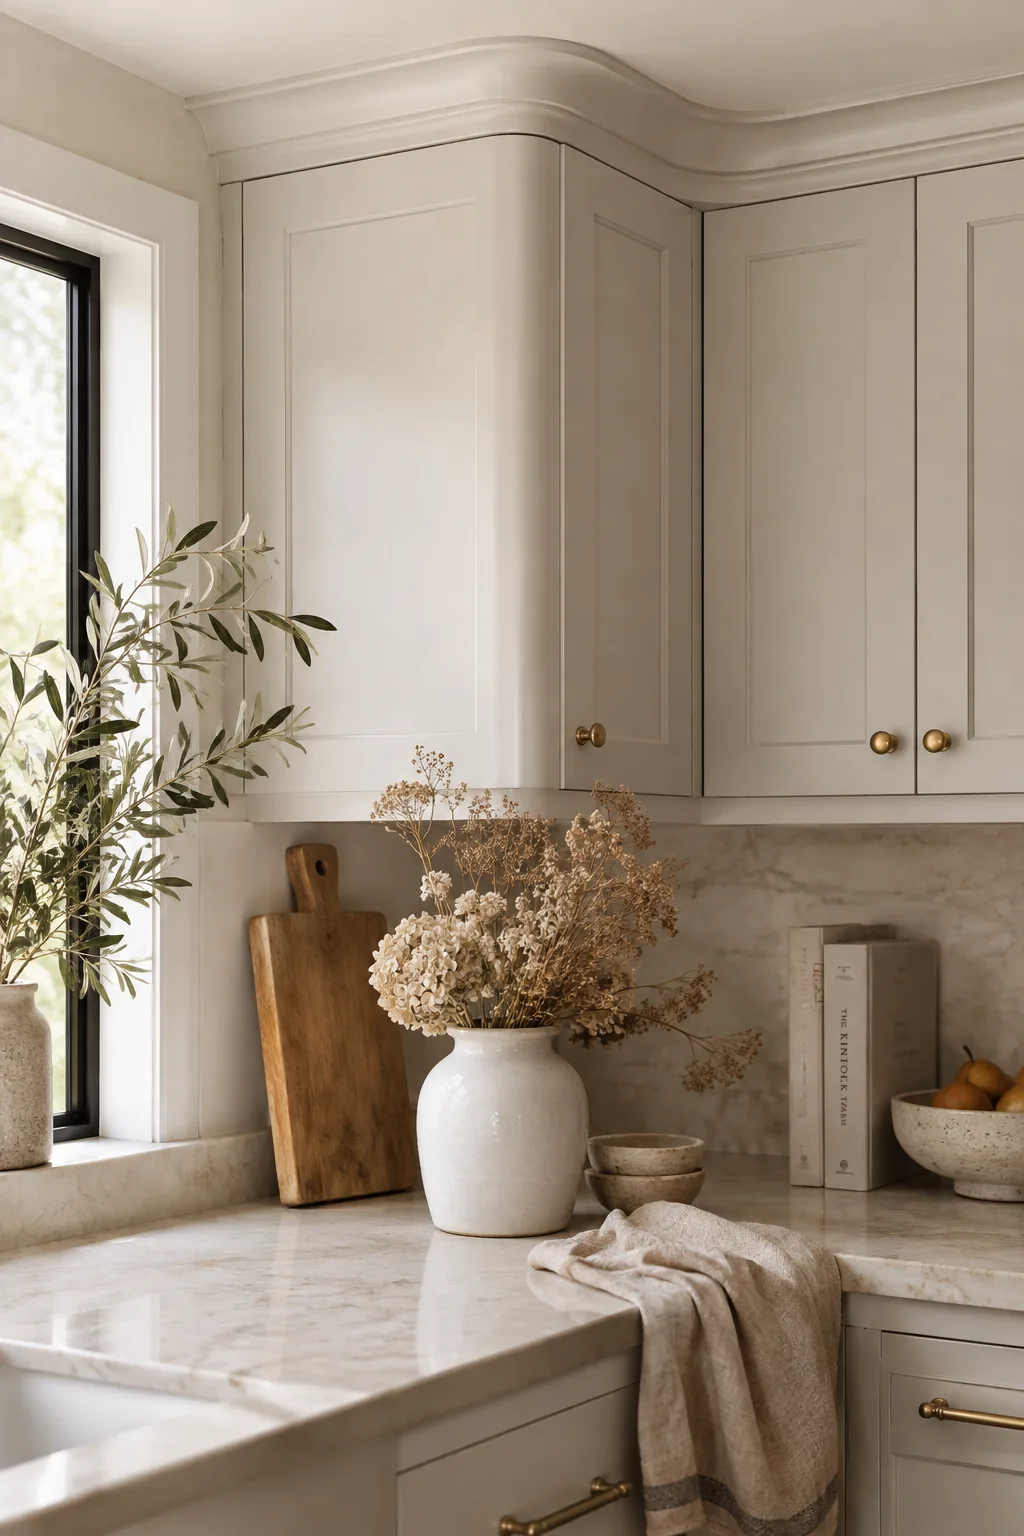
Dust settles instantly on the deep ridges of traditional dentil trim. A smooth cove molding sweeps up to the ceiling in a single graceful curve, leaving nowhere for kitchen grease and grime to hide.
7. LED Backlit Crown
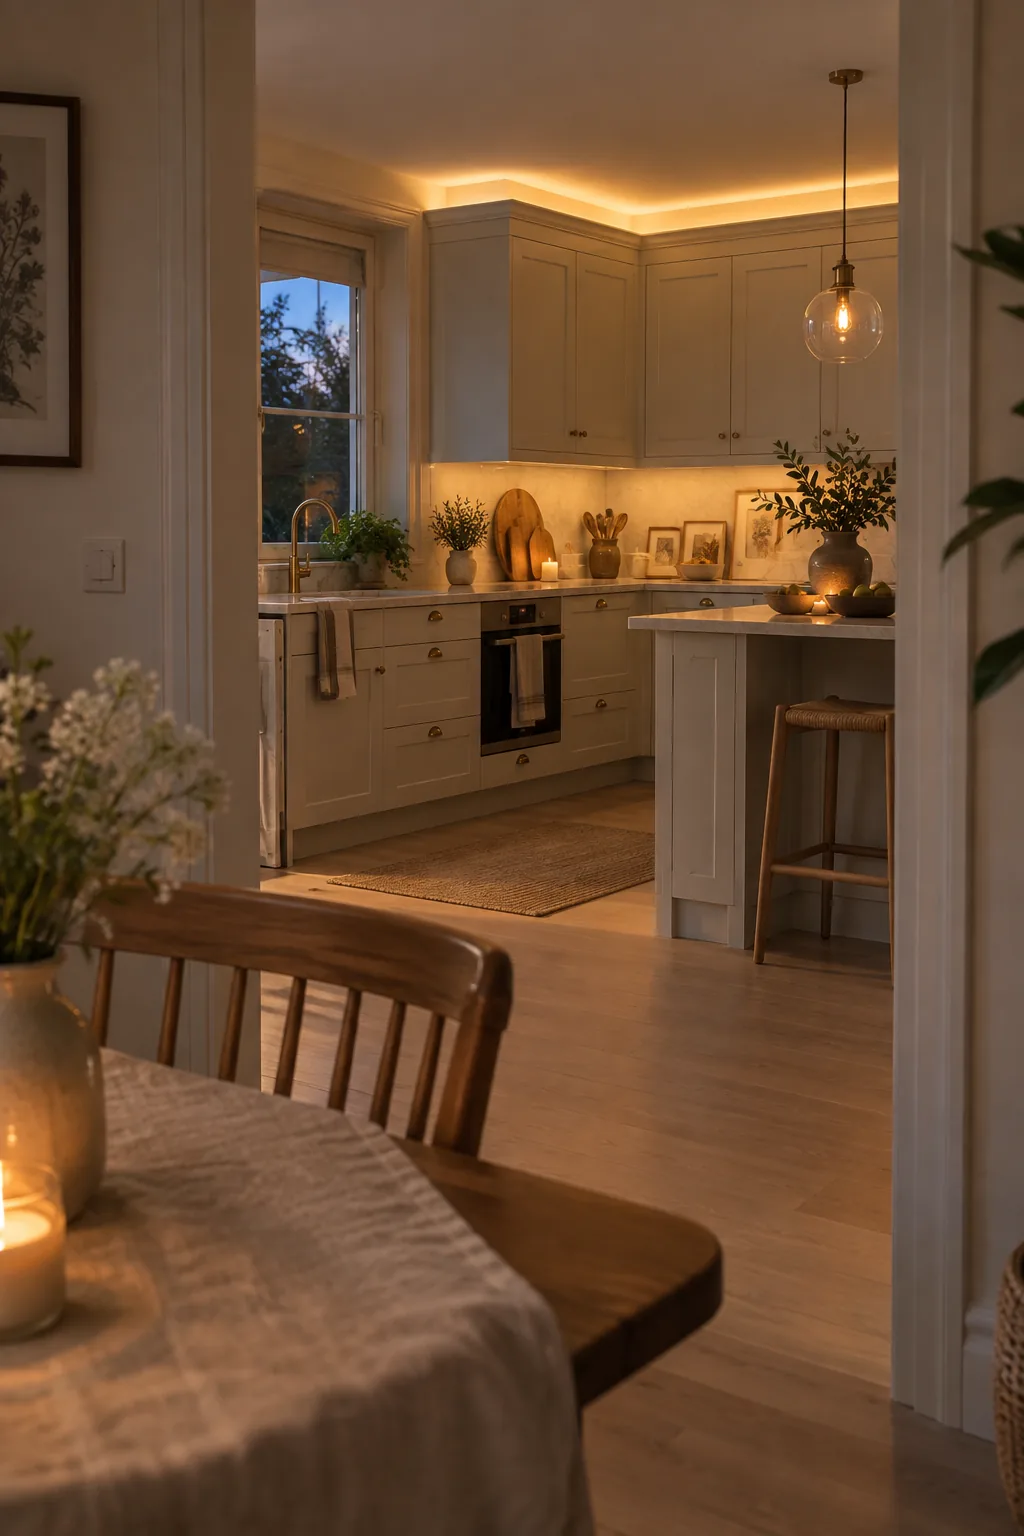
Leaving a 3-inch gap between the top of your molding and the ceiling creates the perfect hidden channel for lighting. You can tuck a simple strip of warm white LEDs right behind the wood trim. The light washes softly across the ceiling to provide incredible ambient lighting at night. It makes the cabinets look like they are literally floating.
8. Dentil Molding Details
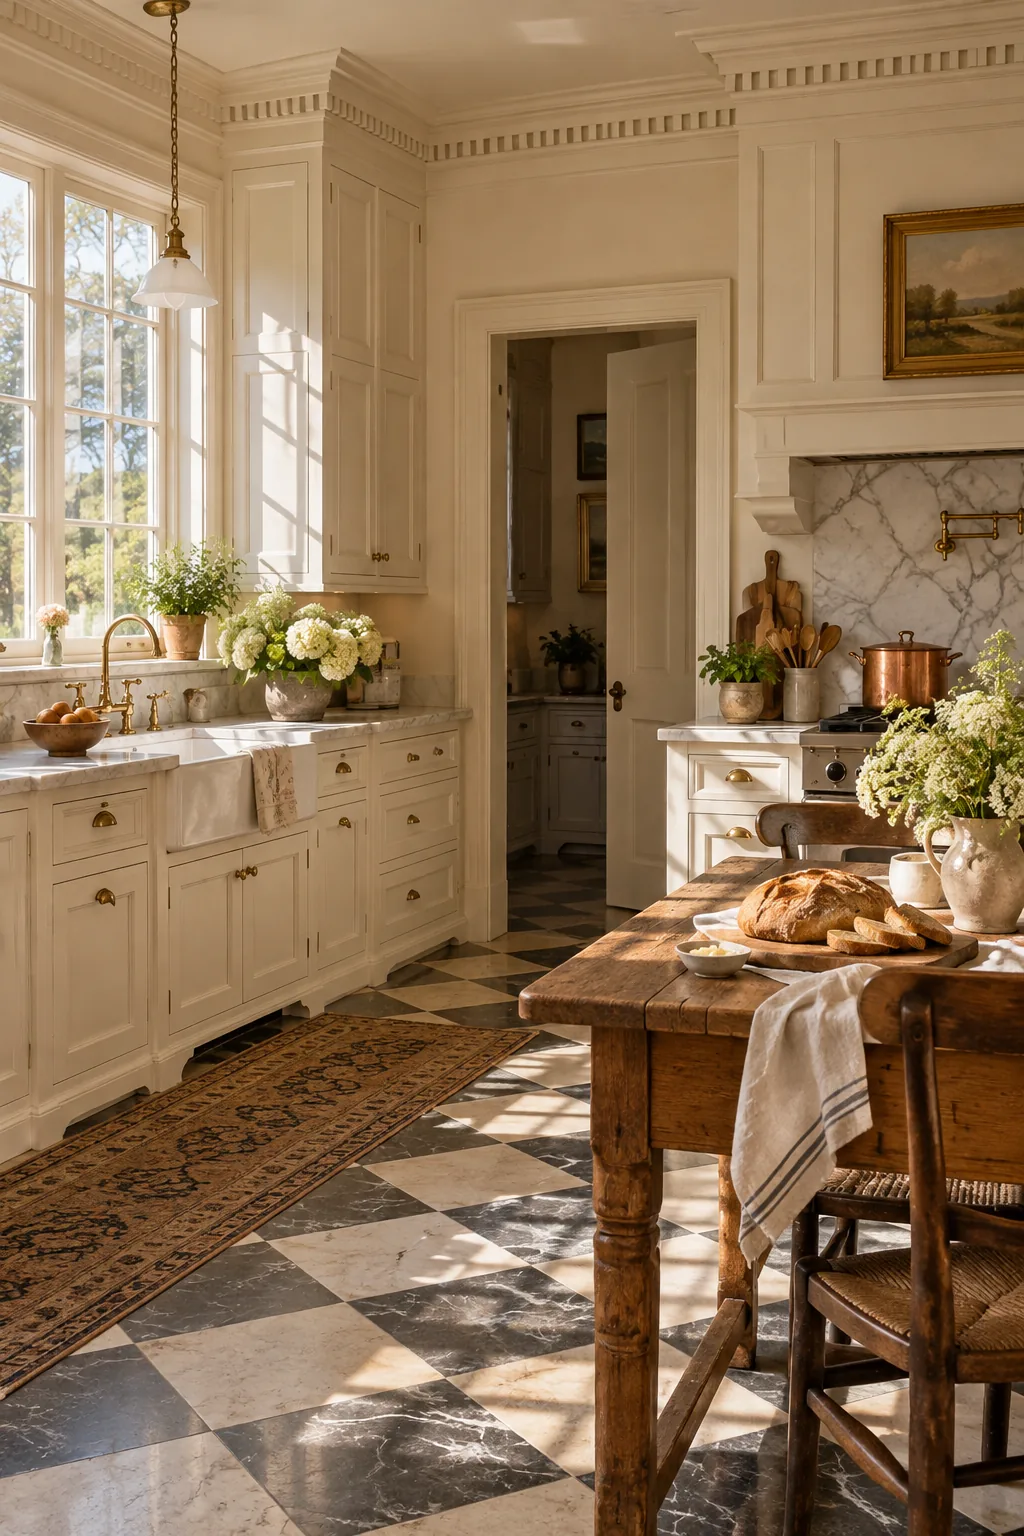
Historic homes demand architectural details that hold their own against heavy baseboards and thick window casings. Adding dentil molding to the top of your cabinets brings that necessary visual weight to the upper half of the room. The repeating geometric blocks catch the natural light to create beautiful little shadows. It is the easiest way to make brand new cabinets look original to a century-old house.
9. Fluted Trim
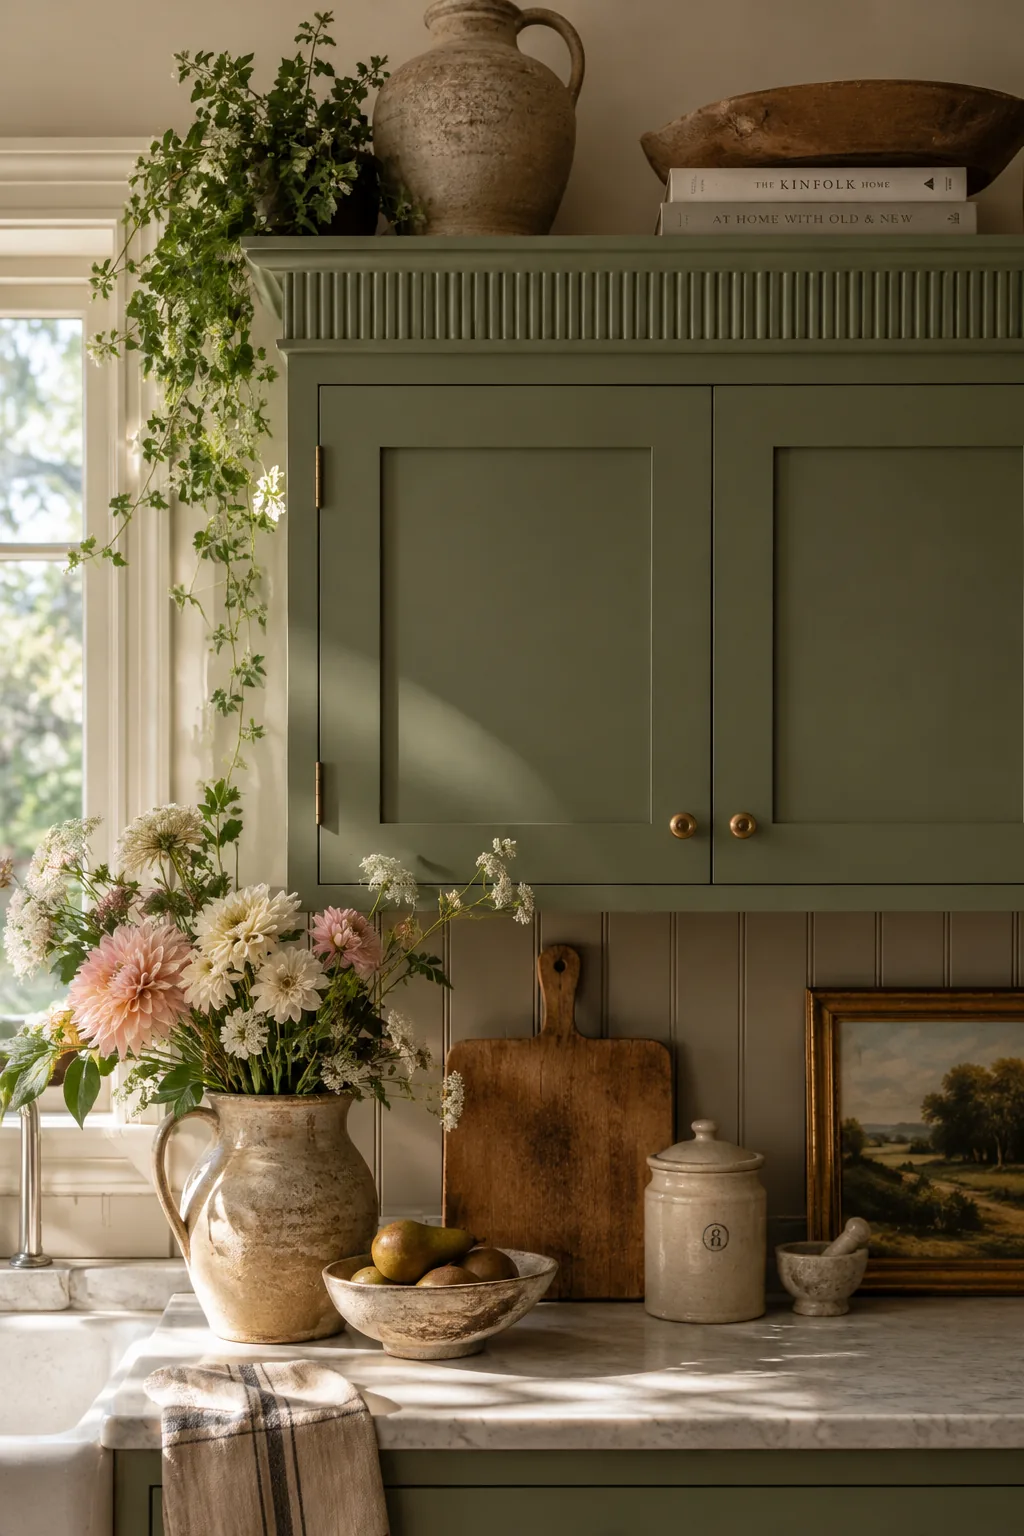
A highly textured, ribbed edge gives standard shaker boxes a subtle vintage English vibe. Using fluted crown molding introduces vertical lines that draw your eye up and break up the monotony of flat cabinet doors.
10. Adding a Picture Rail
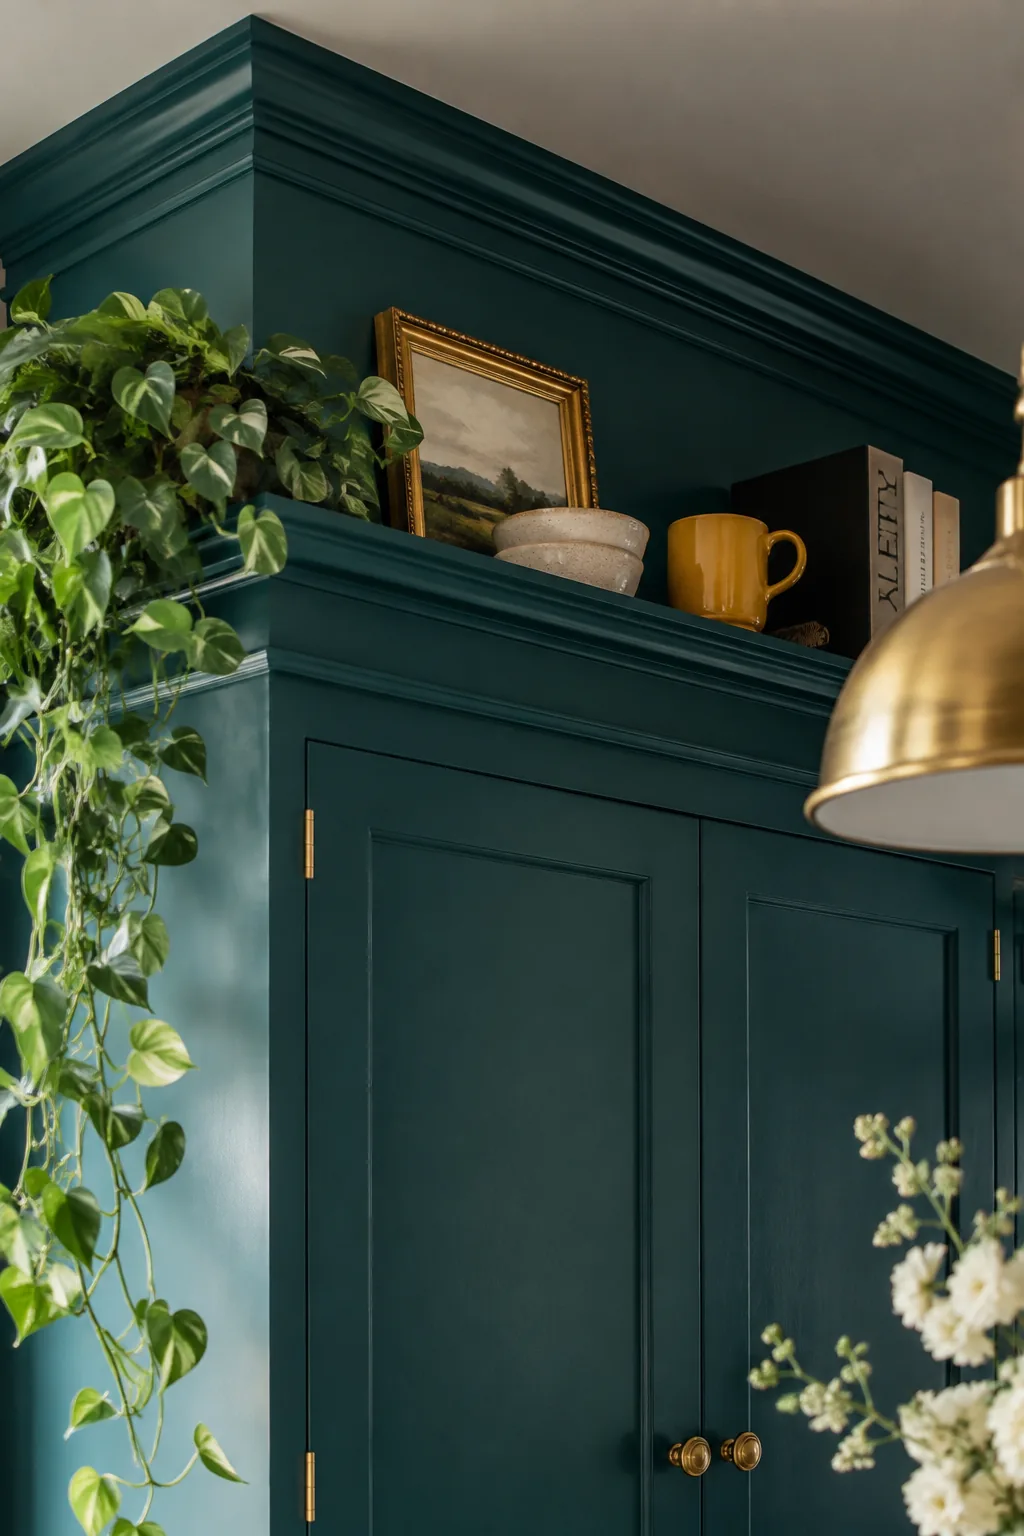
Layering different profiles of trim is the secret to achieving a truly custom millwork aesthetic. Dropping a small picture rail molding just an inch below your main crown creates a beautiful shadow line. You paint the strip of wall between the two trims to match the cabinet color. This tricks everyone into thinking you installed one massive, expensive piece of solid wood.
11. Black Contrast Trim
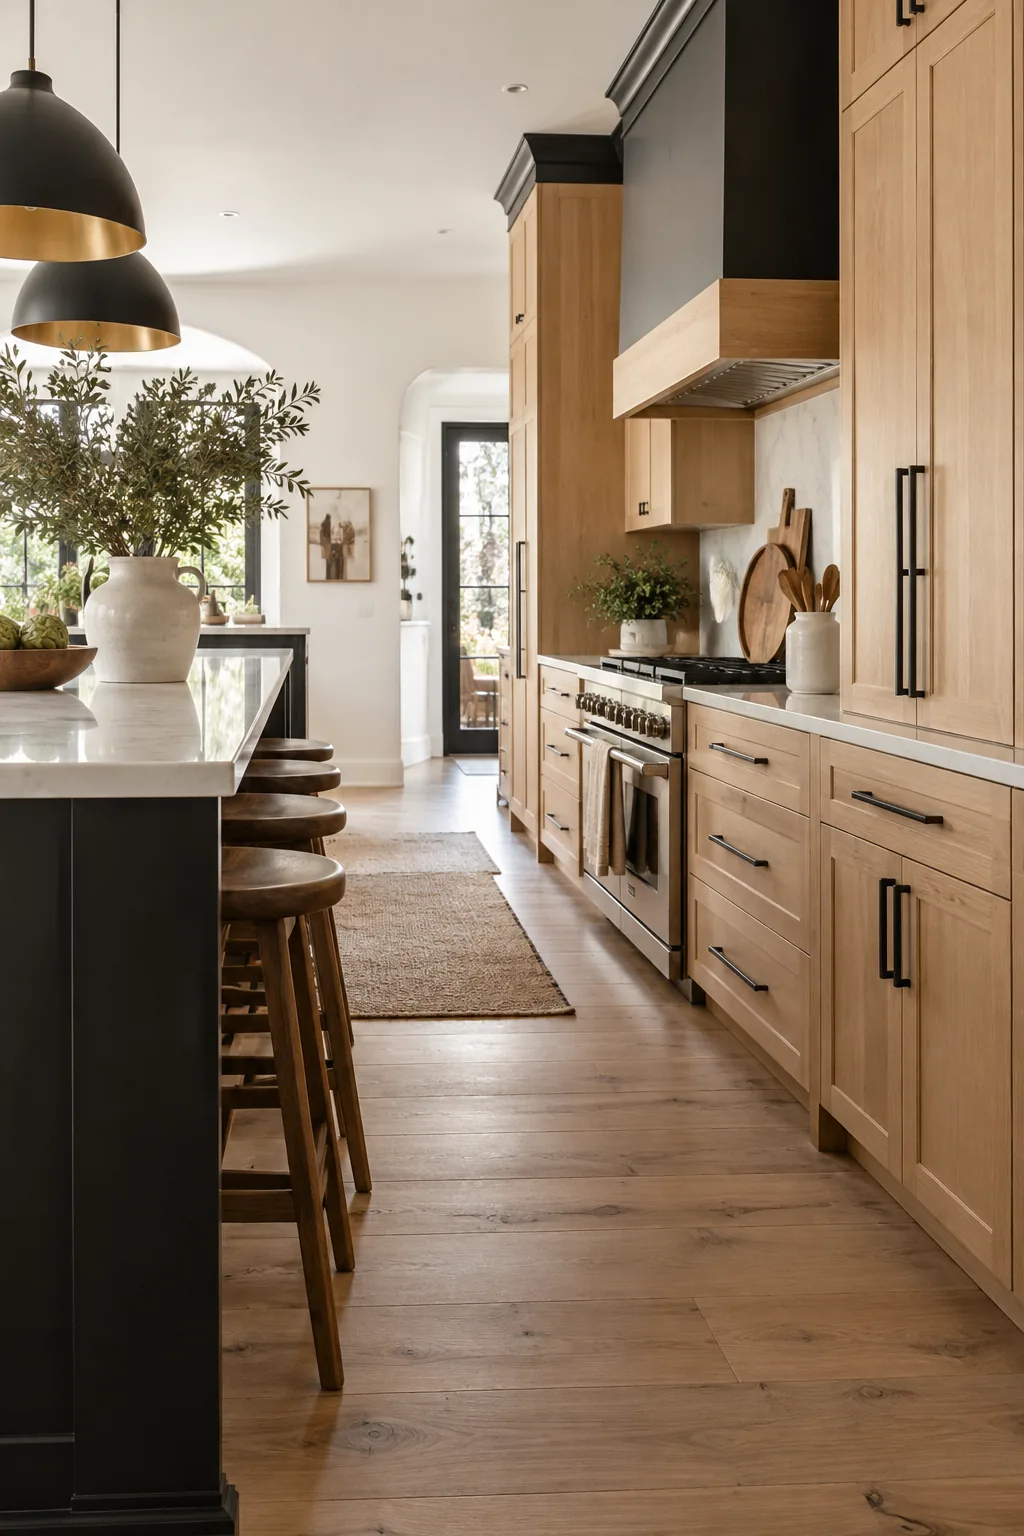
A stark, graphic outline turns standard wood cabinets into a bold architectural feature. Running matte black crown molding above natural oak or walnut doors provides an incredibly sharp, tailored finish. I use this technique when a kitchen feels too warm and needs a touch of modern tension. The dark line acts like a frame, separating the cabinetry from a bright white ceiling.
Why it works: It grounds the space and ties in beautifully with dark cabinet hardware or a black kitchen island.
12. Matching Range Hood Trim
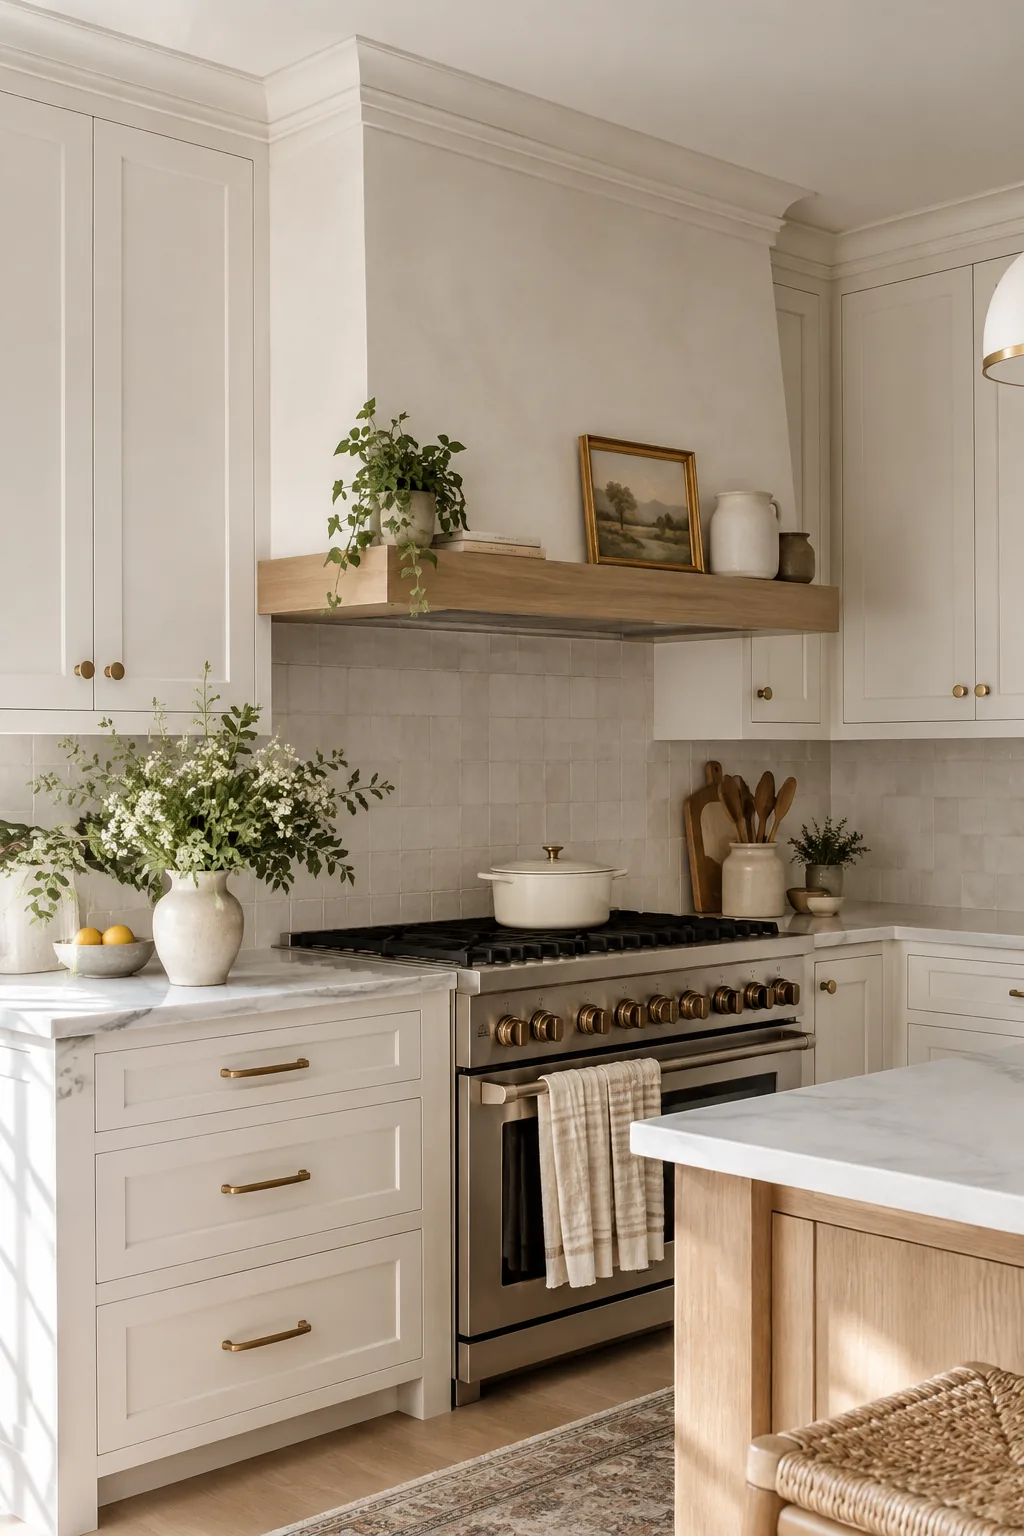
I get so frustrated when a gorgeous custom vent hood looks disconnected from the rest of the kitchen. Wrapping your cabinet crown molding seamlessly around the hood box anchors the entire layout. You just have to plan the depth of your cabinet boxes carefully so the trim lines up perfectly at the corners. This continuous line of millwork makes the whole room feel incredibly cohesive and expensive.
- Miter saw for precise corner cuts
- Wood filler to hide the seams
- Matching touch-up paint