Small Wet Bar Layout Logic & Clearance Cheat Sheet
Planning a small wet bar? You will be able to measure, space, and install a perfectly proportioned alcove using our hidden layout logic, culminating in a complete Wet Bar Clearance Cheat Sheet you can download and use today.
The 18-Inch Sink Base
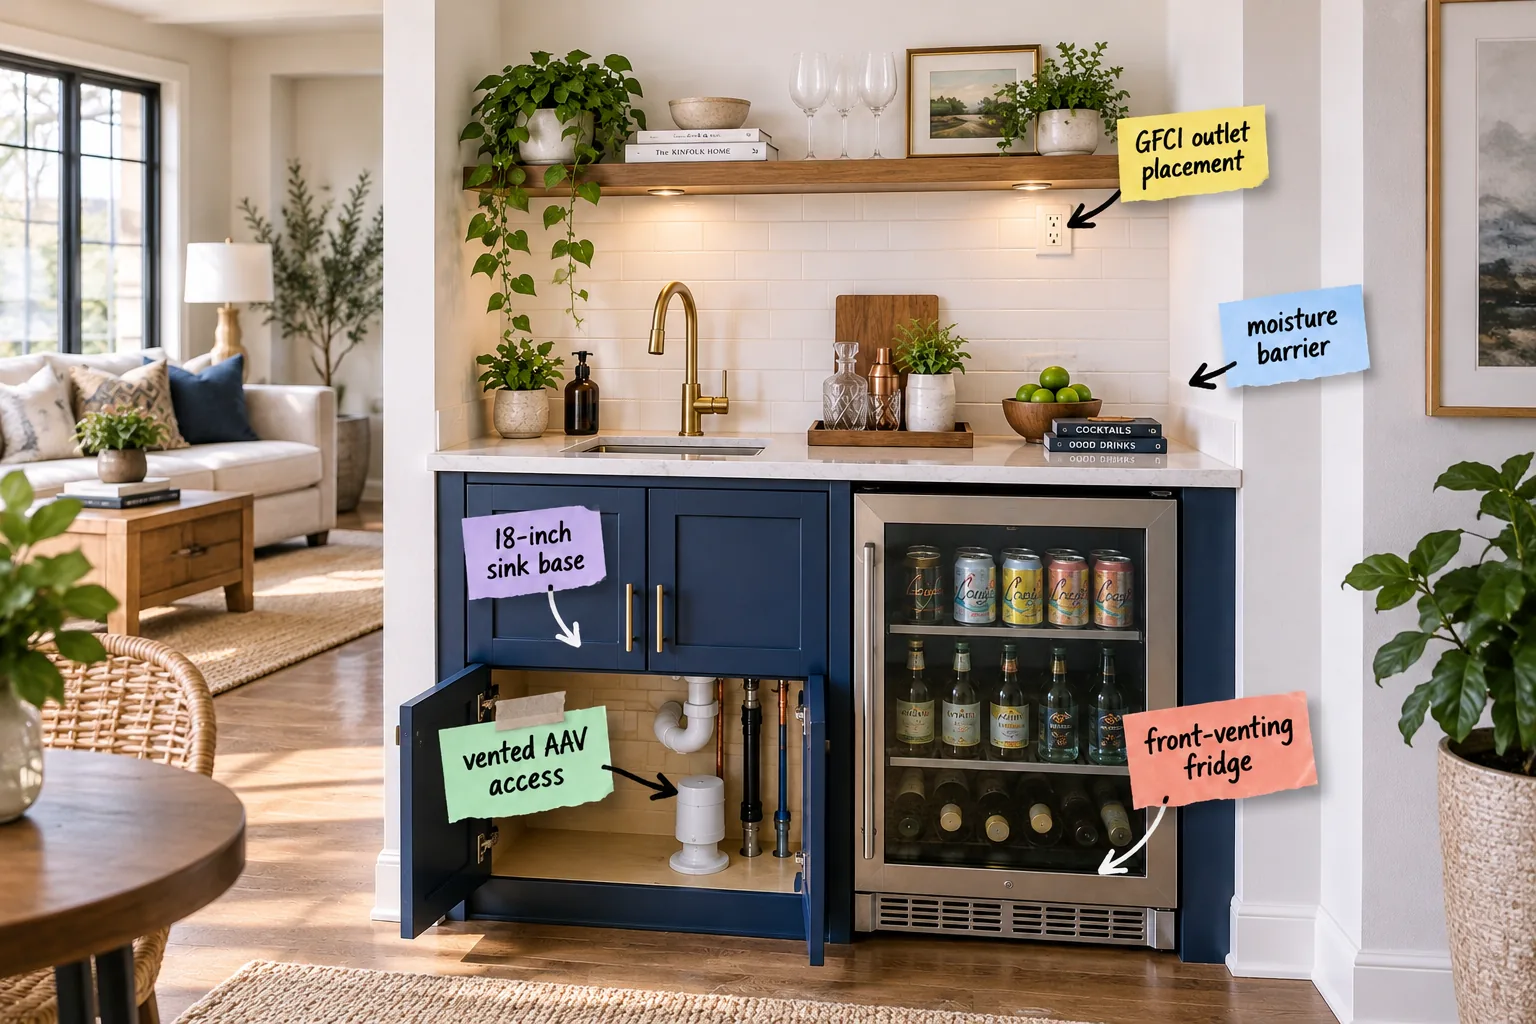
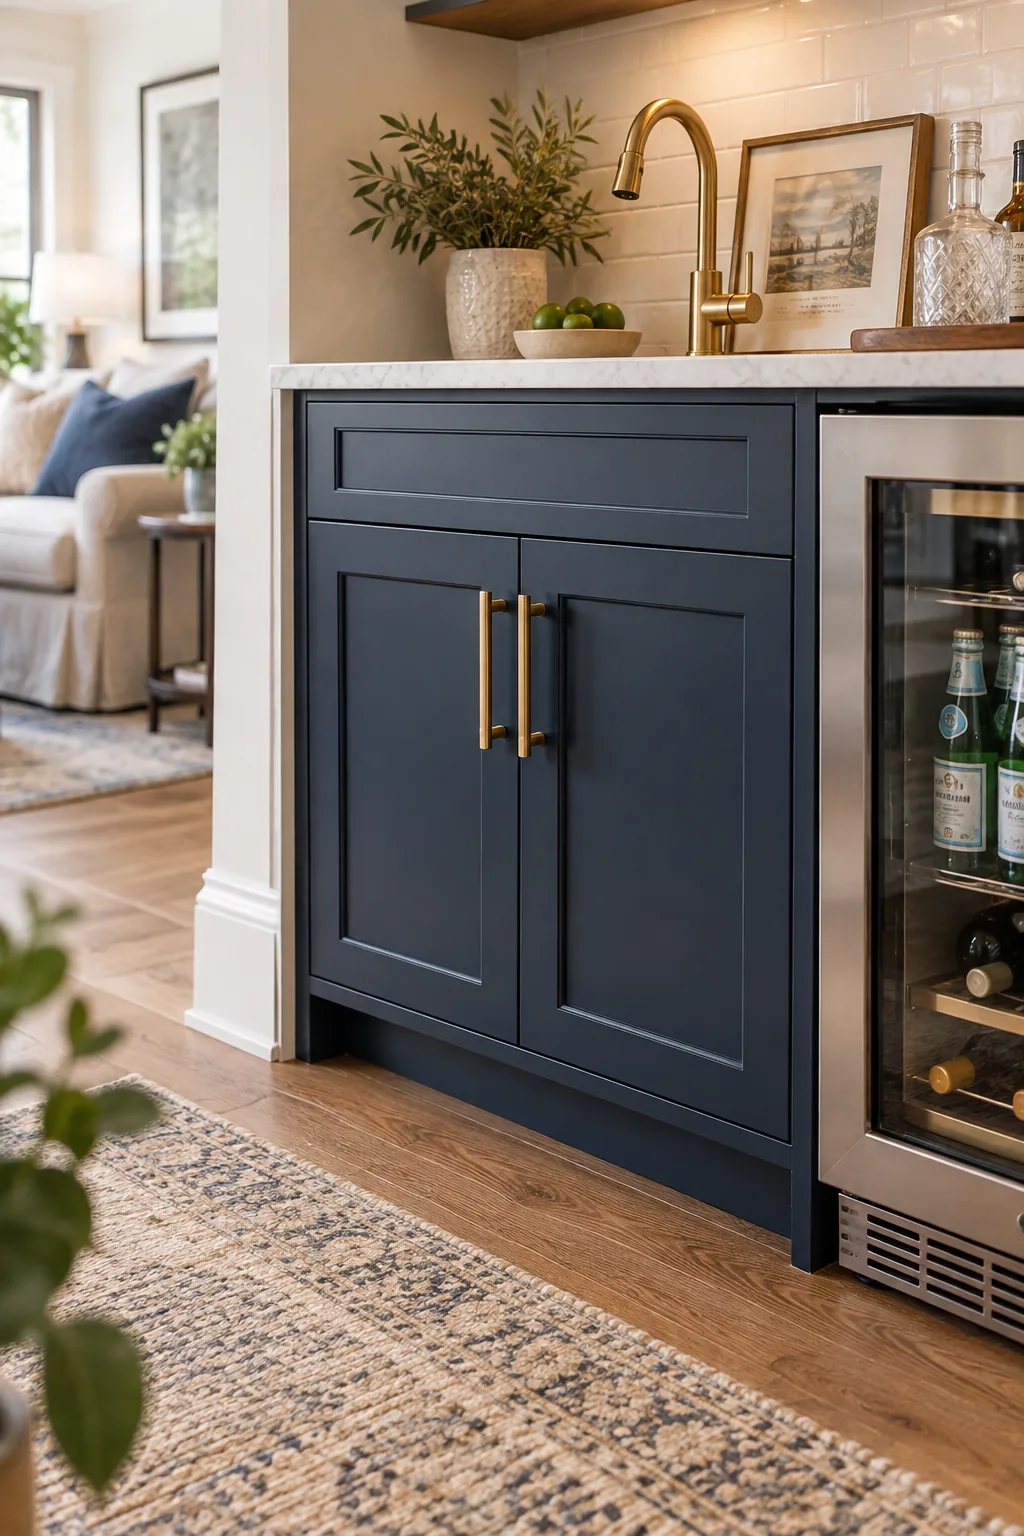
When framing out a compact wet bar, an 18-inch sink base represents the absolute minimum viable width for your lower layout. This specific dimension provides exactly enough internal cavity space for a plumber to comfortably maneuver wrenches around the required trap and water lines.
Standard Sink Dimensions
Going any smaller than 18 inches makes routing your hot and cold supply lines nearly impossible without specialized micro-fittings. I always specify this minimum cabinet width to ensure tradespeople have the physical room required to wrench connections tightly.
| Cabinet Width | Max Sink Width | Interior Clearance | Best Use |
|---|---|---|---|
| 15 inches | 12 inches | Severely restricted | RV or boat installs |
| 18 inches | 15 inches | Tight but viable | Small alcove wet bars |
| 24 inches | 21 inches | Comfortable | Basement entertainment zones |
Front-Venting Fridge Requirements
For a truly flush, built-in alcove design, a front-venting fridge is a strict necessity. Unlike freestanding units that demand 2 to 3 inches of rear airflow, these specialized models pull in and exhaust air entirely from their bottom front grille.
Appliance Electrical Circuits
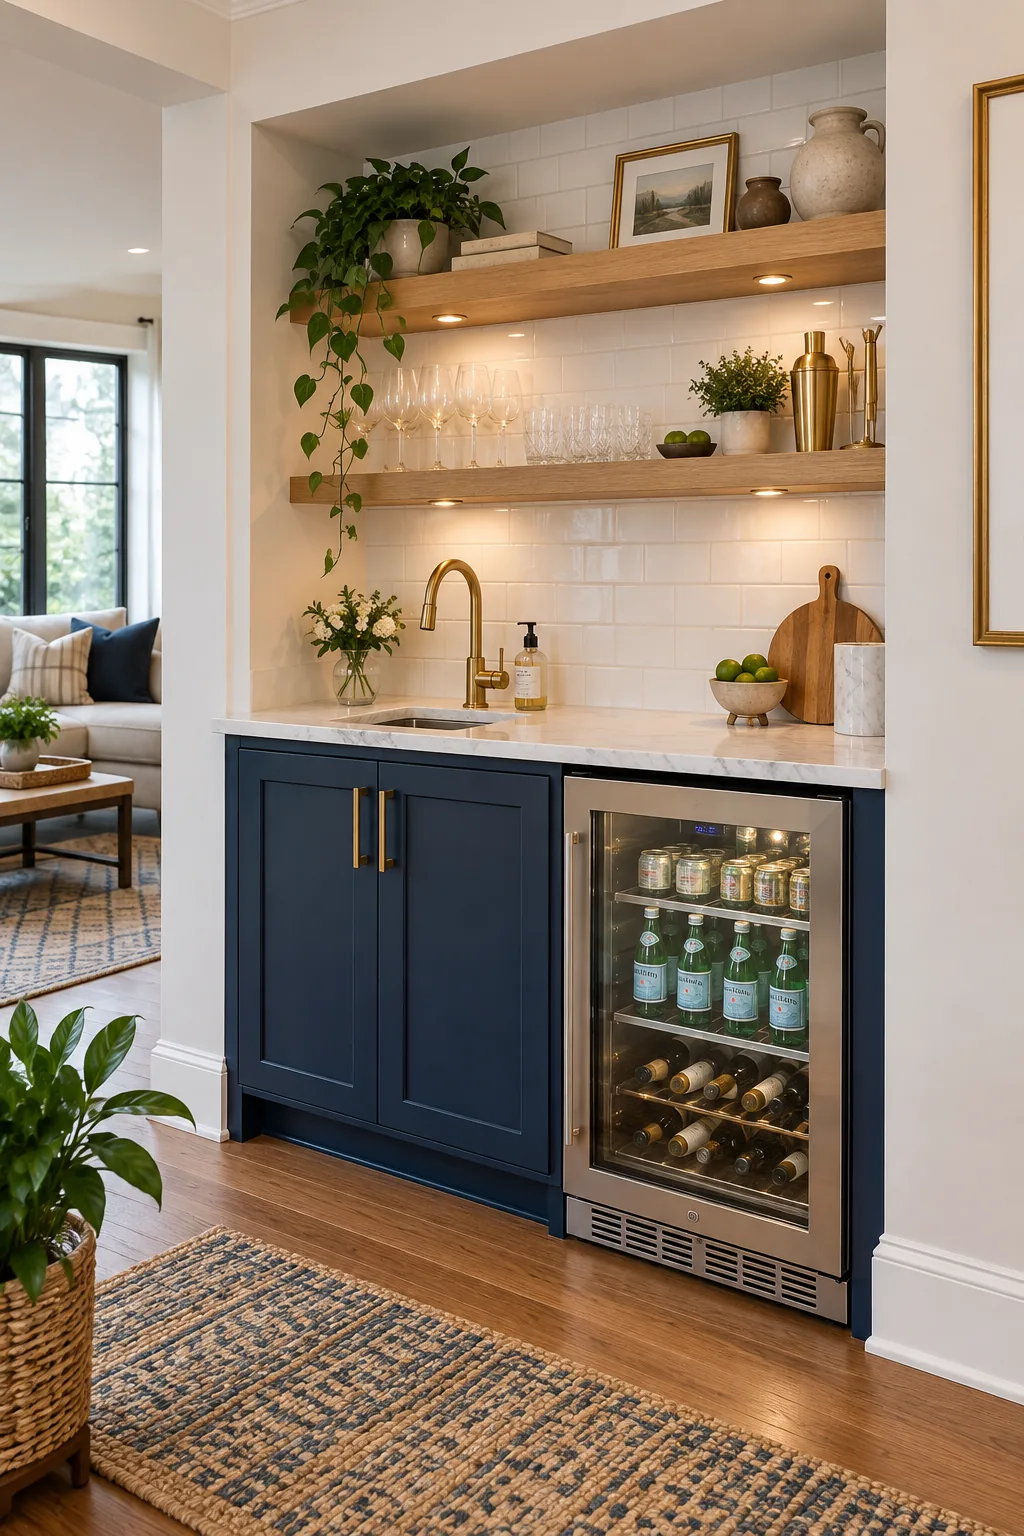
Because beverage refrigerators draw significant initial wattage when their compressors kick on, they require dedicated electrical planning. Hooking them into a shared living room circuit often leads to tripped breakers the moment your fridge and television run simultaneously.
- Verify your main electrical panel has capacity for a new dedicated 15-amp breaker.
- Run a dedicated 14/2 Romex wire directly to the alcove to isolate the compressor load.
- Position the grounded receptacle in the adjacent cabinet to allow the fridge to sit completely flush.
- Test the voltage drop before closing up the drywall to ensure stable long-term operation.
Hiding the Vented AAV
When traditional roof venting isn’t possible in an interior living room wall, a vented AAV access setup saves the day. This Air Admittance Valve lets air enter the drain pipe to prevent siphoning, without requiring you to tear open finished drywall.
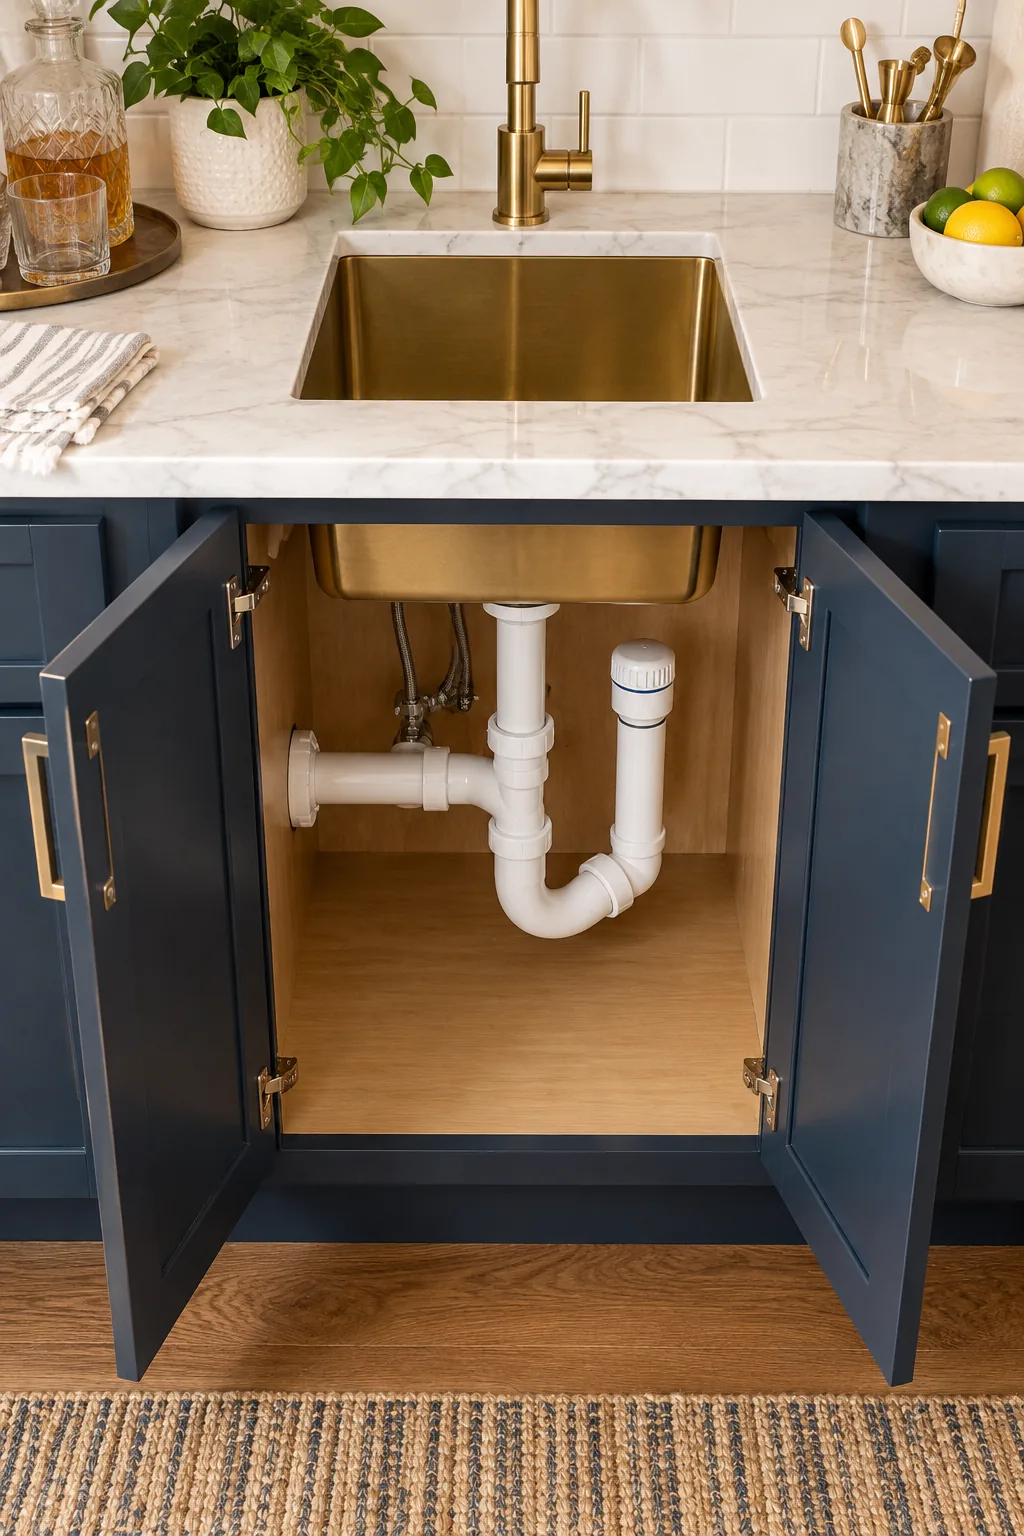
Because an AAV relies on ambient air pressure to protect your trap seal, installing it incorrectly can lead to slow drains and escaping sewer gases. Watch out for these common plumbing errors.
Drain Line Pitch Rules
Every horizontal drain pipe leaving that sink base must maintain a strict 1/4-inch drop per foot of run. I always verify this crucial slope with a torpedo level before the base cabinets are permanently anchored to the back wall.
Planning the Moisture Barrier
A dedicated moisture barrier is crucial right where your countertop meets the side walls of the alcove. I recommend applying a high-quality silicone sealant and installing a 2-inch minimum backsplash return to protect adjacent drywall from inevitable splashes.
Countertop Overhang Allowances
Standard stone countertops should overhang your base cabinets by exactly 1.5 inches to protect the wooden doors below from dripping liquids. This precise measurement keeps spills dropping straight to the floor rather than pooling inside your cabinet hinges.
GFCI Outlet Placement
Electrical code strictly mandates proper GFCI outlet placement near any residential water source. I advise mounting the receptacle horizontally just under the floating shelf, keeping it safely at least 15 inches above the countertop while remaining highly accessible.
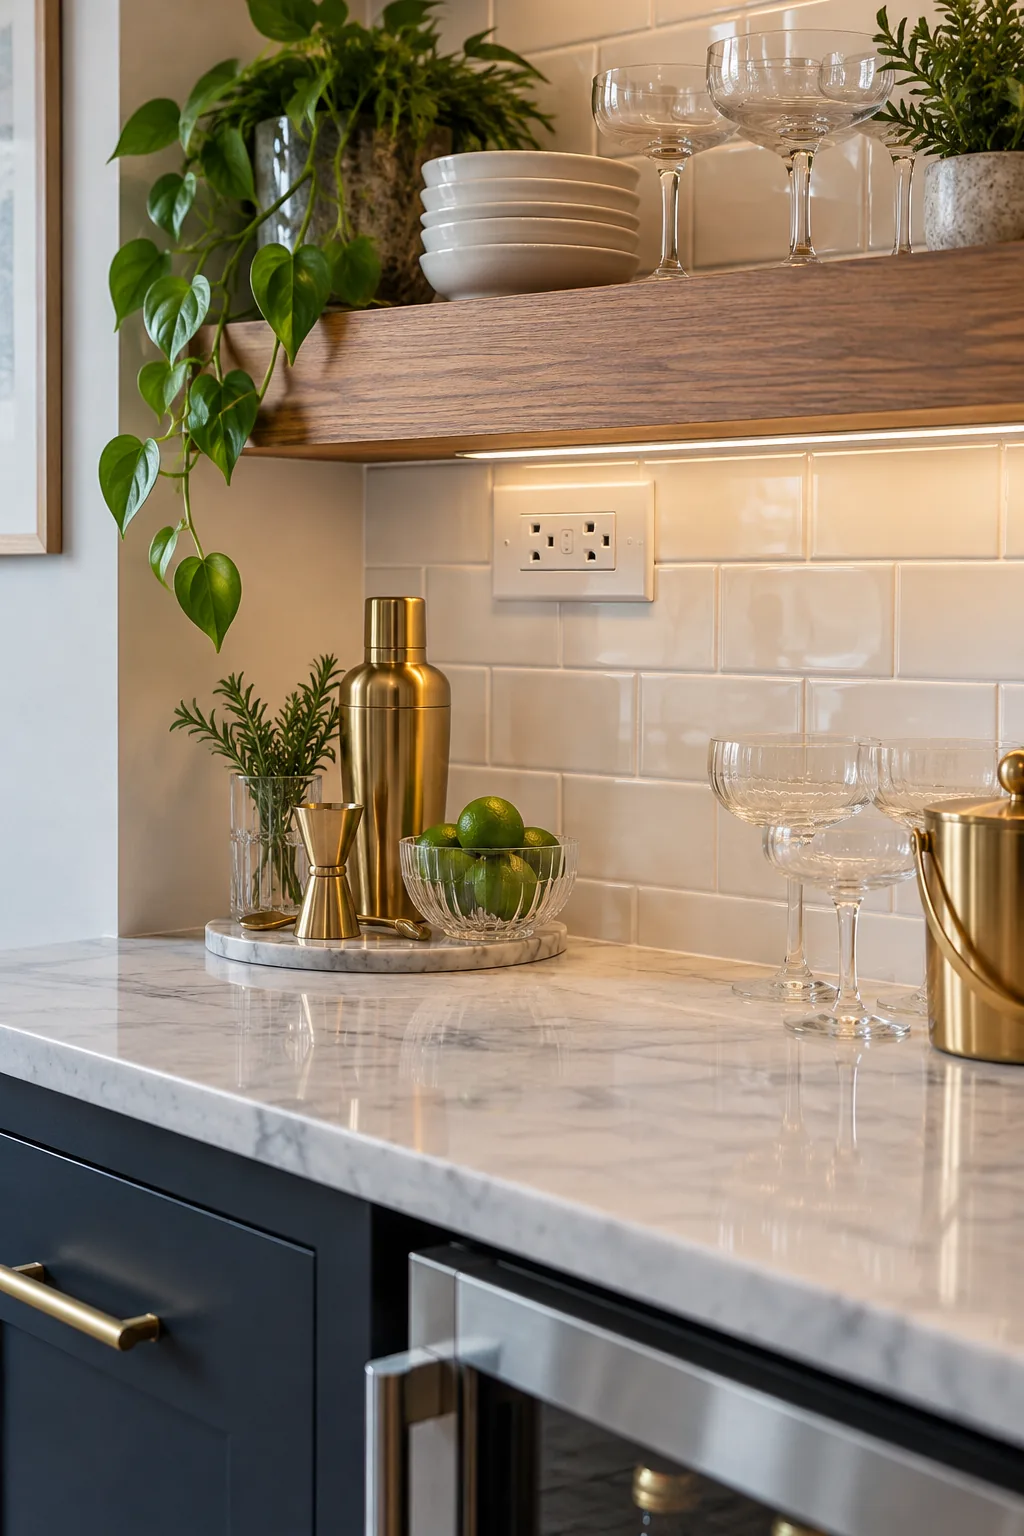
Concealing Cords and Plugs
Tucking that GFCI outlet horizontally beneath the first shelf ensures blender and coffee maker cords drop cleanly out of sight. This strategic electrical positioning prevents ugly black wires from snaking across your beautiful new tile backsplash.
Upper Floating Shelf Spacing
In a confined alcove, install your lowest decorative shelf 18 to 20 inches above the countertop to clear tall bottles and standard coffee makers. In my own Denver home, I mounted mine at exactly 19 inches, which perfectly clears my espresso machine.
Securing Shelves to Wall Studs
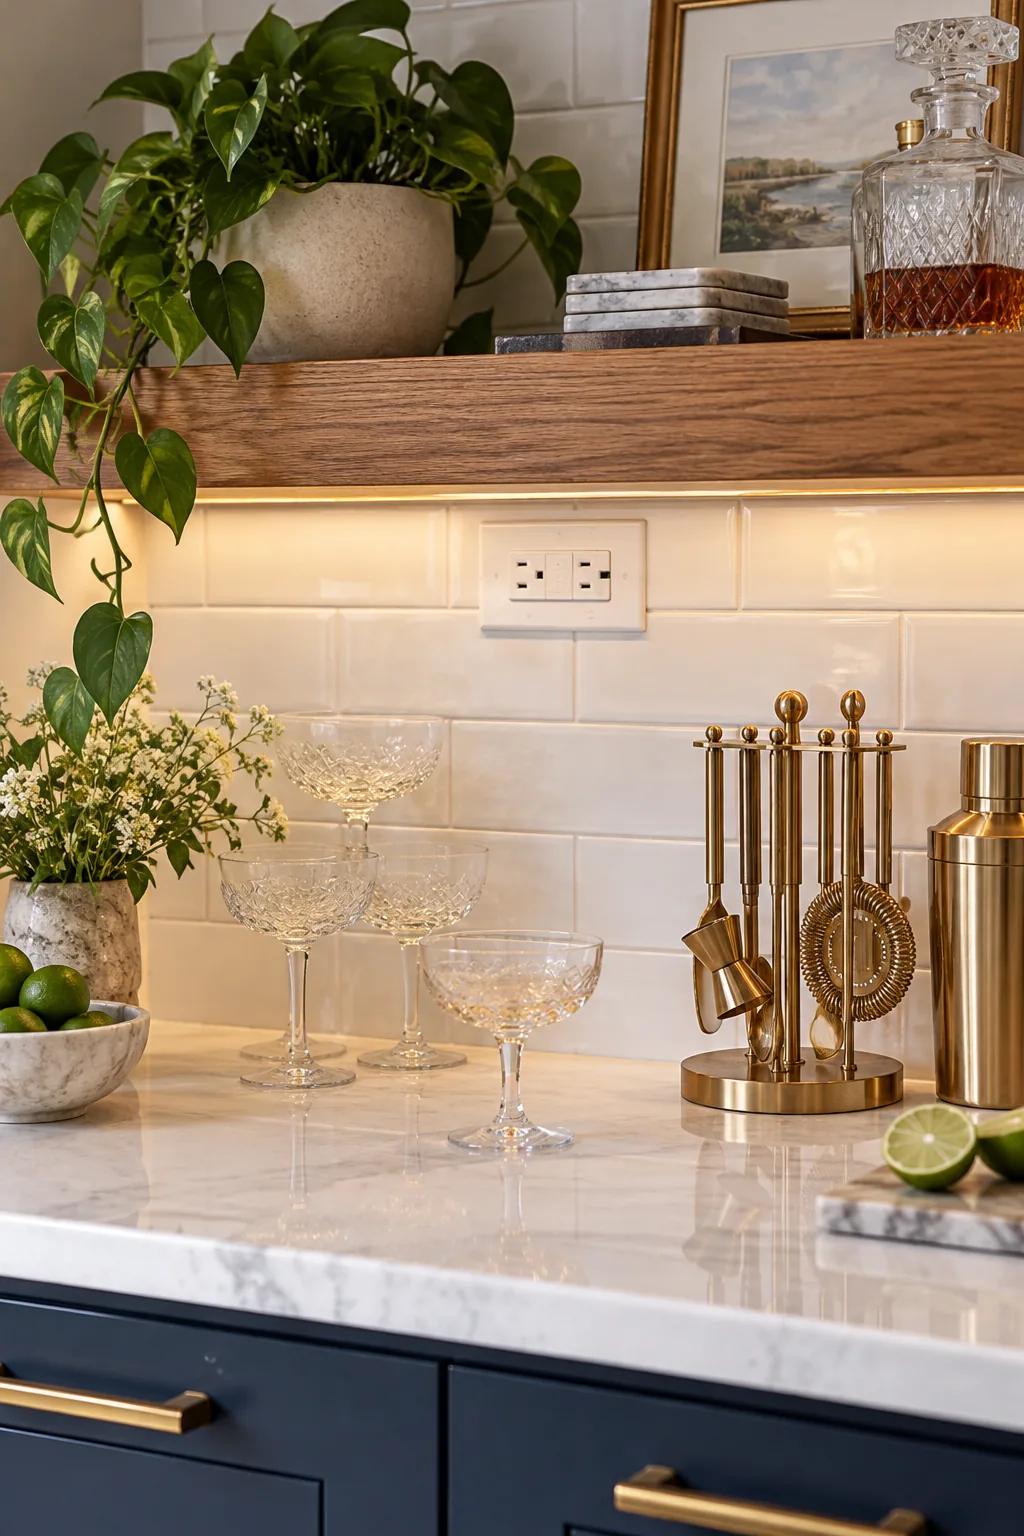
Heavy liquor bottles and stacked glassware require serious structural support behind the drywall. Always anchor your floating shelf brackets directly into wooden wall studs, as standard drywall toggles will eventually sag under the dense weight of a fully stocked bar.
Under-Cabinet Lighting Logic
To illuminate the alcove without harsh overhead glare, space ultra-thin LED puck lights every 12 to 15 inches under the lowest shelf. Hardwire these fixtures to a dimmer switch positioned just outside the immediate splash zone for easy ambiance control.
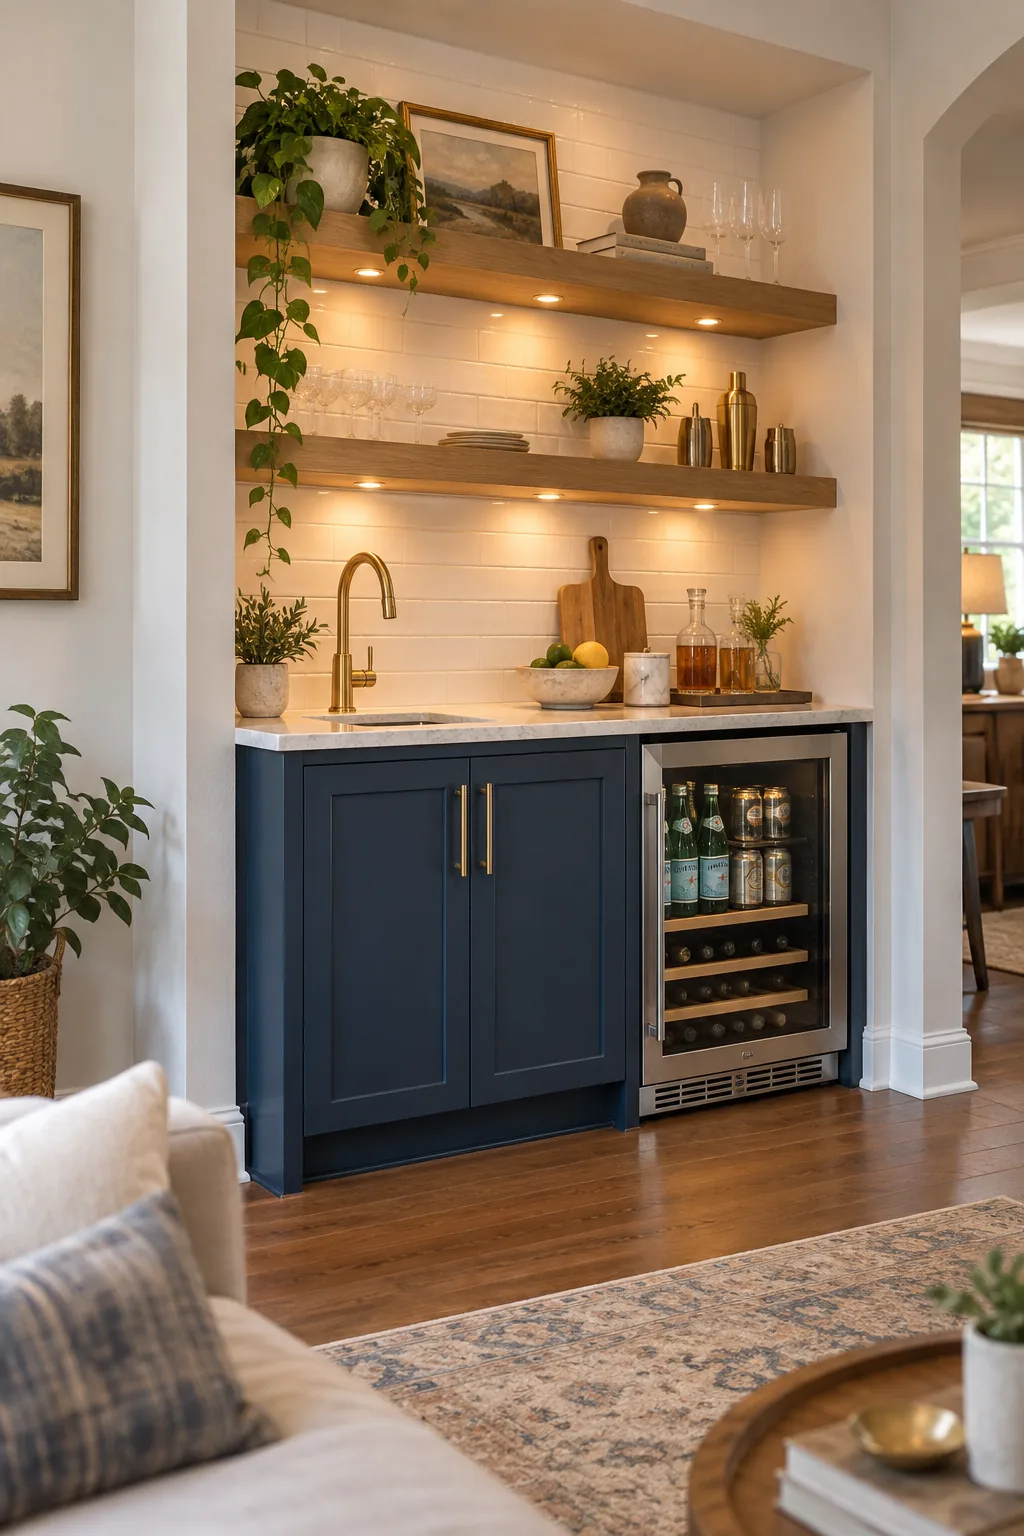
Choosing the Right LED Temperature
For a warm, inviting glow that flatters both your tile and your guests, select puck lights rated at 2700K to 3000K. Cooler daylight bulbs will make your cozy living room alcove feel like a sterile commercial kitchen.
Wet Bar Clearance Cheat Sheet
Finalizing your layout means adhering to a strict 36-inch minimum walkway clearance, a 36-inch standard counter height, and an 8 to 10-inch bar sink depth. I keep a laminated copy of these exact clearances in my project binder to prevent costly ordering mistakes.
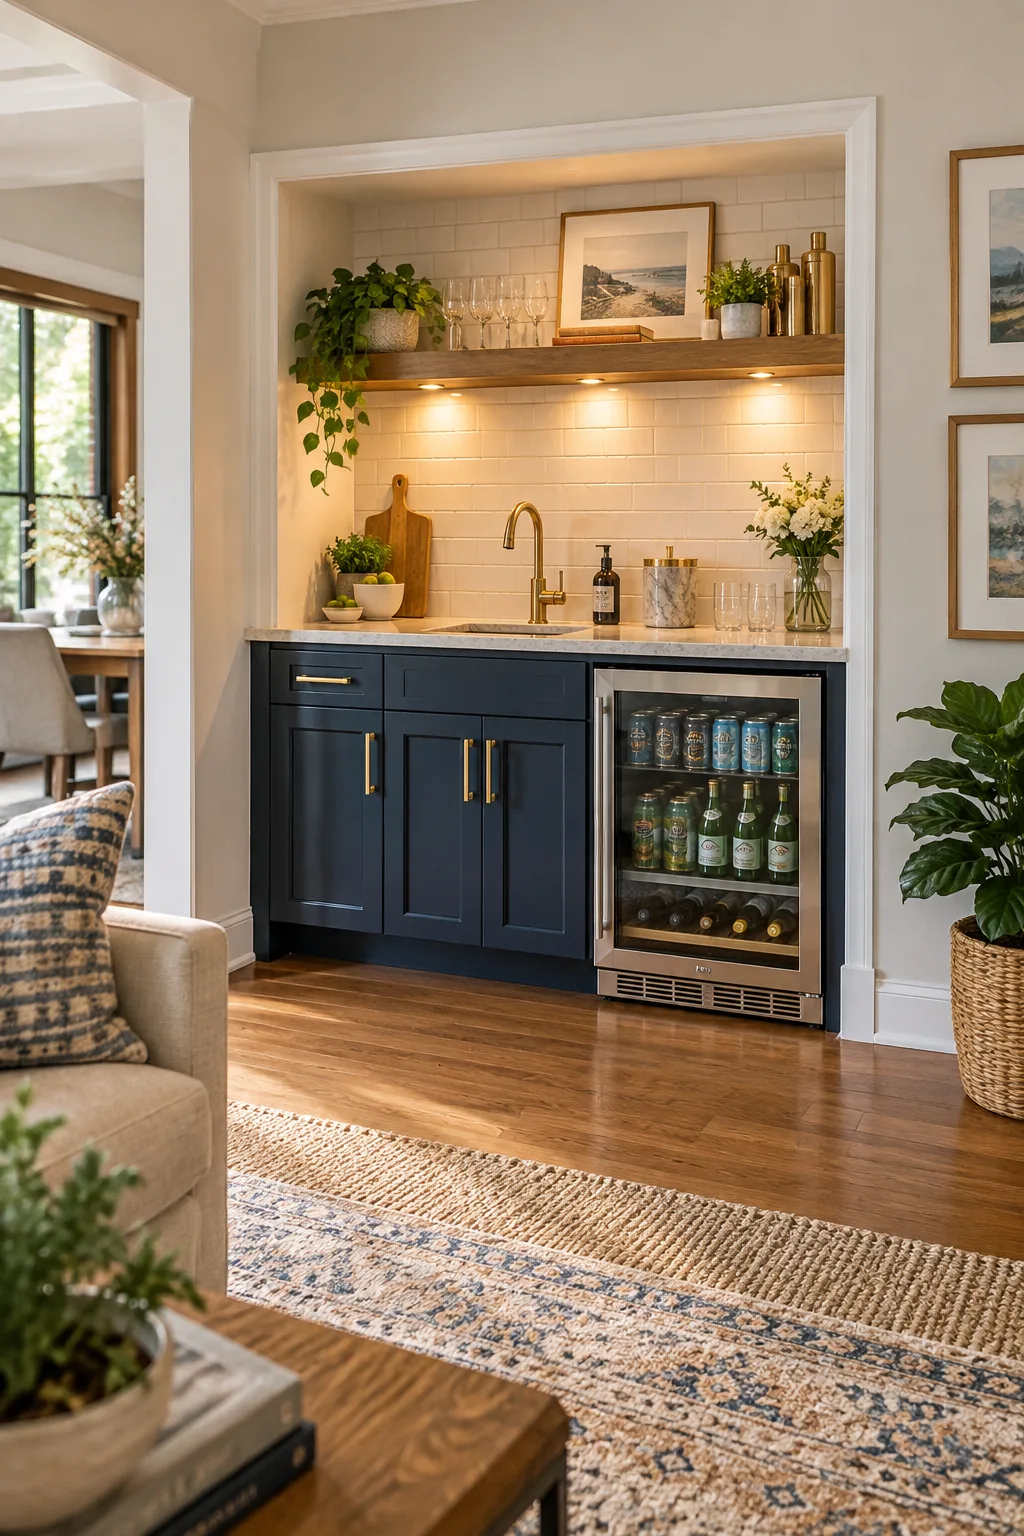
Before you commit to a cabinetry order or cut into your drywall, use this final checklist to verify your alcove dimensions can actually support a working wet bar.
5 Small Wet Bar Styles to Steal
Once your clearances are locked in, choose a finish style that elevates your living space.
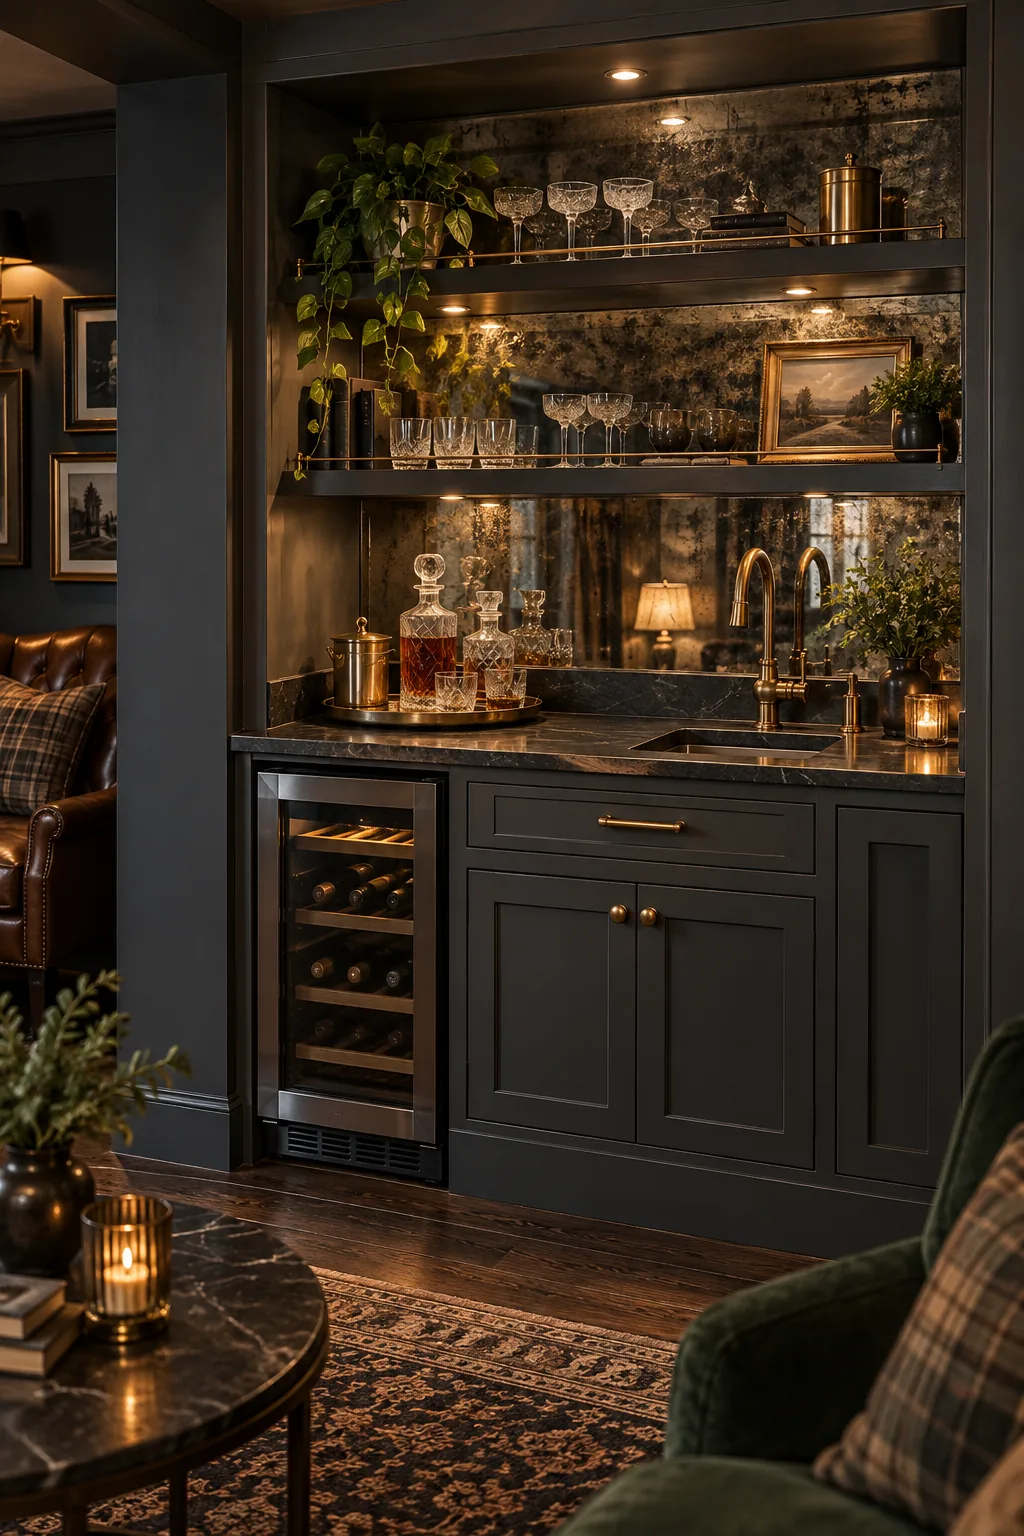
Moody Basement Speakeasy: Dark charcoal paint and an antiqued mirror backsplash create a sophisticated, low-light atmosphere perfect for evening cocktails.
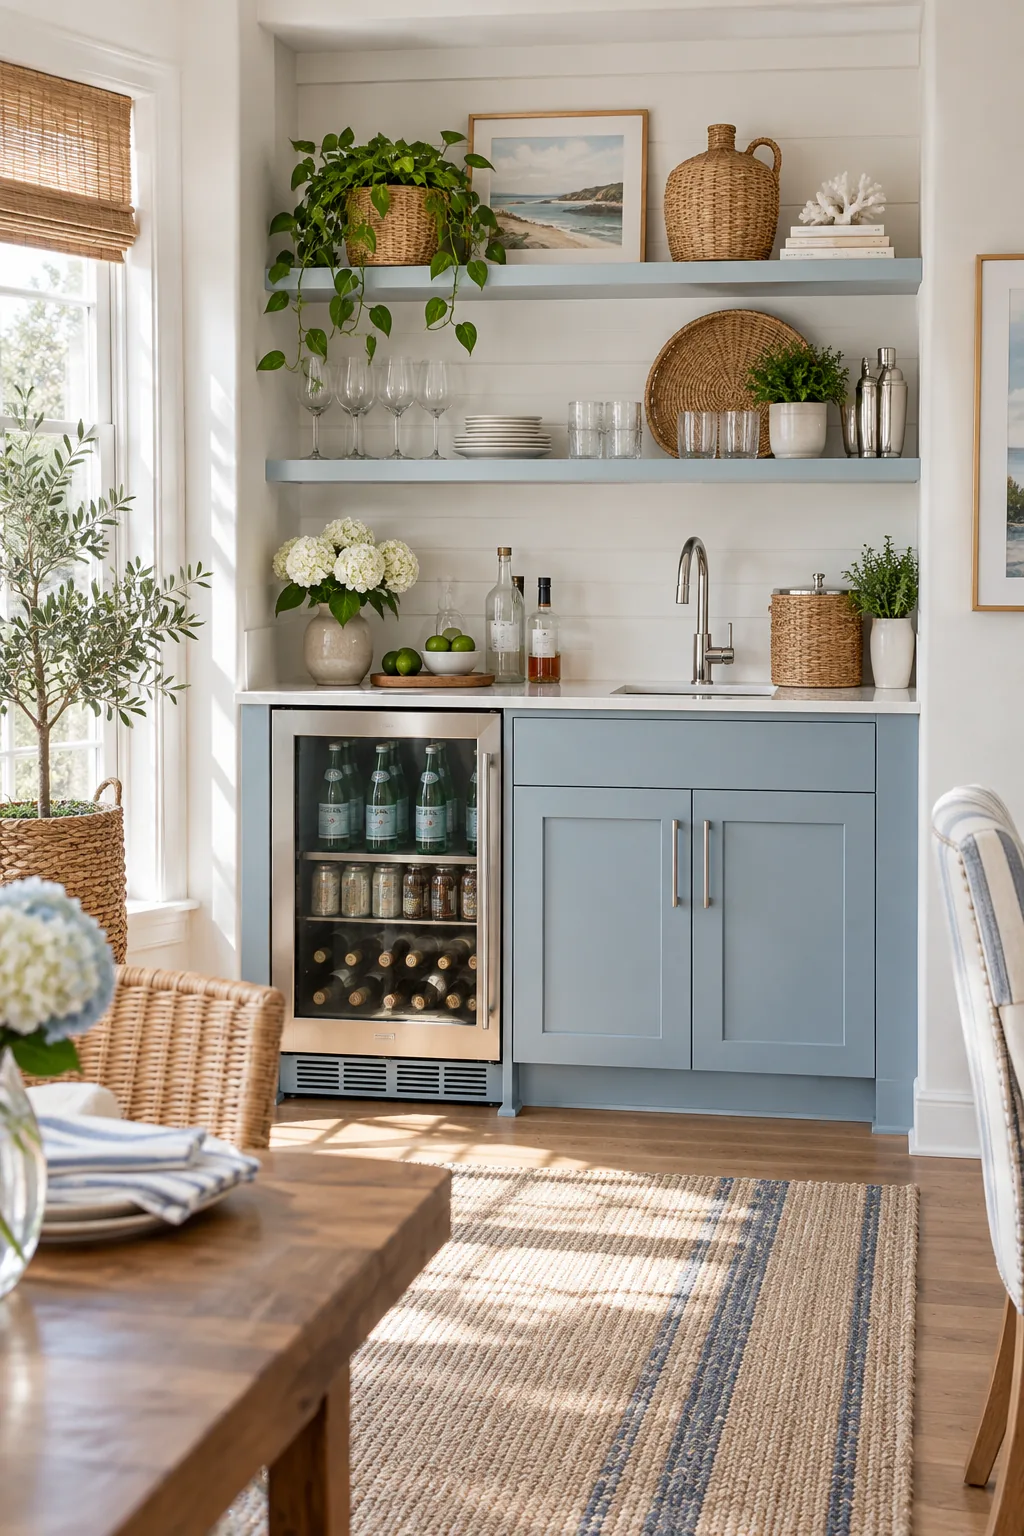
Coastal Transitional Dining Room: Dusty blue cabinetry and polished nickel hardware bring a breezy, relaxed elegance to this dining room serving station.
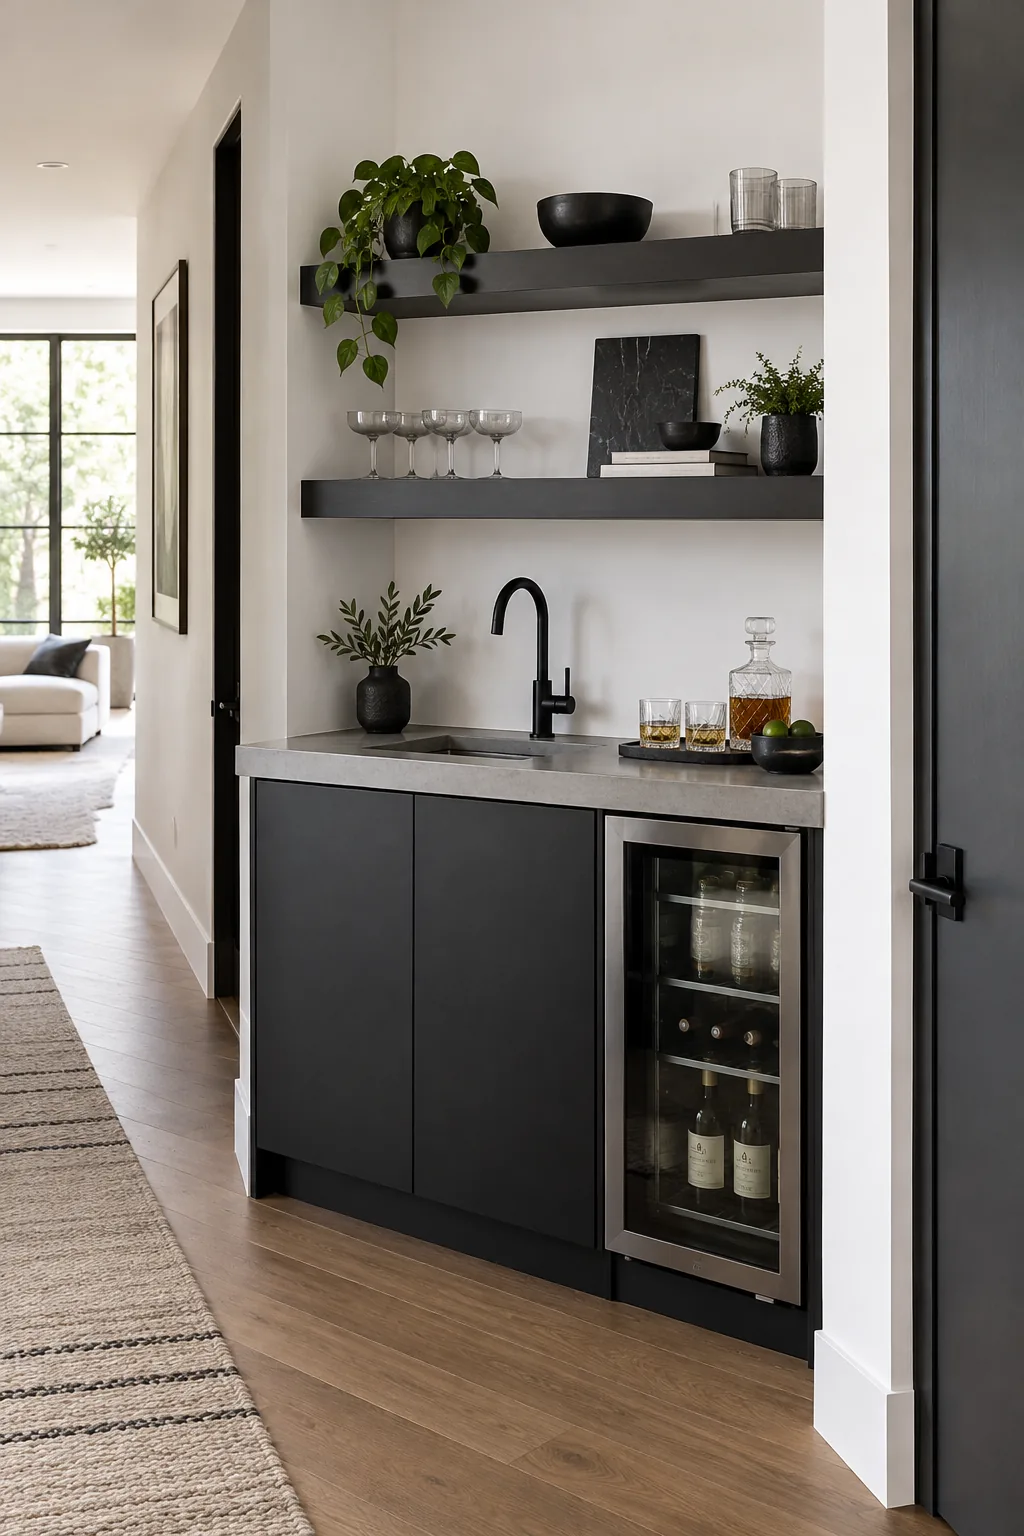
Modern Minimalist Hallway: Sleek flat-panel doors and a seamless concrete counter keep the visual clutter to an absolute minimum in narrow spaces.
Rustic Farmhouse Pantry: A hammered copper sink and reclaimed wood cabinetry add rich, tactile warmth to a practical farmhouse prep space.
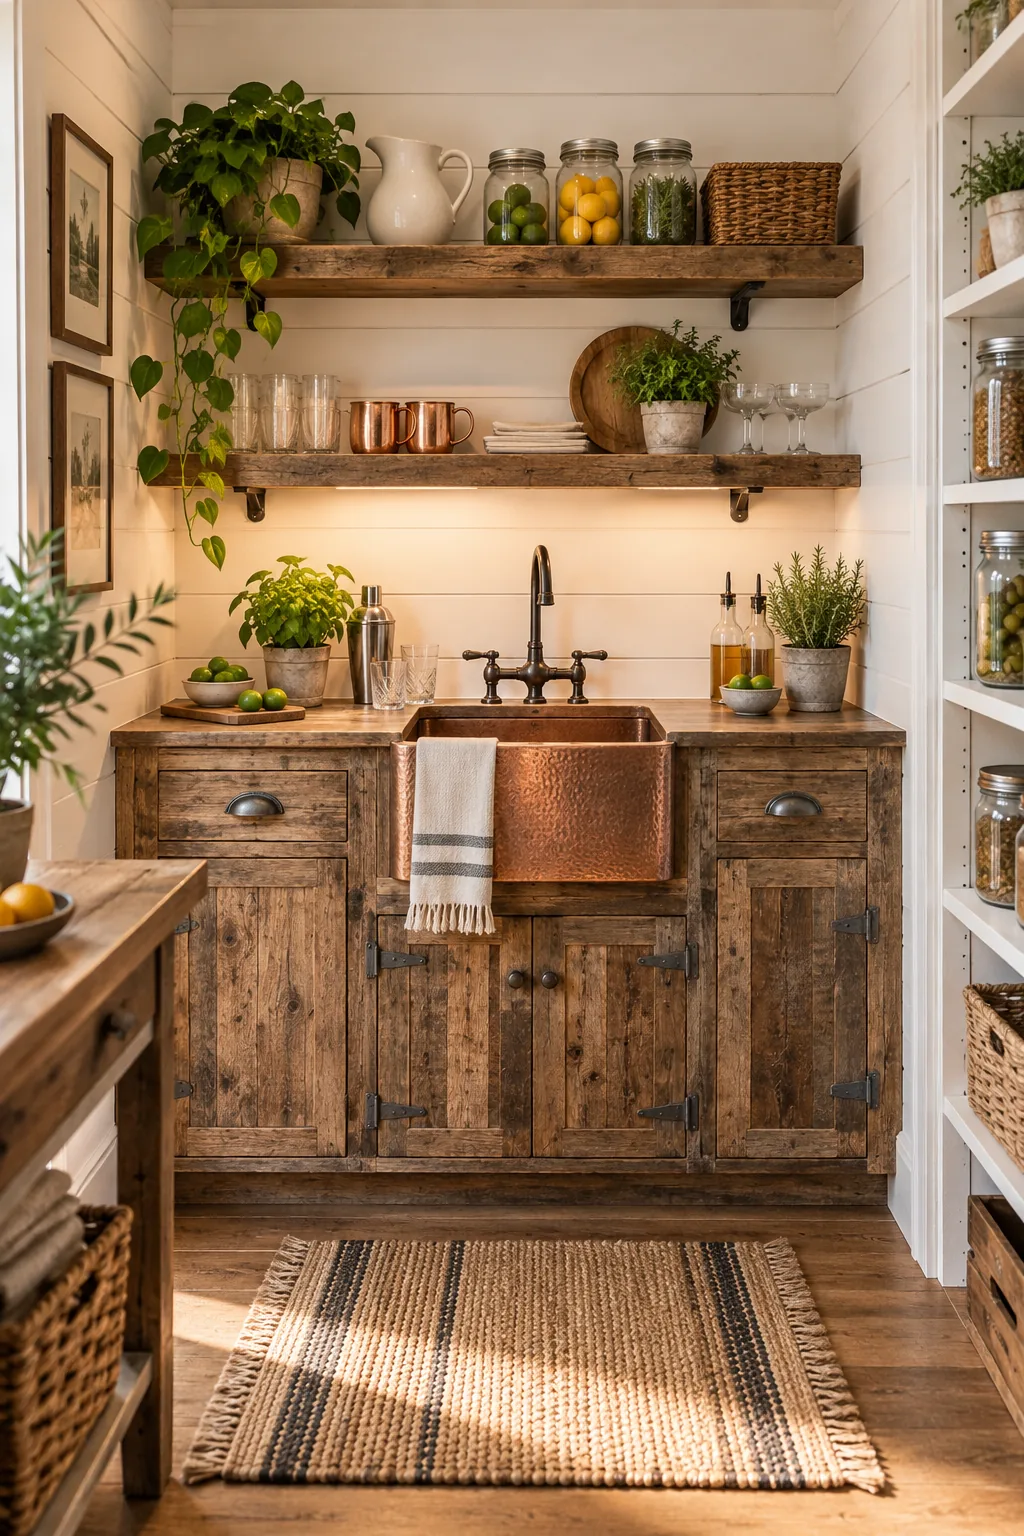
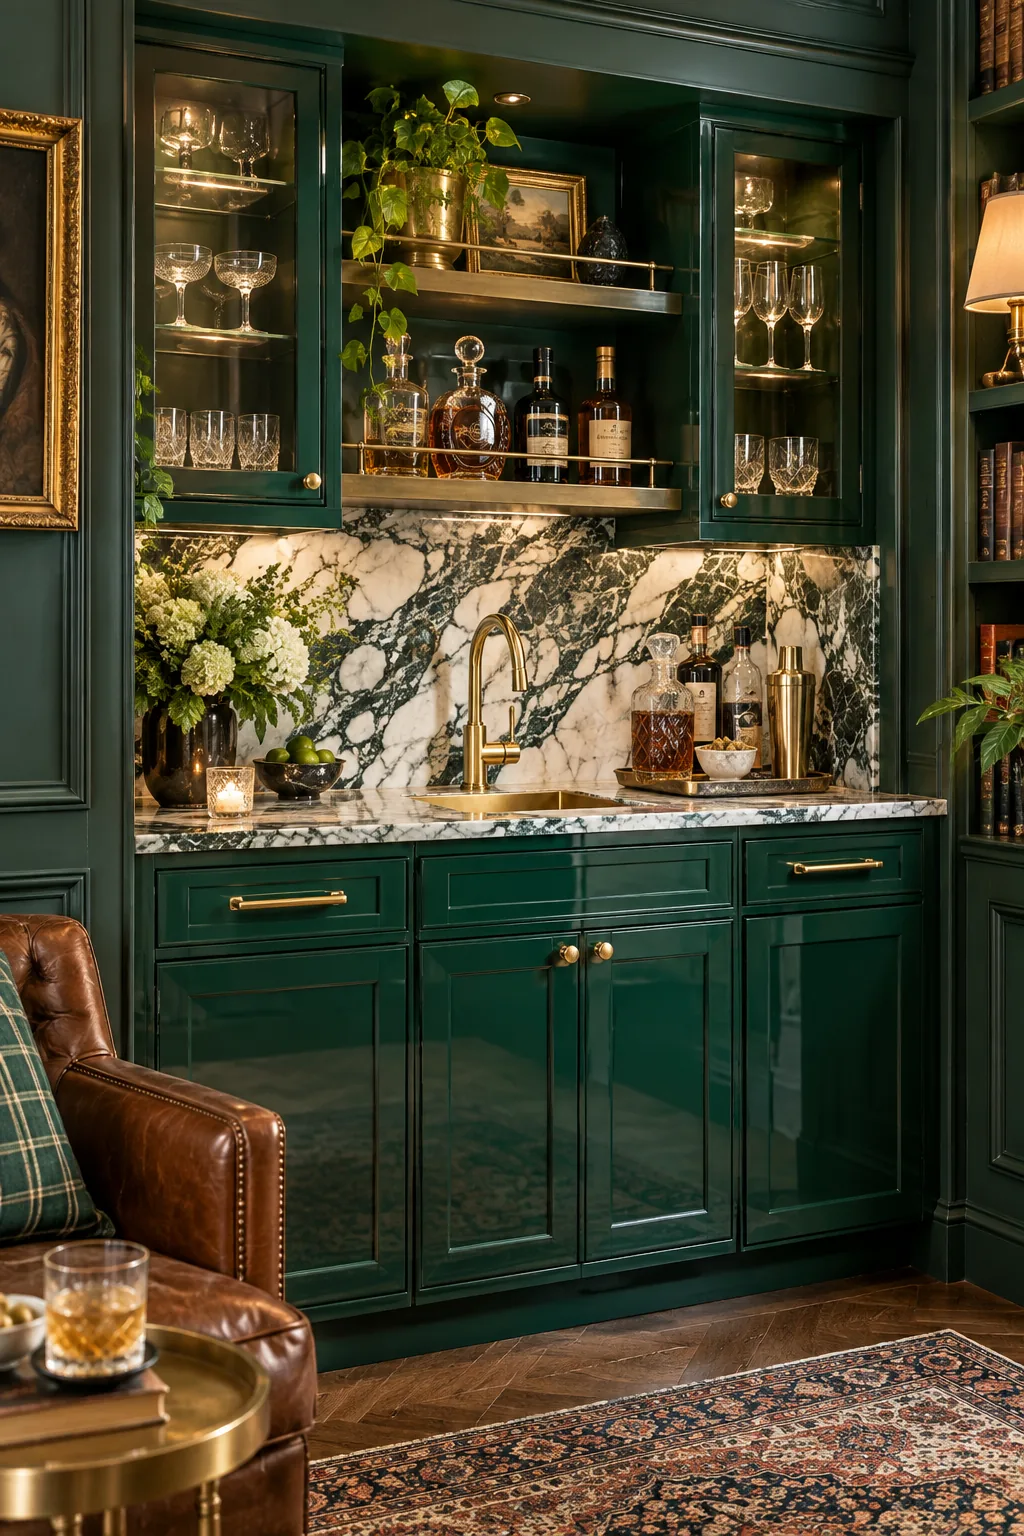
Glamorous Jewel Box Study: High-gloss emerald paint and dramatic, heavily veined marble turn a standard alcove into a luxurious focal point.