Hair Salon Decor: The One-Chair Suite Layout & Shopping List
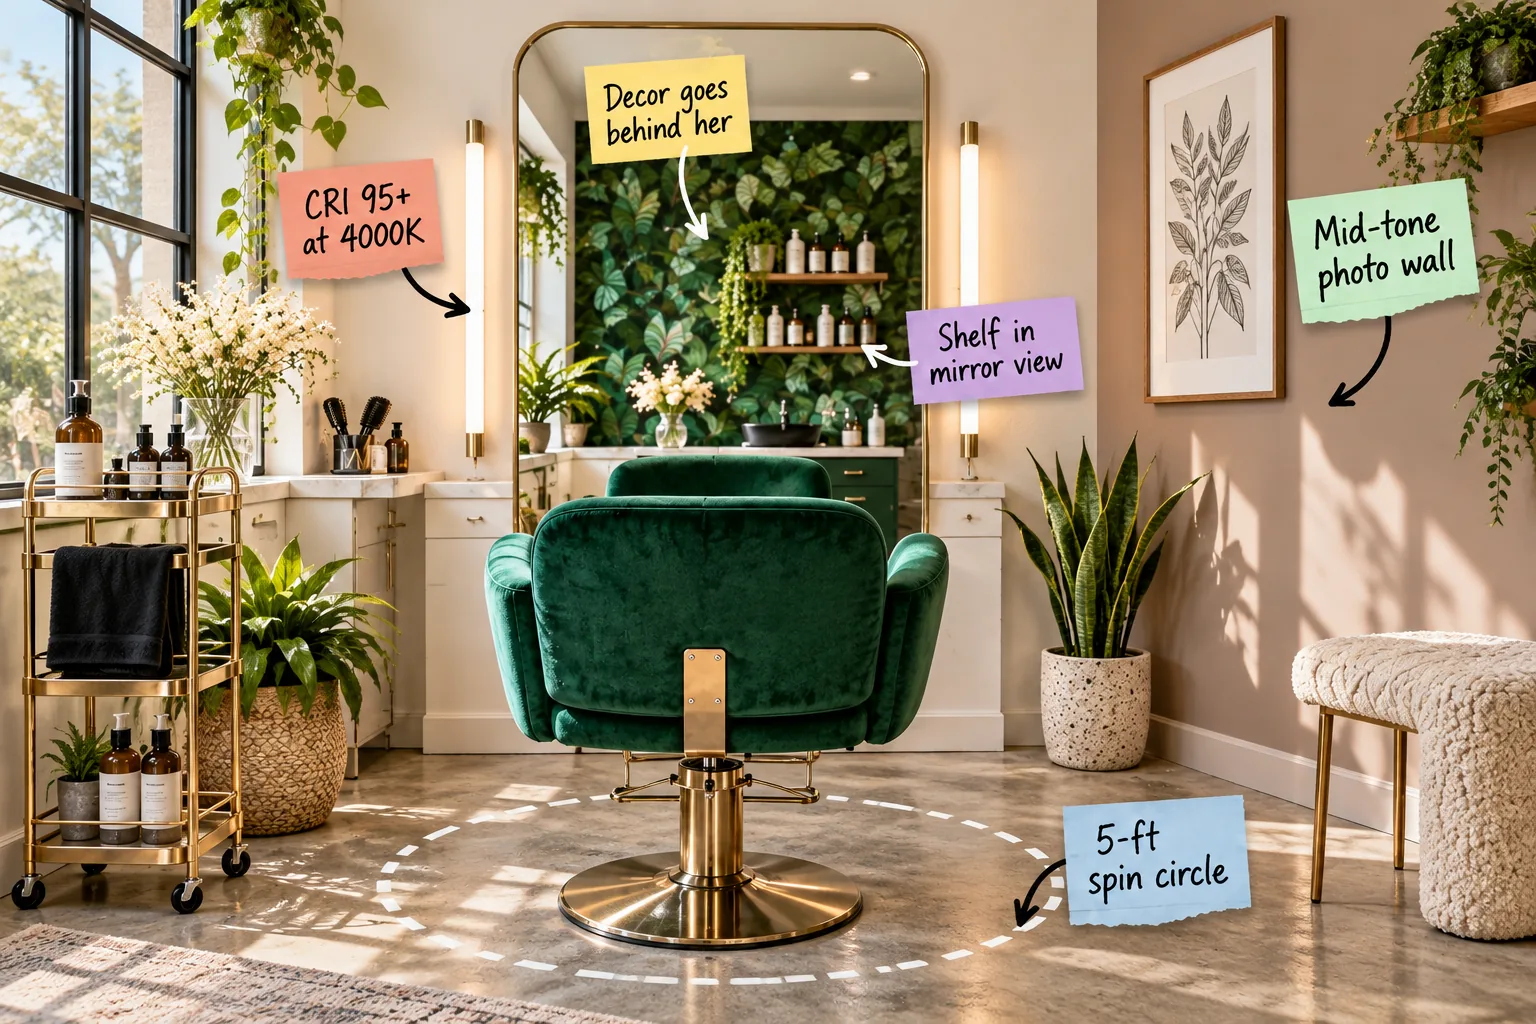
You will be able to map out your 10×12 foot salon suite, position your chair for optimal clearance, and install color-correct lighting for perfect client photos. Download our printable 10×12 foot floor layout and shopping list to design a bright, efficient single-chair space today.
The 10×12 Foot Suite Layout
Your complete printable two-page sheet includes the measured 10×12 foot floor layout, chair clearance zones, and a curated shopping list for your back wall decor. I recently used these exact dimensions to transform a cramped Denver storage room into a high-end luxury studio.
These specific 10×12 foot dimensions create an incredibly efficient, step-saving workflow for a single stylist without ever feeling restrictive or claustrophobic. By anchoring the styling chair in the exact center, you establish a balanced perimeter that naturally separates your active cutting zone from the quiet waiting area.
The 5-Foot Spin Circle
You must tape out a strict 5-ft spin circle around the center point of your styling chair base before ordering any fixed cabinetry. This non-negotiable footprint ensures you can rotate the chair fully while cutting long extensions without forcing your client’s knees into the mirror.
| Suite Zone | Required Clearance | Primary Function | Furniture Allowed |
|---|---|---|---|
| Styling Center | 60-inch diameter | Active cutting and coloring | Hydraulic chair only |
| Mirror Wall | 24 inches deep | Product staging and lighting | Floating shelf, cart |
| Client Entry | 36 inches wide | Safe suite access | Coat hook, umbrella stand |
| Photo Station | 48 inches wide | Capturing portfolio images | Ring light, posing stool |
| Shampoo Bowl | 40 inches deep | Washing and processing | Reclining backwash unit |
| Retail Display | 12 inches deep | Passive merchandising | Wall-mounted shelving |
This precise 60-inch diameter zone is a practical necessity that protects your posture during marathon highlighting sessions. When you can step back freely to check your blending, you eliminate the awkward hunching and side-stepping that typically cause severe lower back pain.
Choosing a Low-Profile Styling Chair
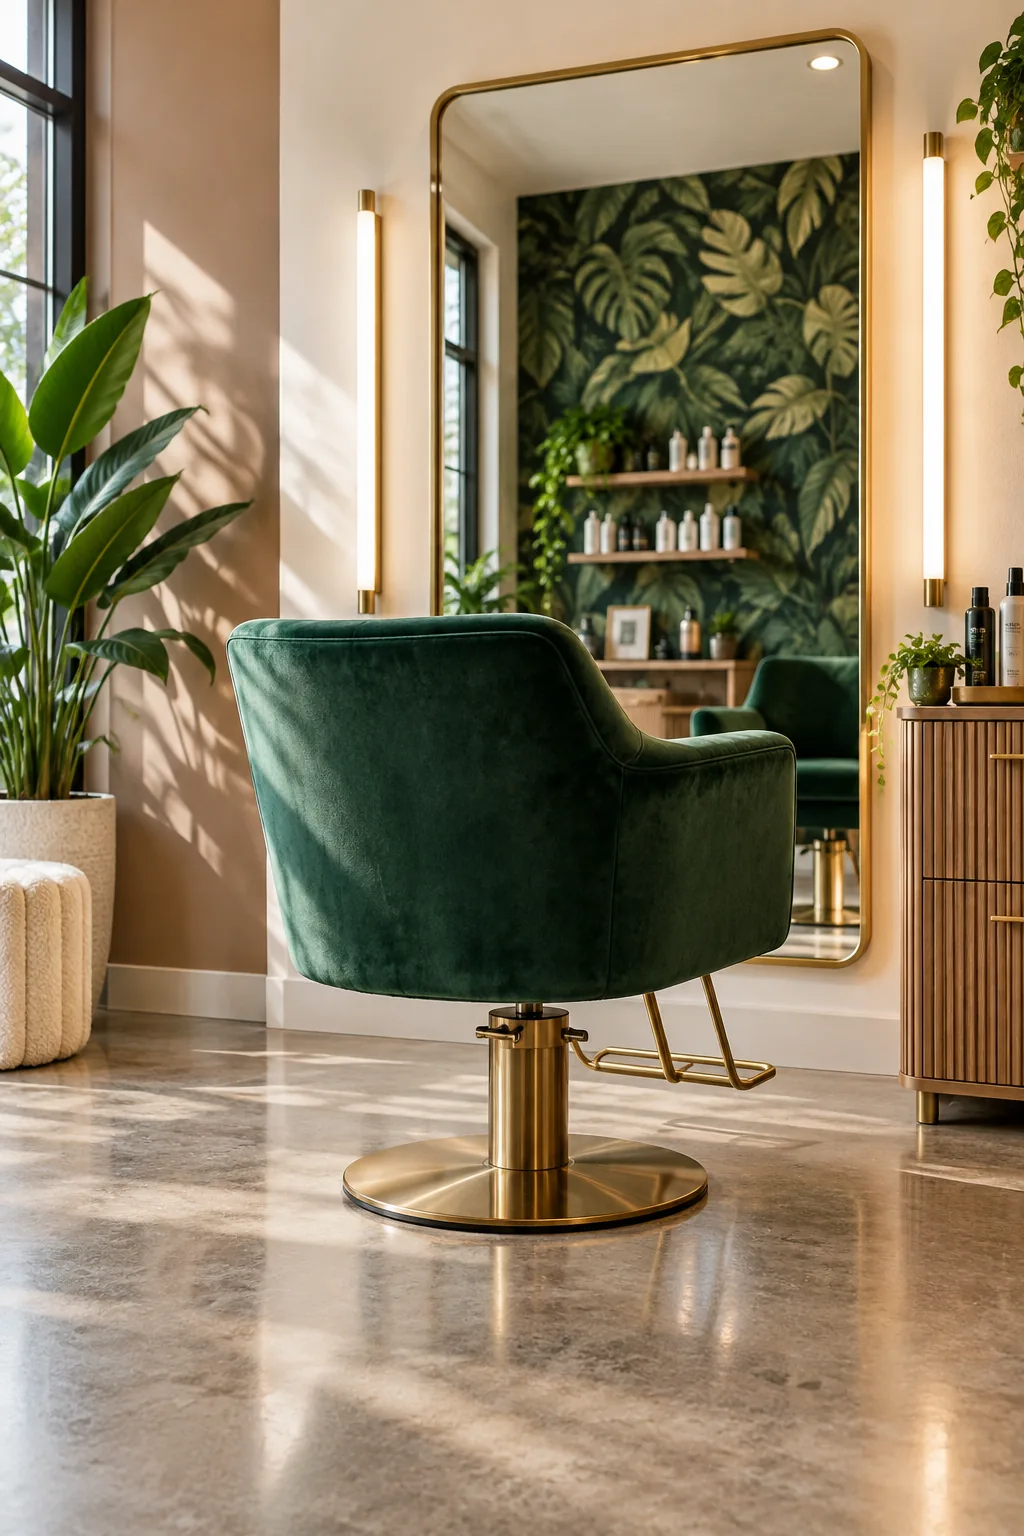
A beautiful chair can quickly ruin your workflow if its proportions fight the room, so you must verify the hydraulic base diameter before purchasing. Watch out for these common furniture missteps when outfitting a compact suite to ensure your layout remains functional and spacious.
Selecting a chair with a streamlined silhouette keeps the visual weight of the room light, allowing your carefully chosen wall decor to command attention. A minimalist frame wrapped in durable, stain-resistant vinyl guarantees your central anchor piece looks pristine even after back-to-back chemical services.
Decorating the Reflected Back Wall
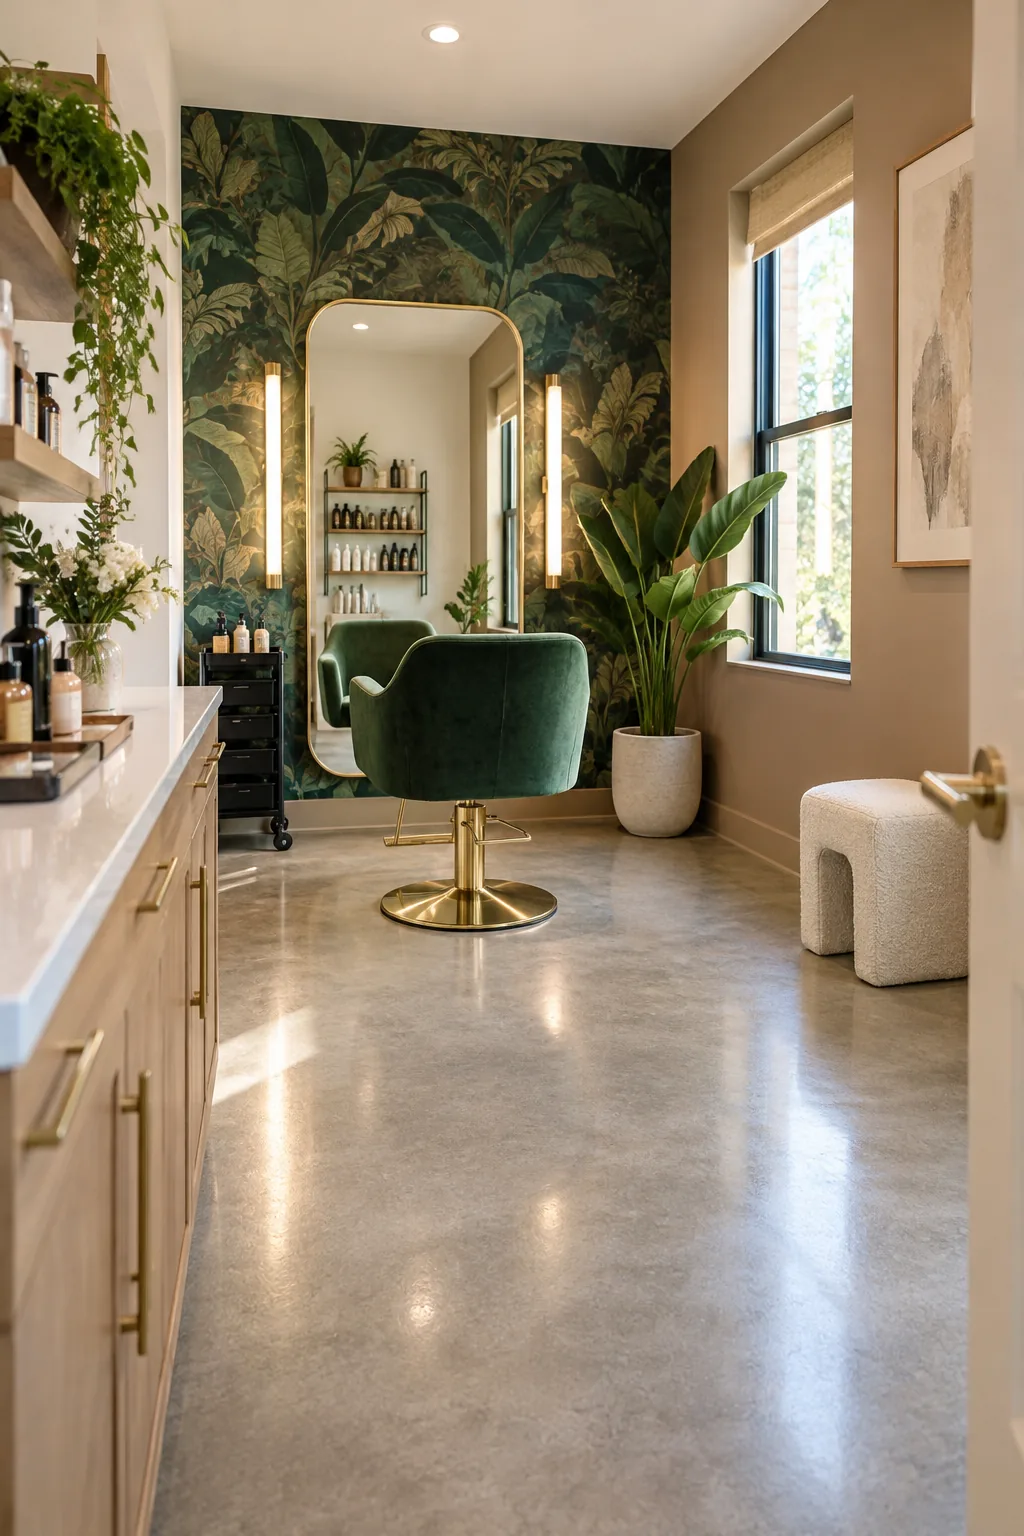
The golden rule of suite design is that decor goes behind her, directly on the wall your client stares at through the glass. In my own studio, applying a dramatic emerald botanical wallpaper panel behind the chair completely eliminated the awkwardness of clients staring at a blank white box.
- Mark the sightline: Sit in your styling chair and use painter’s tape to outline exactly what is visible in the mirror reflection from the client’s perspective.
- Center the pattern: Hang your boldest wallpaper drop or largest canvas dead center within that taped boundary so it perfectly halos the client’s head.
- Frame the edges: Install simple wooden trim around the wallpaper panel to give it a finished, deliberate look that mimics a high-end custom mural.
This specific back surface is the most important wall to decorate because it frames the client’s face for the entire appointment and dominates every mirror selfie. By saturating this reflected zone with rich color and complex patterns, you create a high-end, immersive atmosphere without overwhelming the physical space you actually work in.
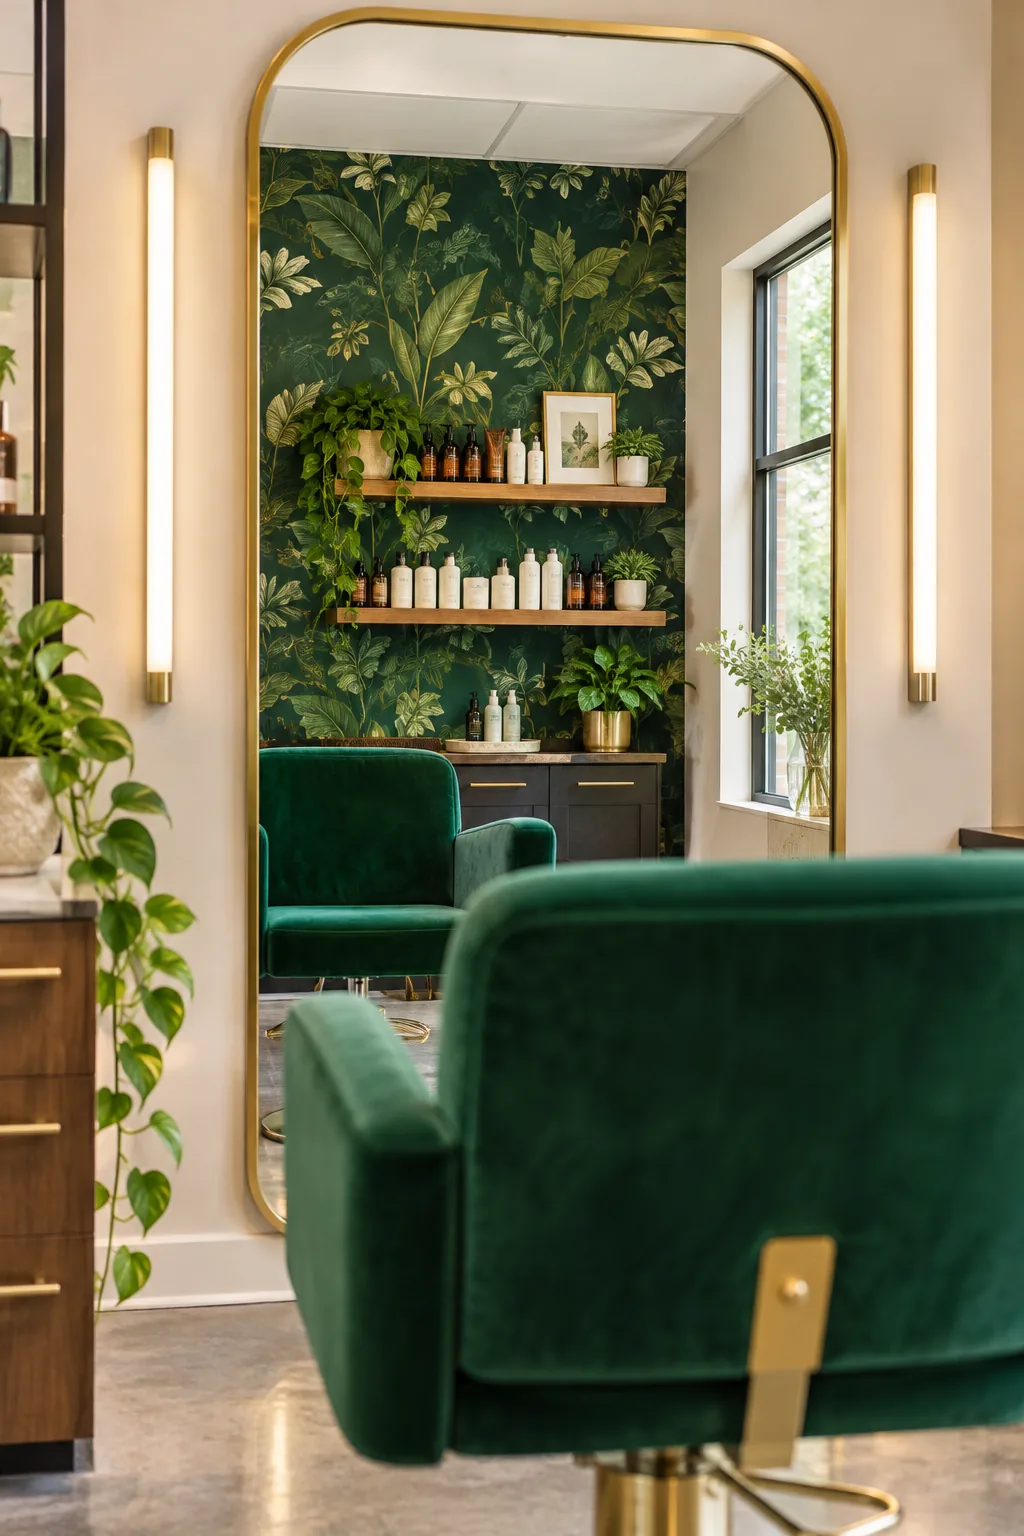
Positioning the Retail Shelf
Mount a small floating retail shelf on the back wall so it remains highly visible in the reflection, keeping a shelf in mirror view at all times. Placing retail products within the client’s natural sightline capitalizes on their captive attention while their color processes, turning empty waiting time into organic product discovery.
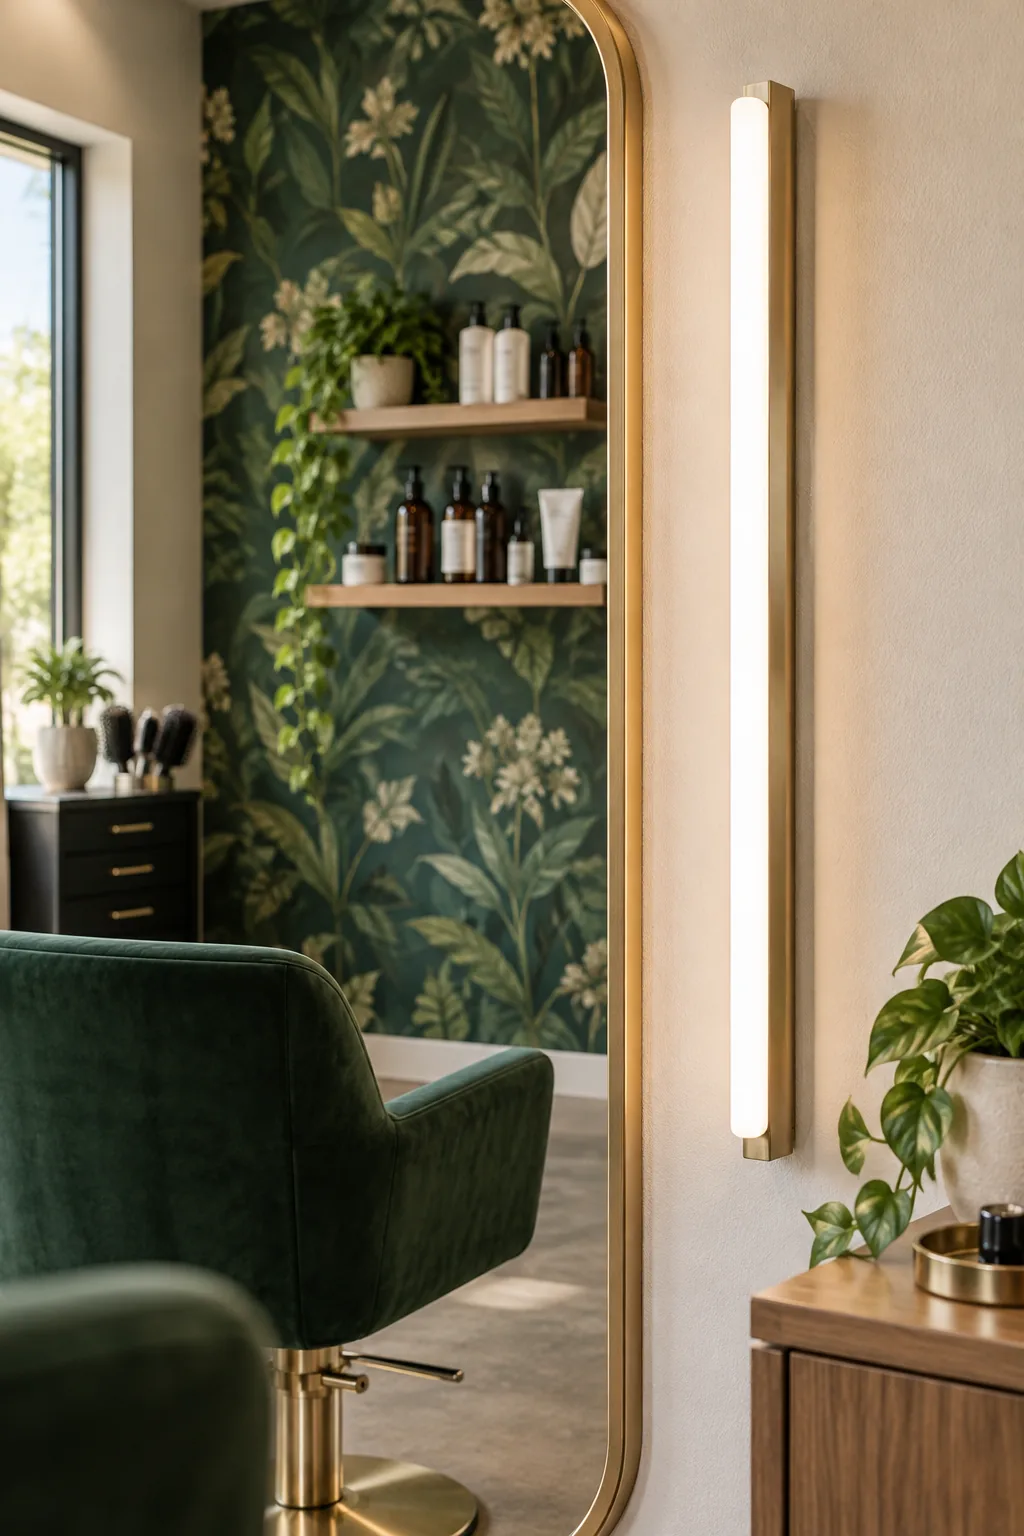
Flawless Color-Correct Lighting
Before drilling into your drywall, verify your lighting setup will actually flatter your clients and render hair tones with absolute precision. Run through this quick placement check to guarantee your vertical LED light bars deliver the exact technical specifications required for professional color work.
Securing these technical lighting metrics is the single most important investment you can make in your suite, directly impacting how much clients love their final result. When you eliminate overhead fluorescent glare, you instantly elevate the perceived value of your service and drastically reduce the time spent color-correcting photos.
Managing Styling Station Clutter
You must pair your CRI 95+ at 4000K mirror lighting with a ruthlessly organized main console to keep the client’s focus on their glowing reflection. Stowing your blow dryer, clips, and hot tools on a hidden rolling cart ensures the mirror view remains pristine and focused entirely on the back wall decor, maintaining the illusion of a serene luxury experience.
More One-Chair Salon Suite Looks
Explore how different color palettes and materials can completely transform the same 10×12 footprint.
Minimalist Warm Neutral: Soft sand tones and a boucle chair create a calming, distraction-free environment for clients.
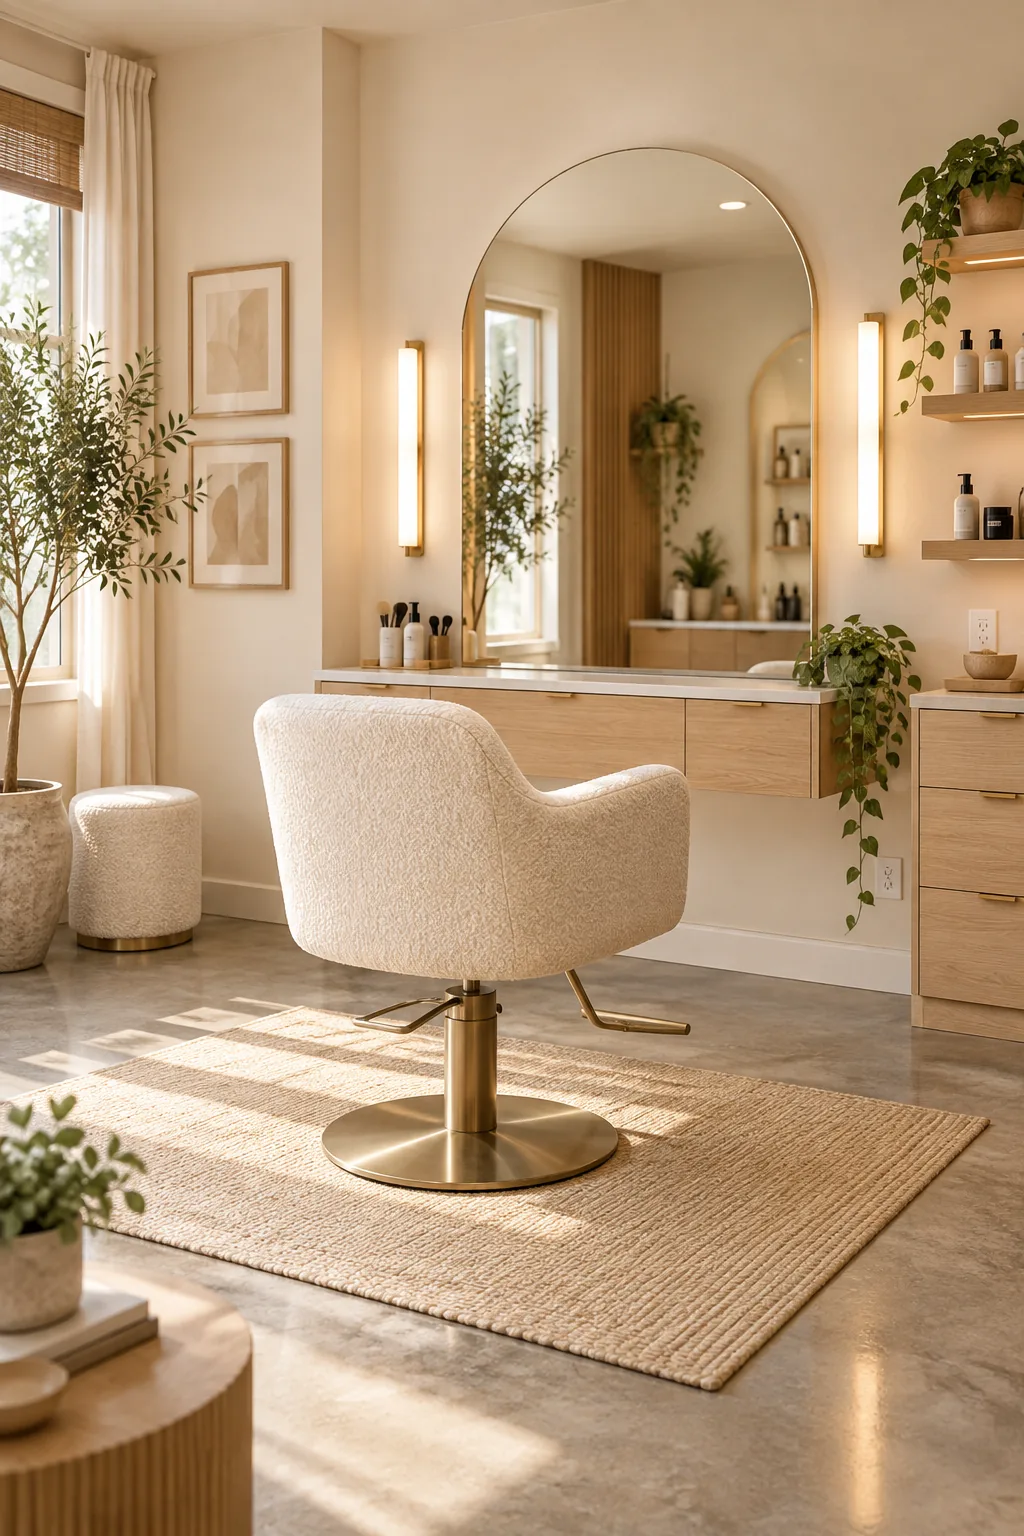
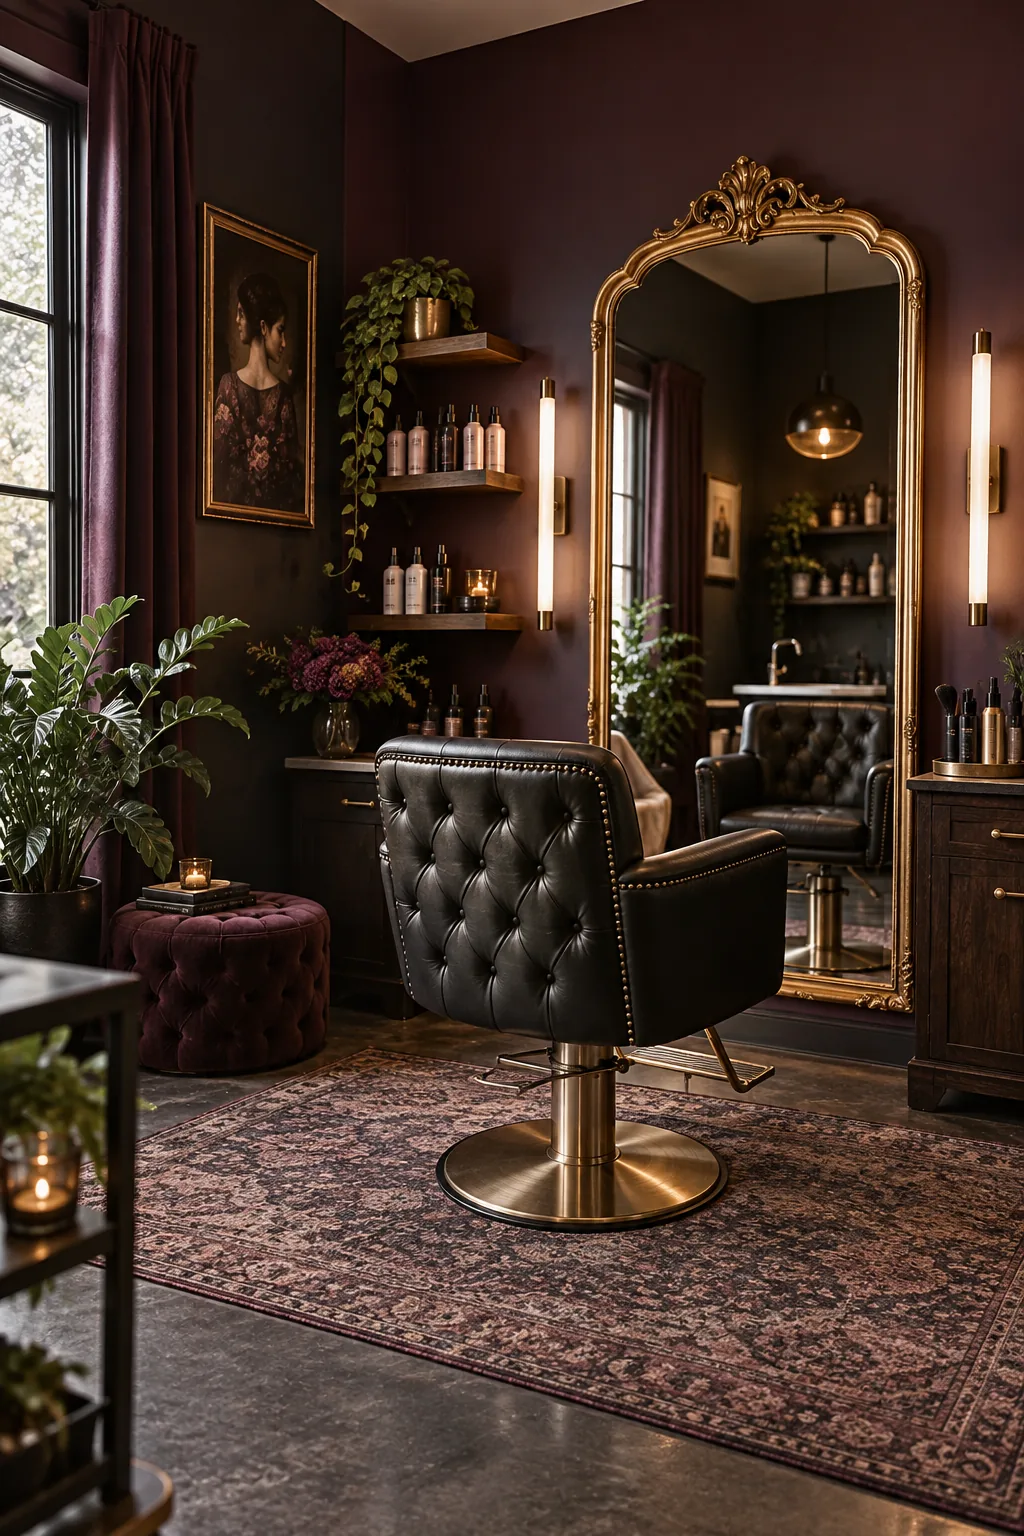
Moody Dark Academia: Deep plum walls and an ornate vintage mirror give this suite a rich, dramatic intimacy.
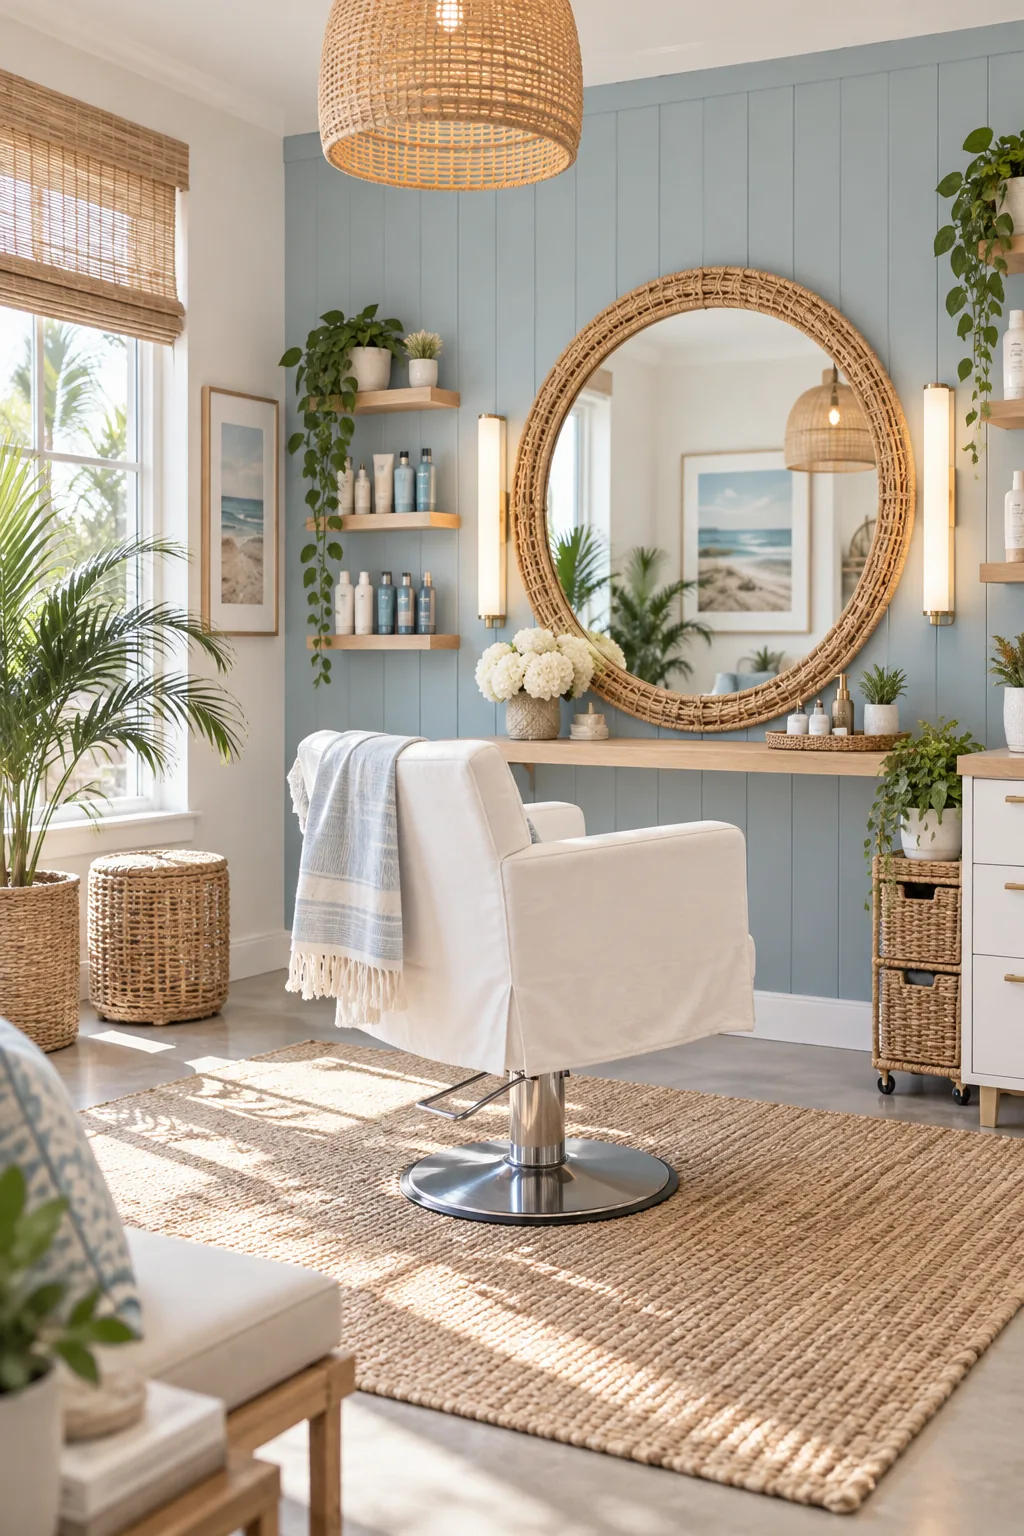
Airy Coastal Retreat: Crisp white finishes and woven rattan textures bring a breezy, beachside freshness to the space.
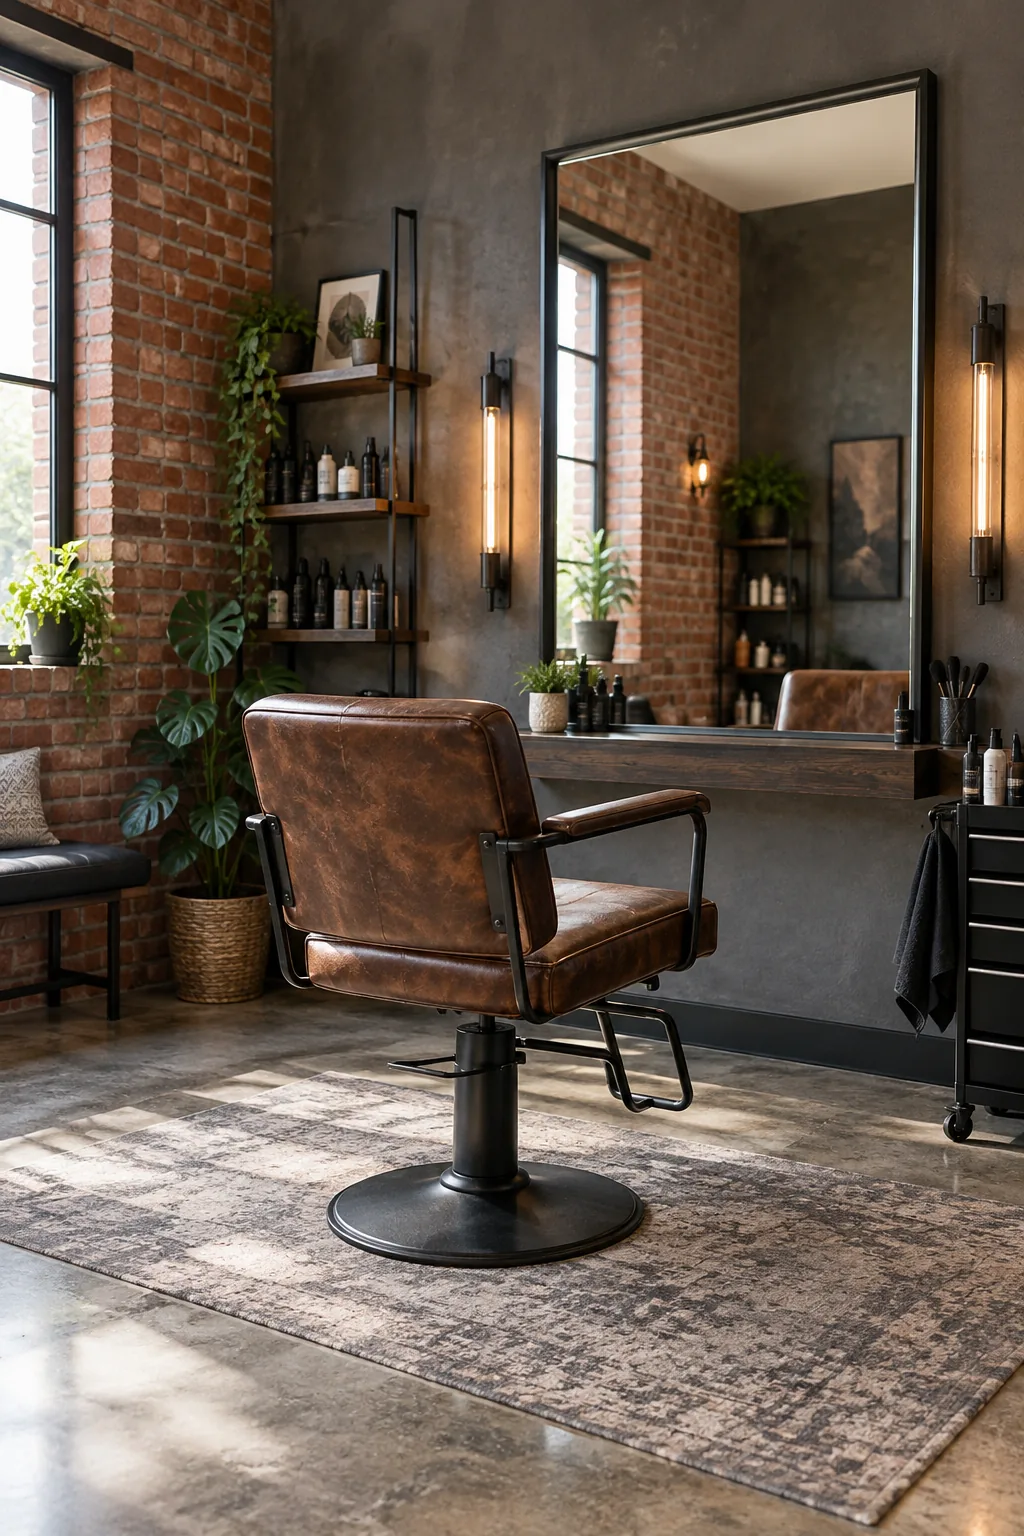
Urban Industrial Loft: Exposed brick and matte black metal fixtures deliver a sharp, edgy vibe that feels effortlessly cool.
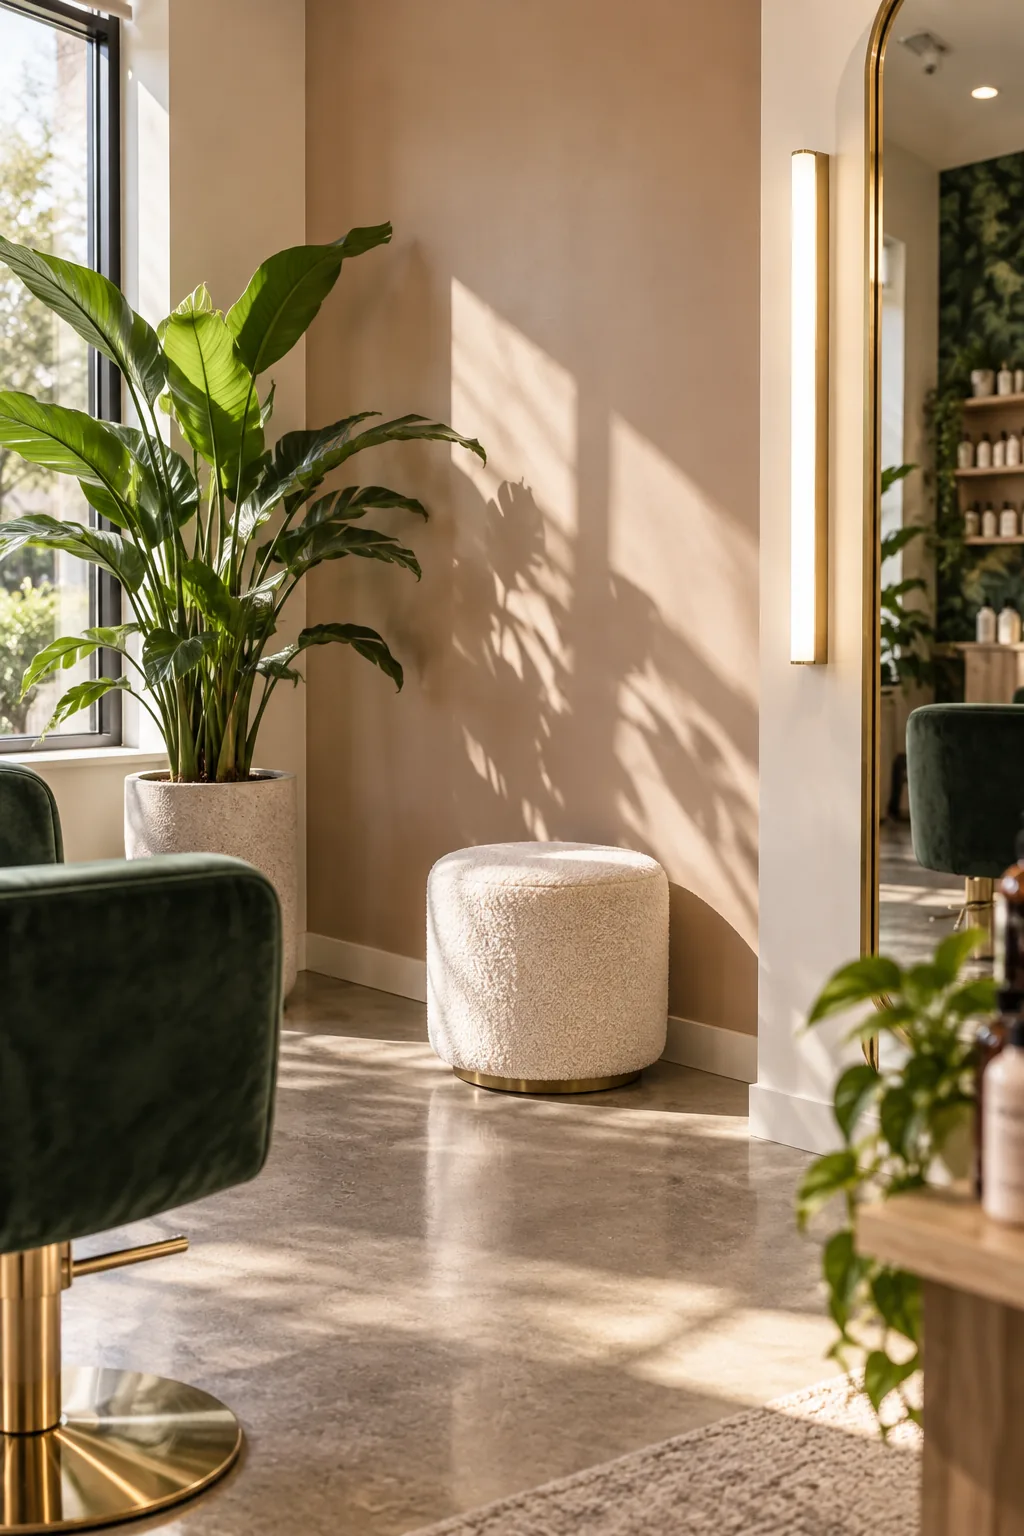
The Dedicated Mid-Tone Photo Wall
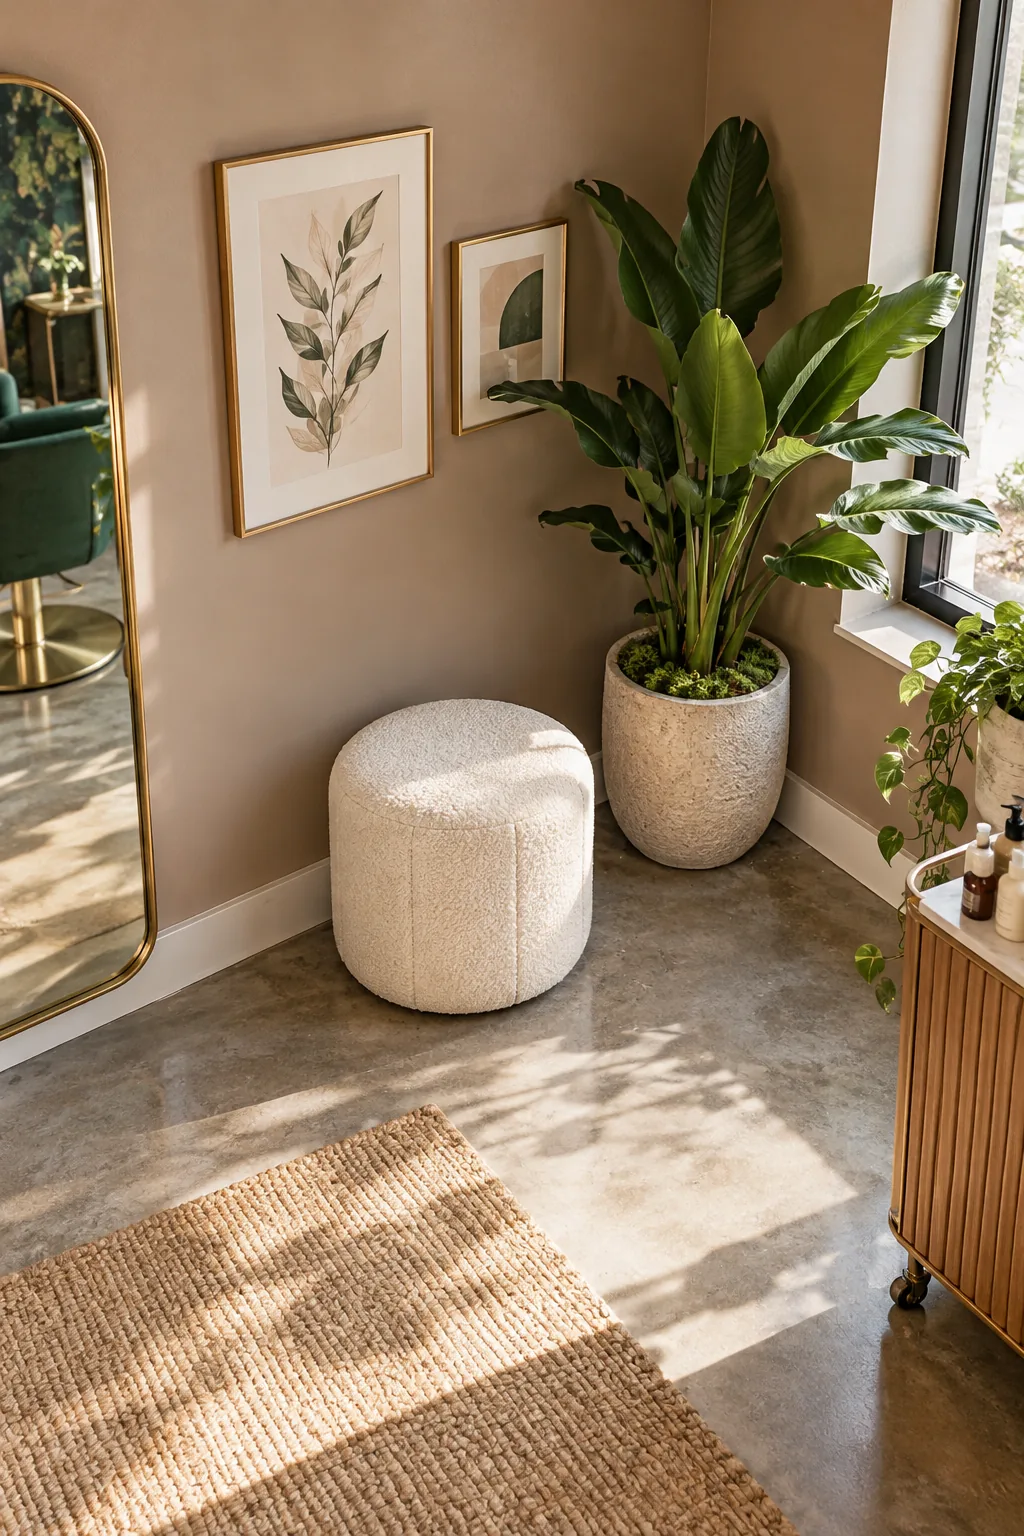
Set up a dedicated mid-tone photo wall beside the window, painting it a soft clay-taupe to serve as your permanent after-photo backdrop. I painted my own studio’s photo corner a warm mushroom shade, and this mid-tone surface near natural light instantly stopped my camera from overexposing blonde highlights, capturing perfectly exposed images that highlight dimension and texture.