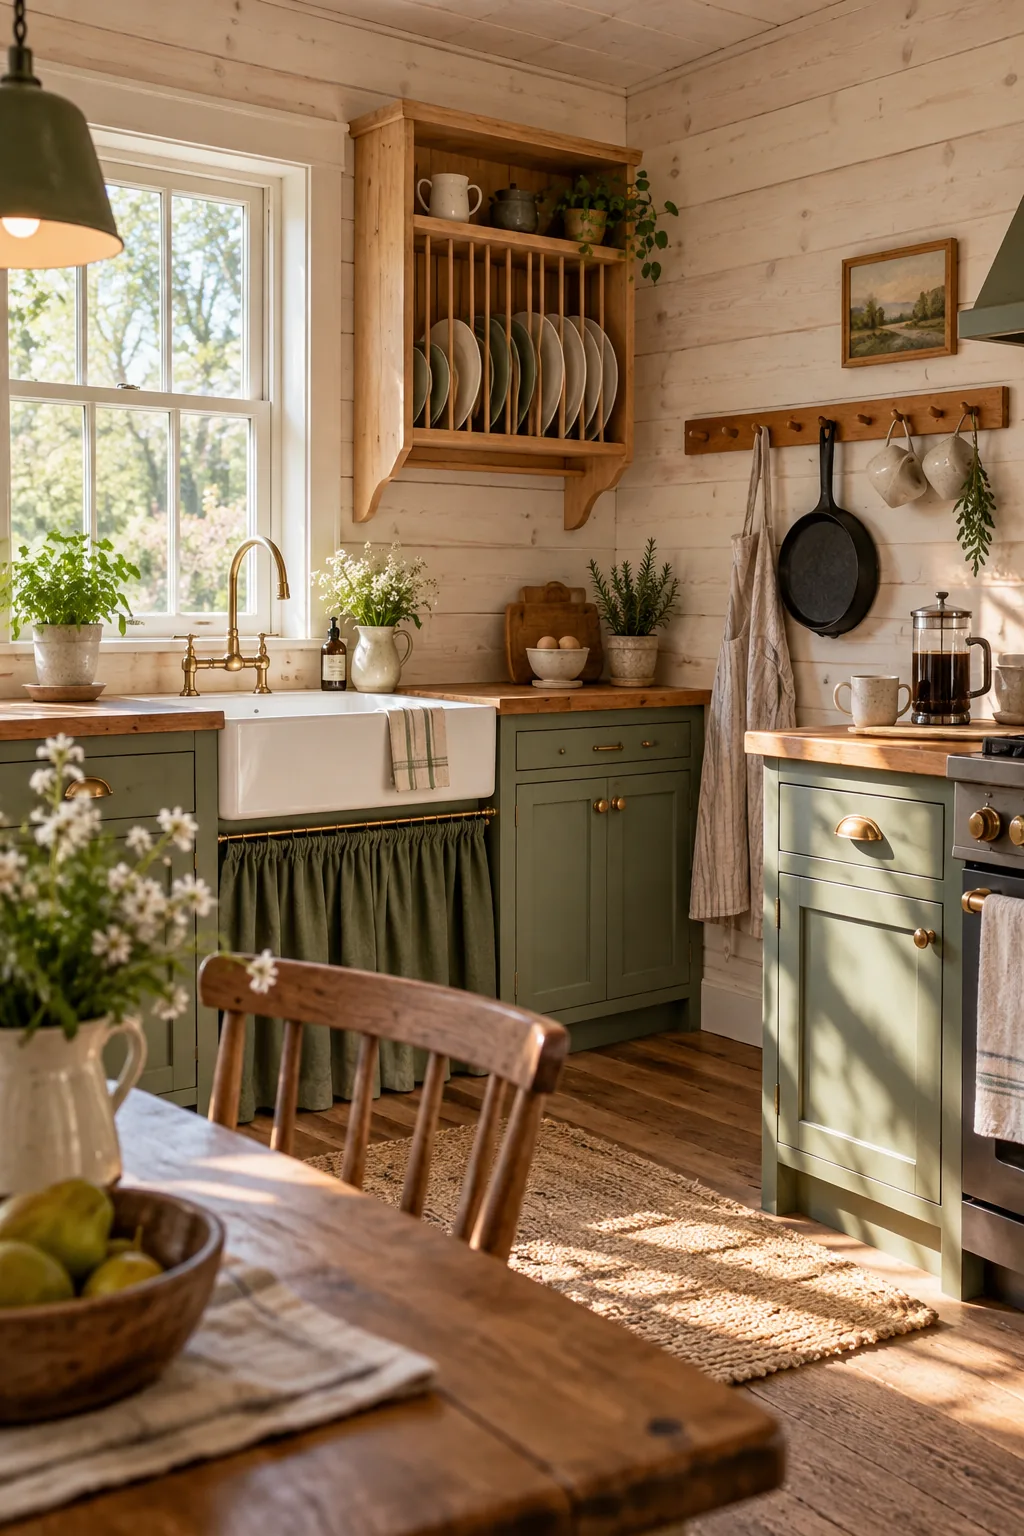
Cabin Kitchen Build Sheet: Drip Cupboard & Peg Rail Plans
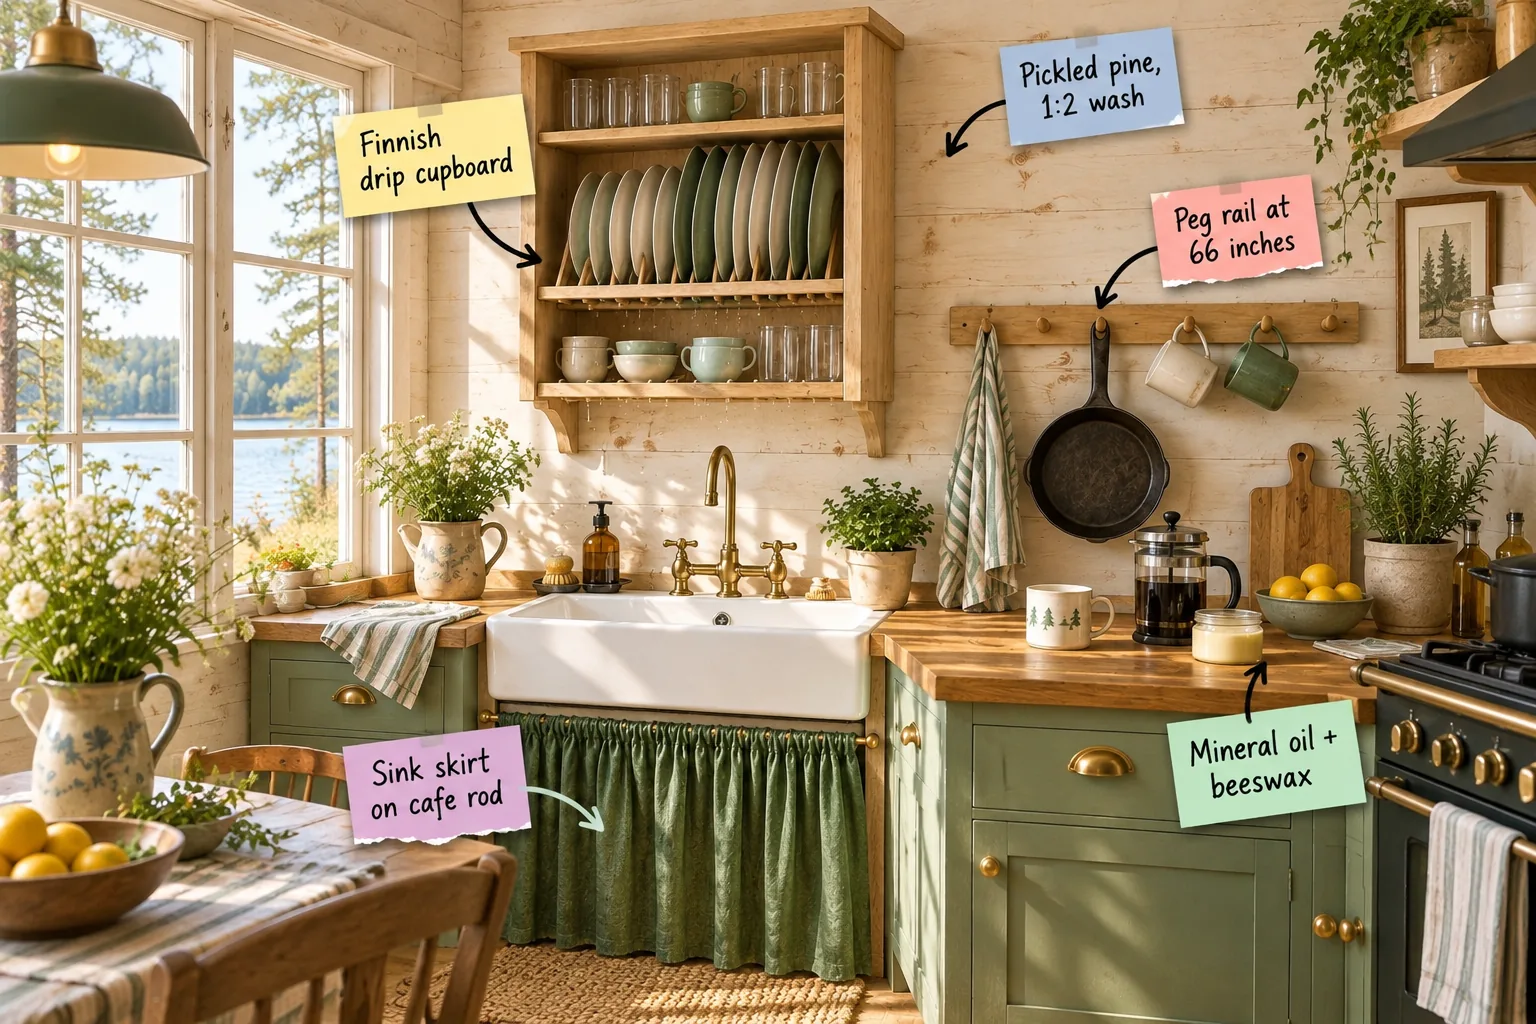
If you are tired of wet plates hogging your counter space, this self-drying setup is exactly what you need. You will be able to measure, cut, and mount your own dripping plate cupboard, peg rail, and cafe-rod sink skirt using our printable Cabin Kitchen Build Sheet.
Pickling the Pine Walls for a Sunlit Base
When I first started renovating my own little cabin space, the walls were covered in heavy, dark wood that made the entire kitchen feel like a gloomy cave. Start by brightening your room with a 1:2 pine pickling wash, which instantly lifts the space.
- Mix one part standard white latex paint with two parts water in a large bucket.
- Brush the watery glaze directly onto the raw wood, working in small three-foot sections.
- Wipe away the excess with a clean rag before it dries to reveal the knots.
This translucent glaze perfectly softens the harsh yellow tones of knotty pine while letting the natural, rustic wood grain show through.
Preparing the Raw Wood Surface
Before you apply any wash, you must thoroughly sand the planks to remove old varnish and open the wood pores. A medium-grit sanding block works best to prepare the surface without leaving deep scratches that the watery paint might pool into.
Protecting the Pickled Finish
Once the wash dries completely, seal the planks with a clear, water-based polyurethane to protect the walls from daily cooking splatters. Water-based formulas ensure the bright, sunlit look remains crisp and prevent the pine from yellowing again over time.
Building the Finnish Drip Cupboard
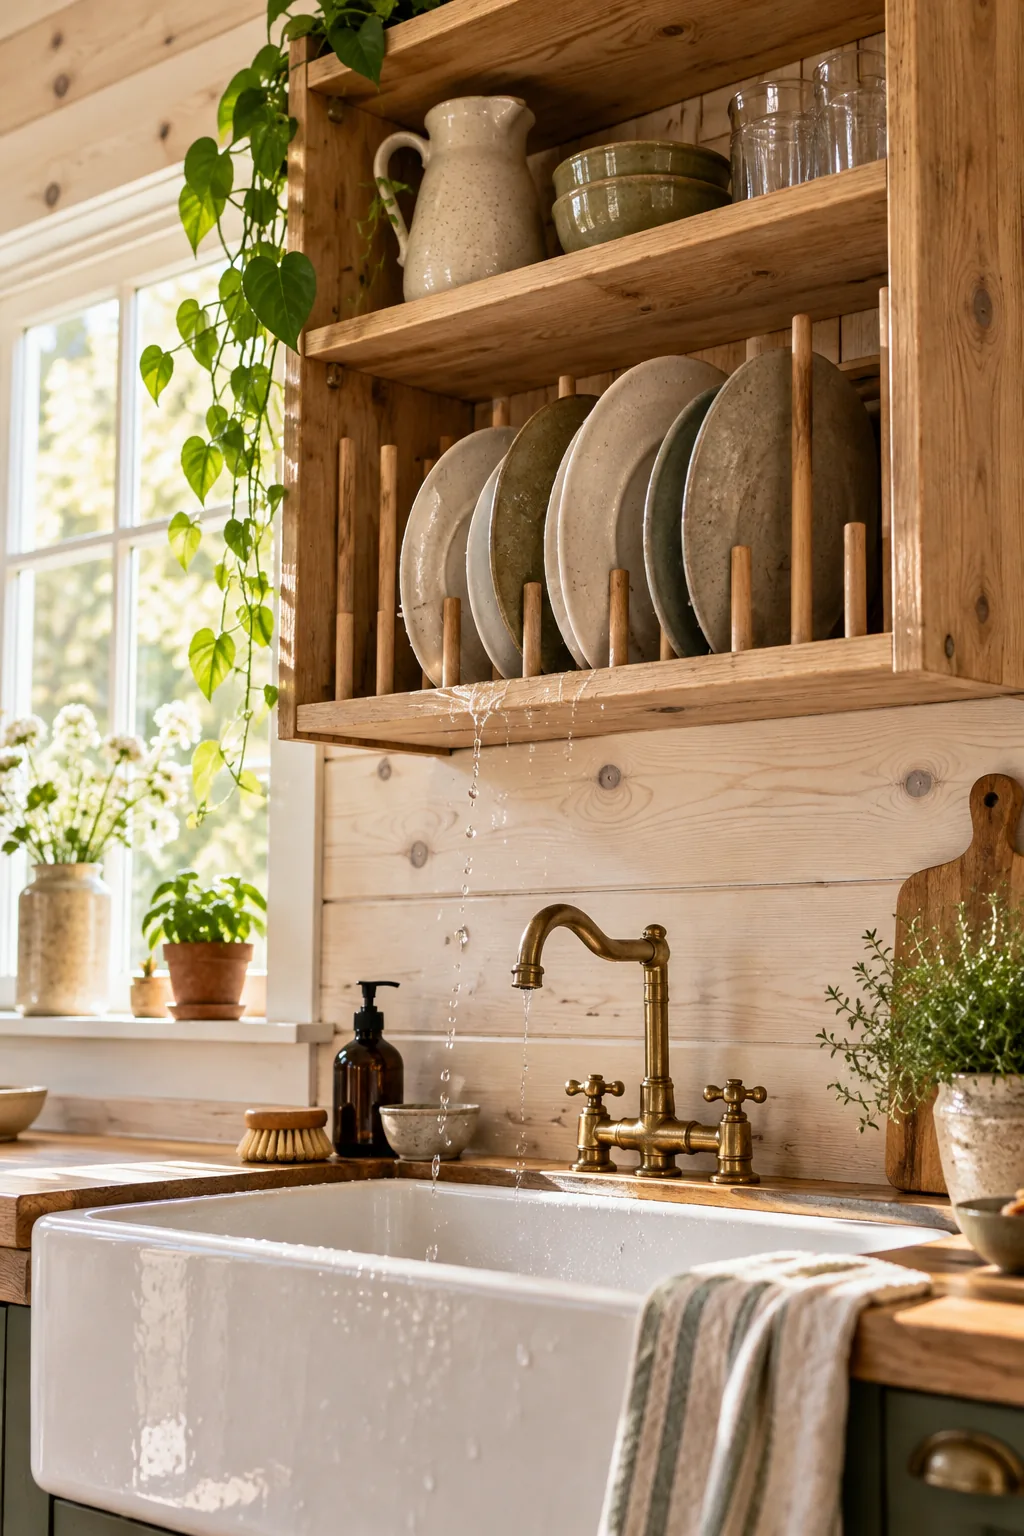
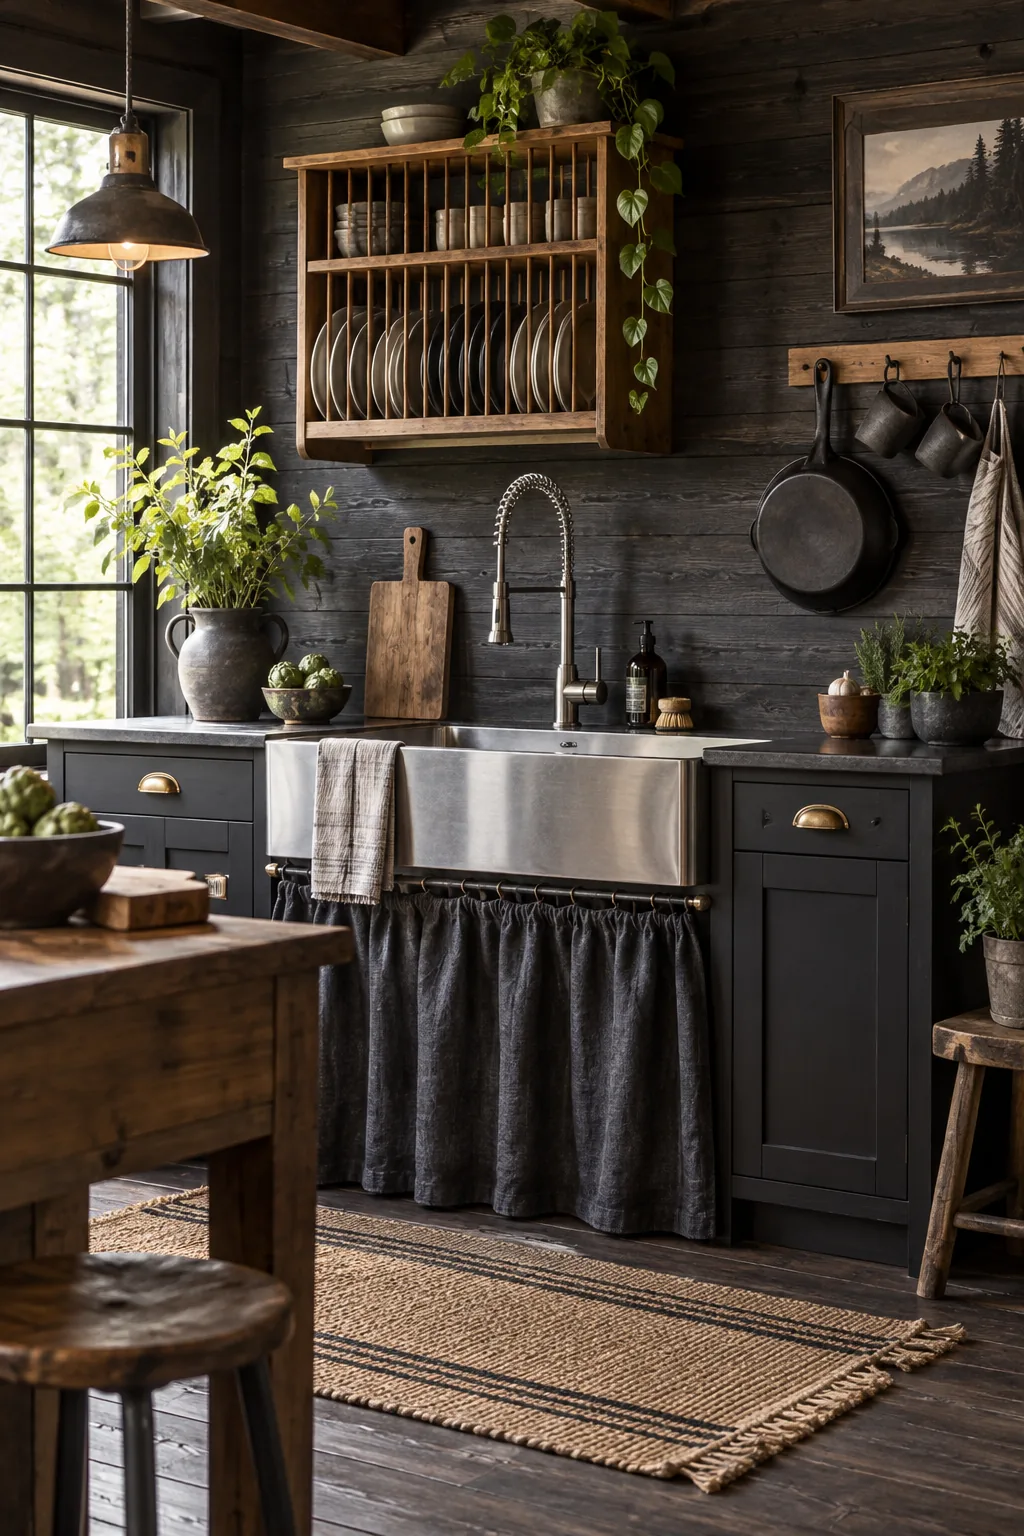
I used to constantly battle a soggy dish towel on my counter until I discovered this brilliant Scandinavian solution during a winter trip. Mount the open-bottom cupboard directly above your apron sink so wet plates can drip straight into the basin.
- Measure the exact width of your sink basin to determine the cabinet frame size.
- Secure the outer frame directly into the wall studs using heavy-duty cabinet screws.
- Leave the entire bottom face completely open to allow water to fall freely.
This traditional Finnish design entirely eliminates the need for a countertop dish rack, keeping your small kitchen footprint beautifully clear and highly functional.
Sizing the Cabinet Frame
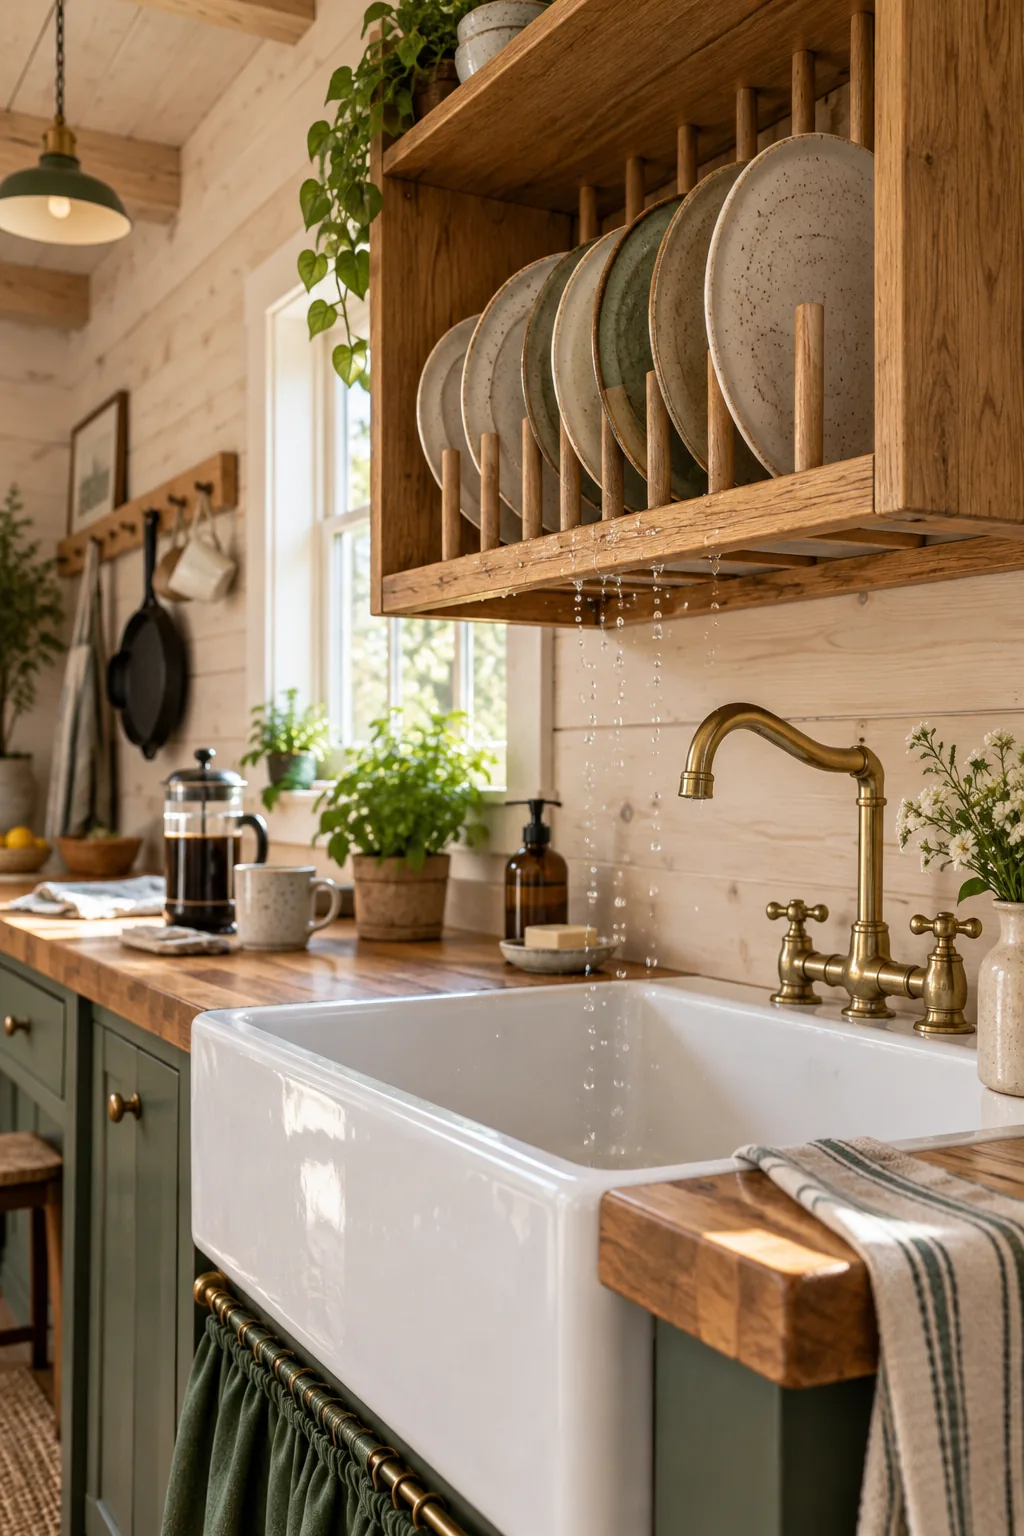
The depth of the cupboard should perfectly match the diameter of your largest dinner plate plus one inch for clearance. This specific measurement ensures the plates sit securely inside the frame without protruding past the cabinet face or bumping the back wall.
Organizing the Drying Zones
Design the interior of your dripping cupboard with specific zones for different types of dishes. Dedicate the lower rack to heavy daily plates, and reserve the upper shelf for lighter glasses and small bowls that dry quickly in the ambient air.
Spacing the Dowels for Heavy Stoneware
You must use sturdy hardwood dowels to create the drying racks inside the cupboard, as softwoods will eventually warp from the constant moisture. The build sheet provides the exact spacing method to ensure thick stoneware plates stand upright without leaning or sliding through the bottom gap.
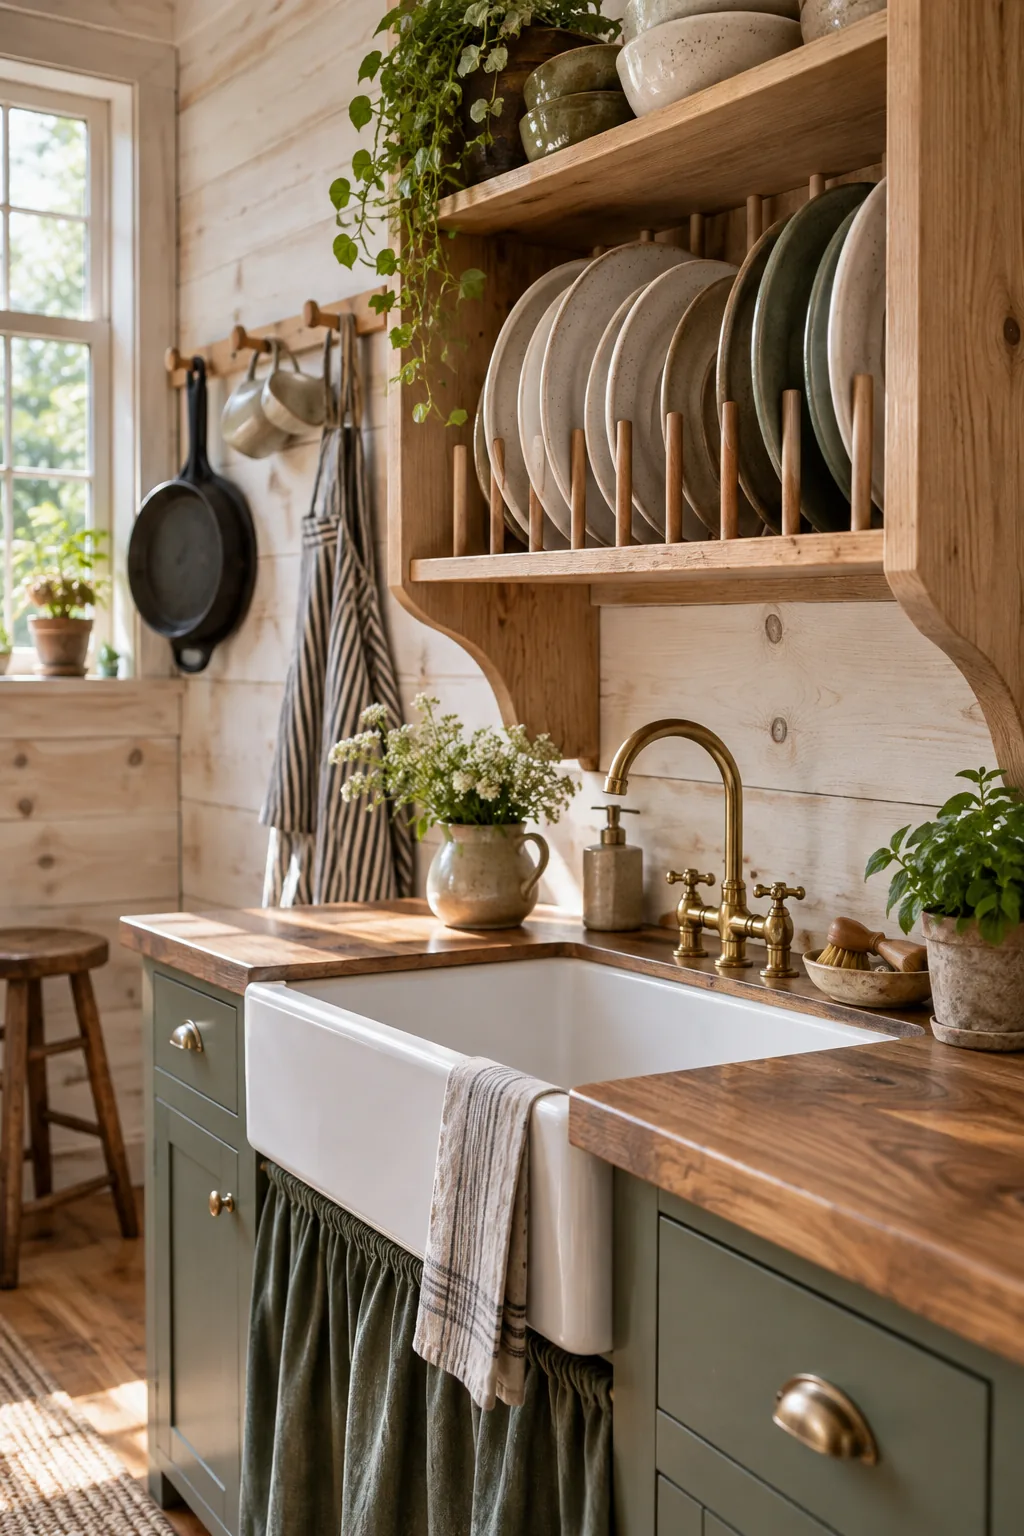
Getting the wooden dowels perfectly straight is the secret to a plate rack that looks professionally built rather than hastily assembled.
Sealing the Wooden Racks
Even hardwood needs protection from daily exposure to dripping water and damp ceramics. Coat every dowel and interior frame piece with a penetrating tung oil finish to create a durable, waterproof barrier that will not peel or flake onto your clean dishes.
Hanging the Shaker Peg Rail at 66 Inches
Install the wooden Shaker peg rail at exactly 66 inches from the floor to maximize your vertical storage space. This specific height keeps heavy cast-iron skillets and daily coffee mugs within easy ergonomic reach while providing plenty of clearance above the stove and counters.
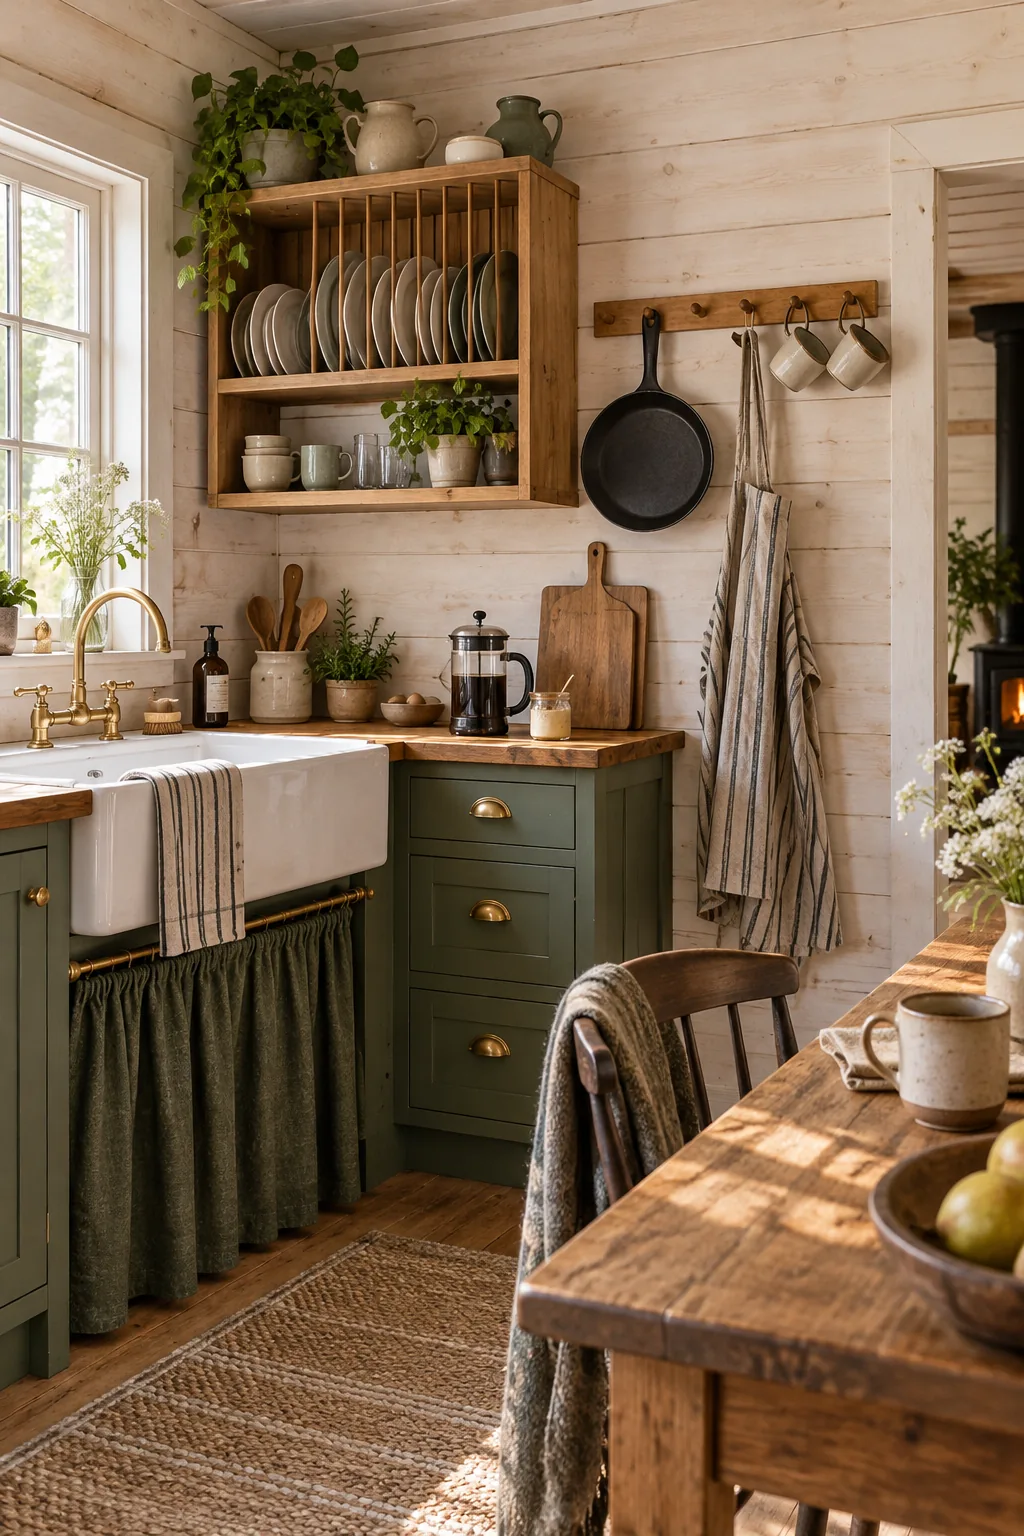
Anchoring into the Wall Studs
Because a fully loaded peg rail carries a significant amount of weight, you cannot rely on drywall anchors alone. Always drive your mounting screws directly through the wooden backer board and into the structural wall studs for a completely secure hold.
Spacing the Shaker Pegs
Leave exactly six inches of space between each wooden peg to prevent your hanging items from clanging together. This generous spacing allows a wide skillet to hang flat against the wall without overlapping the neighboring apron or coffee mug.
Customizing the Peg Rail Length
You can easily customize the overall length of your peg rail to fit any available wall space. Simply cut the wooden backer board to your desired dimension, ensuring the final peg sits at least three inches inward from either end for visual balance.
Sealing Counters with Mineral Oil and Beeswax
Protect the butcher-block counters around the wet sink zone with a homemade, food-safe board butter. Melt 4 parts food-grade mineral oil to 1 part beeswax by weight to create a creamy, water-repellent satin finish.
| Component | Weight | Purpose |
|---|---|---|
| Mineral Oil | 16 oz | Penetrates wood fibers deeply |
| Beeswax | 4 oz | Creates a hard surface seal |
| Carnauba (Optional) | 1 oz | Adds a glossy, durable shine |
This simple mixture forms a protective barrier that keeps dirty dishwater from soaking into the raw wood grain.
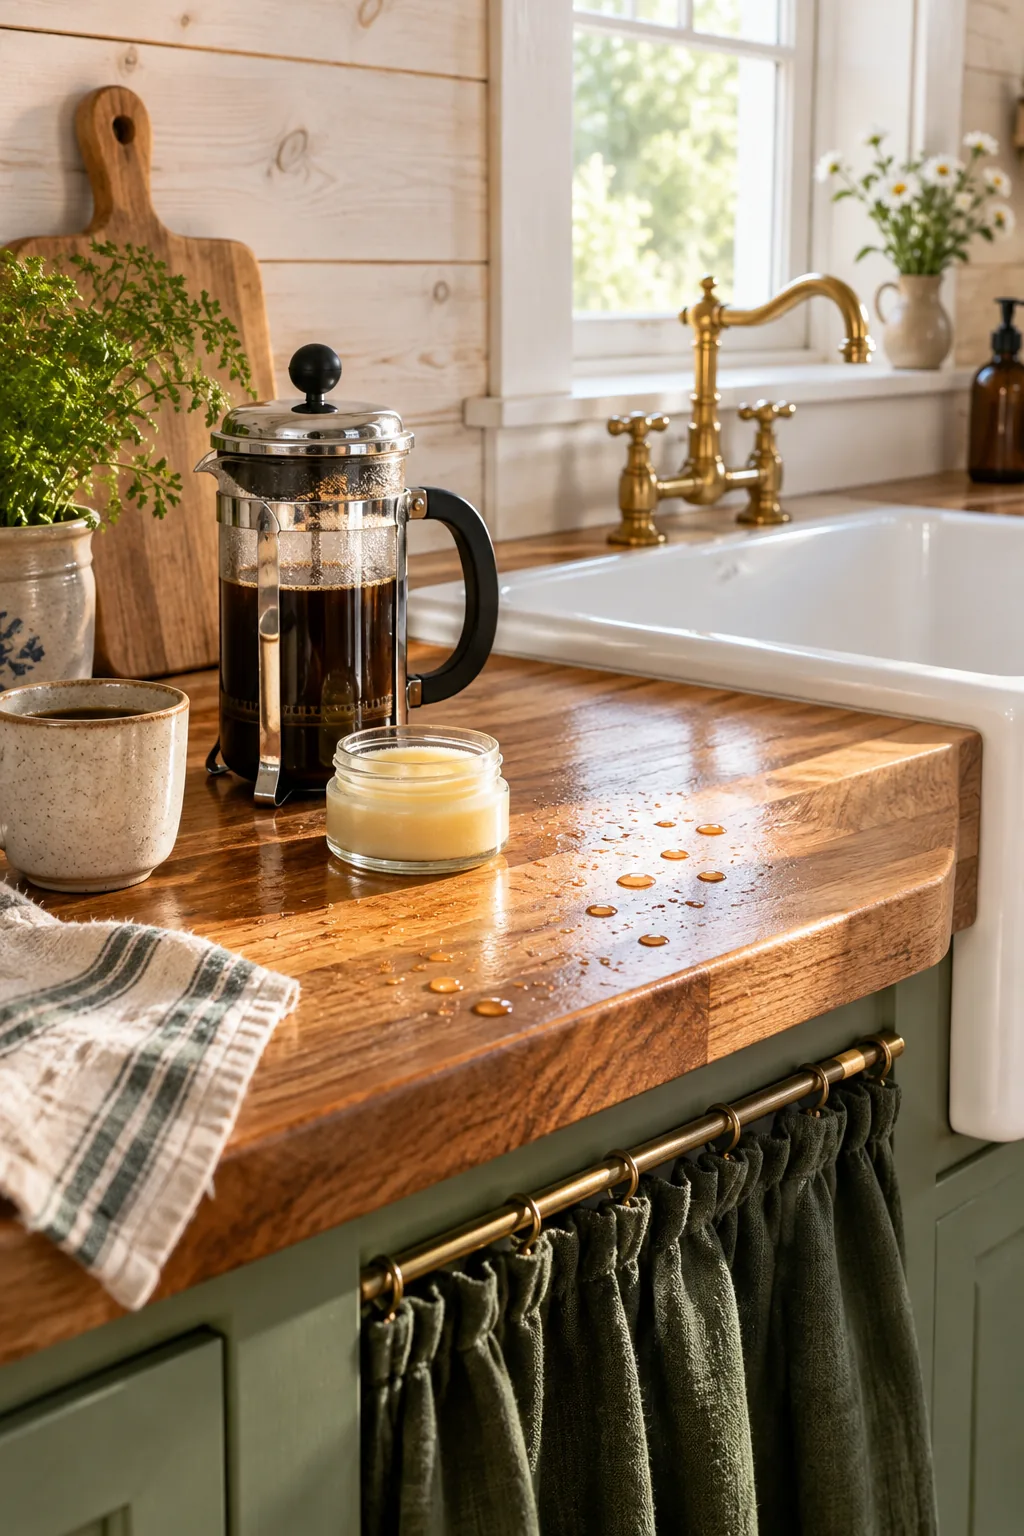
Applying the Board Butter
Rub the soft wax mixture directly into the clean wooden counter using a lint-free cotton cloth. Let the thick paste sit on the surface for at least twenty minutes so the thirsty wood fibers can absorb the nourishing mineral oil.
Buffing to a Waterproof Sheen
Use a clean, dry microfiber towel to firmly buff away any excess wax remaining on the wood. You will know the surface is fully protected when splashed water immediately beads up into tight droplets rather than sinking into the butcher block.
Reapplying the Counter Wax
Over time, daily wiping with soapy sponges will slowly strip away the protective wax layer around the sink. Plan to reapply a fresh coat of board butter every three to four weeks, or whenever you notice the wood looking dry and dull.
Hiding Clutter with a Cafe-Rod Sink Skirt
I swapped my bulky under-sink cabinet door for a gathered linen skirt to soften the room’s hard wooden edges. Swap a rigid door for a gathered fabric skirt hung on a slim brass cafe rod, calculating your fabric yardage at 1.5 to 2 times the width of the cabinet opening.
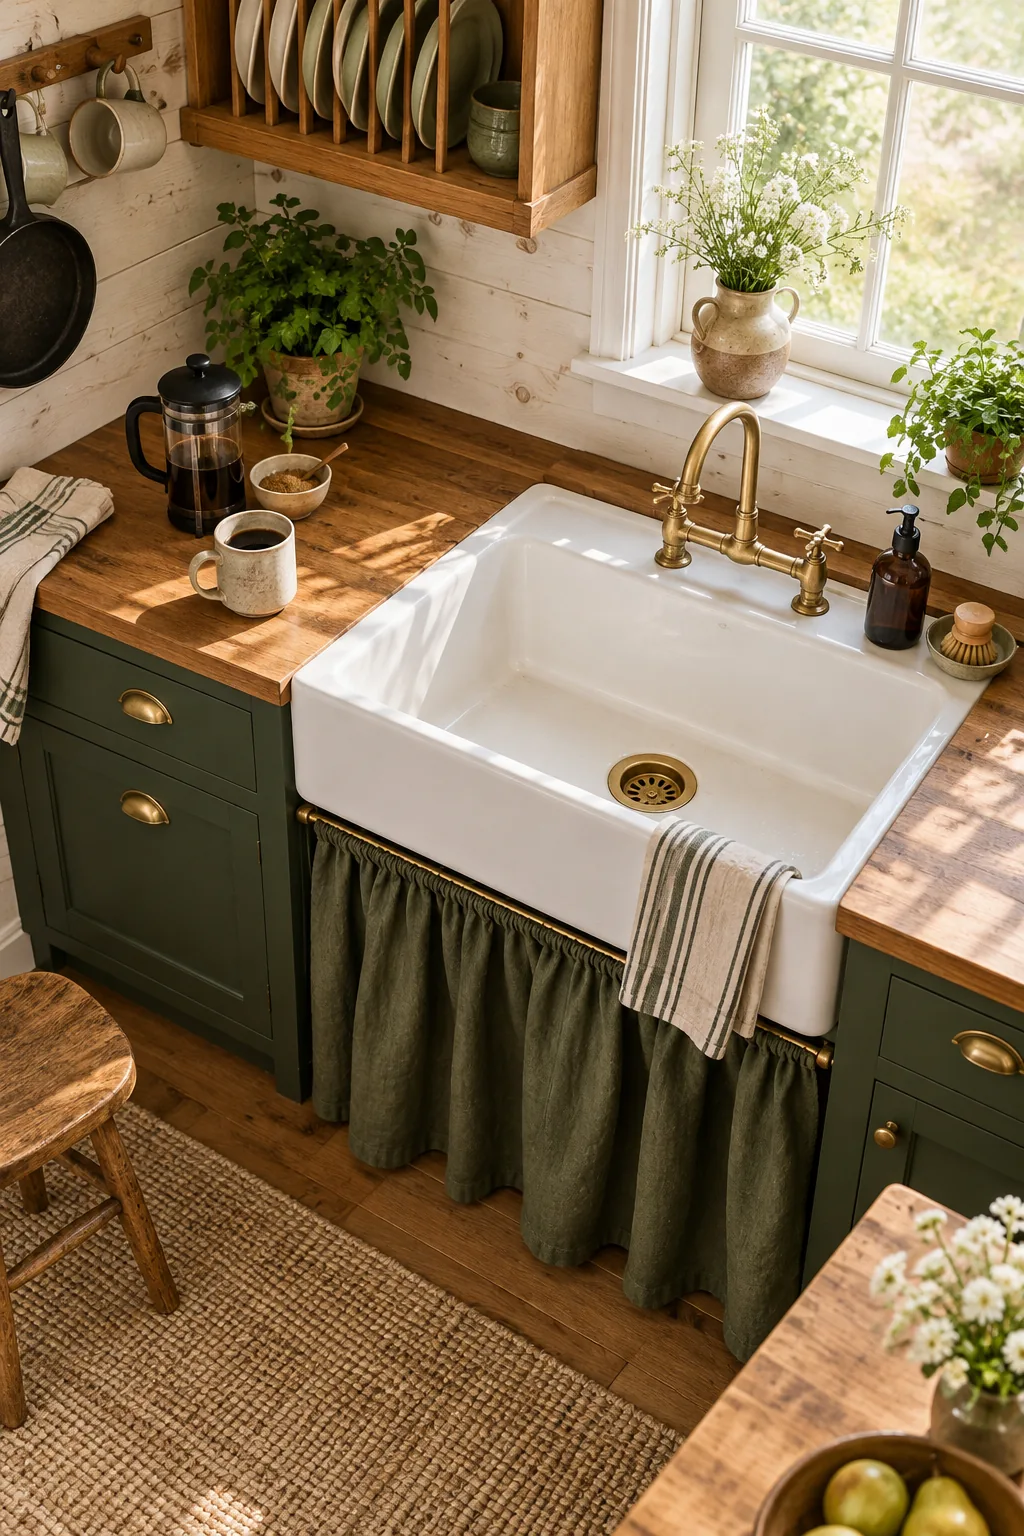
Before cutting your linen yardage, follow these quick preparation steps to ensure the skirt hangs beautifully and survives the washing machine.
Mounting the Brass Tension Rod
Position the slim brass tension rod just inside the cabinet frame, about one inch back from the front edge. This slight inset hides the hardware ends and allows the gathered linen fabric to hang perfectly flush with the adjacent wooden cabinet doors.
Choosing a Breathable Fabric
Select a medium-weight natural linen or cotton canvas for your skirt rather than a synthetic blend. Natural fibers breathe easily, preventing trapped moisture and musty odors from building up inside the dark plumbing cavity beneath the sink.
Washing the Sink Skirt
Because the skirt hangs in a high-traffic spill zone, you will need to wash it frequently. The tension rod makes it incredibly easy to slip the curtain off, toss it in the washing machine on a gentle cycle, and rehang it while slightly damp.
More Cabin Kitchen Storage Looks
Explore these five different ways to adapt the self-drying cupboard and peg rail to your own home's style.
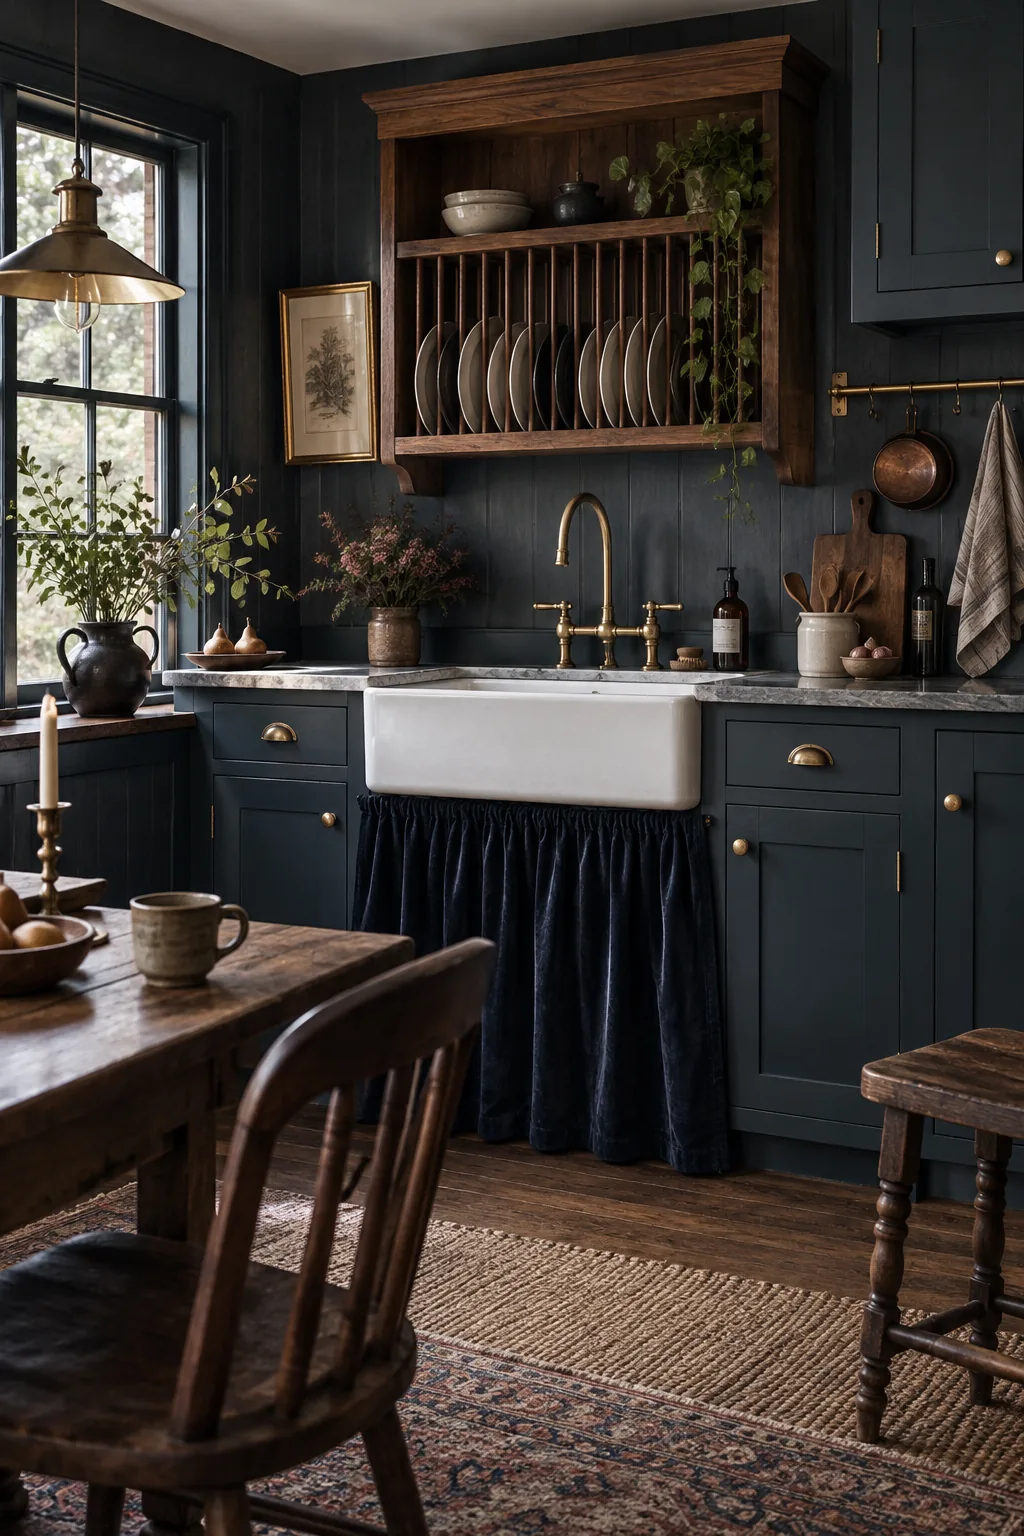
Moody dark academia: Rich walnut wood and unlacquered brass hardware give this self-drying setup a sophisticated, library-inspired feel.
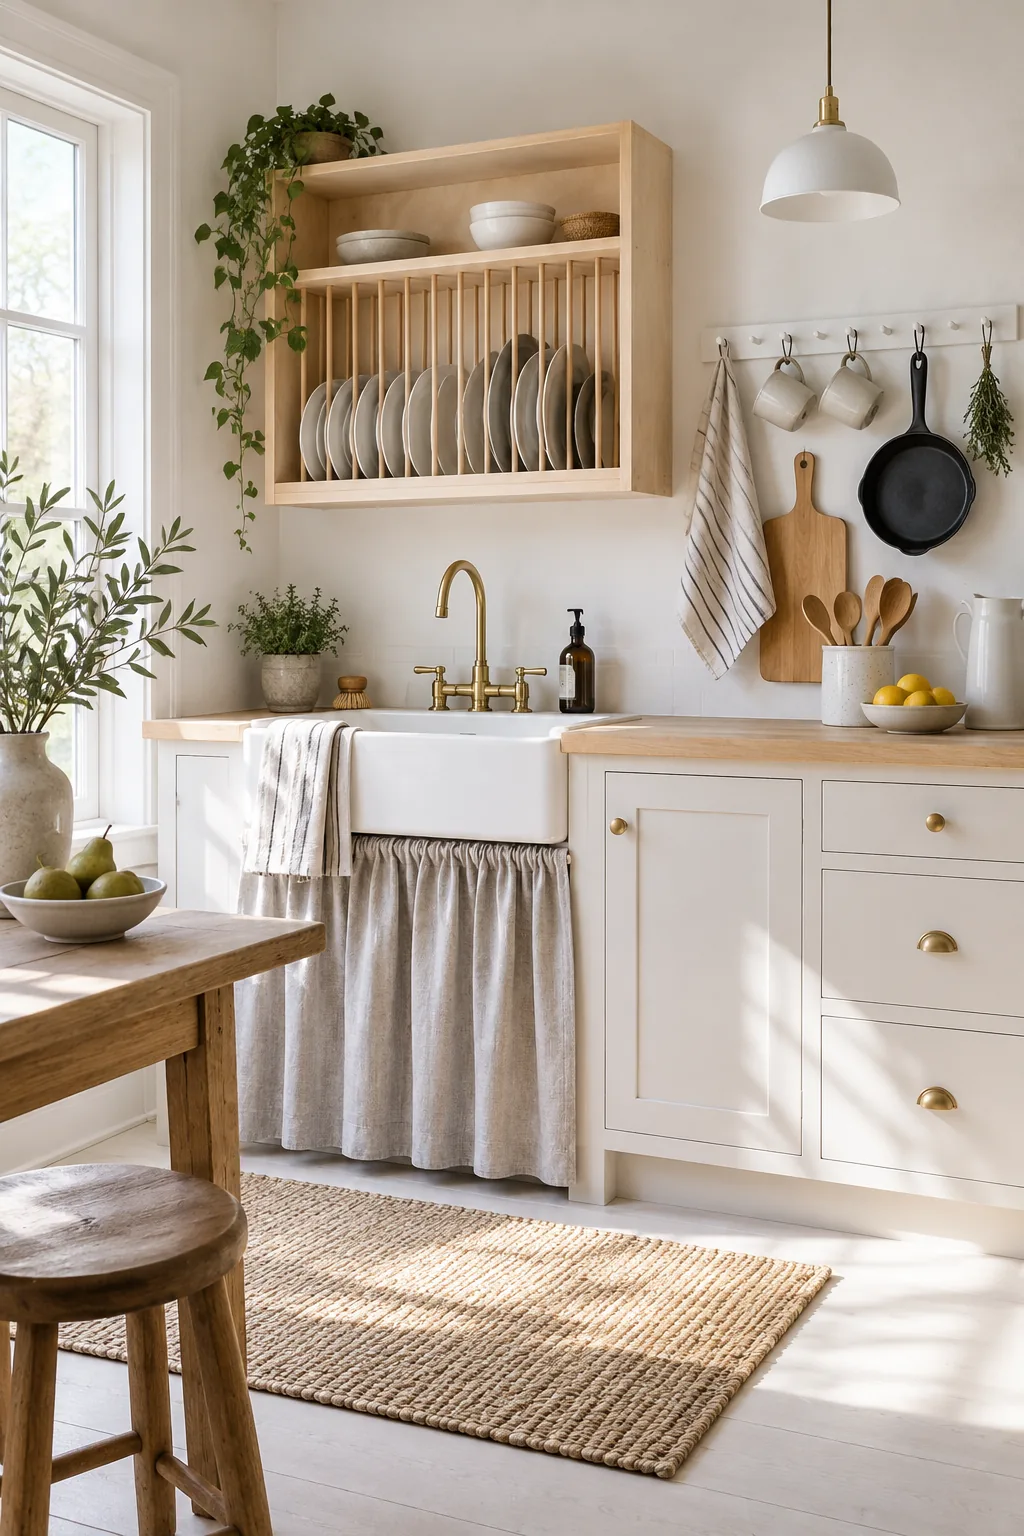
Minimalist Scandinavian: Raw birch plywood and a crisp gray canvas skirt keep the functional storage looking incredibly clean and modern.
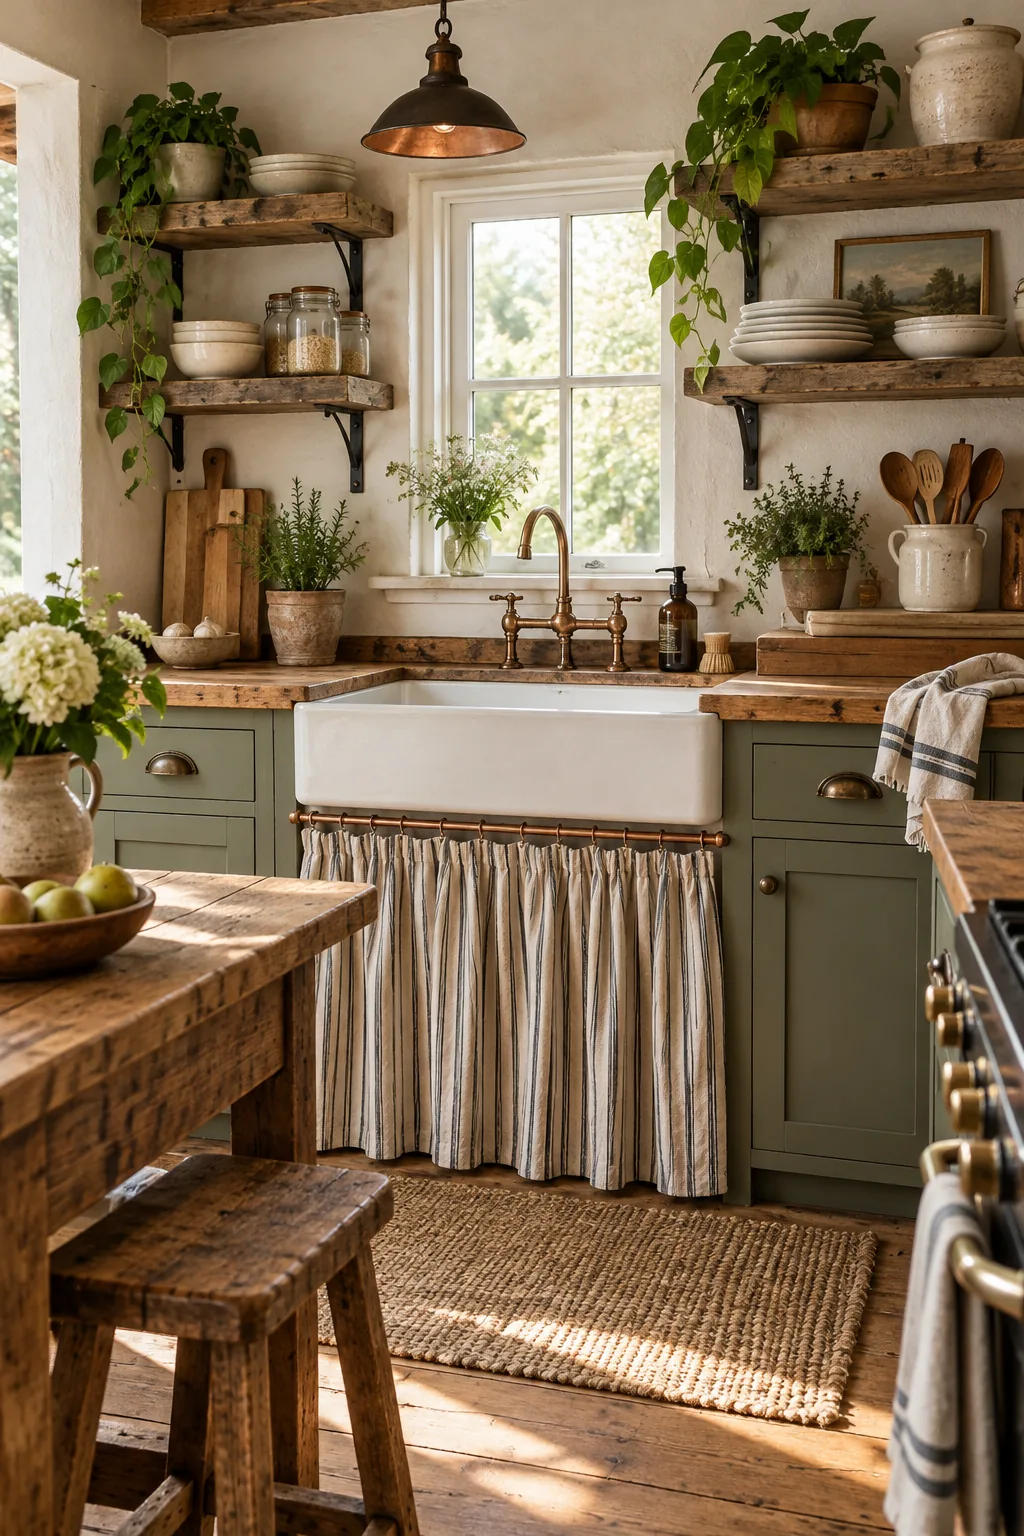
Rustic weathered farmhouse: Swap brass for a copper pipe rod and use reclaimed barn wood to build a rack with instant history.
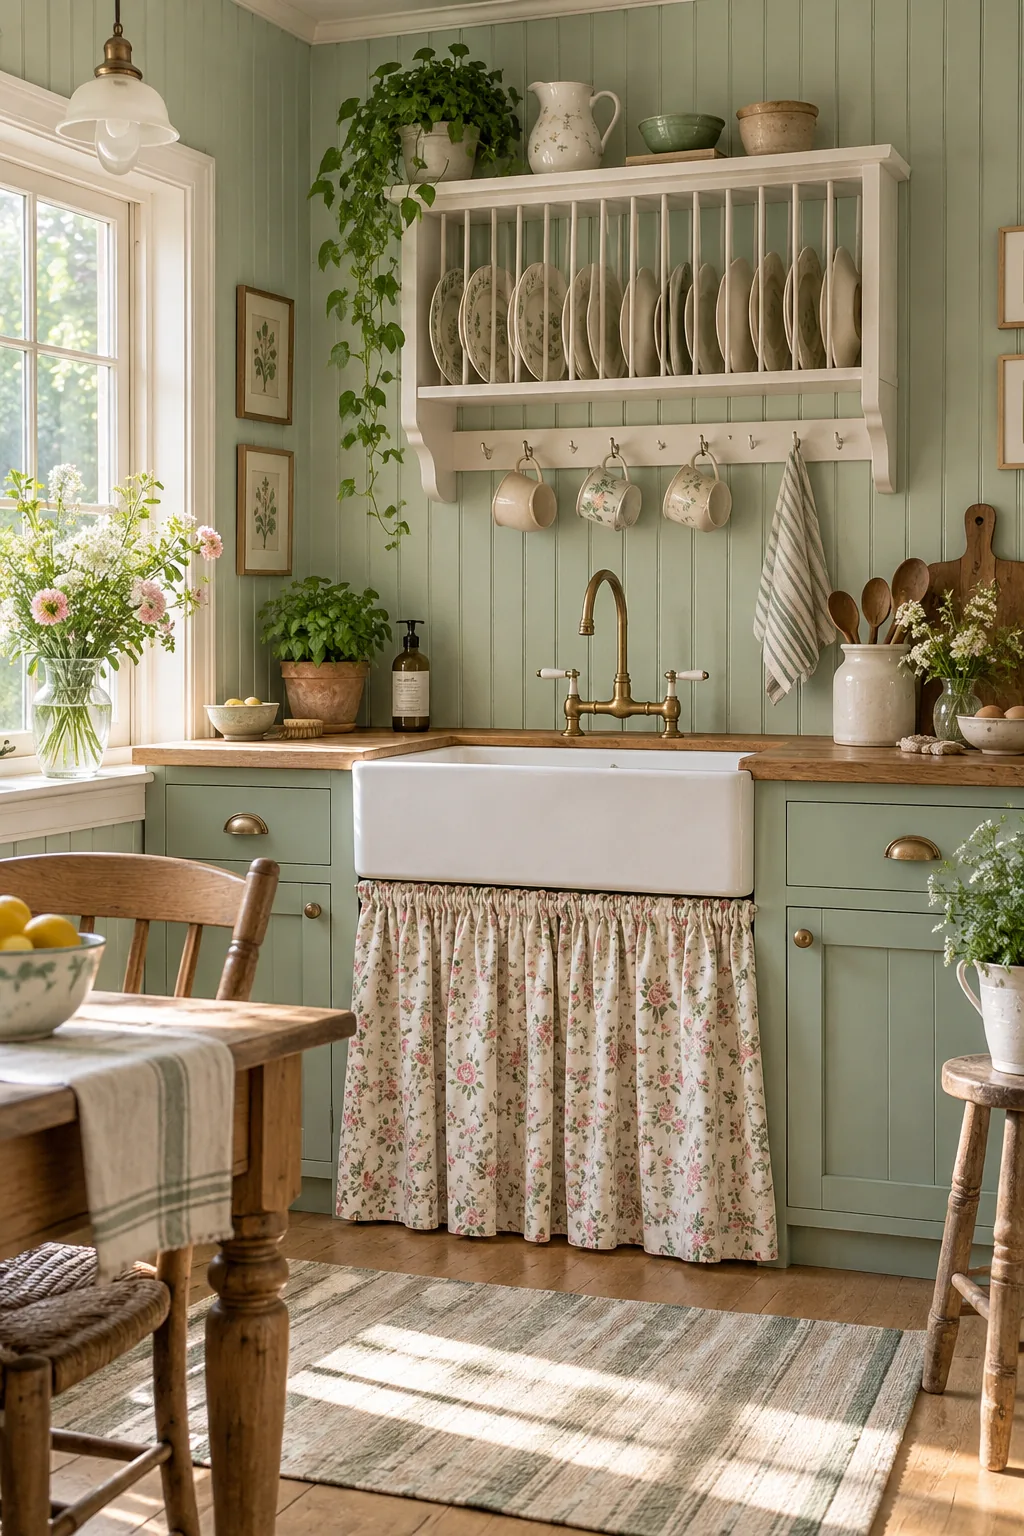
Cottagecore pastel florals: A delicate floral skirt and mint green beadboard turn the utilitarian drying rack into a romantic focal point.
Modern industrial cabin: Black stained pine and a stainless steel apron sink provide a rugged, high-contrast backdrop for heavy stoneware.
Download the Cabin Kitchen Build Sheet
Ready to build your own self-drying setup and reclaim your counter space? Print the complete Cabin Kitchen Build Sheet to get the one-page reference with all dowel spacing measurements, mounting heights, the pickling wash ratio, and the board butter recipe.