Floor Vase Branch-Length Chart & Spring Styling Guide
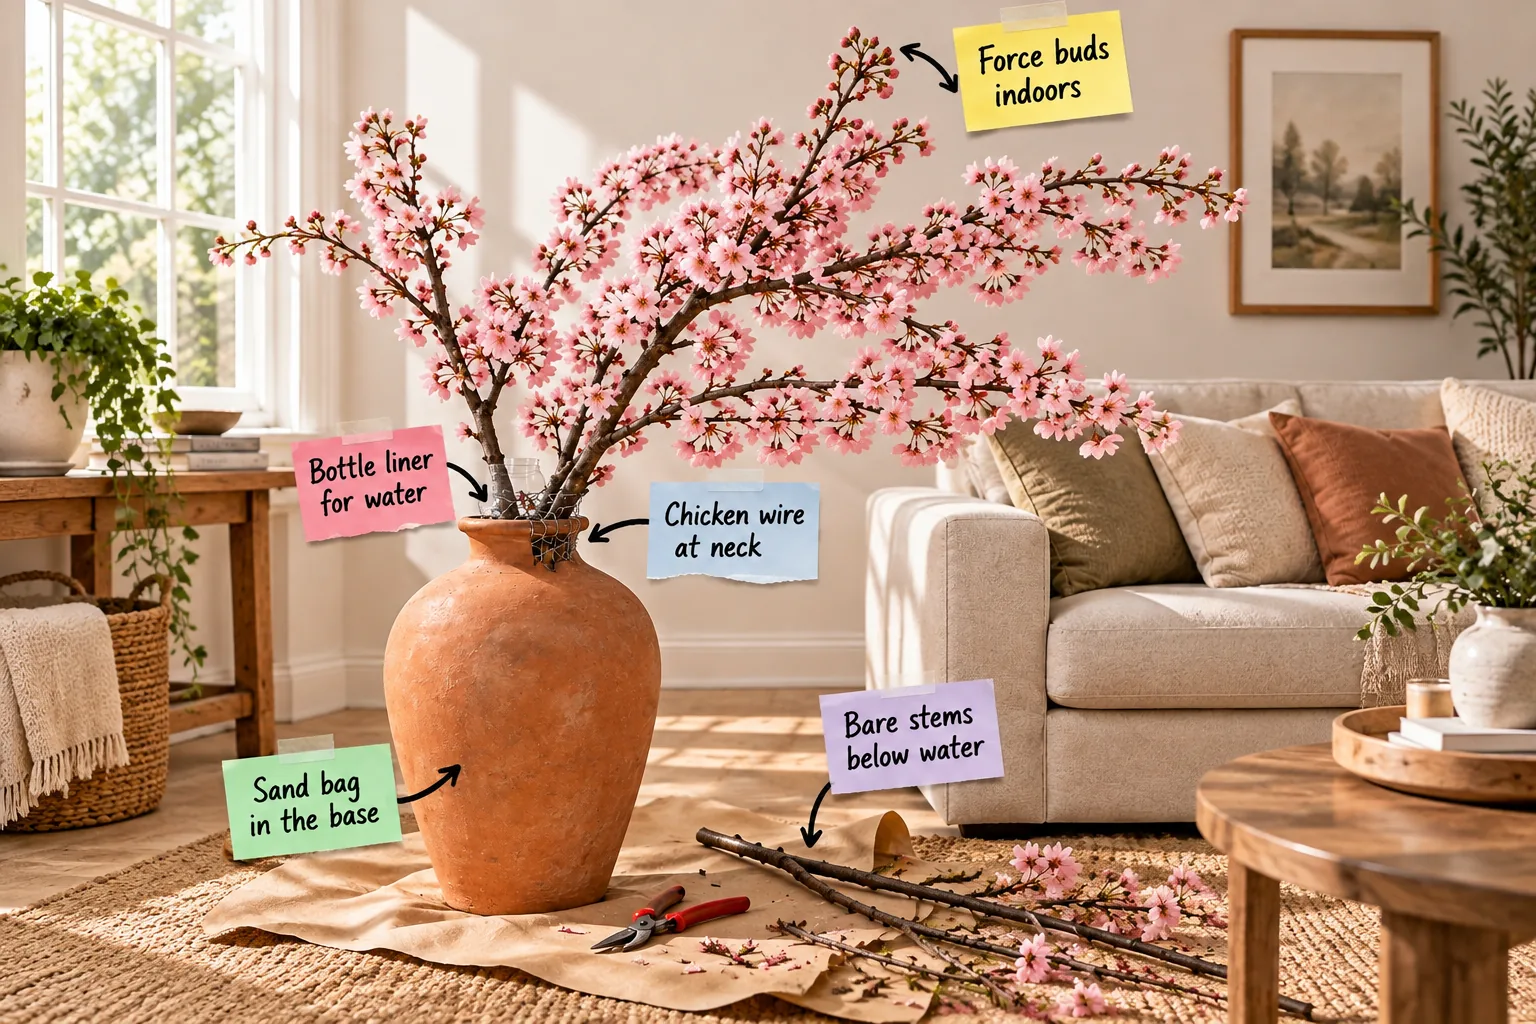
You will be able to confidently scale, stabilize, and arrange oversized blooming branches in any floor vessel using our printable sizing chart. Grab your Floor Vase Branch Chart to perfectly match branch cut lengths, stem counts, and hidden water liners to any room.
Weighting the Base for Tall Branches
Branches cut to twice the vase height create a significant tipping hazard, so I always place a 5-pound sandbag in the bottom third of the empty vessel. This essential foundation step must happen before you add any water or heavy woody stems.
Before you begin securing your heavy branches, take a moment to avoid these common foundation errors that can instantly tip your arrangement, spill stagnant water, or permanently damage your expensive hardwood floors over time. A solid base is absolutely non-negotiable.
Protecting Your Hardwood Floors
Even with a securely weighted sandbag and a leak-proof bottle liner, condensation can occasionally form on the cold underside of a large ceramic vessel. Always place a hidden felt furniture pad or a slim cork trivet directly beneath the vase to prevent permanent moisture rings.
Evaluating Floor Vase Proportions
A successful arrangement requires a sturdy base that visually anchors the room, meaning your chosen vessel should stand at least 60 centimeters tall. Anything shorter belongs on a console table, as floor placements demand significant volume to avoid looking like a cluttered afterthought.
Using a Hidden Water Liner
Filling an entire heavy vessel with water makes it impossible to move, invites mold, and risks cracking porous ceramics. Instead, sizing a 2-liter plastic bottle to hold water creates a lightweight, hidden reservoir just inside the neck without filling the entire heavy vessel.
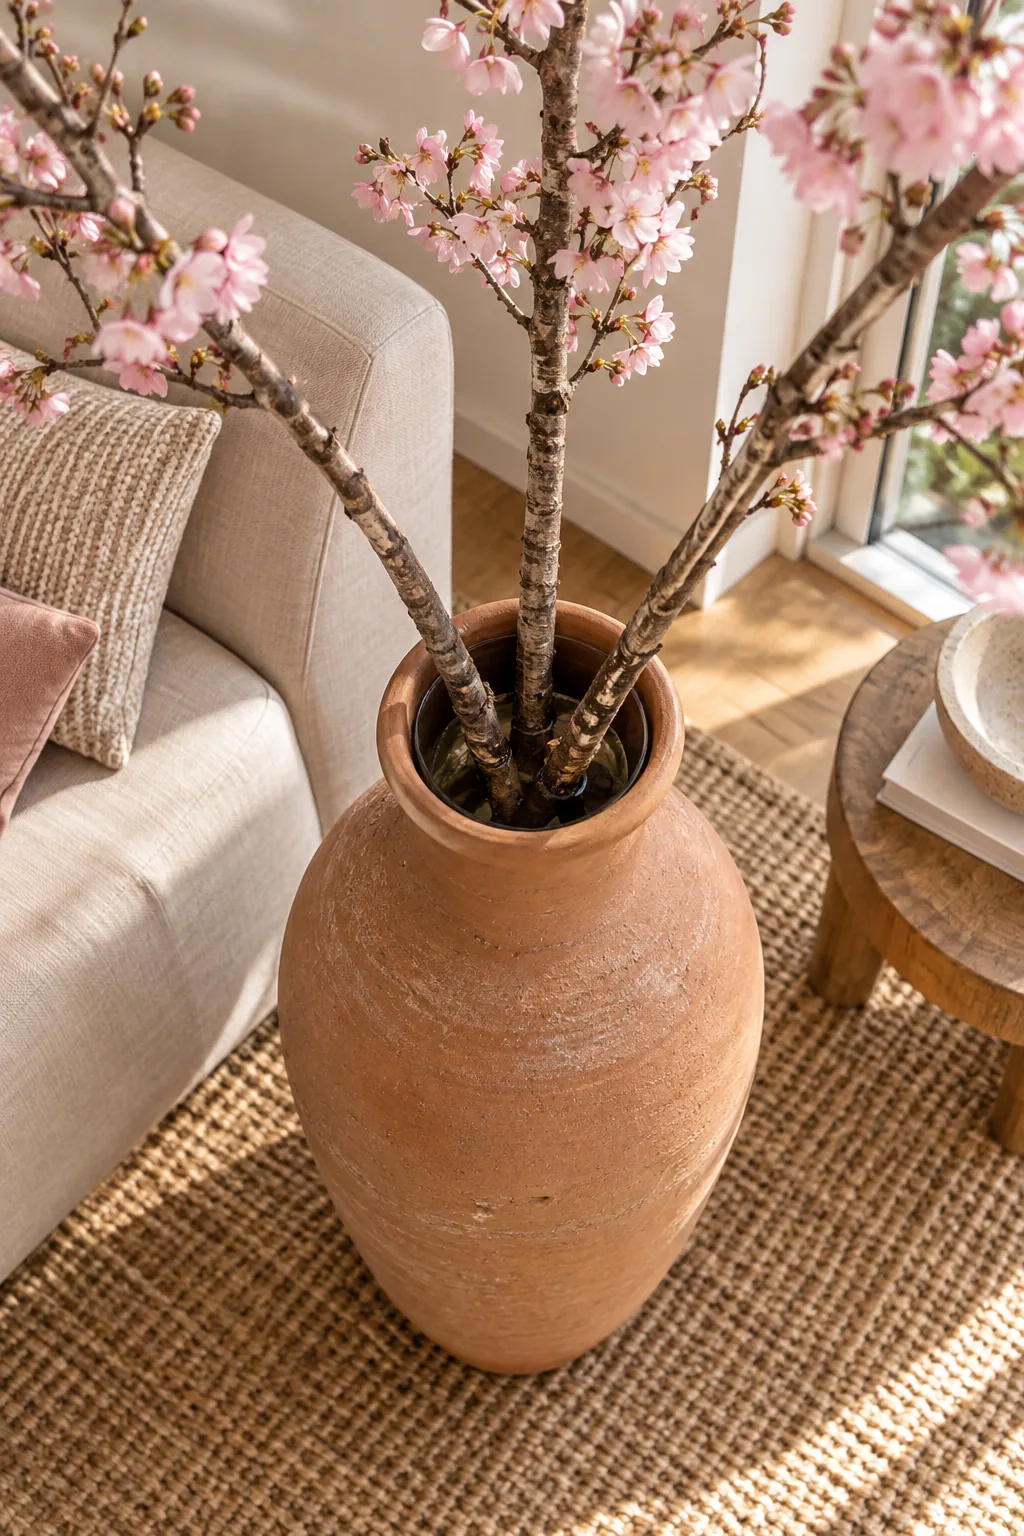
A dedicated plastic insert also makes your weekly maintenance routine dramatically easier, as you can simply lift the lightweight liner out to refresh the cloudy water without ever disturbing your heavy, perfectly positioned sandbag. This simple swap saves hours of frustration.
Choosing the Right Vessel Material
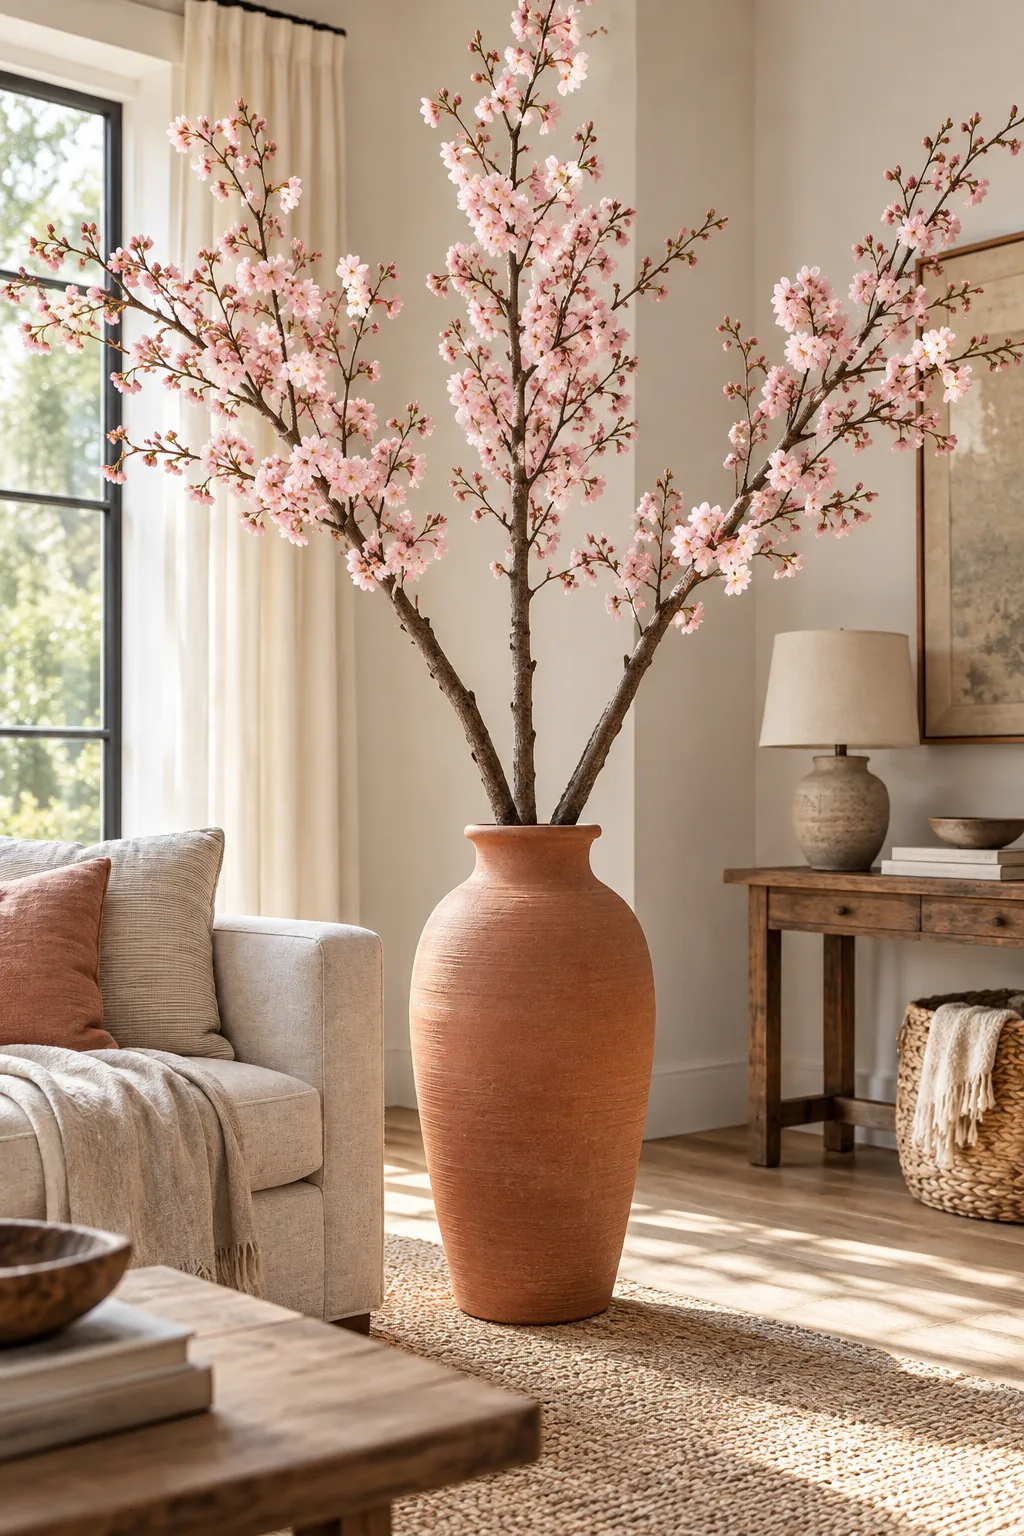
Solid matte terracotta and thick ceramic glazes provide the necessary visual weight to balance towering branches, unlike delicate glass which exposes messy stems. Opaque materials also hide the internal mechanics, allowing your structural wire grid and water liner to remain a complete mystery.
Stripping the Lower Stems
Remove all side twigs and blossoms from the lower section of the cherry branches so only clean wood enters the reservoir. Any bare stems sitting below the water line in the bottle liner will rot rapidly, clouding the water and drastically shortening bloom life.
| Vase Height | Liner Depth | Stripped Stem | Branch Cut Length |
|---|---|---|---|
| 60 cm | 15 cm | 20 cm | 120 cm |
| 80 cm | 20 cm | 25 cm | 160 cm |
| 100 cm | 25 cm | 30 cm | 200 cm |
| 120 cm | 30 cm | 35 cm | 240 cm |
Maintaining Fresh Water Weekly
Woody stems drink an enormous amount of water during their first few days indoors, requiring you to top off the hidden reservoir every 48 hours. Adding a few drops of bleach to the liner prevents bacterial growth and keeps the delicate pink blossoms looking vibrant.
Securing Angles with Chicken Wire
Even when wedging stems into a wire grid, removing side twigs and blossoms from the section that sits below the water line is absolutely critical. This ensures the stems slide smoothly through the metal mesh without dragging decaying organic matter into your fresh water supply.
If you are working with a delicate ceramic glaze, an antique finish, or a beautifully painted vessel, take one extra protective step to safeguard the neck of your vase before inserting the rigid metal grid. Scratches are permanent, but prevention is incredibly easy.
Sourcing the Best Chicken Wire
When building your structural grid, always choose standard galvanized poultry netting with one-inch hexagonal gaps rather than stiff hardware cloth. The thinner gauge wire remains pliable enough to easily crumple by hand, yet strong enough to support heavy, water-logged woody stems without collapsing.
Why Three Branches Beat Thirty Stems
Large floor vases look best with structural minimalism, which is why wedging a 12-inch square of crumpled chicken wire at the neck perfectly separates the branches. This hidden grid holds the thick wood at distinct, wide angles so they fan out rather than clumping together.
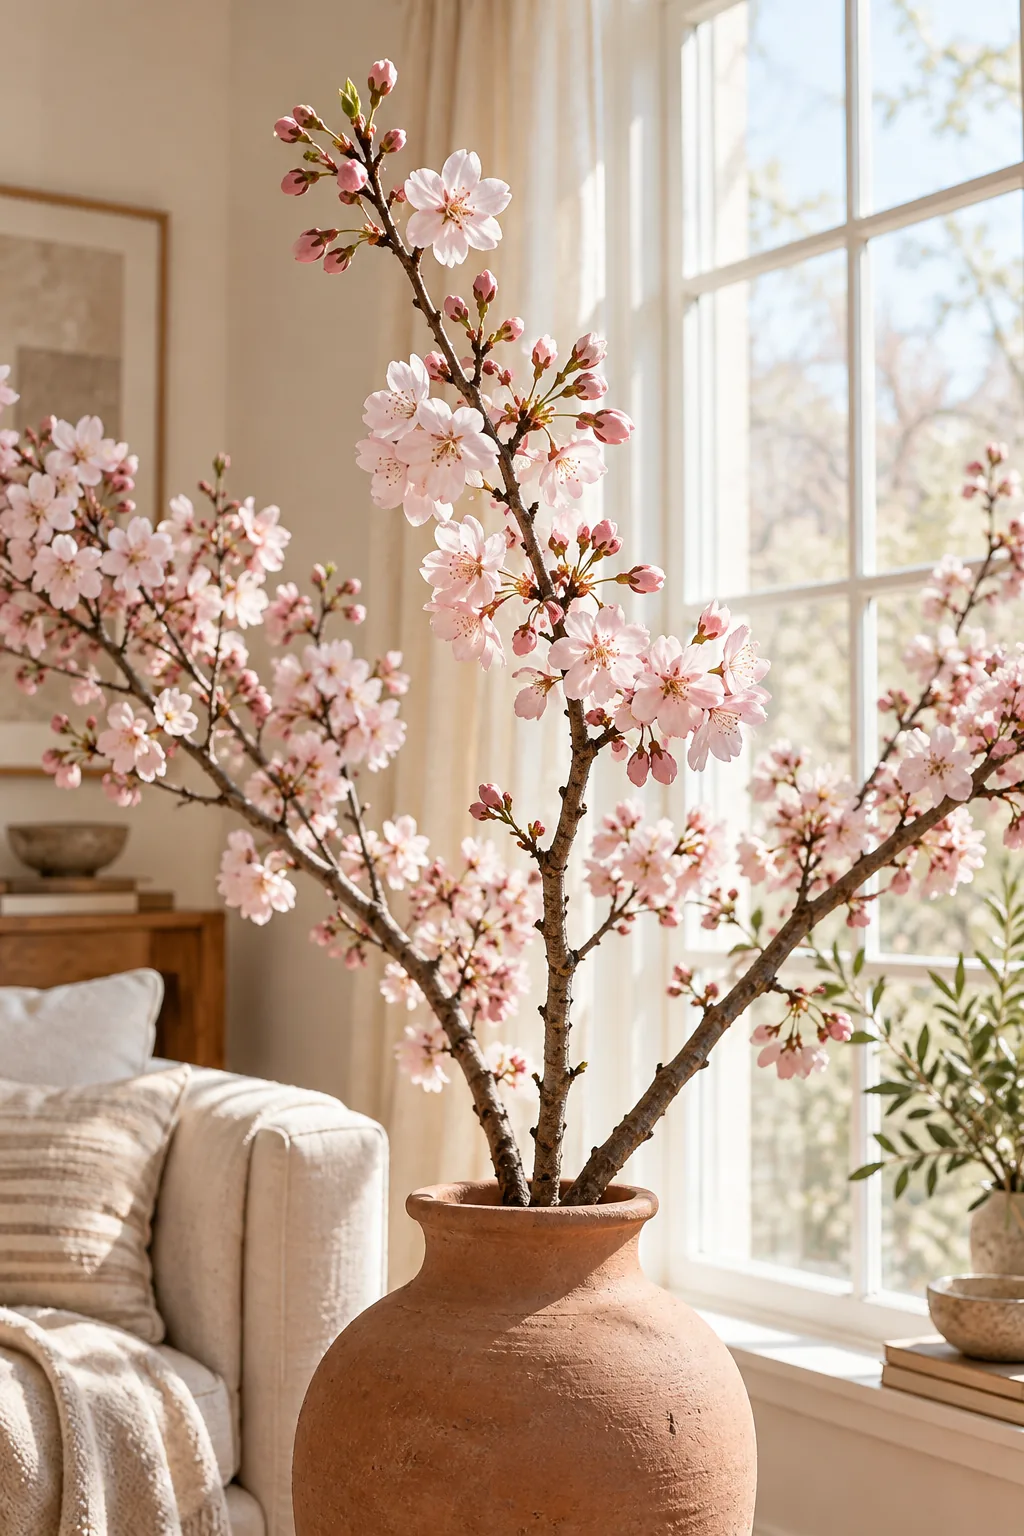
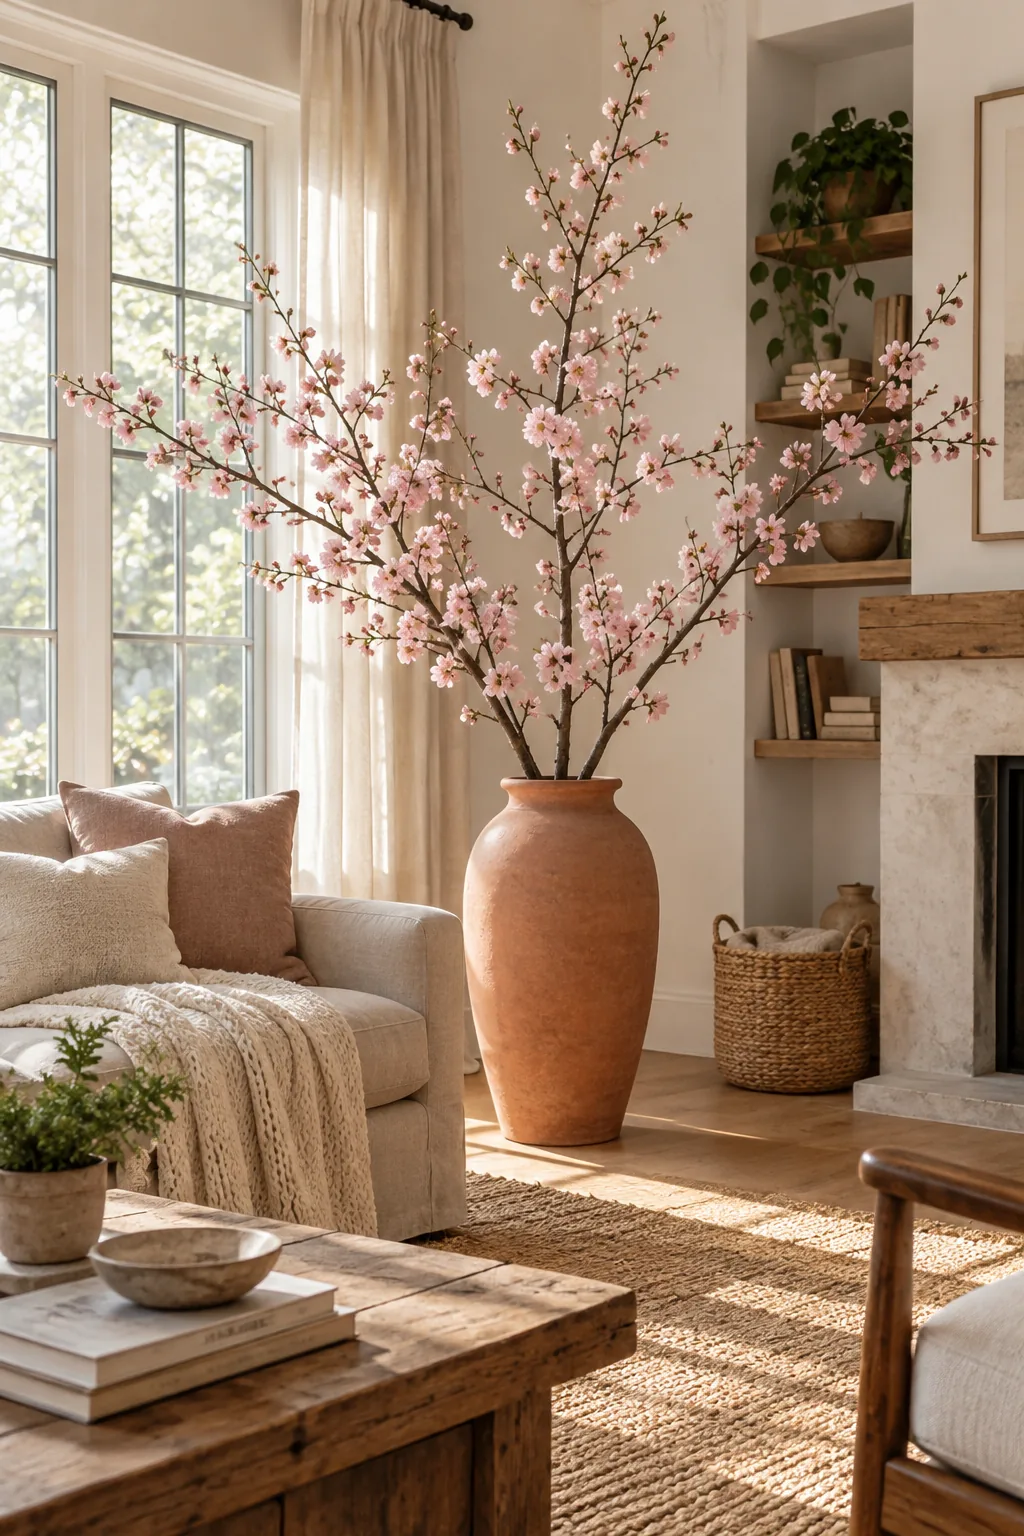
In my own Boston brownstone, I find that three thick, architectural branches arcing out at twice the vase height create far more visual impact than a dense, messy bundle. This restrained approach beautifully highlights the elegant, sculptural curve of each individual woody stem.
Pruning for Maximum Visual Impact
As your forced buds begin to open, step back and evaluate the overall silhouette of your three architectural branches. Do not hesitate to prune away any small, inward-facing twigs that clutter the negative space, as a clean central void makes the arrangement look highly intentional.
Forcing Spring Buds Indoors
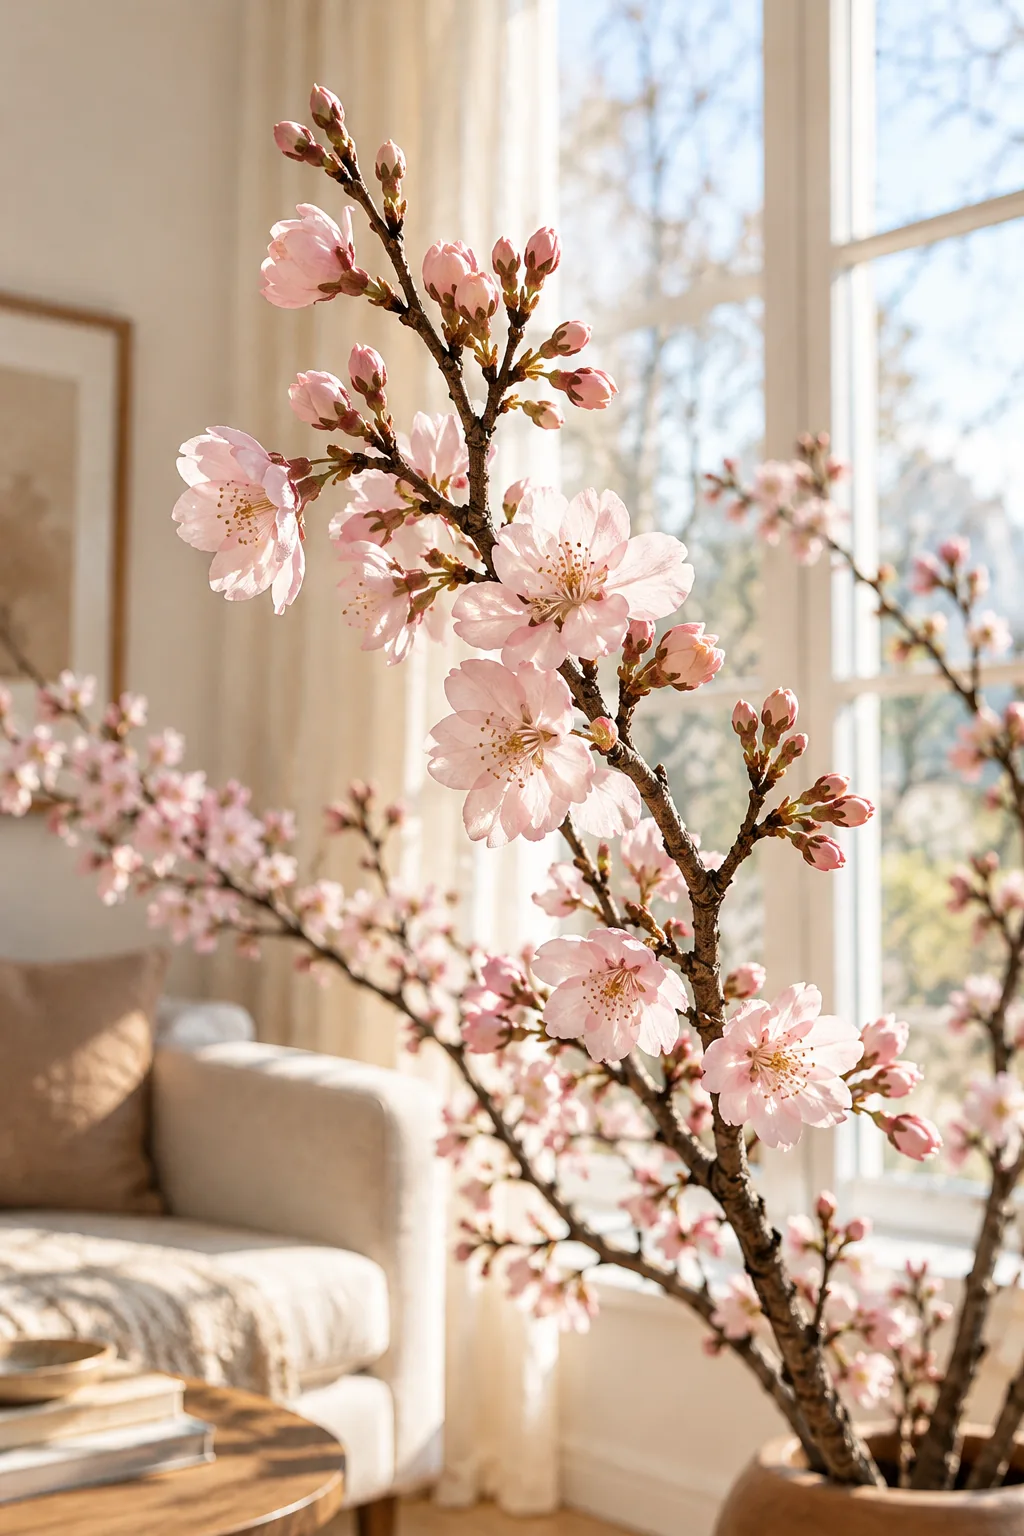
Bring dormant cherry branches into early bloom by cutting them in late winter, placing the stems in warm water, and keeping them in a sunny living room. This controlled environment will swell the tight pink buds into open blossoms within one to two weeks.
- Cherry branches: Cut in late February; expect blooms in two weeks.
- Quince branches: Cut in early March; expect vibrant red blooms in ten days.
- Forsythia branches: Cut in mid-February; expect bright yellow flowers in just one week.
- Dogwood branches: Cut in late March; expect delicate white bracts in three weeks.
I forced my first cherry branches for a February dinner party, and watching those tight buds explode into soft pink flowers completely transformed my dark winter living room. The subtle, sweet fragrance instantly made the entire apartment feel like early spring.
The 5-Step Floor Vase Setup Sequence
Before assembling the final arrangement, you must master the process of cutting dormant branches and placing them in warm water to swell the buds. Proper hydration ensures the wood remains pliable enough to manipulate into your wire grid without snapping under pressure.
Follow this reliable, professional order for any large floor arrangement to guarantee structural stability, protect your delicate floors from water damage, and drastically prolong the vibrant life of your freshly forced spring blooms. Skipping a step usually leads to leaning stems.
- Drop in the sandbag: Center a 5-pound sealed weight at the very bottom of the empty vessel.
- Insert the bottle liner: Rest a cut 2-liter plastic bottle just inside the vase neck.
- Wedge the chicken wire: Press a taped, crumpled wire grid directly above the water liner.
- Strip the lower stems: Remove all foliage and twigs from the bottom eight inches of wood.
- Arrange the branches: Slide three thick stems through the wire grid at wide, opposing angles.
The Floor Vase Branch-Length Chart
Using the printable chart to match branch cut lengths to specific vase heights for perfect proportions guarantees a stunning two-to-one architectural ratio. This simple mathematical approach removes all the guesswork from scaling oversized botanicals in your living space.

Download the Floor Vase Branch Chart printable one-page sheet matching common floor vase heights (60, 80, 100, and 120 cm) to their ideal branch cut length, branch count, and bottle-liner size. It also includes our seasonal list of long-lasting cut branches and their indoor bud-forcing times.
3 Floor Vase Styling Ideas
Explore how different branch varieties and vase materials completely change the mood of a room.
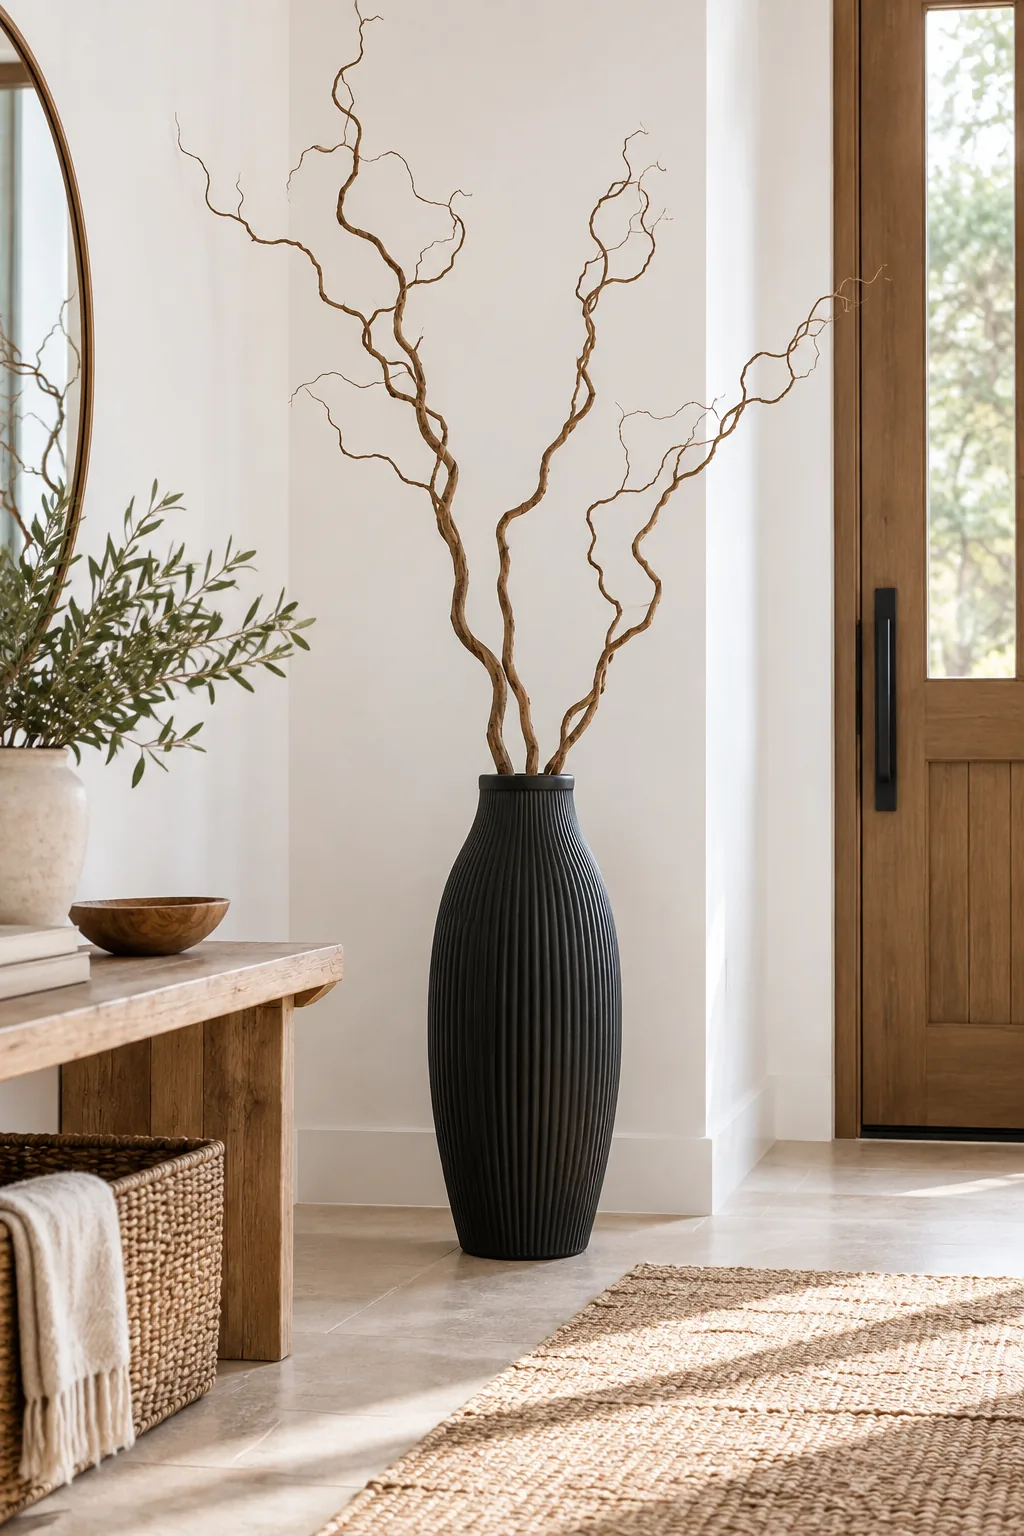
Minimalist Black and Willow: Bare curly willow branches in a ribbed black vessel add striking architectural contrast to a bright, neutral entryway.
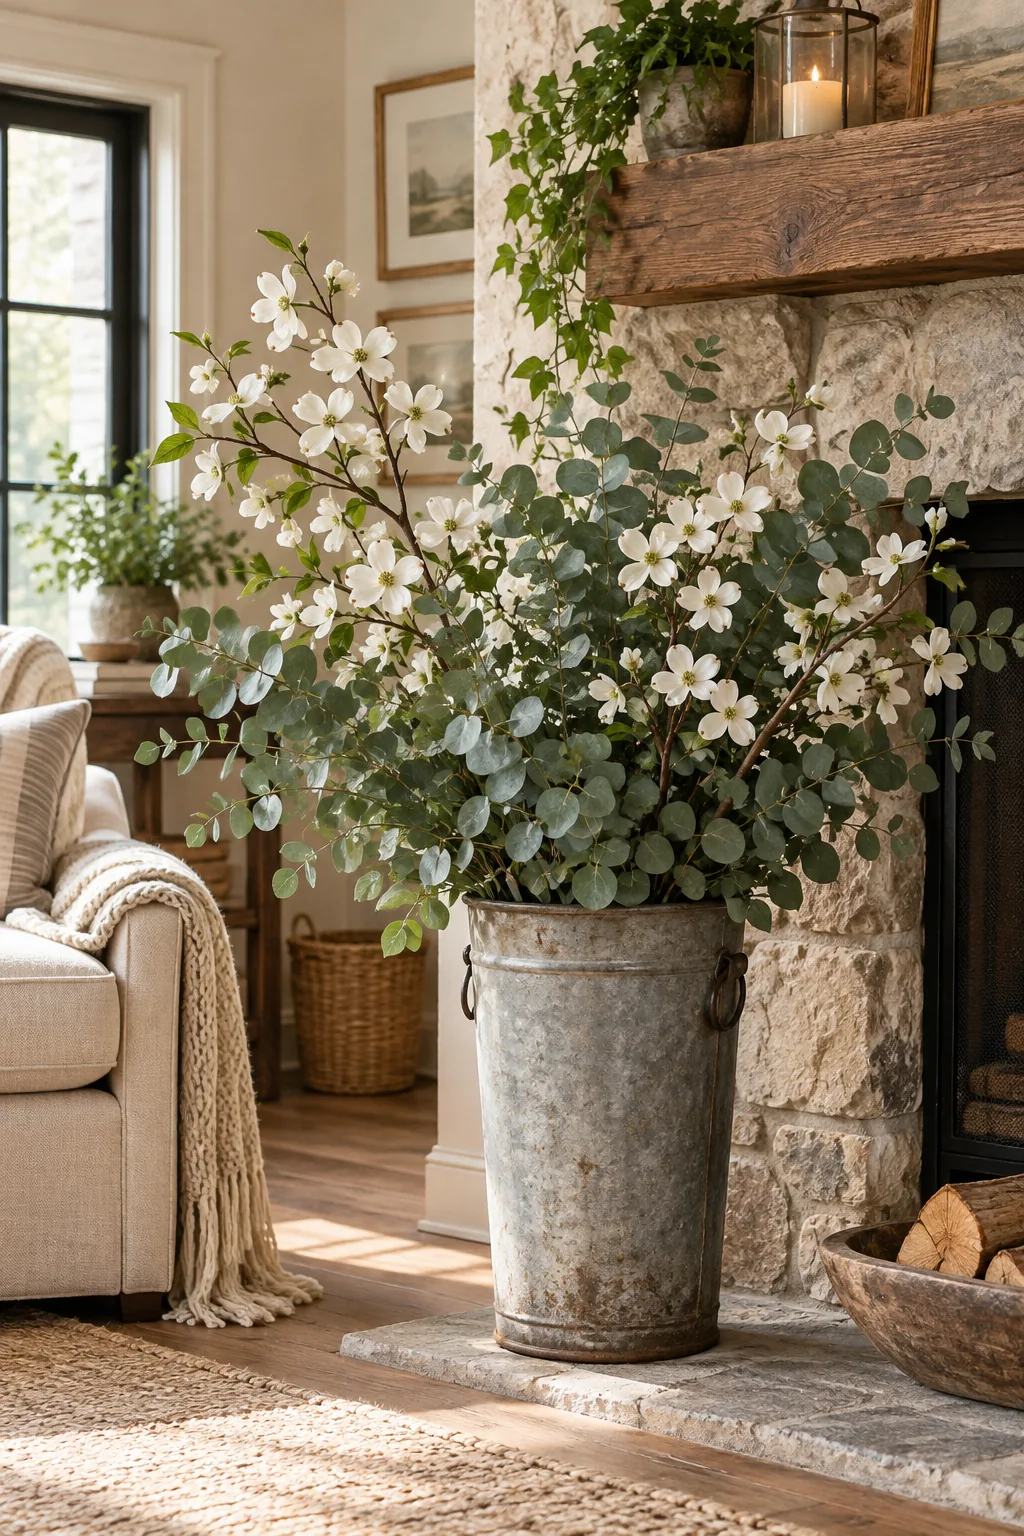
Rustic Metal and Dogwood: Soften the hard edges of a vintage galvanized bucket with the lush greenery and delicate white blooms of fresh dogwood.
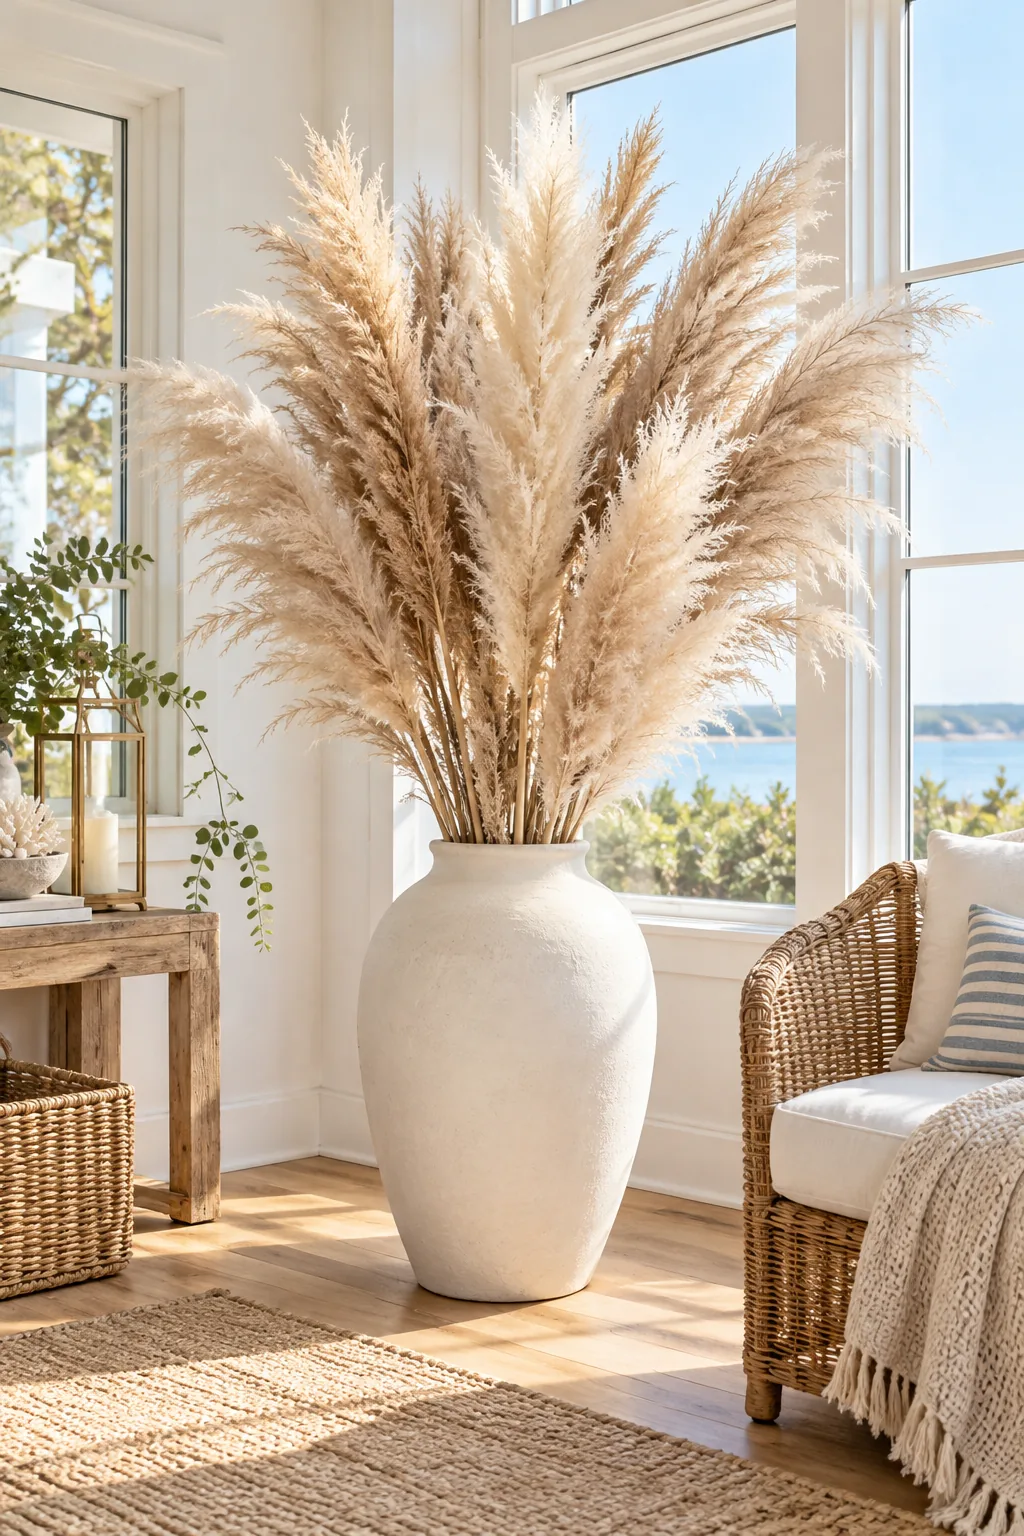
Coastal Glass and Pampas: Bring warm, textural softness to a sunlit corner by pairing a smooth white glass vase with towering dried pampas grass.