500 Sq Ft ADU Design: Layouts with Big-House Manners
You will be able to confidently map out your small-footprint studio using exact architectural clearances, compact appliance specs, and space-saving plumbing strategies. Grab our printable two-page 500 Sq Ft ADU Clearance Sheet to establish your exact room-by-room measurements and wet-wall placement.
Maximizing Volume with a Shed Roof
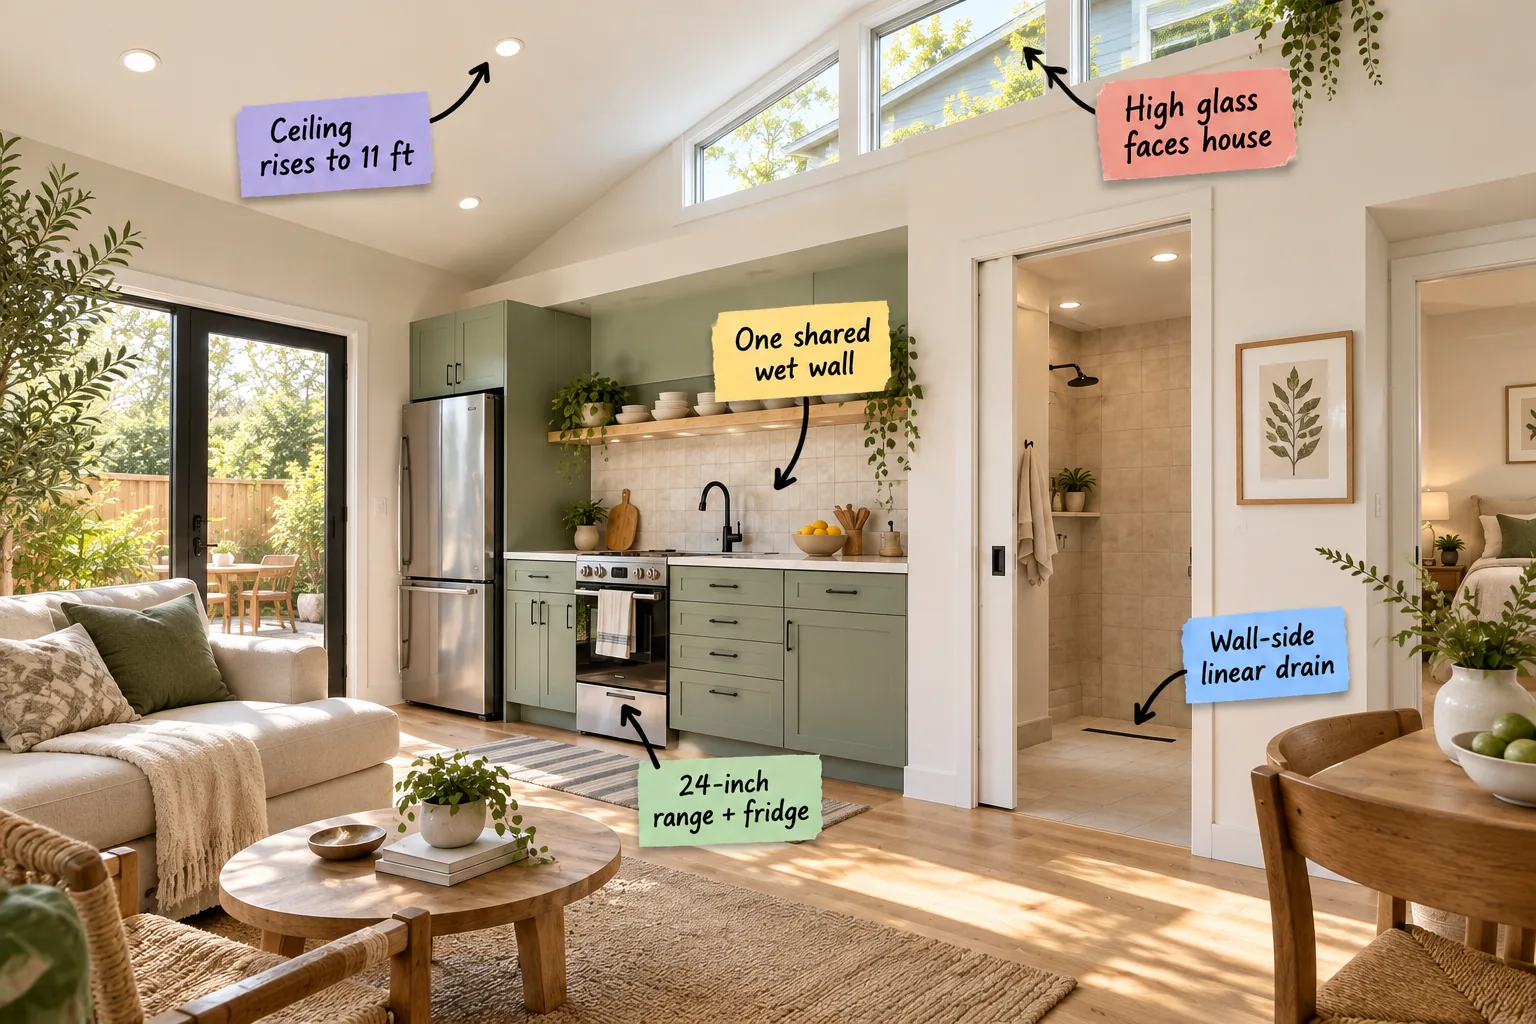
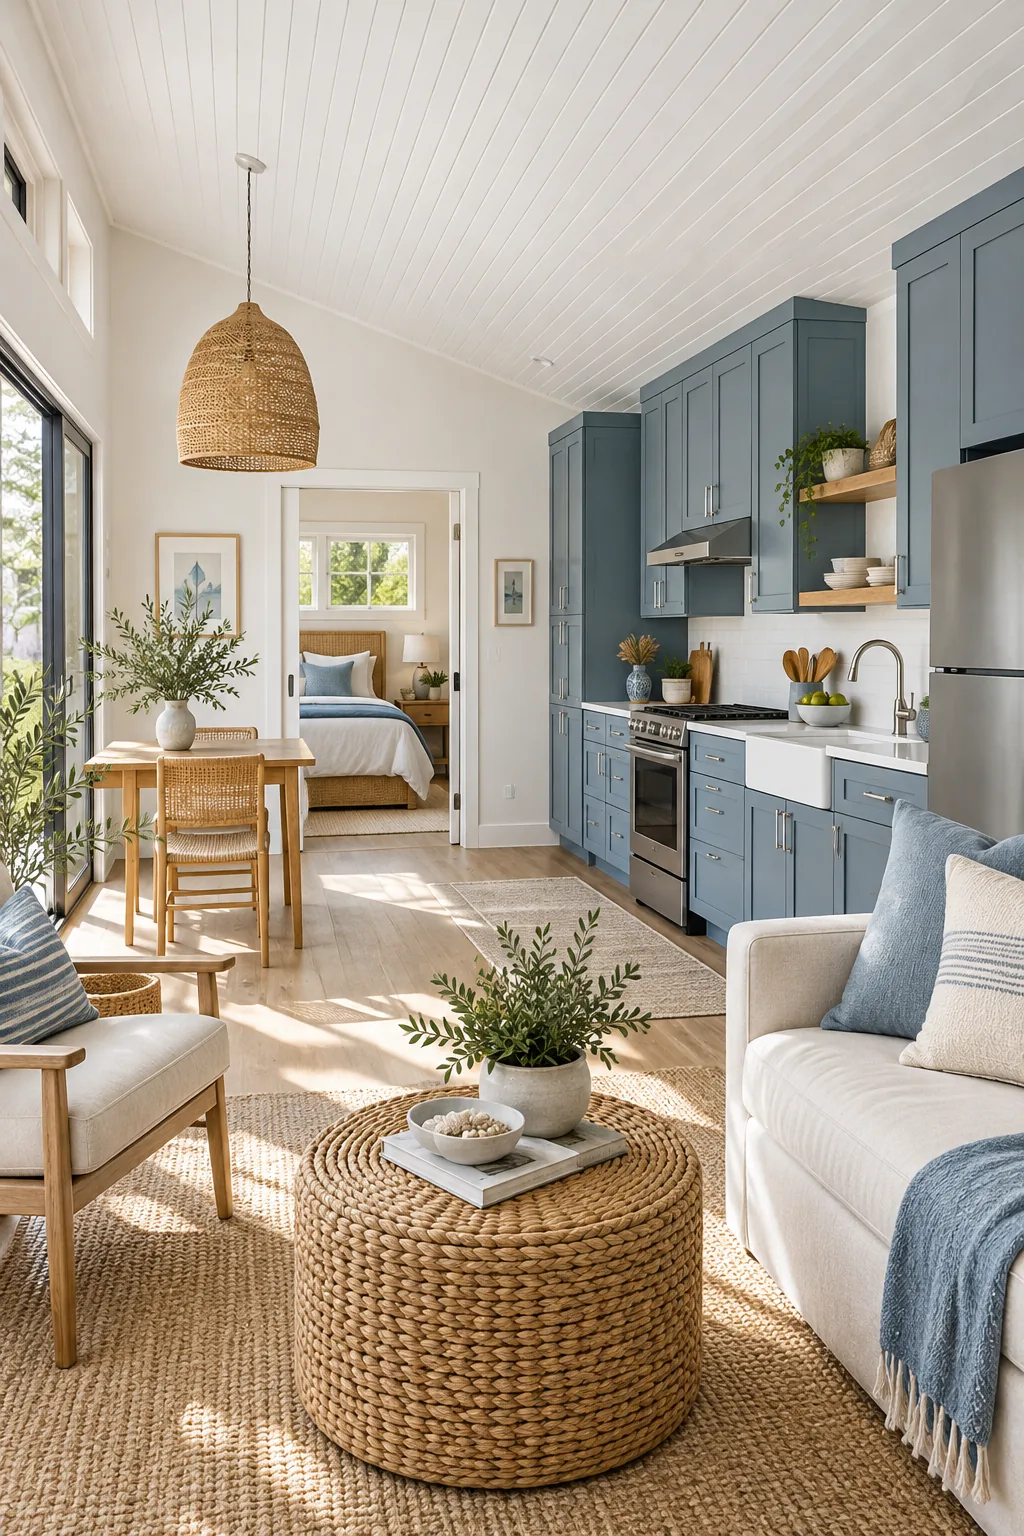
Sloping the ceiling up to 11 feet at the peak prevents a tight five-hundred-square-foot footprint from feeling like a cramped, claustrophobic box. This dramatic vertical lift naturally draws the eye upward, creating an immediate sense of expansive architectural volume above the kitchenette.
Illuminating the Sloped Ceiling
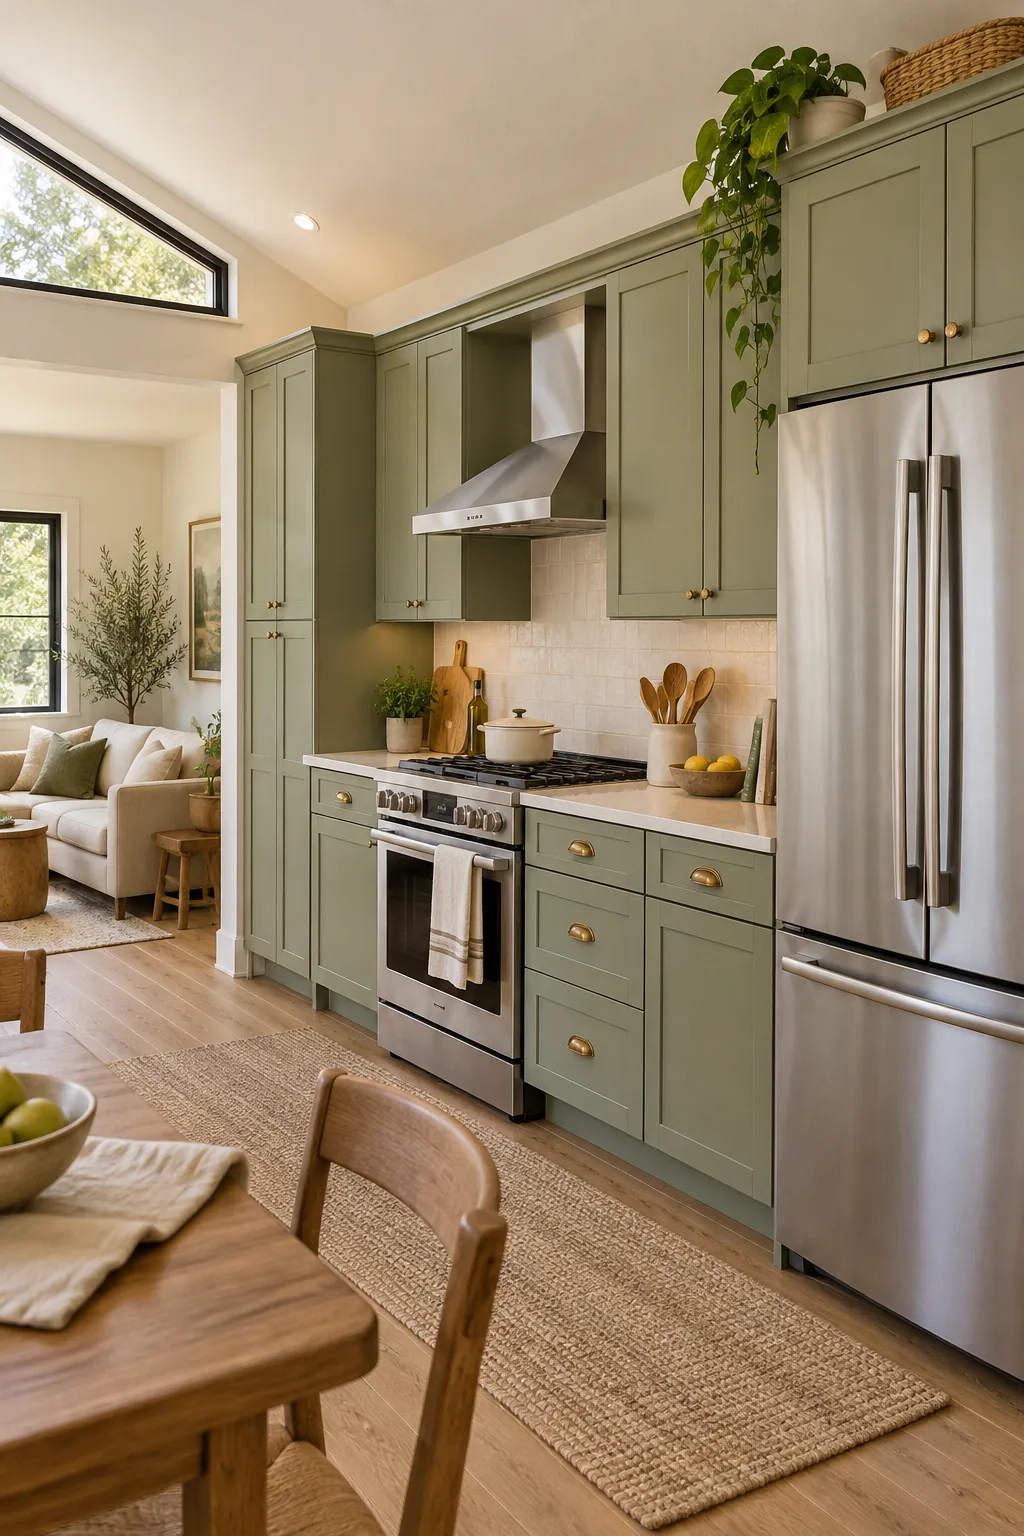
That soaring eleven-foot peak provides the perfect structural canvas for oversized art or expansive upper glass to bounce daylight deep into the living area. Utilizing that extra vertical space allows for taller upper cabinets, ensuring you never sacrifice essential storage capacity.
Strategic Privacy Windows
Placing a continuous row of clerestory windows high on the side wall facing the primary residence brings in abundant, diffused natural light while completely blocking direct sightlines. Set the bottom sill at a minimum of 6 feet above the finished floor to guarantee absolute visual privacy for both households without requiring heavy, dust-collecting window treatments.
Designing for Cross-Ventilation
Operable clerestory windows also serve a critical mechanical function by allowing rising hot air to escape the compact space naturally during warm summer months. Positioning these high vents directly opposite lower intake windows establishes a passive cooling breeze that keeps the entire studio incredibly fresh and comfortable.
Sizing the Clerestory Glass
Selecting fixed or awning glass panels that span at least thirty-six inches wide maximizes the indirect solar gain during cold winter afternoons. I always specify insulated, low-emissivity glass for these high placements to maintain strict thermal control and prevent seasonal energy loss.
Sizing the Compact Kitchen
In my own Denver kitchen remodel, stepping down to a 24-inch range freed up enough counter space for a proper cutting board. Pairing it with a slim refrigerator saves up to eighteen inches of linear wall space compared to standard, full-sized appliances.
Specifying Counter-Depth Refrigeration
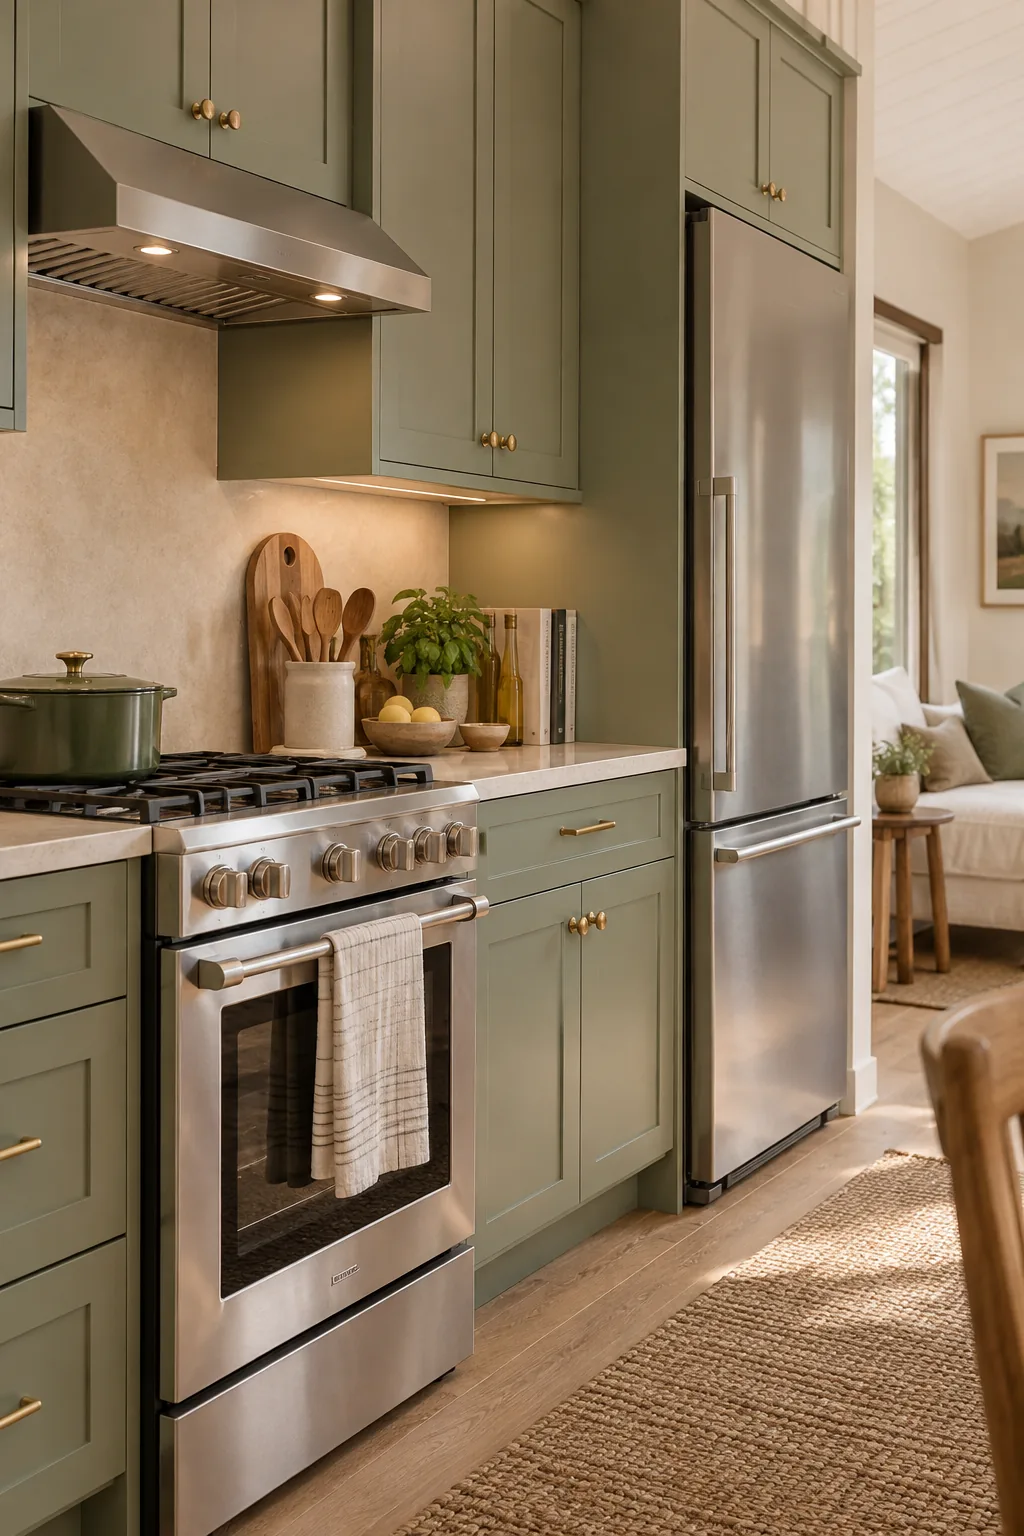
A true counter-depth refrigerator sits completely flush with your standard twenty-four-inch base cabinets, eliminating the bulky visual intrusion of a protruding appliance box. This seamless alignment keeps the primary kitchen walkway entirely clear and maintains a sophisticated, built-in architectural aesthetic.
Balancing Prep and Wash Zones
Those saved appliance inches allow for a highly functional, uninterrupted prep zone situated perfectly between the deep sink and the stovetop. Maintaining a minimum of 24 inches of continuous counter here ensures you have adequate, dedicated room for daily meal preparation.
| Appliance Type | Standard Width | Compact Width | Space Saved |
|---|---|---|---|
| Kitchen Range | 30 inches | 24 inches | 6 inches |
| Refrigerator | 36 inches | 24 inches | 12 inches |
| Dishwasher | 24 inches | 18 inches | 6 inches |
| Range Hood | 30 inches | 24 inches | 6 inches |
The Single Wet Wall Strategy
I learned the hard way on a tight basement project that splitting your plumbing fixtures across two separate walls practically doubles your framing materials and labor costs. Consolidating all supply and drain lines into one shared 6-inch wet wall significantly cuts expensive plumbing labor while maximizing your usable floor space.
- Frame a single six-inch wall cavity to house the primary three-inch soil stack.
- Position the bathroom toilet directly against this central stack for optimal drainage slope.
- Route the kitchen sink drain through the shared studs to tie into the main line.
- Run hot and cold supply lines vertically to feed both adjacent rooms simultaneously.
Sequencing the Plumbing Stack
Aligning the kitchenette sink directly behind the bathroom vanity allows both heavily used fixtures to utilize a single, central vent stack efficiently. This rigorous vertical alignment minimizes complex roof penetrations and keeps the structural framing incredibly straightforward during the rough-in phase.
Reclaiming Space with Pocket Doors
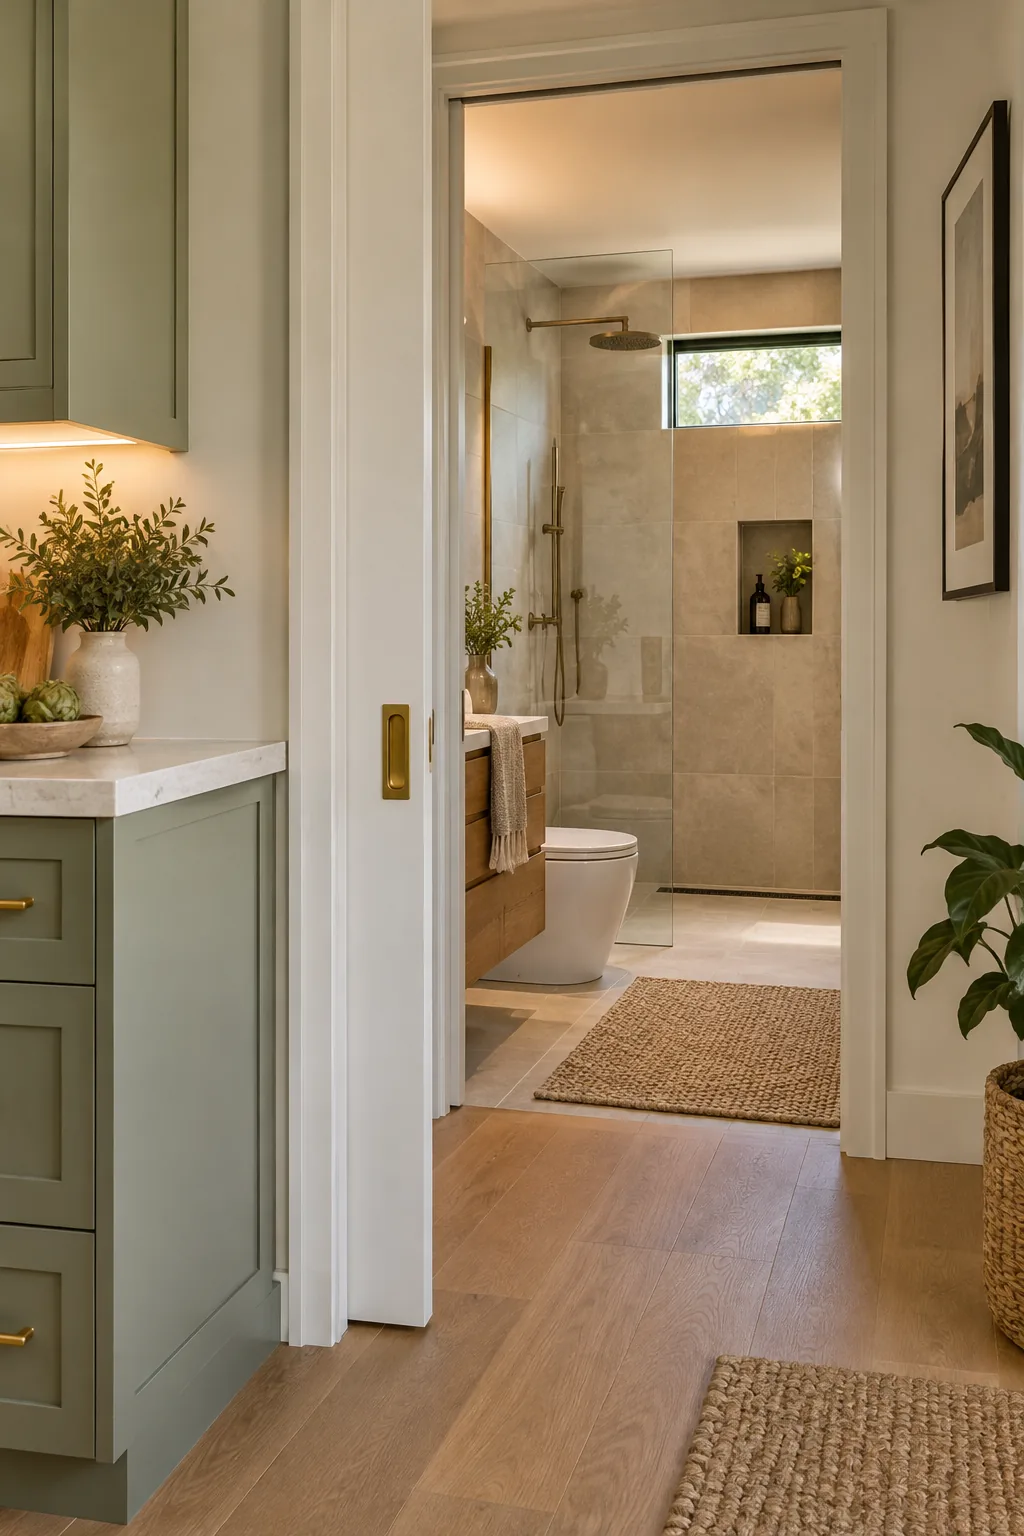
A standard hinged door requires a massive nine-square-foot swing arc that instantly eats into your highly valuable, limited living area floor plan. A framed pocket door entirely eliminates that collision zone, allowing the bathroom entry to sit comfortably right off the main space.
Eliminating Door Swing Collisions
By sliding neatly into the wall cavity, the pocket door never obstructs kitchen traffic or dictates where you can place your living room furniture. This simple hardware swap reclaims crucial floor space that a traditional swinging door would otherwise hold hostage.
Selecting Heavy-Duty Track Hardware
Always invest in commercial-grade, four-wheel ball-bearing rollers to ensure your pocket door glides silently and never jumps the track during daily operation. Upgrading to a solid core door slab provides necessary acoustic privacy between the bathroom and the main living area.
Continuous Flooring for Visual Flow
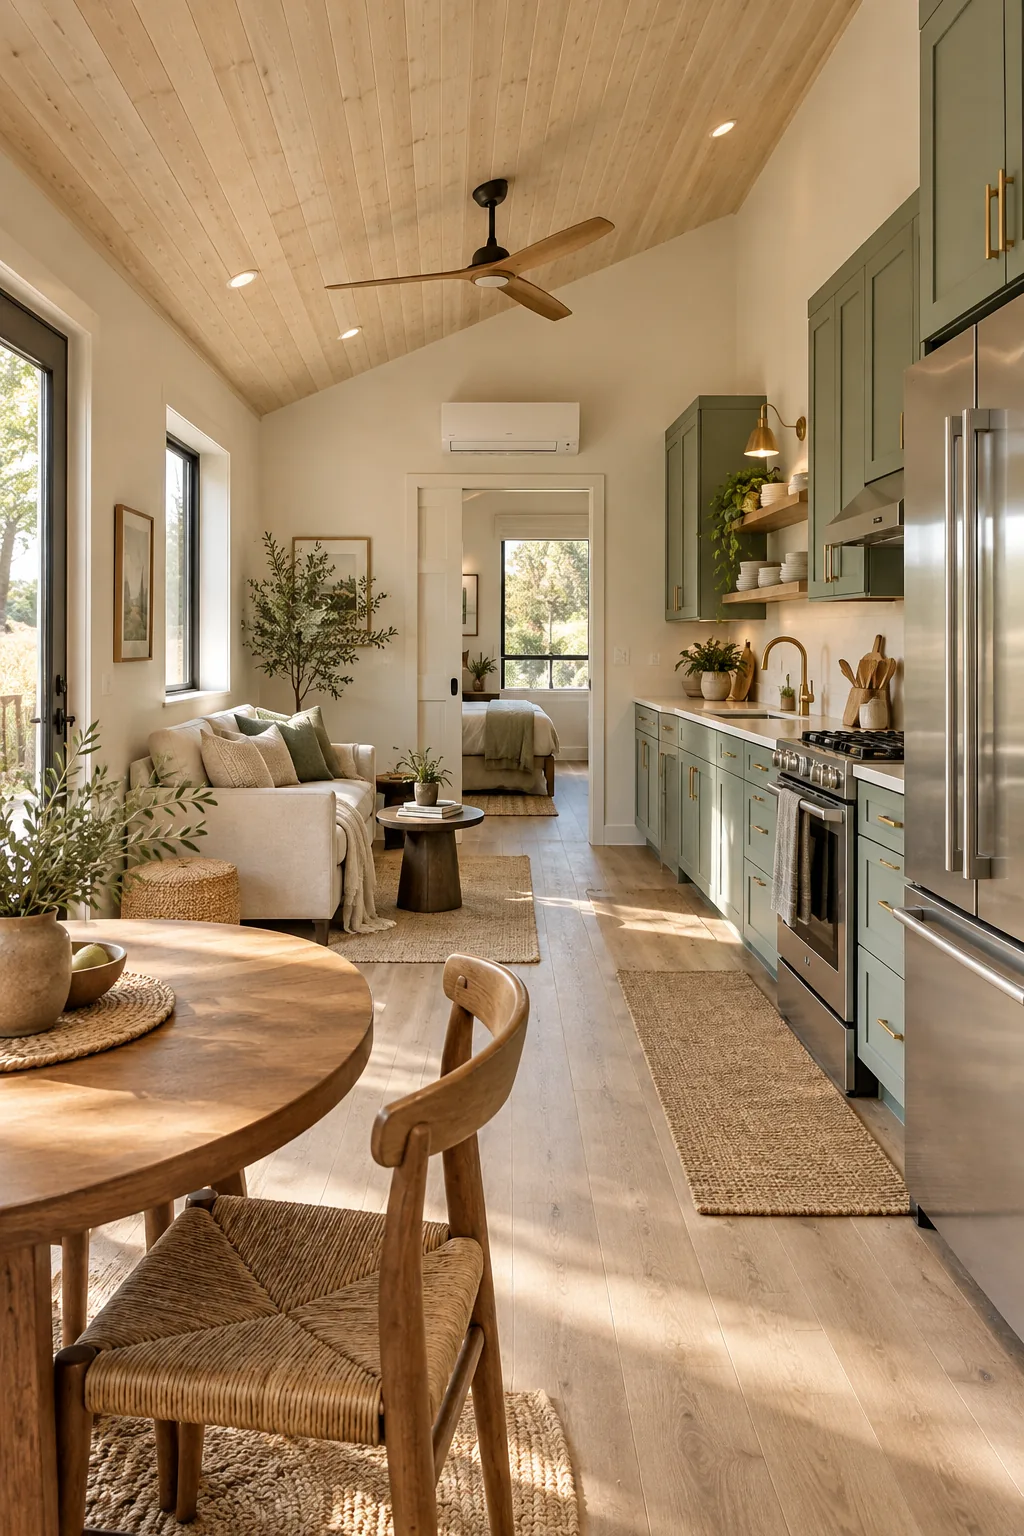
When I laid the same large-format tile throughout my guest suite, the perceived architectural footprint of the space instantly doubled. Running identical flooring uninterrupted into the bathroom requires pushing the linear drain completely to the wall, which mechanically preserves a perfectly flat standing area.
Waterproofing the Threshold Transition
Achieving this seamless flow requires setting the bathroom subfloor slightly lower to accommodate the necessary waterproofing membranes and the sloped mortar bed. A liquid-applied membrane must extend at least six inches past the bathroom threshold to protect the adjacent living area framing.
Curbless Showers in Small Footprints
Pitching the bathroom floor to a slim, wall-side linear drain creates a completely seamless curbless wet room that feels incredibly luxurious. Pushing the drain to the far wall keeps the primary standing area flat and comfortable while managing daily water effectively.
Pitching the Shower Floor Properly
A single-plane slope ensures rapid water evacuation without feeling awkward or unbalanced underfoot while you stand at the vanity. Using large-format tiles on this pitched plane requires a perfectly flat mud bed to prevent dangerous, unsightly lippage between tile edges.
Your 500 Sq Ft ADU Clearance Sheet
I keep this exact clearance sheet pinned above my desk to ensure every tight floor plan remains perfectly navigable and logically arranged. It provides the room-by-room minimum clearances, compact appliance dimensions, and wet-wall placement rules you need to finalize your studio layout.
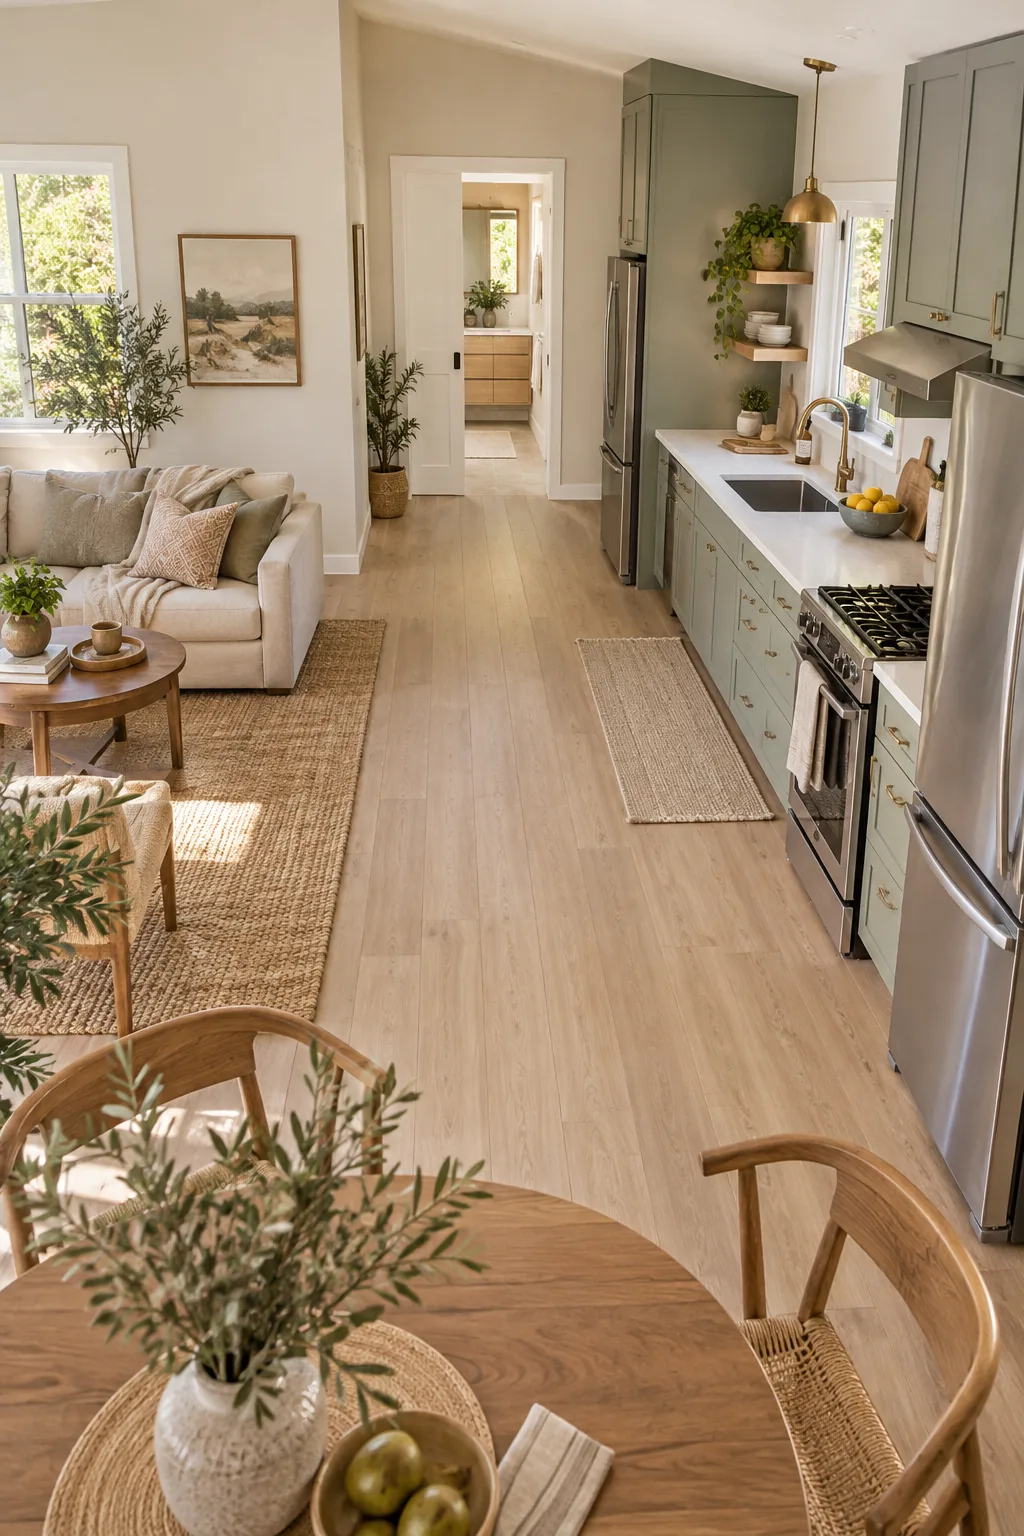
Reviewing these architectural minimums before you frame a single wall guarantees your finished ADU will feel remarkably generous and incredibly functional.
Three Distinct ADU Styling Directions
Explore how different palettes and materials can completely transform the exact same 500-square-foot layout.
Warm Minimalist Clay Studio: Textured plaster walls and light oak millwork give this layout an earthy, grounded feel.
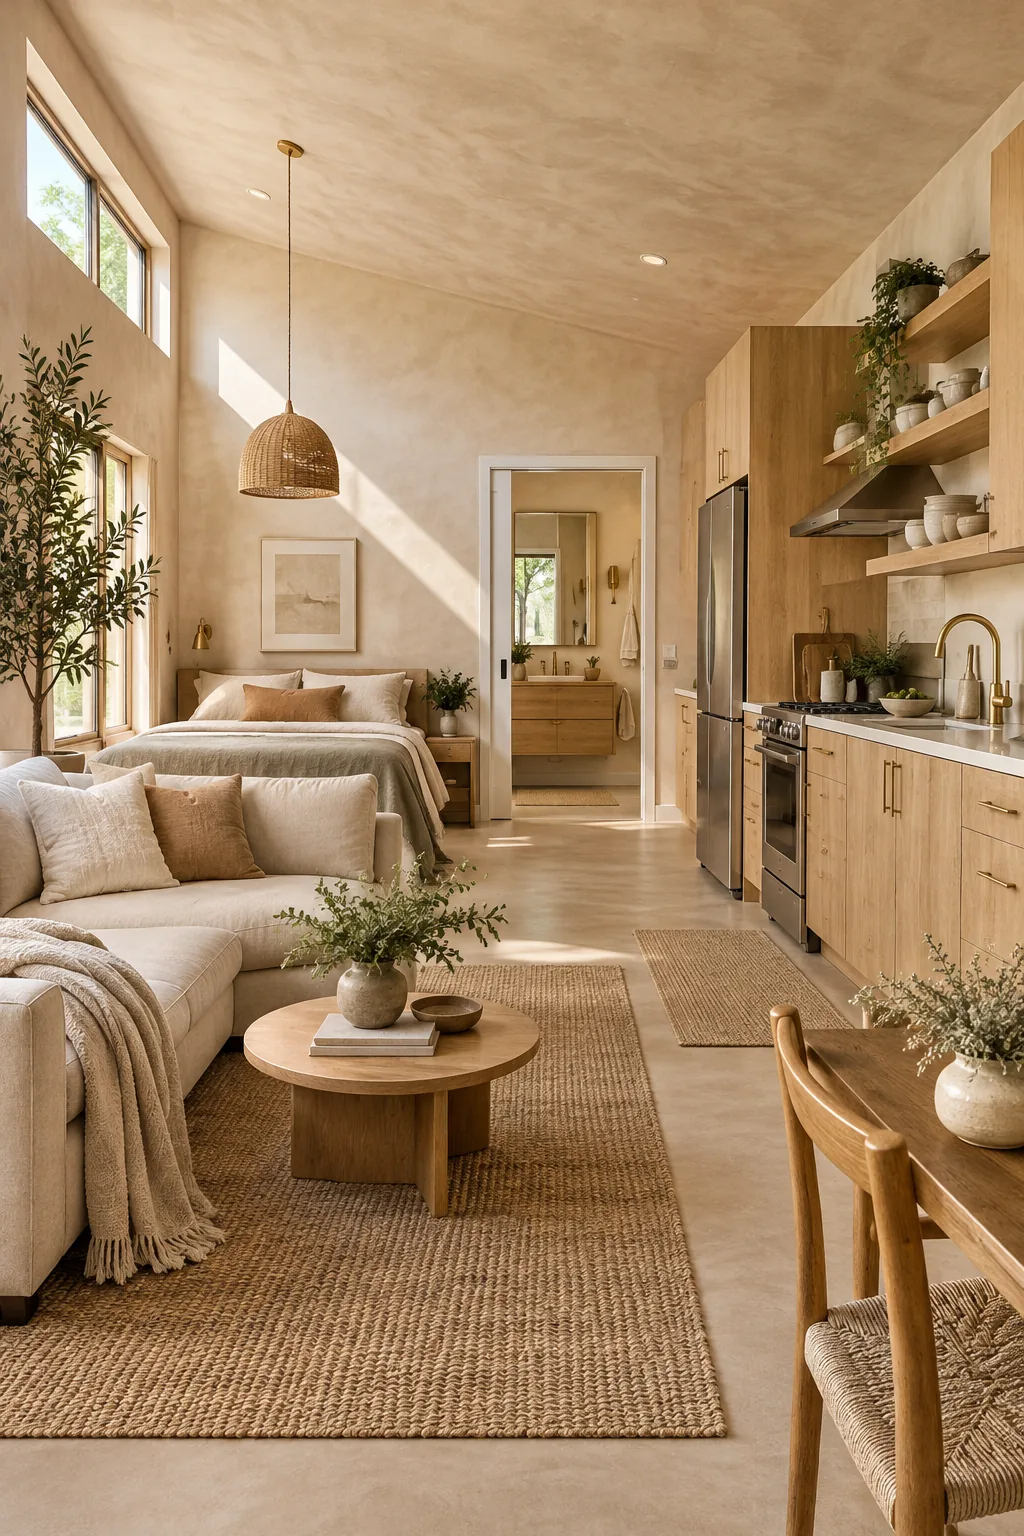
Coastal Slate Blue Cottage: A beadboard ceiling draws the eye up while slate blue cabinets anchor the airy space.
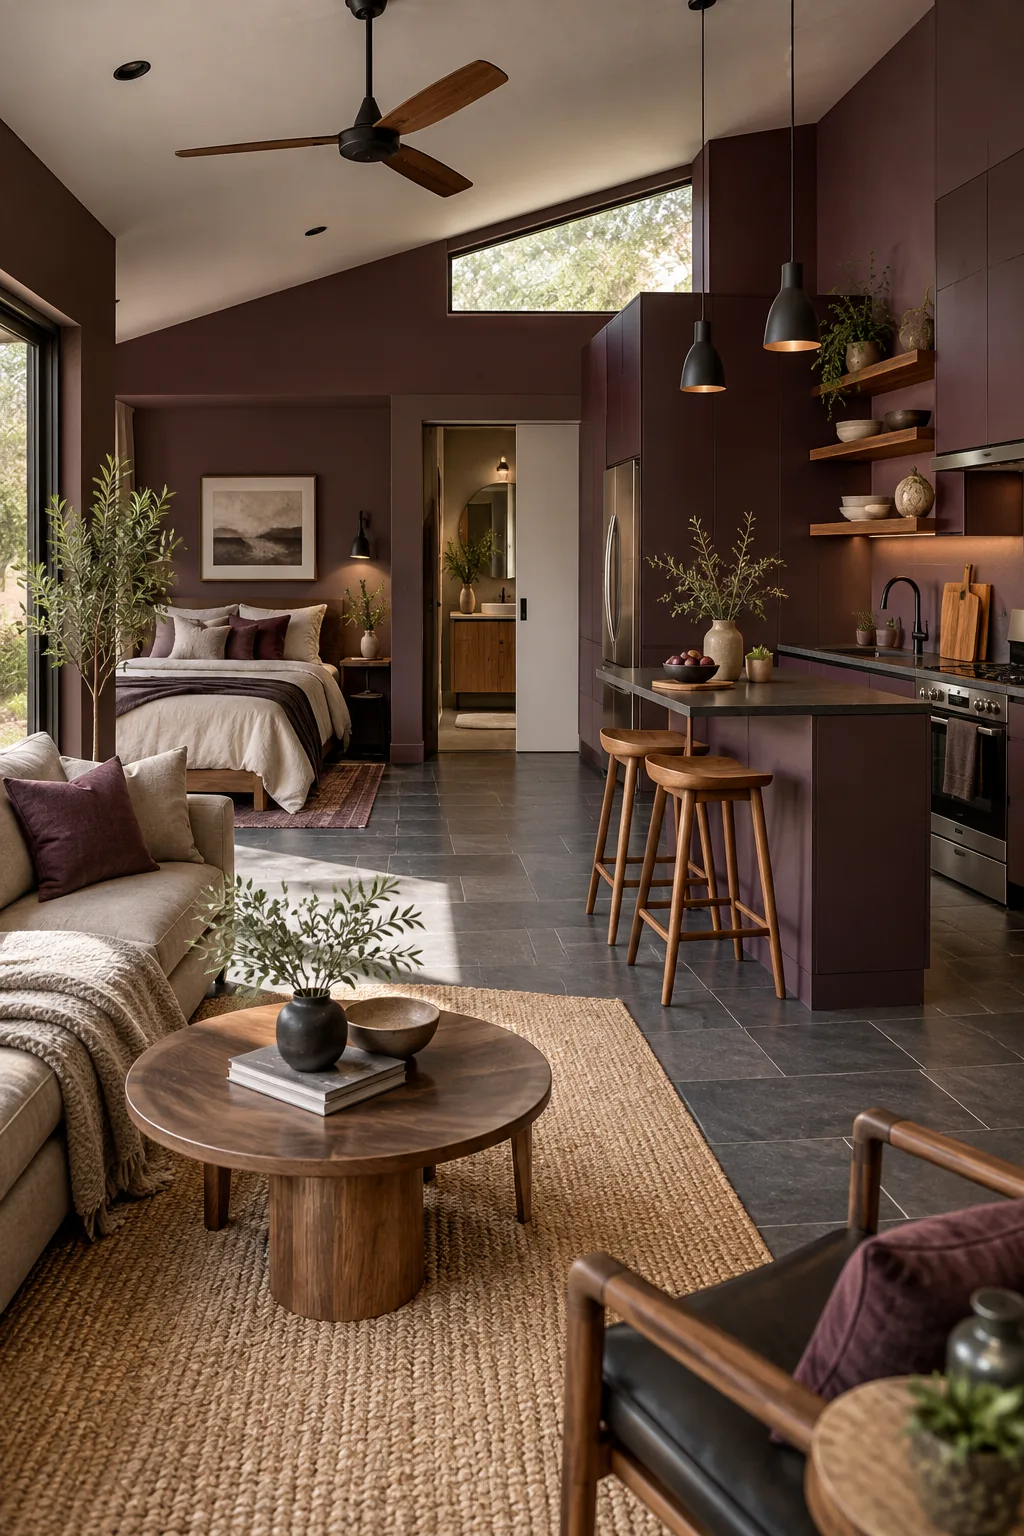
Modern Moody Plum Retreat: Dark slate floors paired with rich plum cabinetry create an intimate, sophisticated atmosphere.