Small Hallway Decor Ideas (Plus Space Measurement Guide)
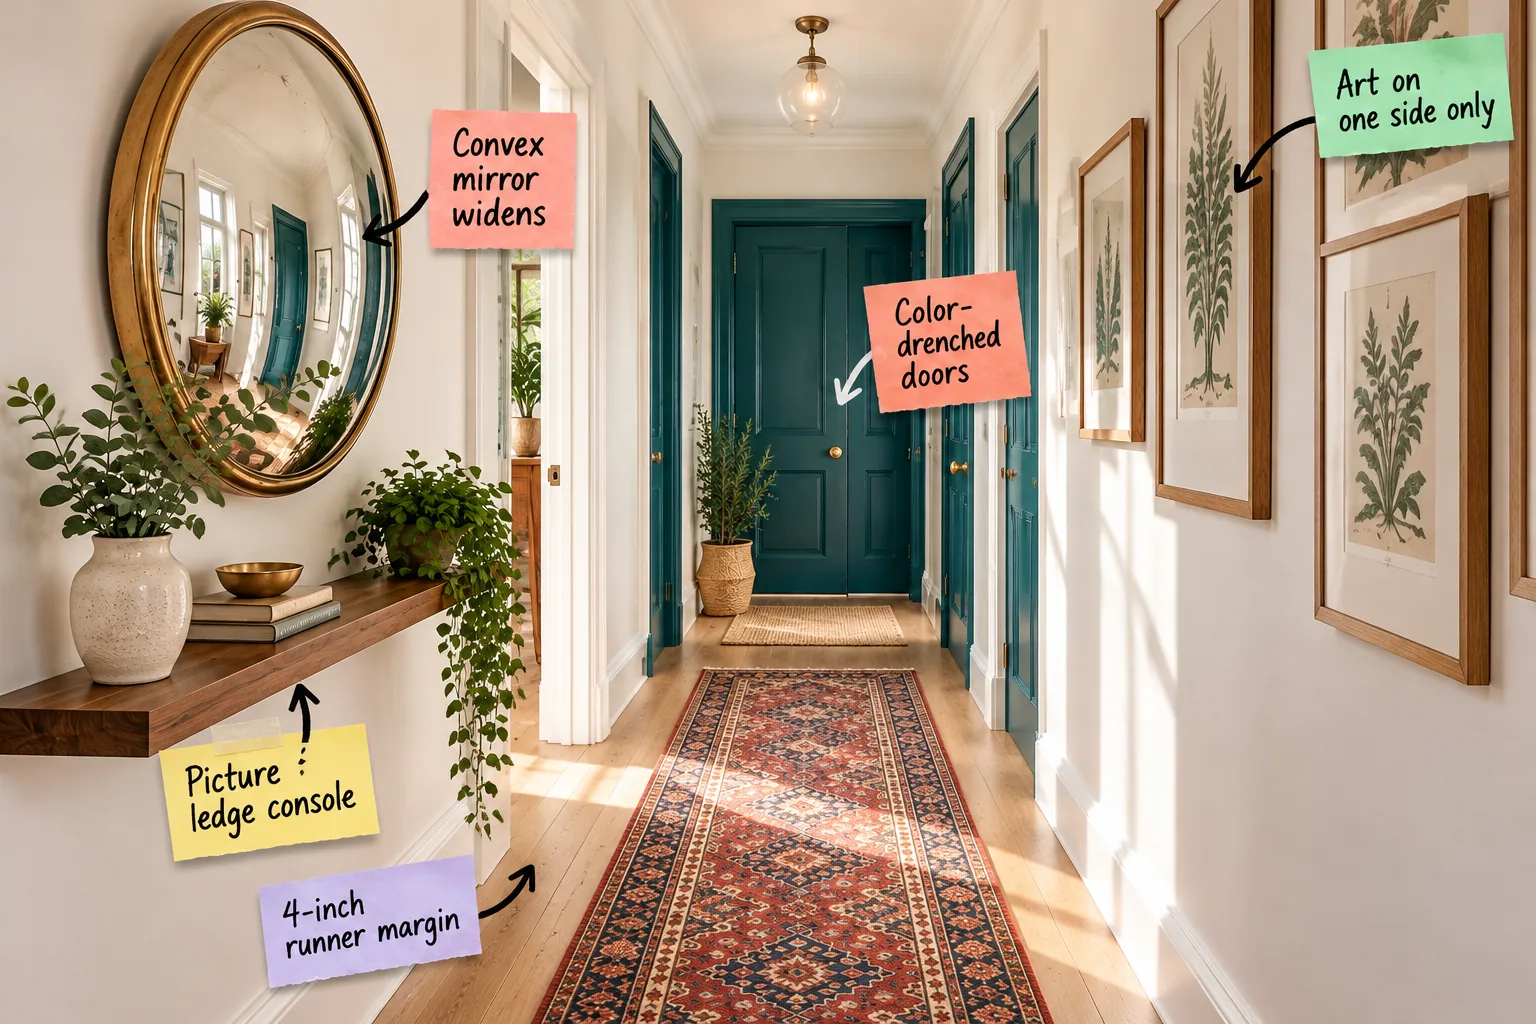
Transform your cramped corridor into an airy passage using our complete narrow space measurement guide and clever styling tricks. You will be able to confidently arrange, hang, and space your decor using exact measurements that make tight hallways feel twice as wide.
The 4-Inch Runner Margin Rule
Leaving a consistent border of exposed flooring is the easiest way to make a narrow hallway feel intentional rather than cramped. Aim for exactly a 4-inch margin of bare wood between the edge of your runner and the baseboards on both sides.
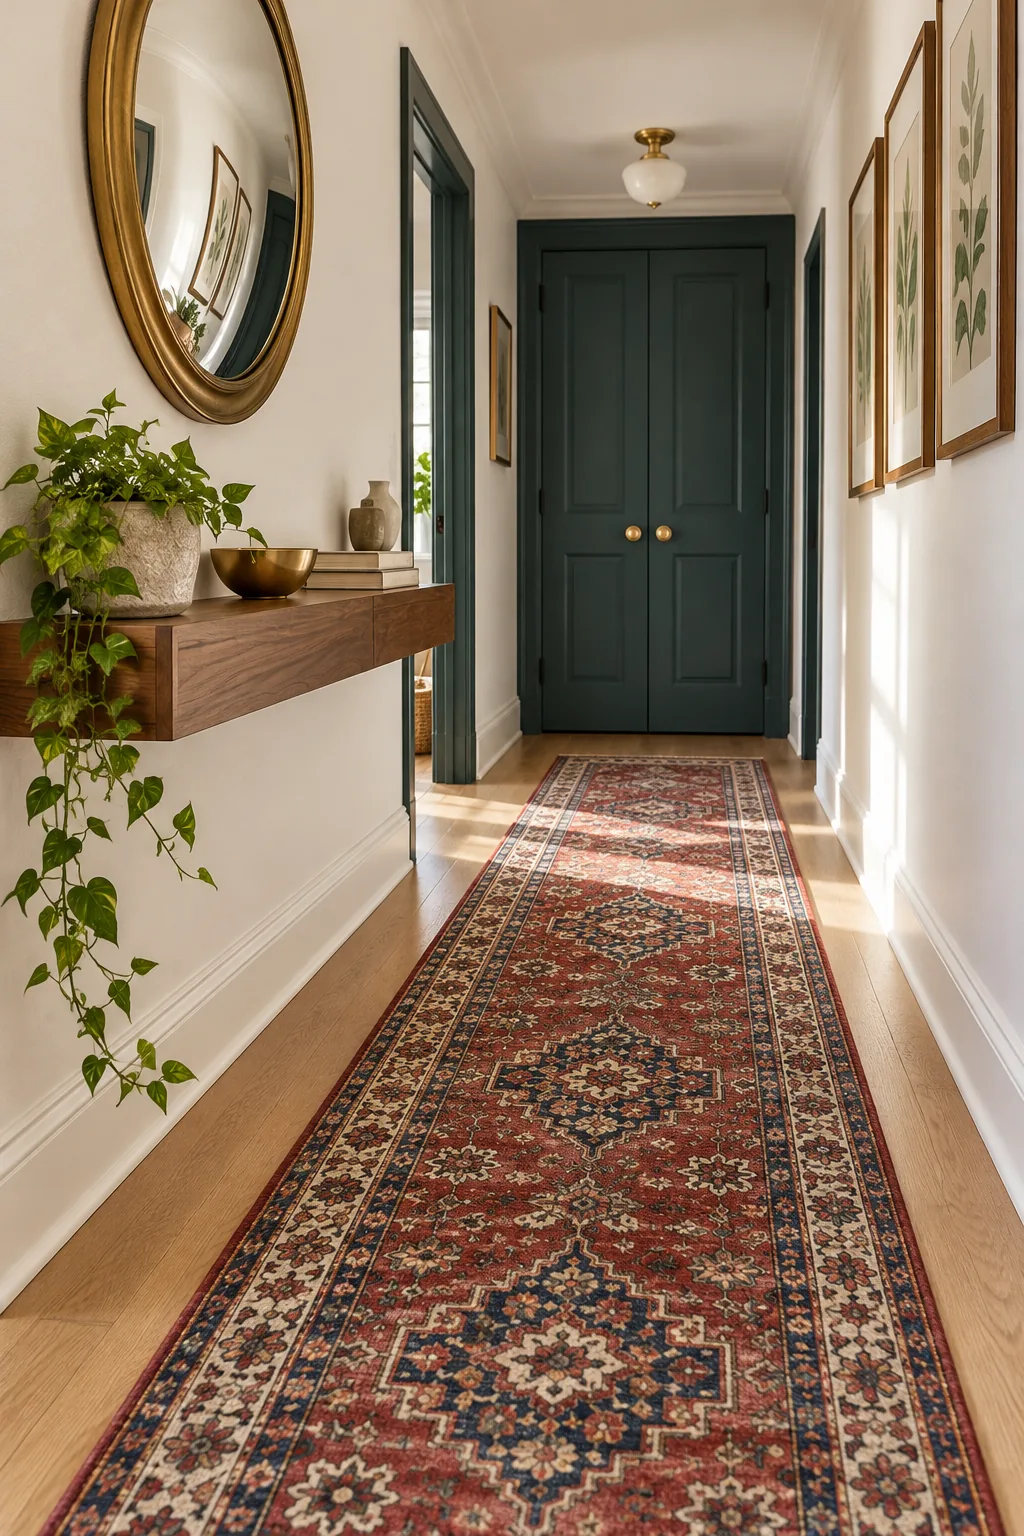
To achieve this tailored look, you must measure your exact hallway width and subtract eight inches to find your ideal rug dimension. Precise sizing keeps the runner centered while establishing a clean visual boundary along the perimeter.
- Measure the total floor width from baseboard to baseboard.
- Subtract exactly eight inches to account for the dual margins.
- Secure the resulting rug with a low-profile grip pad.
This simple mathematical approach guarantees your flooring frames the textile perfectly without overwhelming the tight transit zone.
Evaluating Your Current Baseboards
Before finalizing your runner dimensions, inspect the depth of your baseboards. Thick, ornate moldings can eat into your usable floor width, meaning you must measure from the face of the baseboard rather than the drywall to ensure accuracy.
Understanding Traffic Flow Dynamics
Tight corridors demand a clear, unobstructed path to prevent a cramped feeling during daily use. By keeping bulky furniture out of the primary transit zone, you allow energy to move freely from one end of the house to the other.
Choosing the Right Runner Material
Because narrow corridors handle the highest volume of daily foot traffic, selecting a durable textile is just as important as getting the dimensions right. Flatweave and low-pile options prevent tripping hazards while resisting crushing underfoot.
| Material | Durability | Pile Height | Best For |
|---|---|---|---|
| Wool | High | Low | Main passages |
| Jute | Medium | Flat | Textural warmth |
| Vintage Turkish | Very High | Flat | Hiding stains |
| Cotton | Low | Flat | Light traffic |
I always recommend vintage wool for its incredible resilience and natural stain resistance in busy transitional spaces.
Securing the Runner Properly
A shifting rug instantly ruins the tailored aesthetic of a perfectly measured margin. Always install a high-quality grip pad that stops an inch short of the rug edge to keep the textile firmly anchored without adding unsightly bulk.
Avoiding Common Rug Pad Mistakes
Never use thick foam pads under a hallway runner, as they create a significant tripping hazard in a high-traffic zone. Opt for an ultra-thin, felt-and-rubber combination pad that grips the hardwood securely while maintaining a sleek, flush profile against the floor.
The Picture Ledge Console Hack
Standard console tables eat up precious walking space, but swapping a traditional piece for a floating picture ledge provides a functional drop zone. This slim alternative is only 4 to 6 inches deep, keeping the floor completely clear.
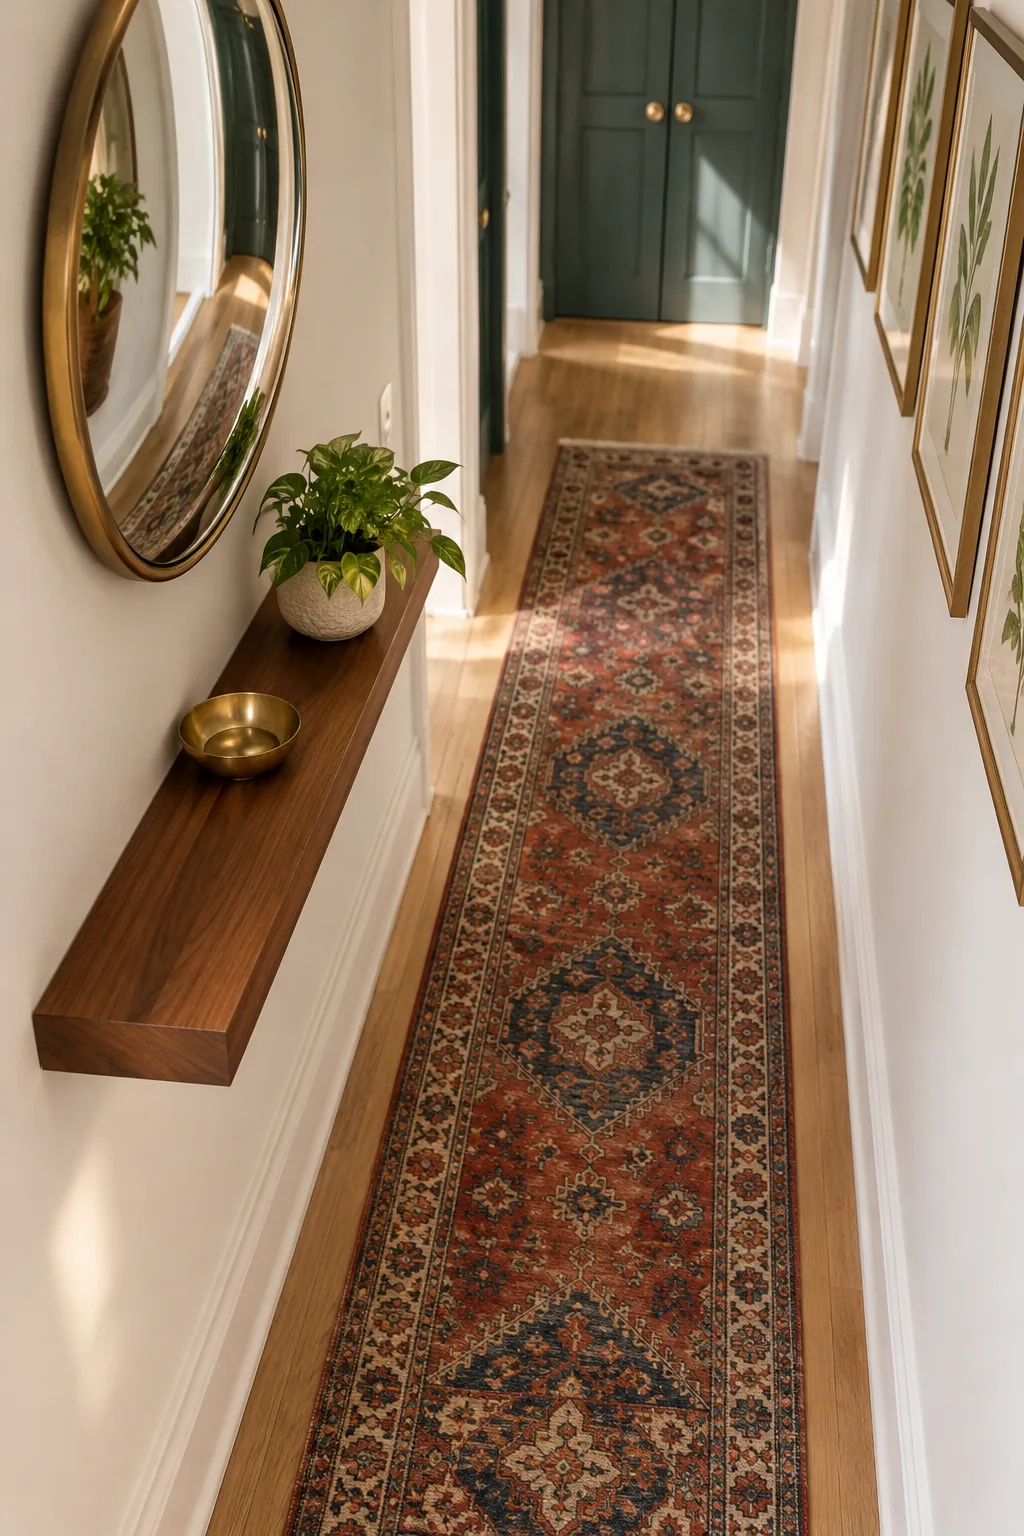
Because a picture ledge is typically used for art, it is easy to misjudge where it belongs when repurposing it as furniture. Treat it exactly like a traditional table to keep the proportions believable.
Anchoring the ledge at standard furniture height tricks the eye into accepting it as a proper console table.
Sourcing the Right Picture Ledge
When shopping for your floating console, prioritize solid wood construction over hollow composite materials. A sturdy oak or walnut ledge provides the necessary durability to handle the daily impact of dropped keys and heavy mail without sagging over time.
Styling an Ultra-Slim Surface
Decorating a 4-inch deep surface requires strict discipline to avoid a cluttered look that ruins the minimalist appeal. Stick to small-scale items like a shallow brass catch-all bowl, a single bud vase, and leaning books.
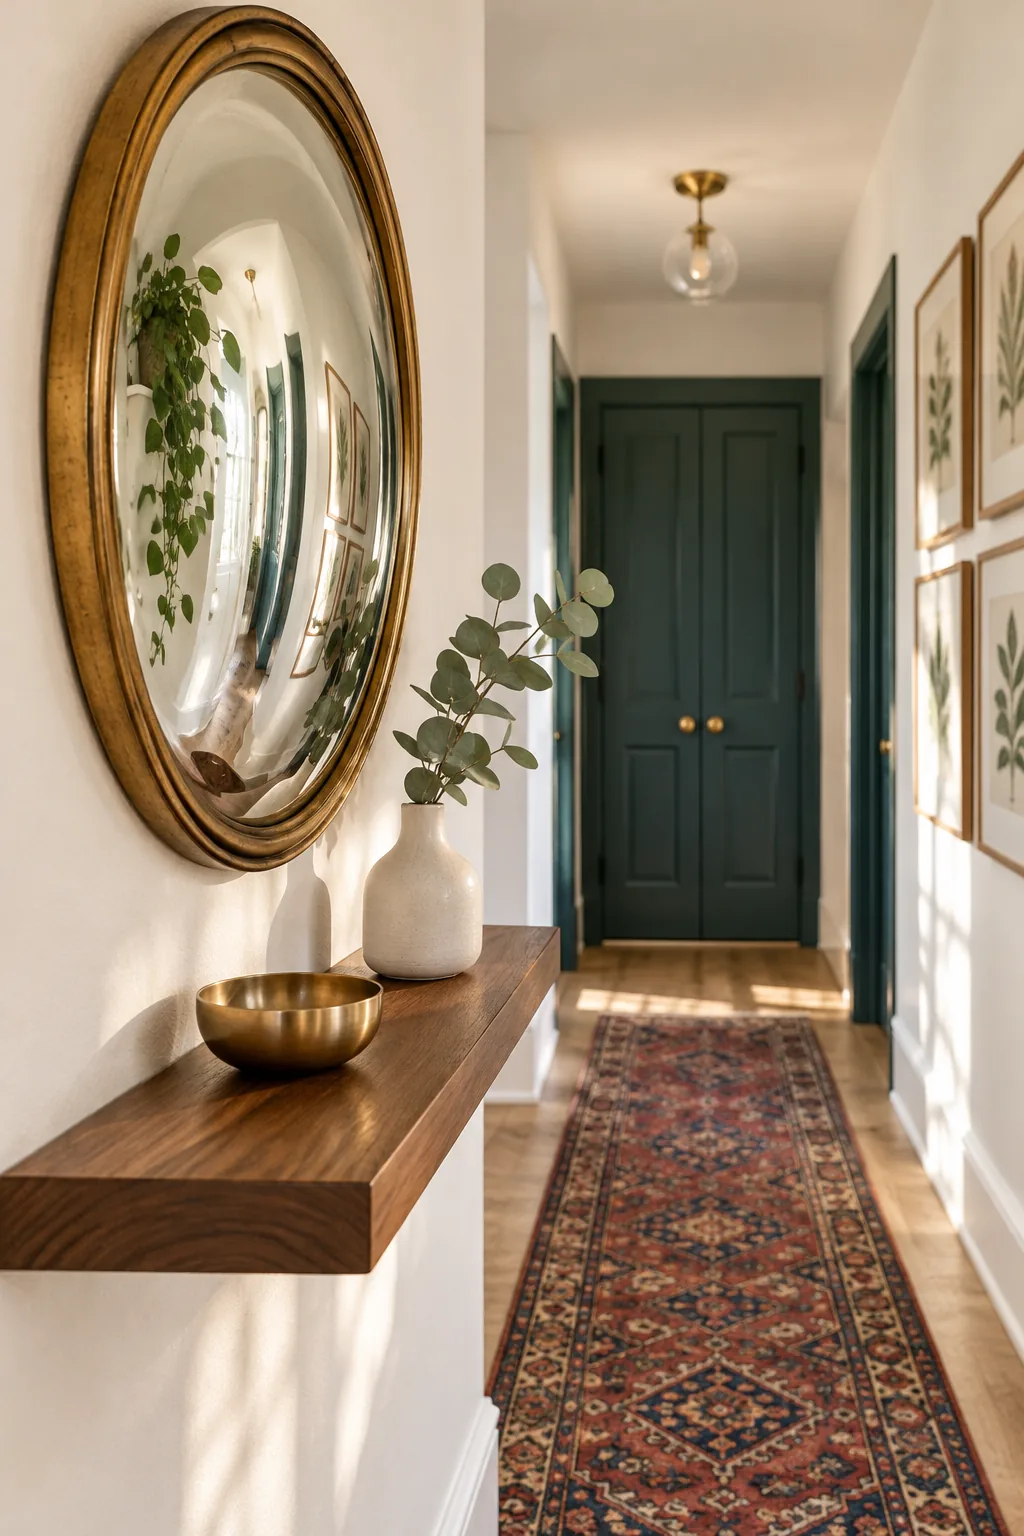
In my own Denver entryway, I rely on a single shallow brass catch-all that perfectly holds my keys without overhanging the edge. Keeping decorative objects strictly within the shallow shelf depth maintains the sleek, unobtrusive profile.
Selecting Minimalist Decor
When your available surface area is severely limited, every object must serve a distinct visual or practical purpose. Curating a few high-impact pieces prevents the dreaded hallway clutter drop.
- A heavy ceramic bud vase for organic texture.
- A metallic catch-all tray to reflect ambient light.
- Two visually striking hardcover books leaned against the wall.
Limiting your arrangement to three distinct items ensures the floating console remains an elegant focal point rather than a messy storage shelf.
Maintaining the Minimalist Console
The key to keeping a narrow ledge functional is implementing a strict daily reset routine. Make it a habit to clear away extraneous mail and receipts each evening, ensuring the surface remains an intentional design feature.
Lighting the Floating Console
Because your picture ledge is incredibly shallow, traditional table lamps will not fit safely on the surface. Install a hardwired or battery-operated wall sconce directly above the ledge to provide necessary task lighting without eating up a single inch of depth.
Why a Convex Mirror Widens the Room
A standard flat mirror only reflects what is directly across from it, which is often just a blank wall in a hallway. A convex mirror bends the reflection, capturing the length of the room and pushing the walls outward visually.
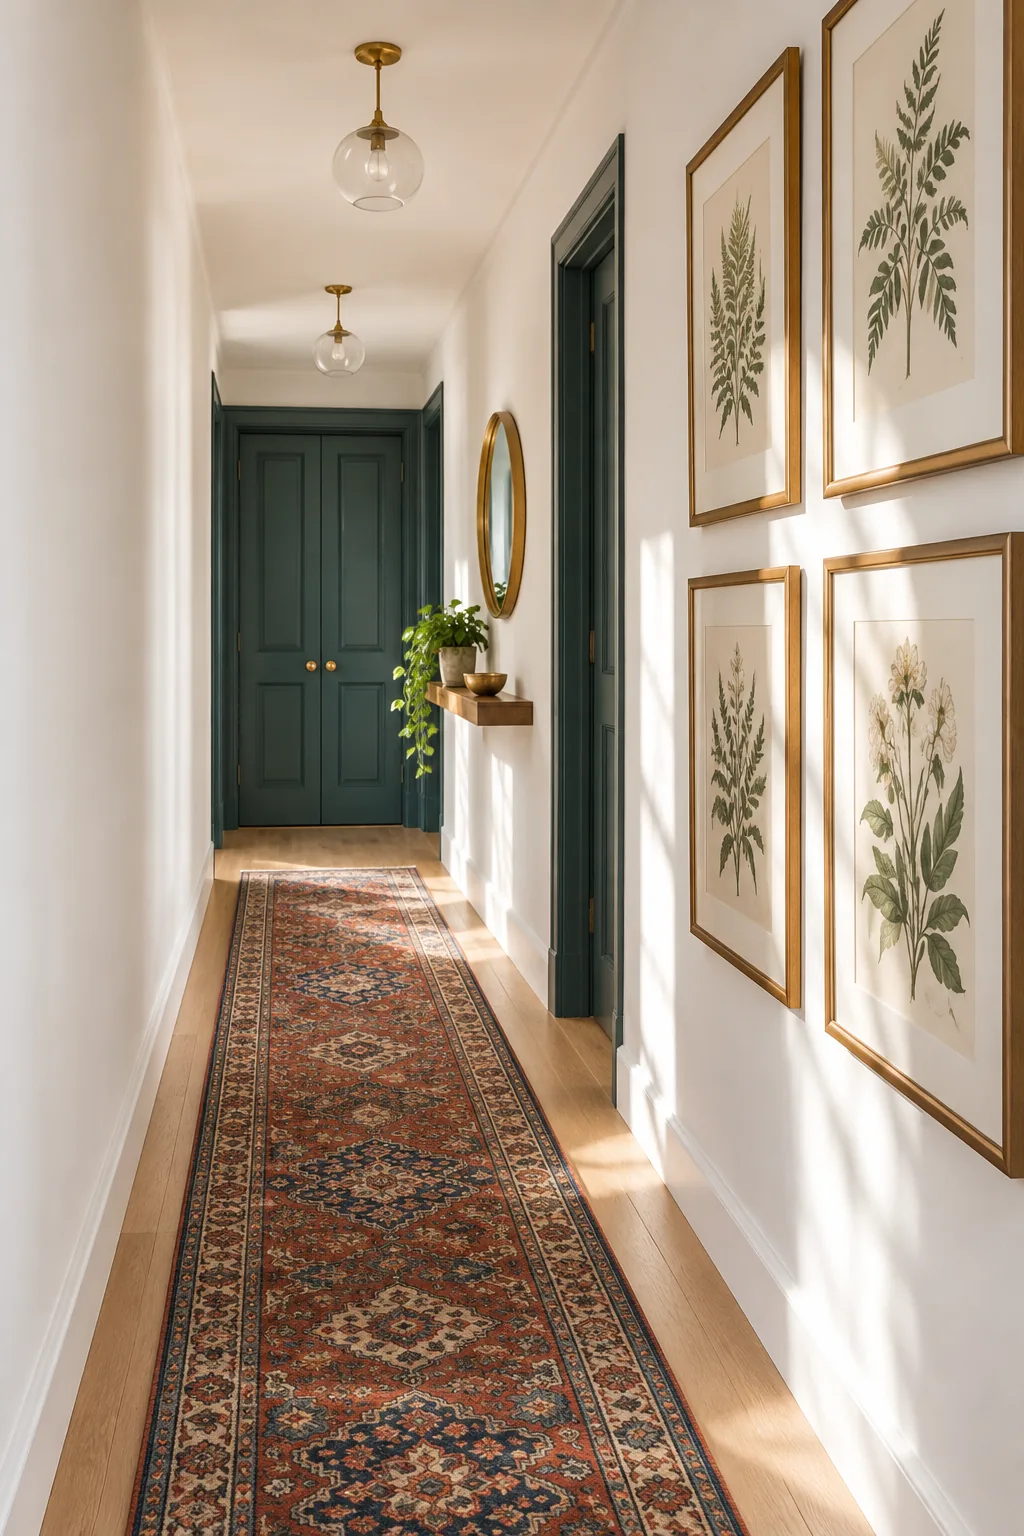
This optical distortion creates a faux window effect, instantly making the tightest corridor feel remarkably spacious and open.
Bouncing Light in a Dark Hallway
Maximizing available light is crucial when dealing with confined spaces that lack natural windows. Strategic placement of reflective surfaces amplifies whatever illumination spills in from adjacent rooms.
Positioning your reflective elements near the brightest adjacent doorway will dramatically multiply the ambient glow throughout the corridor.
Cleaning Convex Glass Safely
Curved mirrors collect dust differently than flat surfaces, often accumulating debris along the protruding center point. Wipe the glass weekly with a microfiber cloth and a gentle ammonia-free solution to preserve the crisp, room-widening reflection without leaving streaks.
Hanging Art on One Side Only
Covering both sides of a narrow corridor with frames creates a claustrophobic tunnel effect that overwhelms the senses. Grouping all your artwork into a gallery arrangement on a single wall leaves the opposite side bare.
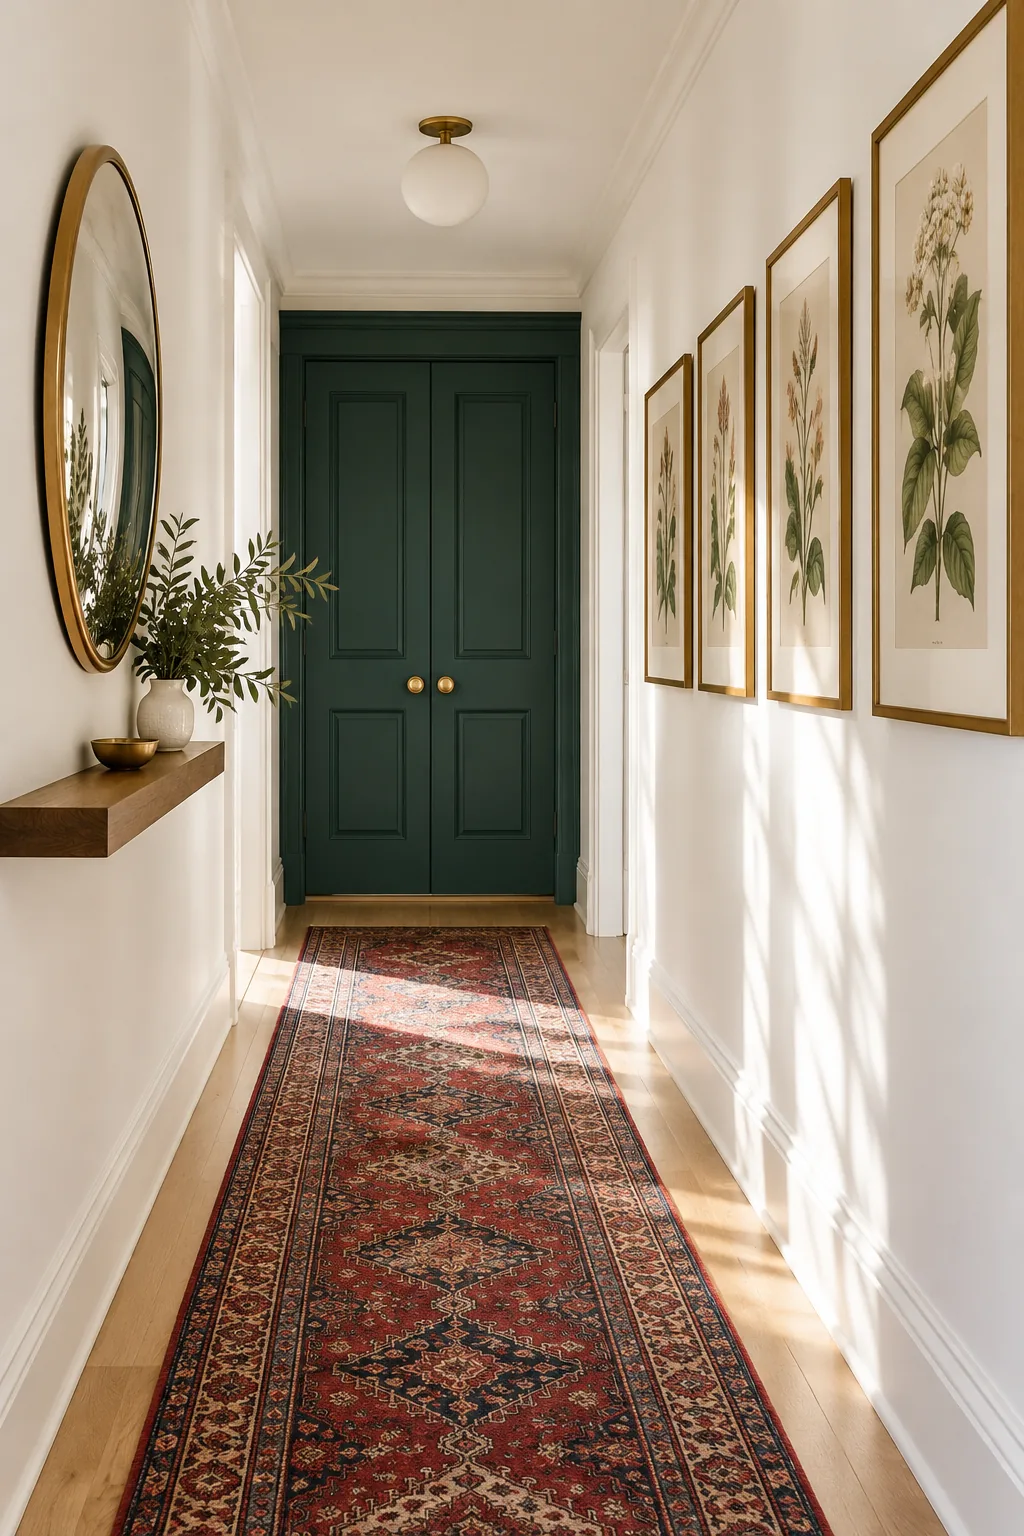
When I tried hanging frames on both sides of my own upstairs hall, it instantly felt like a tunnel, so I quickly moved everything to the left side. Giving the eye a place to rest is essential for maintaining an airy atmosphere.
Planning Your Asymmetrical Gallery
An asymmetrical layout demands careful balancing to ensure the heavy side does not feel like it is tipping the room over. Using matching frames with generous white mats helps unify the collection into a single architectural feature.
Selecting the Perfect Gallery Frames
To keep an asymmetrical gallery wall looking cohesive, stick to a unified frame profile. Simple matte black or natural oak frames with identical edge thicknesses create a streamlined grid that feels intentional rather than chaotic.
Balancing Art with Wall Sconces
If you choose to incorporate lighting into your asymmetrical gallery wall, mount identical brass sconces on the outer edges of the frame grouping. This symmetrical lighting approach brackets the asymmetrical art collection, bringing a necessary sense of order.
Measuring for Asymmetrical Balance
When arranging art on a single side, center the entire grouping at eye level relative to the wall’s total length. Leaving equal negative space on the left and right of the gallery prevents the arrangement from crowding the adjacent doorways.
Color-Drenching the End Doors
Painting the doors and trim at the far end of the hallway in a rich, dark color draws the eye forward. This high-contrast focal point creates an optical illusion that extends the perceived depth of the corridor.
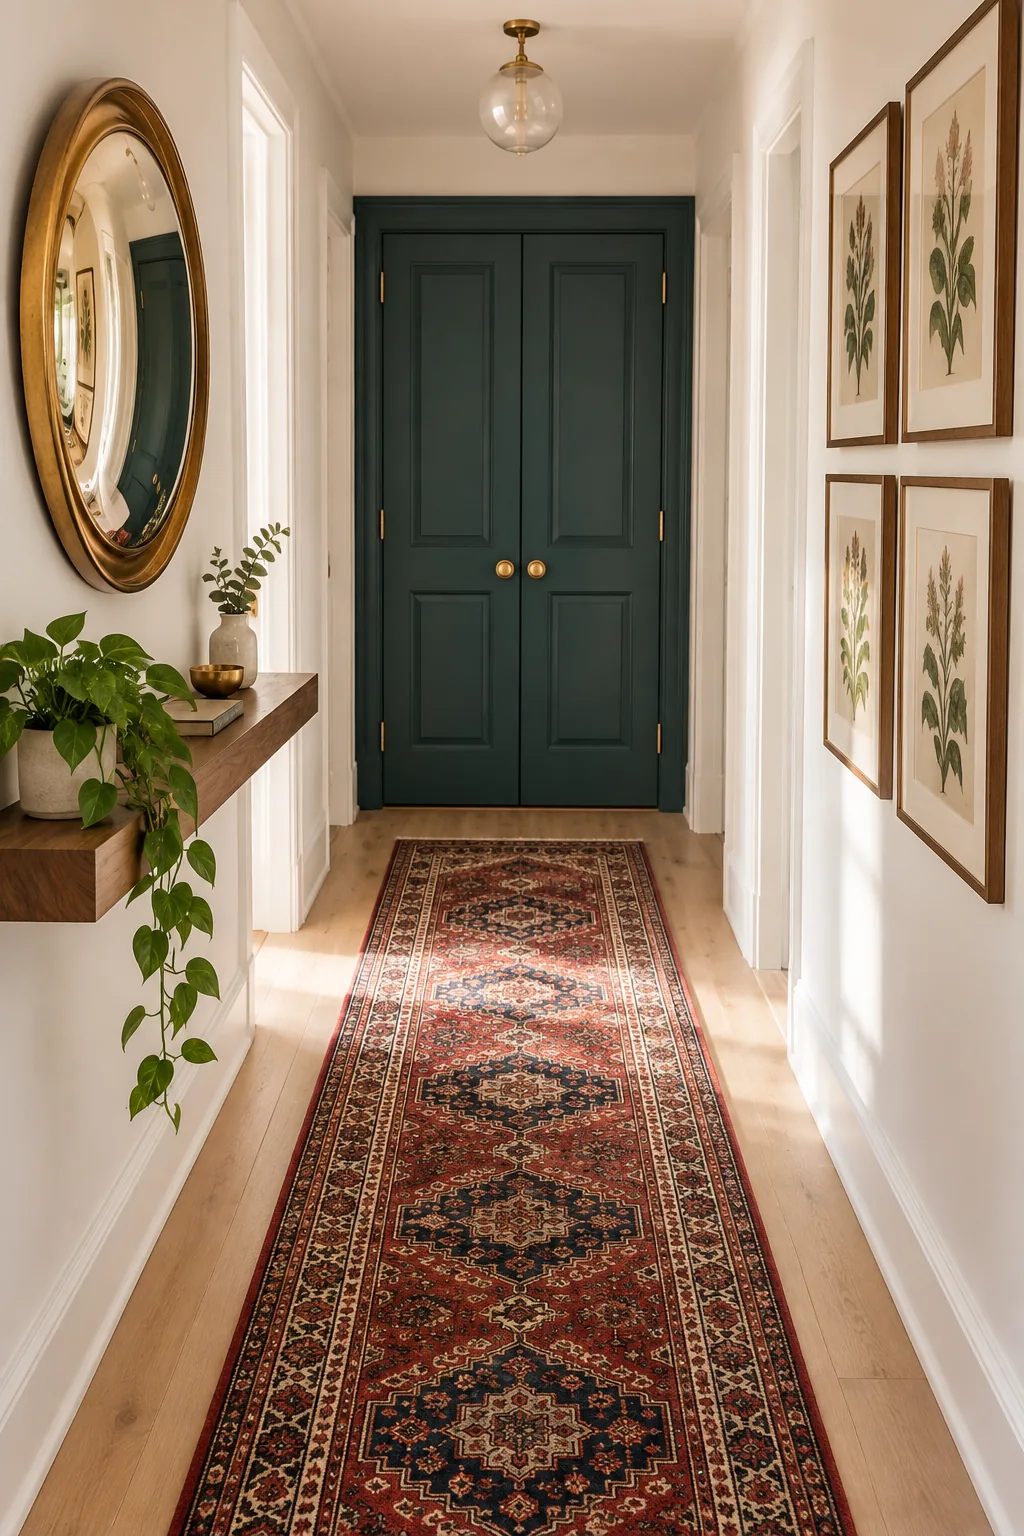
By color-drenching the entire end wall assembly, you distract from the narrow width and emphasize the long structural sightline.
Choosing High-Contrast Paint Colors
Selecting a deeply saturated hue for your terminal doors requires a shade with enough weight to anchor the space. Deep teal, charcoal, or forest green provide the necessary gravity without turning the end of the hall into a black hole.
Prepping Doors for Dark Paint
Color-drenching requires flawless execution because dark, glossy paint highlights every structural imperfection. Sand the doors thoroughly and apply a high-adhesion bonding primer to ensure your deep finish cures into a smooth, professional-grade shell.
Testing Swatches in Artificial Light
Because hallways typically lack natural windows, you must evaluate your bold paint choices under the actual overhead fixtures. Paint large sample boards and observe how the color shifts during evening hours to guarantee the hue remains rich and inviting.
Finalizing Your Clearances
Double-check all your measurements before making any permanent alterations to the drywall. Confirming that your floating shelf, art frames, and runner all align with the master spacing plan guarantees a harmonious, easily navigable transition space.
The Narrow Space Measurement Guide
Success in a small hallway comes down to precise clearances and maintaining a minimum 36-inch walking path. Mount your console ledge at 30 to 32 inches high, and hang your art so the center point hits 57 to 60 inches from the floor.
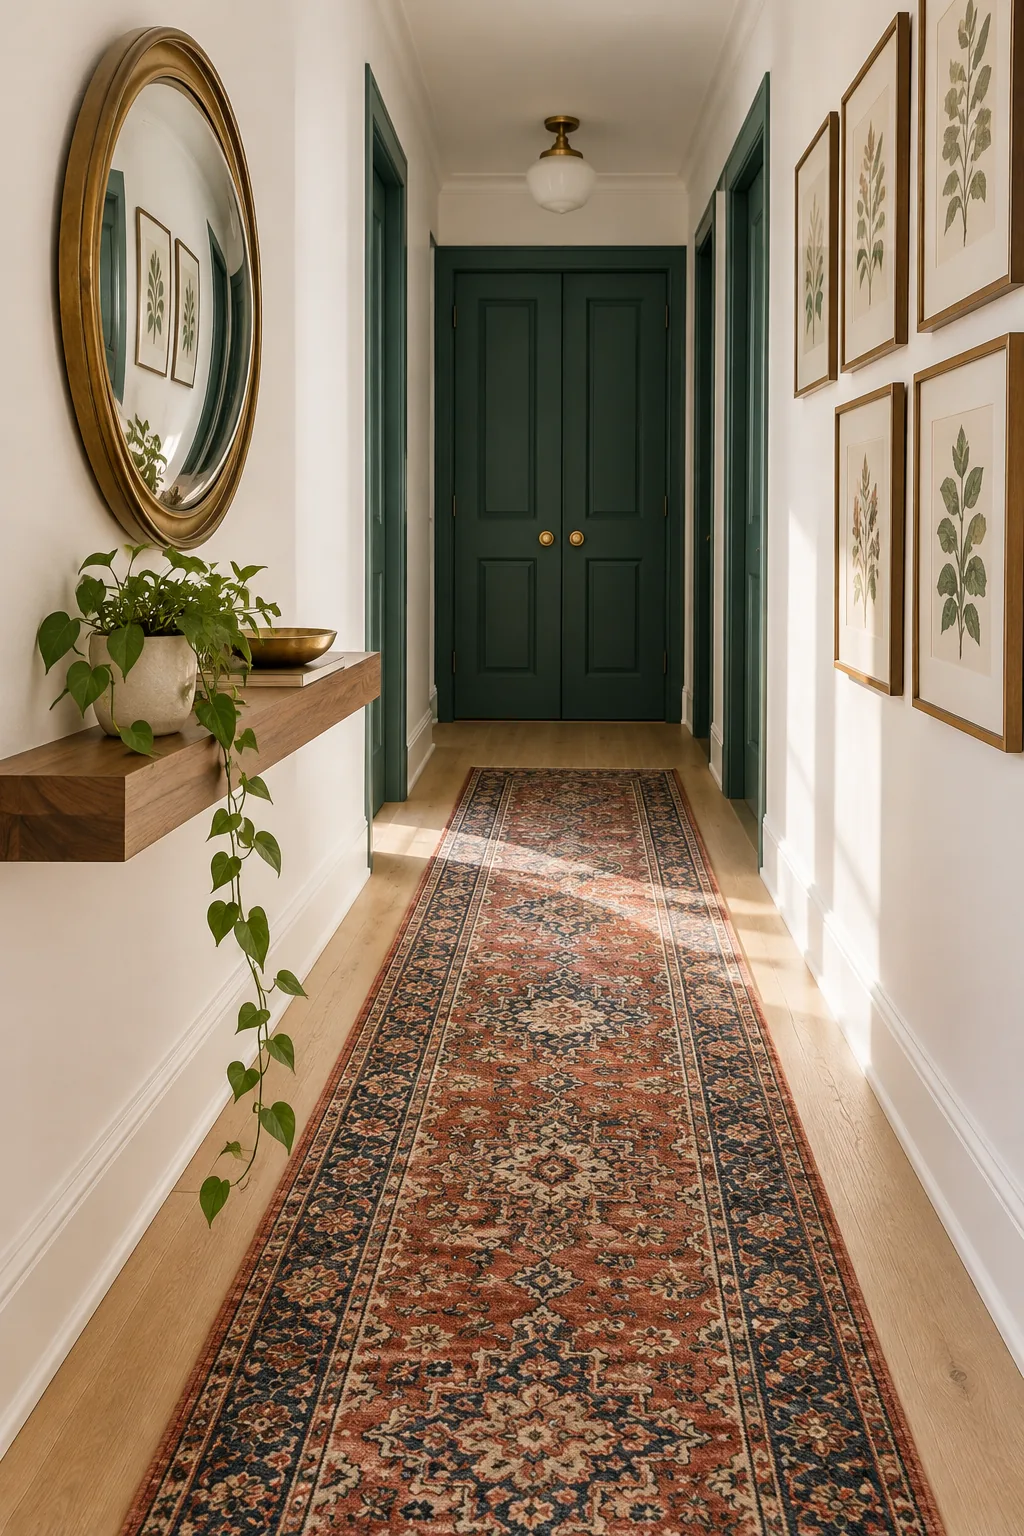
Before drilling any holes or ordering a vintage runner, verify your exact dimensions. In my own home’s hallway renovation, strictly adhering to these non-negotiable clearances ensured the finished space felt comfortable to navigate.
Keeping these exact numbers handy guarantees your tight transitional zones will function beautifully while looking professionally designed.
3 Hallway Looks to Try
Discover how a simple change in color palette and styling can completely alter the mood of your narrow passage.
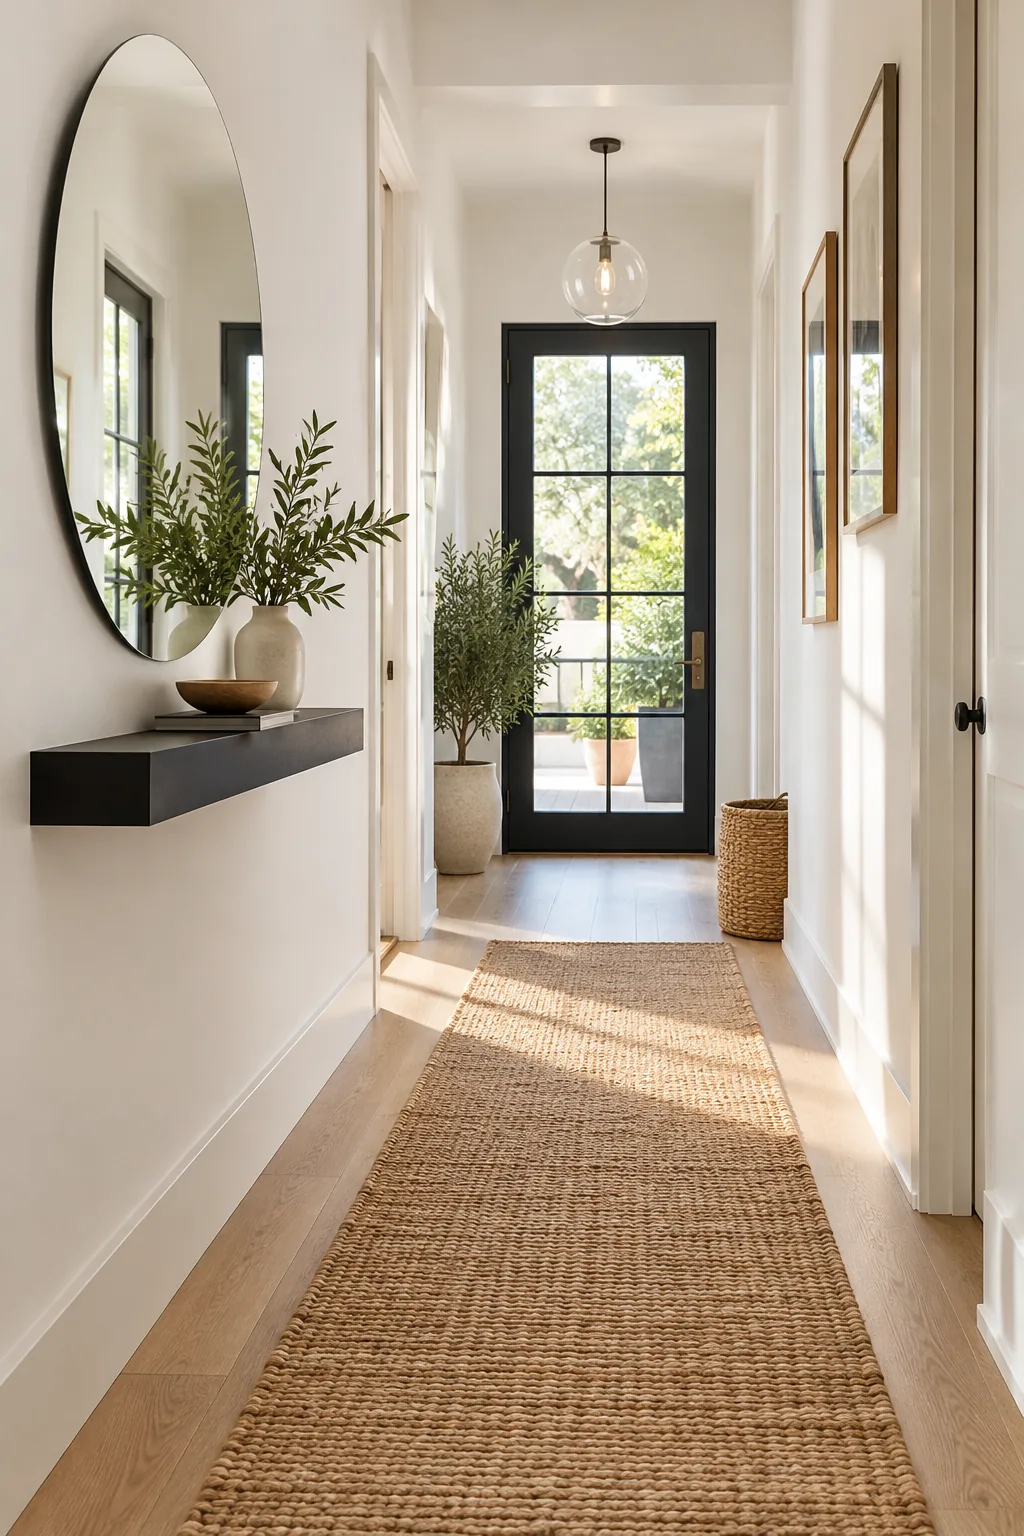
Warm minimalist entry: A light jute runner and matte black metal floating shelf create high contrast. Keep the mirror frameless to maximize the airy feel.
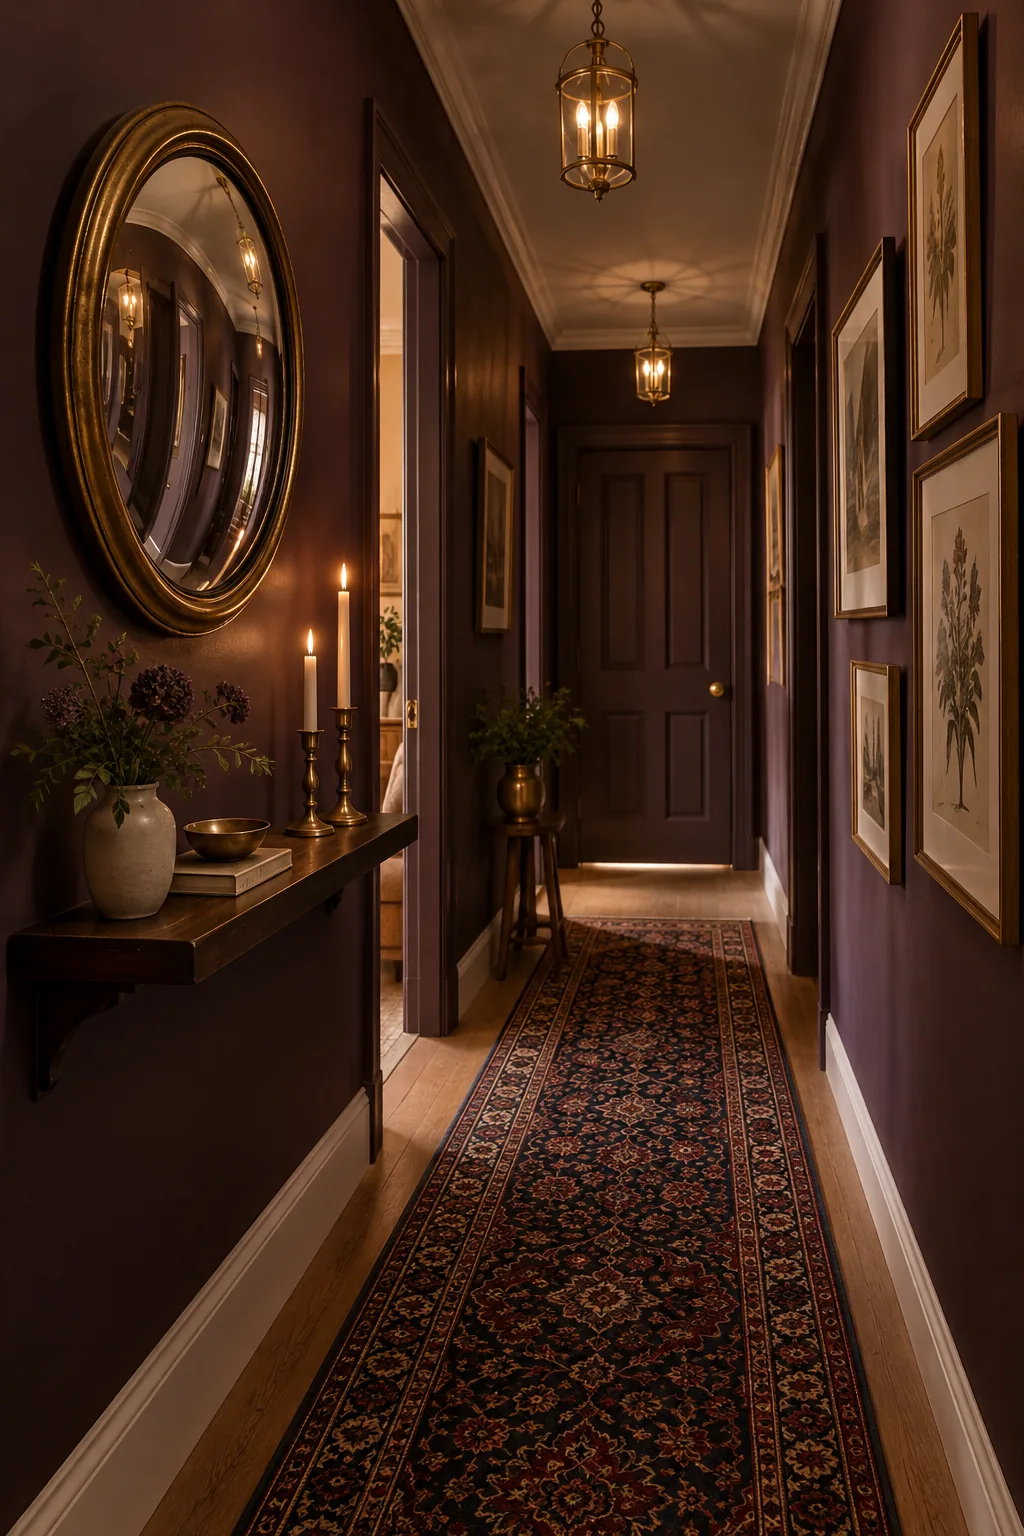
Moody traditional corridor: Rich plum walls paired with an antique brass convex mirror add instant drama. Use a dark Persian rug to ground the intense color.
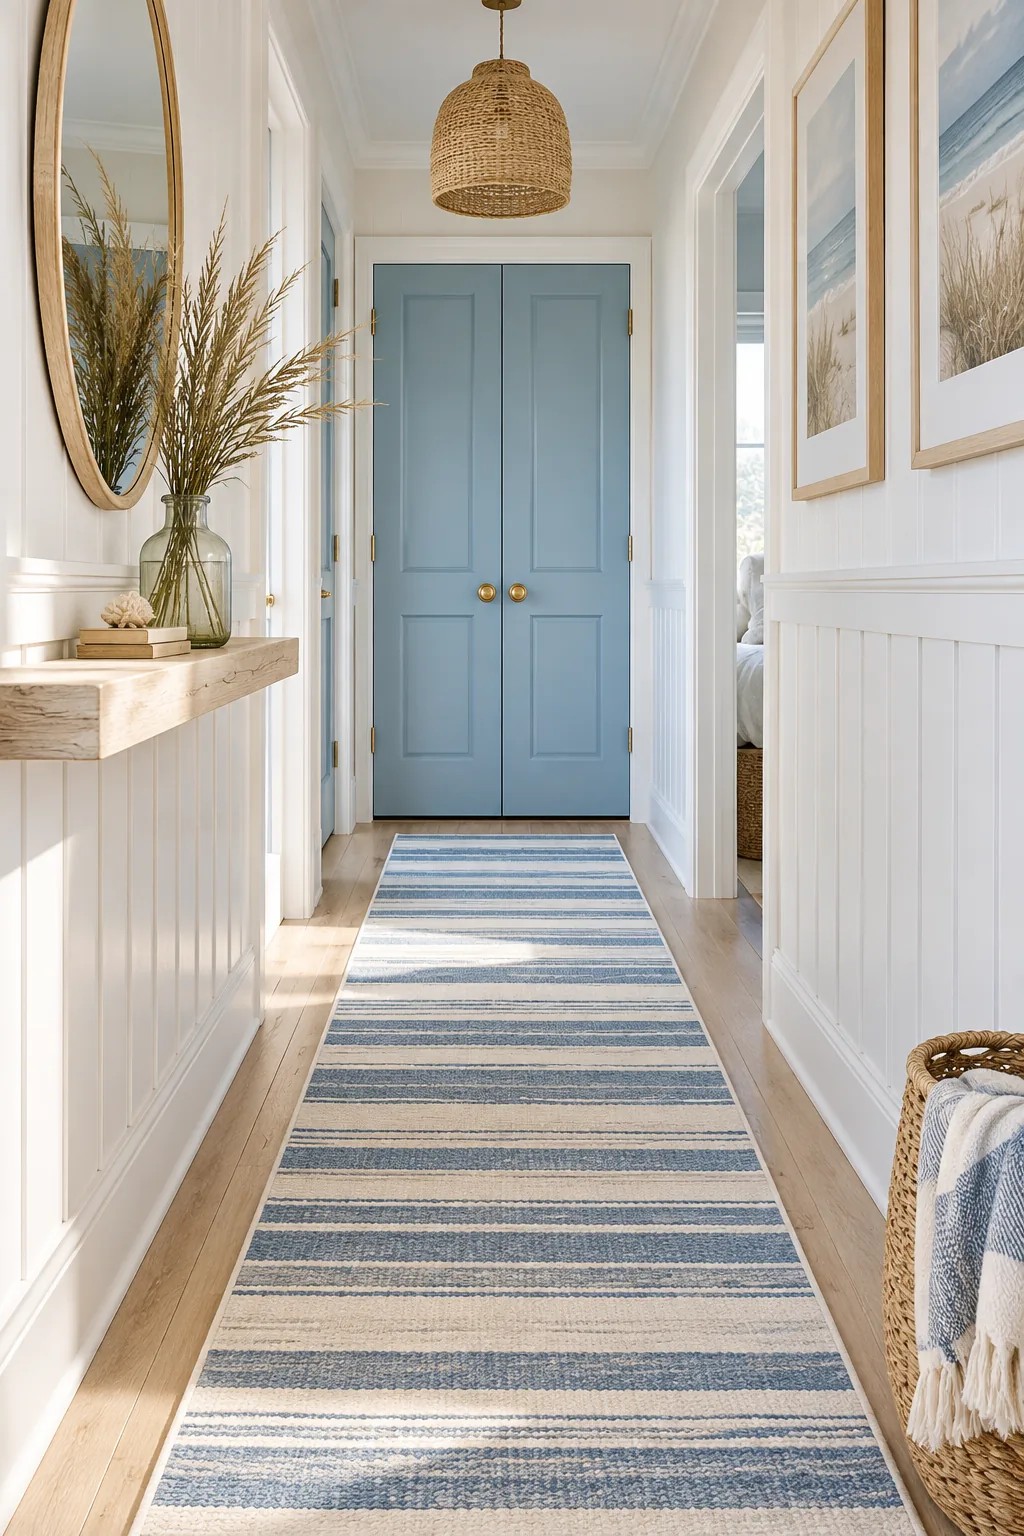
Breezy coastal hallway: Crisp white wainscoting and sky blue doors bring a beachy brightness. A slim whitewashed ledge blends seamlessly into the bright wall.