
DIY Stock Tank Pool: Complete Parts List and Build Guide
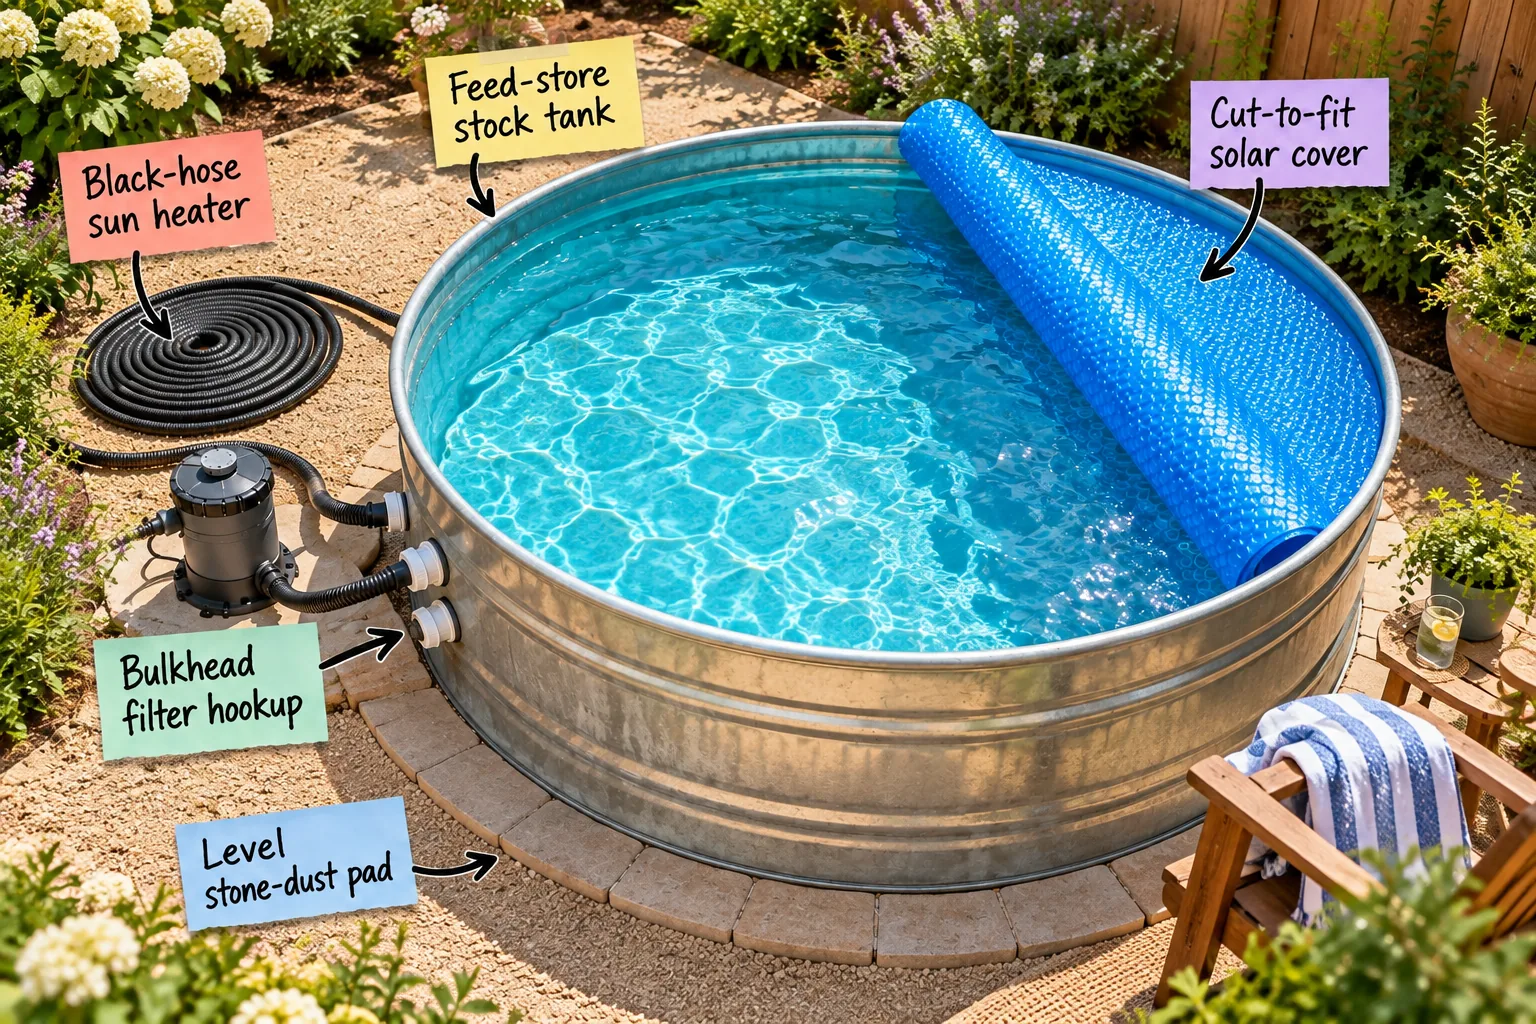
You will be able to shop for the exact plumbing fittings, pump, and tank size you need, then follow a proven sequence to assemble your pool. Grab our printable two-page guide with exact sizes and the step-by-step setup order to build your own backyard oasis.
Prepping a Level Stone-Dust Pad
I learned the hard way in my own Austin backyard that water immediately reveals even a one-inch slope, so framing a paver border is essential to contain the heavy base. Fill this rigid boundary with a 2-inch depth of compacted stone dust to create an unyielding, perfectly flat foundation.
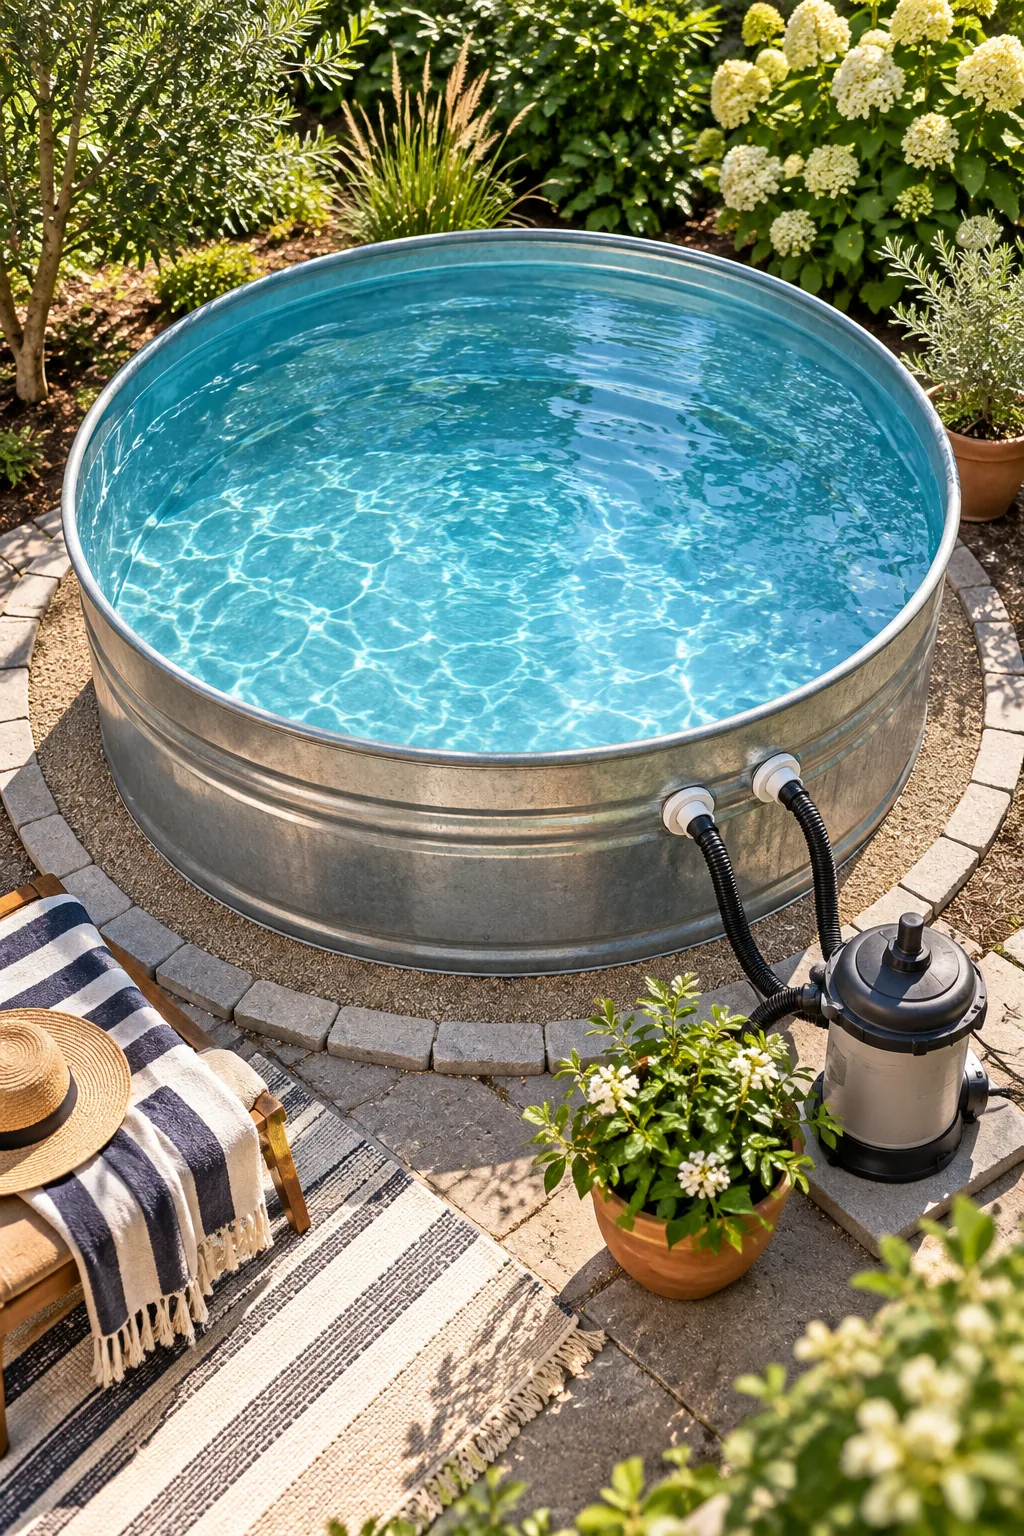
A heavy tank requires a solid foundation, but a few common ground-prep errors can cause the pool to shift or sink over the summer.
Selecting the Best Yard Location
Finding the perfect spot for your setup requires balancing sunlight exposure with access to an exterior power outlet. You want an area that receives enough direct sun to power the black-hose heater, while staying within 15 feet of a GFCI outlet for the pump.
Sourcing the Feed-Store Stock Tank
Choosing an 8-foot round galvanized tank gives you roughly 700 gallons of swimming space, which was the perfect fit when I picked mine up locally. Always check the rolled rim for dents at the feed store before loading it onto your trailer.
- Measure your yard access gates to ensure an 8-foot circle fits through.
- Inspect the interior galvanized seams for heavy scratches that could rust.
- Arrange a flatbed trailer or truck for safe transport.
Transporting Your Metal Pool Home
Moving a giant metal circle requires proper tie-downs and a vehicle that can safely handle the sheer bulk of the tank. The empty weight is surprisingly manageable, but the wide aerodynamic profile catches the wind easily on the highway.
| Specification | Measurement |
|---|---|
| Empty Tank Weight | Approx. 145 lbs |
| Trailer Width Needed | Minimum 96 inches |
| Tie-Down Straps | 4 heavy-duty ratchets |
Positioning the Tank on the Foundation
Once you maneuver the tank into your backyard, carefully slide it onto the prepared stone-dust pad without gouging the leveled surface. Rotate the structure so the factory drain plug faces away from your main seating area for easier seasonal emptying.
Gathering Your Metal Hole Saws
Cutting clean circles through galvanized steel requires a high-quality bi-metal hole saw attached to a powerful cordless drill. You will need a 2.75-inch cutting diameter to perfectly match the standard bulkhead fittings used for the pump connections.
Installing the Bulkhead Filter Hookup
You will drill through the galvanized steel side to install threaded through-wall fittings that create a watertight seal. These essential bulkhead connectors allow you to securely attach your exterior pump hoses directly to the metal wall.
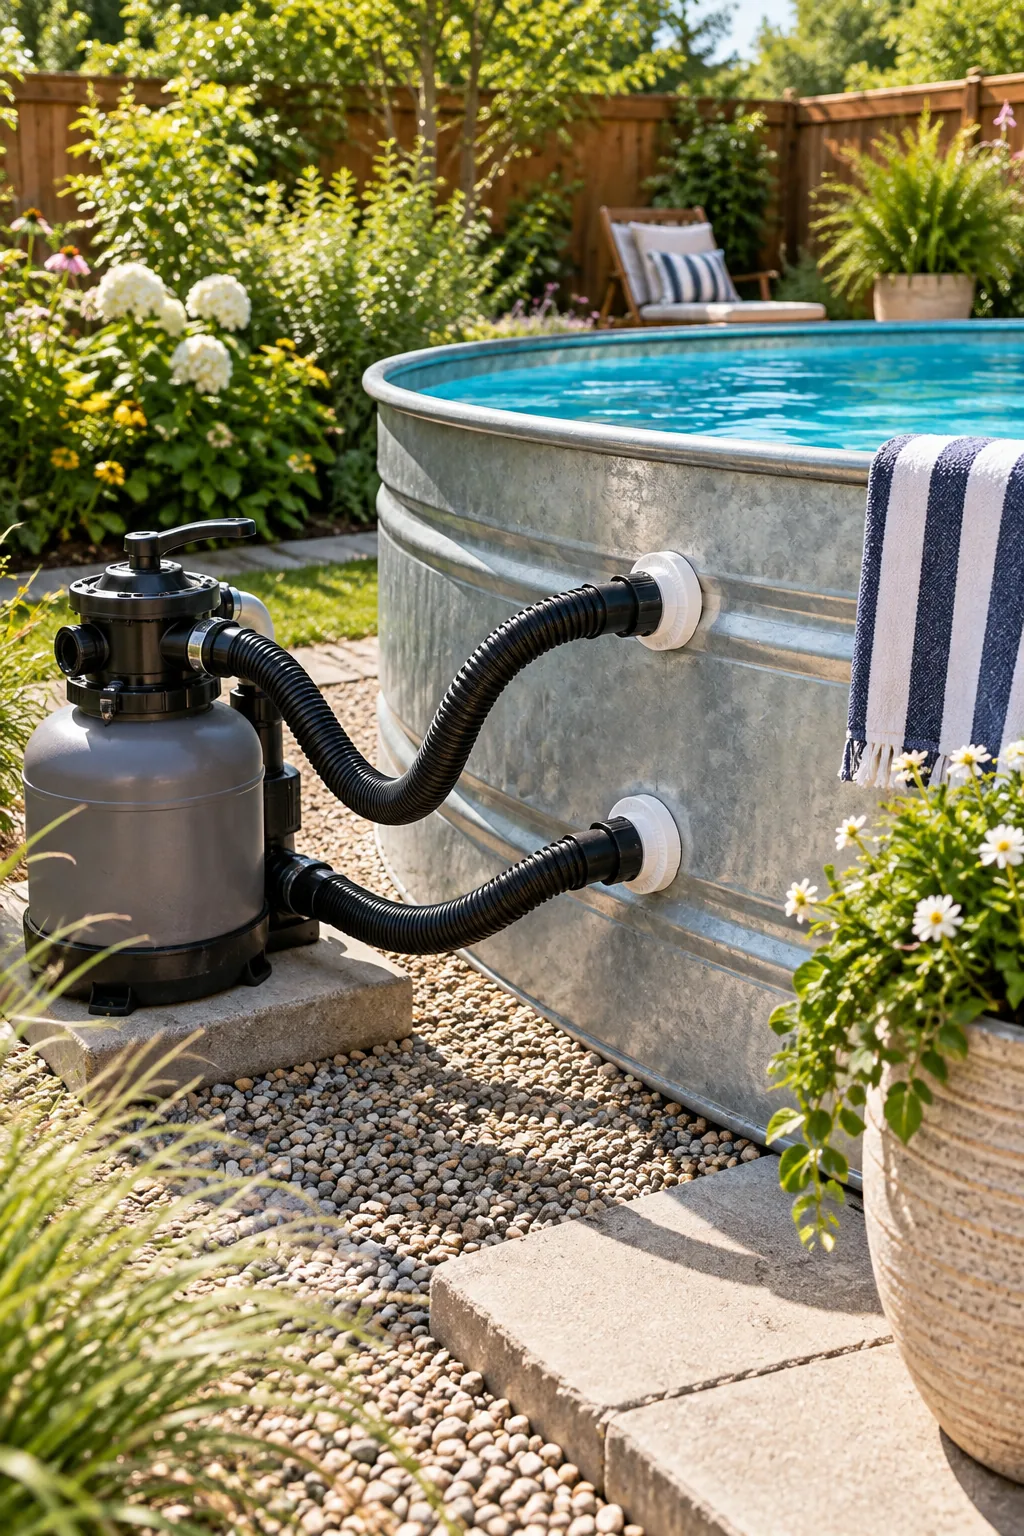
Connect these intake and return lines to a filter pump rated for at least 1,000 gallons per hour to guarantee adequate water turnover.
Sealing the Plumbing Connections
Even tightly screwed plastic fittings can weep slightly against a rigid metal curve if left untreated. Coat the threads properly, then hand-tighten the locking nuts and allow the assembly to cure completely for 24 hours before adding any water.
Choosing the Right Filter Pump
A standard above-ground pool pump works perfectly, provided it moves enough water to keep your 700-gallon oasis fresh. Look for a model that utilizes Type A or C paper cartridges, which are inexpensive and easy to rinse out weekly with a garden hose.
Upgrading with a Sand Filter
If you prefer lower maintenance over the summer, upgrading to a compact sand filter eliminates the need for weekly paper cartridge changes. A small tank holding 25 pounds of pool sand will keep the water crystal clear and only requires backwashing once a month.
Managing the Pump Power Cord
Safety is paramount when mixing electricity and standing water in a backyard setting. Always plug your pump directly into a covered GFCI outdoor outlet, and never use an extension cord that could overheat or short out in the rain.
Rigging the Black-Hose Sun Heater
Coiling a black poly hose in full sun creates a highly effective, passive solar heater for your water without adding to your electric bill. You will need roughly 100 feet of black irrigation tubing laid flat on the gravel to maximize the heat absorption.
Routing the Solar Return Line
Splice the two ends of this flat coil directly into the pump’s return line using basic PVC tee fittings. This closed loop will continuously circulate free, sun-warmed water back into the tank whenever the filter pump is running during the day.
Trimming the Cut-to-Fit Solar Cover
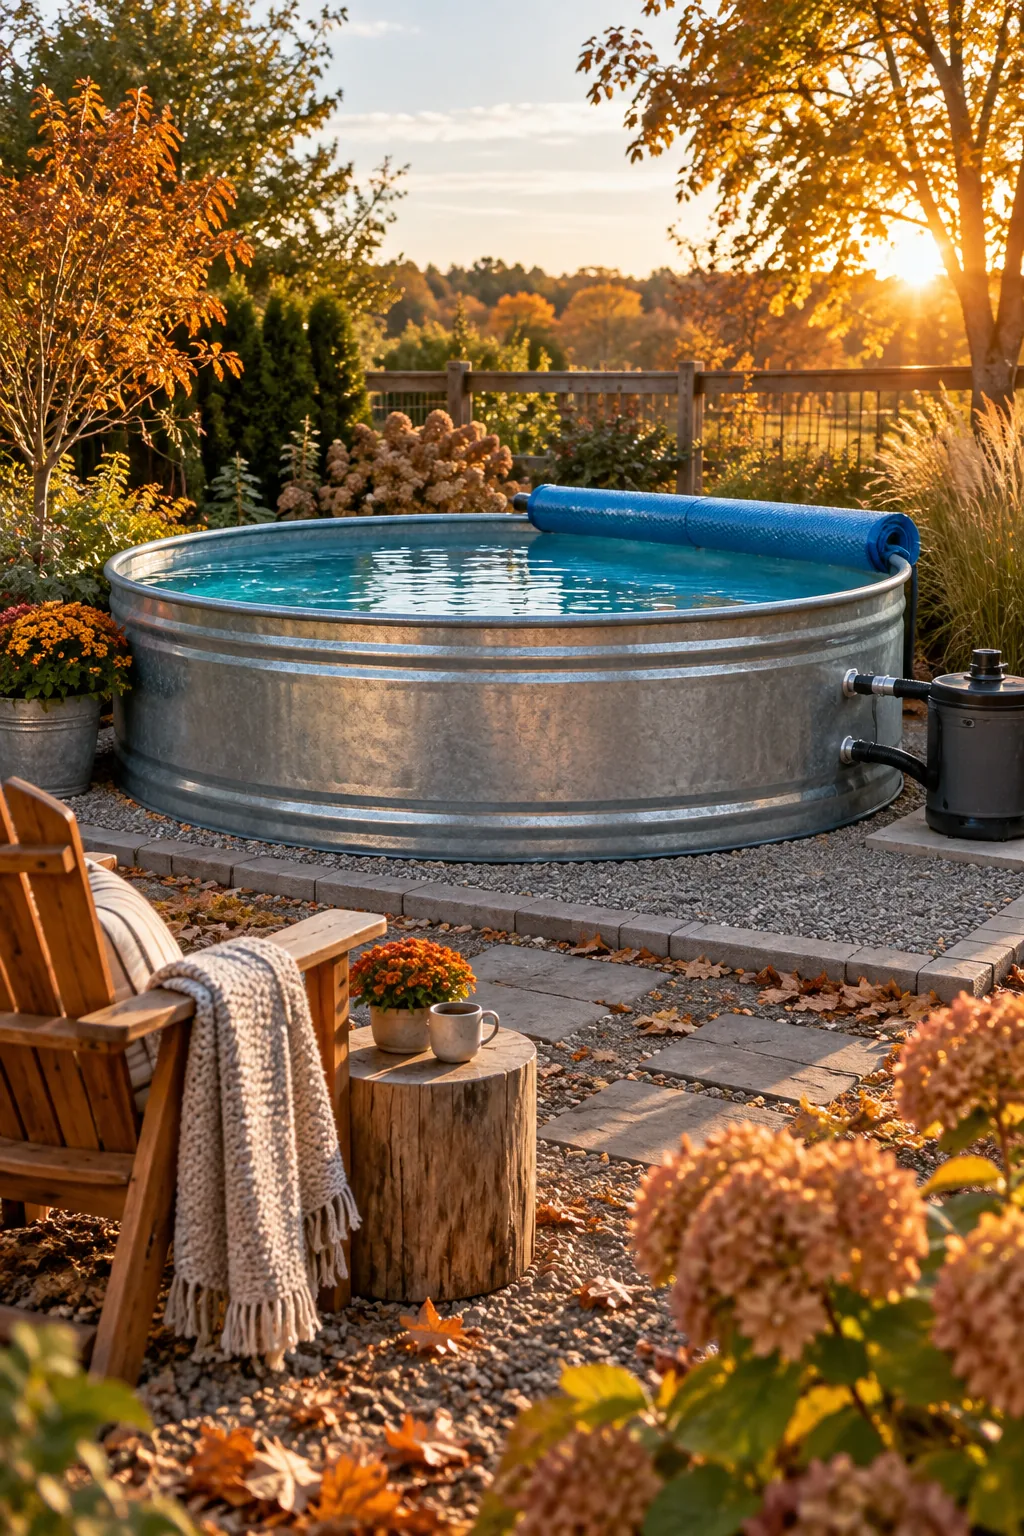
Buy a standard blue bubble solar cover and trim it with heavy scissors so it sits perfectly flush inside the 8-foot rim.
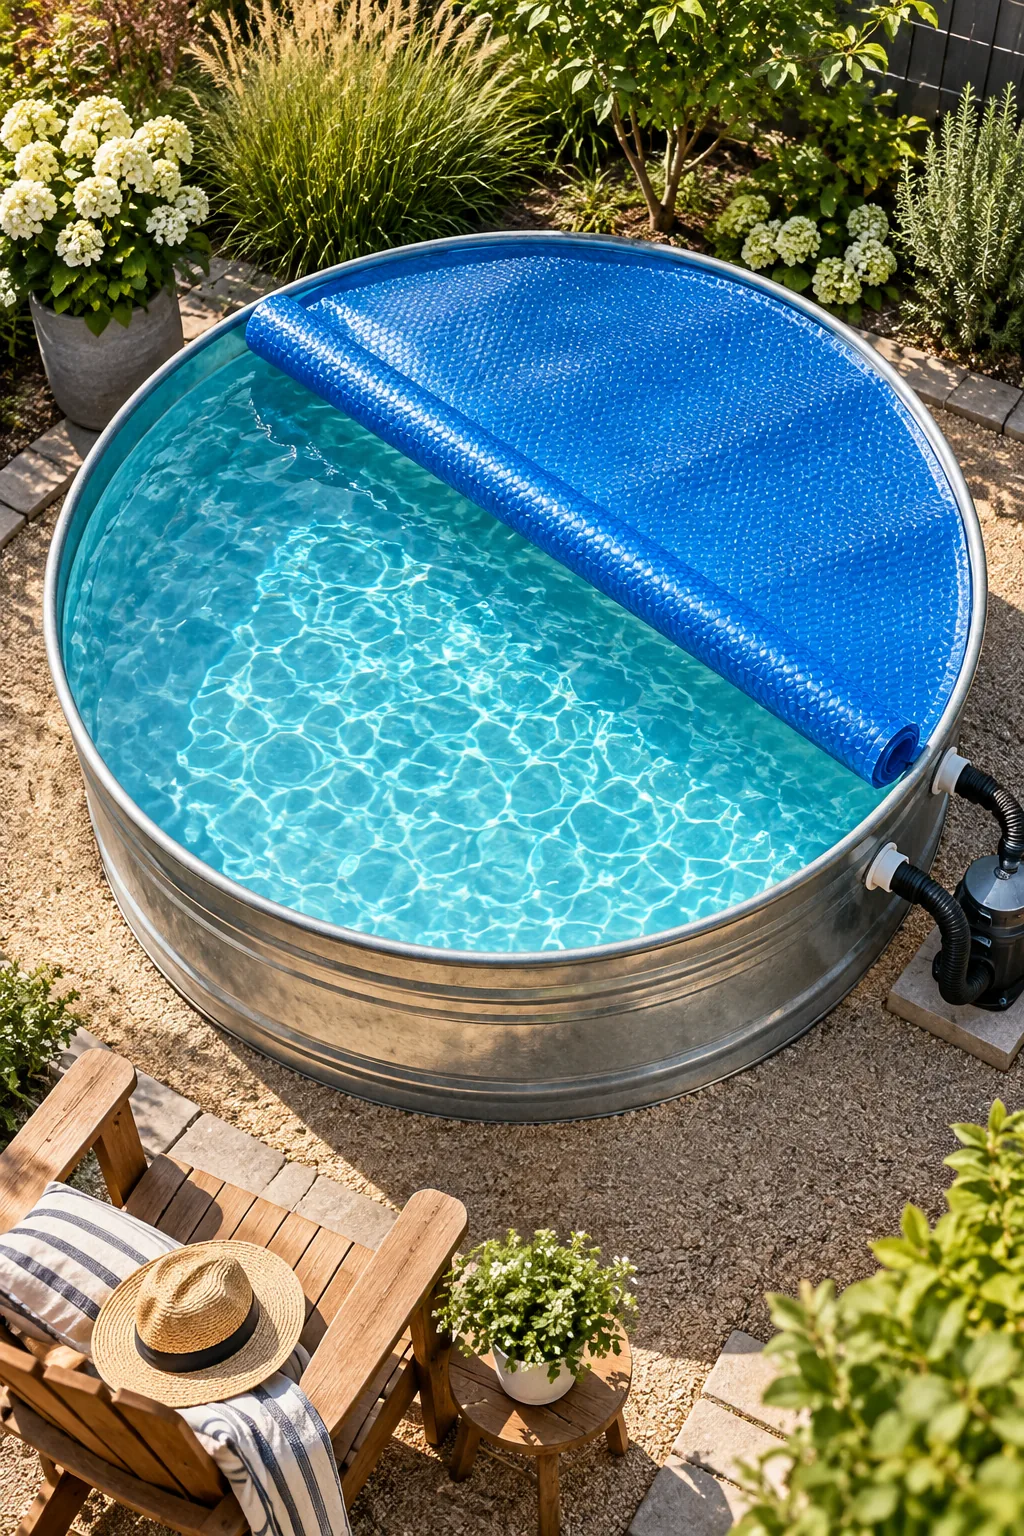
This insulating layer retains the heat generated by the black hose overnight and blocks debris and leaves from sinking to the bottom.
Your Printable Parts List and Build Sequence
Our downloadable guide includes the exact tank size, pump flow rating, and bulkhead fitting sizes, plus the floating chlorine dispenser needed to maintain daily chemistry.
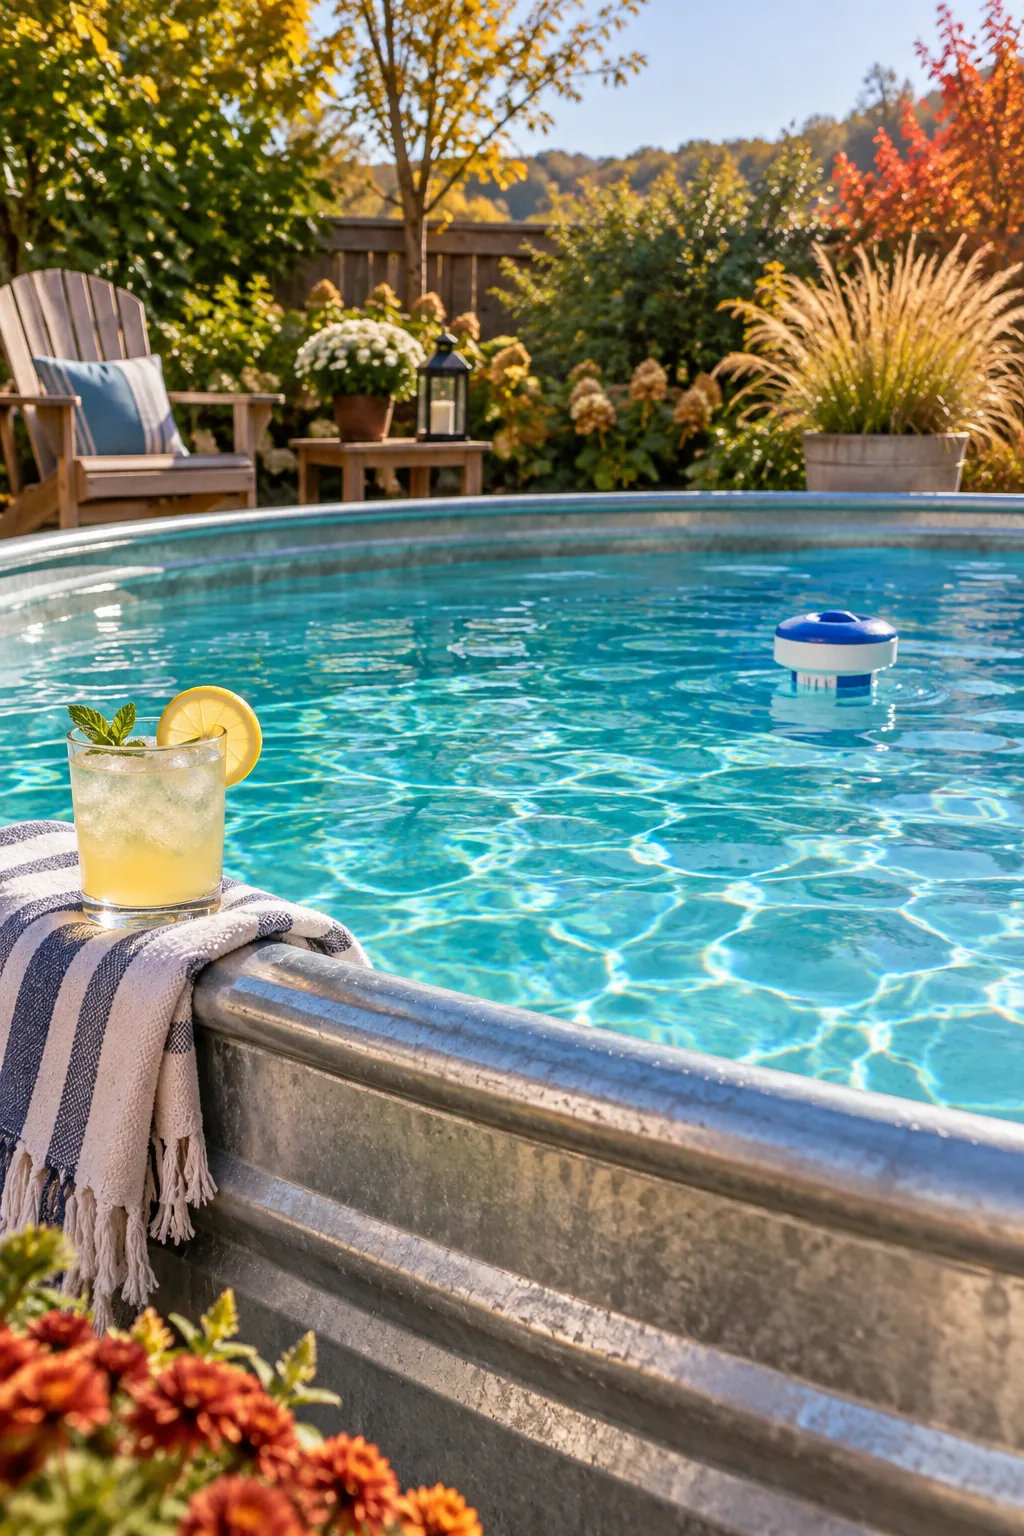
Print this two-page build sequence to get your stone-dust quantities, heater parts, and the numbered setup order from leveling the pad to your first fill.
Filling and Priming the System
Drop your garden hose in and let it run until the water level reaches an inch above the top bulkhead fitting. Before turning on the power, open the air release valve on the pump housing until water spurts out, ensuring the system is fully primed.
Daily Water Care and Maintenance
Keeping a small volume of water balanced is straightforward if you stick to a quick, consistent routine before you swim.
Balancing the Pool Chemistry
Because 700 gallons is a relatively small body of water, chemical levels can fluctuate rapidly after a heavy rain or a weekend pool party. I rely on a simple floating dispenser to slowly release sanitizer, keeping my backyard oasis clear, turquoise, and safe for swimming.
Creating a Skimming Routine
Even with a solar cover in place at night, occasional leaves and pollen will find their way onto the surface during afternoon swims. Use a fine-mesh hand skimmer for two minutes every day to catch floating debris before it becomes waterlogged and sinks.
Adding a Foot Bath Station
Prevent grass clippings and dirt from ruining your clean water by setting up a simple rinsing station near the pool ladder. A shallow plastic bin filled with fresh water encourages everyone to rinse their feet before climbing in, drastically reducing your skimming time.
Stock Tank Pool Styling Ideas
Find the perfect aesthetic for your yard by exploring these distinct finished looks.
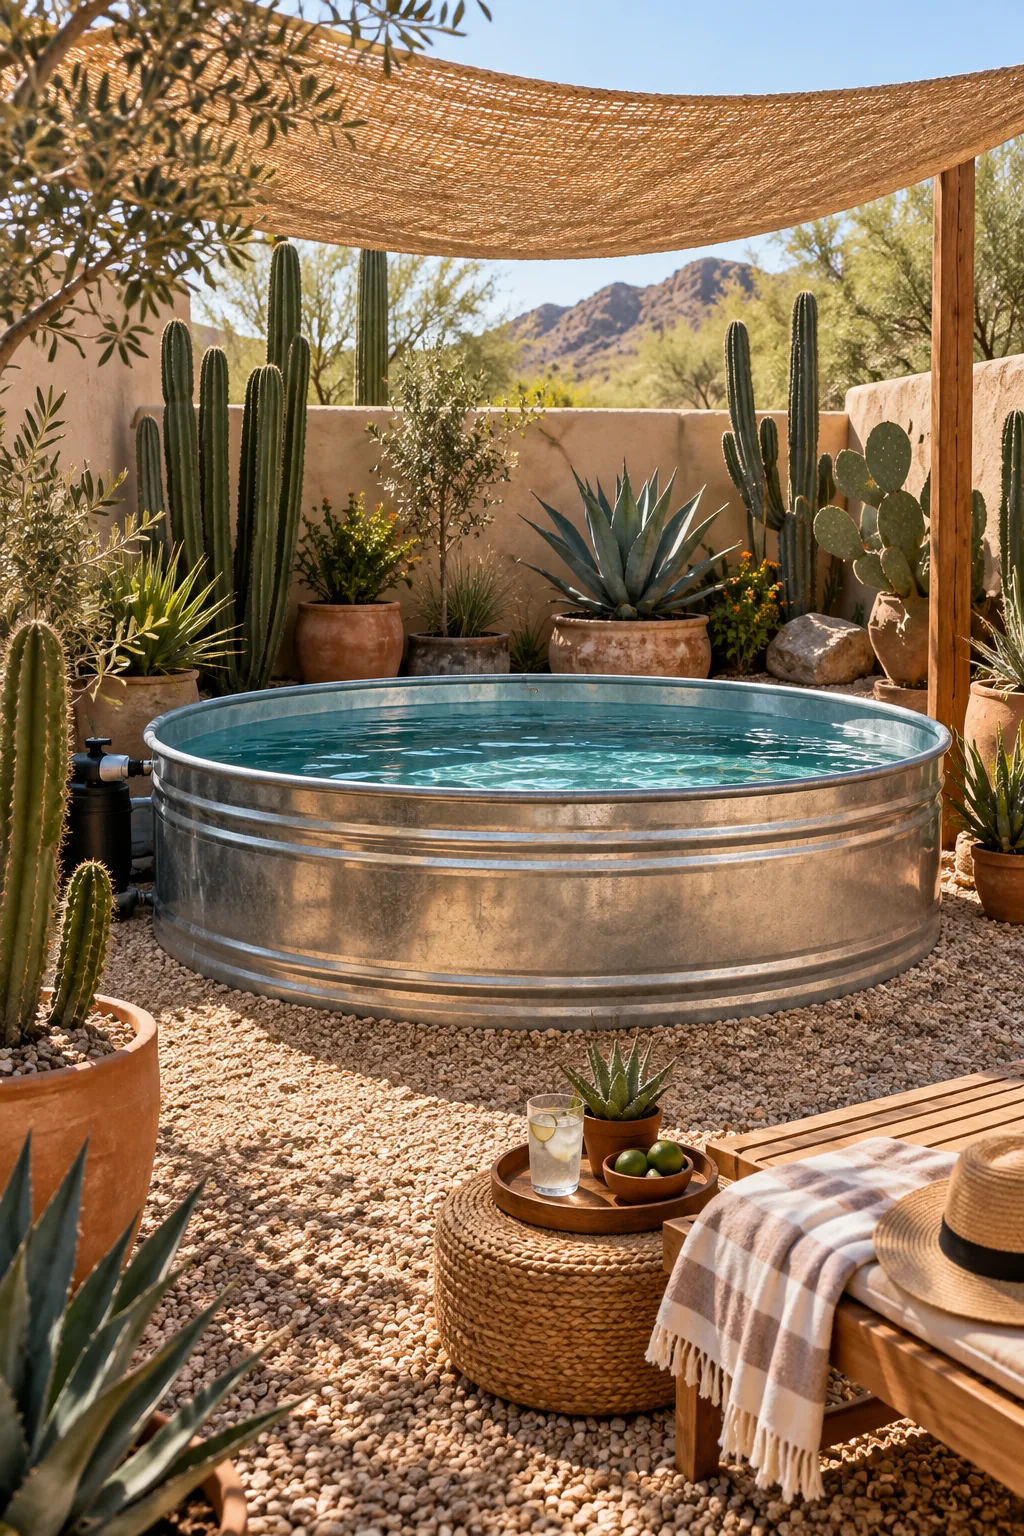
Warm Desert Oasis: Surround the tank with crushed gravel and large potted cacti to create a low-maintenance, drought-friendly retreat.
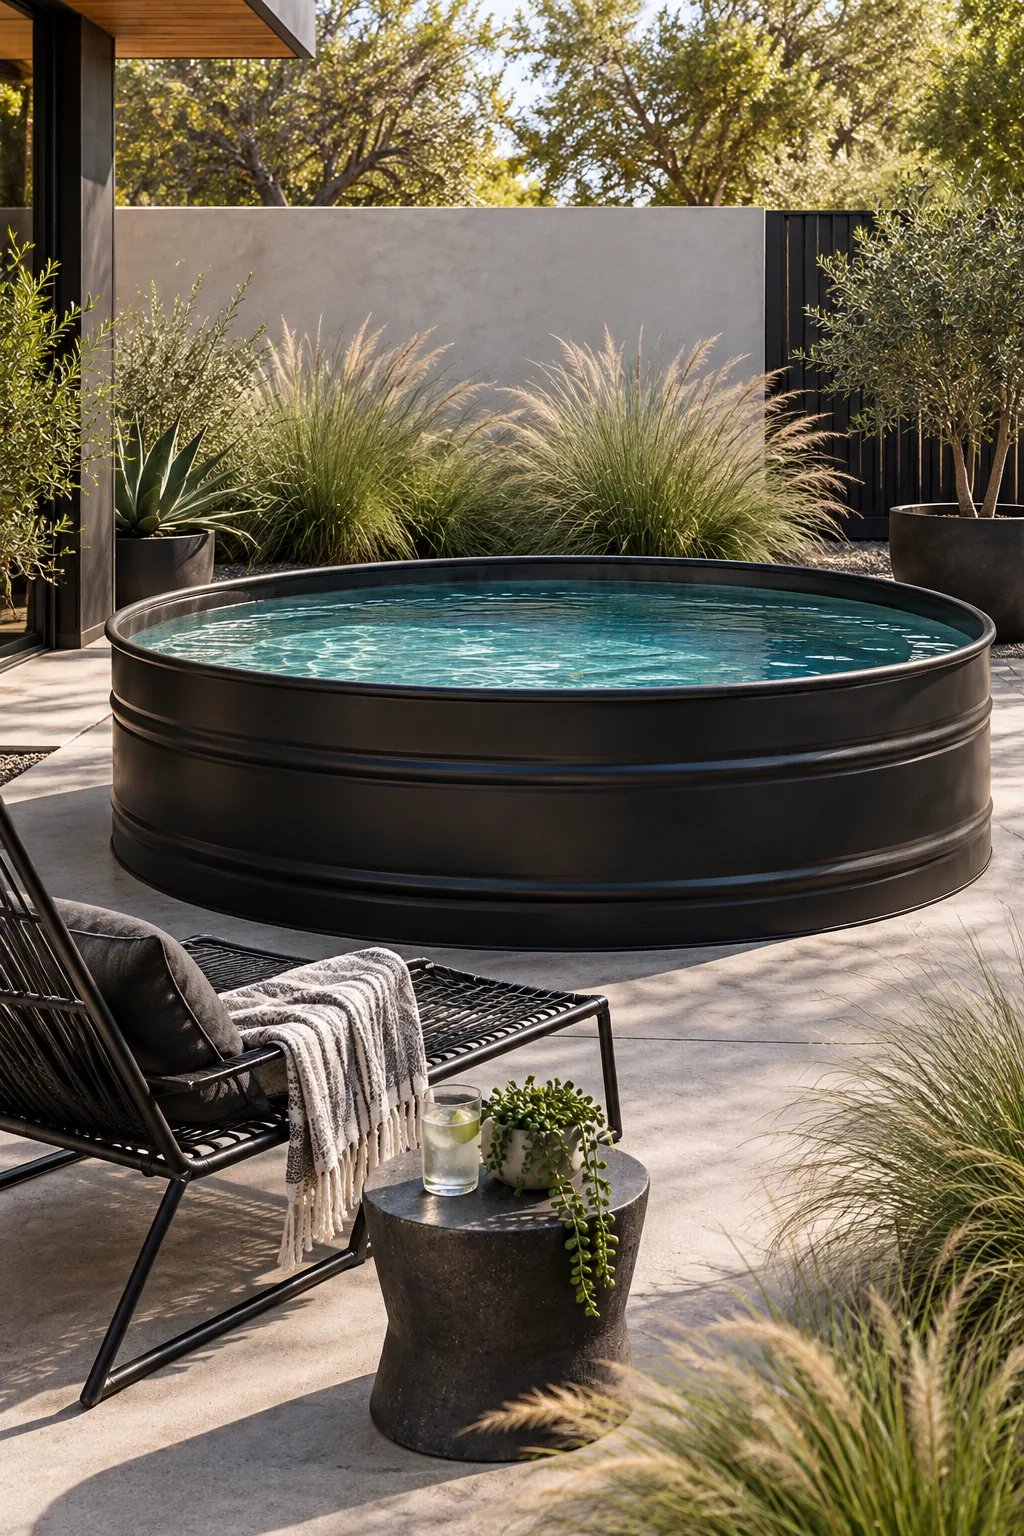
Modern Minimalist Black: Paint the exterior matte black and set it on a concrete pad for a sleek, contemporary architectural look.
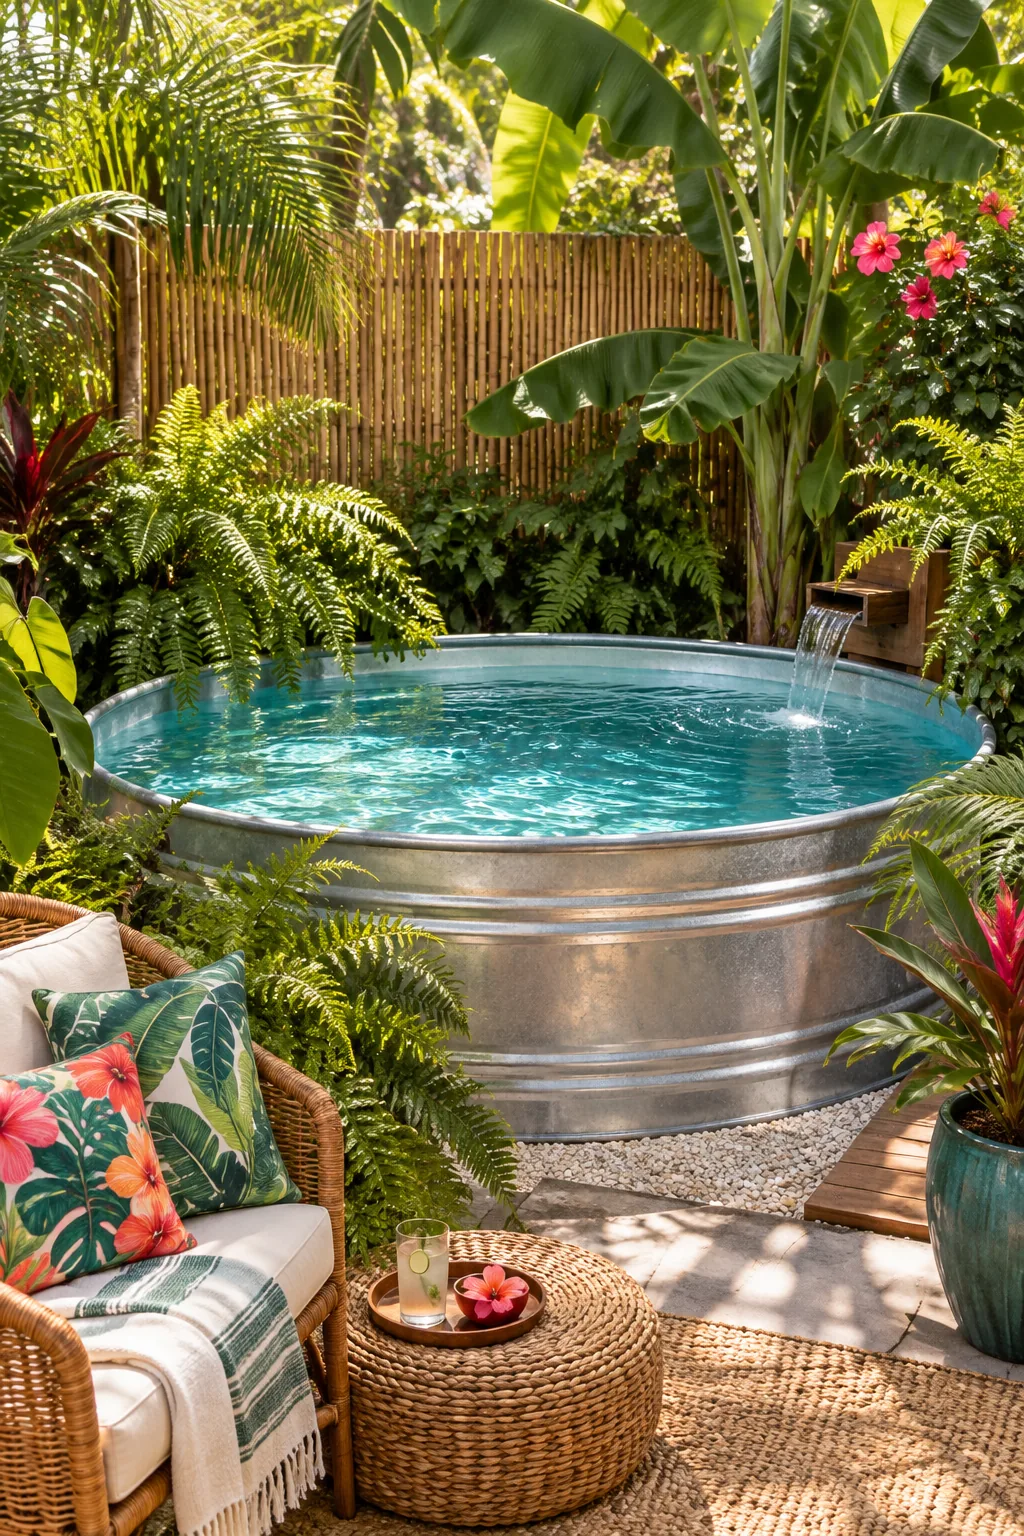
Lush Tropical Retreat: Tuck the pool into a corner of dense ferns and banana leaves backed by a bamboo privacy screen.
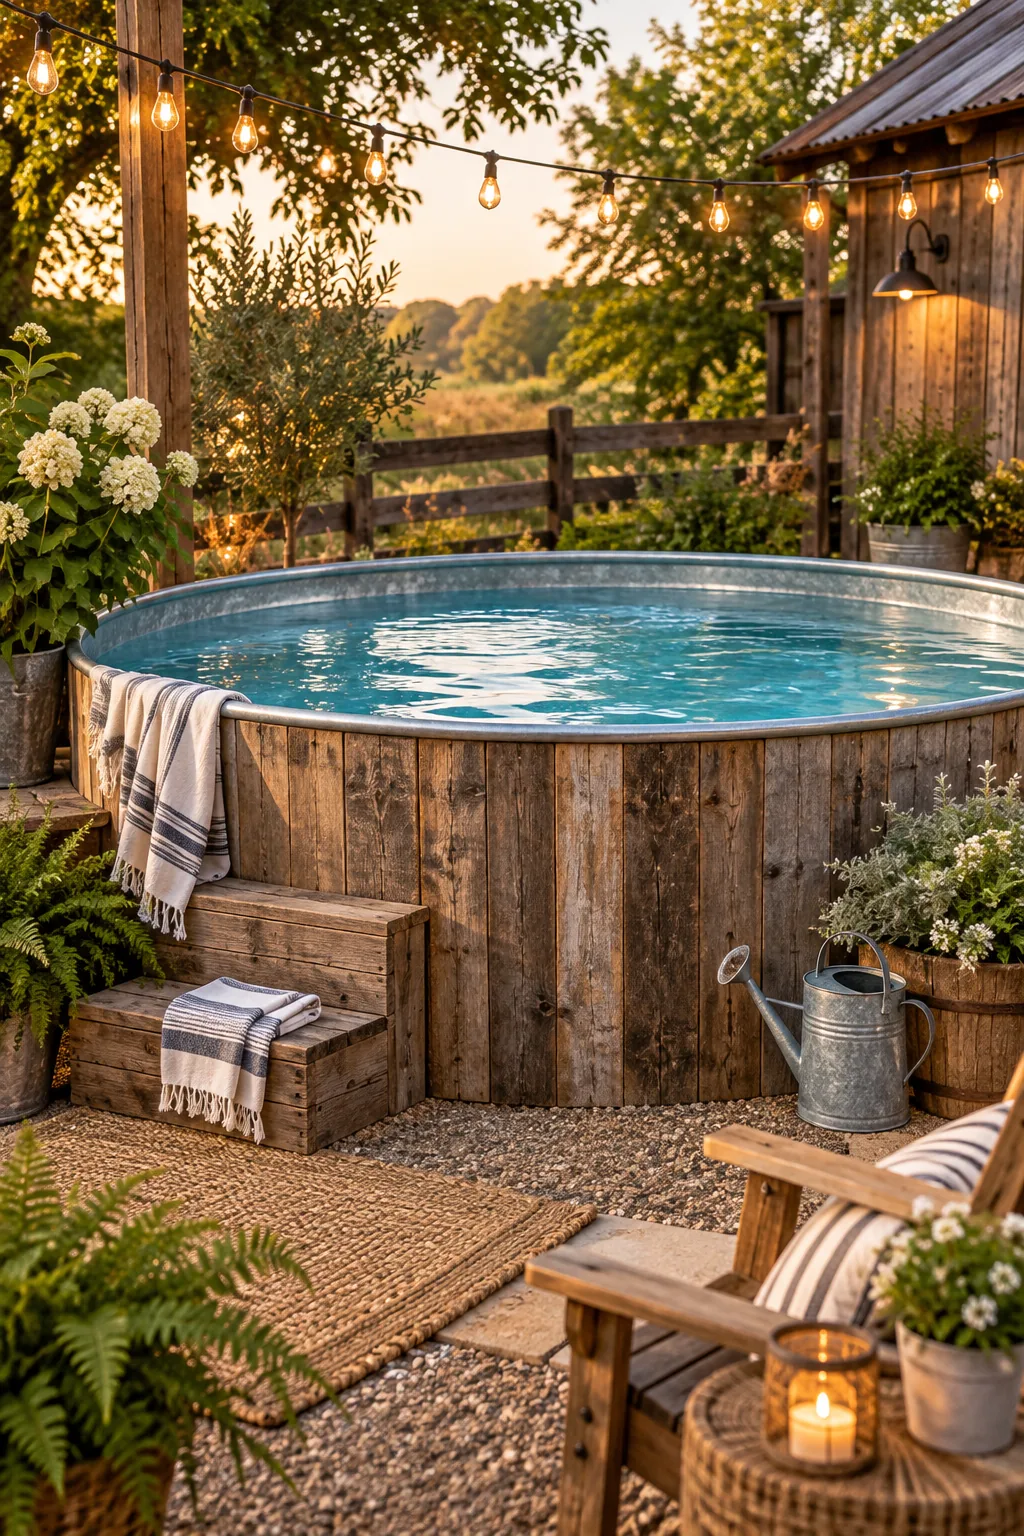
Cozy Rustic Farmhouse: Build a partial surround from weathered reclaimed wood and hang vintage string lights to soften the industrial metal.
Winterizing Your Backyard Pool
Before the first hard freeze hits, use the built-in factory drain plug to easily empty the entire tank into your yard.
Remove the bulkhead fittings and store your pump indoors to ensure expanding ice never damages the galvanized metal seams over the winter.