
Printable 36-Week Word Wall Schedule for Primary Readers
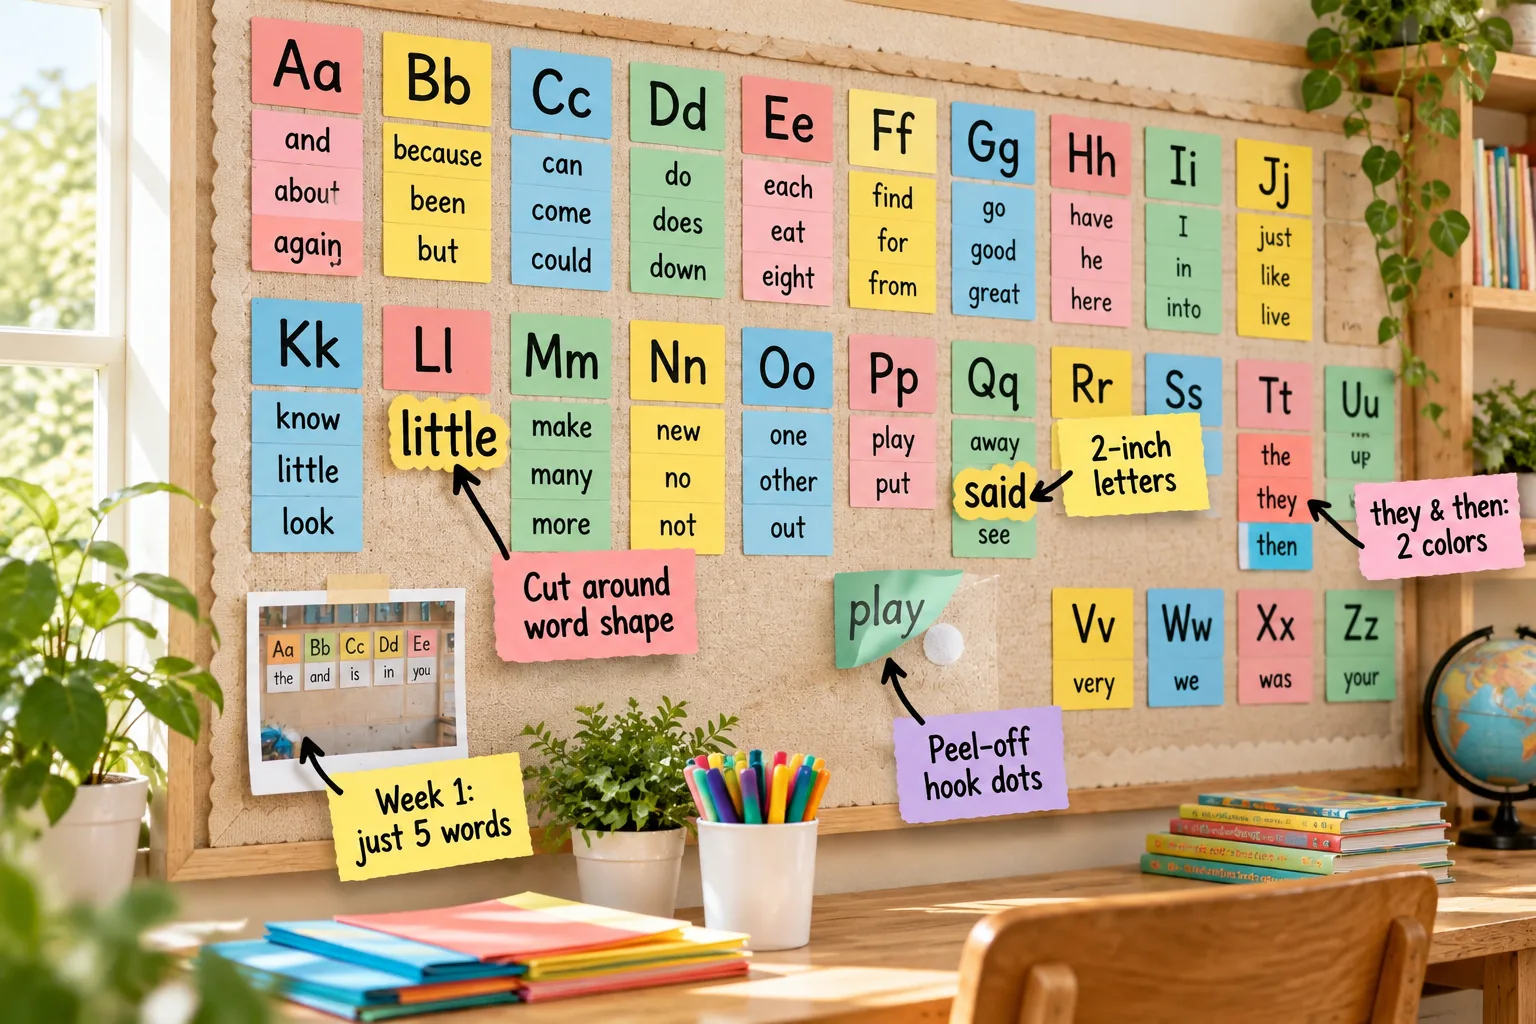
You can finally download our free 36-week word wall add-schedule to build an interactive classroom board five words at a time. This complete 180-word printable list prevents reader confusion by separating look-alikes and pairs perfectly with a daily 10-minute chant-and-write routine.
Choosing the Right Bulletin Board Location
Find a wide, uninterrupted stretch of wall space that sits at eye level for your youngest readers. Keeping the display lower to the ground ensures students can easily reach up and grab the interactive cards during their independent writing time.
Selecting a Calming Background Paper
Cover your chosen corkboard with a solid, muted background paper to reduce visual clutter behind the bright word cards. A plain black or navy blue backdrop makes the colorful cardstock pop, helping students locate specific vocabulary words much faster.
Measuring Space for Alphabet Headers
Divide your total board width evenly to ensure all twenty-six letters fit without bunching up at the end of the alphabet. Leave at least four inches of horizontal space between each letter header so the hanging word columns never overlap.
Installing Sturdy Alphabet Headers
Pin up your alphabet headers using thick, laminated squares that can withstand a full year of classroom traffic. Using a bold, recognizable font for these anchor letters helps early readers quickly scan the board when searching for a specific starting sound.
Starting Small in Week One
Begin the school year with a nearly bare board so you do not overwhelm your new readers right out of the gate with the psychological weight of a massive vocabulary list. Pinning up a small reference photo of this starting point helps ground the room while you introduce just 5 foundational words during the first week.
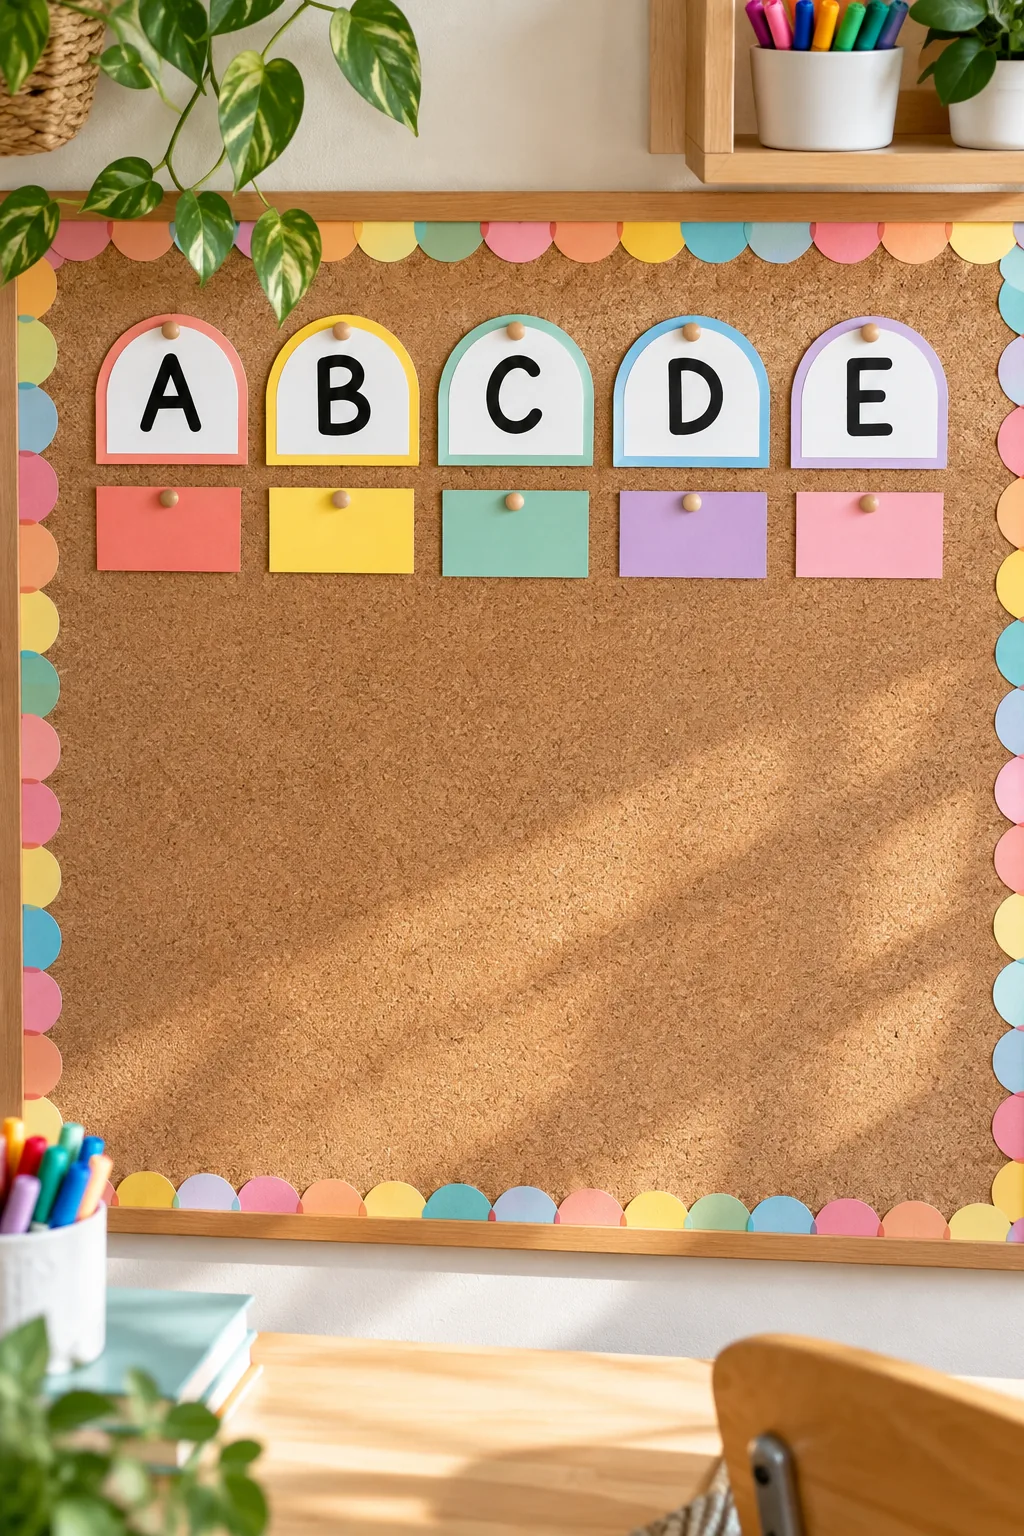
Keeping the visual noise low initially allows students to actually focus on those first few additions. You can slowly build their confidence before the wall fills up with more complex vocabulary as the months pass.
Explaining the Blank Space to Students
Tell your class that the empty spaces on the board are waiting for them to learn new words together. Framing the blank areas as an exciting ongoing project builds eager anticipation for the five new additions that arrive every single Monday.
Picking High-Contrast Cardstock
Print your weekly vocabulary on brightly colored cardstock that stands out sharply against your dark background paper. Rotating through four or five vibrant hues creates a visually engaging pattern that naturally draws young eyes back to the reference wall.
Sizing Letters for Room-Wide Reading
Legibility starts with choosing the right materials, so always use a thick chisel-tip black marker that lays down a heavy, dark line on your bright cardstock. I learned this the hard way in my own Austin workshop space when thin pens left everyone squinting from the back tables!
Using Consistent Marker Thickness
Trace every single word using the exact same marker thickness to maintain a uniform visual weight across the entire board. When letter thickness varies randomly, visual learners often struggle to recognize the familiar shapes of words they already mastered.
Cutting Around the Word Shape
Before you even pick up the scissors, ensure room-wide readability from any student desk by writing the words with bold, 2-inch black marker letters. A massive, heavy font guarantees that even the most reluctant readers can clearly see the spelling from across the room.
Once your letters are thick enough, give early readers a strong visual anchor by trimming the cardstock along the outline of the tall and long letters. Trimming cards seems straightforward, but inconsistent borders can actually confuse visual learners rather than helping them recognize the unique physical bumps and dips of the word footprint.
Laminating for Daily Durability
Run every shaped card through a thermal laminator before adding any mounting hardware to the back. A thick plastic coating protects the edges from fraying when dozens of little hands grab and replace the words throughout the busy school week.
Making Cards Interactive with Hook Dots
You want your students to actively use this wall, so attach a peel-off hook-and-loop dot to the back of every laminated card. This simple hardware addition allows kids to easily pull words off the board without tearing your background paper.
Placing the Loop Strip on the Wall
Staple a continuous strip of the soft loop tape directly under each alphabet header on your bulletin board. A long, unbroken strip allows you to adjust the spacing of the word cards easily as some columns grow longer than others.
Color-Coding Look-Alike Words
That simple hook-and-loop dot is exactly what turns a static display into a borrowable tool for your classroom writing centers. Students can physically carry the words to their desks, which drastically reduces spelling frustration during independent work time.
Once the cards are interactive, prevent common reading mix-ups by assigning distinctly different background colors to similar words. When I helped organize my niece’s reading corner, putting “they” on coral cardstock and “then” on teal instantly stopped her from mixing them up.
Spacing Out Visually Similar Words
Check your master list to guarantee that tricky pairs never share the same introduction week. Giving students at least a month between learning “where” and “were” provides the crucial mental breathing room needed to lock in the first spelling.
Grouping by Initial Consonants
Always hang the new cards directly under the header that matches their very first letter, regardless of their phonetic sound. Teaching kids to hunt for the starting consonant builds vital dictionary skills they will rely on long after they leave your classroom.
Handling Tricky Vowel Sounds
Remind students that the wall is organized strictly by spelling rather than by the unpredictable sounds vowels sometimes make. This strict alphabetical rule prevents confusion when kids search for words that start with a silent letter or an unusual vowel blend.
Introducing the Monday Word Reveal
Gather the class on the rug every Monday morning to unveil the five fresh additions to the board. Hiding the new cards inside a special envelope turns a mundane vocabulary lesson into an exciting weekly event that grabs their full attention.
The 10-Minute Daily Chant Routine
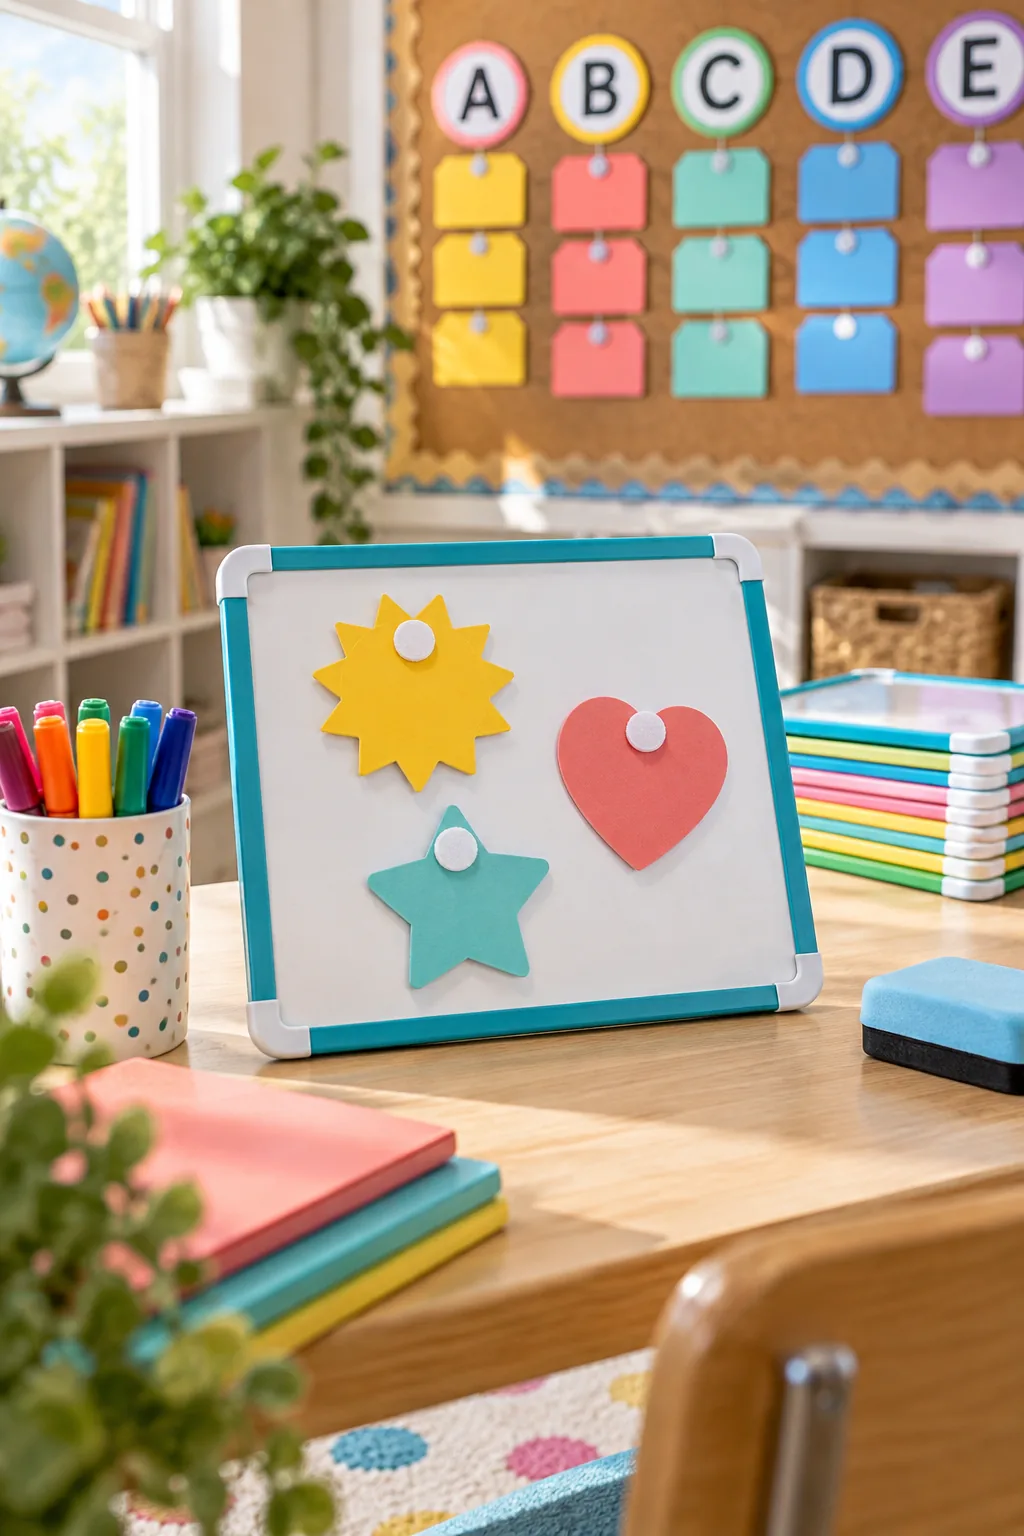
The physical setup required for your daily 10-minute chant-and-write routine involves clearing a wide space near the board and handing out small dry-erase boards to every student. Organizing this space beforehand ensures you do not waste precious instructional minutes passing out supplies.
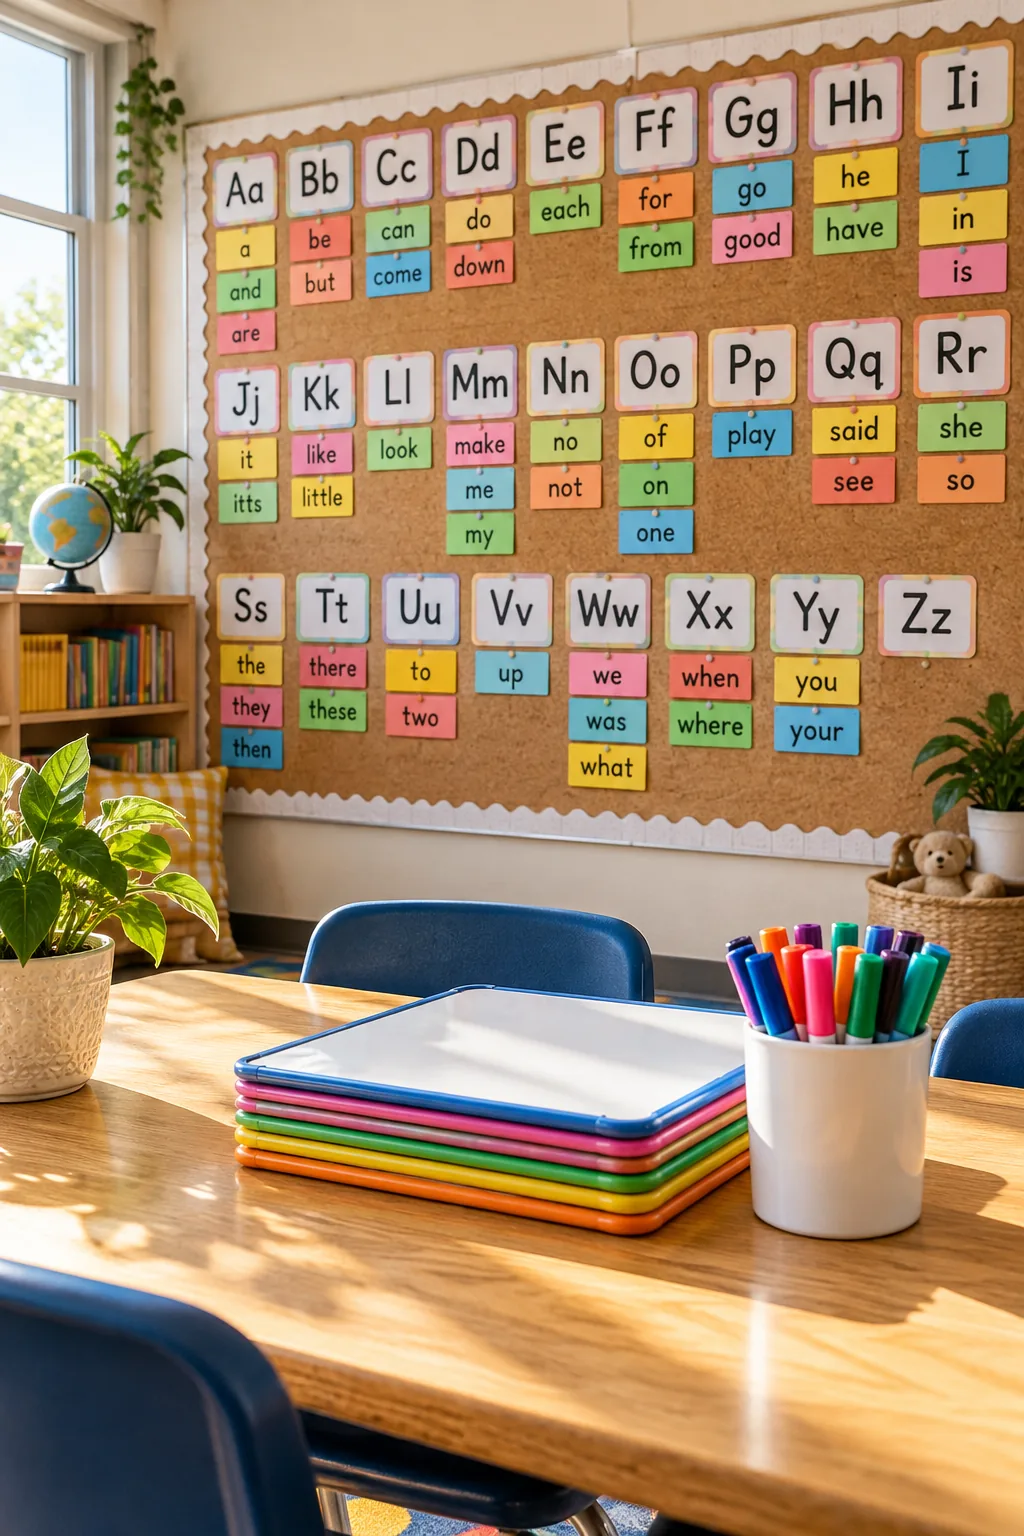
With their materials ready, students point to the new words, chant the spelling aloud together, and quickly write them down to build crucial muscle memory. Keeping this practice short and energetic prevents boredom while reinforcing the physical act of writing the letters.
Incorporating Tactile Tracing
Encourage students to trace the letters in the air with their fingers while they chant the spelling aloud. This large motor movement connects the verbal sound to the physical shape, helping kinesthetic learners process the new vocabulary much faster.
Moving Words to the Writing Center
Allow kids to pull a tricky word off the wall and take it directly to their desk during writing block. Having the physical card sitting right next to their paper eliminates the frustration of constantly looking up and losing their place.
Using Personal Dry-Erase Boards
Erasing the personal whiteboards completely between each word forces students to recall the spelling from memory rather than just copying what they just wrote. This immediate recall practice cements the word in their long-term memory far better than passive reading.
Printing the 36-Week Add-Schedule
Take the guesswork out of lesson planning by downloading the complete 36-week schedule, which maps out exactly which five high-frequency words to post each week. I use a similar weekly prep rhythm for my DIY project kits, and batching the work saves me hours of stress.
Storing Future Weeks in Advance
Organize your pre-cut, laminated cards into thirty-six labeled envelopes at the beginning of the school year. Having the entire year prepared in a single file box means you never have to scramble to create materials on a busy Sunday night.
Reviewing Words on Friday Afternoons
Spend five minutes at the end of the week playing a quick flashlight pointing game to review the newest additions. Turning off the overhead lights and shining a beam on the cards makes the final spelling check feel like a fun, low-pressure reward.
5 Ways to Style Your Classroom Word Wall
Choose a color palette and style that matches your classroom's unique atmosphere.
Neutral Boho Kraft Paper: Calm the classroom with a neutral palette. Use kraft paper cards with bold white paint pens for a soft, natural look.
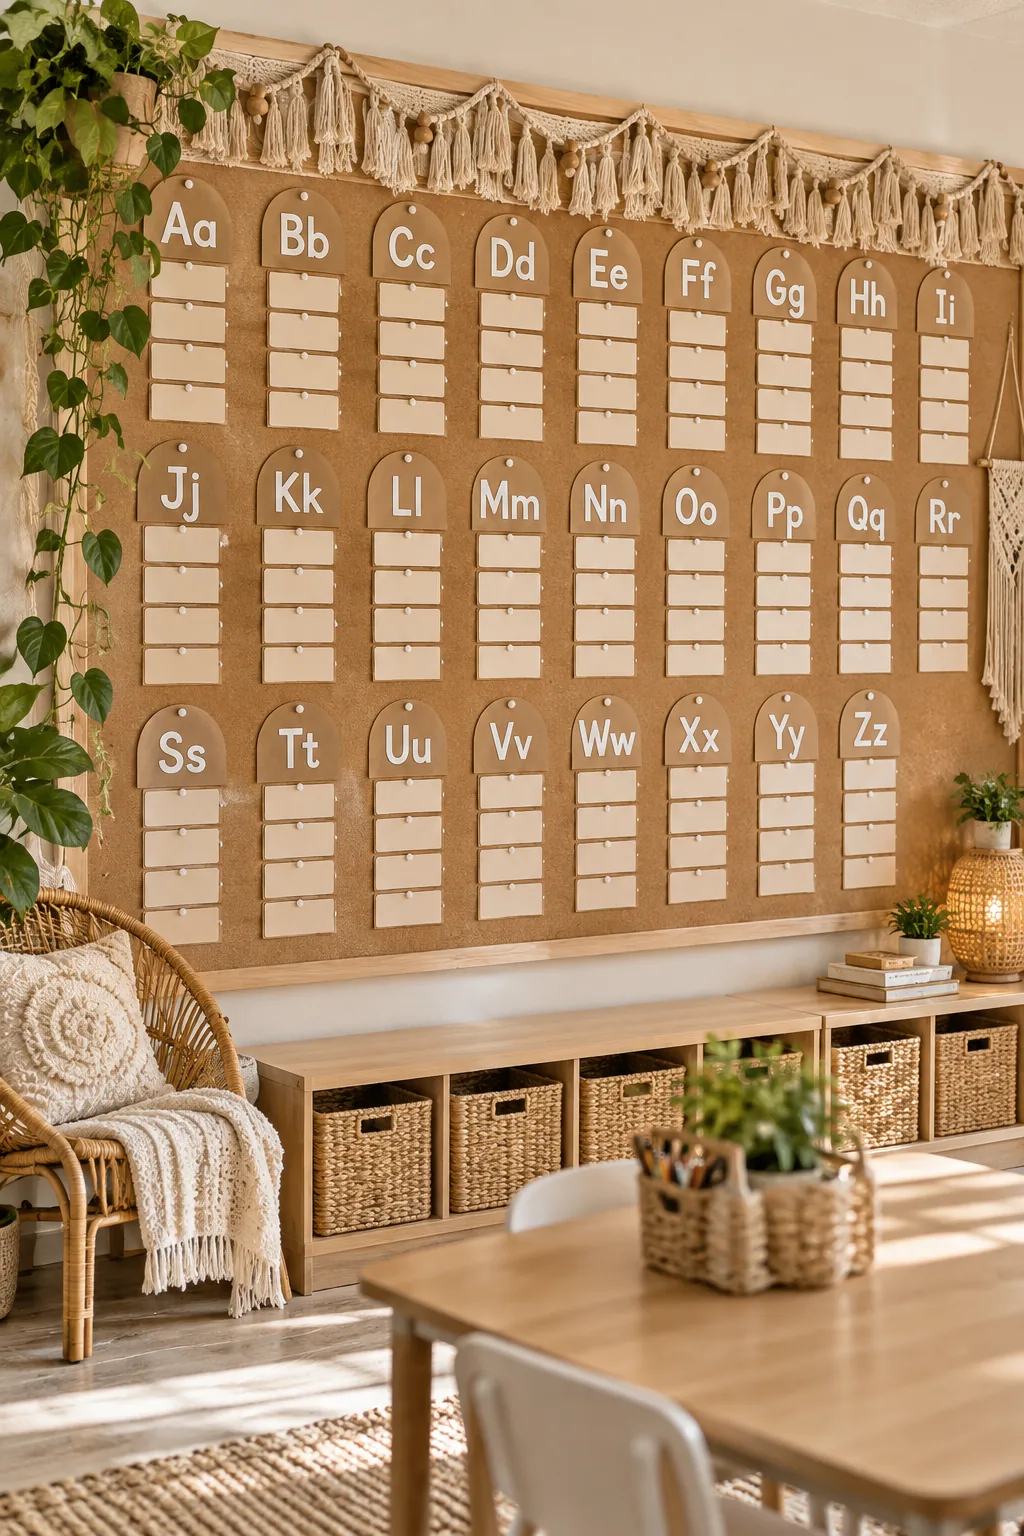
Pastel Rainbow Scallop Borders: Bring gentle color into the room with a pastel rainbow theme. Layer scalloped borders around soft mint, pink, and lavender word cards.
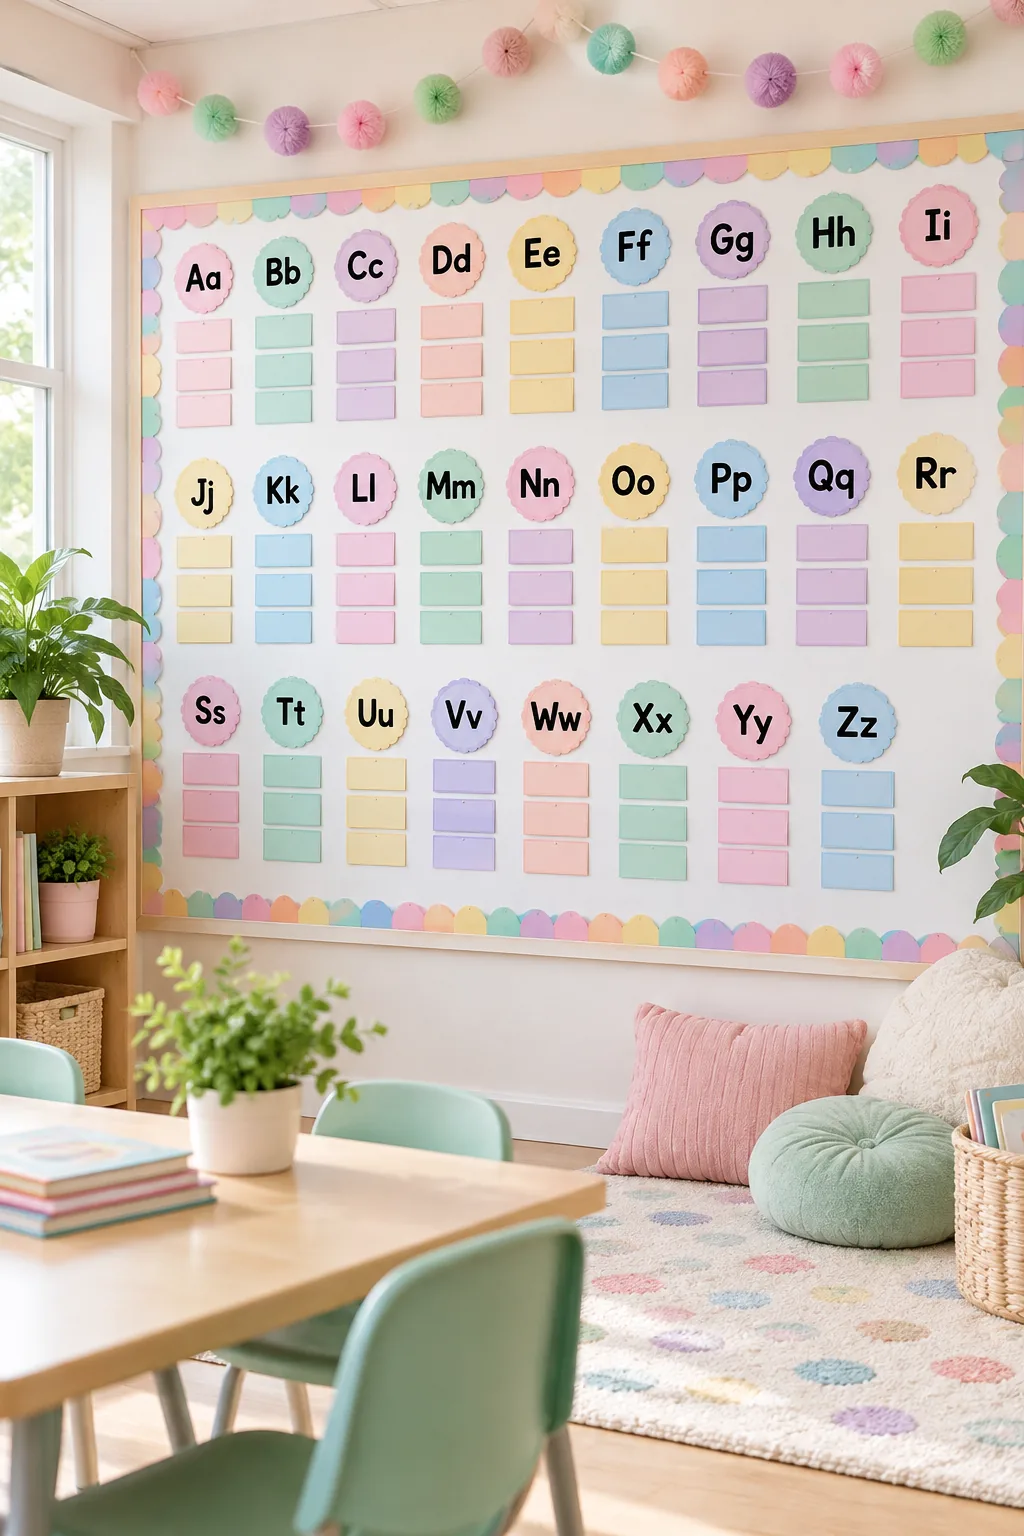
Nature Inspired Moss and Wood: Connect with the outdoors using a nature-inspired design. Mount natural parchment word cards below rustic wood-slice alphabet headers.
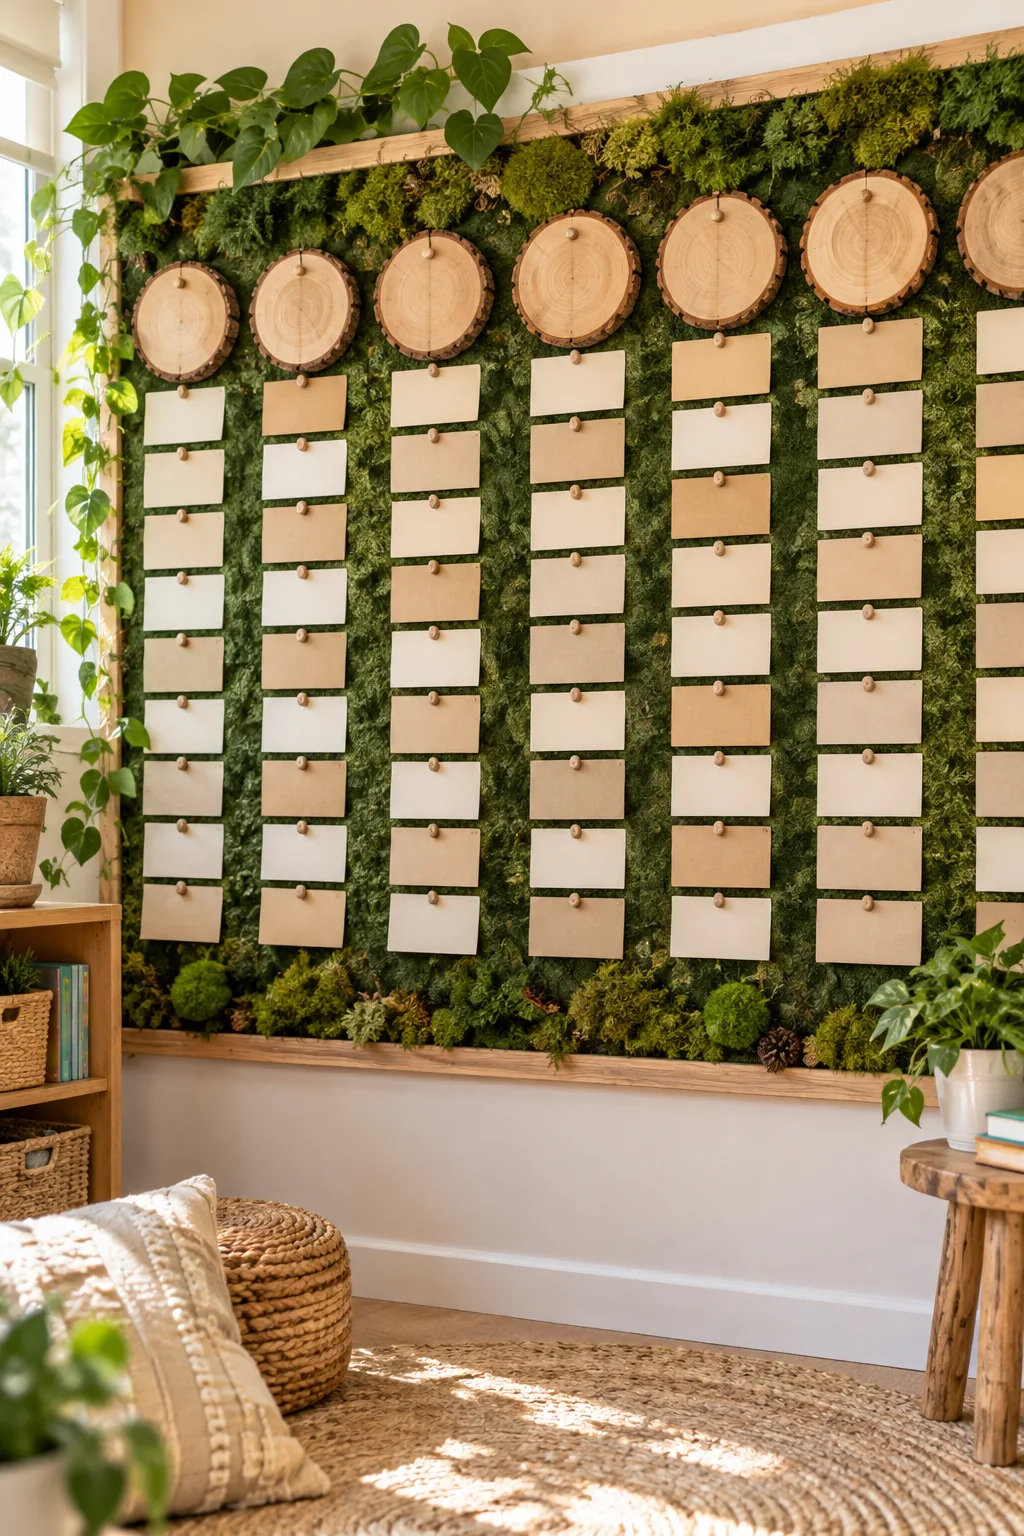
High Contrast Neon on Black: Make words pop instantly for visual learners. Place fluorescent neon cards against a solid black background for maximum readability.
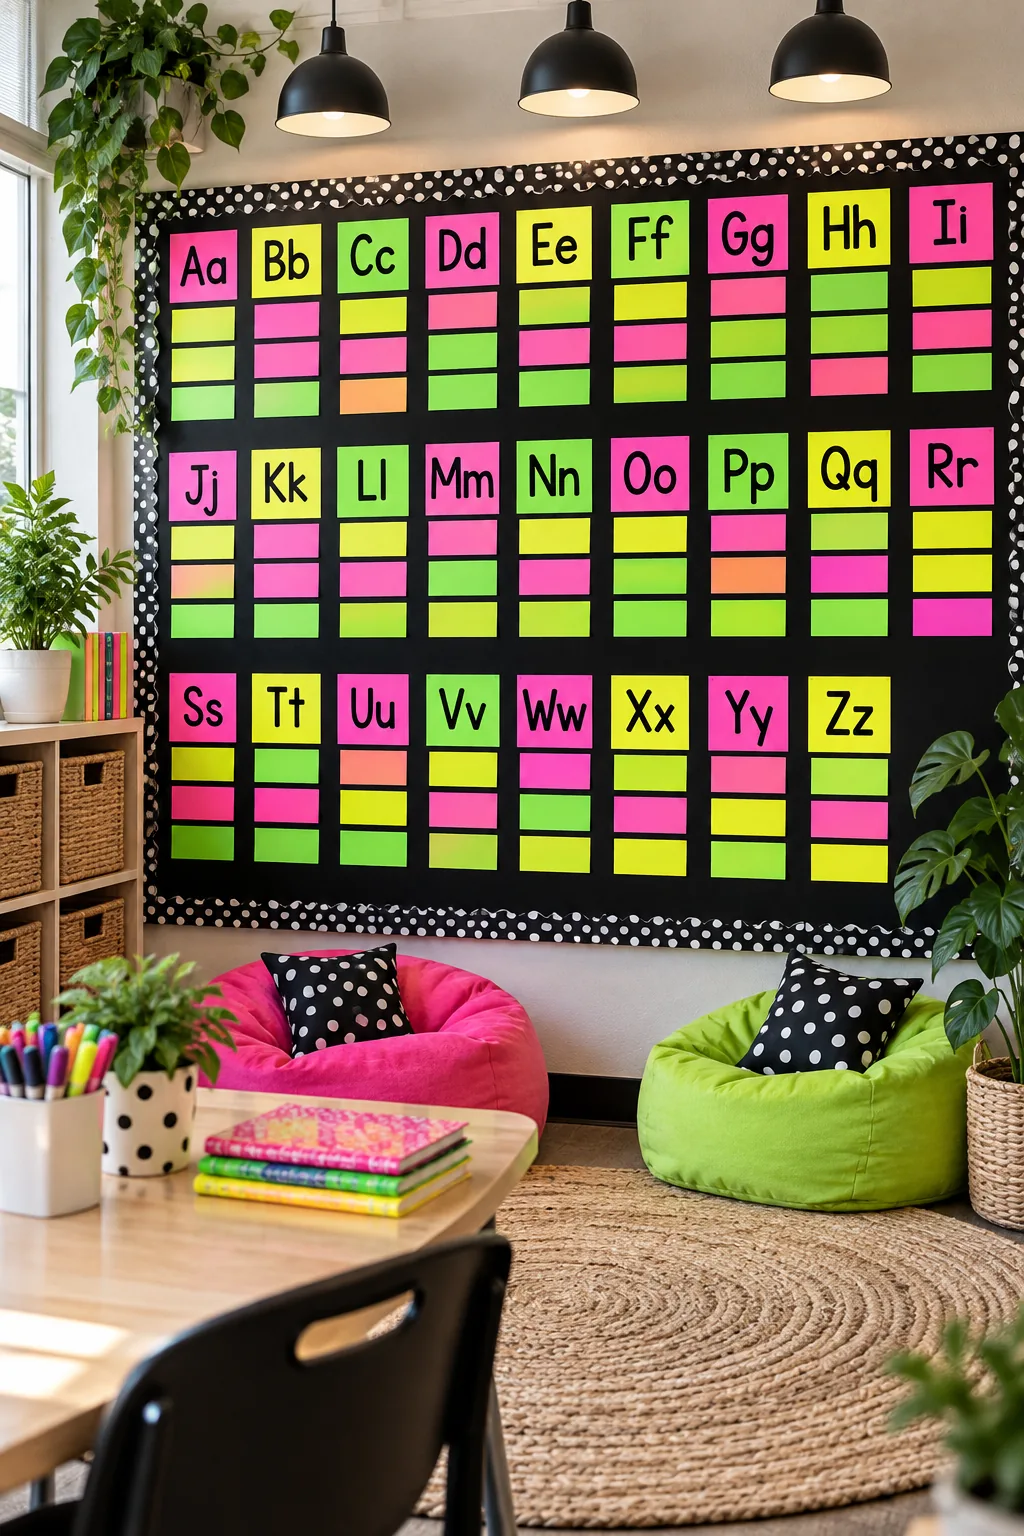
Minimalist Scandinavian Linen: Keep distractions to a minimum with a Scandinavian approach. Pin crisp white cards with simple sans-serif fonts to a textured linen board.
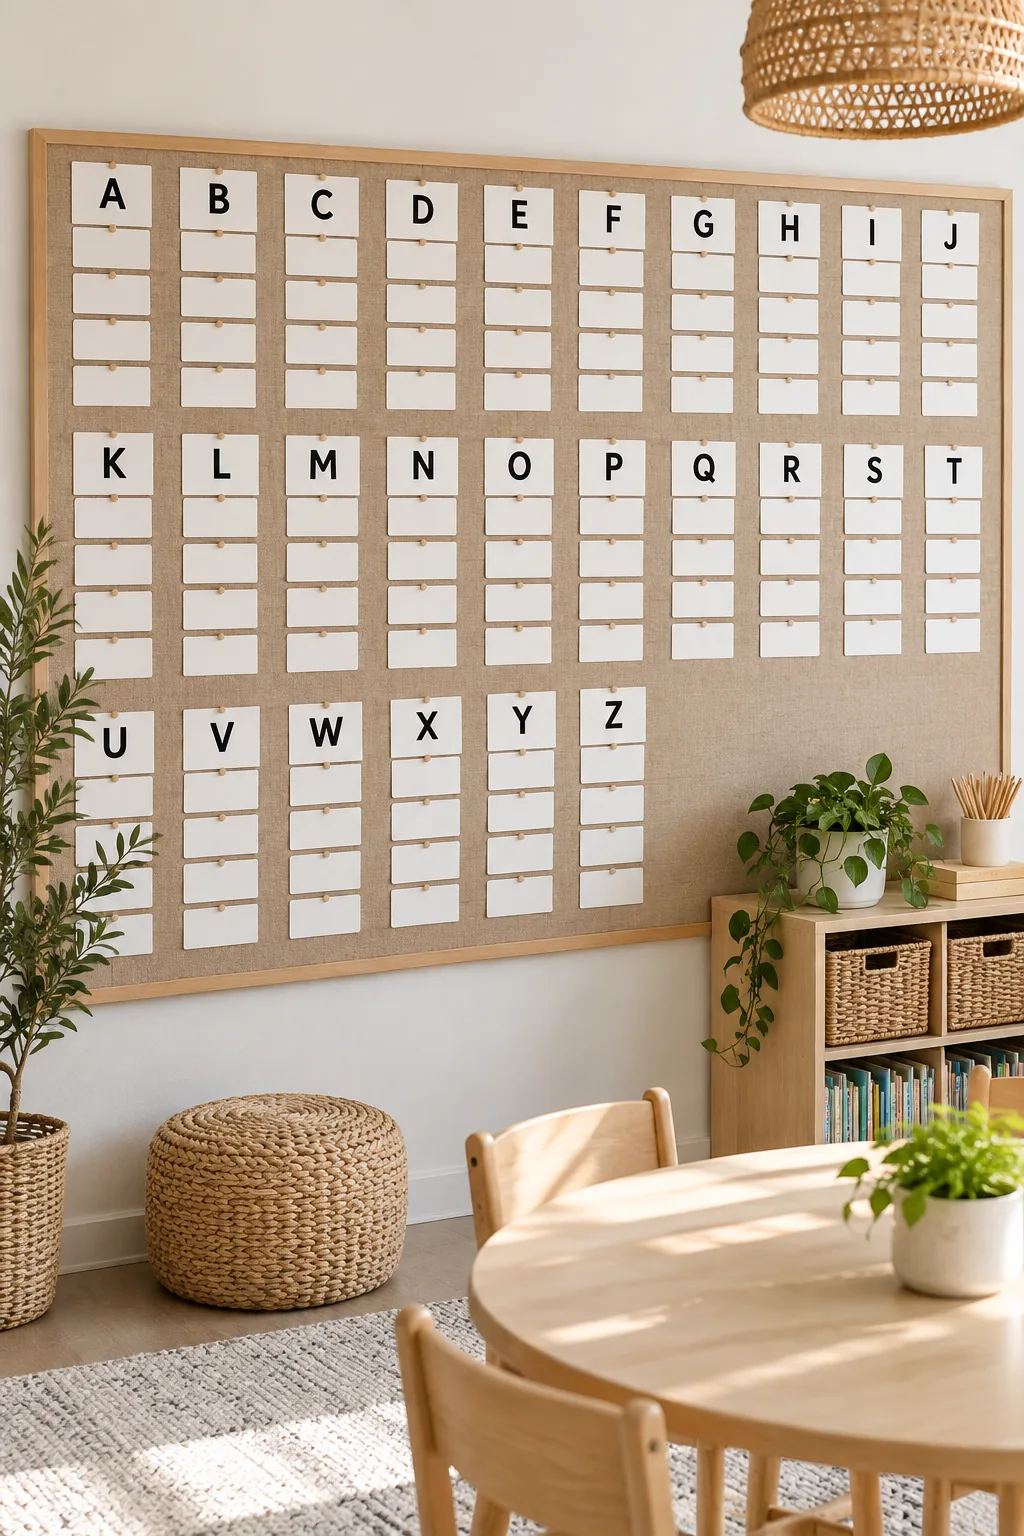
Managing the Full 180-Word Board
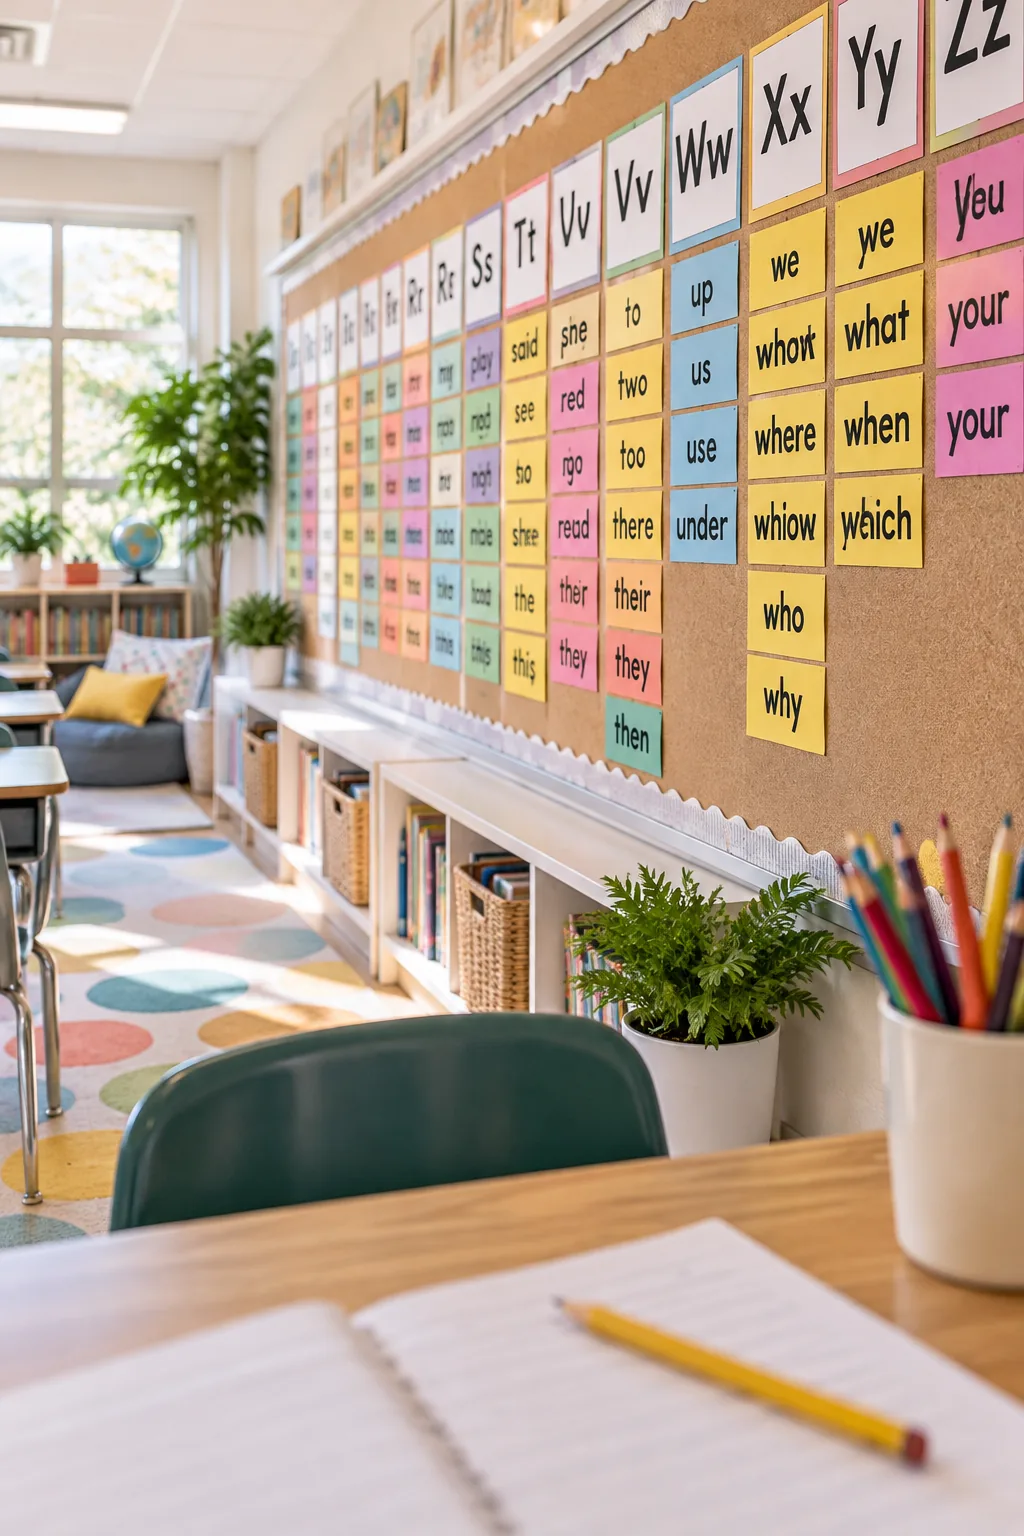
Plan your wall space carefully from the very beginning to accommodate the final goal without overlapping cards. By week 36, the board will hold exactly 180 words, requiring a dedicated, uninterrupted bulletin board to keep everything legible.
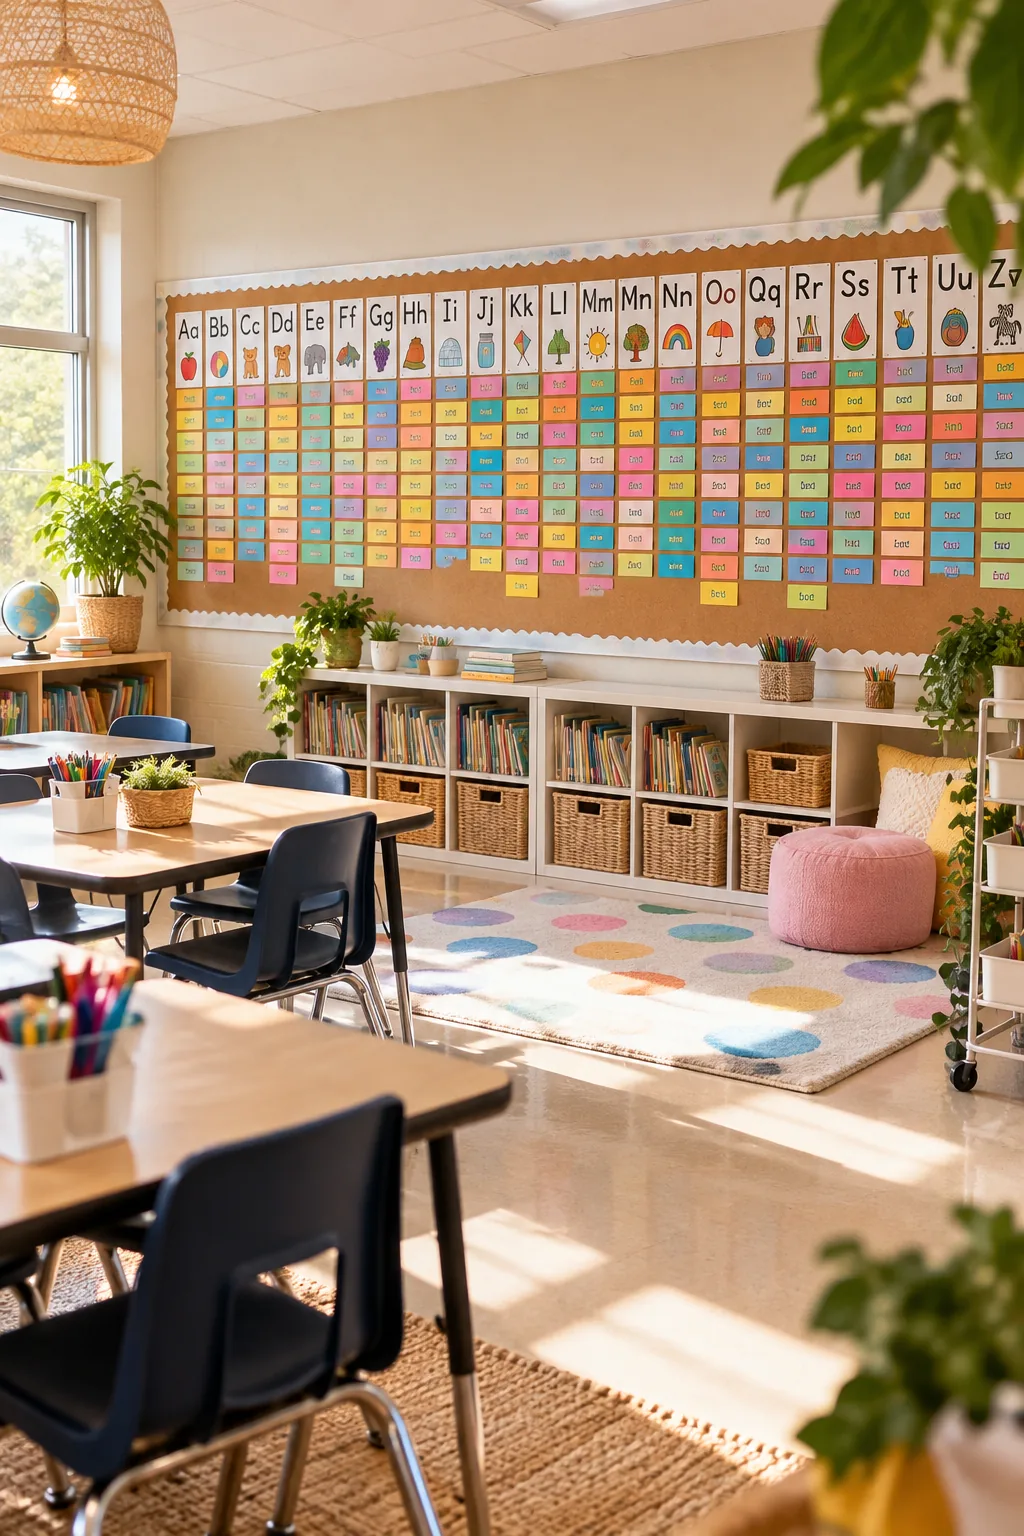
Resist the urge to cram other seasonal decorations into this space, as the clean background is essential for helping those 180 words stand out clearly. Protecting this dedicated zone ensures your students always have a reliable, distraction-free reference tool.