
DIY Slatted Room Divider: Complete Spacing & Hardware Guide
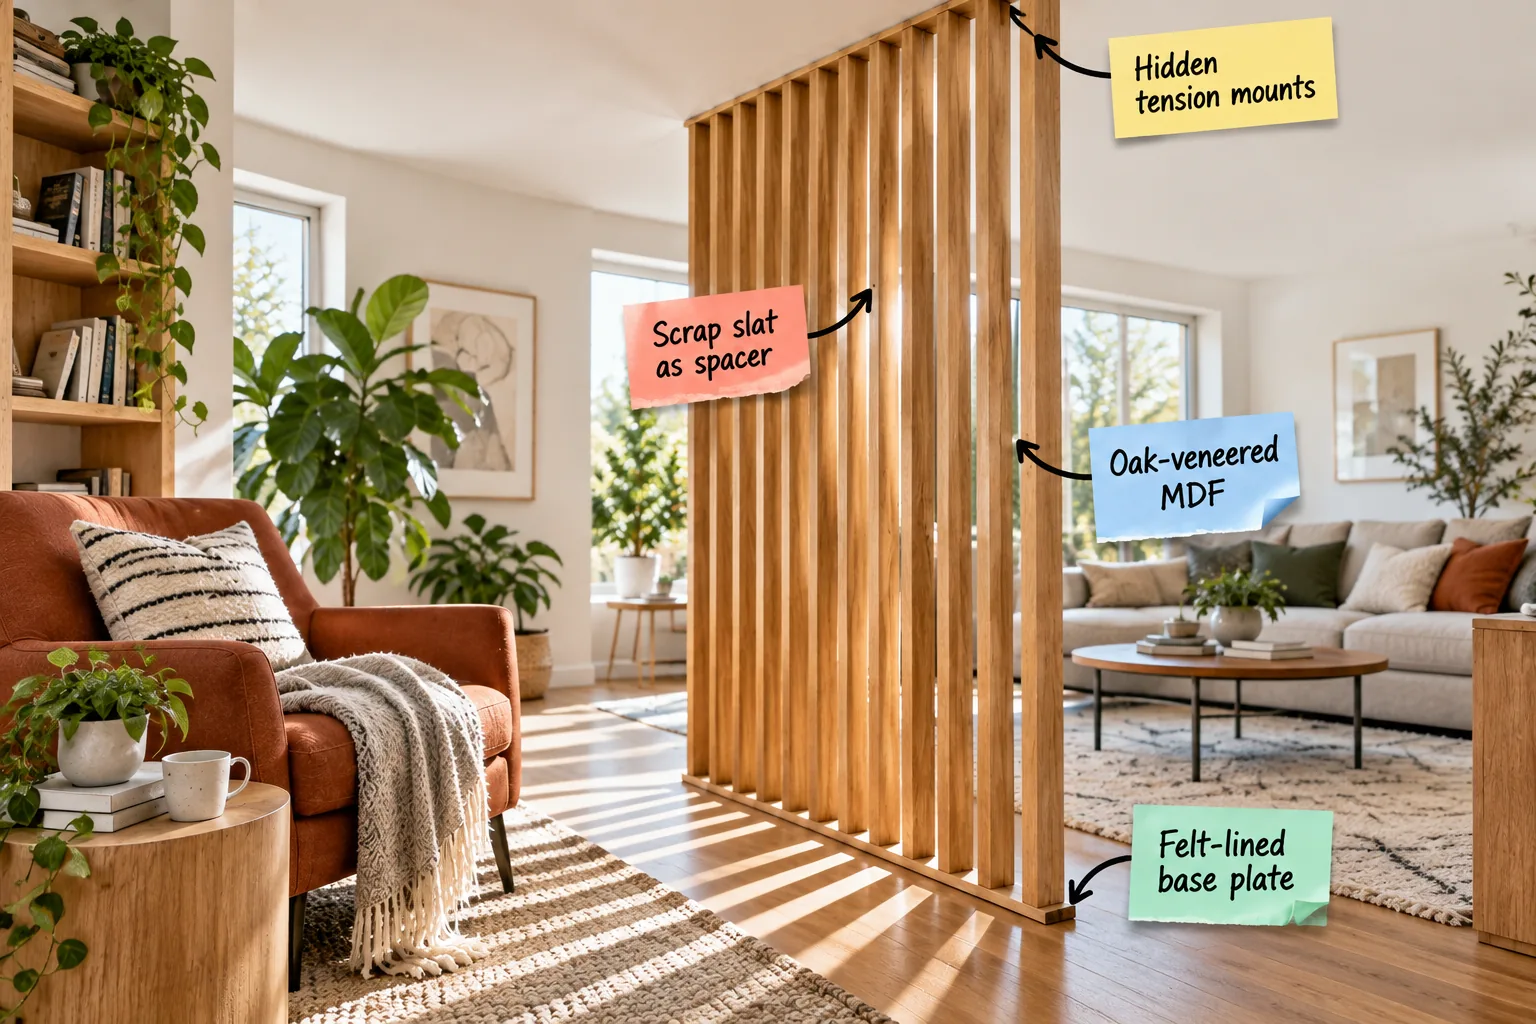
Open-concept homes often lack cozy definition, but you can build a custom floor-to-ceiling partition that looks perfectly built-in using our exact slat spacing formulas and tension mount hardware list. I am sharing my complete spacing and hardware guide so you can securely install a stunning room divider without drilling into your floors.
Why Oak-Veneered MDF Outperforms Solid Wood
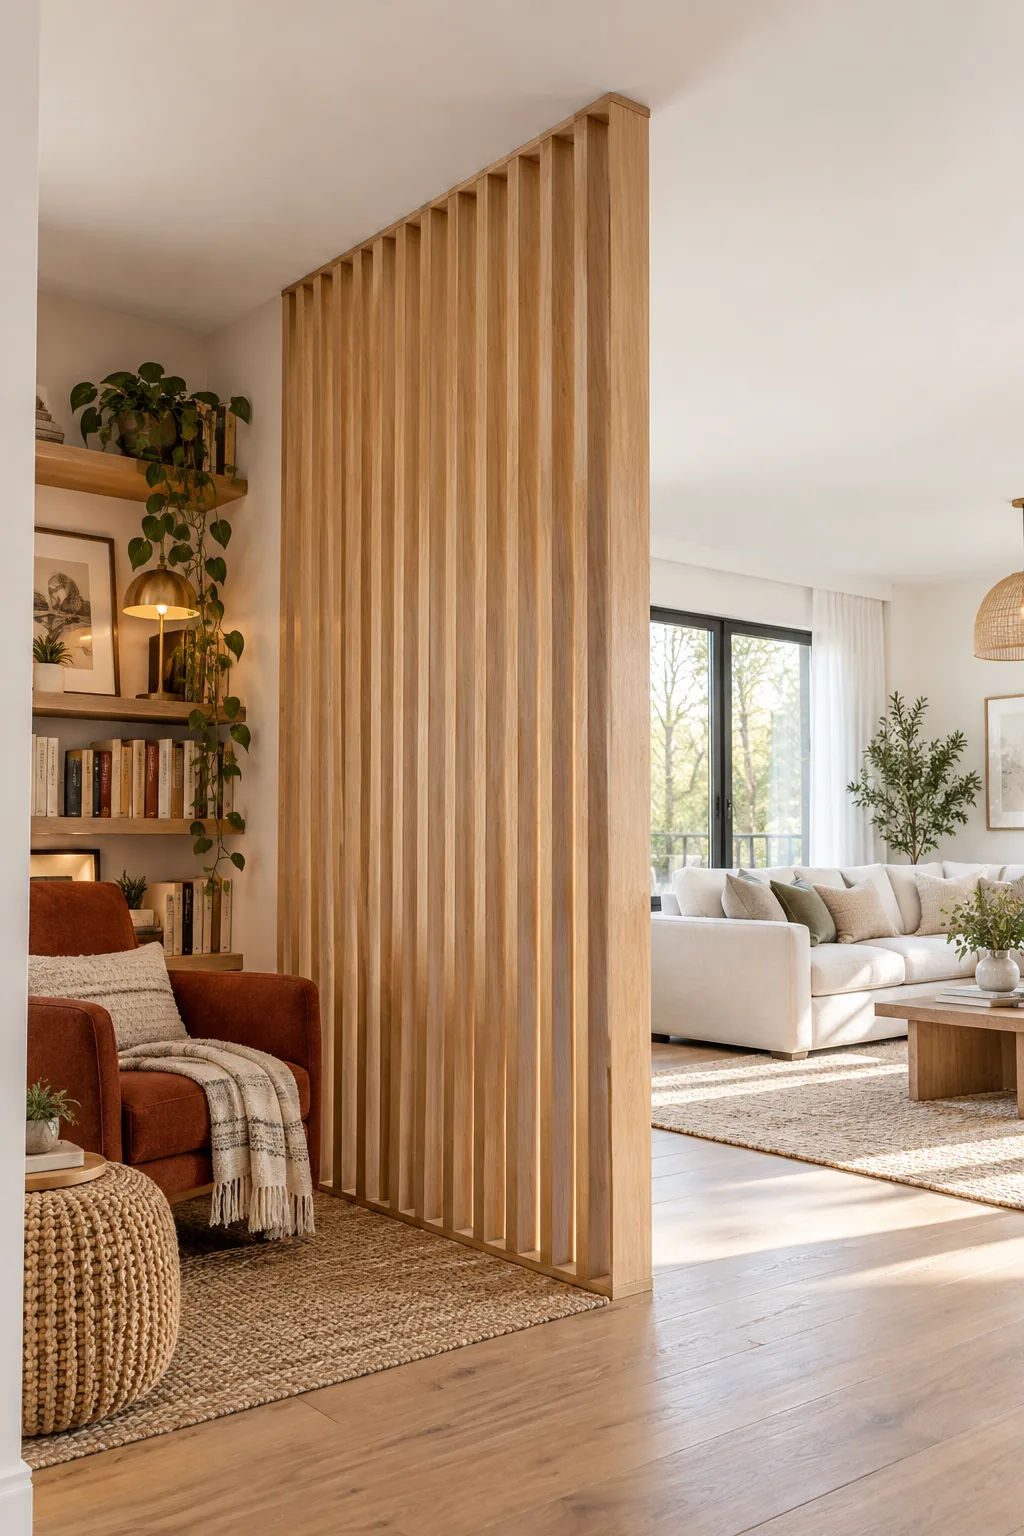
Solid wood boards often warp or twist over standard 8-foot or 9-foot ceiling heights, which completely ruins those crisp vertical lines you want for a modern aesthetic. I highly recommend using oak-veneered MDF because its engineered core stays perfectly straight while delivering the beautiful warmth and visual texture of real hardwood.

By choosing an engineered core, you eliminate the risk of seasonal bowing that plagues solid timber partitions when indoor humidity fluctuates.
Selecting the Right MDF Thickness
Achieving a substantial, high-end look requires choosing material with enough visual weight to anchor the room. I always specify 1.5-inch thick veneered boards because they provide excellent structural rigidity while looking like heavy, premium architectural timber.
Finishing your engineered slats before installation ensures a professional, furniture-grade appearance that rivals high-end custom carpentry.
Applying Edge Banding for a Solid Look
Because MDF features exposed engineered edges when cut, you must conceal those raw sides to maintain the illusion of solid wood. Iron-on real wood edge banding melts seamlessly into the core, creating a flawless perimeter that takes stain beautifully.
Sealing the Wood Against Moisture
Even indoor partitions face ambient humidity changes that can compromise untreated engineered wood over several years. Brushing a high-quality sanding sealer over every exposed surface locks out moisture and guarantees your vertical lines remain razor-straight for decades.
Protecting Hardwoods With a Felt-Lined Base Plate
A continuous wooden base plate anchors the bottom of your slats while distributing the downward pressure of the tension mounts safely across the floor joists. Applying heavy-duty 3mm adhesive felt strips along the entire underside protects your existing floors from permanent scratches and indentations caused by structural friction.
Last year, I accidentally gouged my own living room floors skipping this exact step on a temporary build, so now I never skip the protective felt layer.
Marking the Floor Plate Alignment
Establishing a perfectly straight baseline is critical before you secure any vertical elements. Snapping a chalk line directly across your floor plate ensures your entire structure remains parallel to your existing walls.
Calculating Your Total Slat Count
Planning your layout requires a simple but precise formula to ensure your partition perfectly fills the space without leaving awkward gaps at either end.
- Measure the total desired width of your installation area in inches using a rigid tape measure.
- Subtract the exact width of one single vertical slat from that total measurement.
- Divide that remainder by the combined width of one slat plus one gap to find your count.
Even a quarter-inch miscalculation compounds across a wide room divider, which I learned the hard way when my first partition came up short on the final wall. Double-check your layout math against these common planning pitfalls.
Running your numbers twice guarantees you purchase the correct amount of material and prevents frustrating mid-project hardware store runs.
The Scrap Slat Spacing Trick
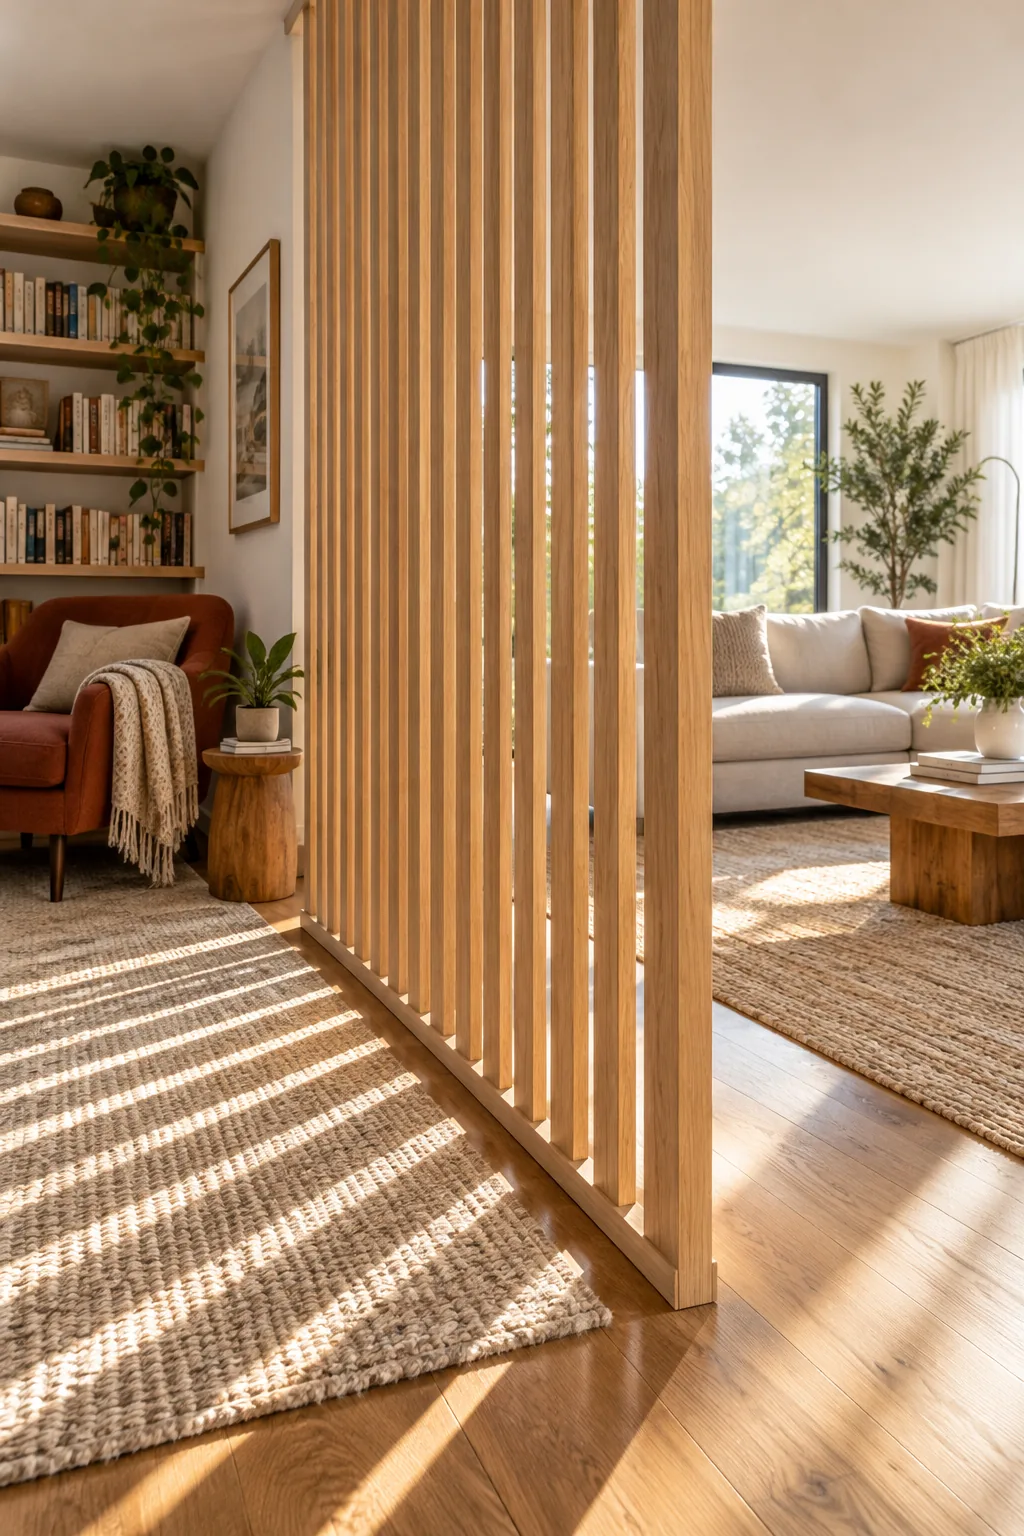
The absolute simplest way to ensure perfectly parallel gaps without measuring each time is using an off-cut block from your MDF slats as a physical spacer. When I built my studio divider, this simple trick guaranteed identical negative space and allowed beautiful, uniform sunlight to pass through the entire structure.
Sliding that spacer block between each vertical piece during installation speeds up your workflow tremendously and eliminates human error.
Drilling the Hardware Cavities
Concealing your mounting hardware requires creating a precise hollow cavity at the top of every vertical board. Plunging a 3/4-inch Forstner bit exactly two inches deep creates the perfect housing for your threaded inserts without splitting the fragile veneer.
Installing Hidden Tension Mounts
Adjustable threaded tension feet sit completely concealed inside the hollowed-out top edge of each slat. Extending these mounts against the ceiling plate creates a rock-solid friction fit, achieving a custom built-in look without driving a single screw into your ceiling joists.

This non-permanent mounting method is completely renter-friendly and allows you to reposition the entire wall if you ever redesign your layout.
Inserting the Threaded Anchors
Driving heavy-duty metal anchors into the MDF core provides the structural bite needed to support intense vertical pressure. Coating the outer threads with construction adhesive before insertion guarantees the anchor will never spin loose during final adjustments.
Positioning the Ceiling Plate
Your top plate must perfectly mirror the bottom plate to prevent the slats from leaning awkwardly. Using a plumb bob dropped from the ceiling ensures your upper track aligns flawlessly with your floor base.
Adjusting for Uneven Ceilings
Residential ceilings are rarely perfectly level, which used to drive me crazy until I discovered how forgiving adjustable hardware can truly be. The threaded tension hardware allows for micro-adjustments of up to an inch per slat to accommodate those hidden dips and slopes.
| Ceiling Variance | Recommended Adjustment Method |
|---|---|
| Under 1/4 inch | Standard thread extension with a basic wrench |
| 1/4 to 1/2 inch | Deep thread extension requiring longer carriage bolts |
| Over 1/2 inch | Custom trim length for specific individual slats |
Fine-tuning each individual foot ensures your entire divider remains perfectly plumb, even if the floor-to-ceiling height varies dramatically across the room.
Locking the Tension Feet
Once every slat stands perfectly vertical, you must secure the mechanism so it never loosens over time. Tightening a secondary locking nut against the threaded insert freezes the tension foot permanently in place.
The Complete Slat Spacing & Hardware Guide
Here is your complete guide: source M8 adjustable furniture glides, matching threaded inserts, structural adhesive, and 3mm felt. Before heading to the hardware store or firing up the saw, run through this final pre-build inventory to ensure a smooth installation.
Running through this final inventory check ensures your hardware functions flawlessly together before the messy adhesive work begins.
Testing the Wall Stability
Before bringing furniture back into the room, you must verify the structural integrity of your new friction-fit wall. Giving the center of the partition a firm push confirms the tension mounts are fully engaged and safe for daily living.
4 Ways to Style a Slatted Divider
Discover how different wood tones and paint finishes can completely change the mood of your newly zoned space.
Moody dark walnut home office: Rich walnut tones create a sophisticated, masculine boundary for a dedicated workspace without entirely blocking the room's natural light.

Bright whitewashed coastal bedroom: Whitewashed pine slats introduce subtle texture while maintaining an airy, beach-inspired atmosphere in an open-plan primary suite.

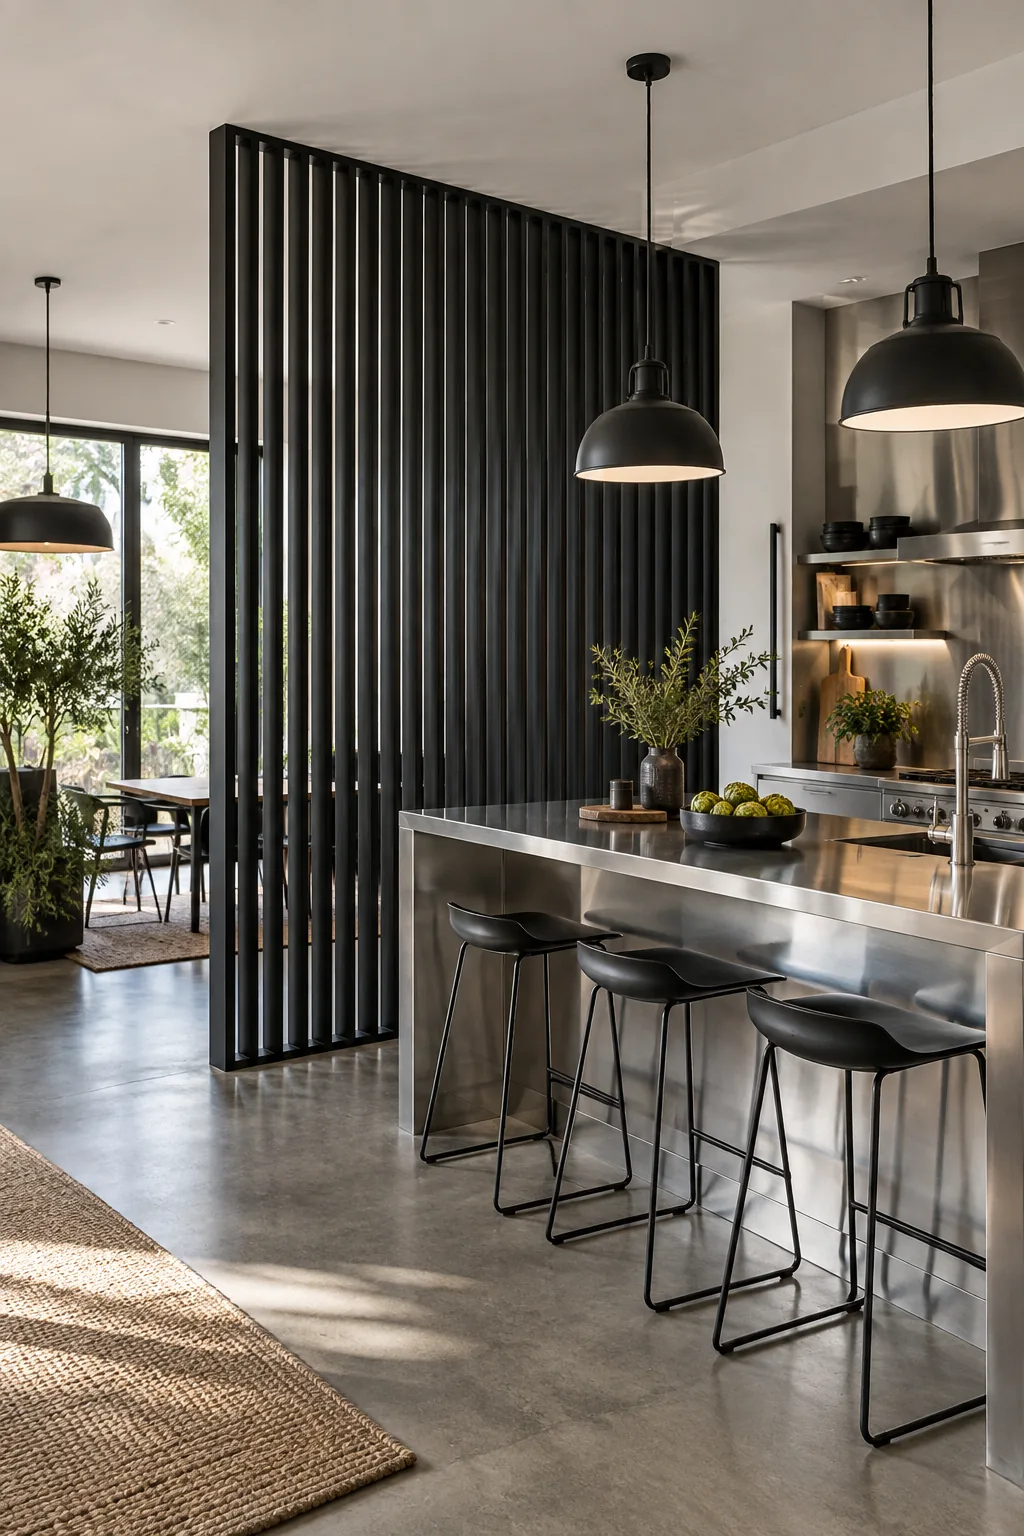
Matte black modern industrial kitchen: Painting the MDF slats matte black delivers a striking architectural statement that pairs perfectly with raw concrete and steel.
Minimalist natural ash Japandi entryway: Light ash wood and wider spacing between the slats emphasize the calm, uncluttered simplicity central to Japandi design.

Styling Your New Zoned Space
Anchoring the divider with a low-profile reading chair on one side and a textured rug on the other defines your separate living areas without blocking the light. I love how arranging furniture right up against the partition instantly makes both newly zoned spaces feel intentional, functional, and deeply cozy.

Keeping your lounge furniture low to the ground ensures the beautiful vertical lines of your partition remain the absolute star of the room.