
Basement Game Room Layouts: Zoning & Clearance Cheat Sheet
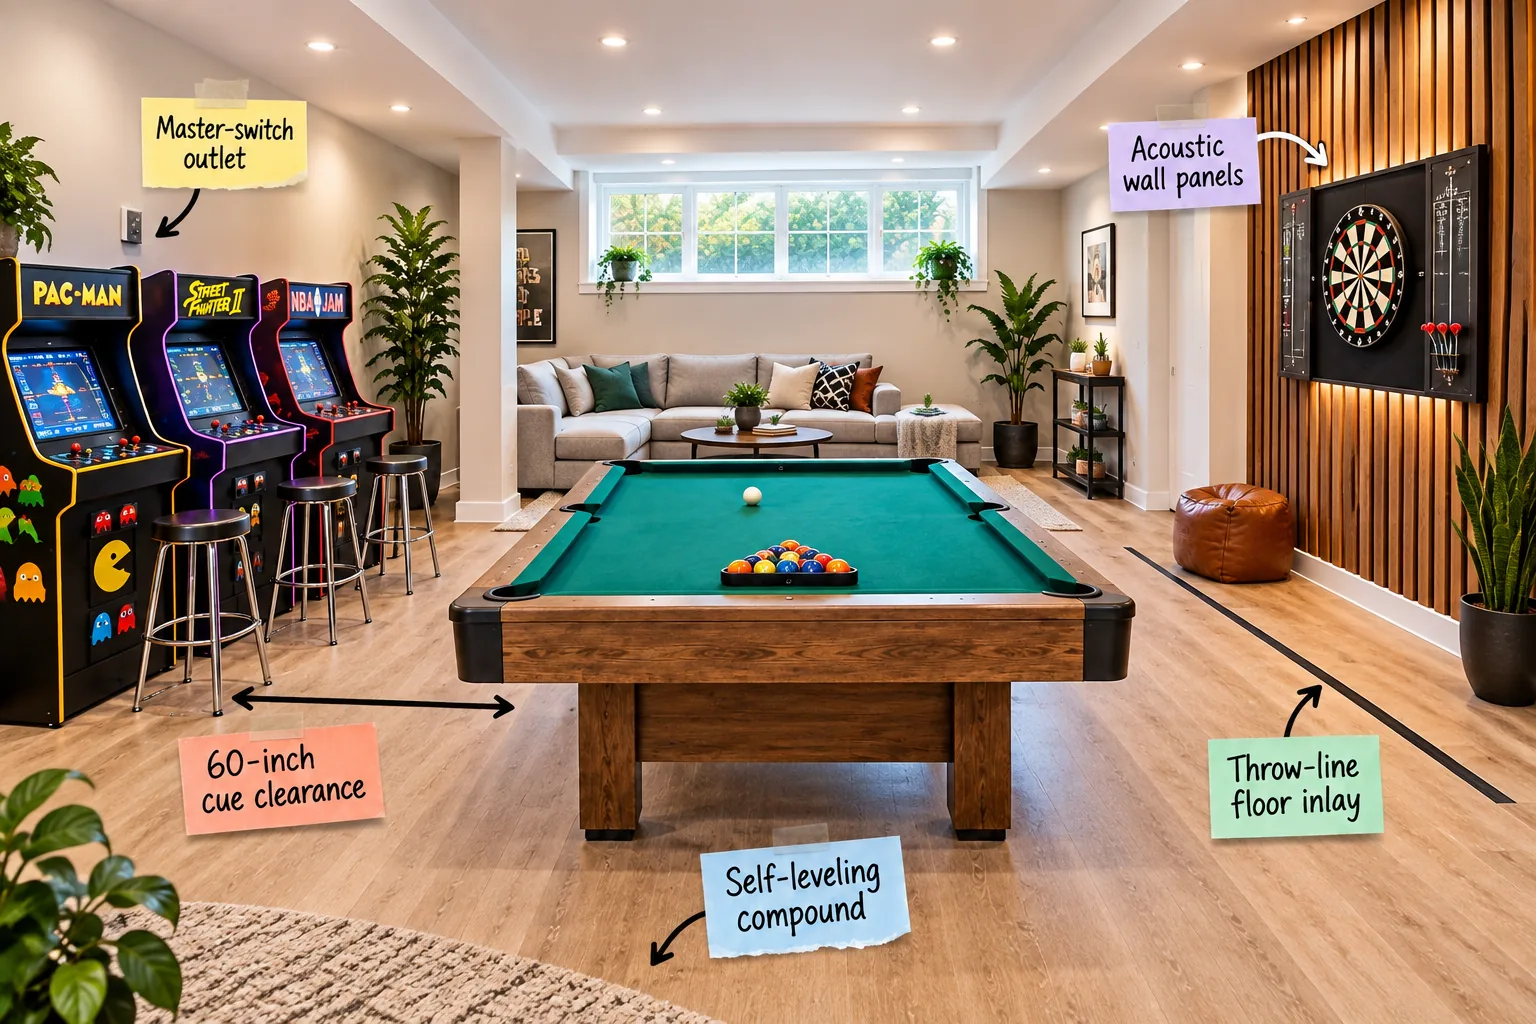
Grab our definitive zoning and clearance cheat sheet to arrange your pool table, arcades, and dartboard without crowding the room. You will be able to map out your basement zones, verify essential clearances, and position heavy game tables with total confidence.
Prepping for Heavy Tables with Self-Leveling Compound
Before laying luxury vinyl planks, you must pour a self-leveling compound to create a perfectly flat subfloor. This foundational step is absolutely non-negotiable for supporting a 700-pound slate pool table without structural sagging or leveling issues over time.
Choosing the Right Luxury Vinyl Plank Thickness
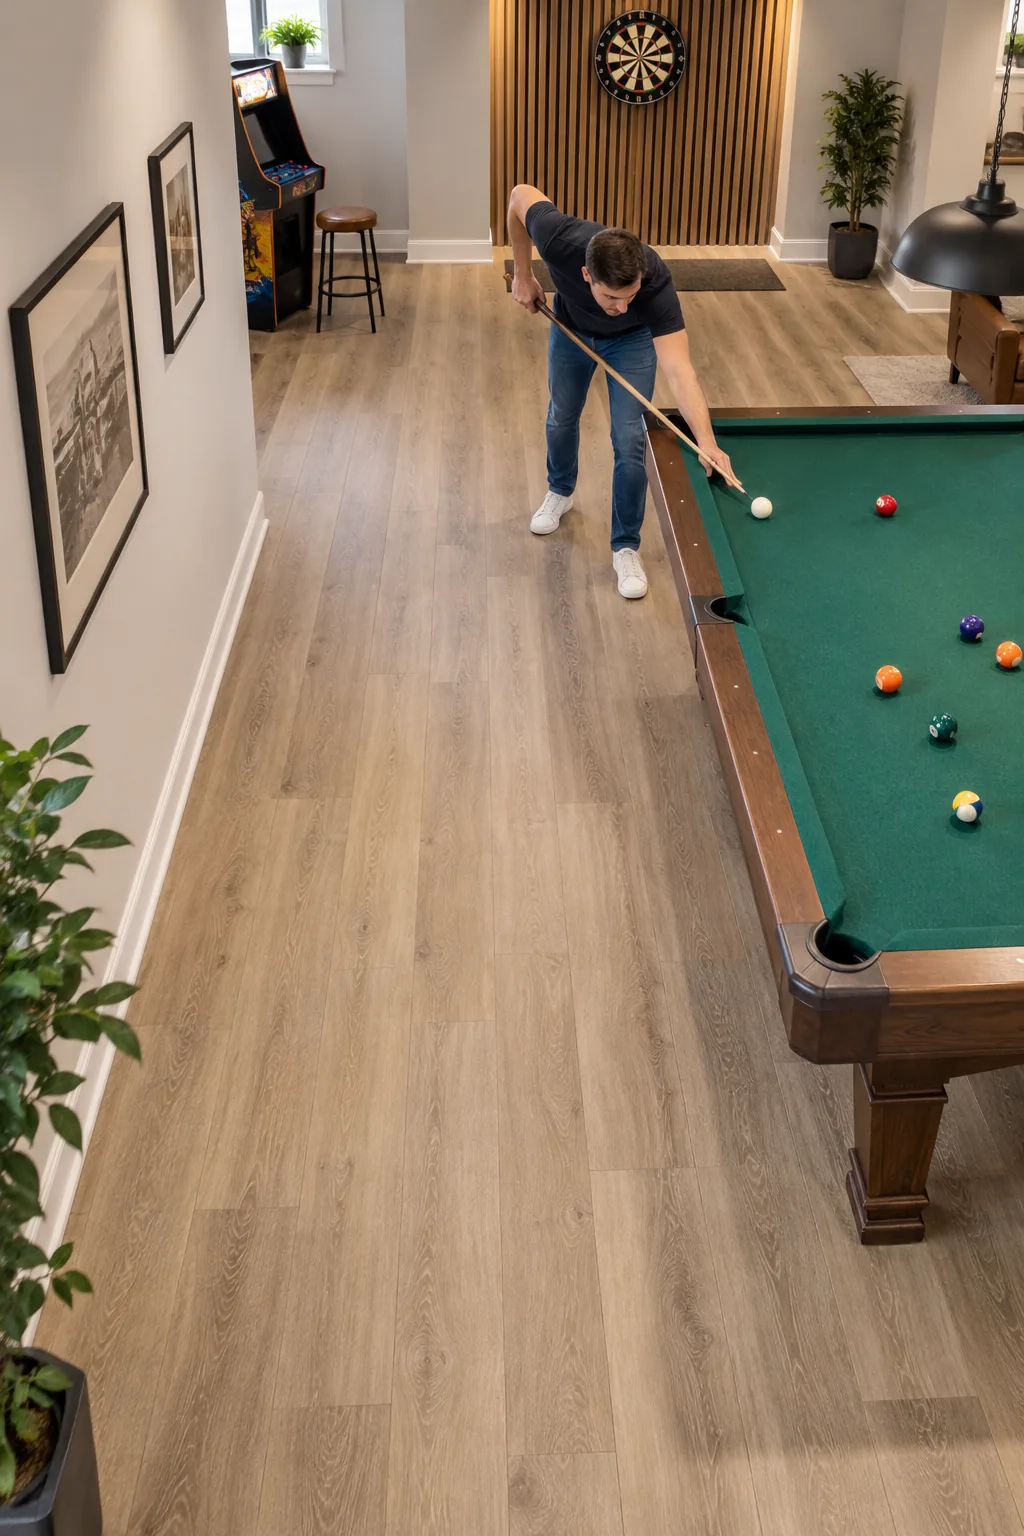
Once the concrete is perfectly leveled, select a luxury vinyl plank with a minimum 20-mil wear layer to withstand heavy foot traffic. The thicker rigid core prevents the heavy billiard table legs from permanently indenting the flooring surface.
Applying Moisture Barriers on Concrete Slabs
Basements naturally wick moisture through the concrete, which can warp even the best flooring over time. Always roll out an overlapping 6-mil polyethylene moisture barrier beneath the vinyl planks to protect your investment and keep the room smelling fresh.
Securing the 60-Inch Cue Clearance
A standard 7-foot or 8-foot pool table requires a strict 60-inch cue clearance measured from the playing surface edge to the nearest wall. When I designed my own basement game room, I nearly forgot this rule and had to shift everything to avoid hitting the support beams.
Before you finalize the center zone, make sure you are not falling for these common spatial miscalculations that ruin gameplay.
Accounting for Structural Lally Columns
If a steel support column intrudes on your 60-inch perimeter, you must compromise on cue length for that specific angle. Keep a 48-inch short cue mounted nearby so players can still take their shots without striking the padded pole.
Centering the Table Over the Room Footprint
Visual balance is just as important as physical clearance when positioning the largest piece of furniture in the room. Use a laser level to align the dead center of the pool table with the primary architectural axis of your basement ceiling.
Selecting the Proper Billiard Cloth Material
Beyond the structural placement, the felt you choose impacts the longevity of the playing surface. Opt for a worsted wool blend, which resists pilling and allows the balls to roll significantly faster than traditional woolen cloth.
Wiring the Arcade with a Master-Switch Outlet
Group your arcade cabinets along one dedicated wall to consolidate your electrical load and simplify the room’s power plan.
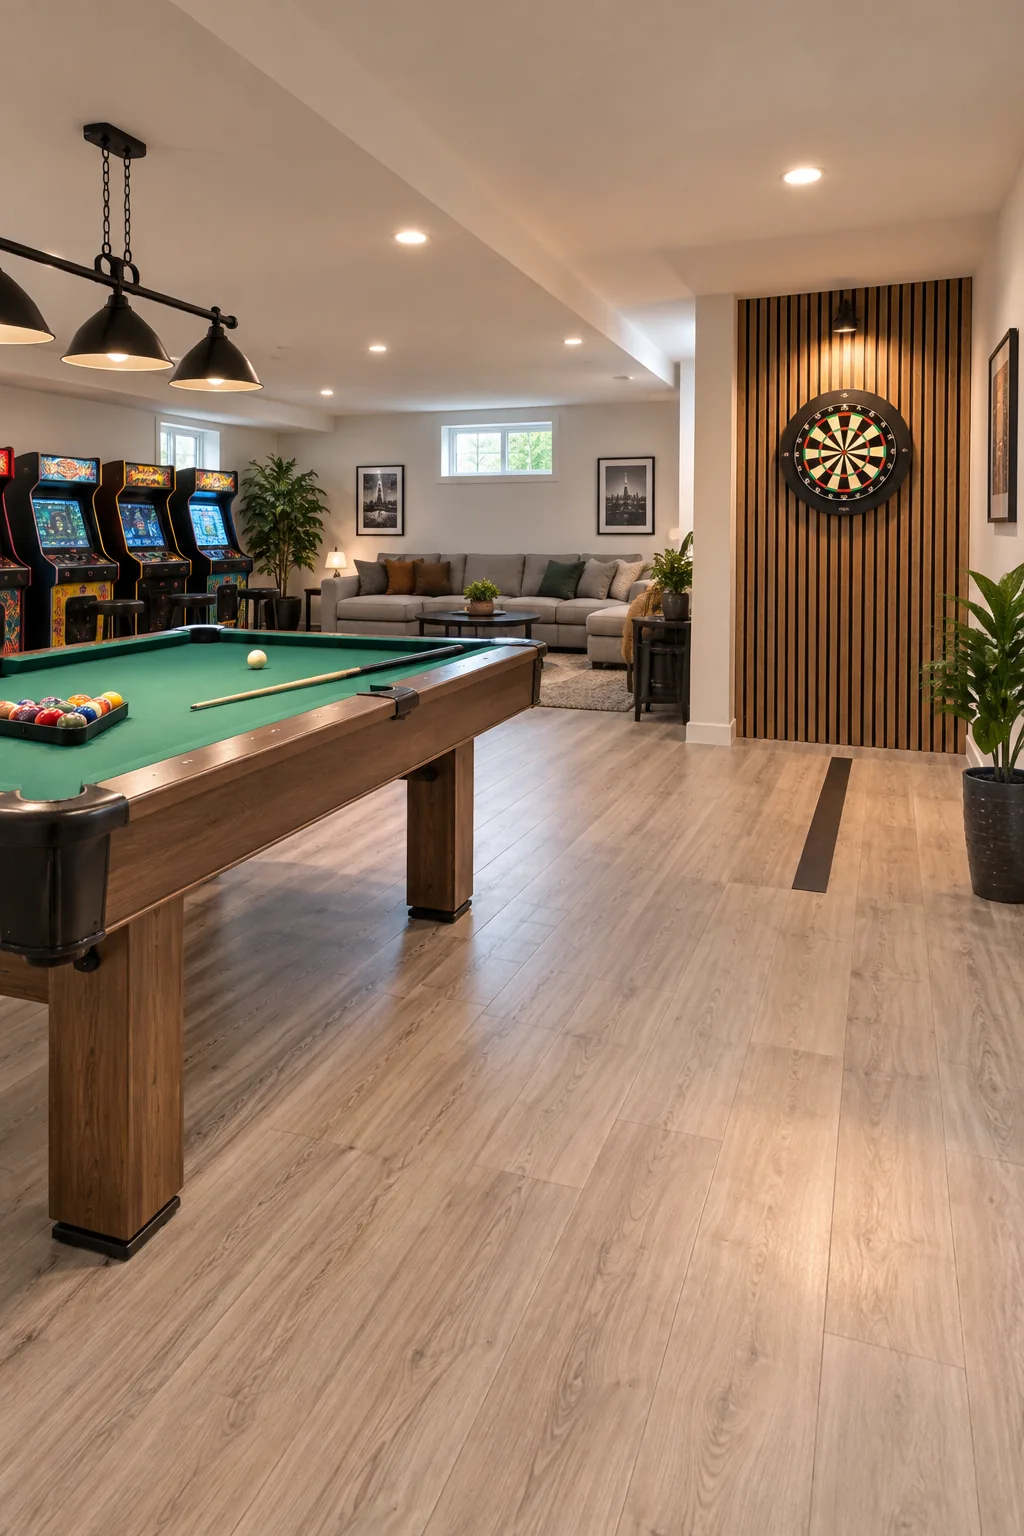
- Wire the high-draw cabinet receptacles on a dedicated 20-amp circuit to prevent blown fuses.
- Connect them to a single master-switch outlet near the stairs to power down all glowing marquees at once.
Managing Heat Dissipation Behind Arcade Cabinets
Vintage CRT monitors and modern LED screens both generate significant heat when running simultaneously for hours. Pull every cabinet exactly four inches away from the drywall to ensure proper ventilation and prevent the internal components from overheating during parties.
Spacing Cabinets for Player Elbow Room
Players need adequate physical space to aggressively maneuver joysticks without bumping into their neighbor. Leave a minimum six-inch gap between each machine to accommodate wide stances and provide visual breathing room along the arcade wall.
Securing Top-Heavy Cabinets to the Wall
Vintage arcade machines are notoriously front-heavy and can easily tip if a frustrated player leans on the control panel. Always use heavy-duty steel brackets to anchor each cabinet securely to the wall studs for maximum safety.
Designing a Permanent Throw-Line Floor Inlay
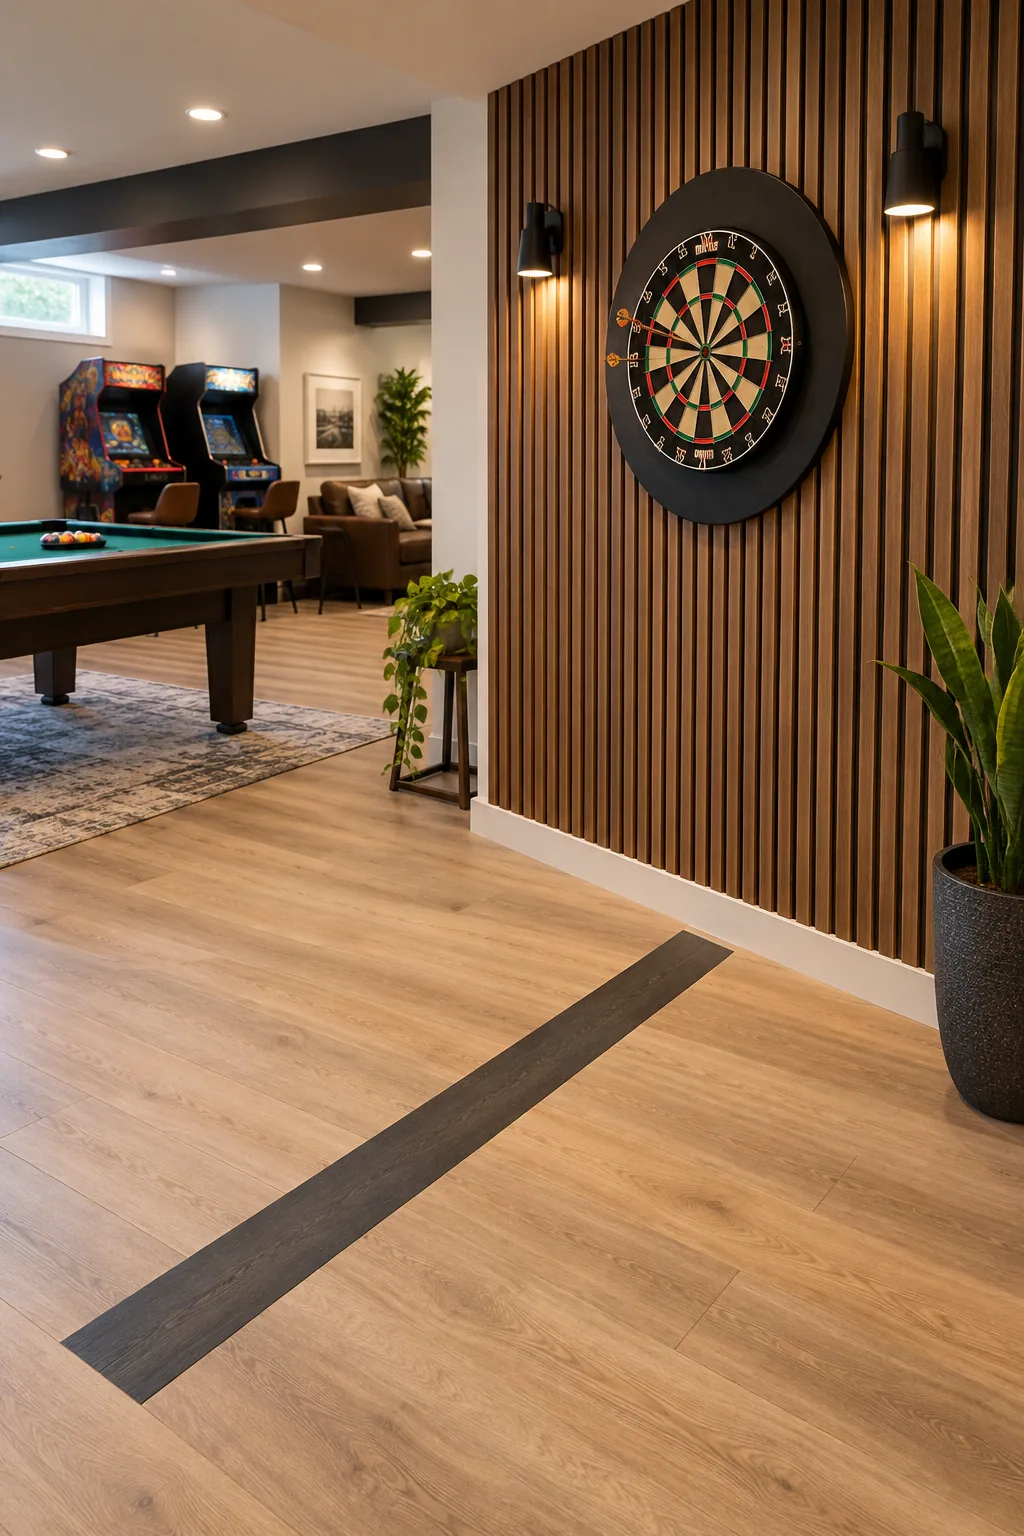
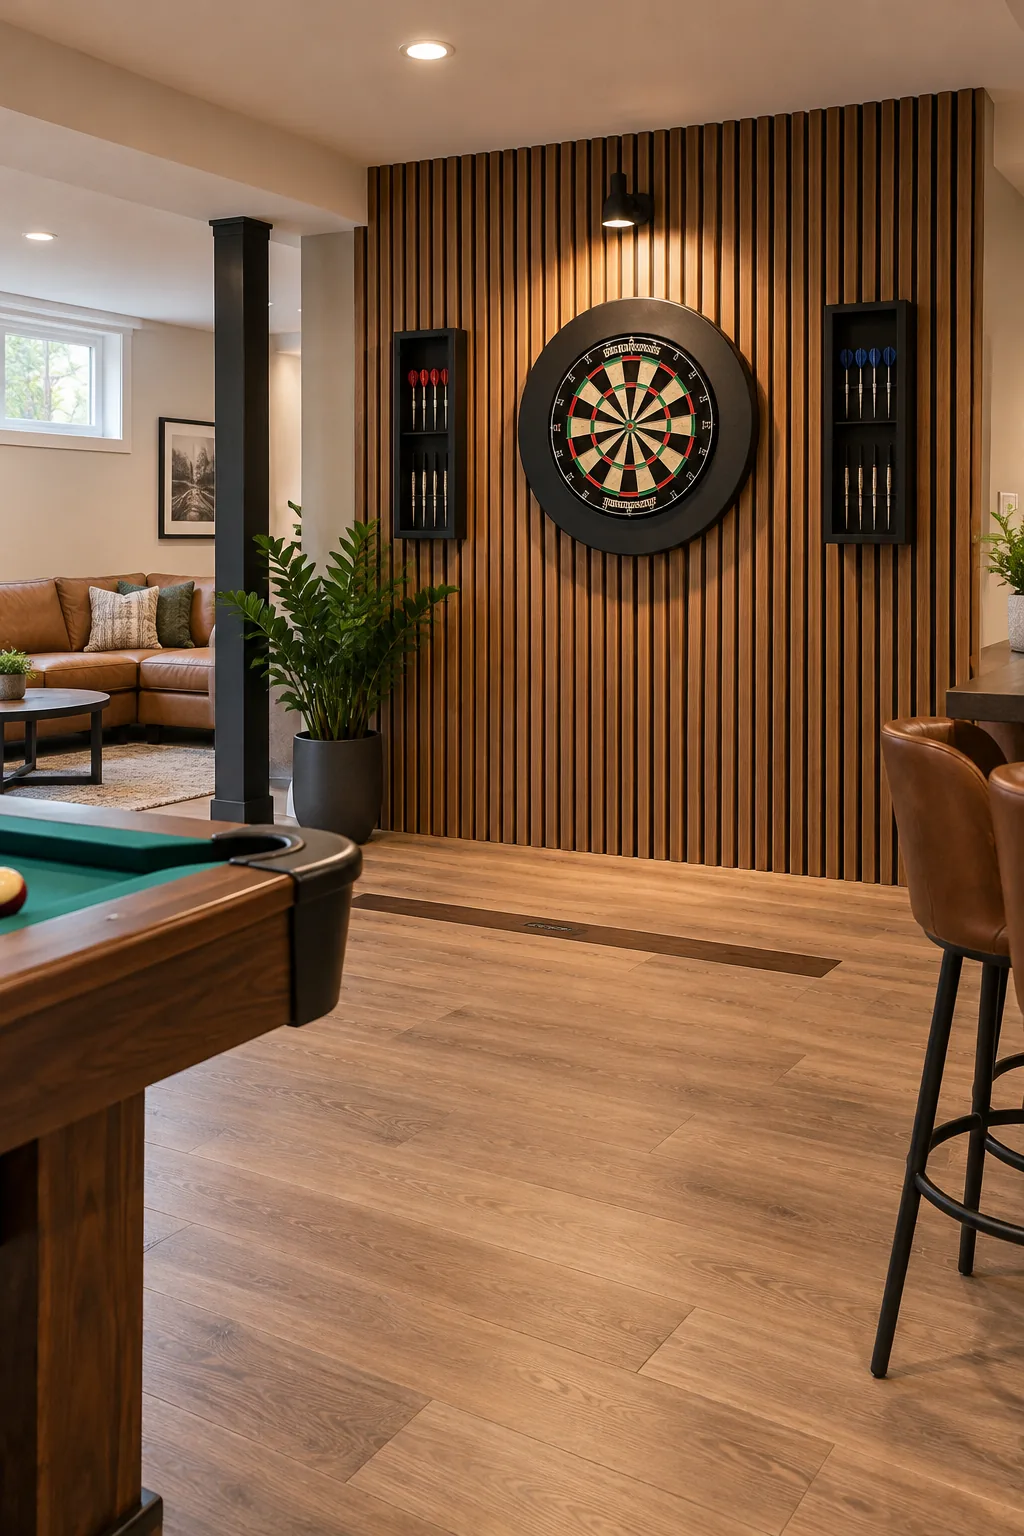
Set up the dartboard safely away from high-traffic paths by embedding a distinct throw-line floor inlay exactly 7 feet 9.25 inches from the steel-tip board’s face.
Protecting the Wall Behind the Dartboard
Stray darts will inevitably miss the board and puncture standard drywall, leaving unsightly holes. Mount a dense cork or felt backer board extending at least 24 inches beyond the target area to catch wild throws and preserve your paint job.
Selecting the Right Dartboard Lighting
Shadows on the dartboard make it impossible to calculate your score accurately. Mount a dedicated 360-degree LED halo light directly onto the board’s surround to illuminate the entire sisal surface evenly without blinding the thrower.
Dampening Echoes with Acoustic Wall Panels
Hard basement surfaces create a chaotic echo chamber when sharp billiard breaks compete with digital arcade noise. Installing vertical wood-slat acoustic wall panels behind the dartboard absorbs those harsh, high-frequency sounds beautifully.
Balancing Hard Surfaces with Soft Textiles
While wood slats handle the high frequencies, you still need plush materials to absorb the low-end rumble. Introduce heavy velvet window treatments and thick upholstered seating to dramatically improve the overall acoustic comfort of the subterranean space.
Managing Cords Along the Baseboards
Exposed wires create tripping hazards in a dimly lit gaming space. Install hollow quarter-round molding along the baseboards to discreetly route your auxiliary cables from the arcade wall back to the main electrical panel.
Positioning the Spectator Lounge
In my recent basement projects, tucking the seating area near the egress window maximized natural light and instantly made the lounge feel expansive. Always maintain at least a 36-inch walkway behind the sofa so players can comfortably navigate between the pool table and the seating.
Selecting Low-Profile Seating for Better Sightlines
Spectators want a clear view of the billiard action without craning their necks over bulky furniture. Choose low-profile sectionals with a maximum 32-inch back height to maintain open sightlines across the entire game room.
| Seating Type | Ideal Back Height | Clearance Needed |
|---|---|---|
| Low-profile sofa | 30 to 32 inches | 36 inches behind |
| Bar stools | Backless or low-back | 24 inches from counter |
| Lounge chairs | Under 34 inches | 30 inches behind |
Anchoring the Seating Area with an Area Rug
A large area rug visually separates the spectator lounge from the active gaming zones. Select a low-pile, stain-resistant rug that extends at least eight inches beyond the sofa legs to firmly anchor the furniture arrangement.
Layering Recessed and Task Lighting
A multi-zone space demands a strategic lighting grid rather than a single bright switch. I always specify 4000K recessed ceiling lights for ambient coverage, paired with dedicated pendants hung exactly 32 to 36 inches above the pool table to eliminate shadows.
Calibrating the Color Temperature for Gameplay
Mixing warm and cool bulbs creates visual fatigue and distorts the vivid colors of your gaming equipment. Standardize the entire room with 4000K LED bulbs to mimic natural daylight and keep players energized during late-night tournaments.
Minimizing Glare on Monitor Screens
Direct overhead lighting will wash out arcade screens and create frustrating reflections on the glass. Install your recessed fixtures on dimmer switches and position them slightly behind the player’s standing position to keep the monitors crisp and readable.
Installing Proper Ventilation for the Room
A crowded basement quickly becomes stuffy when multiple games are running and guests are socializing. Ensure your HVAC return vents are unobstructed and consider adding a quiet ceiling fan to keep the ambient temperature comfortably cool.
4 Distinct Game Room Styles to Inspire Your Layout
Once your clearances are locked in, choose a finish style that brings your basement to life.
Industrial Concrete Arcade: Exposed ceilings and polished concrete floors create an authentic retro arcade atmosphere that is highly durable.
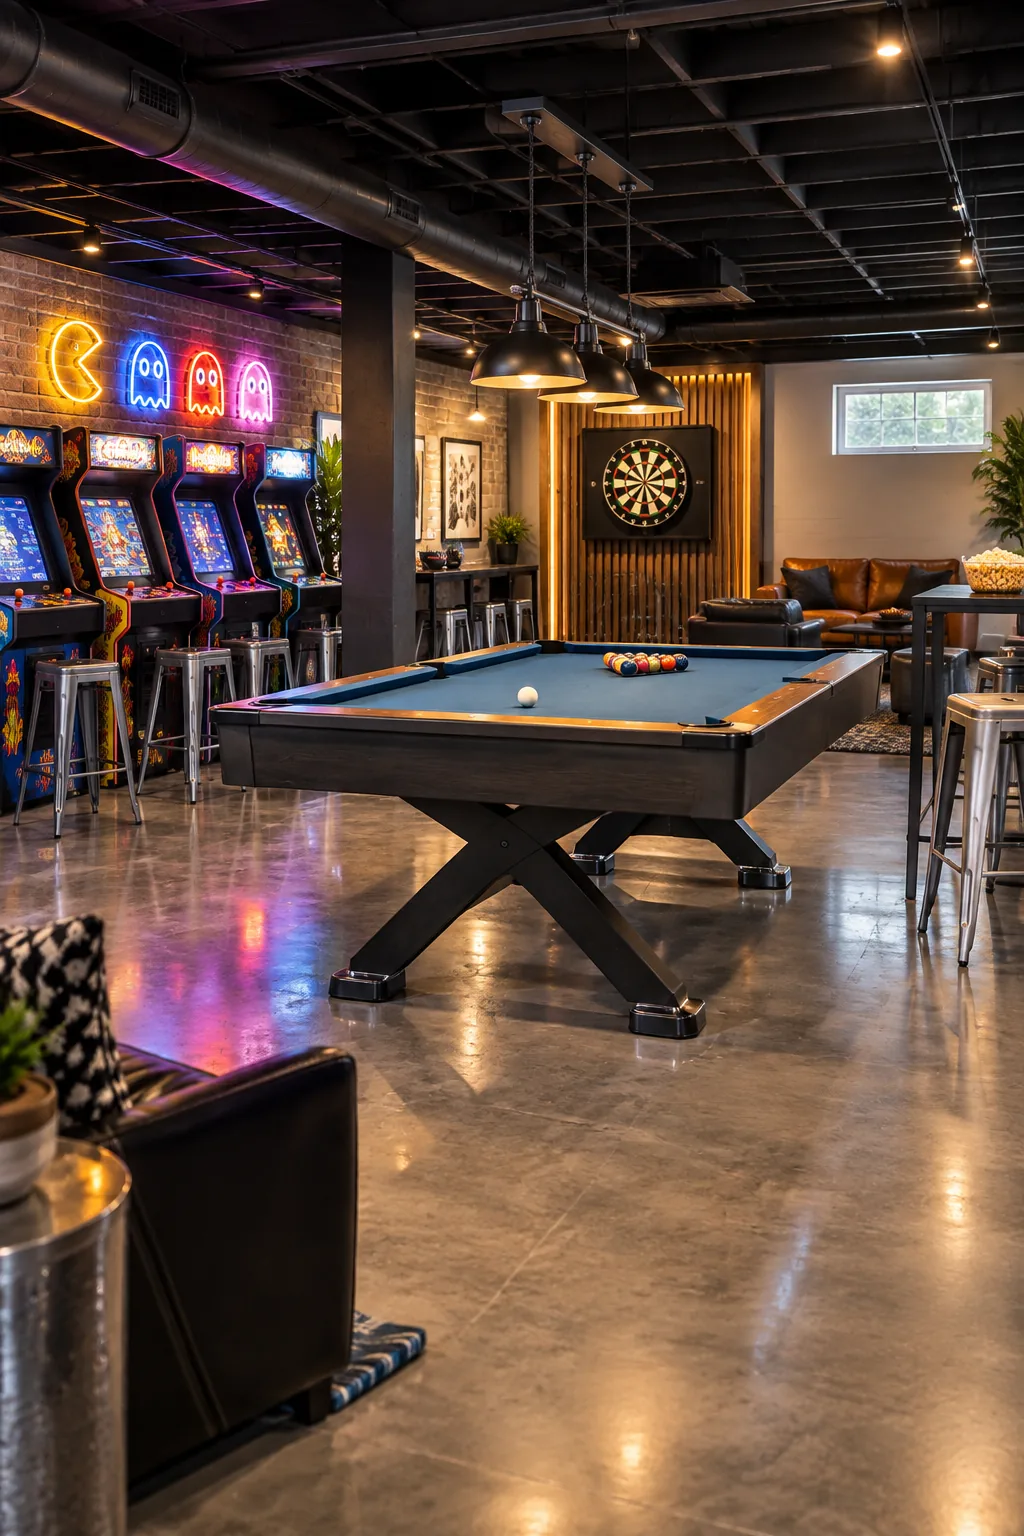
Modern Navy Pub Style: Deep navy wainscoting and brass hardware elevate the space into a sophisticated private club.
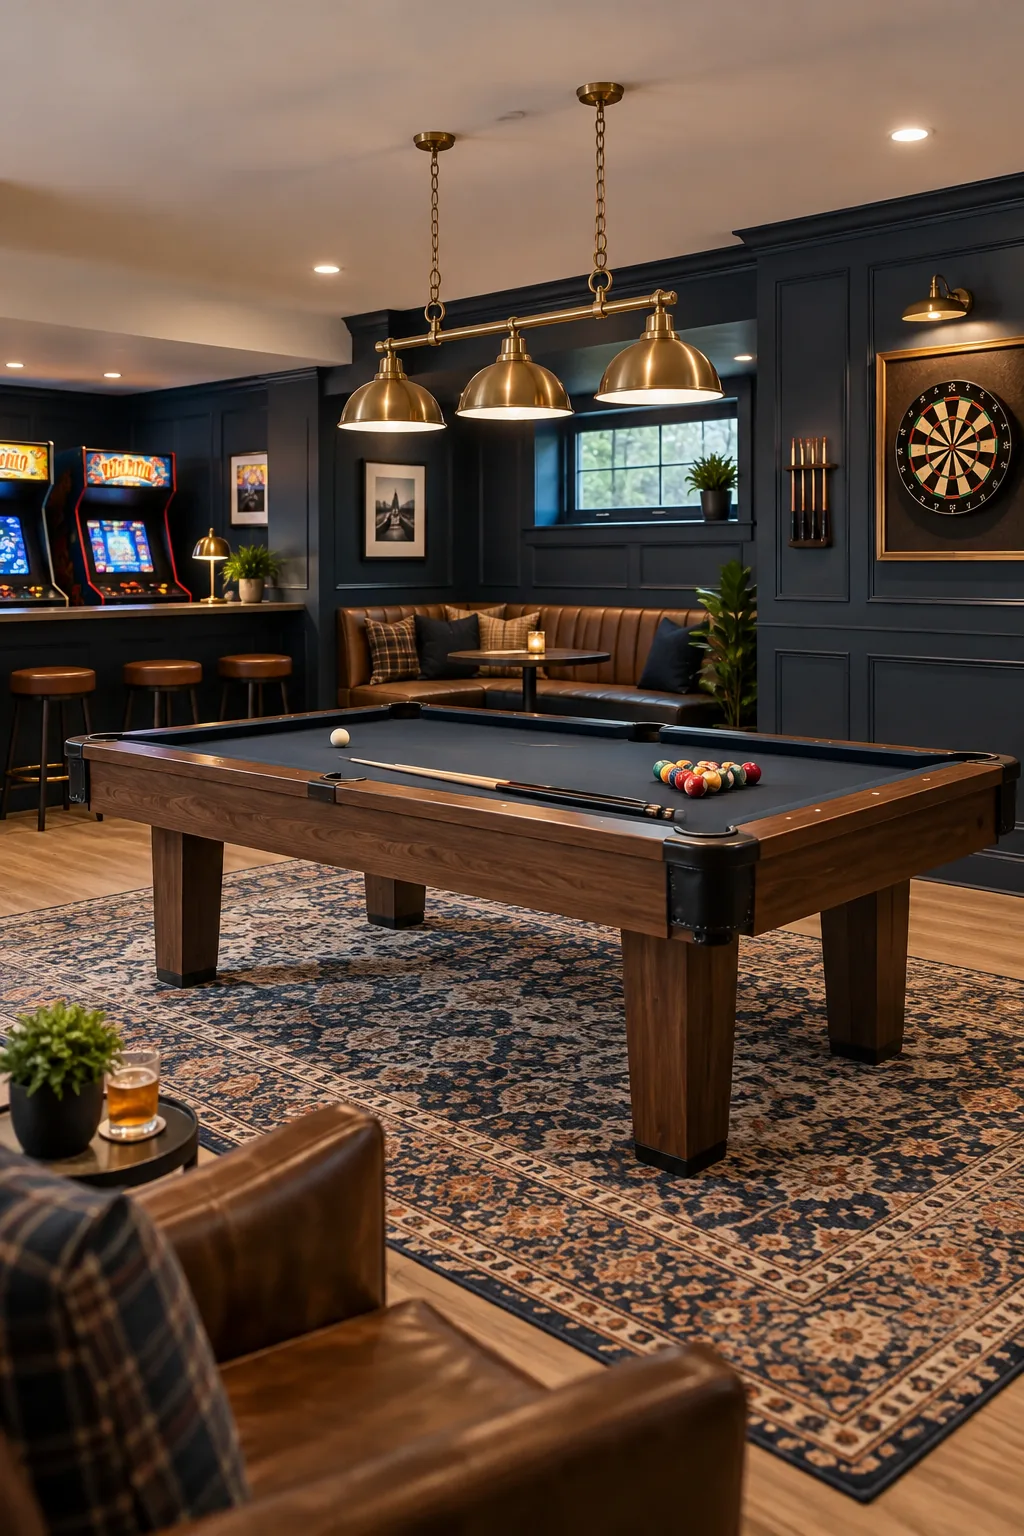
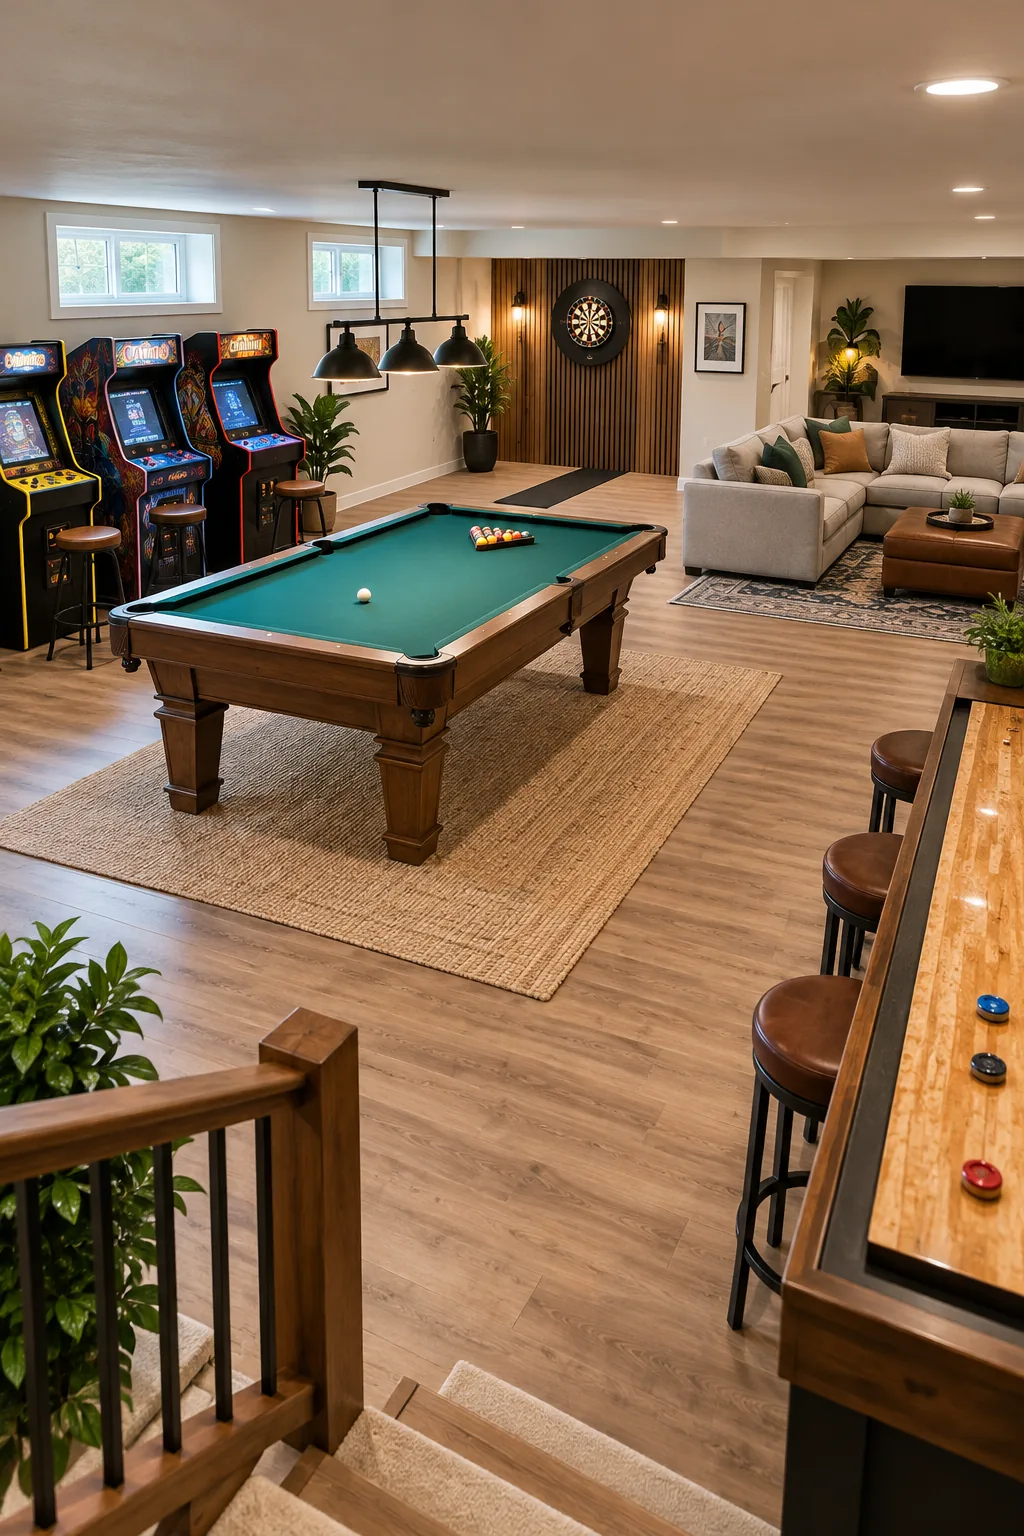
Bright Family Rec Room: Crisp white walls and colorful modular seating keep the basement feeling airy, inviting, and kid-friendly.
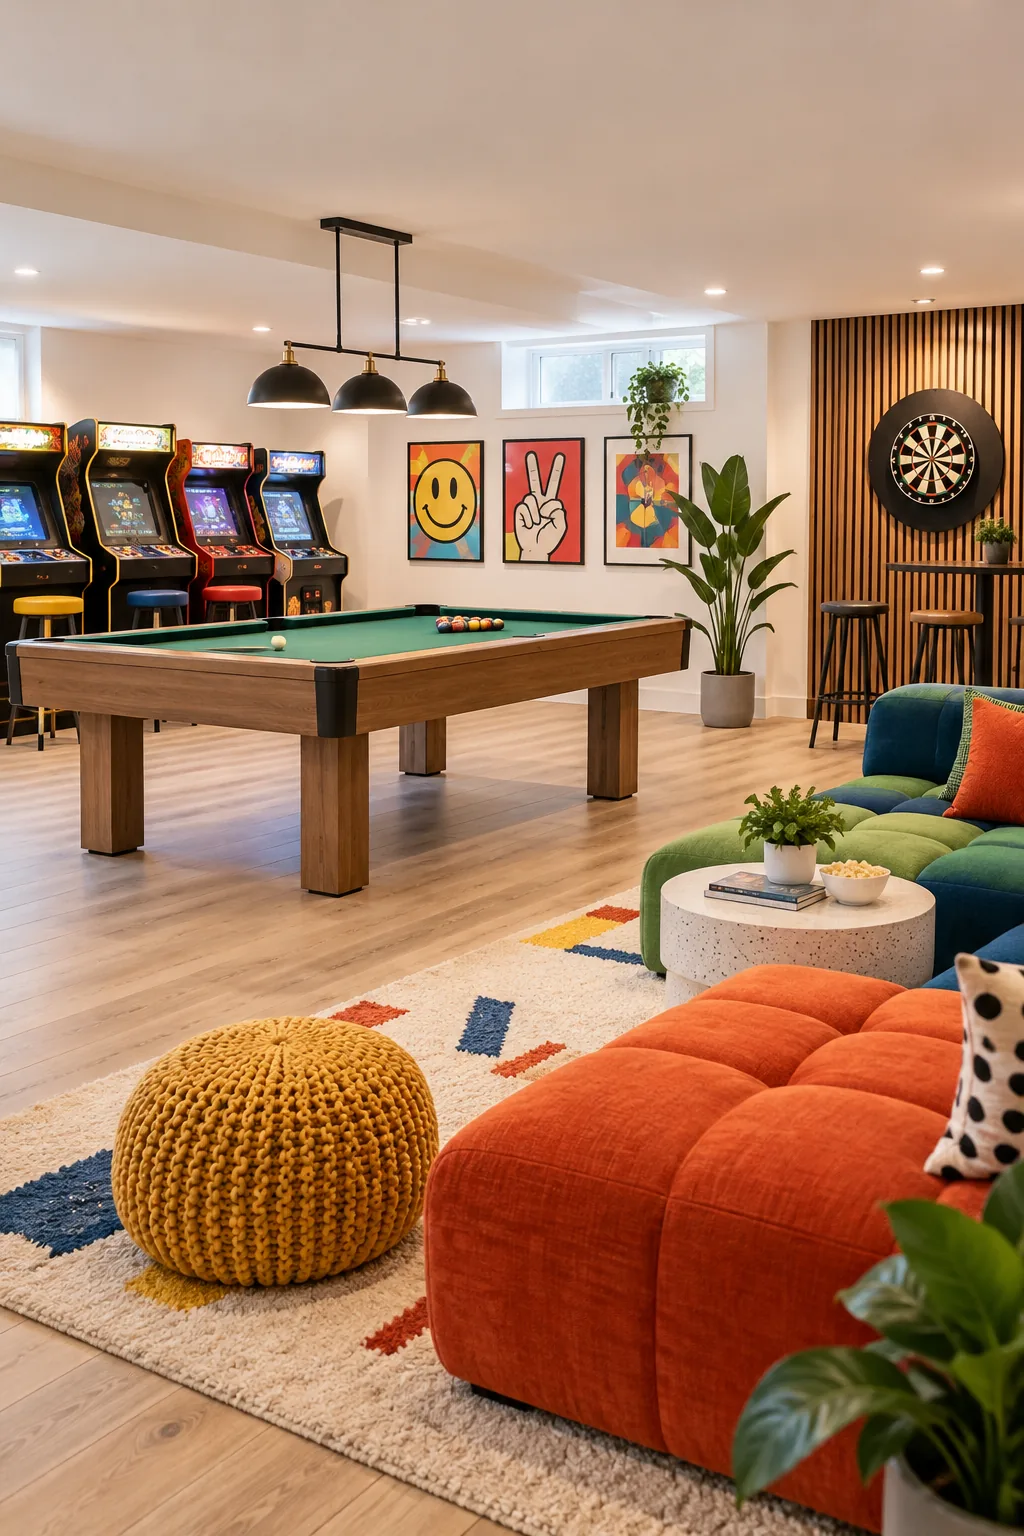
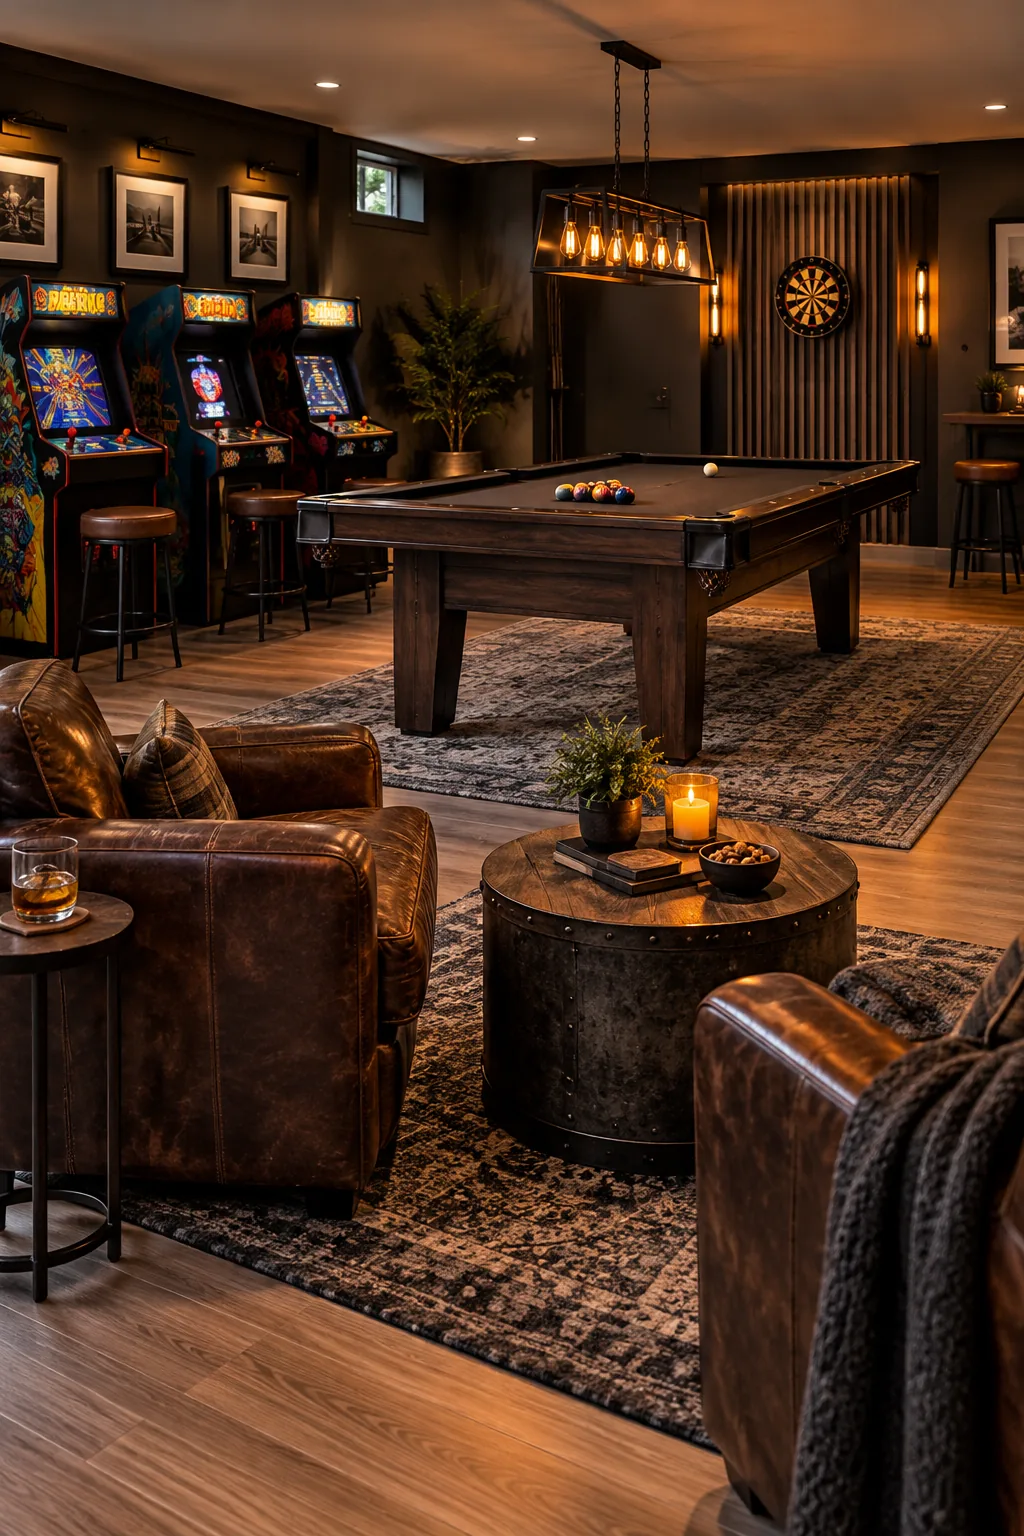
Moody Charcoal Lounge: Charcoal walls and warm amber lighting wrap the room in a cozy, cinematic mood perfect for evening gaming.
Your Complete Zoning & Clearance Cheat Sheet
After arranging dozens of basements, I know that having exact measurements on hand is the only way to purchase heavy equipment with total confidence. This complete zoning cheat sheet ensures your distinct areas function together perfectly without overlapping.
Run through this final pre-purchase checklist to ensure your chosen layout will actually work in your specific basement.