Building a Backyard Fence: Hidden Details & Materials Chart
Grab our complete fence materials quantity chart to calculate your exact lumber needs and assemble a privacy fence engineered to resist rot, sagging, and weather damage. Building a barrier that lasts for decades starts below the soil and ends with protective top caps, so let’s walk through every hidden detail.
Planning Your Fence Line
Establishing a straight, legal boundary line sets the foundation for your entire build. Setting standard 8-foot distances between post centers ensures a sturdy, reliable frame while keeping your lumber purchases perfectly aligned with standard factory board lengths.
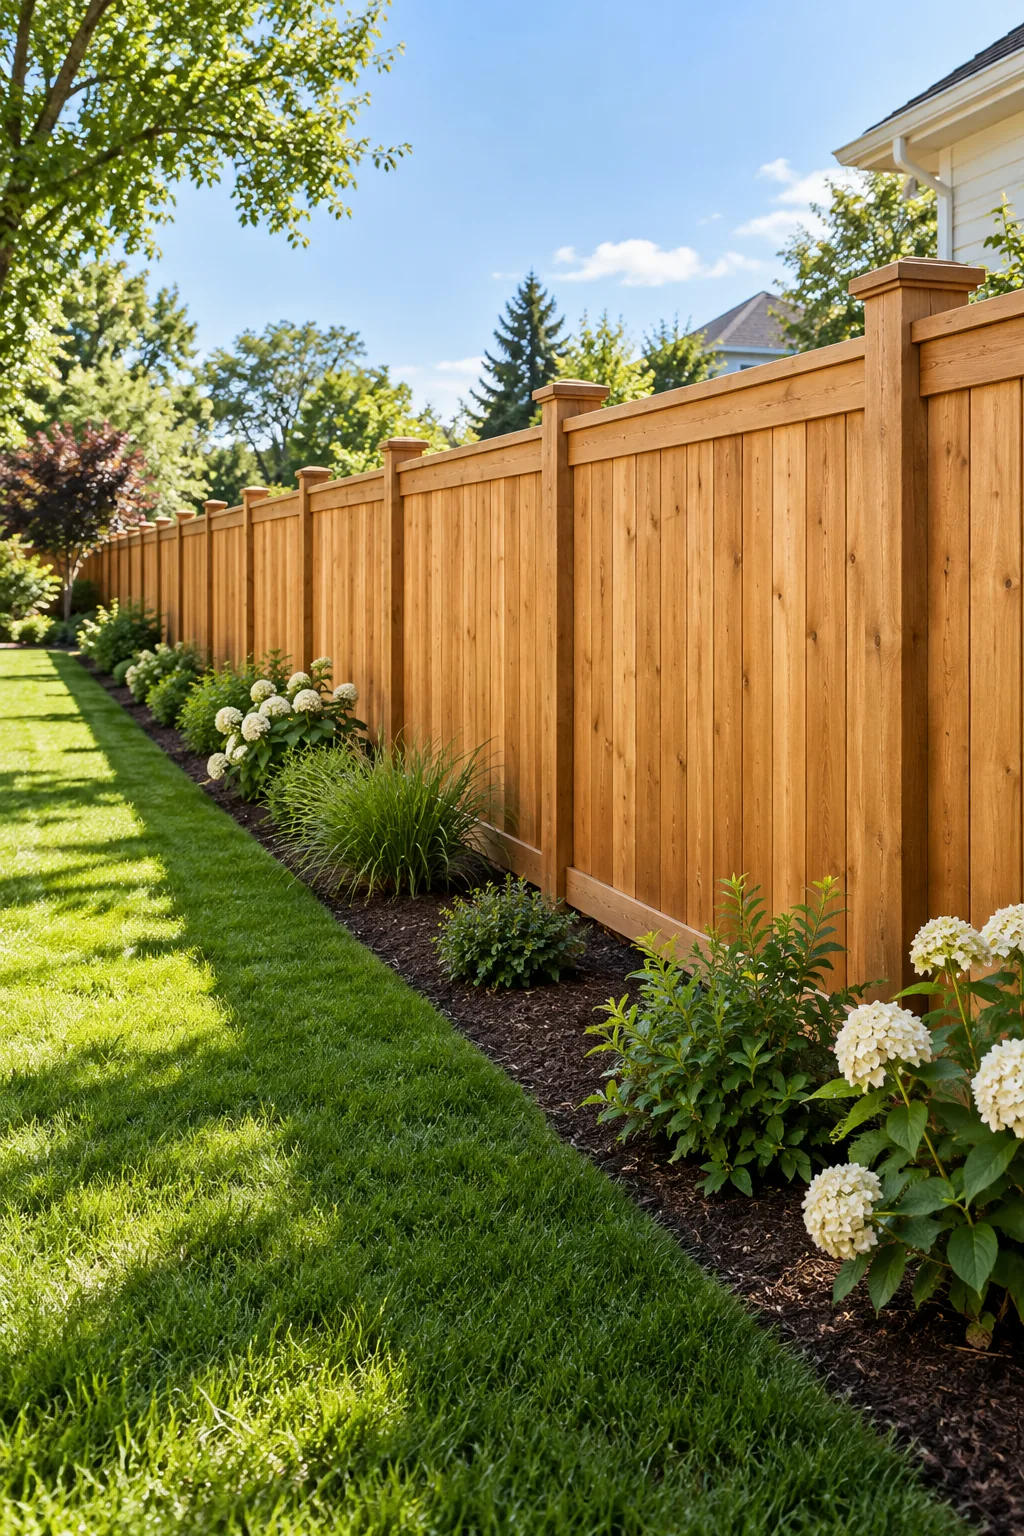
I once had to dig up and move an entire corner post in my Austin backyard because I guessed the property line instead of checking. Before purchasing a single piece of lumber, ensure your planned route is legally and safely clear for construction.
Clearing the Installation Zone
Removing obstacles along the perimeter is absolutely necessary before any digging begins. You must clear away old roots, large rocks, and overgrown brush that could interfere with your post hole auger and throw your carefully measured straight lines completely off course.
Digging the Post Holes
Sinking your structural supports deep enough is critical to prevent the entire barrier from leaning over time. You should dig each hole to a depth of at least one-third the total post height, ensuring the structure easily withstands heavy seasonal wind loads.
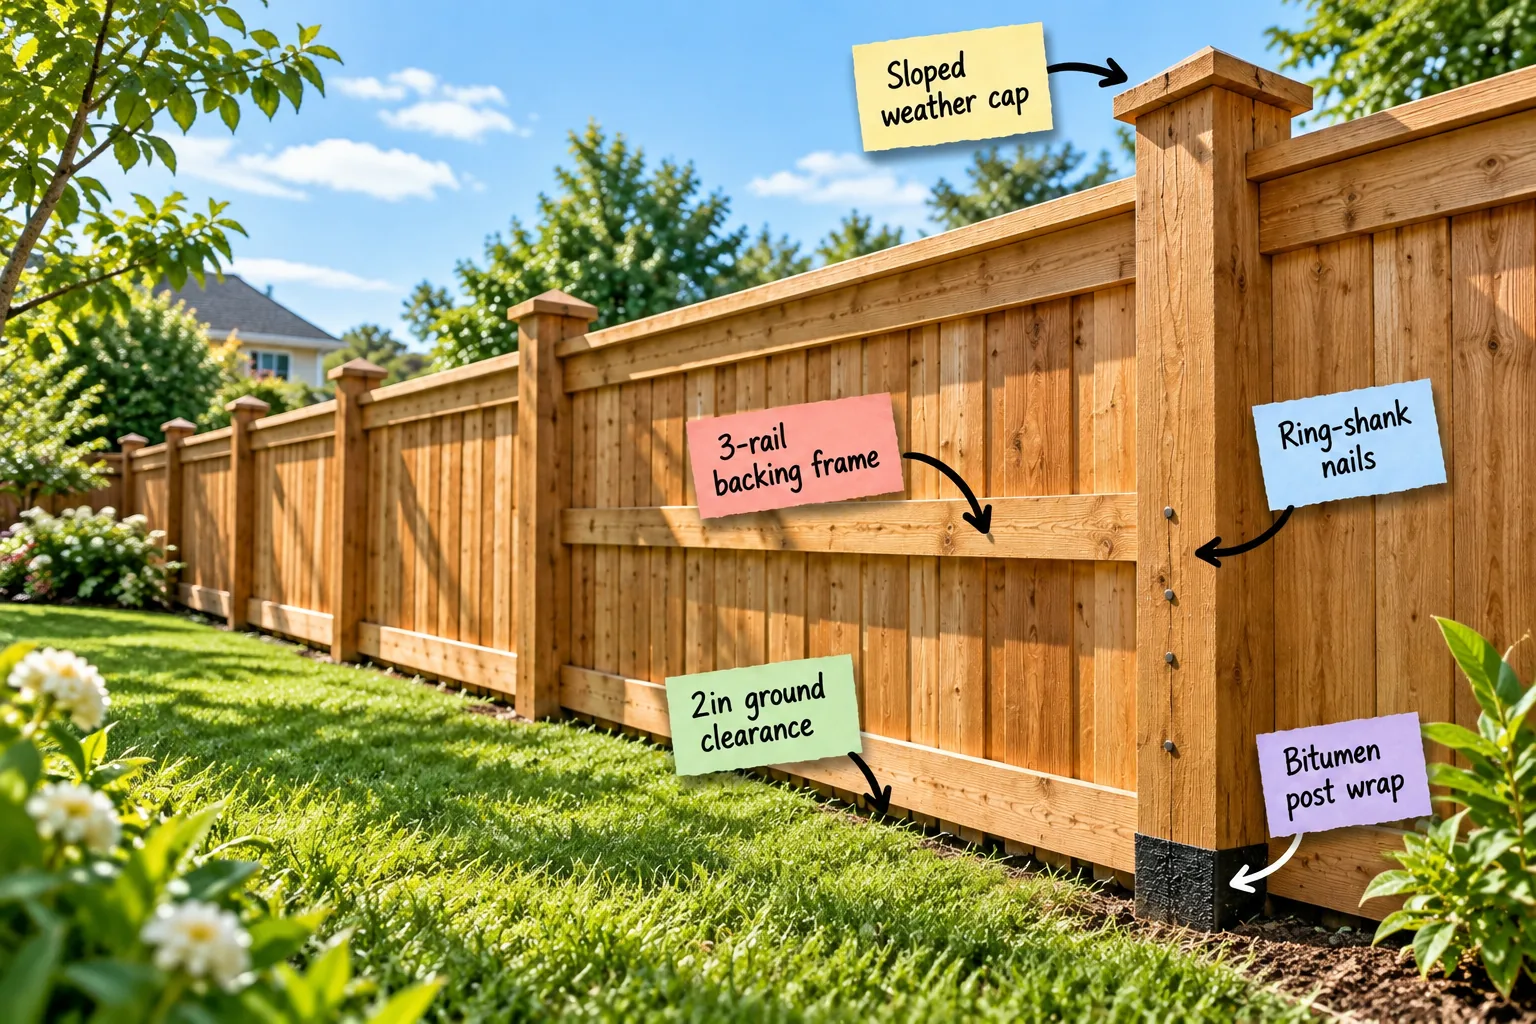
Bitumen Post Wrap
Wrapping your 4×4 posts at the exact point they enter the soil prevents the most common type of structural failure. This simple moisture barrier drastically extends the lifespan of your supports by keeping wet dirt completely off the raw wood.
The bitumen post wrap should extend exactly 1 inch above the final soil grade. This precise placement guarantees that pooling rainwater never touches the unprotected upper fibers during heavy storms, stopping rot before it can even start.
Adding Gravel for Drainage
Pouring a generous layer of crushed gravel into the bottom of every hole gives ground moisture a reliable place to escape. Aim for about 4 inches of drainage rock beneath the wooden base to keep the end grain from sitting in mud.
Mixing and Pouring Concrete
Securing the vertical supports requires the right consistency of fast-setting concrete mix to lock everything perfectly plumb. Follow these specific steps to ensure a rock-solid foundation that cures evenly without trapping unwanted air pockets around the vulnerable post base.
- Fill the hole with dry mix until it sits three inches below grade.
- Pour water slowly while stabbing the mixture with a scrap stick.
- Check for plumb on two adjacent sides before the concrete stiffens.
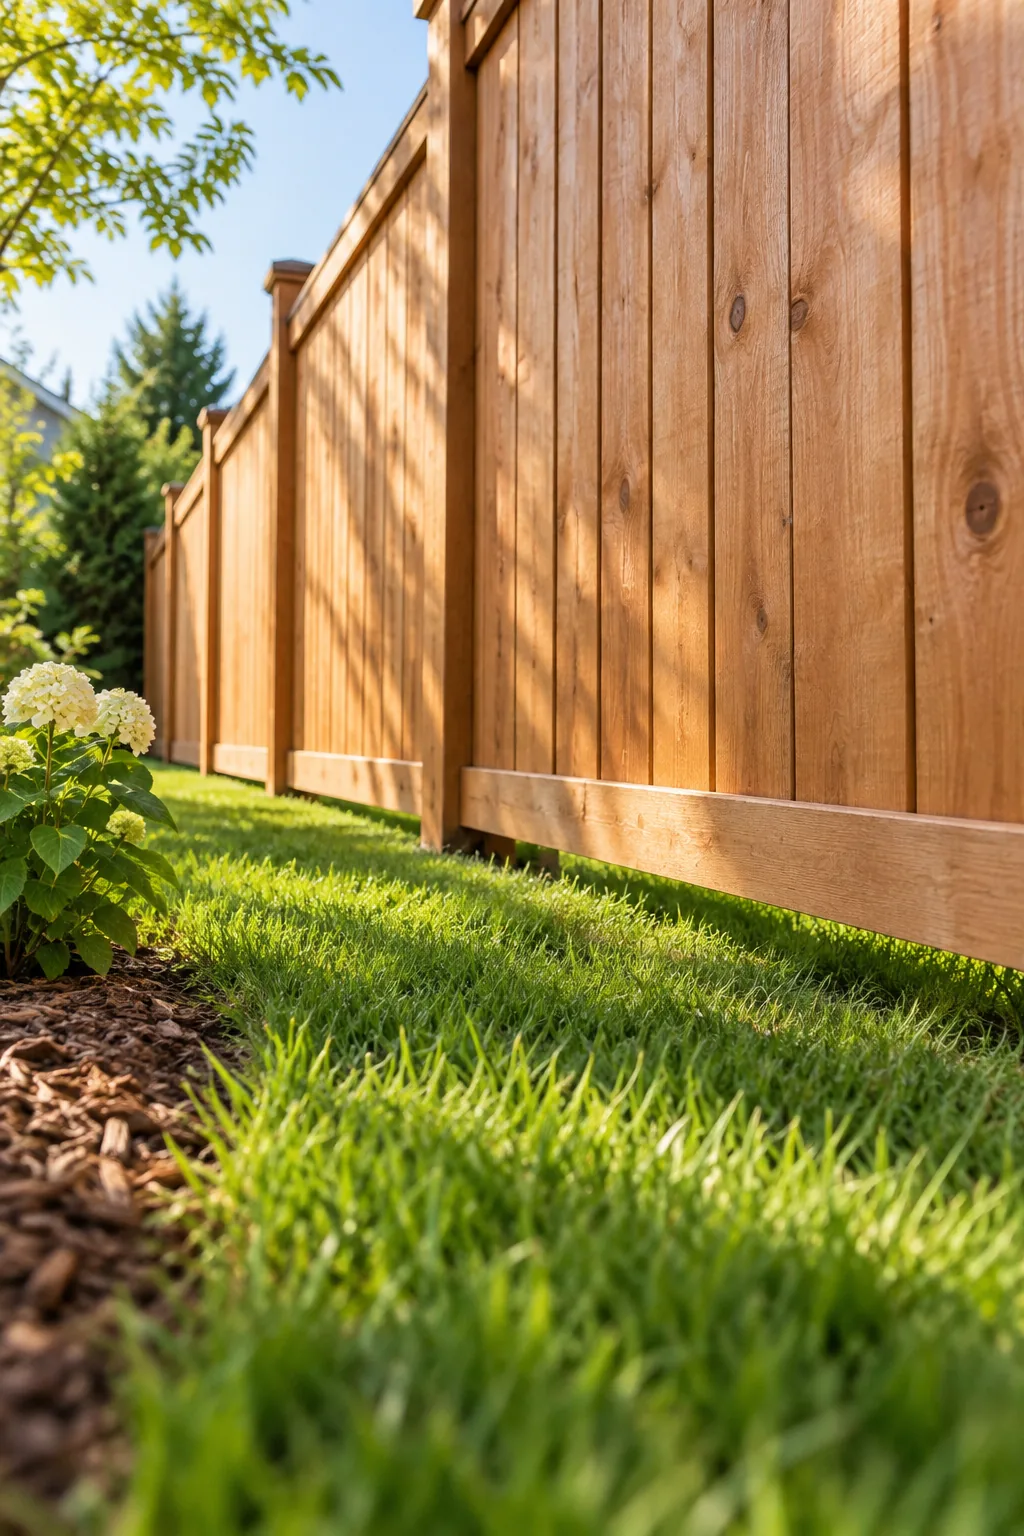
2-Inch Ground Clearance
Detailing the necessity of keeping the wooden pickets elevated off the grass is crucial for longevity. Specifying a strict 2-inch ground clearance protects the wood from standing water, wet soil moisture, and constant physical damage from aggressive string trimmers.
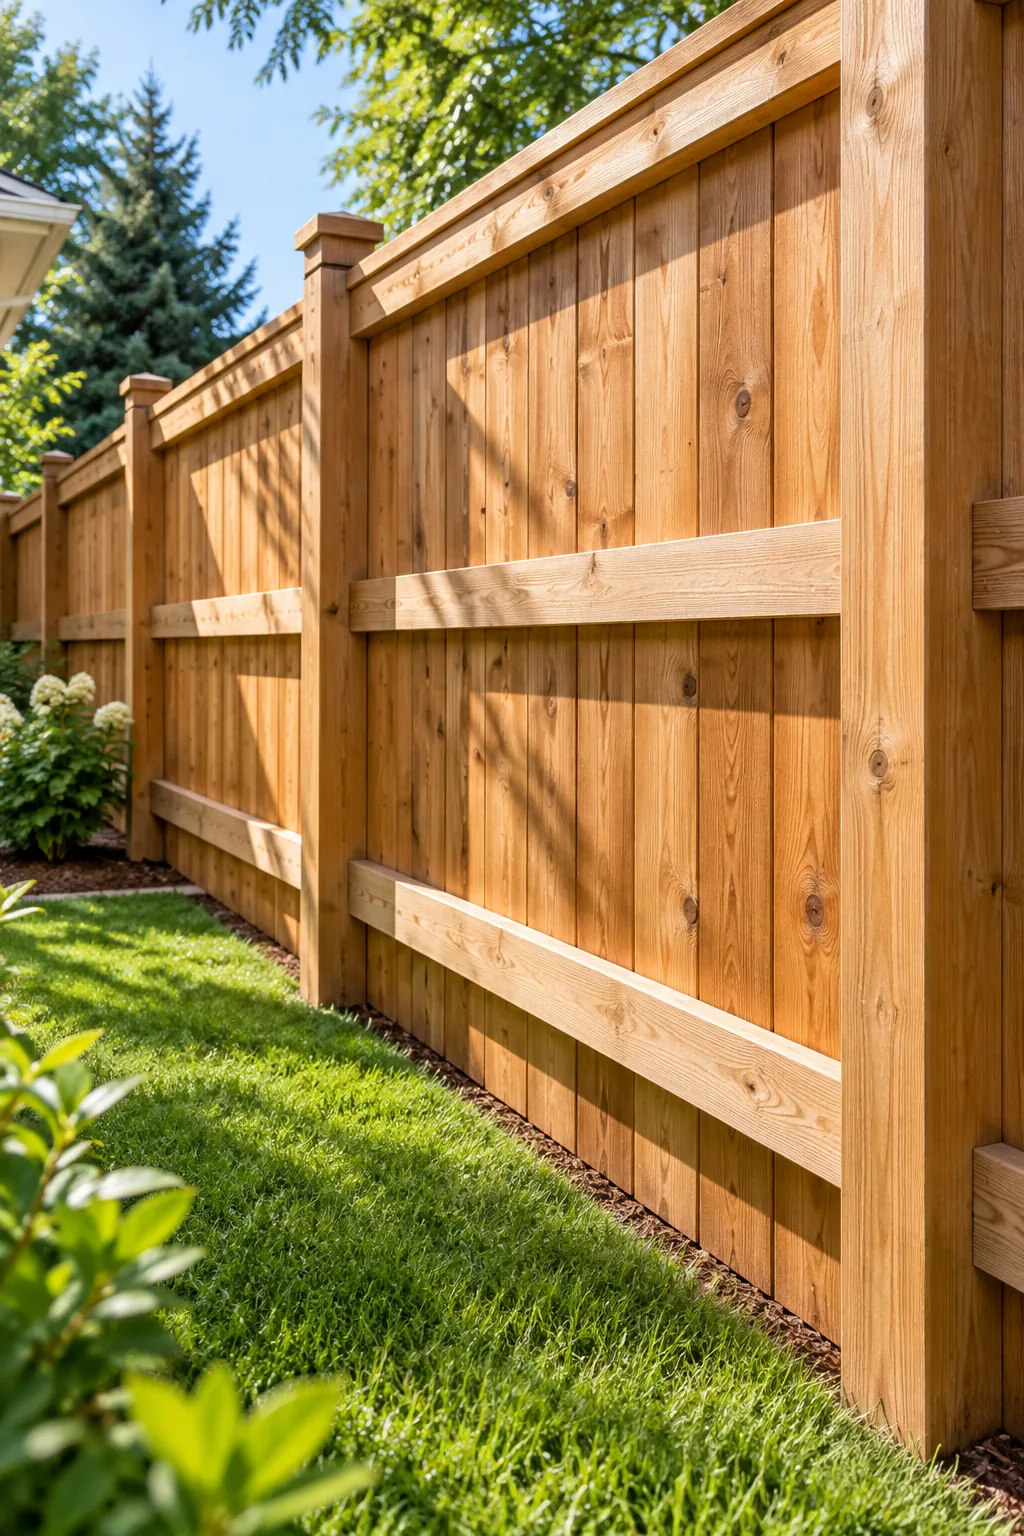
In my first garden, I ran the boards straight down to the dirt, and they rotted out completely within three short years. That empty shadow space is crucial for constant airflow and maintaining long-term structural durability across the entire span.
Setting the Bottom Rail
Attaching the lowest horizontal support establishes the structural baseline for your entire panel assembly. You must measure up carefully from the soil to ensure this 2×4 remains perfectly level, regardless of how the natural yard slopes unevenly beneath it.
The 3-Rail Backing Frame
Discussing the structural advantage of using three horizontal 2×4 rails instead of the standard two reveals a major professional secret. This robust framework securely anchors the heavy vertical boards across their entire length, distributing the weight evenly.
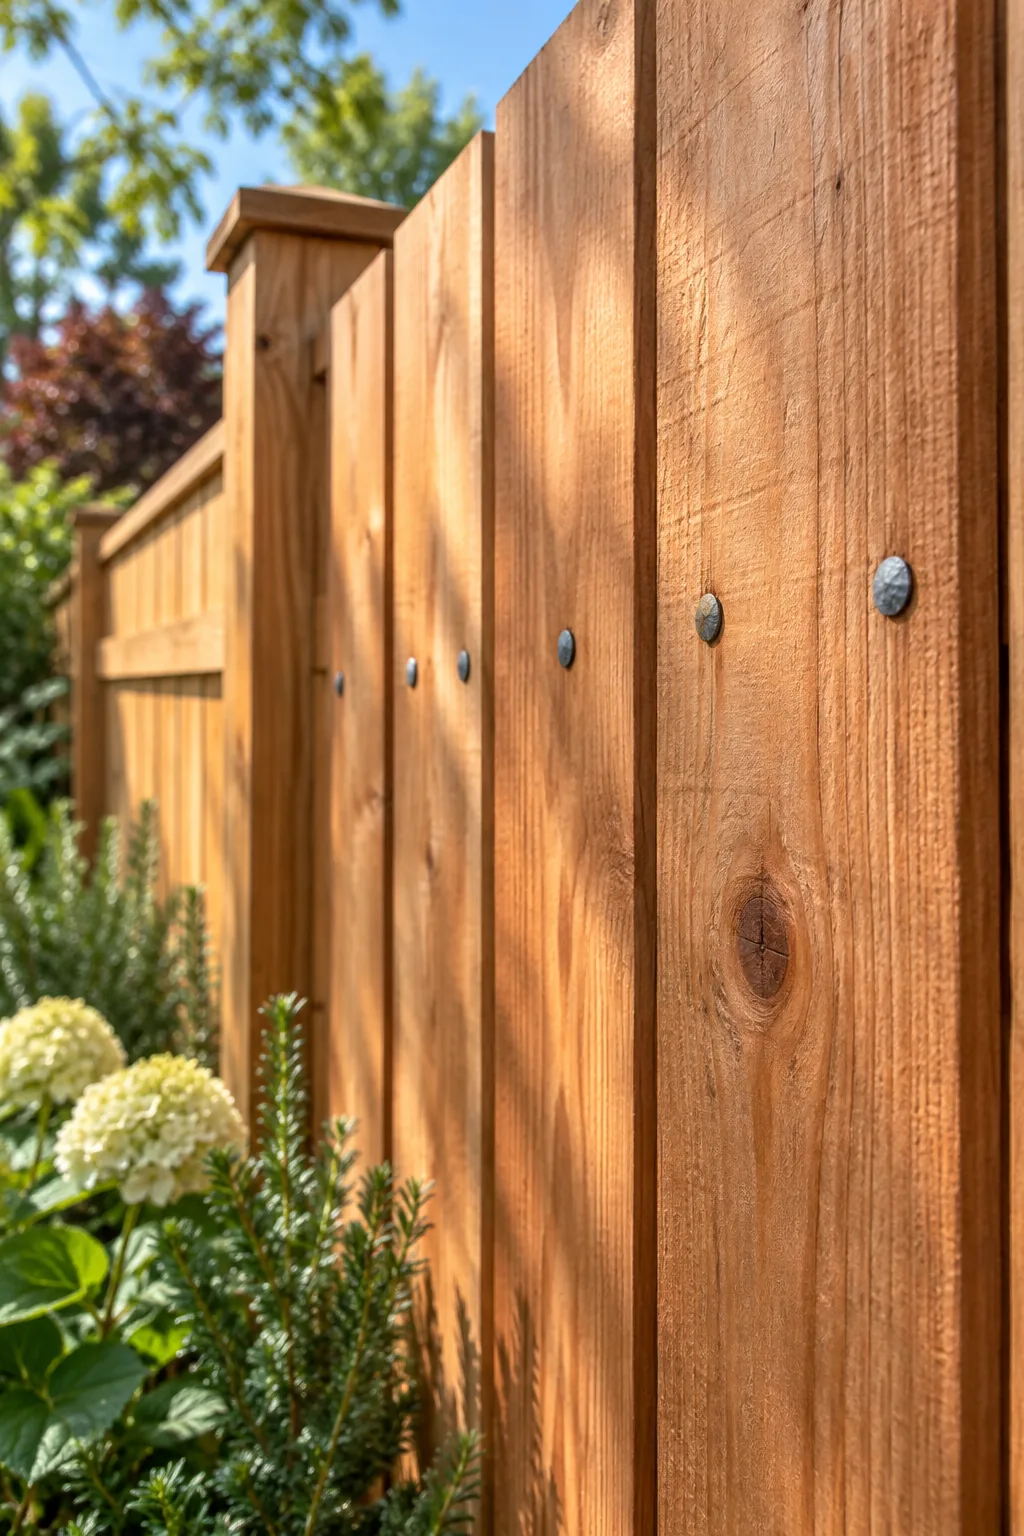
A 3-rail backing frame adds a critical middle support that prevents the vertical pickets from bowing or warping in the hot sun. This extra layer of rigidity keeps the entire privacy screen looking perfectly flat and secure for decades.
Choosing the Right Cedar Grade
Selecting high-quality lumber makes a massive difference in how well the finished product resists natural decay over the years. Always look for standard or better Western Red Cedar, which naturally contains protective oils that repel hungry insects and resist fungal growth.
Ring-Shank Nails
Covering the importance of using the right fasteners for outdoor wood ensures your panels survive extreme weather changes. Standard smooth nails will slowly back out over time as the lumber naturally expands and shrinks during humid summer months.
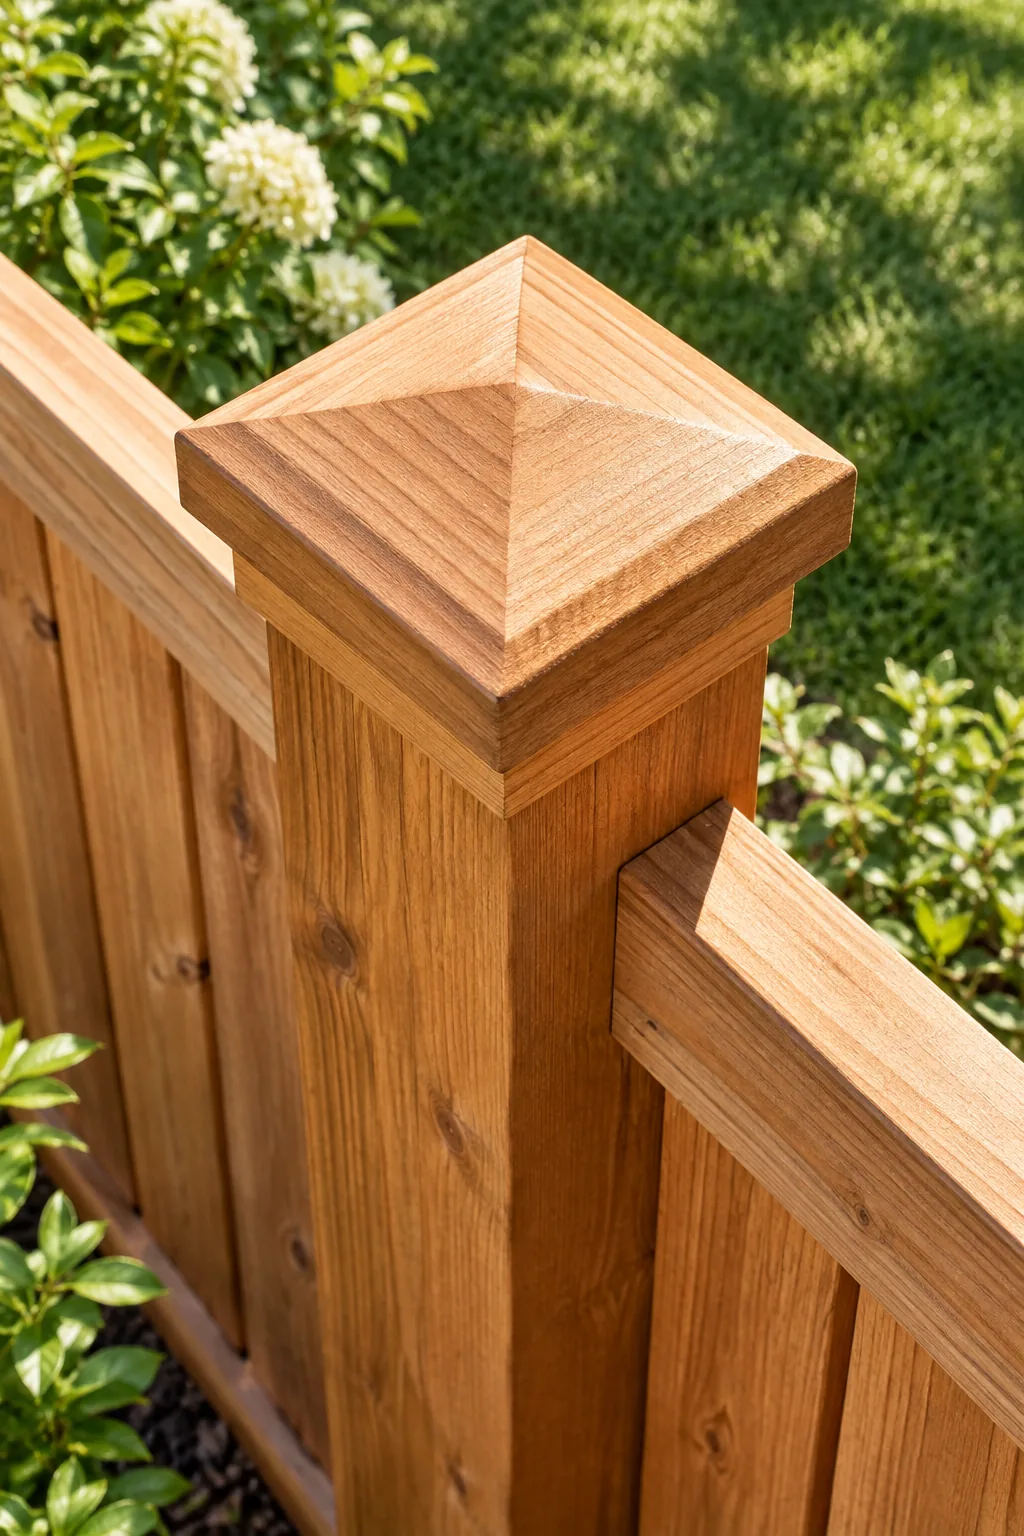
Specialized ring-shank nails grip the internal wood fibers tightly, holding every single board flush against the rails. Driving these textured fasteners in a straight vertical row guarantees a secure, professional finish that never rattles loosely in the wind.
Spacing the Pickets
Leaving a tiny gap between each vertical board allows the wood to swell safely during humid rainy seasons without buckling the panel. Using a standard 16-penny nail as a quick spacer between pickets provides the perfect expansion joint for outdoor lumber.
Sloped Weather Caps
Explaining the physics of shedding rainwater away from the vulnerable end grain of the main structural posts highlights a crucial protective step. Flat tops allow water to pool, leading directly to deep rot and severe splitting over time.
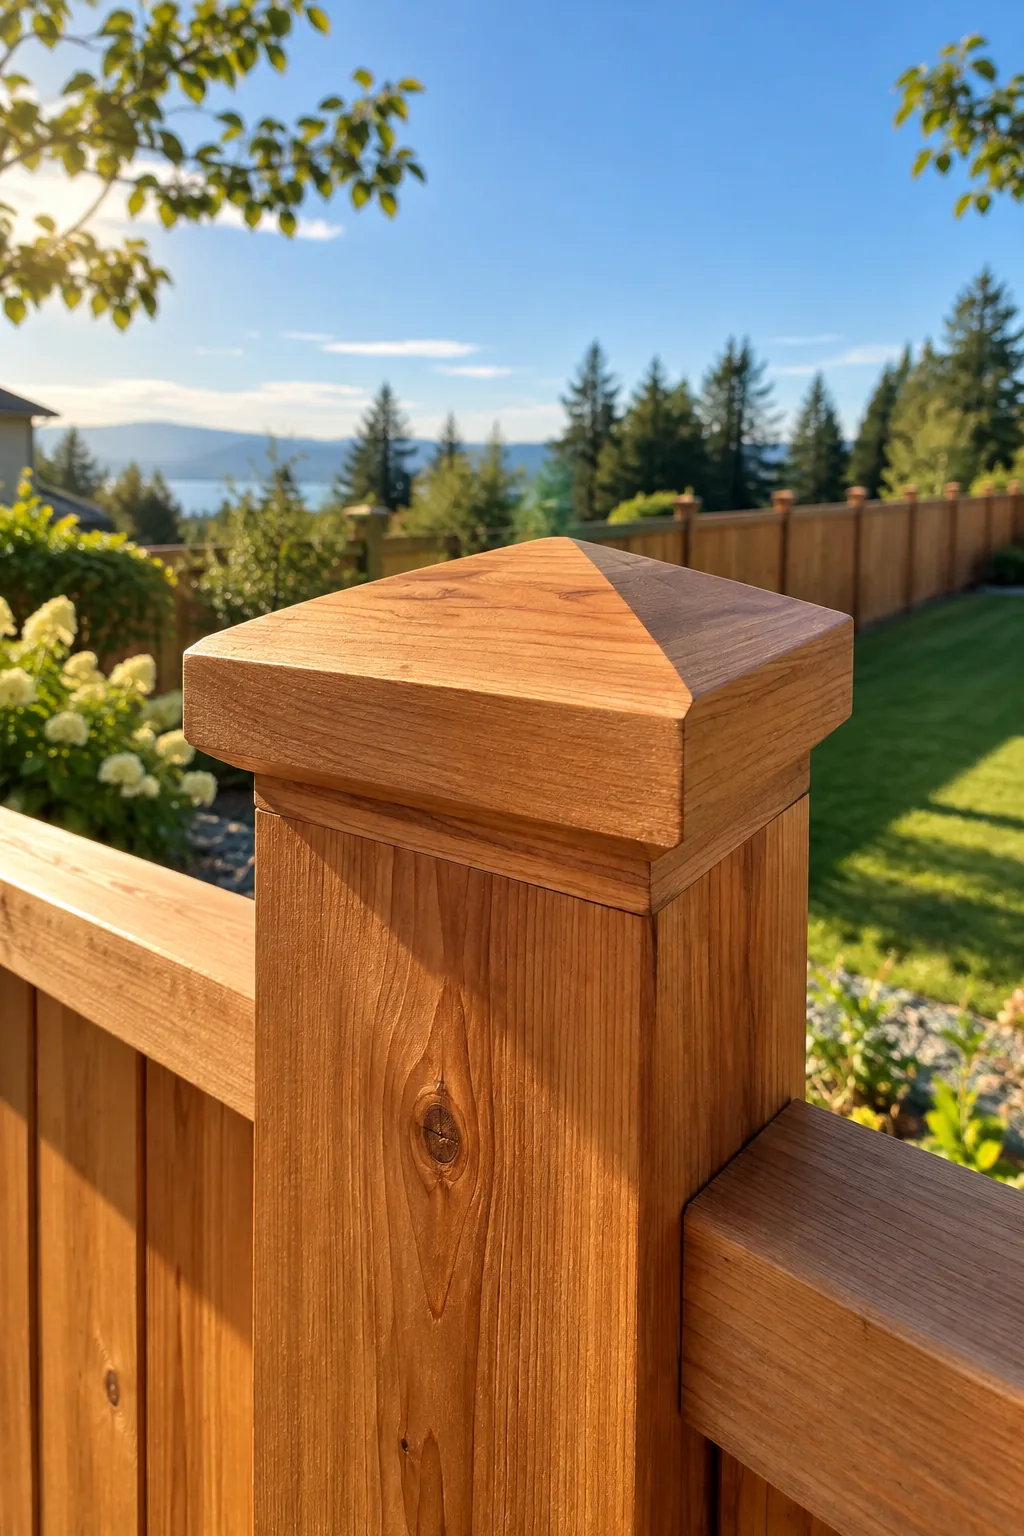
Adding a sloped weather cap forces water to run off harmlessly before it can soak into the core. Whether you use a simple angled cut or an attached pyramid cap, this detail seals the most exposed part of the frame.
Trimming the Top Line
Running a circular saw along a chalk line at the very top of the installed pickets creates a perfectly crisp, uniform edge. This final trimming step removes any slight height variations between individual boards, delivering a beautifully clean architectural look.
Wood Treatment and Sealing
Describing the final protective layer needed to preserve the warm cedar color is essential for long-term aesthetics. Without a proper finish, the sun’s harsh ultraviolet rays will quickly bleach the vibrant golden tones into a weathered, silvery gray.
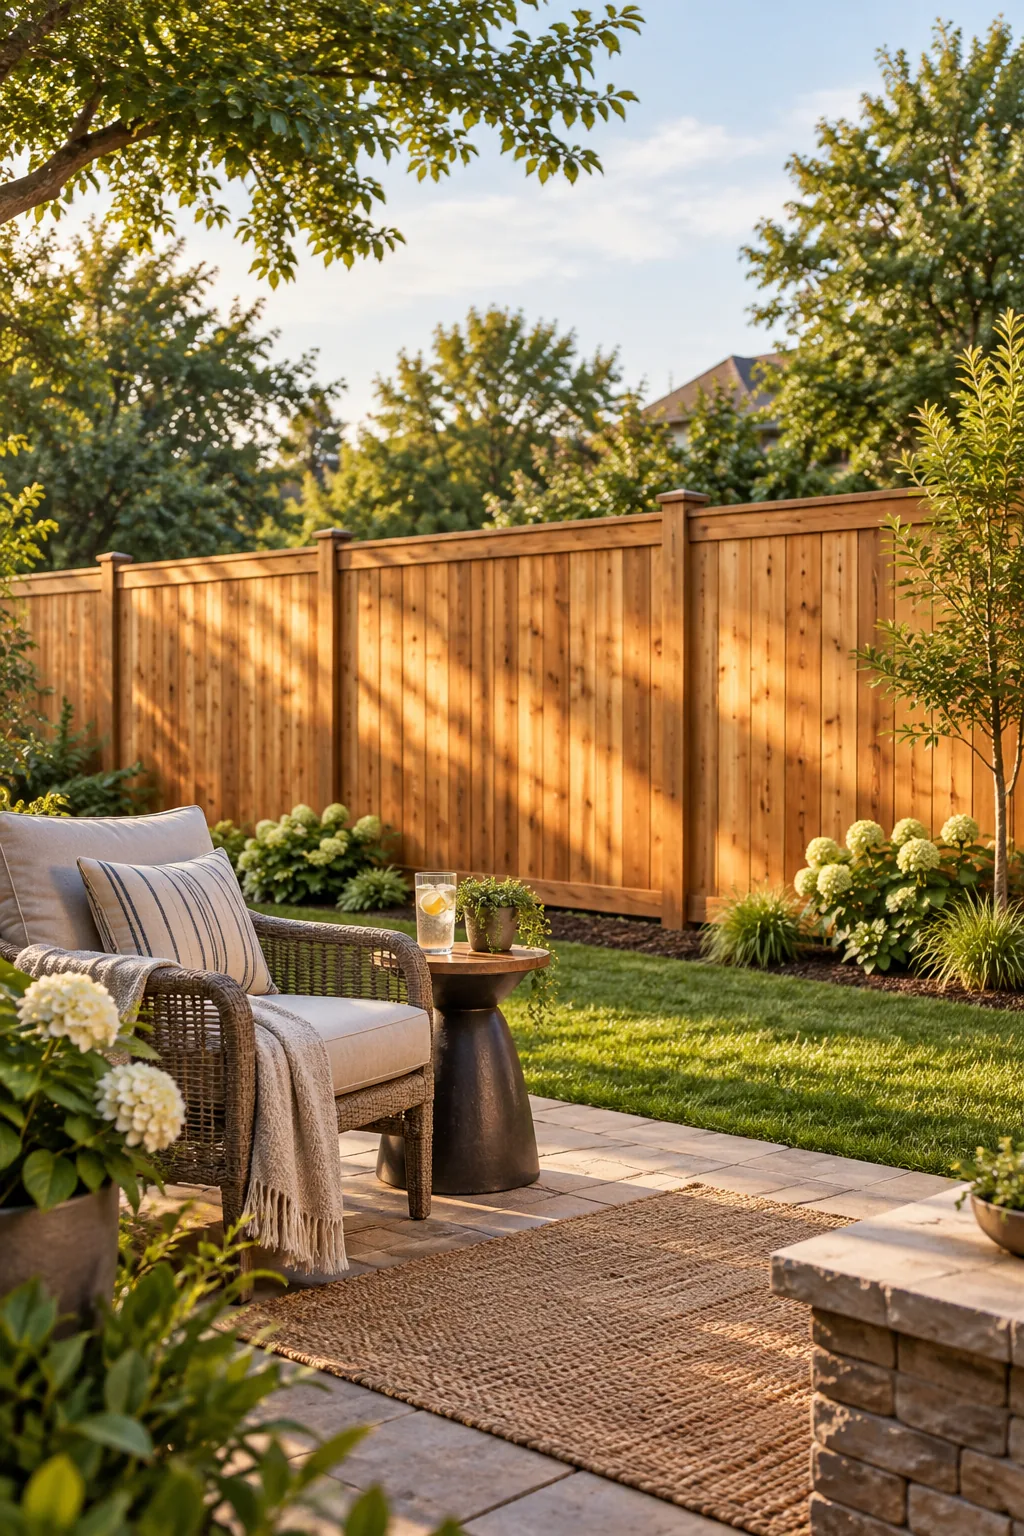
Fresh lumber should always dry for 3 to 4 weeks before a high-quality, UV-blocking sealer is applied. This waiting period allows the internal moisture to escape completely so the protective stain can penetrate deeply into the open wood pores.
Maintaining the Finish
Reapplying your chosen sealant every two to three years keeps the protective barrier intact against harsh outdoor weather. A quick power wash followed by a fresh coat of stain revitalizes the color and significantly extends the life of your investment.
Fence Materials Quantity Chart
Delivering the comprehensive materials chart for planning the build breaks down the exact count of posts, rails, pickets, and concrete bags required. Using this baseline for a standard 8-foot section takes the frustrating guesswork completely out of your lumber order.
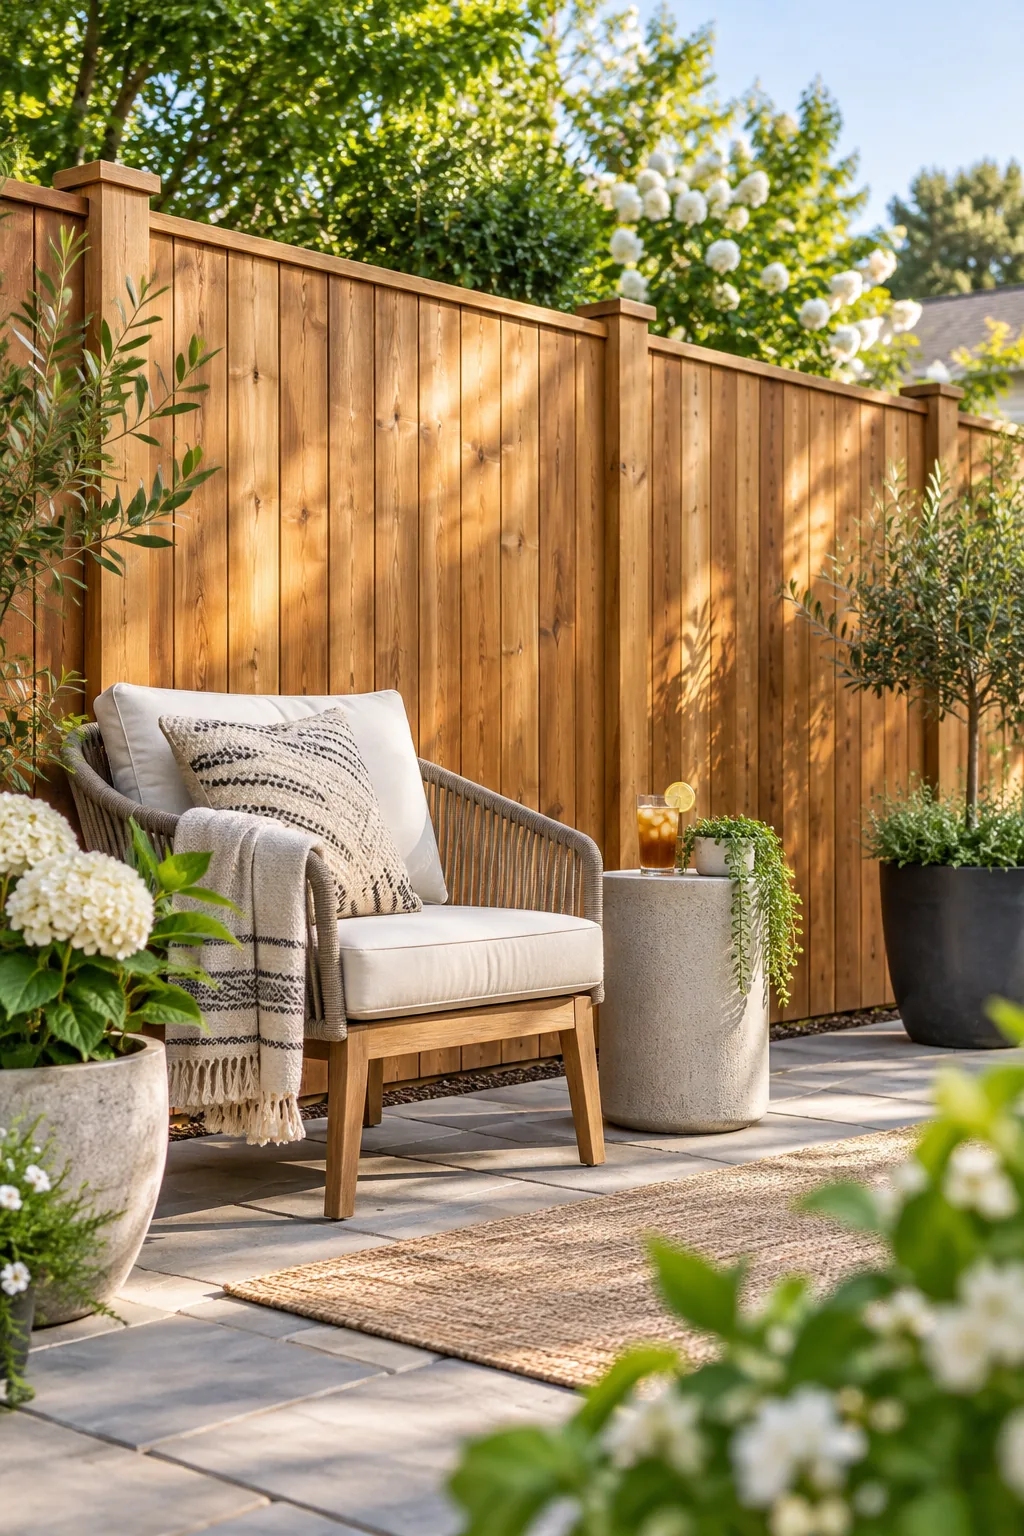
I always keep this specific breakdown saved on my phone at the hardware store so I never forget a bag of concrete mix. Once you have measured your total linear footage, use this exact breakdown to generate your comprehensive shopping list before heading to the lumber yard.
| Material | Dimensions | Amount per 8ft Section |
|---|---|---|
| Structural Posts | 4×4 (8-foot length) | 1 post |
| Backing Rails | 2×4 (8-foot length) | 3 rails |
| Cedar Pickets | 1×6 (6-foot length) | 17 pickets |
| Fasteners | 2-inch ring-shank | 102 nails |
| Concrete Mix | 50 lb bag | 2 bags |
Inspiring Fence Styles for Any Yard
Find the perfect balance of privacy, security, and architectural style for your outdoor space.
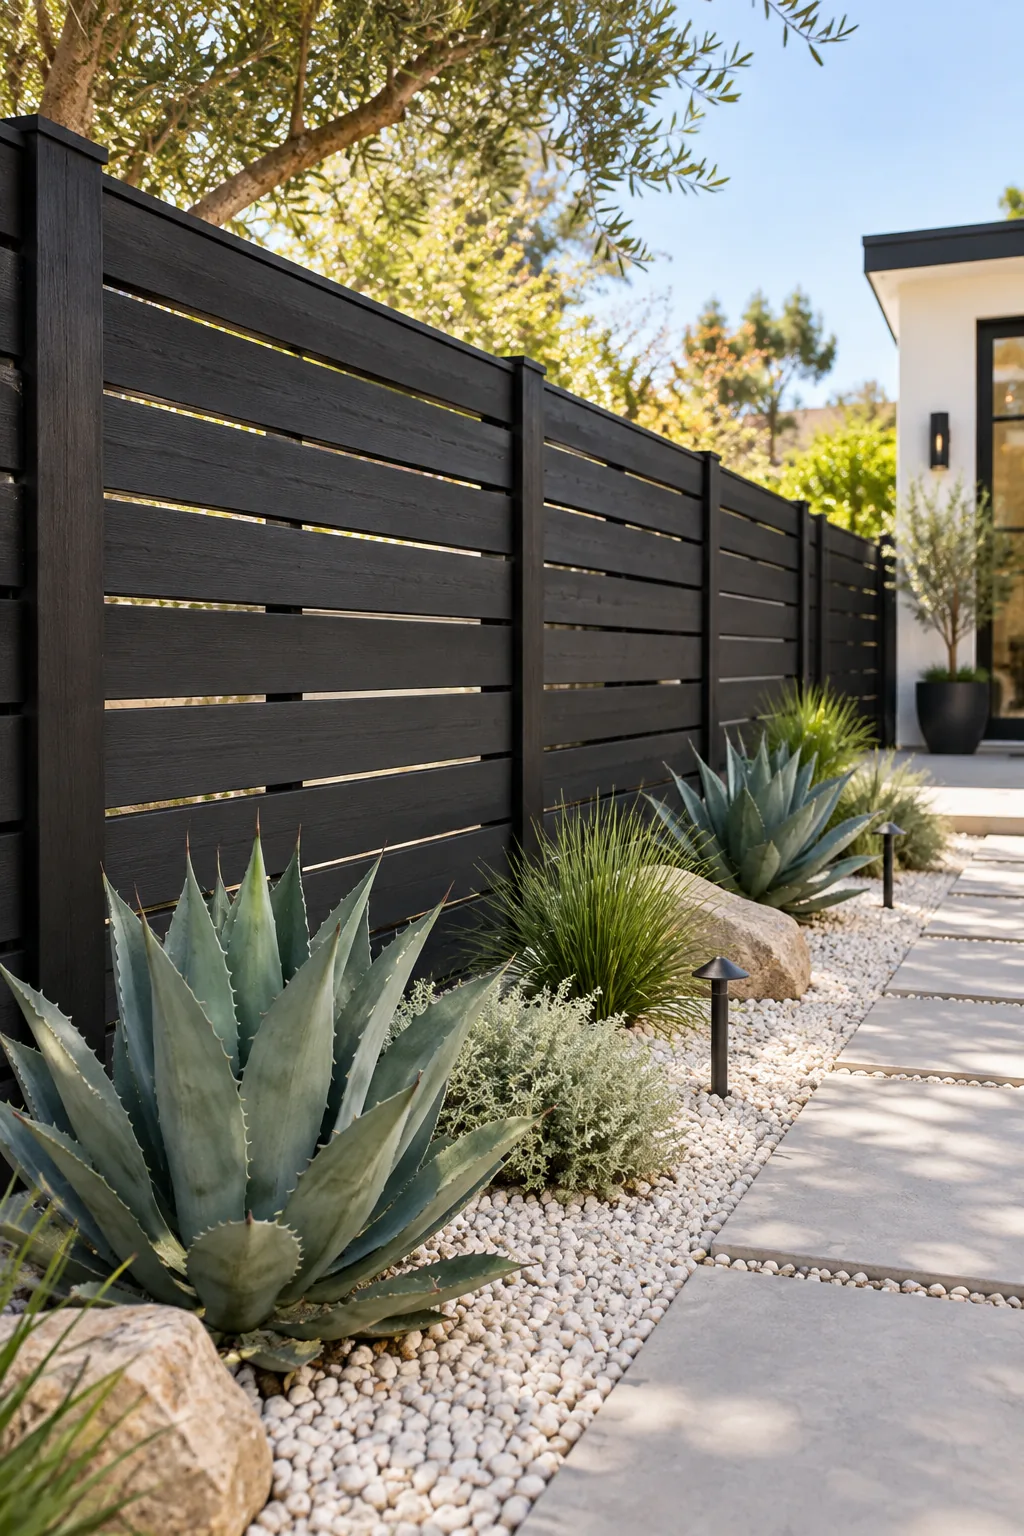
Modern Horizontal Black Slats: Sleek horizontal lines and a bold black finish instantly modernize an outdoor space while providing full privacy.
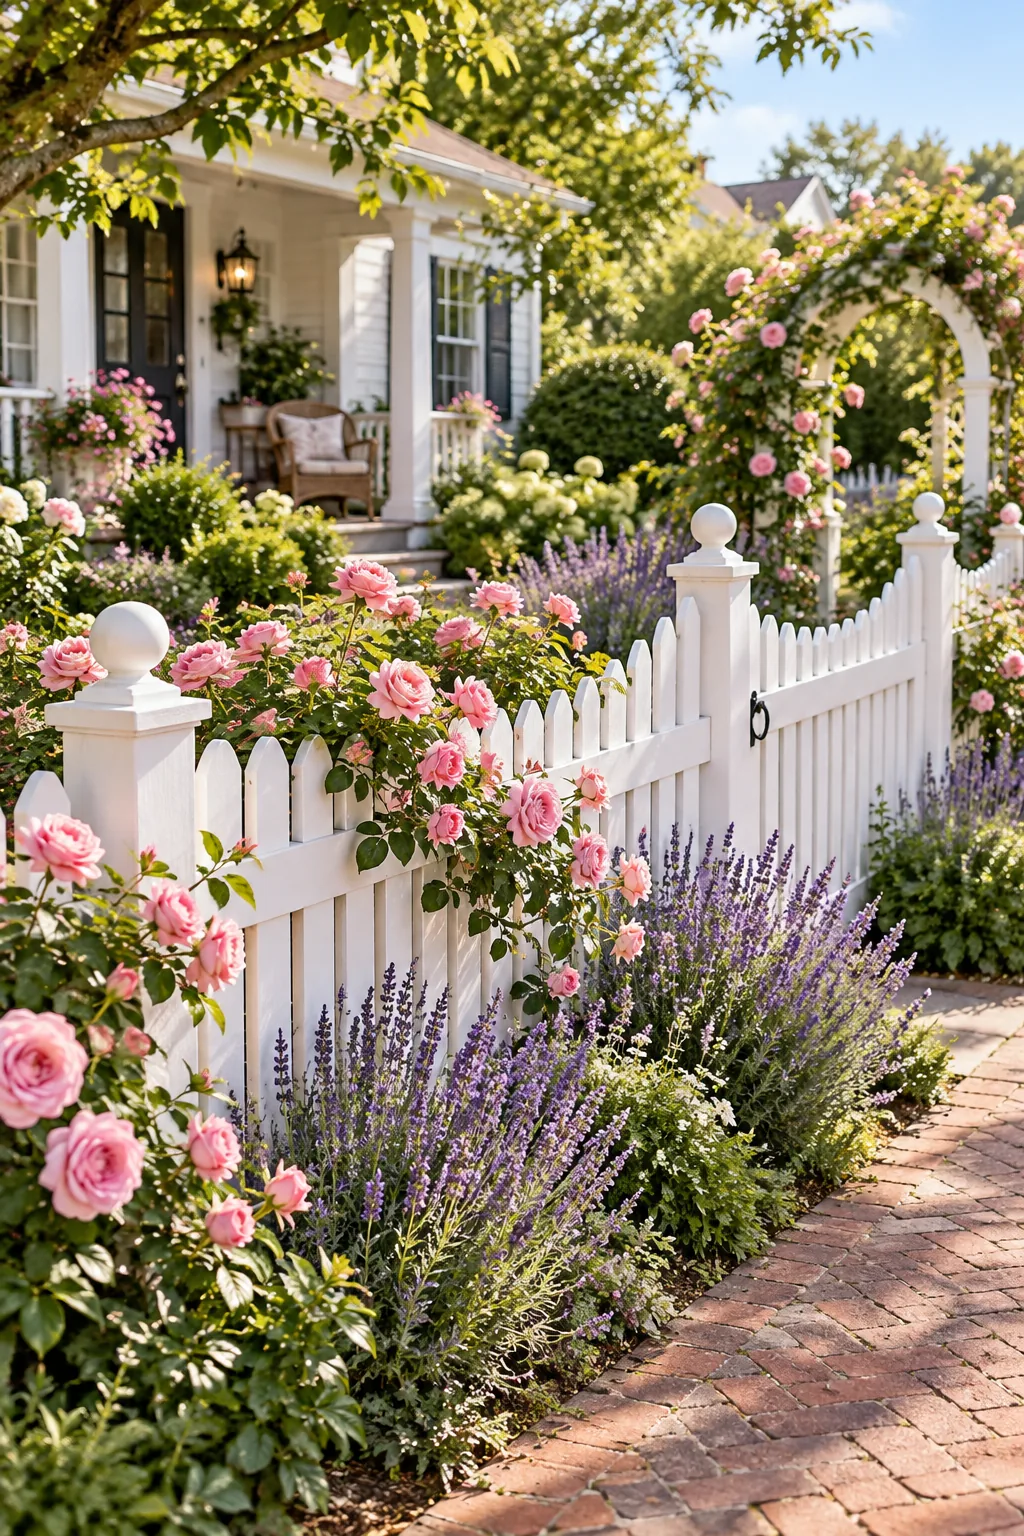
Classic White Cottage Pickets: A traditional scalloped profile painted crisp white offers timeless curb appeal and perfectly frames a blooming garden.
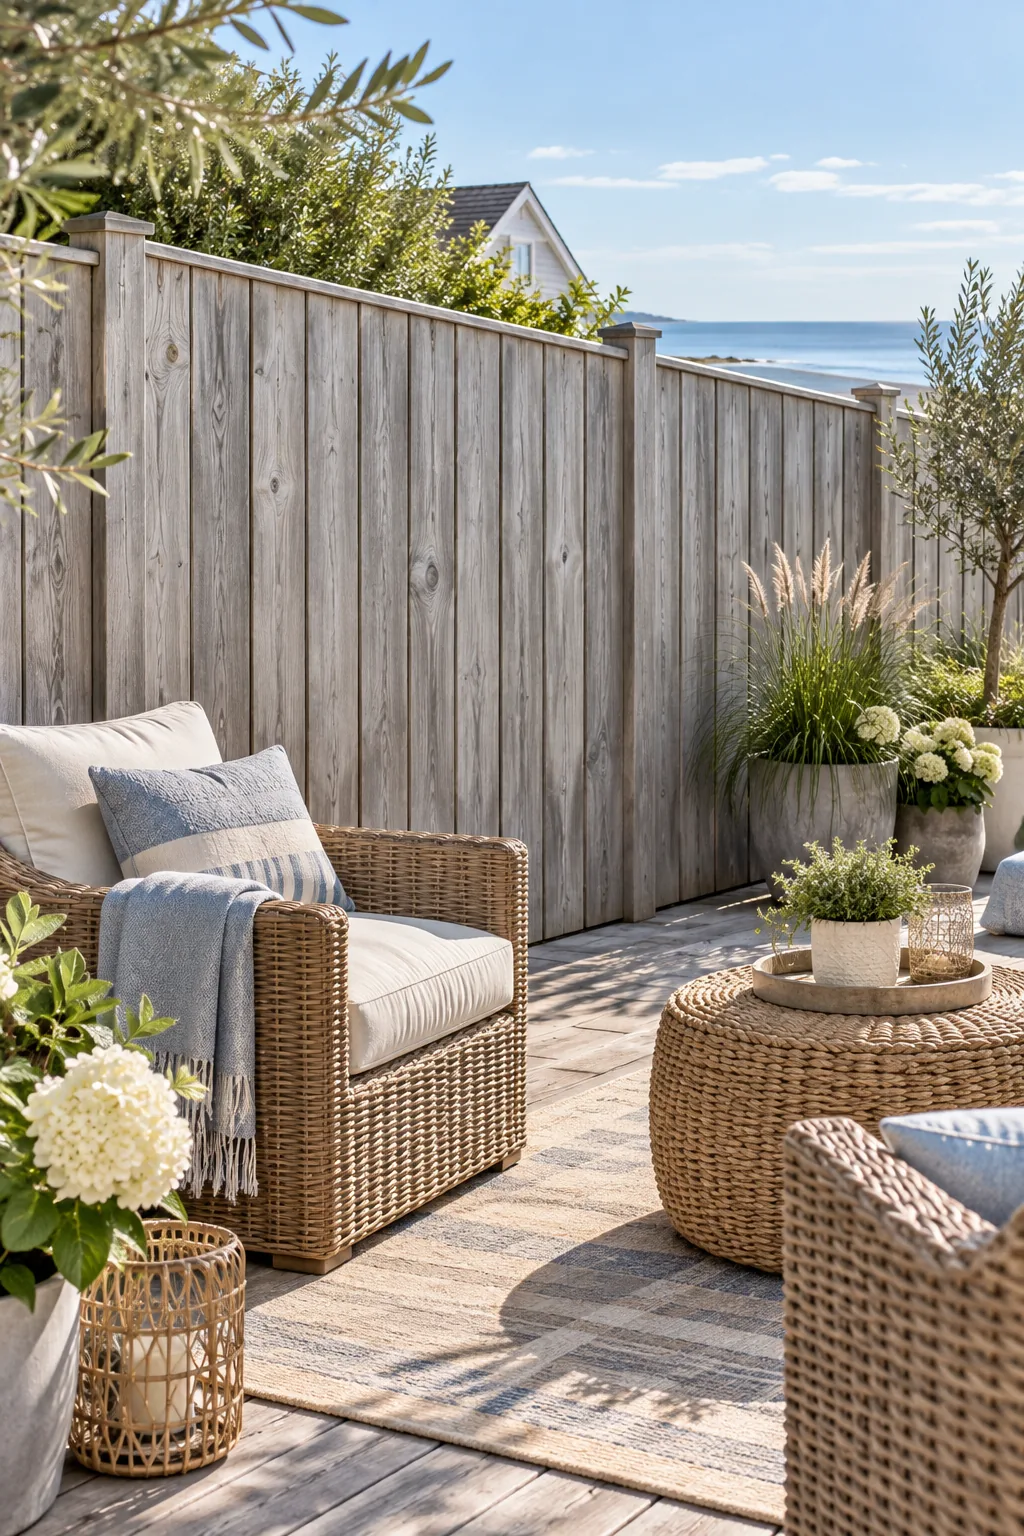
Weathered Gray Board-on-Board: Overlapping boards ensure complete privacy with zero gap visibility, while a gray wash provides an instant coastal feel.
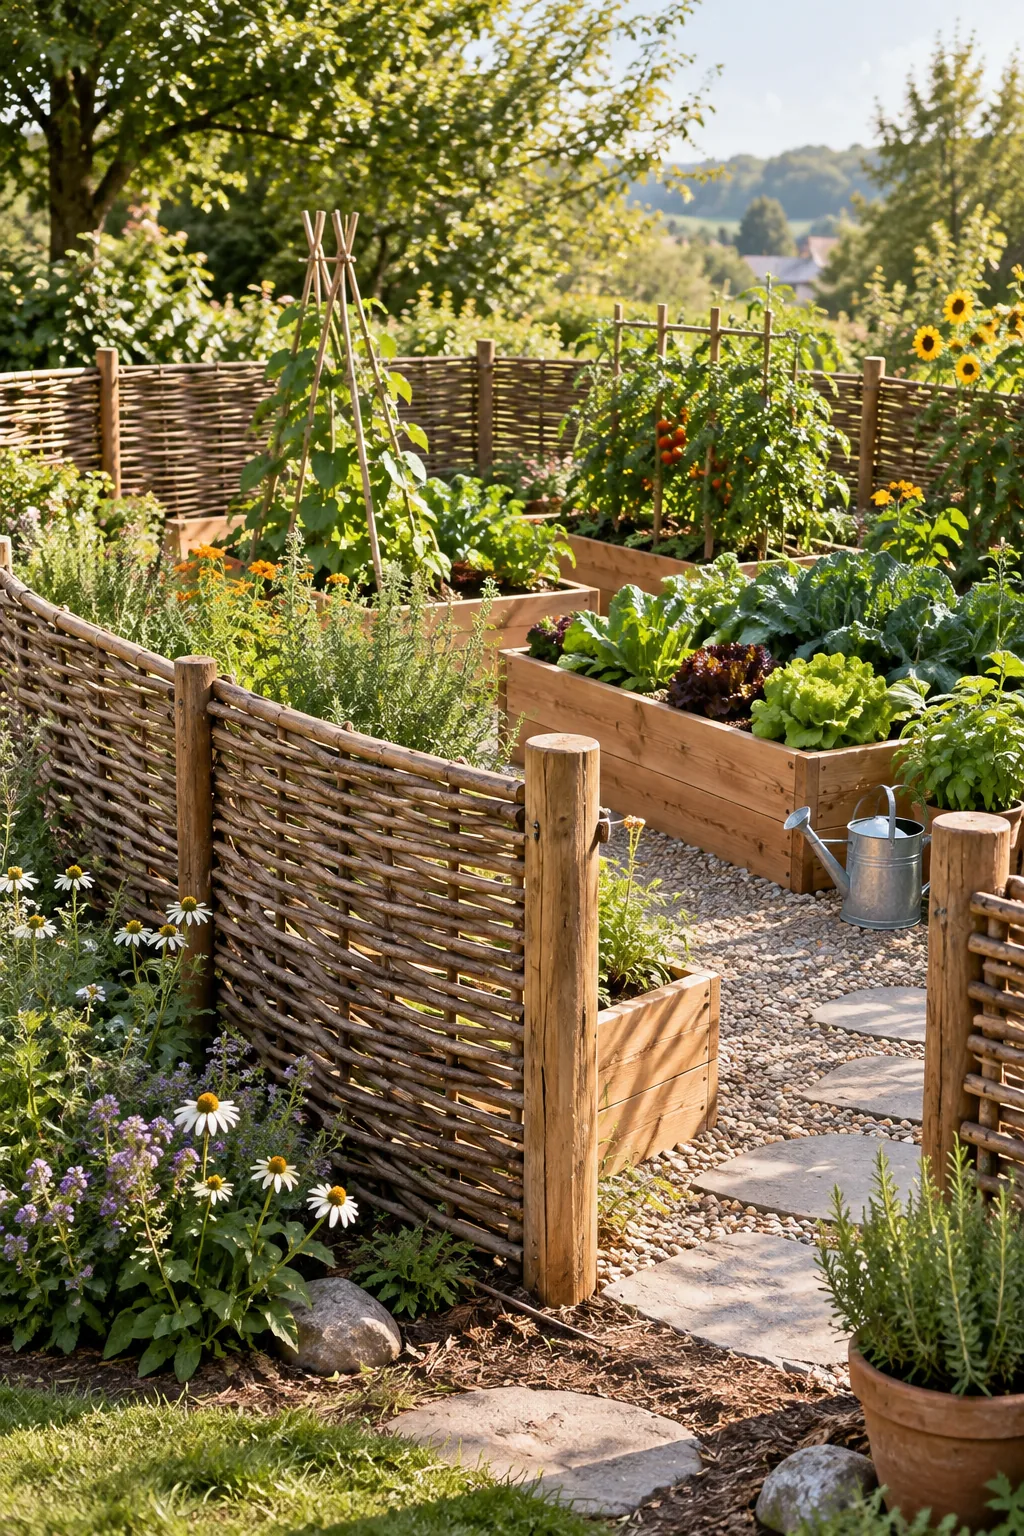
Rustic Woven Willow Wattle: Woven natural branches create an earthy, breathable barrier that looks right at home around an organic kitchen garden.
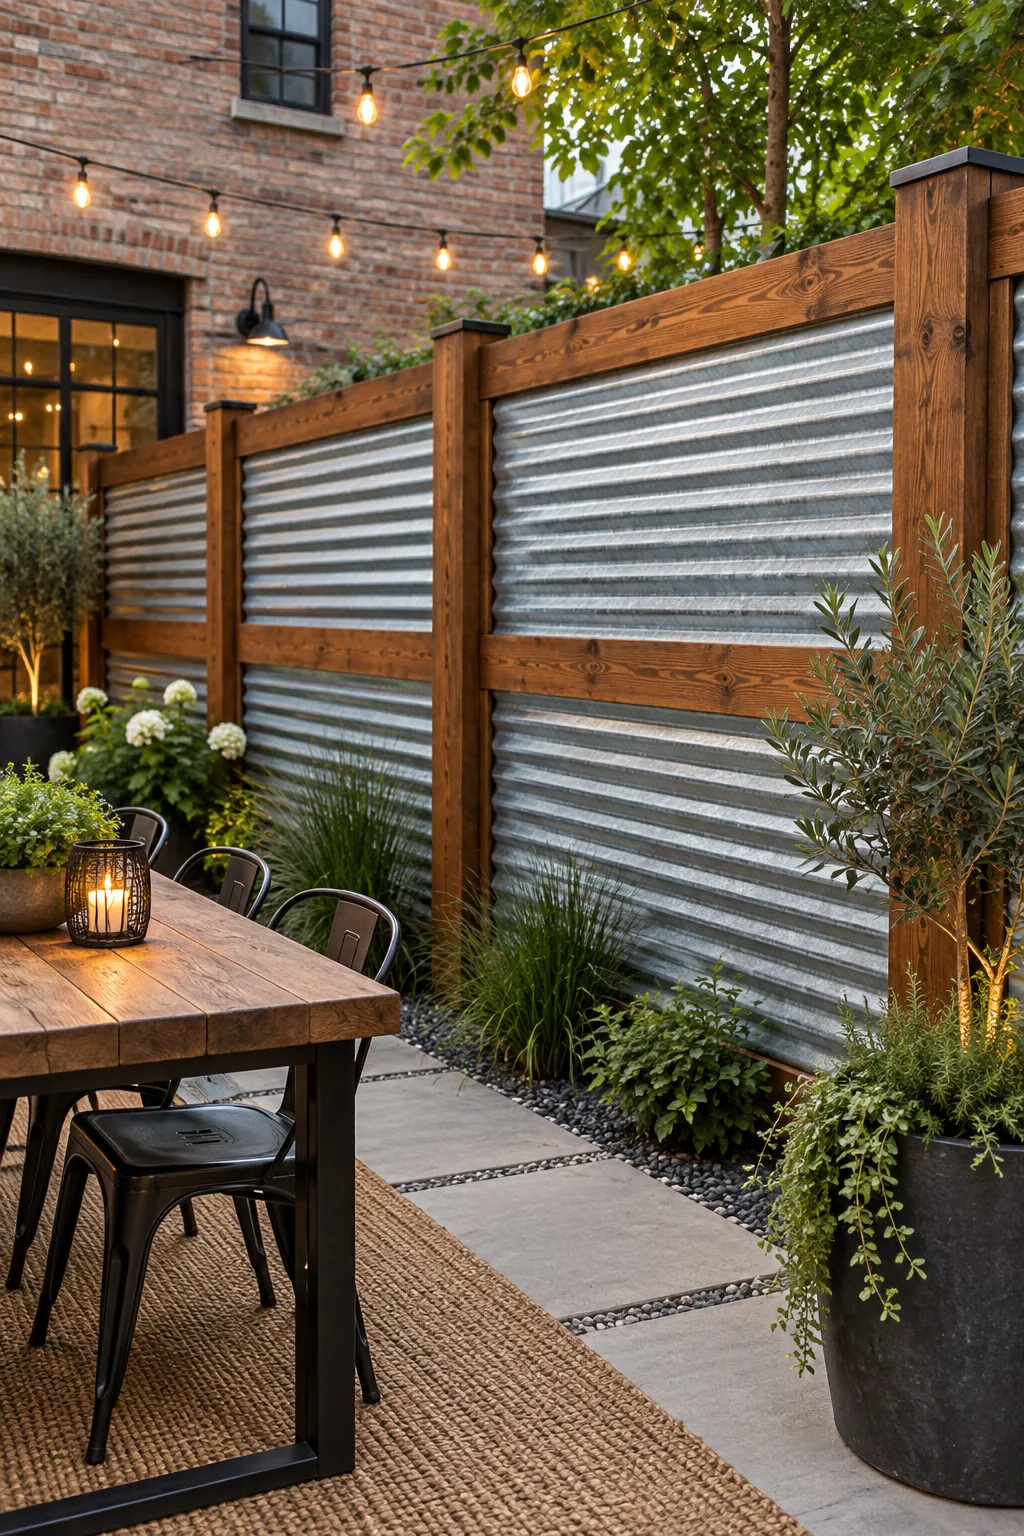
Industrial Corrugated Metal Panels: Pairing warm wood framing with galvanized metal panels delivers a highly durable, low-maintenance fence with an edgy urban aesthetic.