Entryway Closet Pro Spacing Math & Dimensions Cheat Sheet
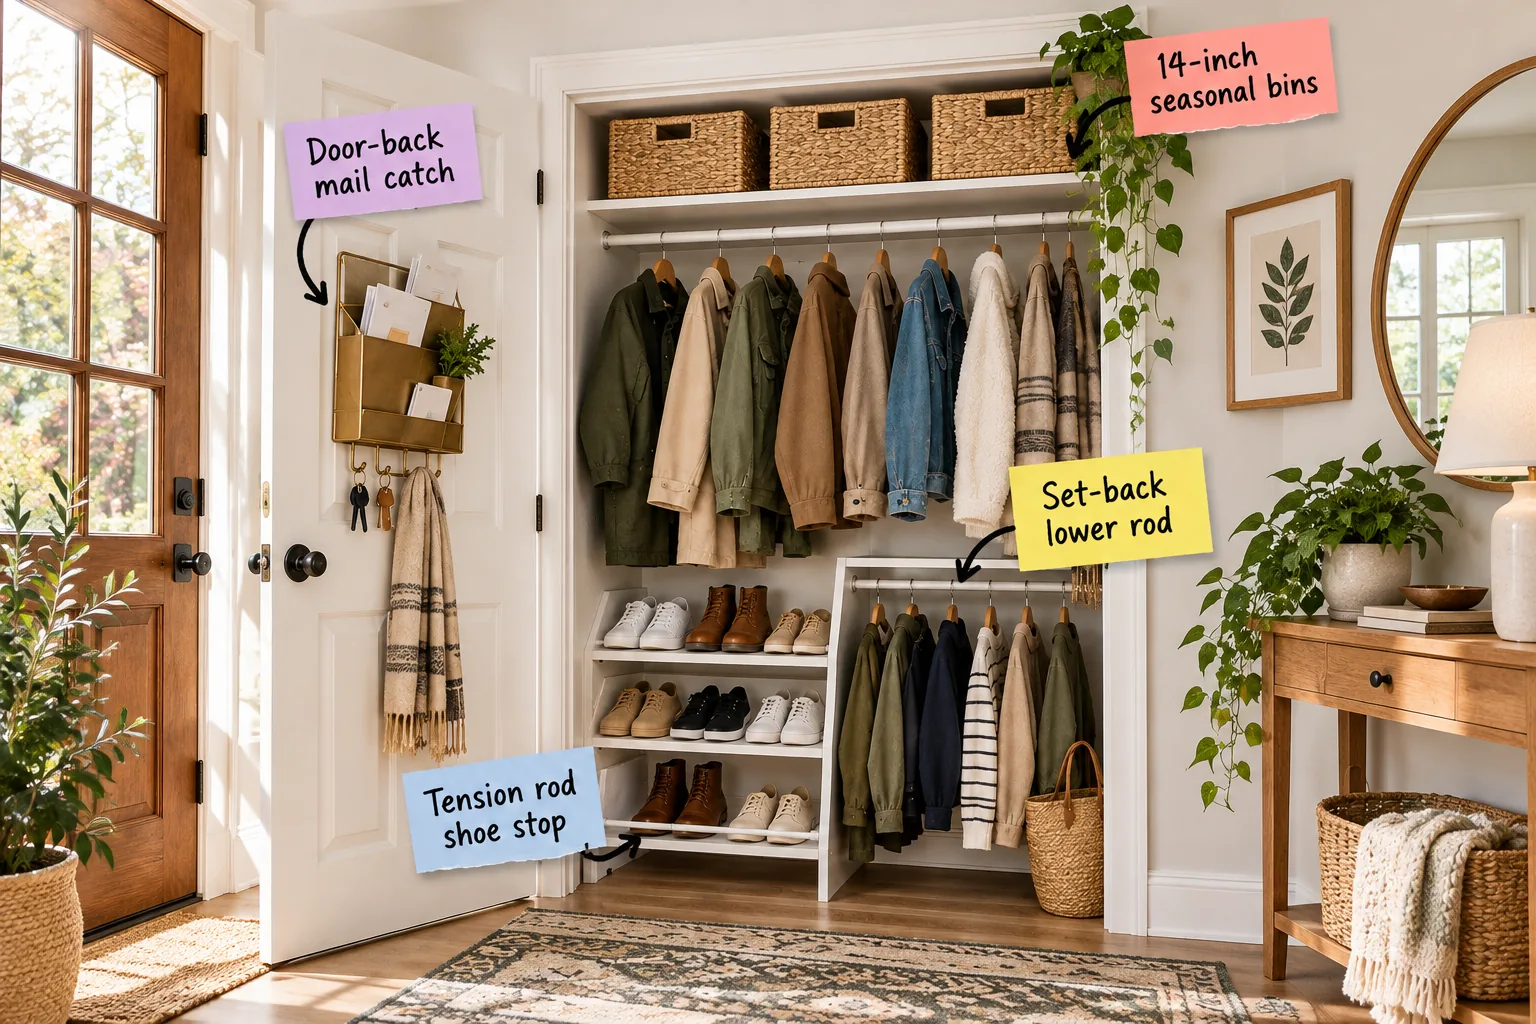
Stop guessing where to hang your rods and use this exact entryway closet pro spacing cheat sheet to fit coats, shoes, and bins perfectly. You will be able to measure, mark, and install your closet rods and shelves at the exact heights needed to maximize your storage.
The Door-Back Command Center
Maximize your storage footprint by installing a sleek brass organizer directly on the inside of the door. Keep it mounted within the top 60 inches of the door panel so the mail catch easily clears any bulky jackets hanging on the lower rod when the door swings shut.
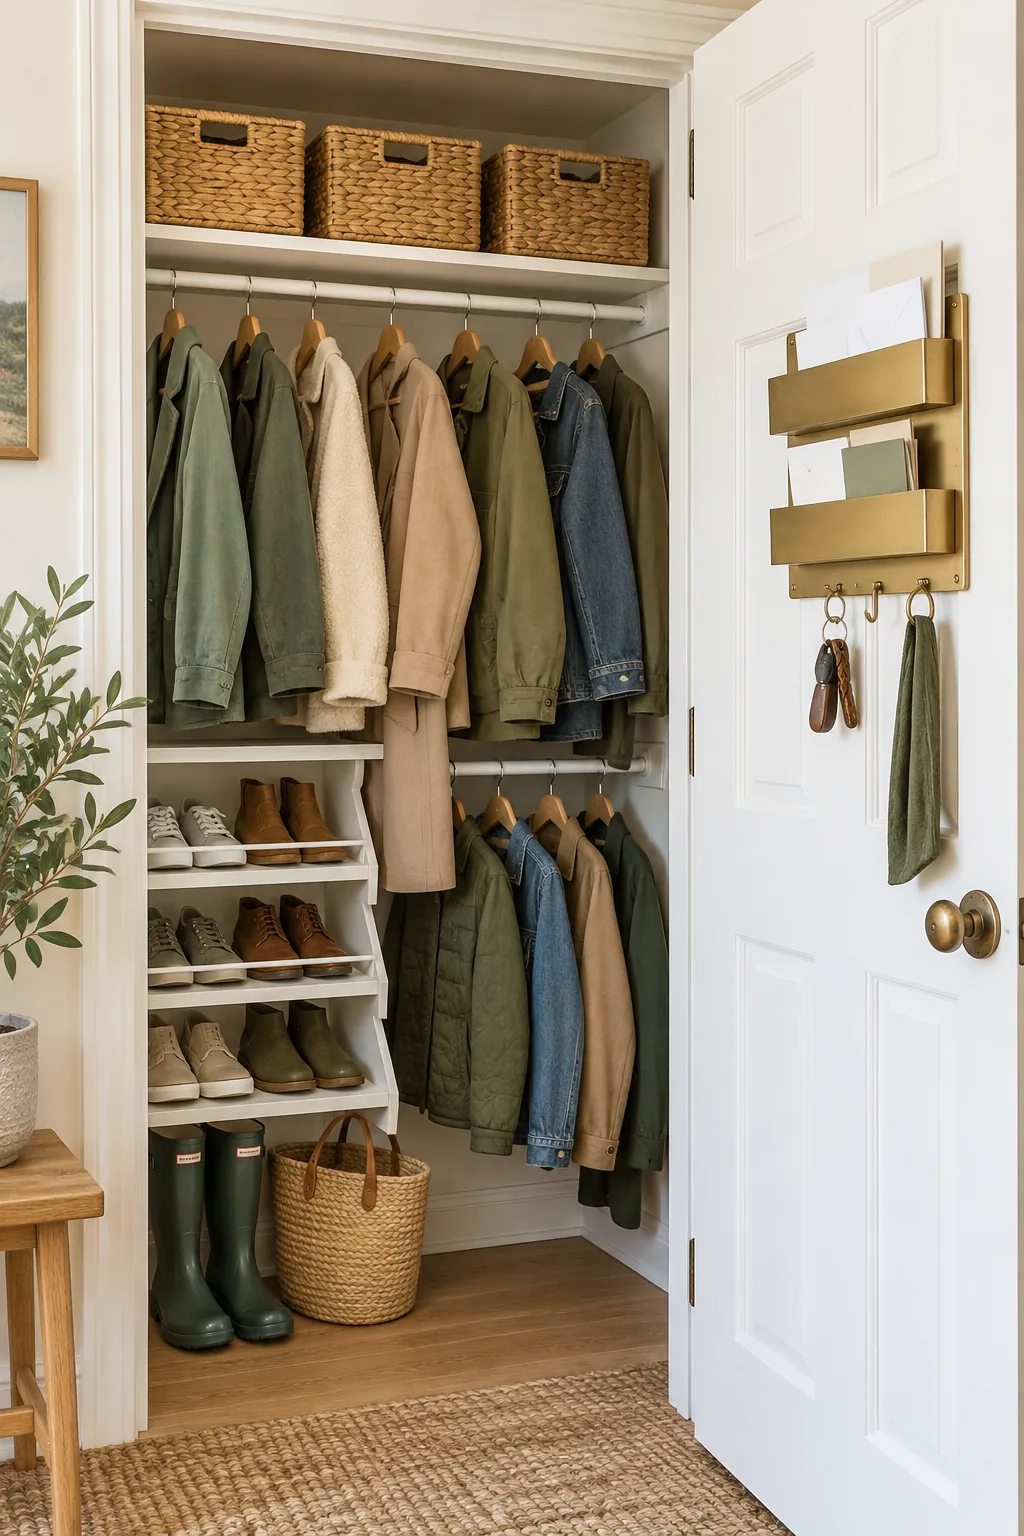
Keep daily mail drops completely outside the main closet footprint to preserve your precious internal depth for thick winter outerwear. This strategic placement ensures you never crush your important letters against damp raincoats or heavy wool garments.
Evaluating Door Hinge Strength
Before loading up your new door organizer, verify the hinge strength and core material of your closet door to prevent long-term sagging. Hollow core doors require specialized hollow-wall anchors to distribute the load, while solid wood panels can easily support heavy brass fixtures and loaded key rings.
Weight Limits for Over-Door Hardware
Understanding the structural capacity of your specific door type prevents catastrophic hardware failures that could damage your entryway trim. Use this simple reference guide to determine the appropriate anchoring method and maximum weight allowance for your chosen mail catch system.
| Door Material | Anchor Type | Max Weight |
| Hollow Core | Toggle Bolt | 10 lbs |
| Solid Wood | Wood Screw | 35 lbs |
| Metal Clad | Self-Tapping | 25 lbs |
Sizing the Top Shelf for Bins
Set your highest shelf exactly 15 to 16 inches below the ceiling to comfortably accommodate standard 14-inch seasonal bins. In my own Denver mudroom, I learned the hard way that leaving this precise clearance lets you slide heavy woven baskets out without scraping the ceiling paint.
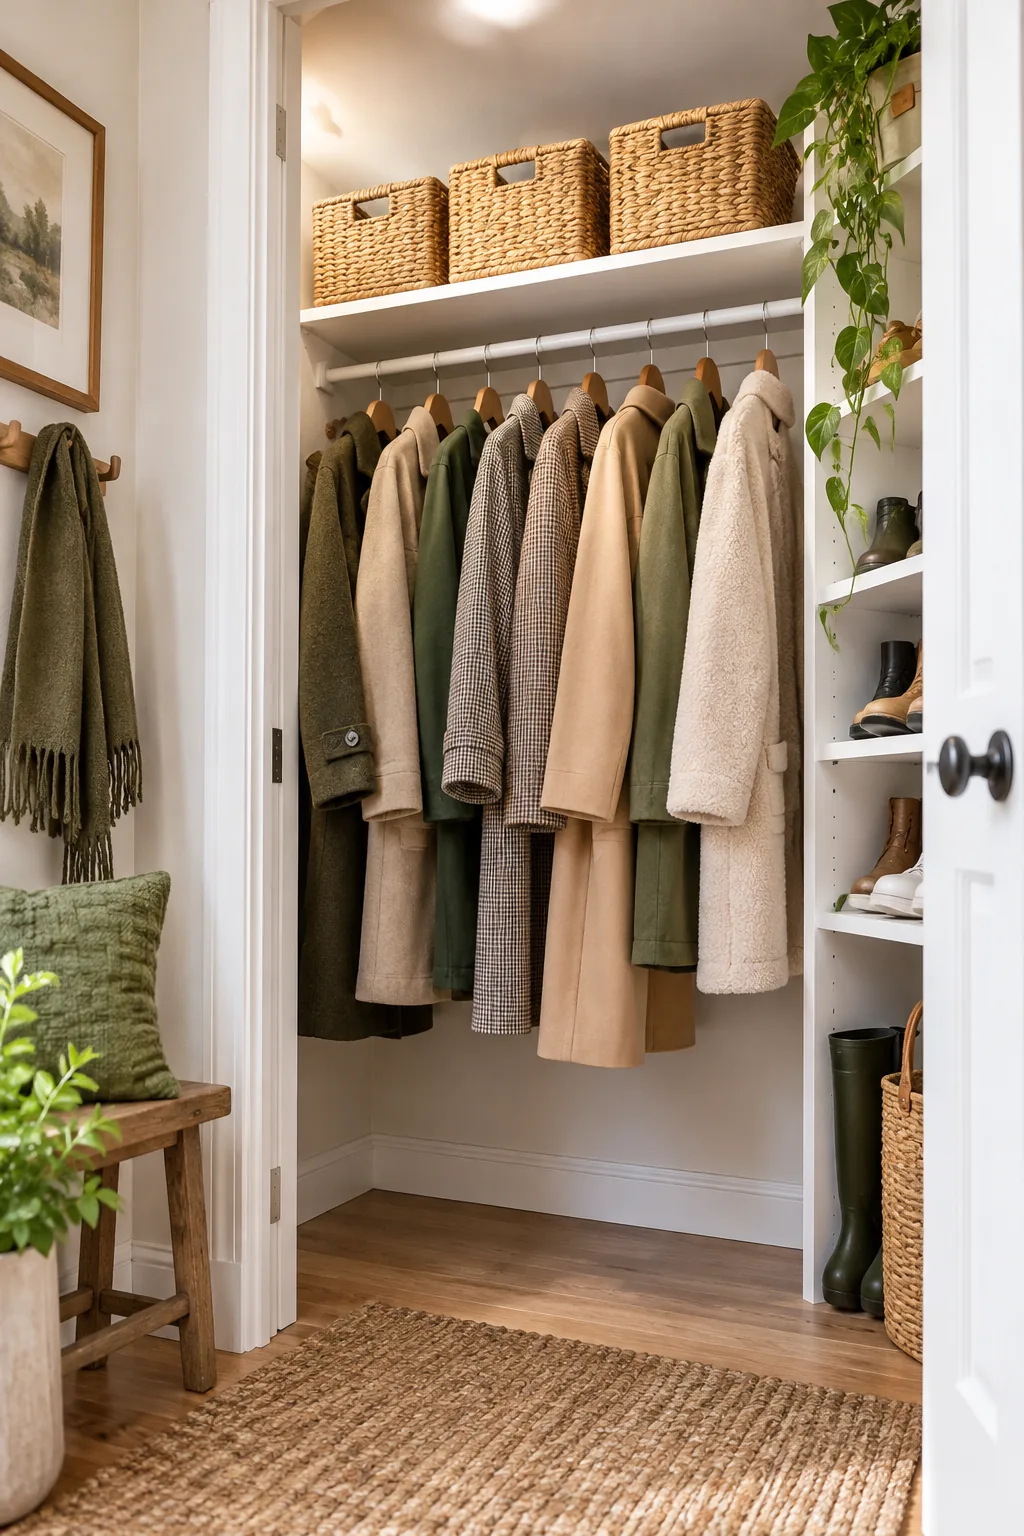
Measure your exact baskets before setting the top shelf height to ensure you have enough vertical clearance to avoid crushing your stored winter gear. This breathing room also allows proper air circulation around natural fiber containers during humid summer months.
Choosing the Right Bin Materials
Selecting the proper storage containers for your highest shelf ensures your off-season accessories remain dust-free and highly accessible. Woven natural fibers offer excellent breathability for woolen scarves, while rigid felt bins provide a softer edge that will never scratch your custom shelf paint.
Upper Rod Clearance for Long Coats
Mount the main upper rod at 68 inches from the floor to provide a full 40 to 50 inches of vertical drop. I always measure my longest trench coat before drilling, because this specific height ensures heavy parkas hang straight down without their hems pooling awkwardly.
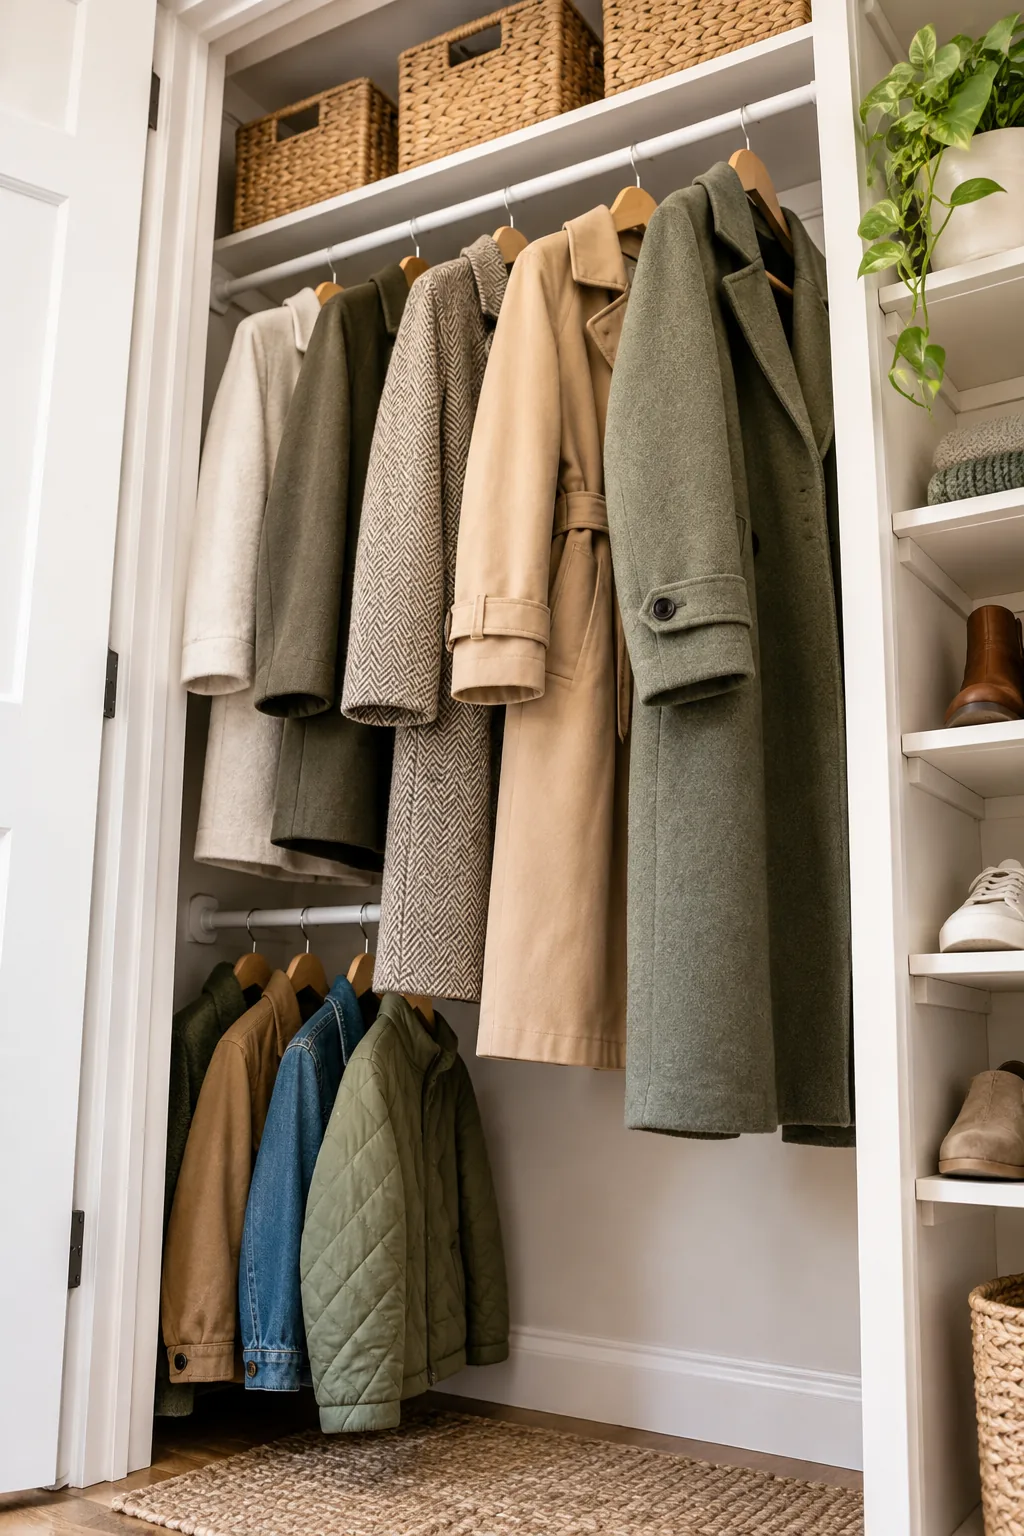
Standard winter coats require at least forty inches of drop, so establishing this upper baseline dictates exactly where your lower storage zones can begin. Getting this initial measurement right guarantees the rest of your closet math falls perfectly into place.
Accounting for Hanger Drop Height
When calculating your vertical spacing, always factor in the additional two to three inches consumed by the hanger hook and neck. Failing to account for this necessary hardware drop will leave your longest garments dragging on the lower rod, completely ruining your meticulously planned spacing math.
The Pro Spacing Cheat Sheet
Getting the math right is the secret to a high-functioning closet that never wastes a single inch of potential storage space. Screenshot or save this quick reference list of standard measurements before you start drilling holes to guarantee a perfect layout.
Measuring Your Specific Wardrobe
While standard measurements provide an excellent starting point, tailoring the spacing to your specific family requires a quick inventory of your bulkiest items. Follow this simple sequence to customize your closet layout before committing to permanent hardware placements and drilling into your drywall.
- Measure the vertical length of your longest winter coat
- Calculate the width of your widest pair of winter boots
- Determine the exact height of your preferred seasonal storage bins
The Set-Back Lower Rod
Push the lower hanging rod 4 to 6 inches closer to the back wall rather than aligning it directly under the top rod. This staggered set-back trick allows long coats to fall cleanly, a technique that finally cured the tangled jacket mess in my own hallway.
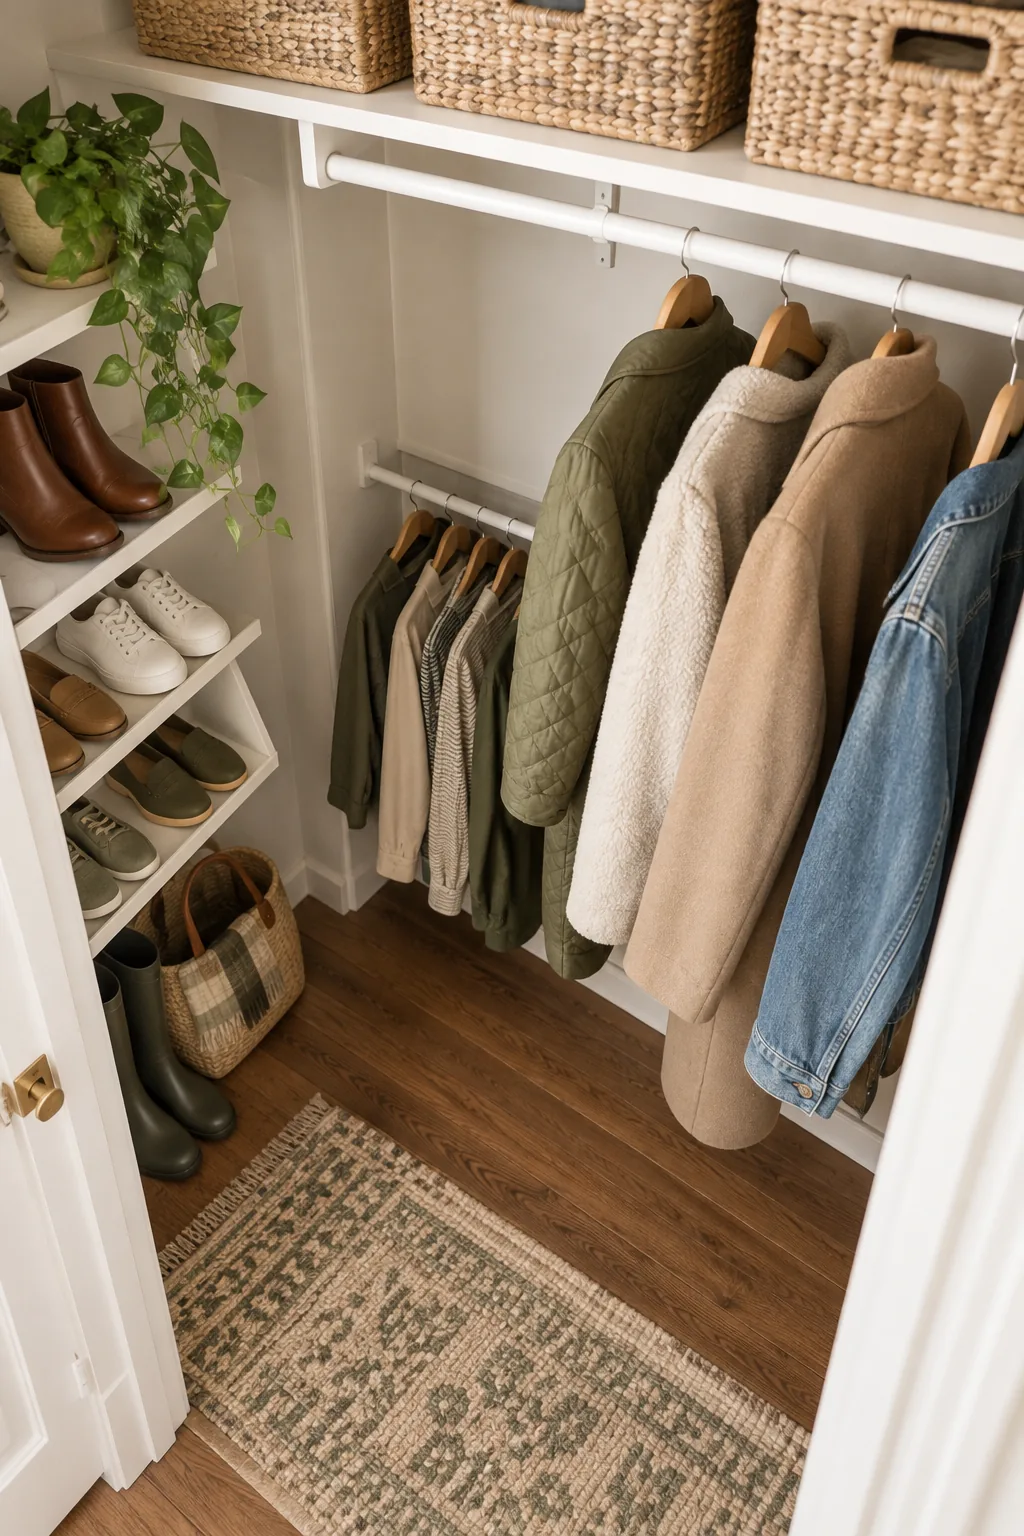
Staggering rod depths prevents bulky jacket sleeves from tangling together, but you must execute the depth change correctly to maintain usability. When splitting a closet into upper and lower zones, avoid these common depth and spacing errors that ruin your carefully planned layout.
Hardware Requirements for Staggered Rods
To achieve the perfect setback, utilize adjustable closet rod flanges that allow you to fine-tune the depth along the side walls. Heavy-duty metal brackets ensure the lower rod remains stable even when fully loaded with dense denim jackets and exceptionally heavy canvas work coats.
Choosing the Right Rod Material
Selecting solid steel or thick extruded aluminum for your hanging rods prevents the dreaded middle sag that ruins perfectly measured vertical spacing. Chrome-plated steel offers a smooth glide for wooden hangers, while matte black iron pipes provide incredible rigidity for closets spanning more than forty inches wide.
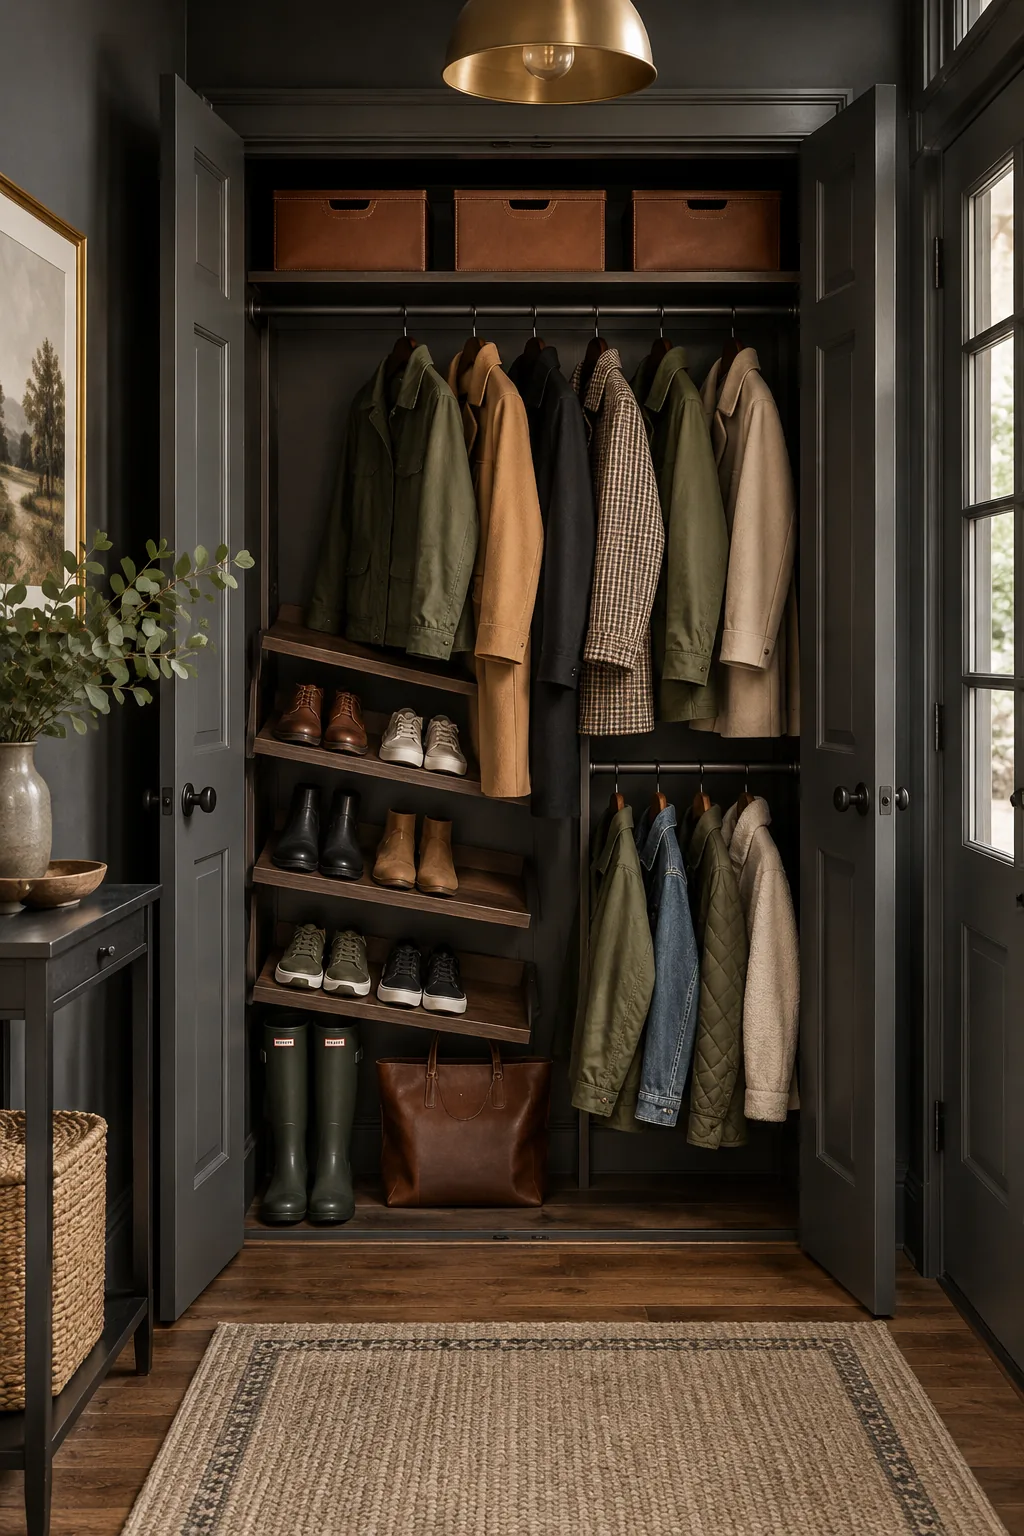
Angled Shoe Shelves with Tension Rods
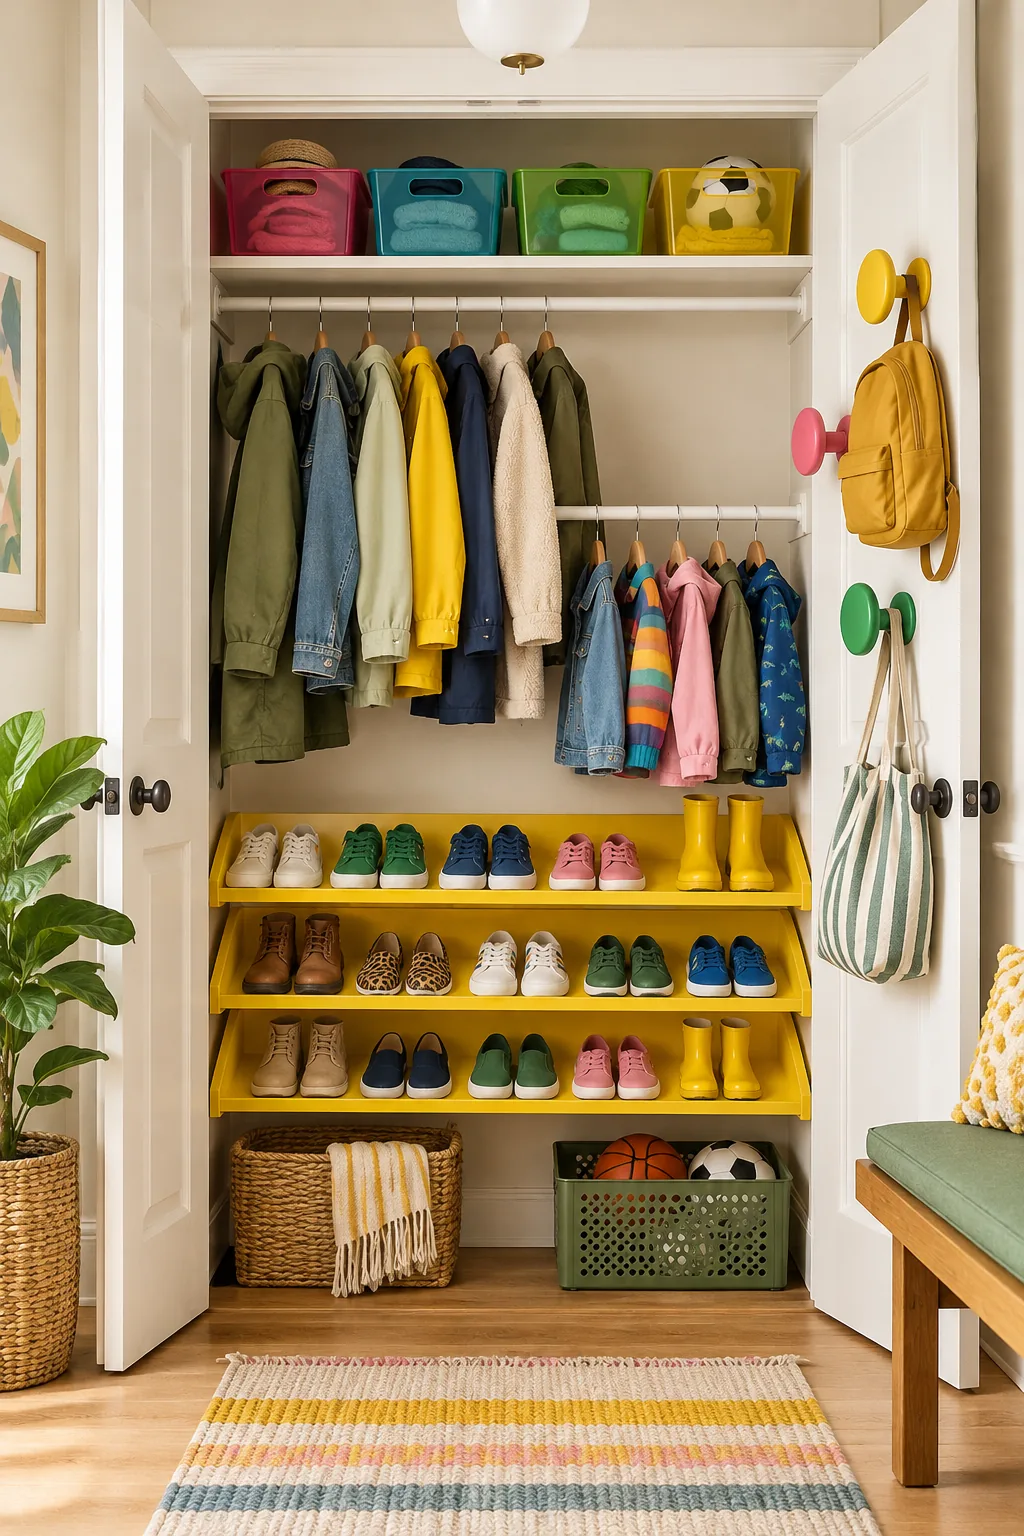
Pitch your shoe shelves at a 15-degree angle to display footwear clearly and save valuable horizontal depth in tight spaces.
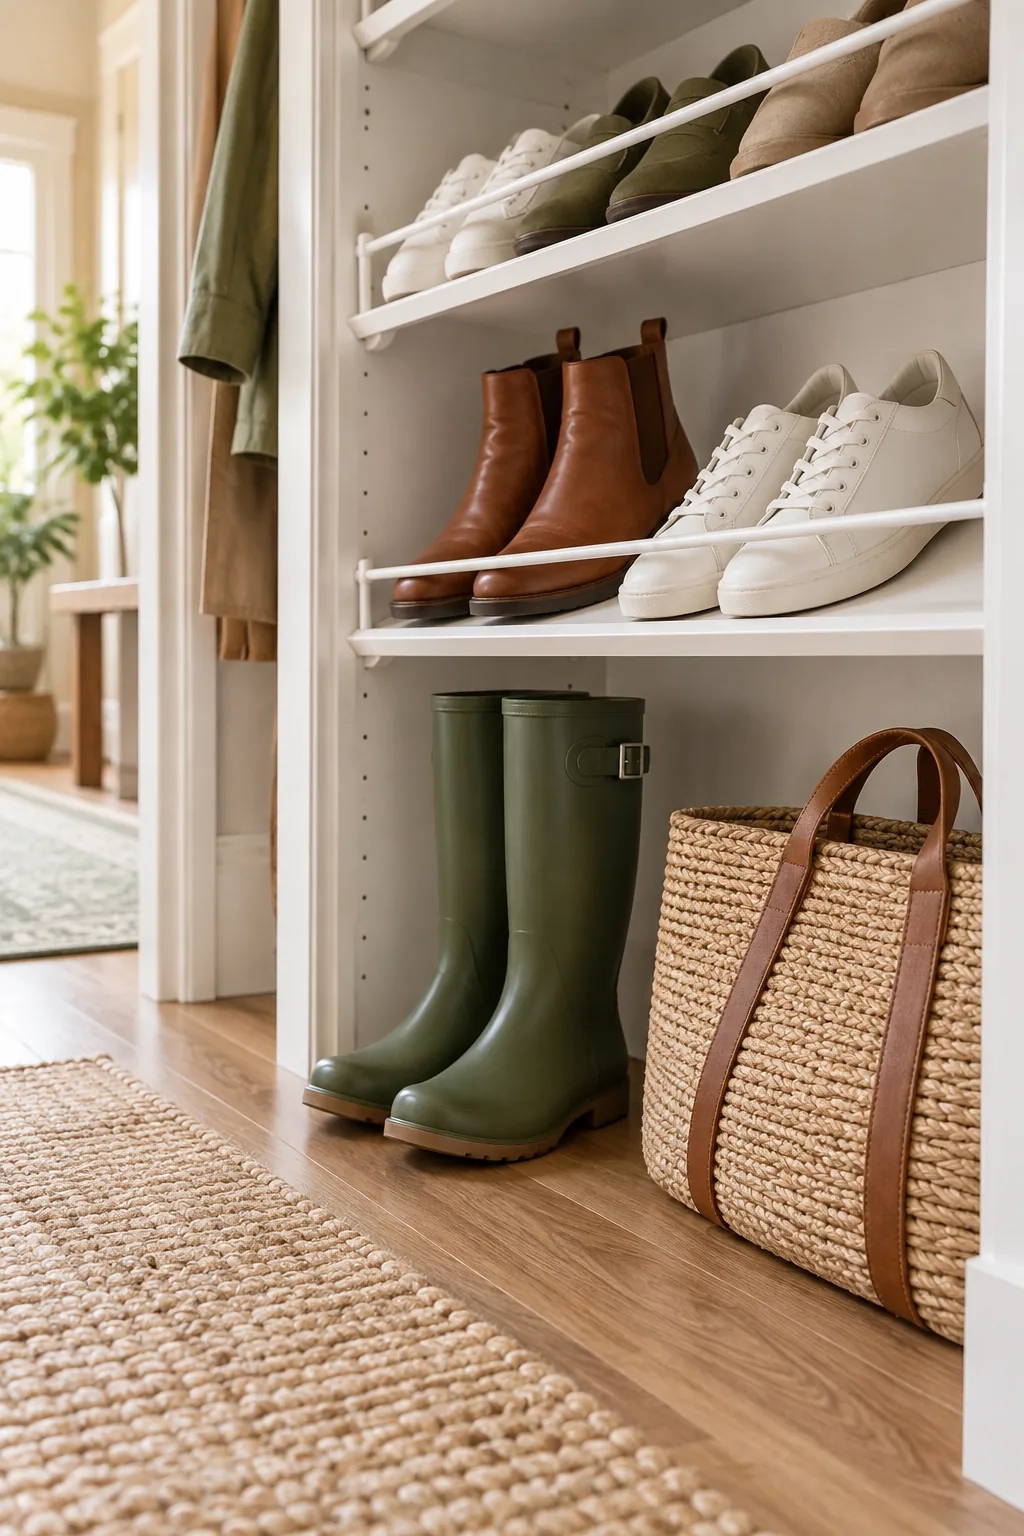
Adjustable rods let you change the shoe shelf pitch later, making them an incredibly versatile hardware shortcut for evolving storage needs. To keep your footwear securely in place without building custom wooden lips, try this easy hardware shortcut that adjusts in seconds.
Spacing Tiers for Sneakers vs. Heels
Standardizing the distance between your angled shoe shelves keeps the visual lines clean while accommodating the vast majority of daily footwear. Leaving exactly eight inches of vertical clearance between each slanted tier provides ample room to retrieve running shoes without scraping your knuckles on the shelf above.
Painting Shelves for High Traffic
Protect your perfectly angled wooden tiers with a high-gloss enamel paint that resists scuffs from rubber soles and sharp boot heels. A durable polyurethane topcoat ensures that dirt and dried mud wipe away effortlessly, keeping your precisely spaced display looking pristine through the harshest winter months.
Floor Clearance for Boots
Leave at least 14 inches of open space beneath the bottom shoe shelf to accommodate rigid winter weather footwear.
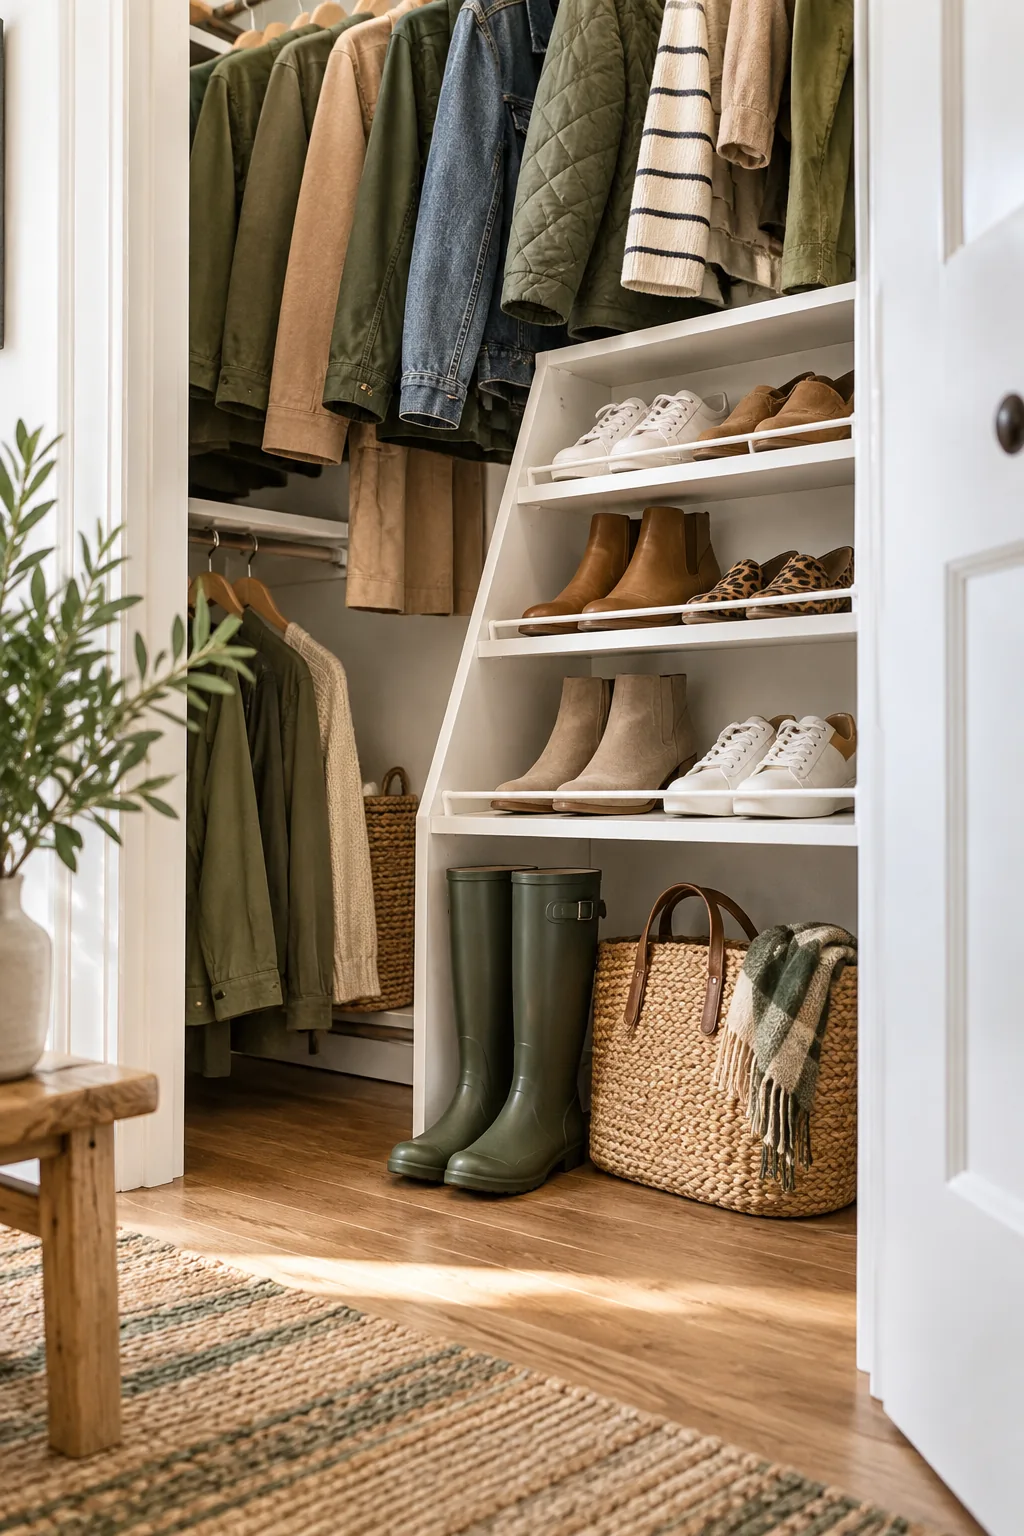
Reserve the deepest floor space for tall rain boots and heavy winter footwear that simply will not fit on angled racks or standard 8-inch shoe shelves. This dedicated flat floor zone prevents tall shafts from folding over and developing permanent creases in the leather or rubber.
Protecting the Floor from Snow and Salt
Establishing a dedicated drop zone for wet footwear prevents corrosive winter salt and melting snow from damaging your baseboards or hardwood floors. Slide a heavy-duty silicone mat directly under the floating bottom shelf to catch drips while maintaining the clean, floating aesthetic of your vertical storage.
Incorporating Drip Trays for Wet Weather
Selecting a drip tray with a prominent raised lip ensures that melting ice remains fully contained within the designated boot zone. Choose a dark, matte finish for your floor protectors to effortlessly disguise muddy footprints between your weekly deep cleaning sessions.
Lighting the Lower Closet Zones
Deeply set back lower rods and angled shoe shelves often cast heavy shadows that make retrieving items difficult in the early morning. Installing motion-activated LED strip lights directly beneath the middle shelf illuminates your entire shoe collection without requiring complicated hardwiring or expensive electrician visits.
Maintaining Seasonal Rotations
Your perfectly calculated spacing math relies on keeping only the current season’s outerwear in the primary hanging zones. Diligently rotating heavy parkas out for lightweight raincoats when spring arrives ensures your carefully staggered rods never become overloaded or visually chaotic.
Streamlining with Matching Hangers
Swap mismatched plastic for uniform wooden hangers to immediately elevate the closet’s appearance and maximize your horizontal hanging capacity.
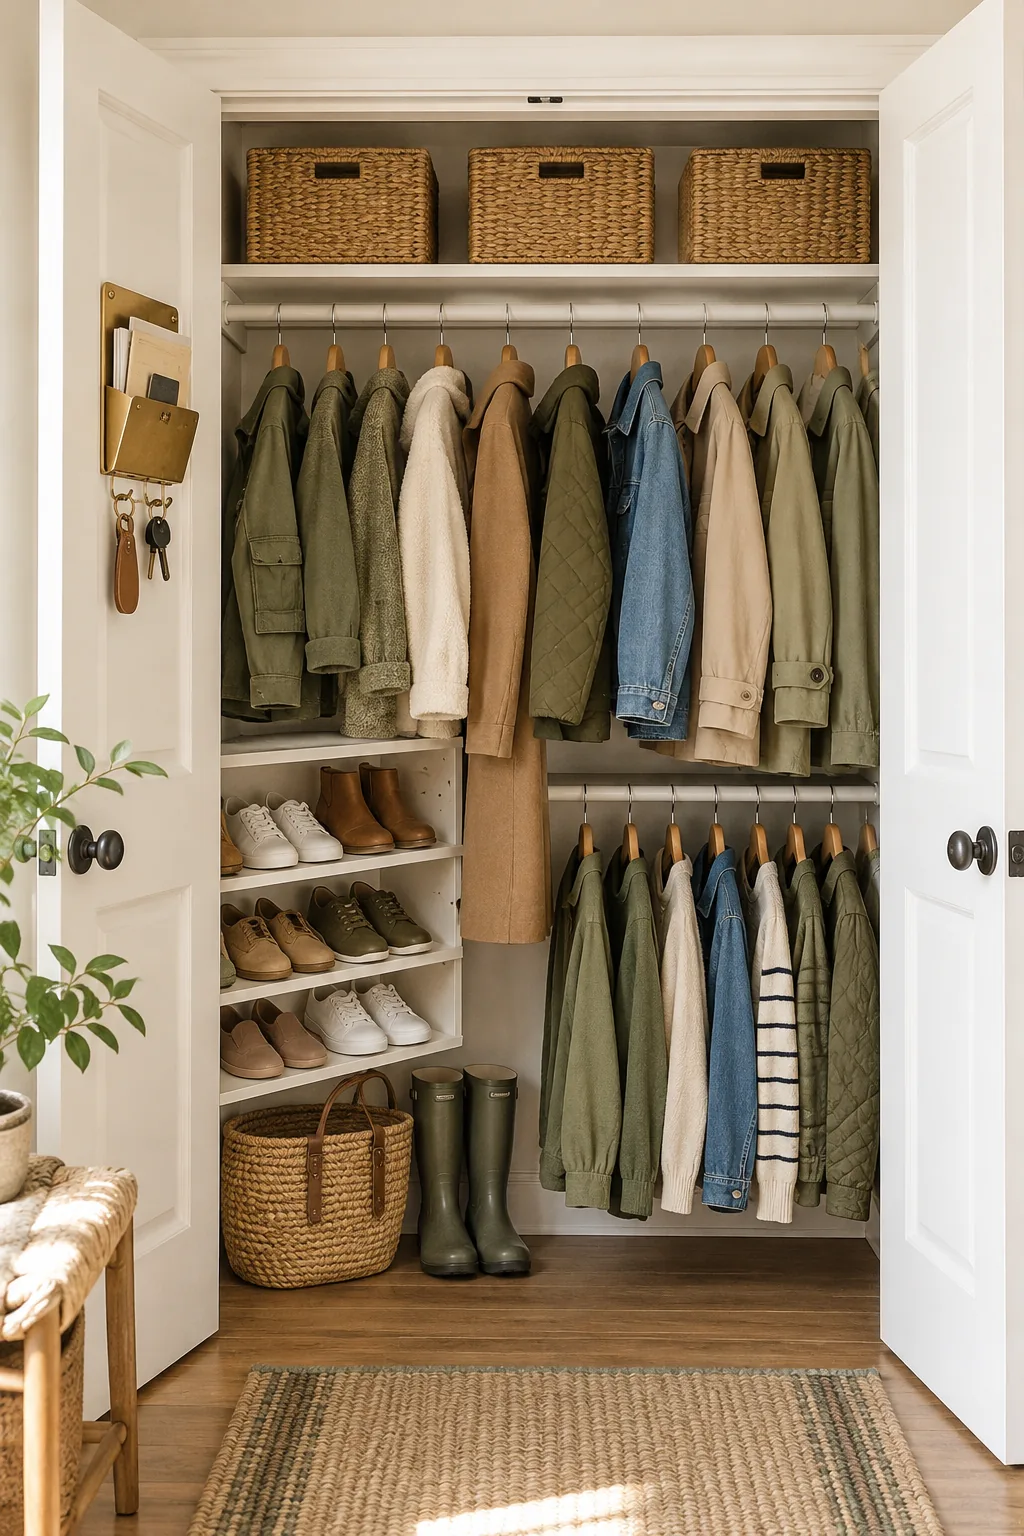
Consistent hanger profiles maximize the usable width of your rods and make your precisely measured spacing look like a custom-built boutique display rather than a crowded catch-all.
More Entryway Closet Styles
Find the perfect material palette to match your home's aesthetic.
Minimalist Scandi Ash Wood: Keep things light and airy with pale ash wood shelving and crisp white canvas bins.
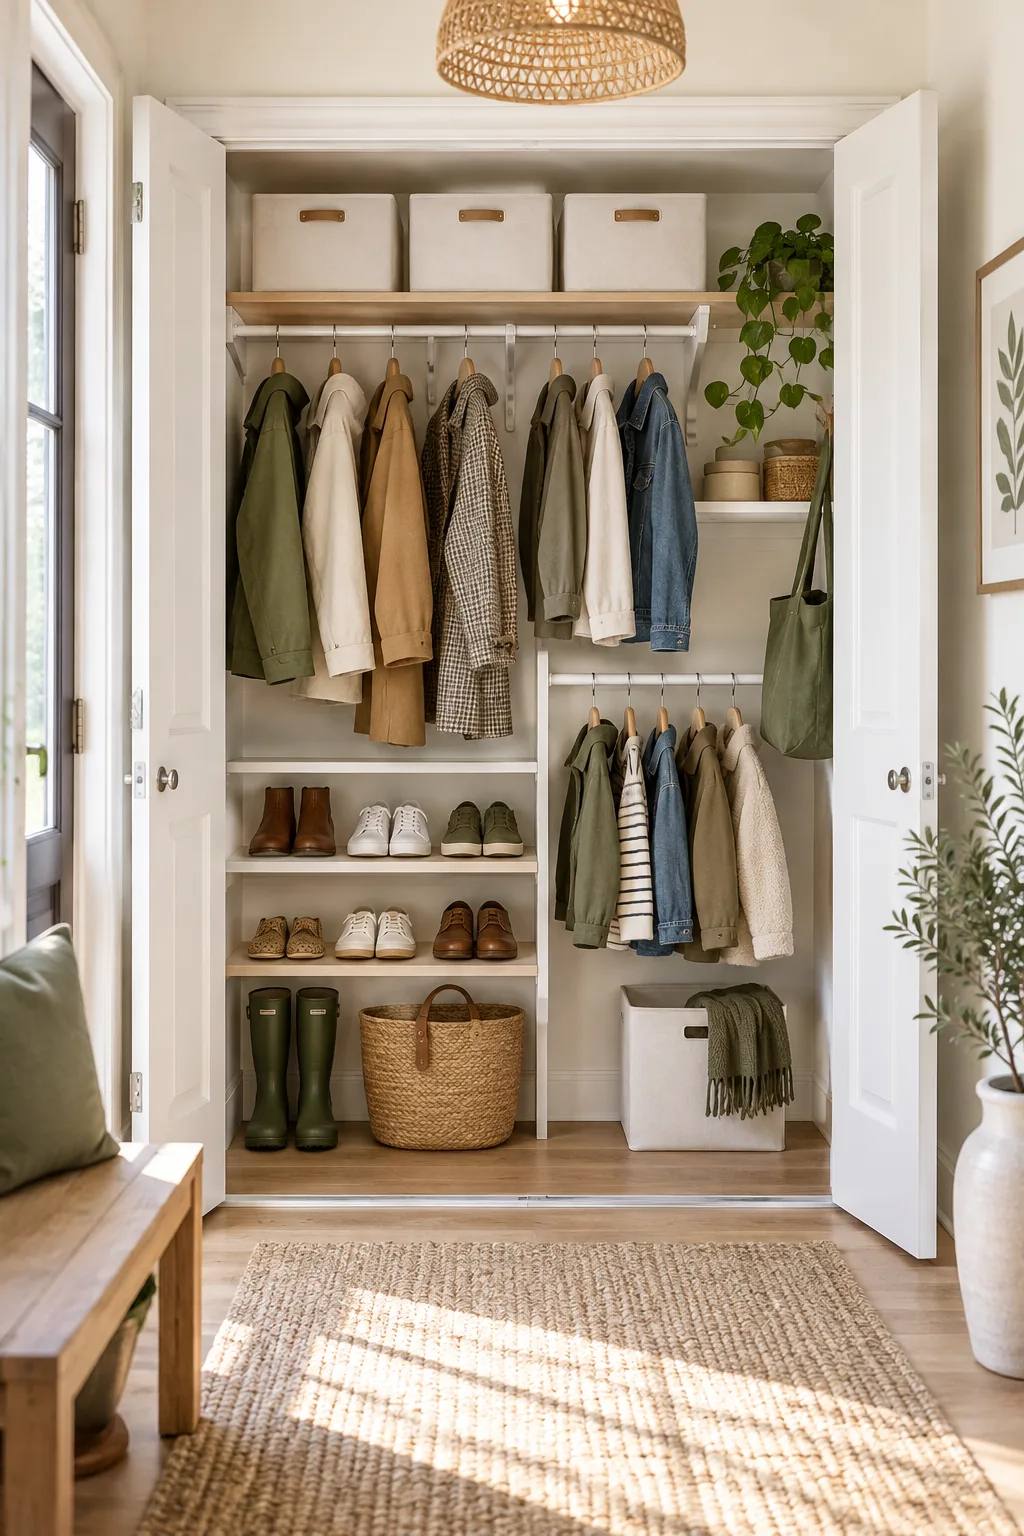
Moody Modern Charcoal Grey: Create a dramatic focal point by painting the interior charcoal grey with matte black hardware.
Classic Traditional Brass Rails: Elevate a standard closet using unlacquered brass rails and rich mahogany trim for timeless appeal.
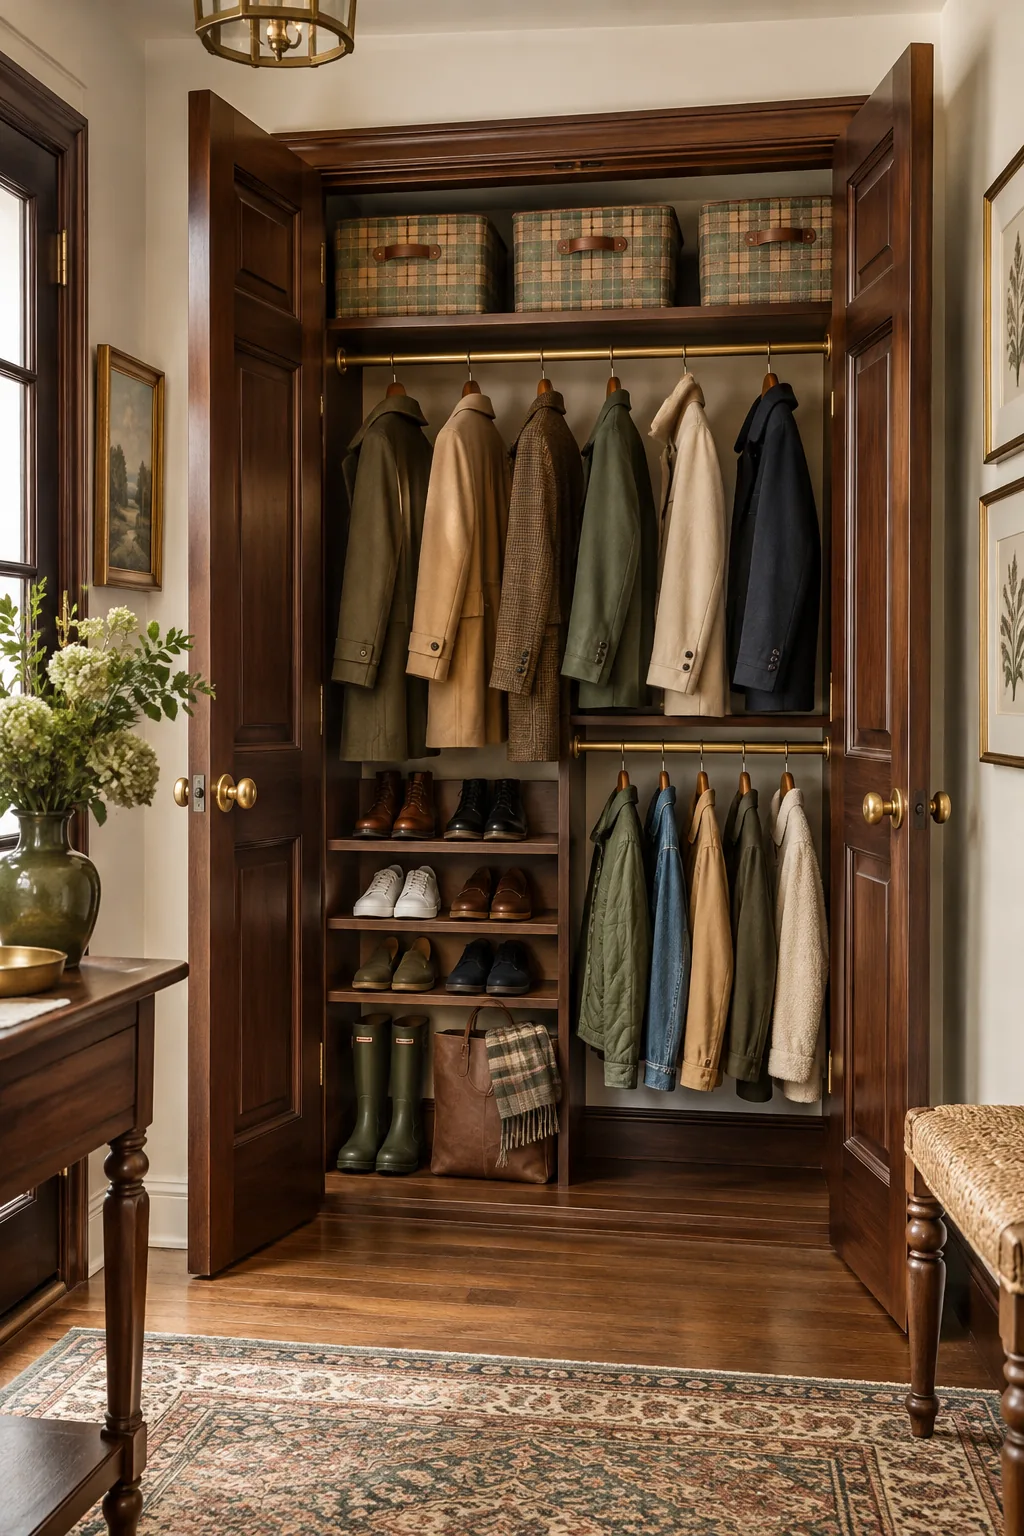
Colorful Family Acrylic Bins: Assign a specific color to each family member using bright painted shelves and acrylic bins.
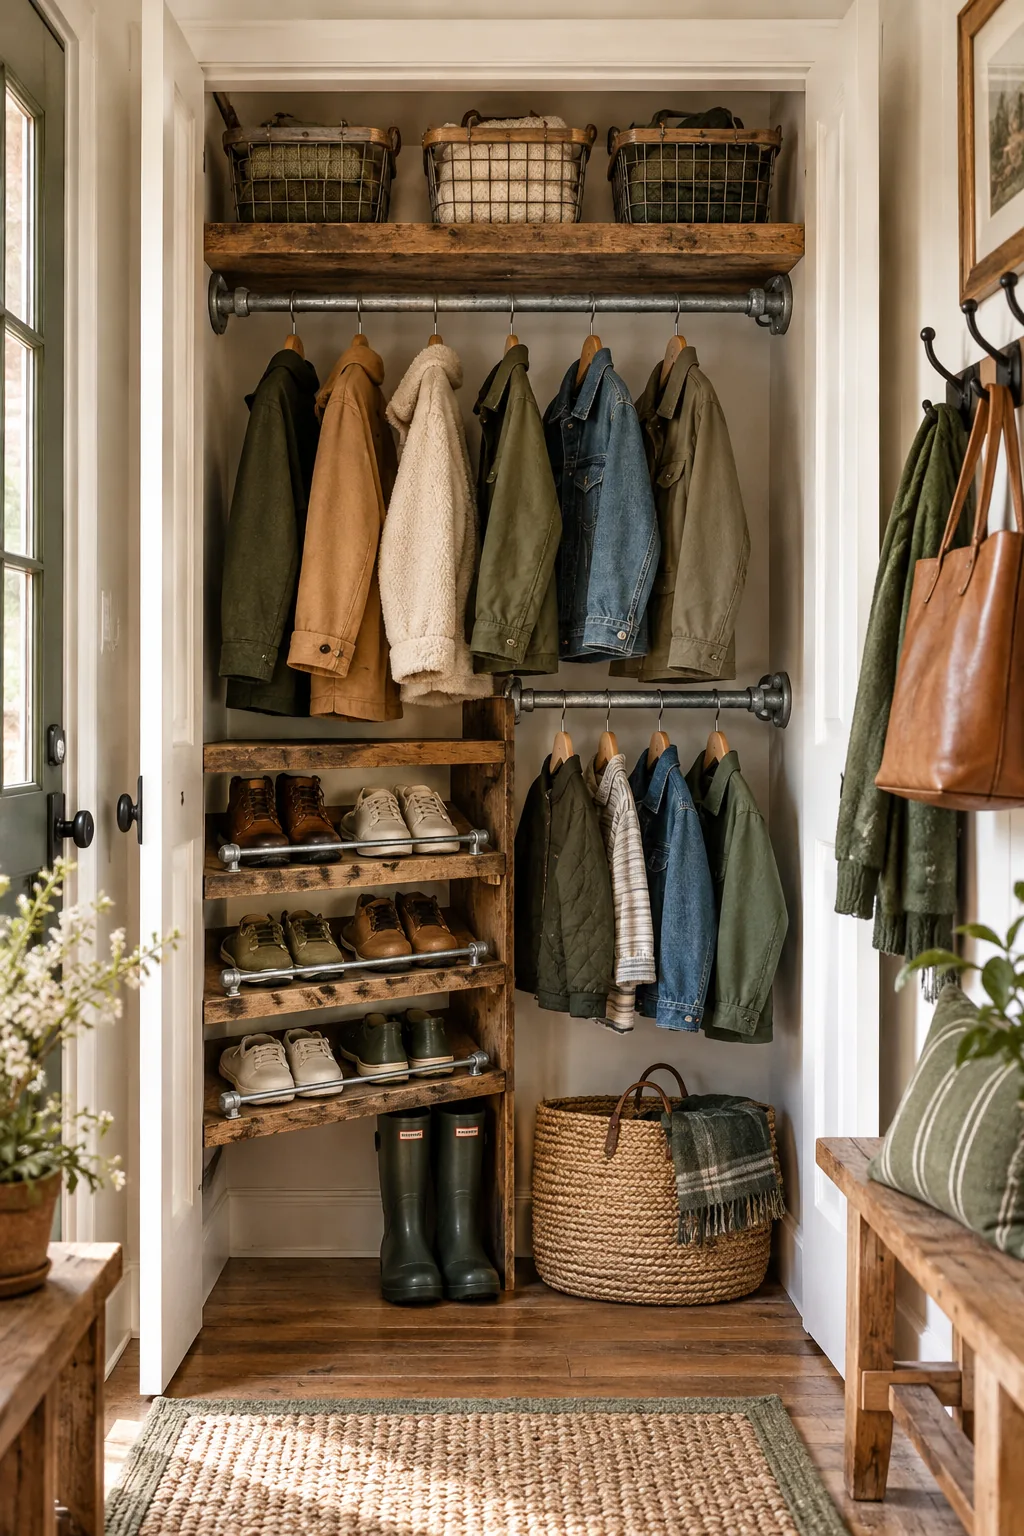
Rustic Farmhouse Reclaimed Wood: Build heavy-duty storage using thick reclaimed barn wood shelves and industrial galvanized pipe rods.