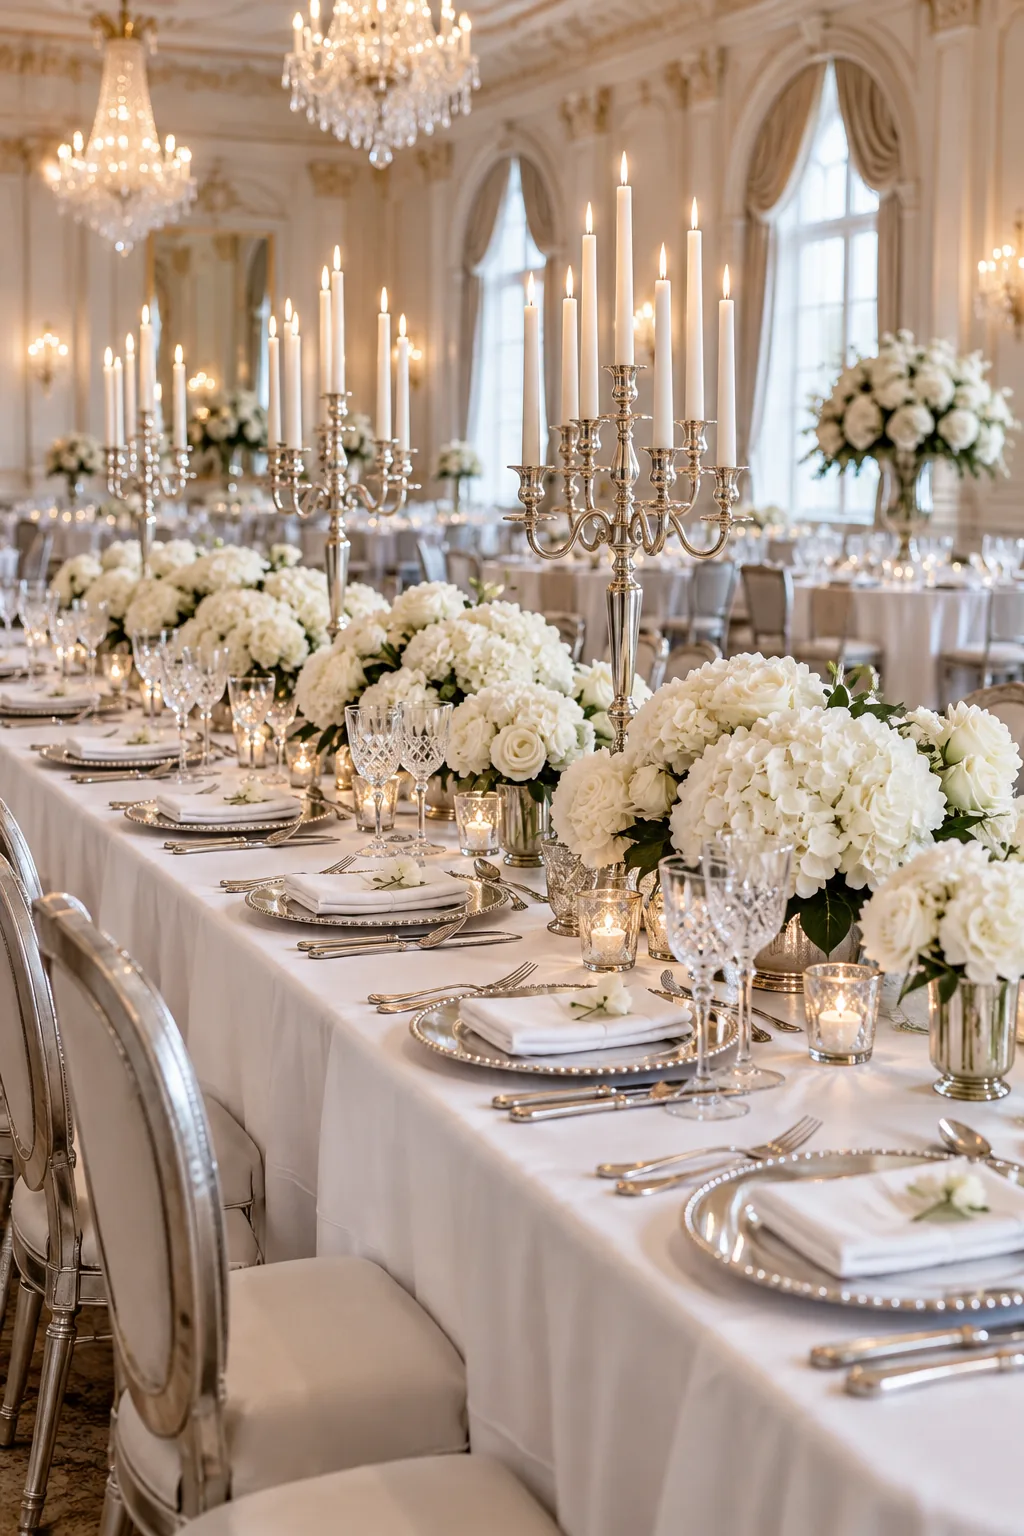
Wedding Table Decor: The Perfect Guest View & Spacing Guide
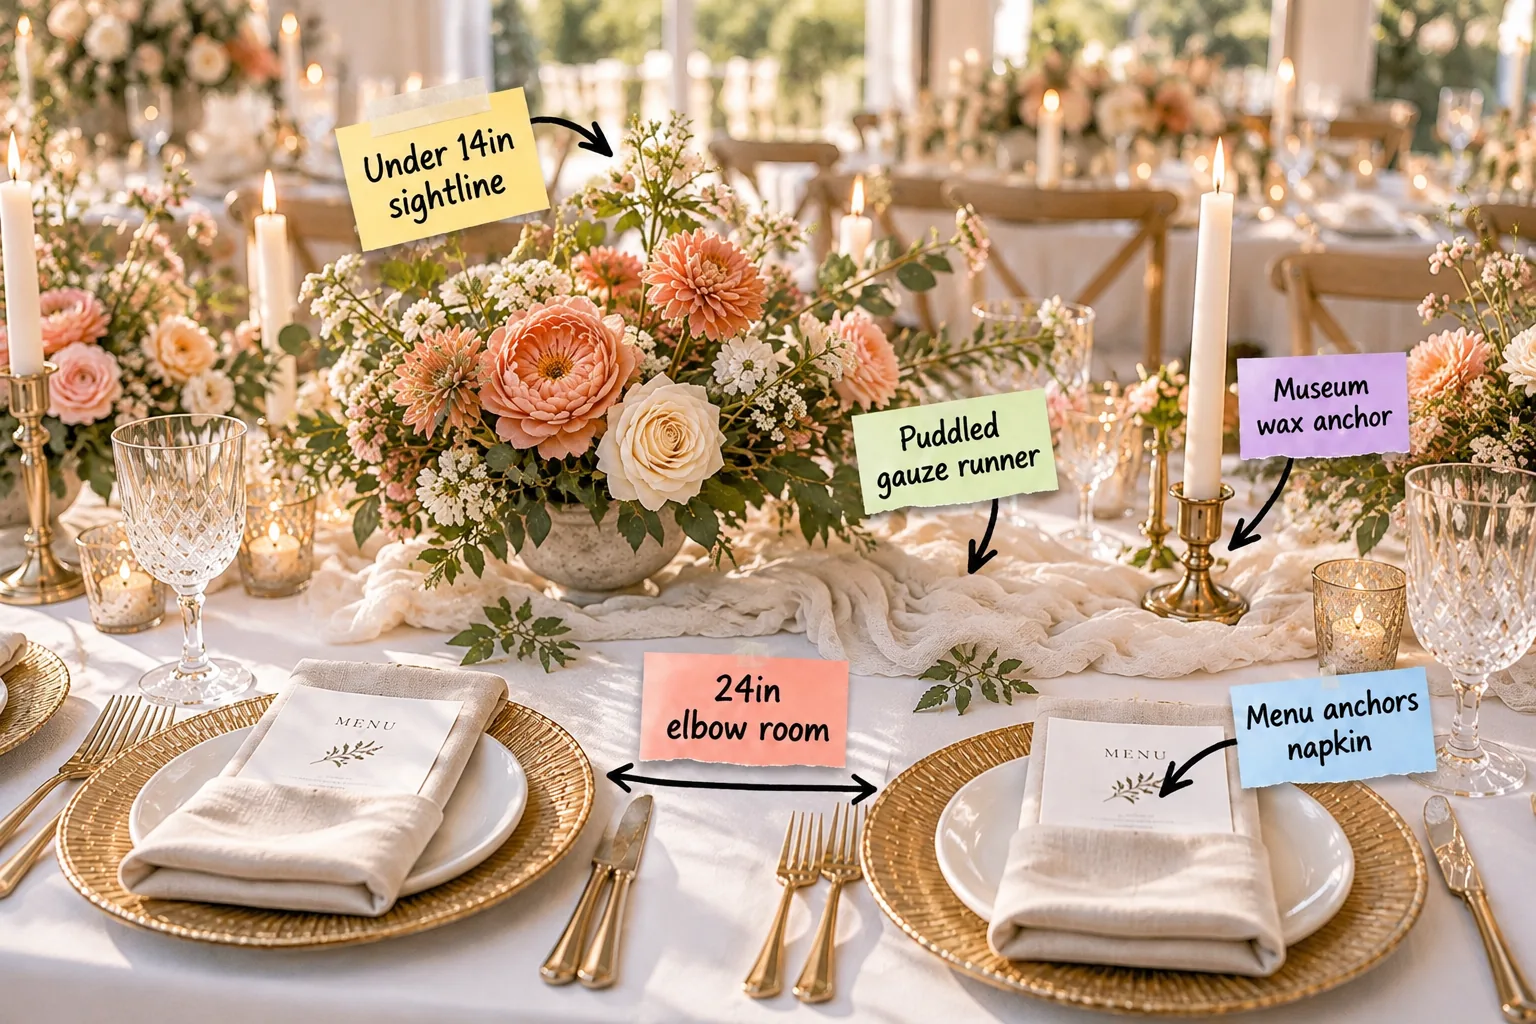
Designing a flawless reception requires more than beautiful florals; you need precise measurements to arrange a guest-friendly layout, which is exactly what our printable table spacing and quantity cheat sheet delivers. You will effortlessly build visually stunning tables from the overall spatial layout down to the individual place setting details.
Preparing the Venue Floor
Before bringing in heavy furniture, sweep the entire venue floor to prevent dust from kicking up onto your pristine linens. A clean foundation ensures your carefully styled tablescape remains spotless from the moment you begin setting the base plates.
Mapping the Overall Room Layout
Before touching a single plate, map out the entire room to ensure guests can navigate the space comfortably. Leaving at least 60 inches between table edges allows catering staff to move freely and prevents guests from feeling trapped in their seats.
Selecting the Right Table Shape
Rectangular tables create an intimate, family-style dining experience, while traditional round tables naturally encourage group conversation. Your venue’s architectural footprint should dictate this choice, as forcing long rectangles into a square room disrupts the natural flow of foot traffic.
Calculating the Walkway Clearance
Pushing tables too close to the dance floor or bar creates frustrating bottlenecks during the reception. Always measure a minimum 4-foot perimeter around high-traffic zones to keep the celebration moving smoothly and safely throughout the entire evening.
Choosing the Base Linens
A floor-length base tablecloth establishes the foundational canvas for your entire decorative scheme. Opt for a heavy, matte fabric that drapes elegantly to the floor, hiding ugly table legs and providing a luxurious backdrop for your delicate top layers.
Balancing the Color Palette
Limit your primary tablescape palette to three cohesive colors to maintain an elegant, uncluttered aesthetic. Introducing too many contrasting hues overwhelms the eye and distracts from the carefully curated floral arrangements you invested so much of your budget into.
The 24-Inch Elbow Room Rule
At my own Boston dinner parties, I quickly learned that beautiful centerpieces mean absolutely nothing if guests are bumping elbows while trying to eat.
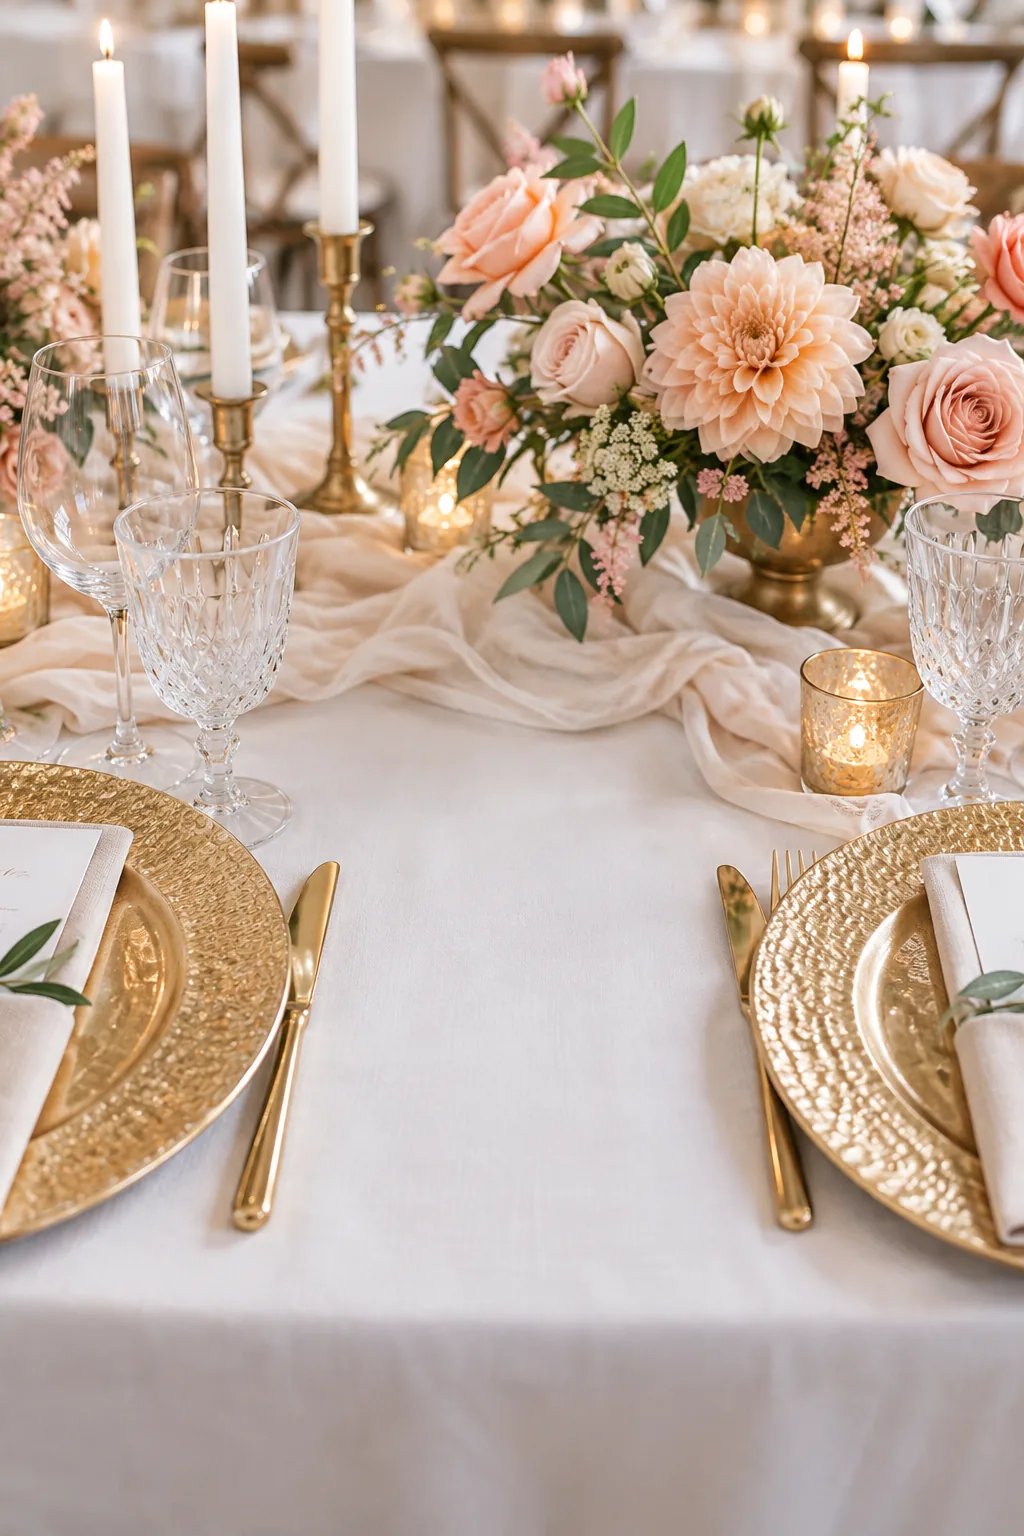
Placing a physical charger exactly 24 inches from center to center enforces personal space boundaries during setup. This generous spacing guarantees every guest has ample room for their meal and prevents the tabletop from feeling crowded.
Aligning the Base Plates
Position each charger plate exactly one inch from the table edge to create a perfectly straight, uniform line down the room. This precise alignment instantly elevates the visual professionalism of the space before any other decorative elements are added.
Layering the Puddled Gauze Runner
Once your base plates establish the spacing, soften the rigid geometry by weaving a fabric runner down the center of the wood.
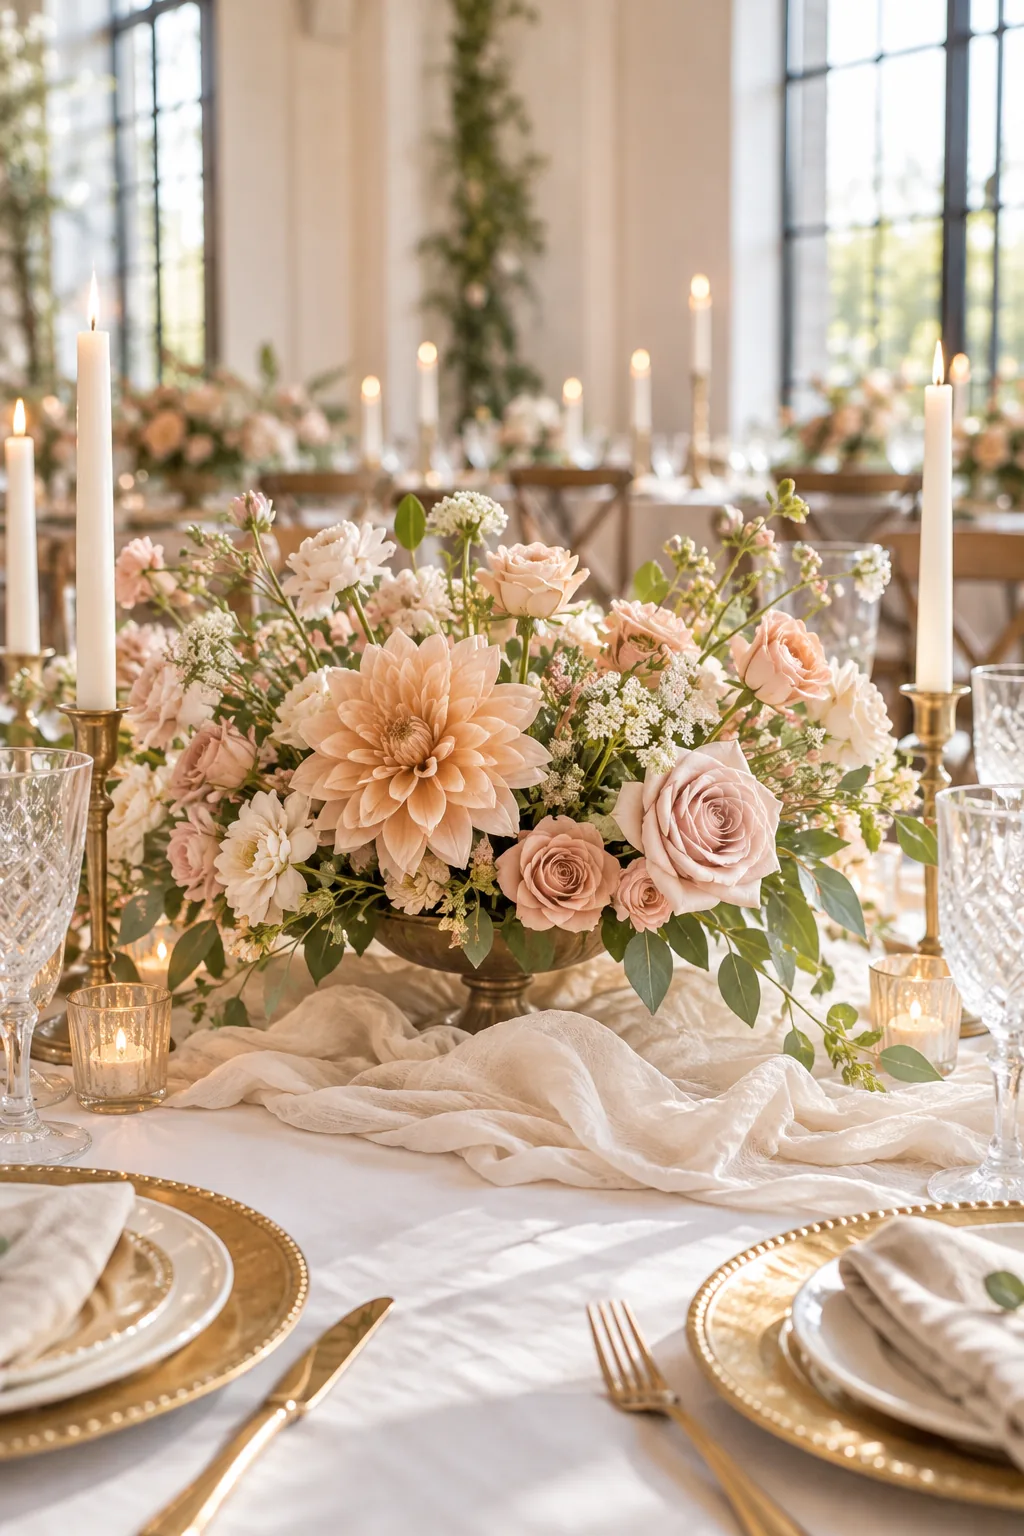
Gently puddle the softly gathered fabric between your floral arrangements instead of pulling it tight. Letting the material pool organically adds romantic texture without requiring exact measurements or crowding the nearby dinnerware.
Mixing Table Textures
Combining matte ceramics, polished metals, and soft woven fabrics prevents a monochromatic table from looking flat.
Selecting the Floral Vessels
Choose shallow, wide compote bowls rather than tall vases to keep the center of gravity incredibly low. These stable vessels anchor the arrangements firmly to the table, preventing top-heavy blooms from tipping over when guests inevitably bump the table.
Keeping Florals Under the 14-Inch Sightline
Nothing kills reception energy faster than guests having to physically lean around a massive floral arrangement to speak to the person opposite them.
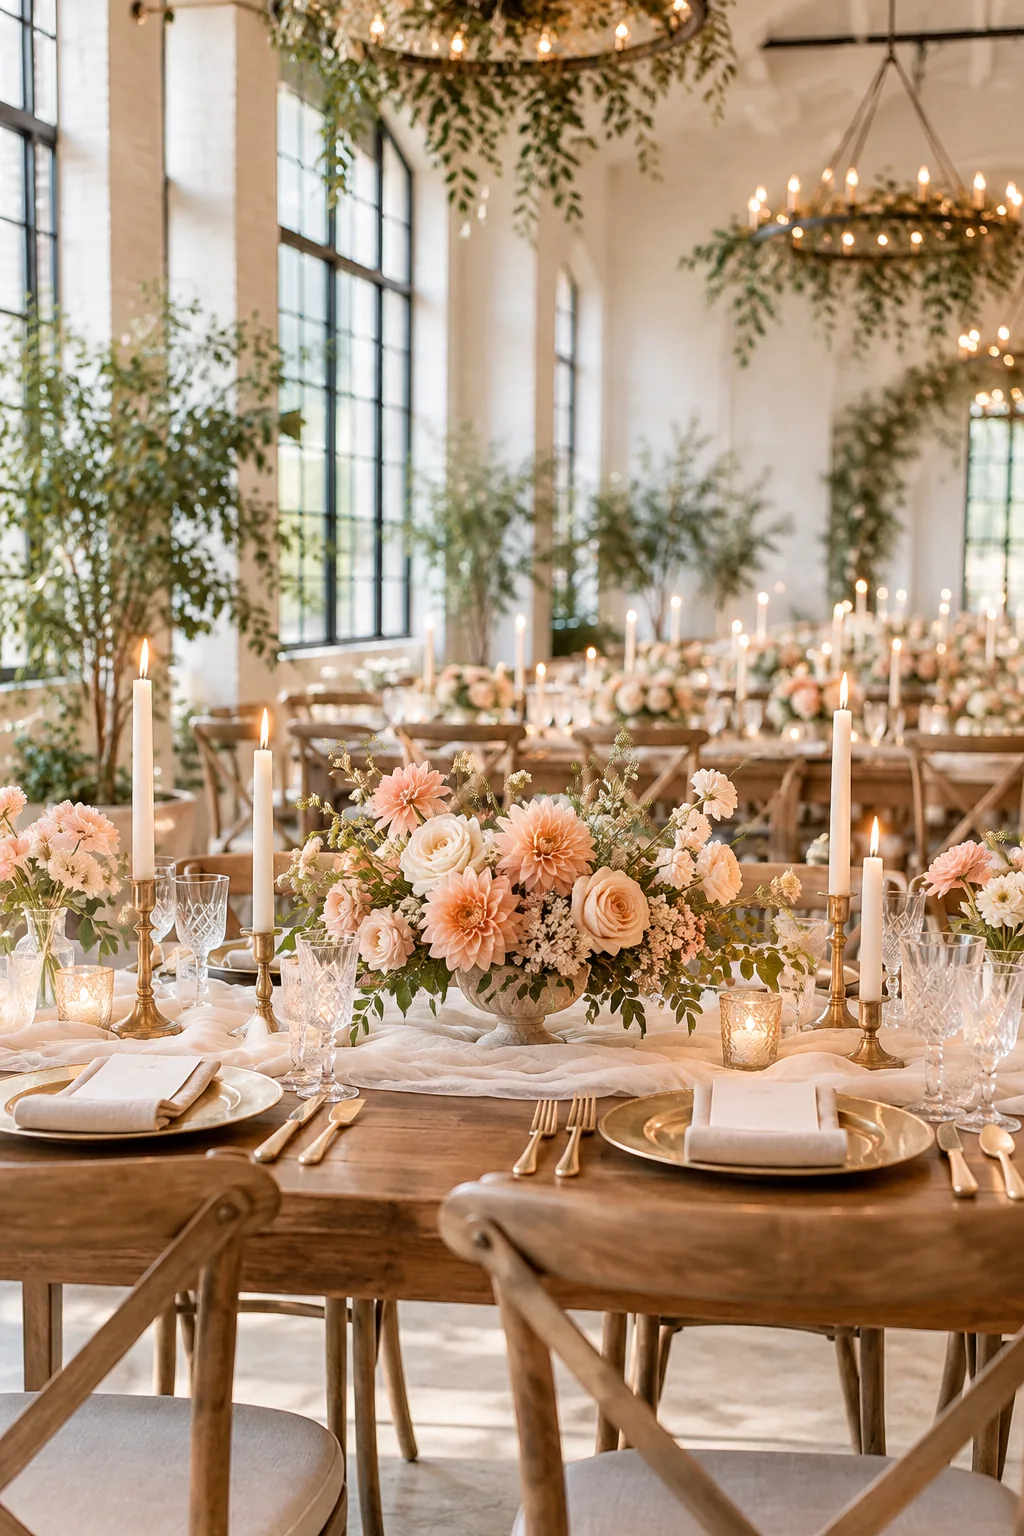
Ensure the highest floral stem sits below 14 inches to preserve unobstructed cross-table conversation. This strict measurement keeps the visual plane completely open at seated eye level while still allowing for lush, impactful centerpieces.
Managing Centerpiece Width
While height is restricted, you must also control the horizontal spread of your greenery to protect the place settings. Keep all leaves and trailing vines at least six inches away from glassware so guests do not accidentally eat your foliage.
Avoiding Strongly Scented Blooms
Heavily perfumed flowers like lilies or hyacinths will aggressively compete with the aroma of the catered dinner. Select unscented varieties for the tablescape so your guests can fully enjoy the culinary experience without overpowering floral interference.
Placing the Taper Candles
Nestle your candlestick holders naturally into the curves of the gauze runner rather than spacing them in a rigid, mathematical line. This staggered placement adds visual depth and mimics the organic, asymmetric growth of a wild garden.
Securing Tapers with Museum Wax
Tall tapers add gorgeous ambient lighting, but leaning candles create a serious fire hazard and a messy, dripping tablescape.
Press a dot of museum wax at the base of every taper to anchor them perfectly straight; while this invisible grip holds securely during dinner, you will need a quick cleanup strategy later.
Protecting Against Room Drafts
If your venue features heavy air conditioning or open doors, standard tapers will burn unevenly and drip wax everywhere. Enclosing the candles in sleek glass hurricane cylinders protects the flame while maintaining the sophisticated, elevated aesthetic of an open taper.
Aligning the Flatware
Laying out the silverware requires precision to maintain the crisp, orderly appearance of the 24-inch guest boundary.
- Place the dinner knife one inch from the right side of the charger.
- Position the dinner fork one inch from the left side.
- Align the bottom handles perfectly with the base plate edge.
Folding the Linen Napkin
A simple, modern pocket fold works beautifully for formal receptions because it neatly contains the fabric. Avoid elaborate, sculptural napkin folding techniques, as they often look dated and require excessive handling by the setup crew before guests arrive.
Anchoring the Napkin with the Menu
Soft linens bring elegance to the place setting, but a folded linen napkin can easily pop open or feel bulky on the plate.
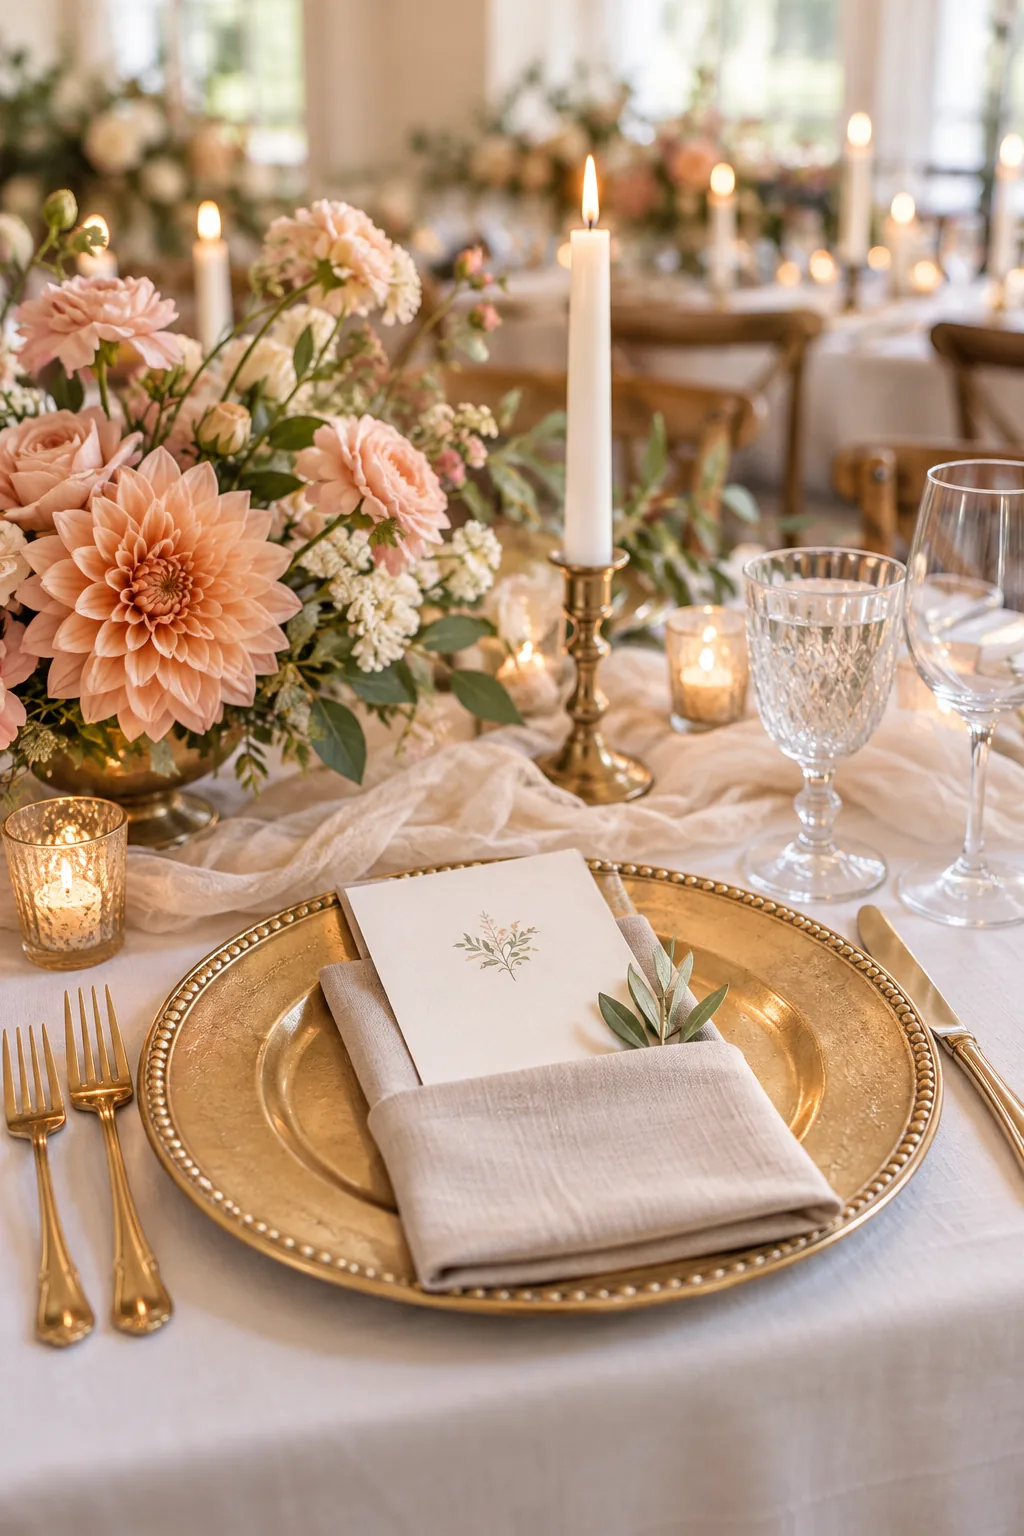
Tucking a heavy cardstock menu into the pocket anchors the fabric and creates a beautifully weighted focal point. This simple layering trick keeps the place setting looking crisp and intentionally styled until guests take their seats.
Positioning the Bread Plate
Place the small bread plate exactly at the top left of the forks to balance the visual weight of the glassware. This traditional placement ensures guests instinctively know which roll belongs to them, preventing awkward confusion during the first course.
Arranging the Glassware Triangle
At a recent wedding I styled, keeping the delicate crystal safe from enthusiastic arm movements was my absolute top priority during setup.
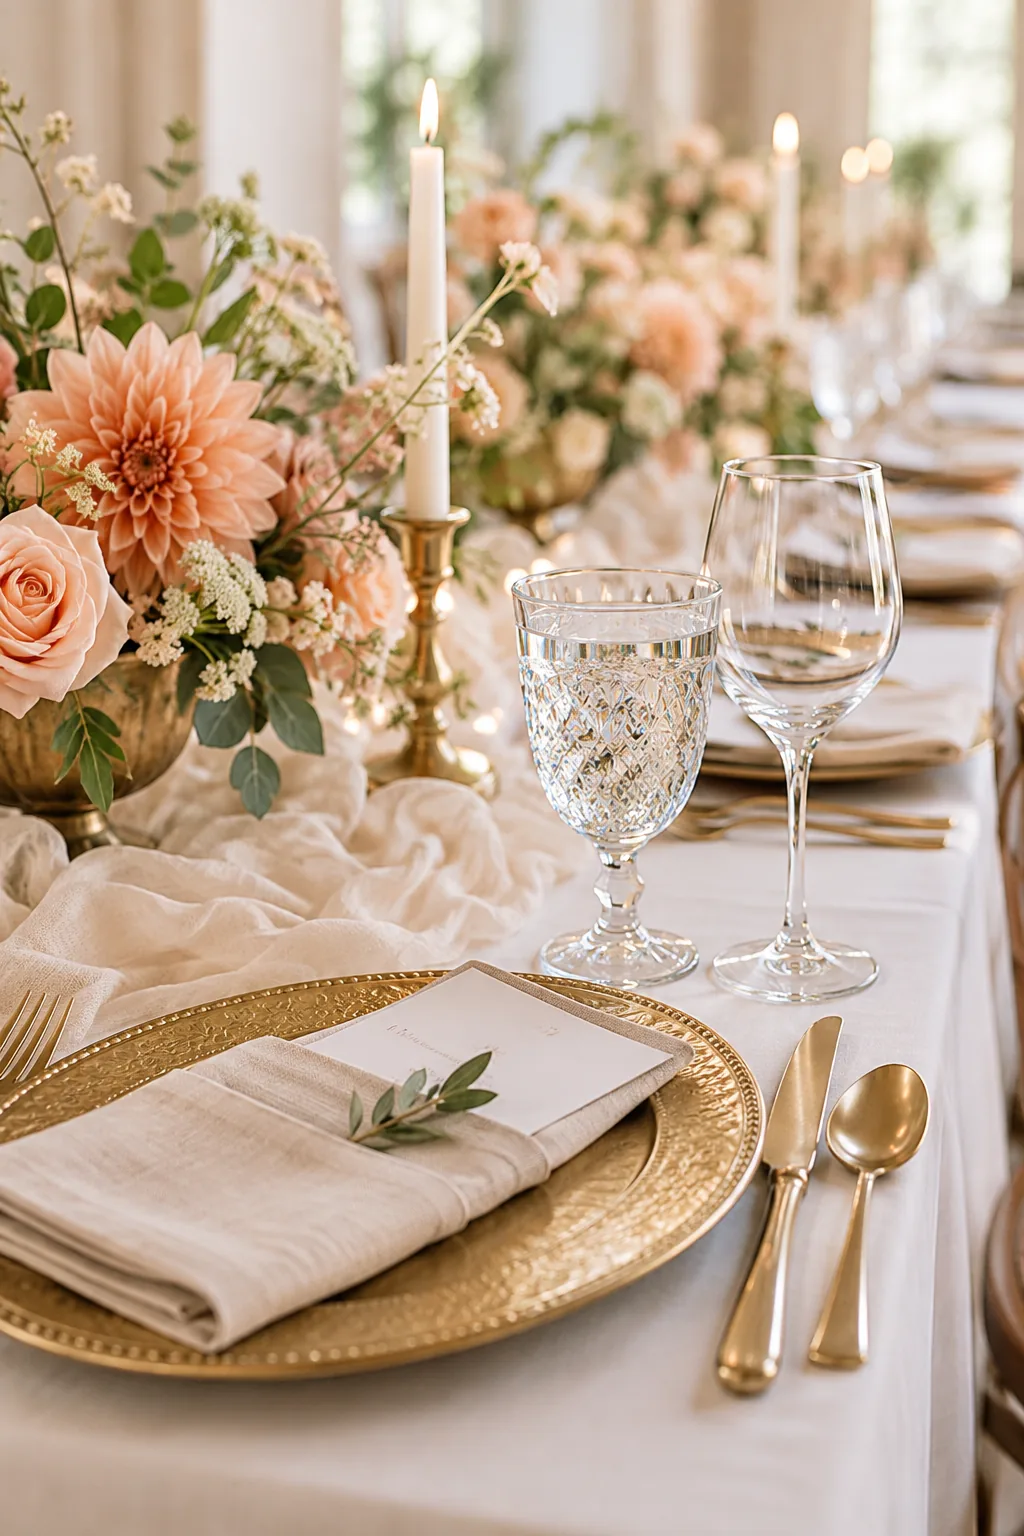
Position the water goblet directly above the knife, with the wine glass forming a tight triangle to the right. Grouping the glasses closely protects the 24-inch guest space and significantly prevents accidental spills during a lively dinner.
Setting the Water Carafes
Place a condensation-free water carafe at each end of the table so guests can easily refill their own glasses. Positioning these carafes near the centerpieces prevents waiters from constantly reaching over guests’ shoulders during the main course.
Placing the Salt and Pepper
Provide one set of minimalist salt and pepper cellars for every four guests to ensure everyone can reach the seasoning comfortably. Tiny metallic spoons resting inside the cellars add a thoughtful, high-end touch to the dining experience.
Placing the Individual Place Cards
Rest the personalized place card directly above the dessert spoon to keep it highly visible as guests search for their seats. Using a clear, legible font ensures everyone finds their designated spot quickly, preventing traffic jams around the tables.
Adding the Table Numbers
Position the table number frame slightly off-center so it does not block the primary floral arrangement. The number must be tall enough to be seen from the room’s entrance, guiding guests effortlessly toward their assigned dining zone.
Managing Table Clutter
Resist the urge to scatter loose rose petals, acrylic diamonds, or excessive greenery sprigs across the bare tablecloth. These unnecessary additions quickly look like messy clutter and encroach on the essential negative space your guests need to dine comfortably.
Managing the Chair Sashes
If you choose to use decorative chair sashes, tie them uniformly before pushing the seats flush against the tablecloth. Consistent knots create a clean, architectural line down the room that looks incredibly striking in wide-angle venue photographs.
Pushing in the Chairs
Align the front edge of every chair seat perfectly flush with the drop of the tablecloth. This final alignment step creates a breathtakingly neat, architectural look when the photographer captures the empty room before the reception begins.
Testing the Guest Experience
Before finalizing your setup, physically sit in a guest chair and run through a quick check before your catering team replicates the design.
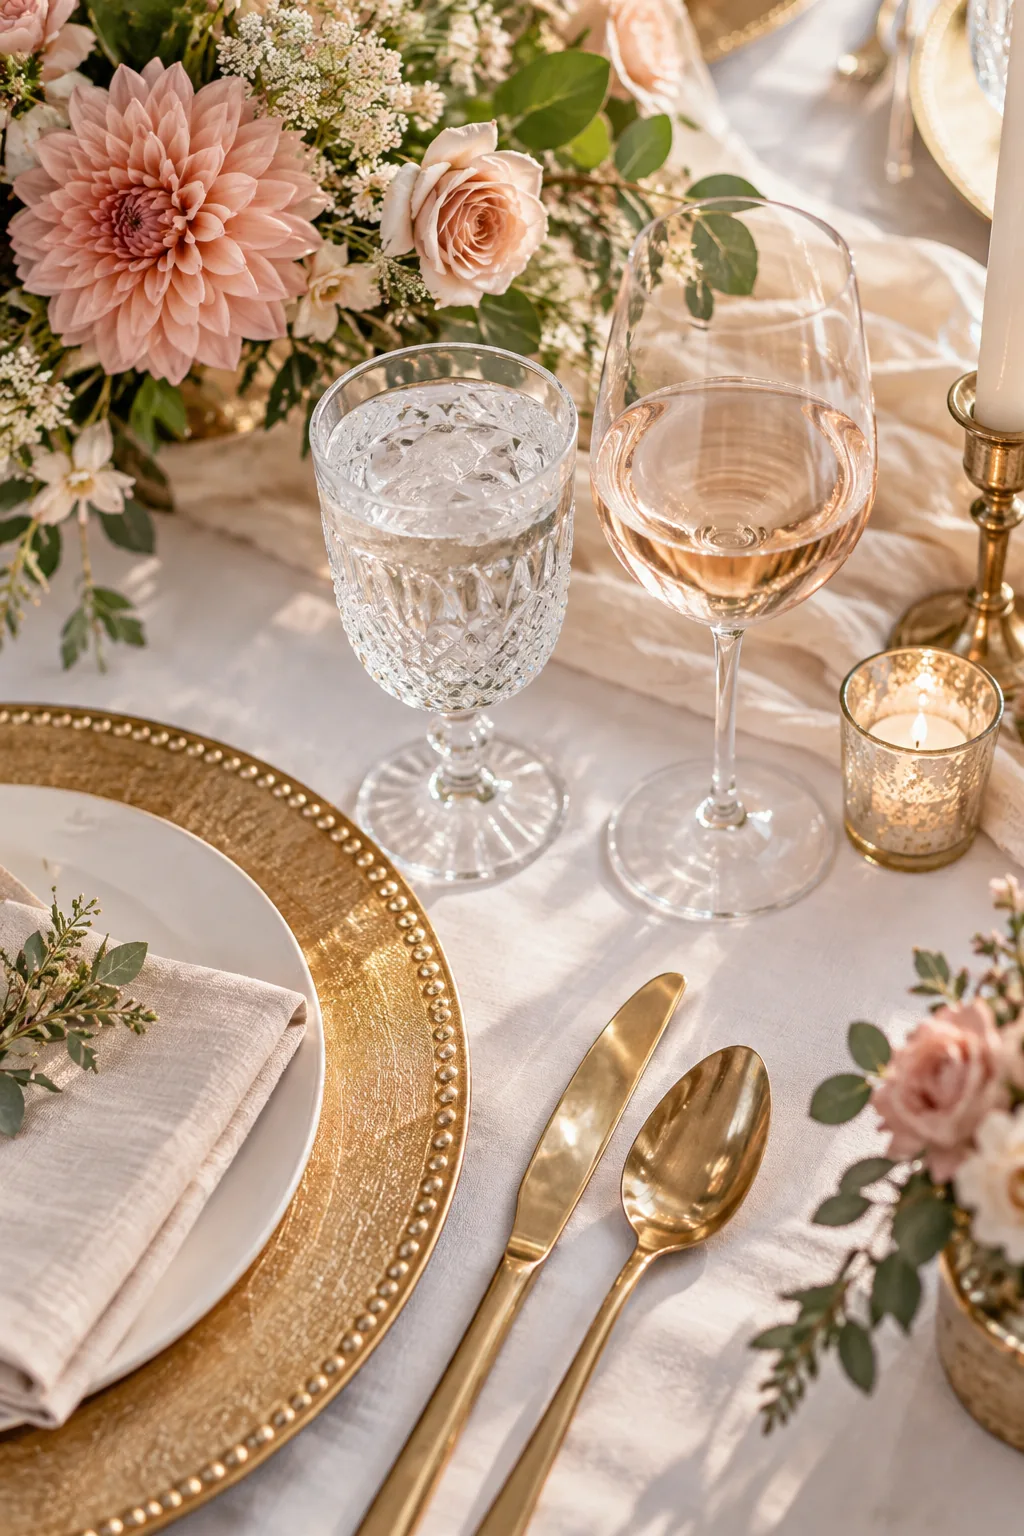
Evaluating the Ambient Lighting
Dim the venue’s overhead lights to their evening settings to ensure your candlelight provides enough illumination for guests to read their menus. Adjusting the room’s atmosphere early prevents a harsh, overly bright environment from ruining the romantic dinner mood.
Planning for Efficient Teardown
Designate dedicated storage bins for your delicate glassware, wax-covered candle holders, and damp floral vessels before the party ends. Organizing your packing supplies in advance guarantees you can clear the venue quickly and avoid costly late-checkout penalty fees.
Calculating Your Total Quantities
Ordering the exact amount of rental items prevents you from paying for unused decor or scrambling to fill empty table gaps. Always request a five percent overage on delicate items like glassware and tapers to account for unexpected breakages during transit.
Your Table Spacing and Quantity Cheat Sheet
Whenever I plan a large event, having exactly the right number of styling elements prevents last-minute panic and blown budgets.
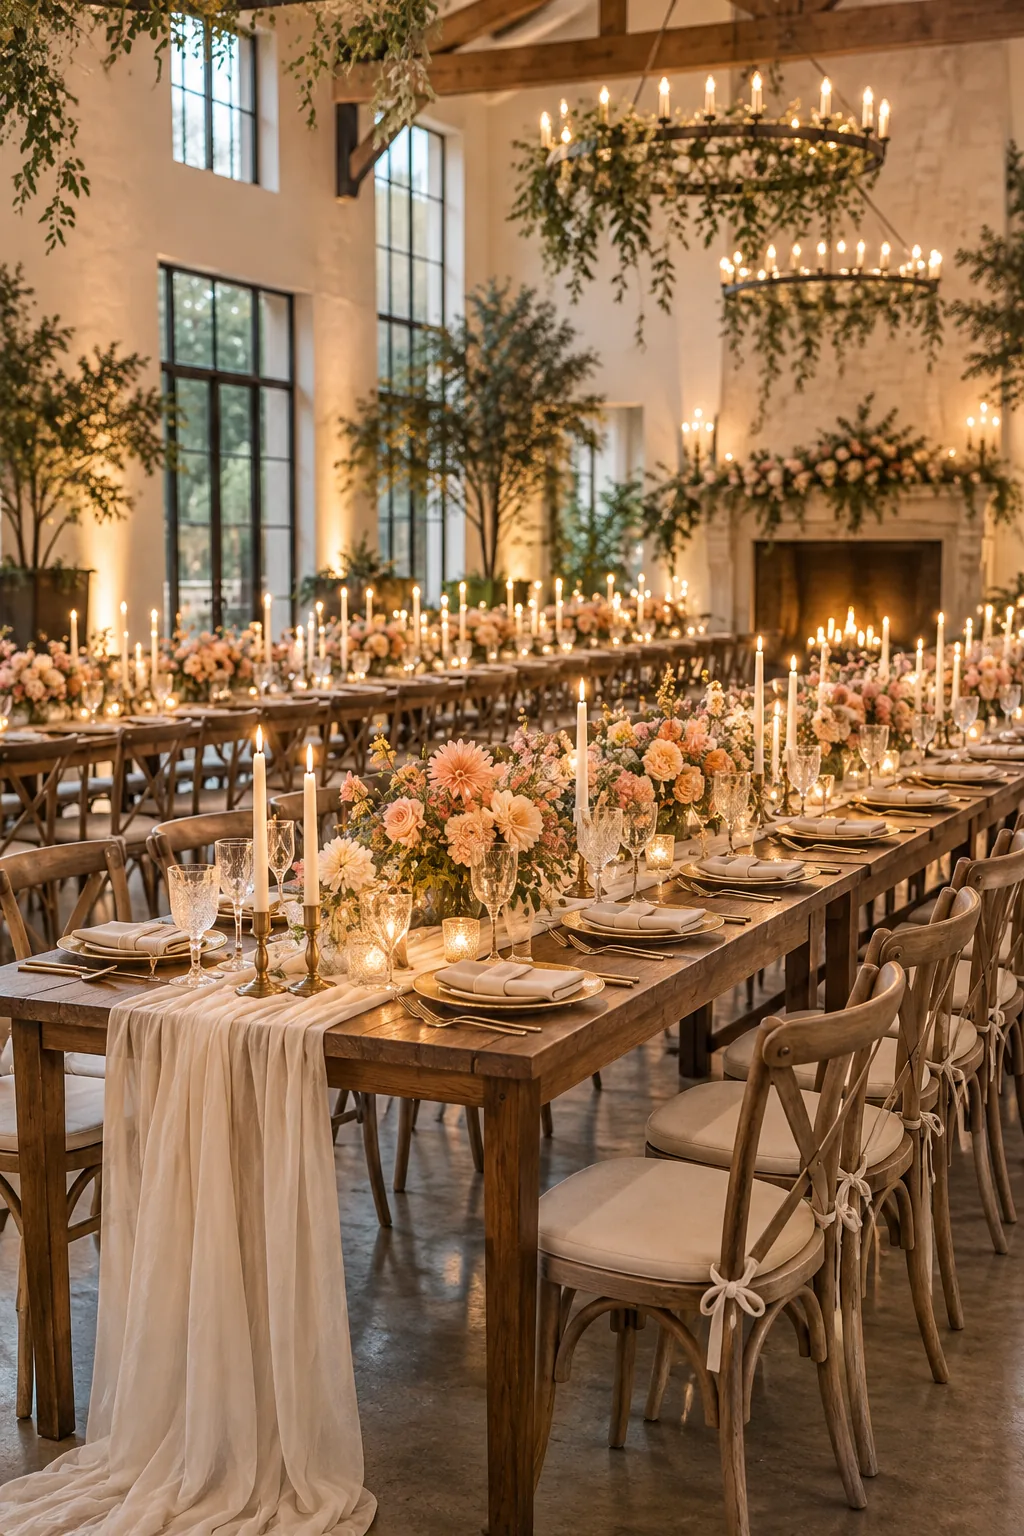
Using our printable table spacing and quantity cheat sheet allows you to calculate exact quantities effortlessly, ensuring your consistent spacing scales beautifully across the room.
| Table Type | Centerpieces | Candles | Runners |
|---|---|---|---|
| 8-Foot Rectangular | 3 low arrangements | 6-8 tapers | 1 (120-inch) |
| 60-Inch Round | 1 low arrangement | 3-5 tapers | None |
Three Ways to Style Your Reception Tables
Take these core spacing rules and apply them to your favorite wedding aesthetic.
Modern Minimalist Loft Setup: Swap lush florals for sleek acrylic menus and minimalist bud vases to achieve an edgy, contemporary vibe.
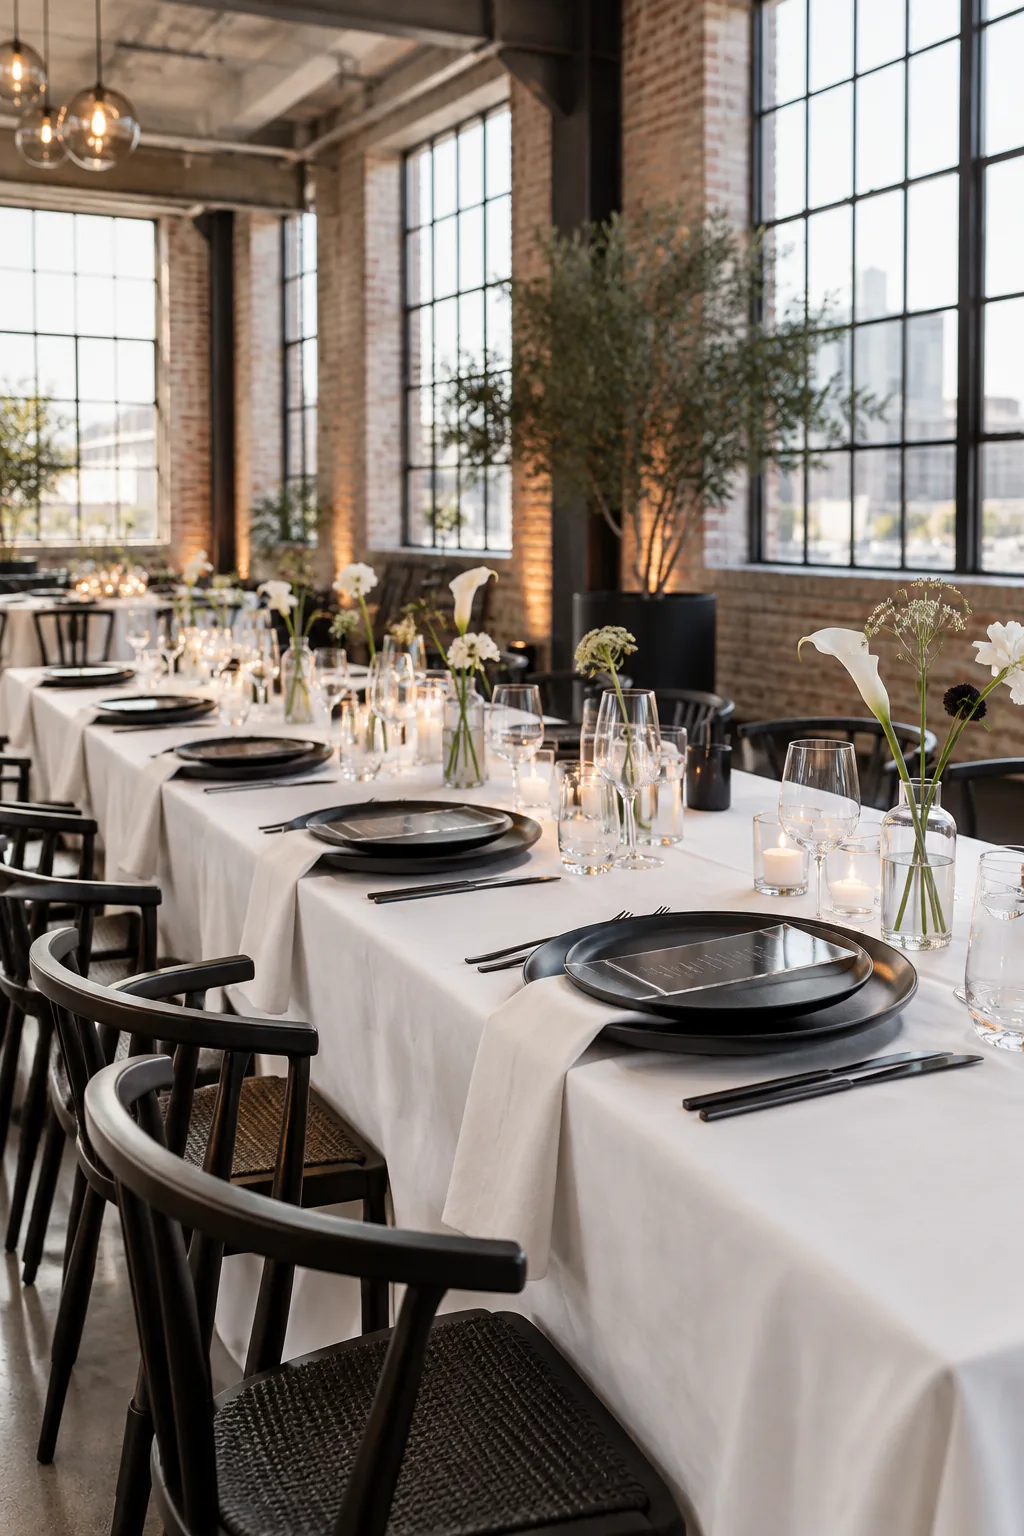
Rustic Tuscan Vineyard Style: Embrace warmth with terracotta runners, olive branch garlands, and raw wooden tables for a relaxed outdoor feast.
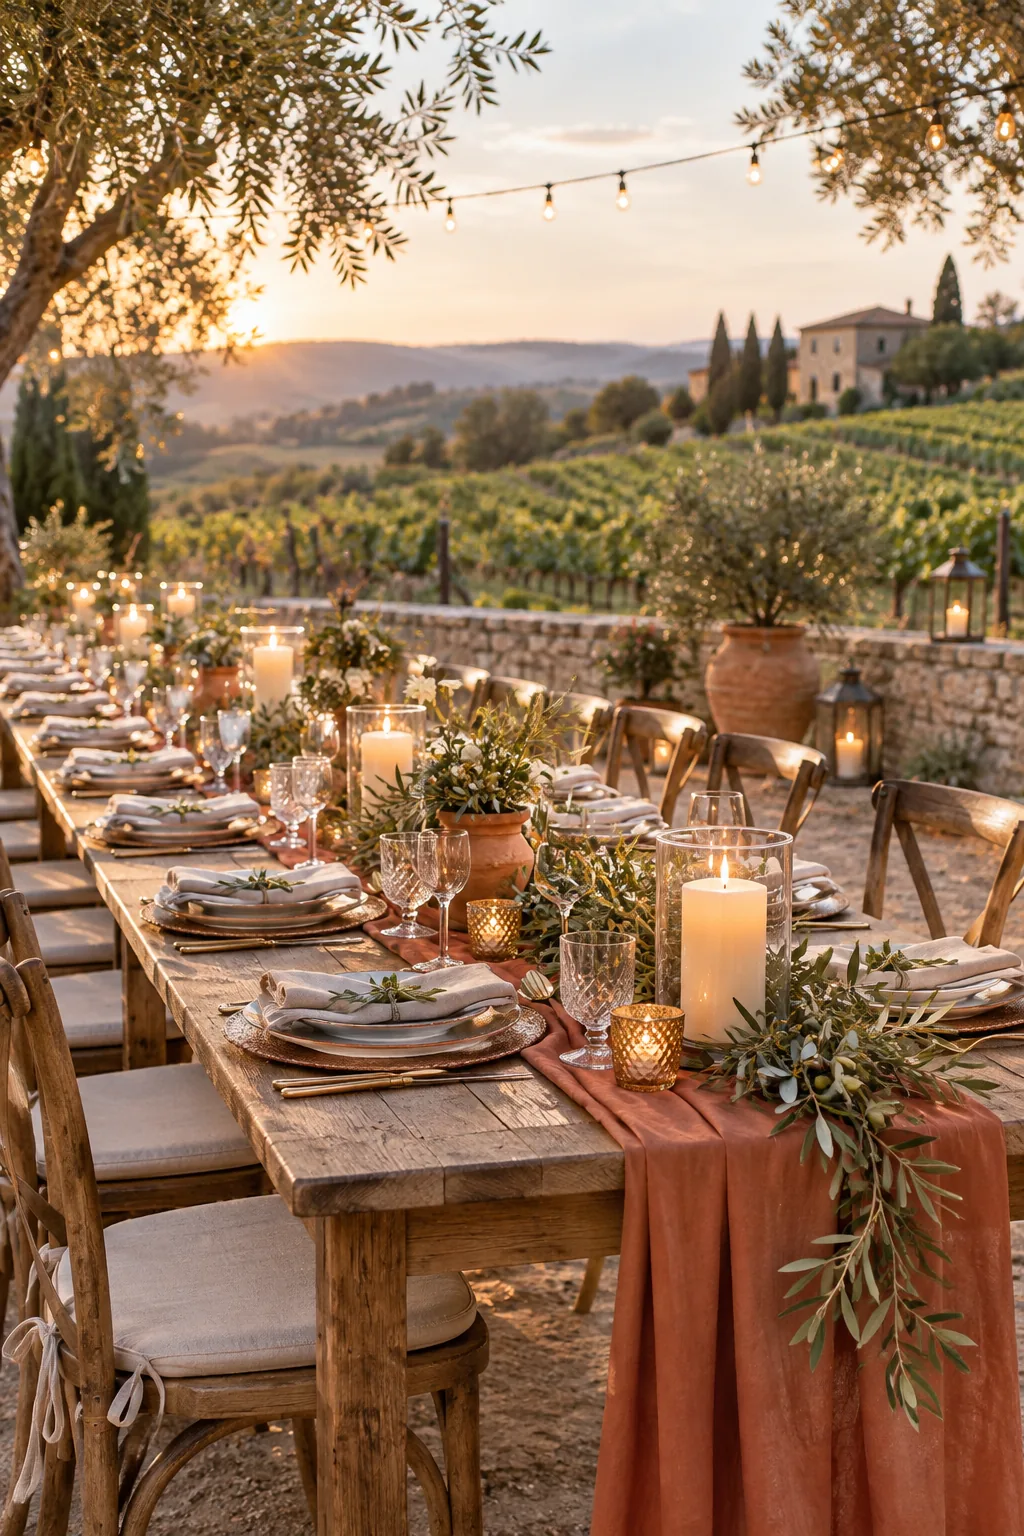
Classic Silver Estate Elegance: Elevate a formal ballroom with crisp white linens, towering silver candelabras, and abundant white hydrangeas.