Driveway Pavers for Heavy Traffic: Guide & Material Calculator
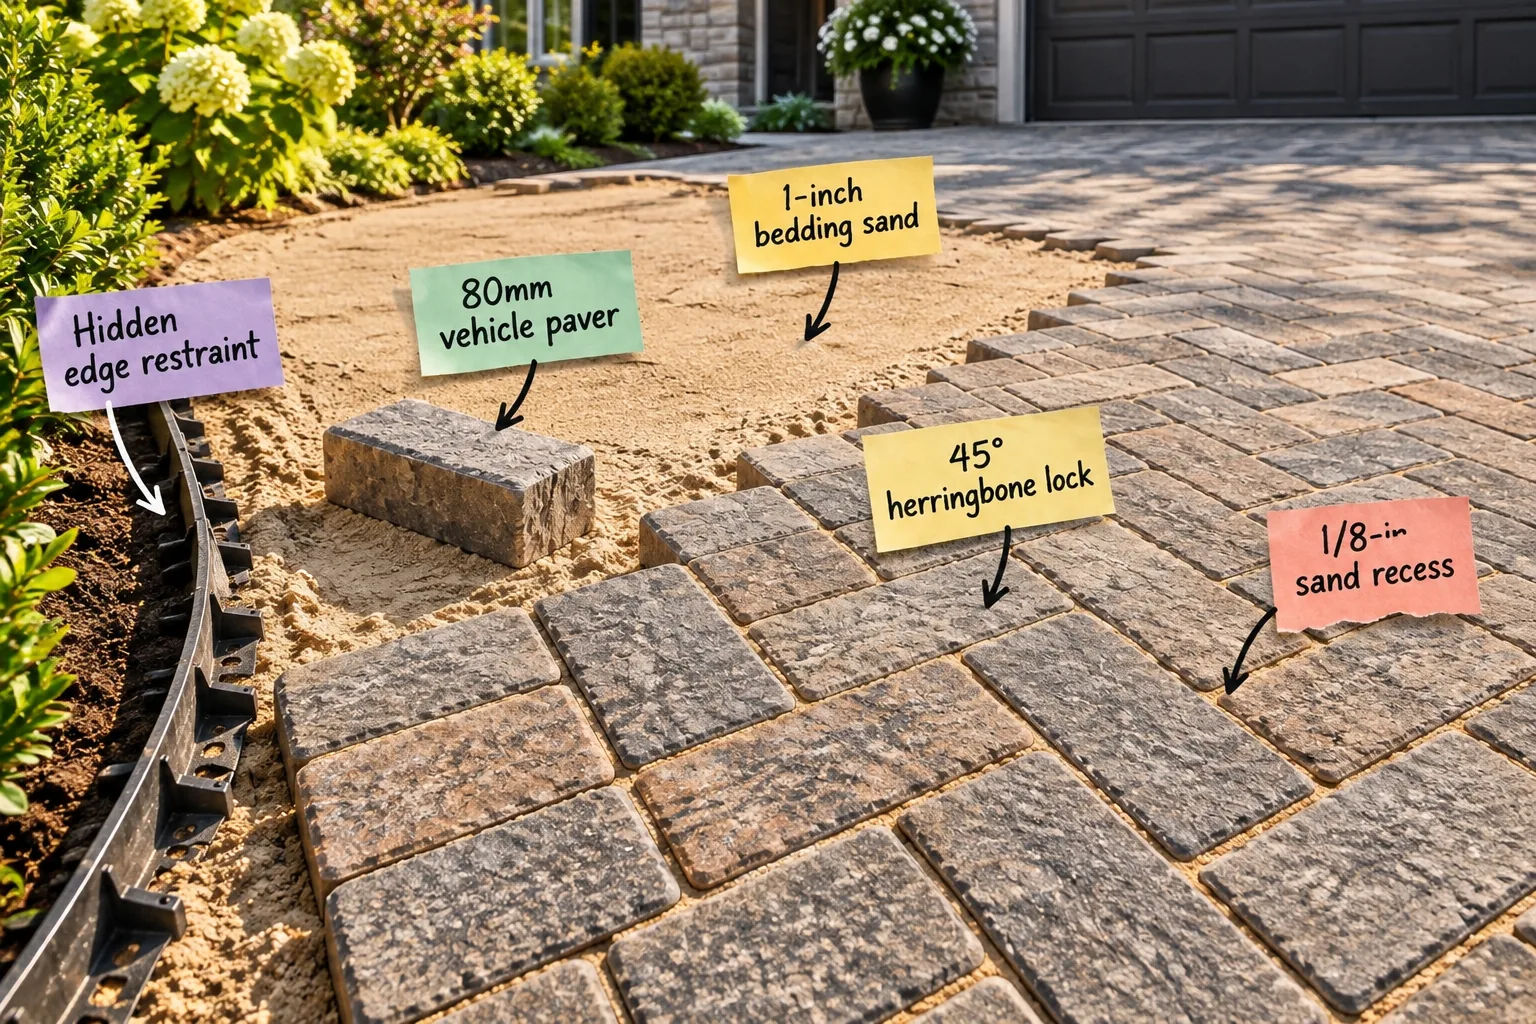
Planning a durable, rut-free parking surface starts from the ground up, and you can confidently order your exact base rock and sand using our custom Driveway Paver Material & Base Depth Calculator. We will build this heavy-traffic surface from the deep foundation layers up to the final joint sand, ensuring you lay a locking herringbone pattern with the correct paver thickness.
Assessing Your Soil Type for the Foundation
Before any digging begins, you must evaluate the existing soil beneath your planned parking area to determine exactly how deep your excavation needs to go. Heavy clay soils hold moisture and shift dramatically, requiring a much deeper gravel foundation to keep the surface stable over time.
Marking Your Driveway Layout and Slopes
Establishing clear boundaries with wooden stakes and highly visible string lines keeps your excavation perfectly straight and ensures you maintain the proper drainage slopes. You will need a few basic layout tools to establish these crucial reference elevations in this specific order before the heavy machinery arrives.
- Drive wooden surveyor stakes firmly into the ground to mark the outer corners and curves.
- Pull brightly colored masonry string line tightly between the stakes so it will not sag over long distances.
- Use a line level to verify your drainage pitch drops safely away from the garage foundation.
Managing Water Runoff and Drainage
Your driveway must actively shed rainwater to prevent the underlying base materials from becoming saturated and soft. We always pitch the finished surface away from the home’s foundation, aiming for a minimum slope of one inch of drop for every eight feet of driveway length.
Excavation and the Gravel Base Layer
A deep, compacted gravel foundation is absolutely essential because it transfers heavy vehicle weight evenly to prevent your beautiful new surface from sinking. Digging out the topsoil and building up a solid aggregate base keeps those dreaded tire ruts from forming over the years.
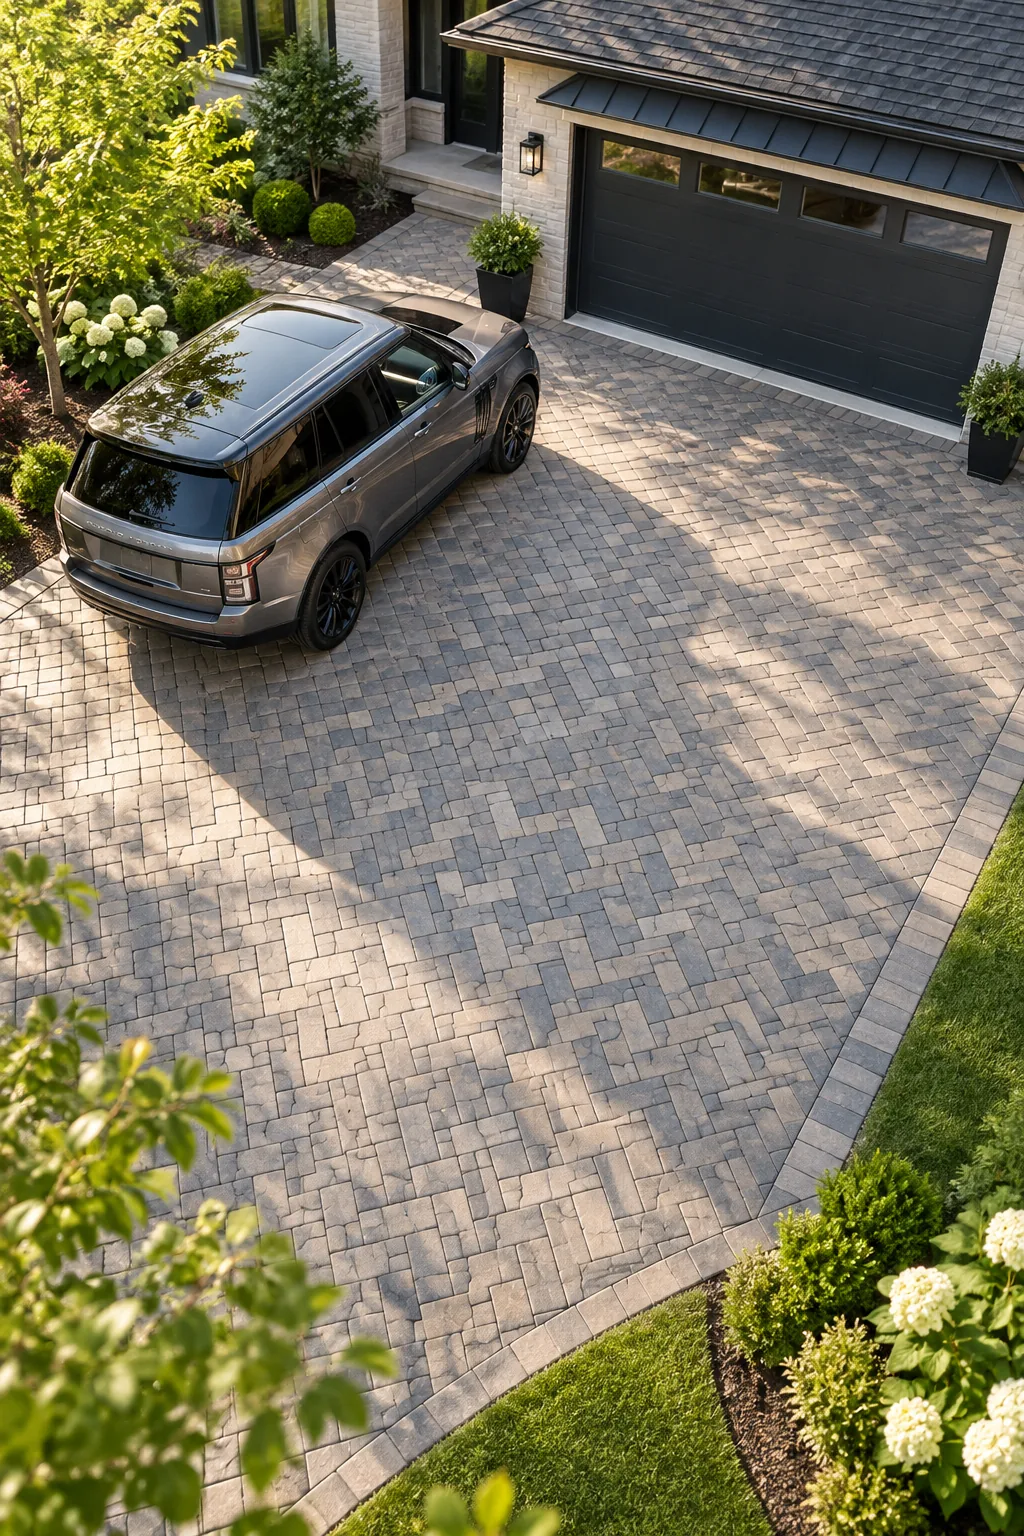
Heavy traffic requires a compacted aggregate base that is typically 8 to 12 inches deep, depending entirely on your specific soil type. Our calculator at the end of this guide will determine the exact gravel depth needed to support your daily drivers without settling.
Compacting the Aggregate Base in Lifts
You cannot simply dump ten inches of gravel into a trench and expect it to hold the weight of a heavy truck. You must install and compact the crushed stone in distinct two-inch layers, known as lifts, to achieve the maximum possible density.
Locking the Stone with a Vibratory Plate
Running a heavy vibratory plate compactor over each individual gravel lift locks the jagged stone edges together into a rigid, unyielding mass. Skipping this layered compaction process is the number one reason newly laid driveways develop severe dips and structural failures within their first year.
Setting the 1-Inch Bedding Sand
Once your gravel is perfectly compacted, you need exactly 1 inch of coarse concrete sand to properly bed the stones without causing future shifting. We screed this layer perfectly flat using metal pipes as guides to ensure a flawless resting place for the pavers.
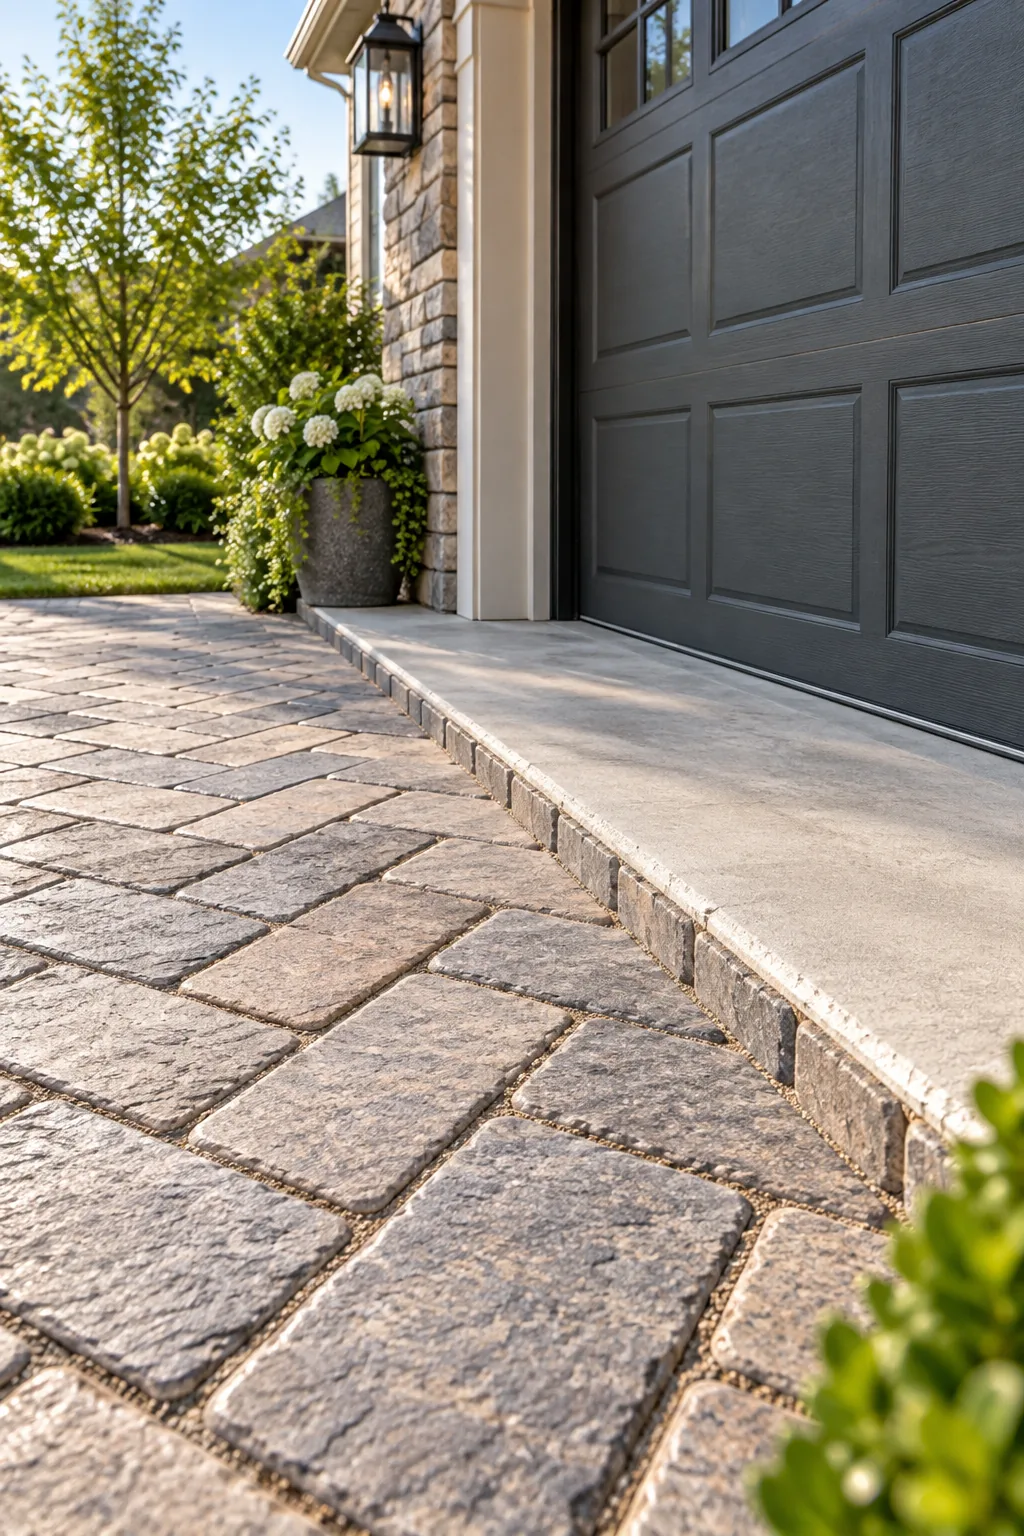
A flawless bedding layer is critical for a smooth driveway, but many first-time builders compromise the entire surface with a few common sand errors. When I built my first driveway extension here in Austin, I almost used the wrong sand before a local pro corrected me!
Choosing the Right Sand Profile
Selecting the correct sand profile is just as important as getting the depth right, and concrete sand is the only acceptable choice for vehicular traffic. Its coarse, angular particles allow rainwater to drain through quickly while resisting the urge to wash out under pressure.
| Sand Type | Particle Shape | Drainage | Driveway Suitability |
|---|---|---|---|
| Concrete Sand | Coarse, angular | Excellent | Required |
| Masonry Sand | Fine, smooth | Poor | Never use |
| Stone Dust | Powder-like | Traps water | Never use |
Screeding the Bedding Layer with Precision
To achieve a perfectly flat surface, lay two parallel steel pipes directly onto the compacted gravel and pour your concrete sand between them. Dragging a straight aluminum board across these pipes levels the sand perfectly, creating a flawless canvas for your heavy driveway blocks.
Specifying 80mm Vehicle Pavers
Upgrading from standard patio stones to thick 80mm vehicle pavers is a structural necessity for handling daily vehicular traffic safely. These massive blocks are specifically cast to absorb the intense friction, torque, and weight of heavy SUVs turning into your garage.
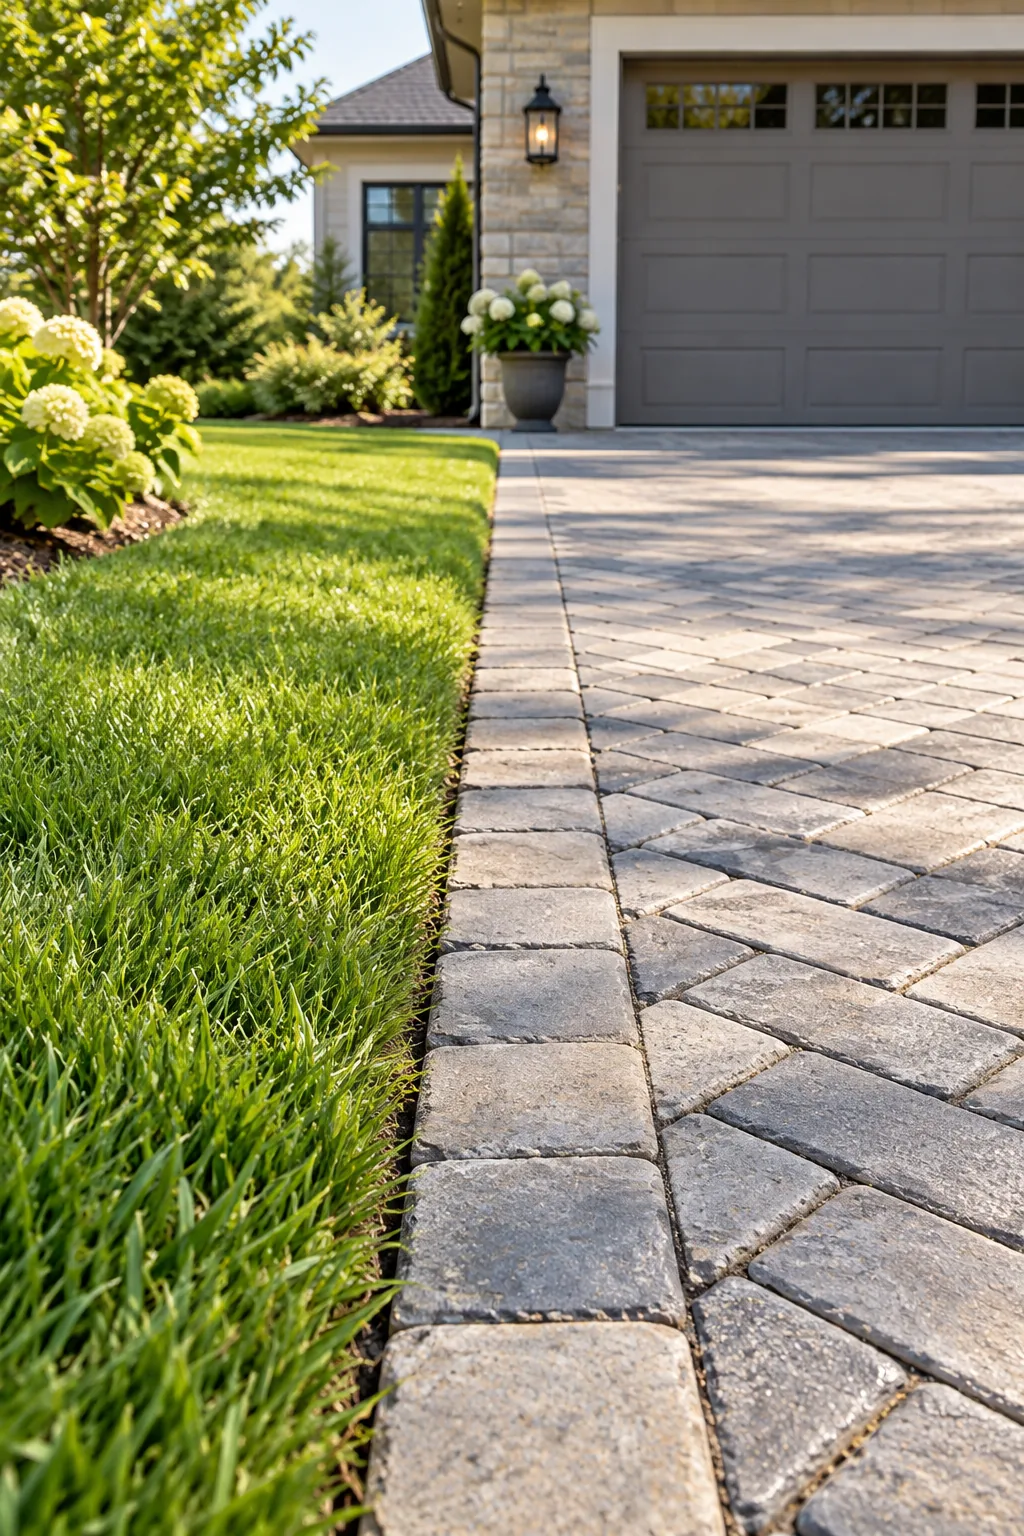
Standard 60mm patio pavers will inevitably crack under vehicle weight, especially near the unprotected outer edges of your parking pad. I always recommend 80mm blocks, which measure roughly 3 1/8 inches thick, for all driveway applications to handle turning tires safely and securely.
Blending Paver Colors During Layout
When your heavy-duty driveway blocks arrive, they will likely come stacked on multiple wooden pallets delivered directly to your curb. It is incredibly important to pull stones from three or four different pallets simultaneously to ensure a natural, beautifully blended color distribution across the surface.
Installing a Soldier Course Border
Before laying the main diagonal field, create a strong visual frame by installing a straight border row, known as a soldier course, along the edges. This straight line of blocks provides a clean, finished look and acts as a sturdy barrier against the surrounding lawn.
Securing the Perimeter with Hidden Edge Restraints
Invisible spiked plastic borders are crucial because they hold the entire driveway matrix tightly together under immense downward pressure. These sturdy restraints stop the outer rows from spreading outward when heavy tires roll dangerously close to the grass or adjacent planting beds.
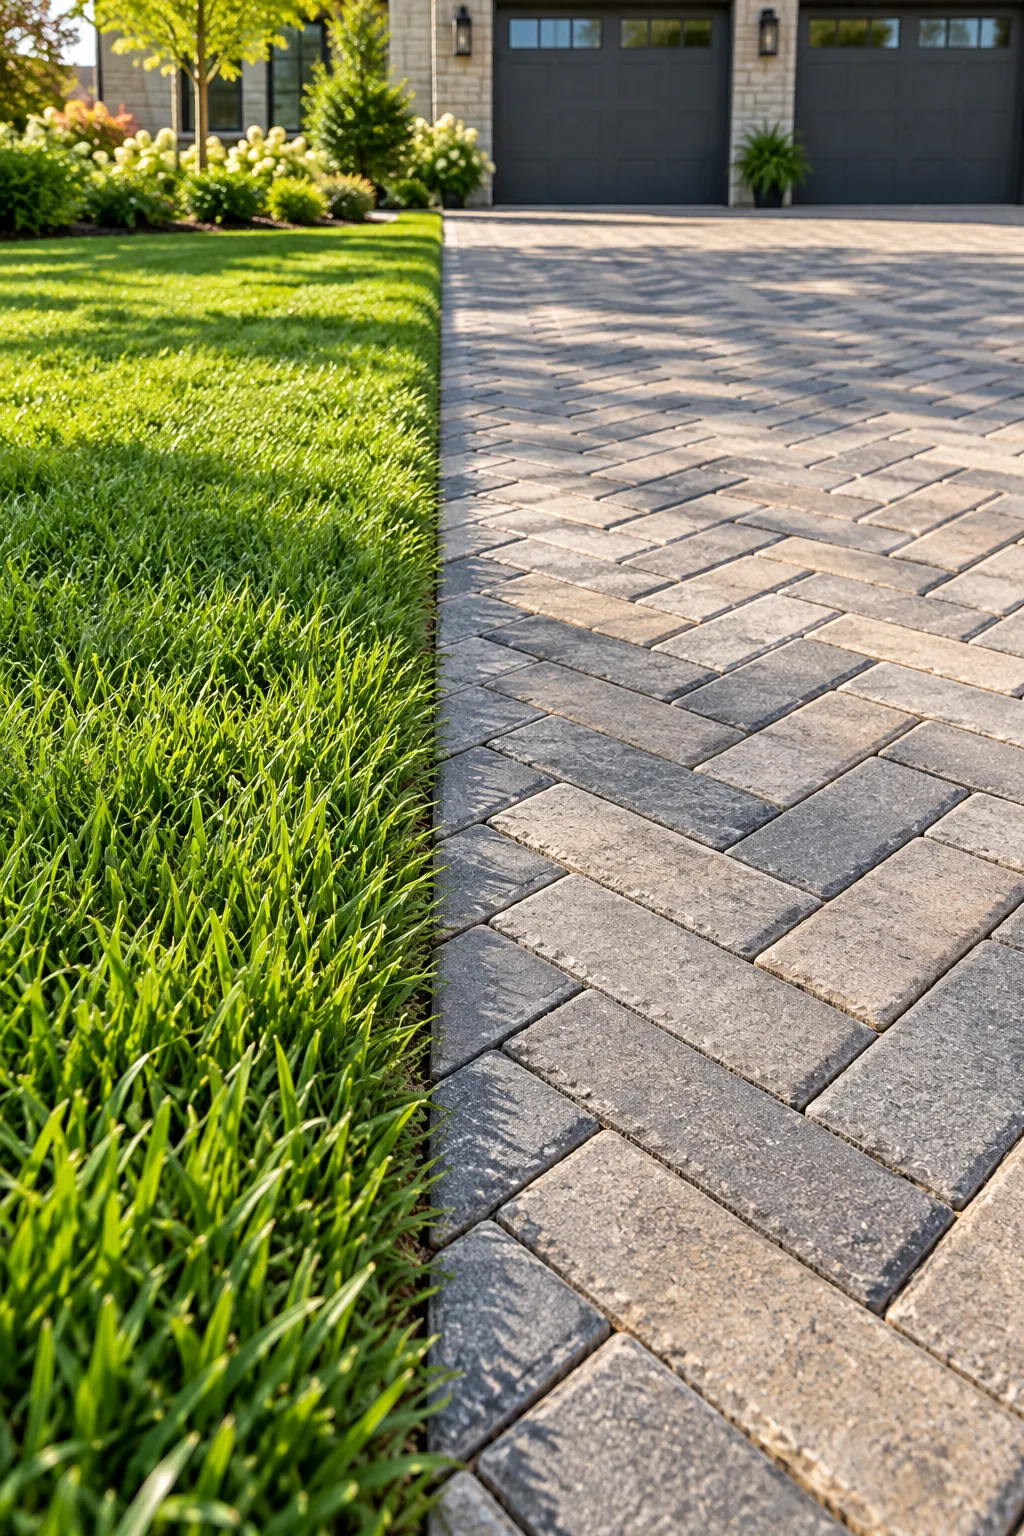
You must stake these hidden edge restraints along the perimeter before your final surface compaction. I learned this the hard way on a friend’s project when an unsecured edge pushed out into the lawn during the final tamp, forcing us to rebuild the entire section!
Laying the 45-Degree Herringbone Lock
The mechanical advantage of the 45° herringbone lock makes it the absolute best pattern for resisting horizontal tire torque. This diagonal zig-zag layout distributes braking forces across multiple stones rather than pushing a single straight line out of place over time.
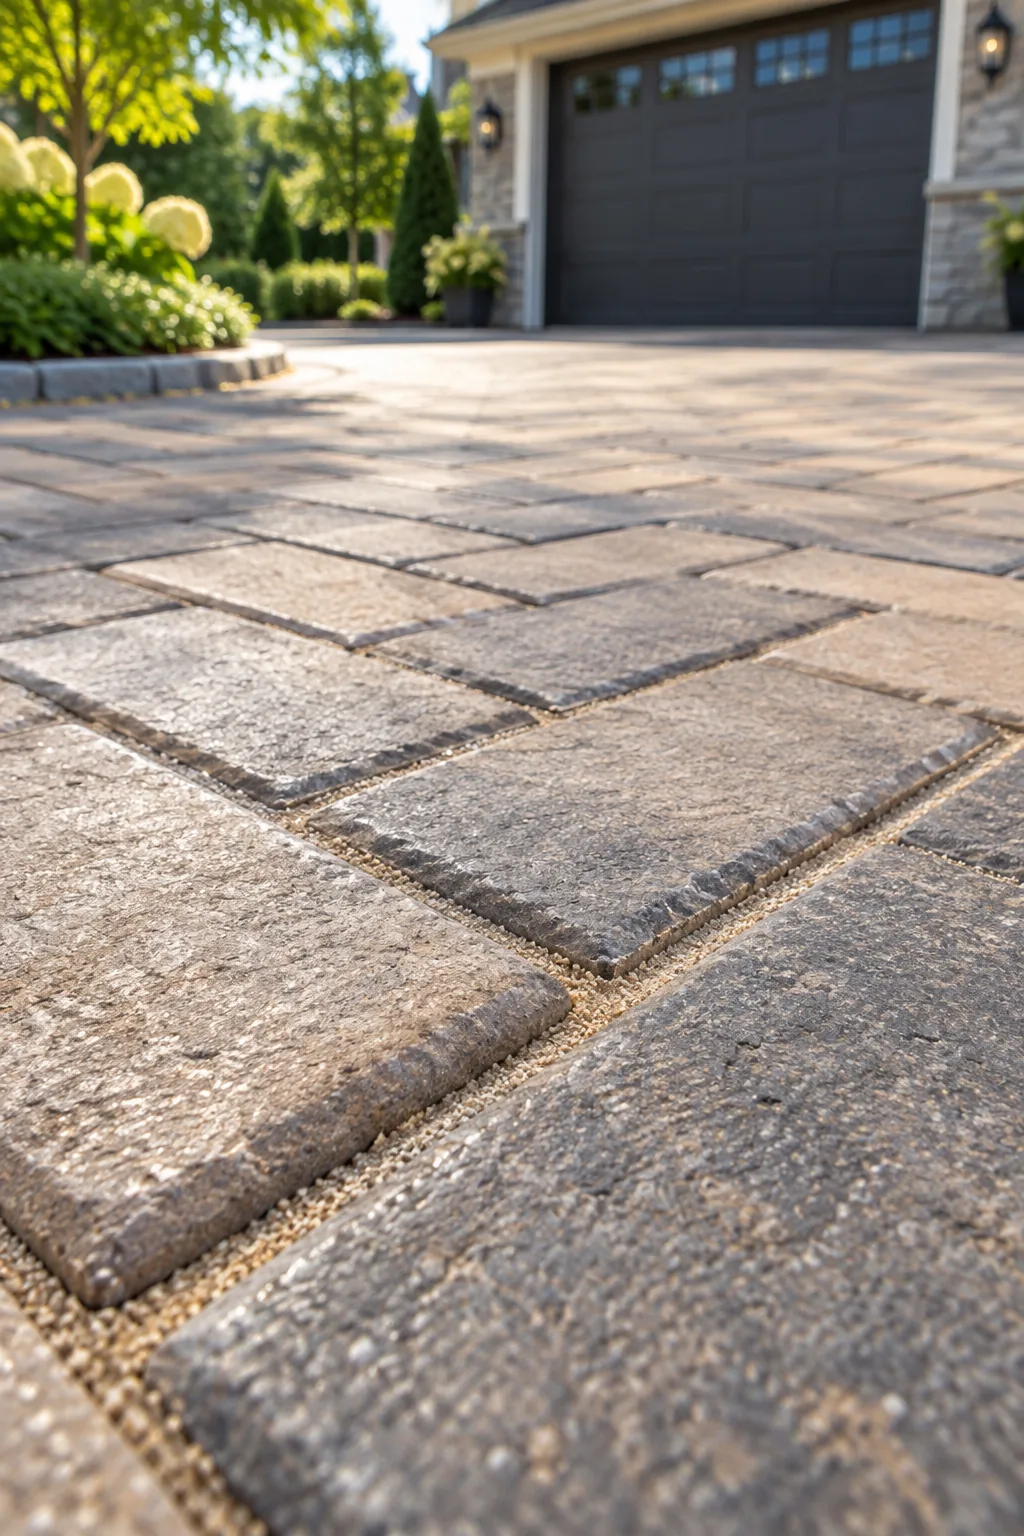
This specific 45-degree angle provides the strongest structural interlock available for heavy residential traffic zones. It prevents your pavers from shifting horizontally when heavy vehicles brake suddenly or turn sharply into their designated parking spots at the end of the day.
Cutting Border Pavers to Fit
Because the herringbone pattern runs diagonally, you will need to cut numerous triangular pieces to create a straight, clean border along your edge restraints. Renting a professional wet saw with a diamond blade is the only way to achieve these precise, factory-smooth cuts.
Sweeping in the Polymeric Jointing Sand
Once every block is perfectly cut and placed, you must fill the narrow gaps between them using high-quality polymeric jointing sand. Sweeping this specialized material diagonally across the surface ensures every single joint is packed tightly, creating a solid matrix that prevents weed growth.
Achieving the 1/8-Inch Sand Recess
Sweeping and carefully blowing excess joint sand so it rests slightly below the paver surface is vital before you activate it with water. You want a consistent 1/8-in sand recess to protect the hardened joints from direct tire friction and premature deterioration.
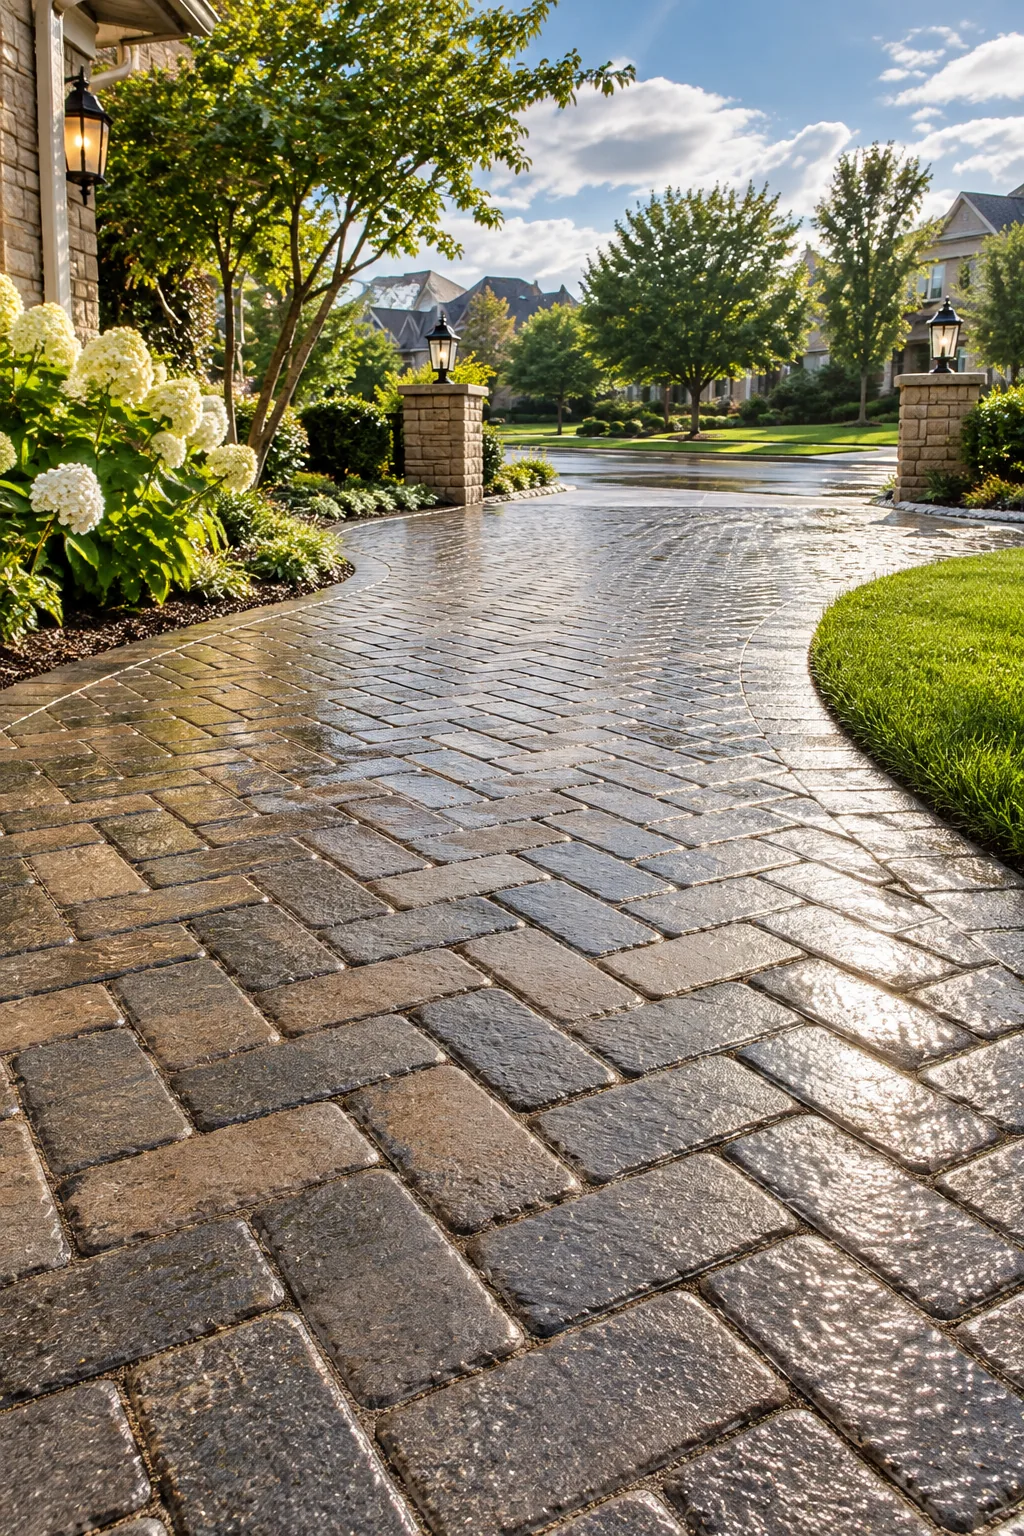
If the sand sits flush, tires will quickly wear it away and cause washout during heavy rain. I always use a leaf blower on its lowest setting, held at a shallow angle, to gently drop the sand level just below the chamfered edges before watering.
Final Surface Compaction and Activation
The critical final step involves vibrating the stones deeply into the bedding sand and locking the polymeric joints with a gentle shower of water. Running a heavy plate compactor beds the pavers evenly while the moisture triggers the powerful binding agents hidden in the sand.
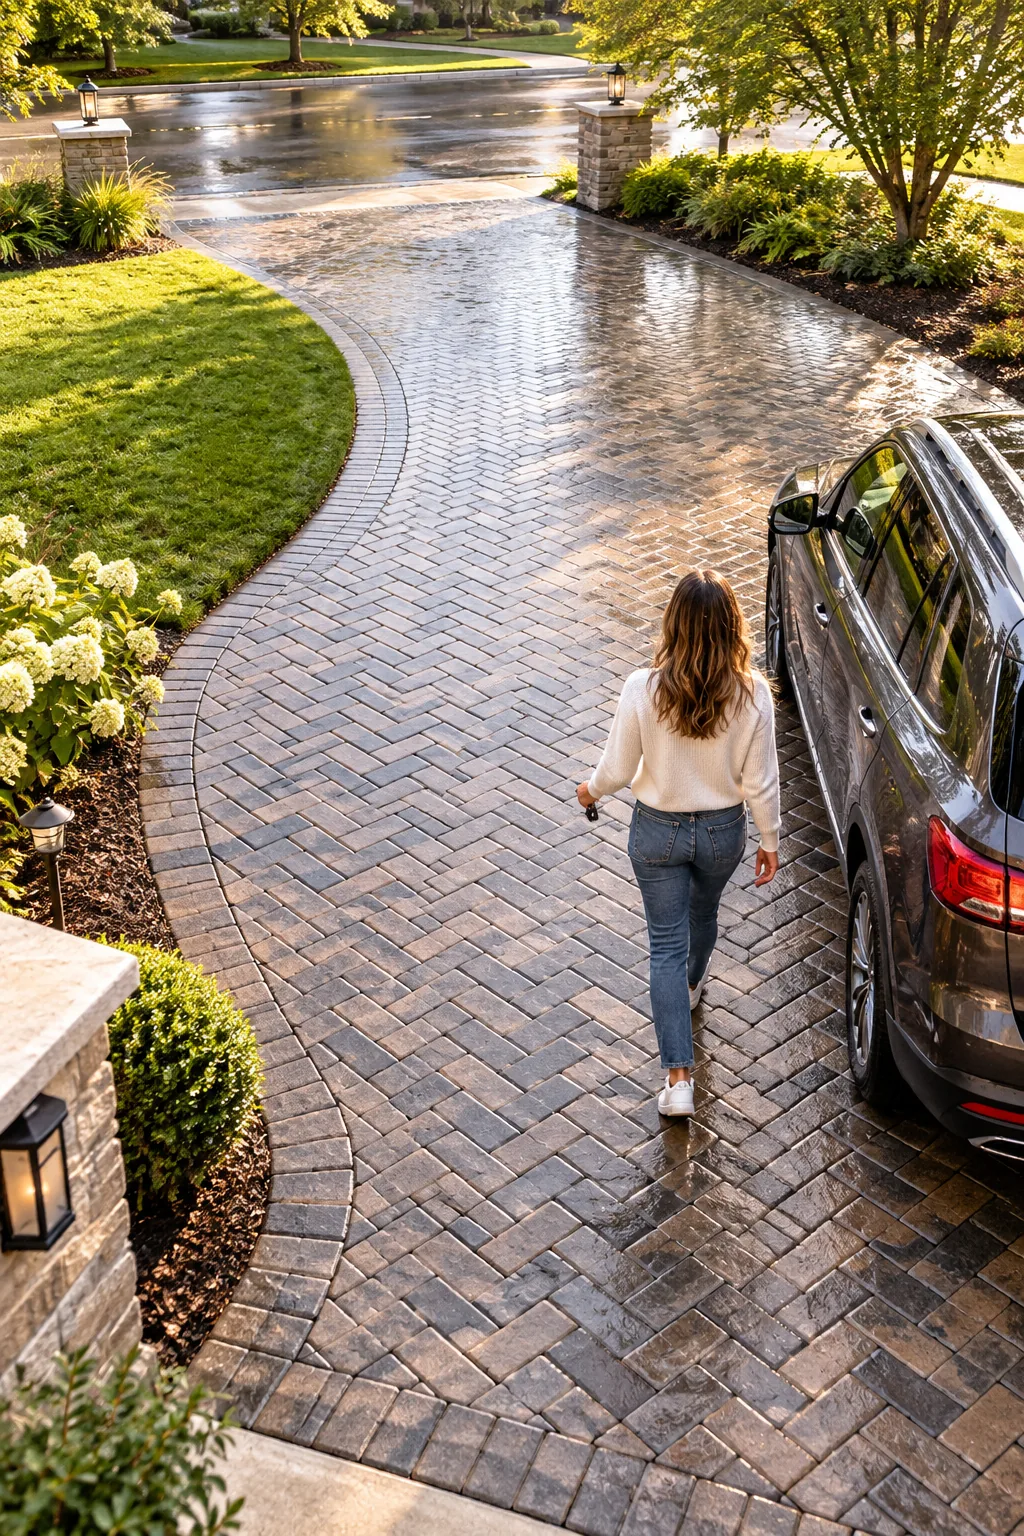
Before calling the installation complete and parking any vehicles, run through this final compaction and activation sequence to lock the stones permanently.
Driveway Paver Material and Base Calculator
Using our custom calculator takes the guesswork out of ordering by determining the exact tonnage you need for the gravel base and bedding sand based on your driveway square footage. Accurate material orders keep your project moving smoothly without frustrating mid-weekend delivery delays.
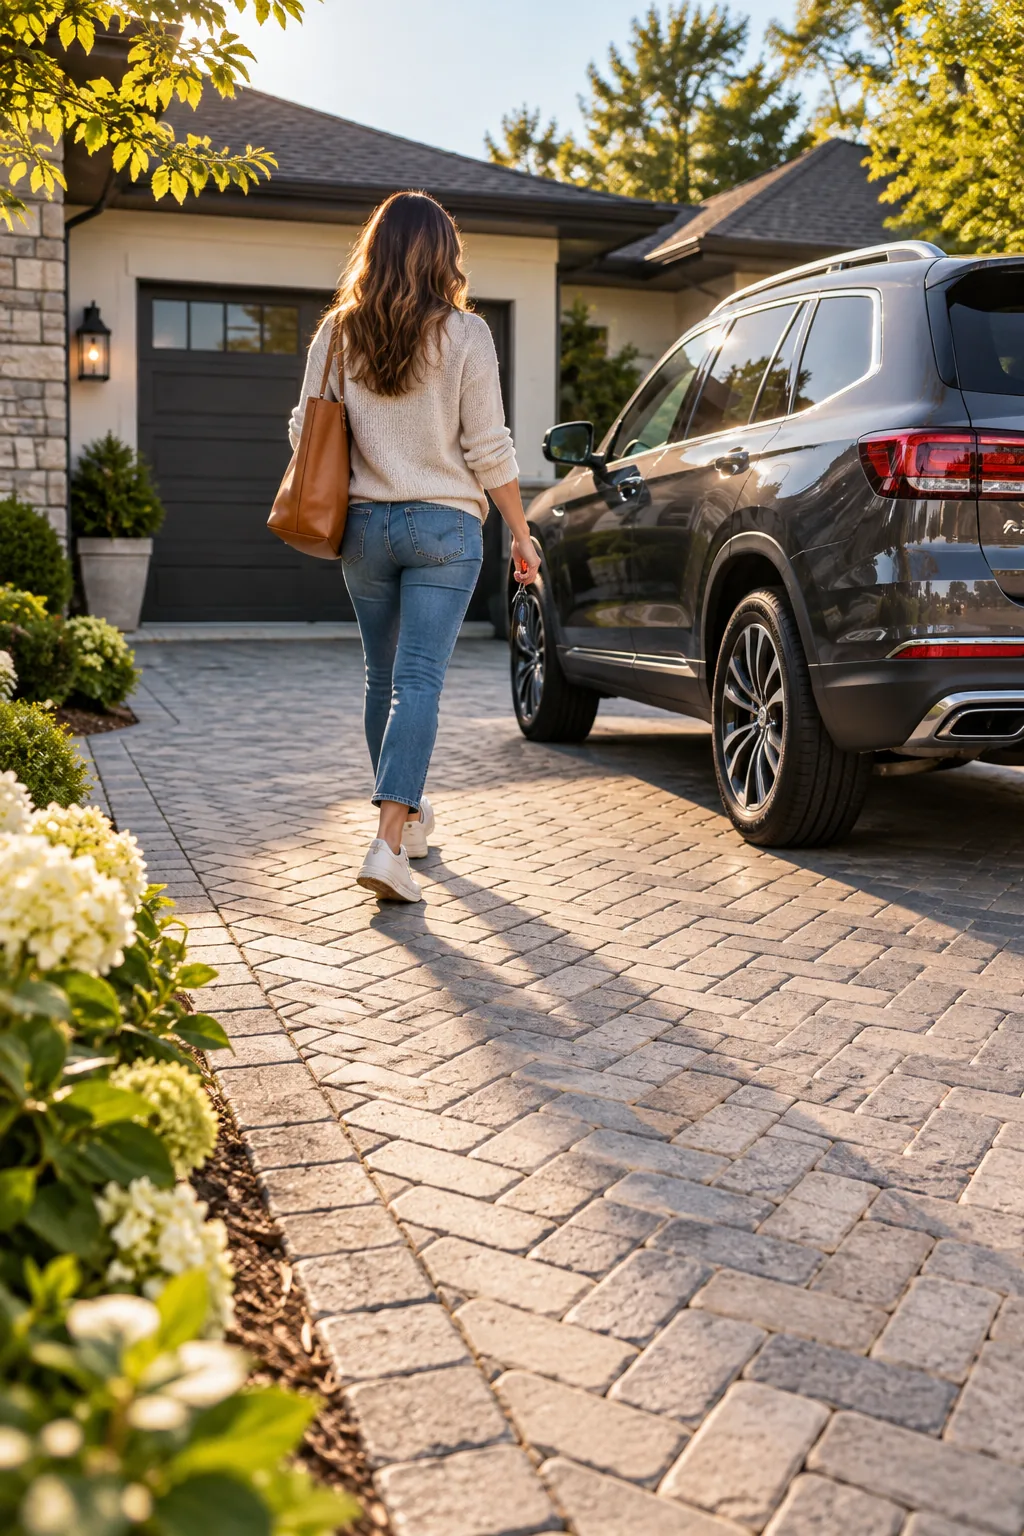
Simply input your planned driveway length, width, and local soil type into the Driveway Paver Material & Base Depth Calculator below. It will instantly output the exact gravel depth required and your total square footage for ordering those heavy-duty 80mm pavers, allowing you to start building immediately.
Driveway Paver Styles for Every Home
Explore these finished driveway looks to find the perfect paver aesthetic for your exterior.
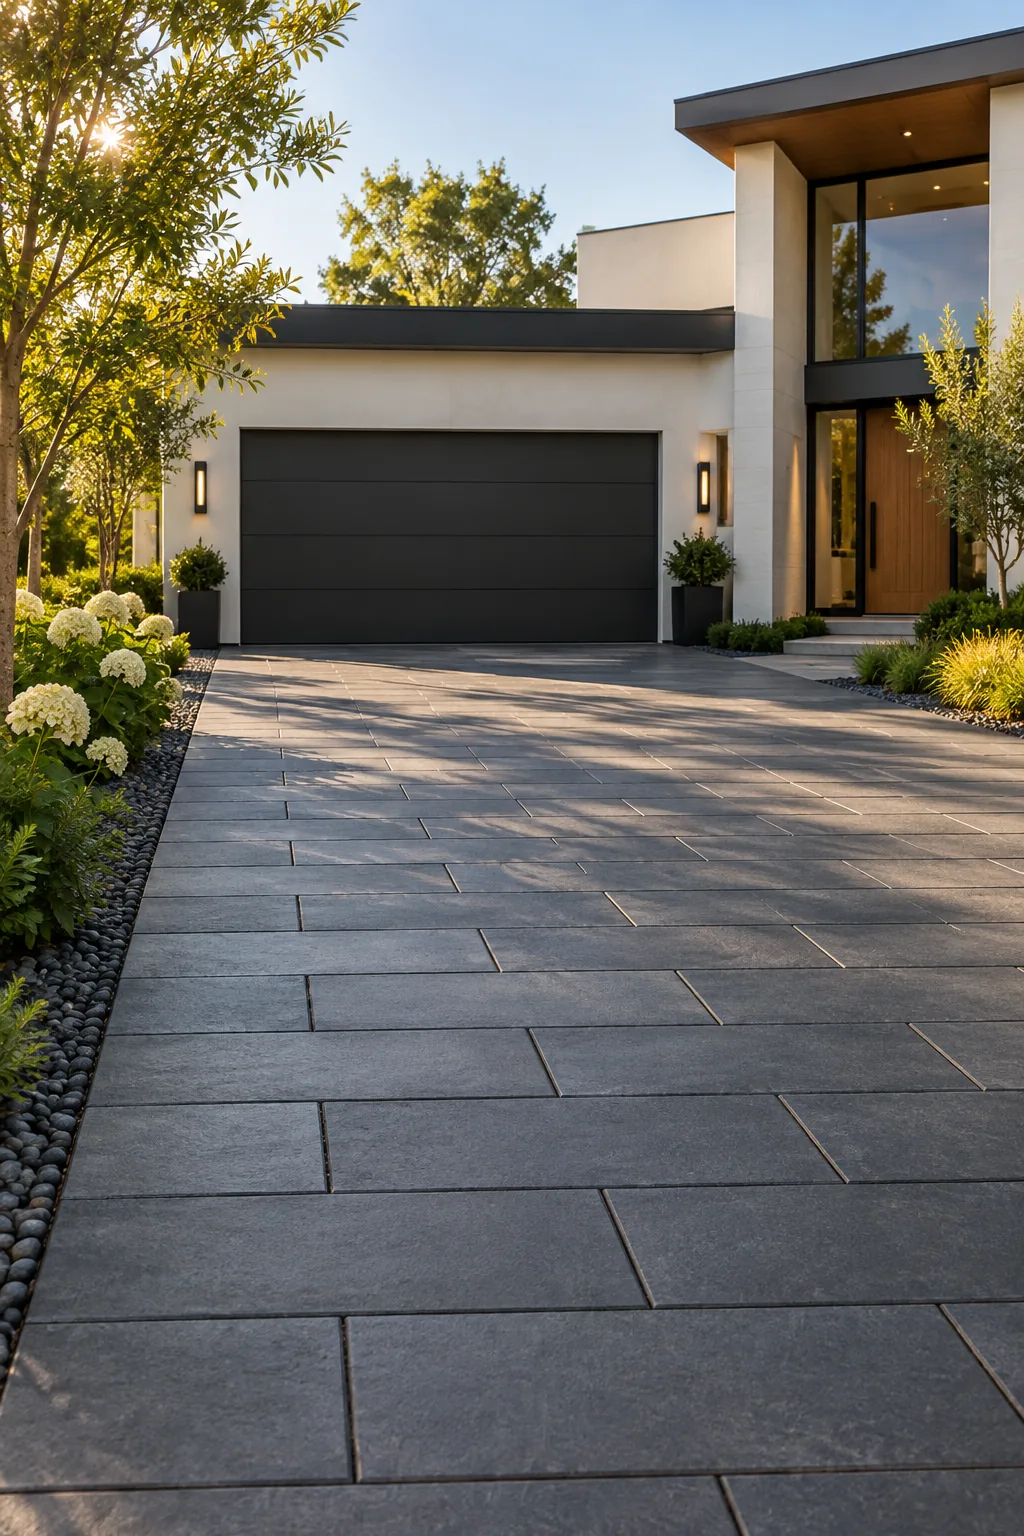
Modern Charcoal Plank Pavers: Sleek, oversized charcoal pavers deliver a striking minimalist aesthetic that perfectly complements contemporary exterior architecture.
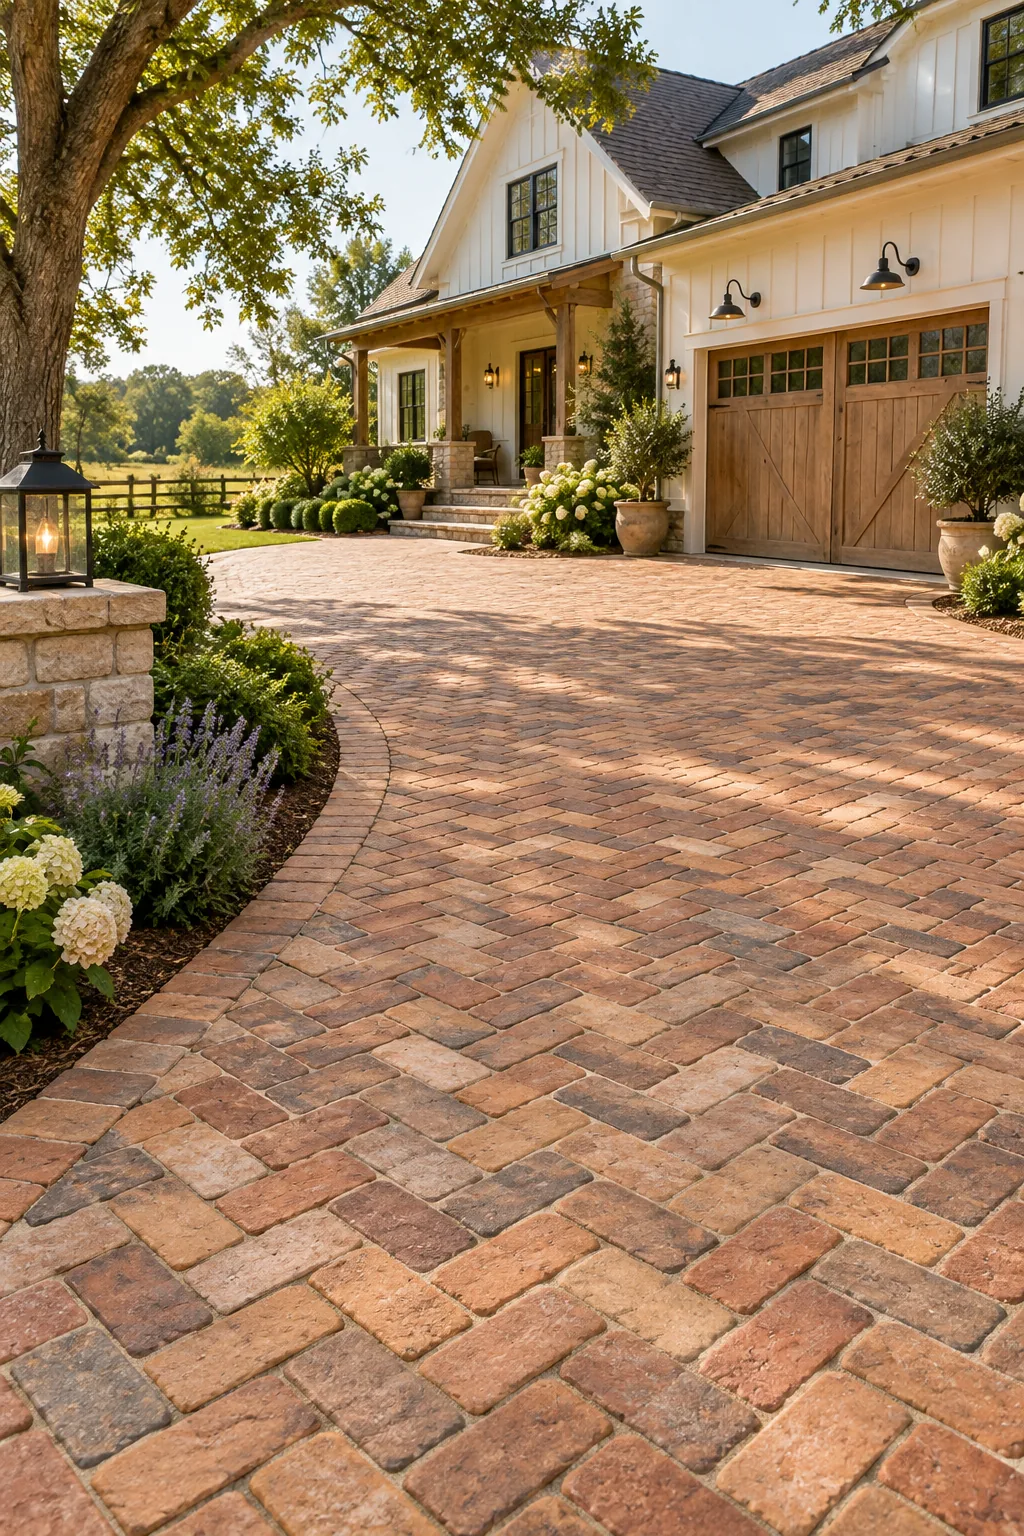
Rustic Tumbled Brick: Tumbled edges and warm terracotta tones create an instantly weathered, welcoming entrance for farmhouse or traditional properties.
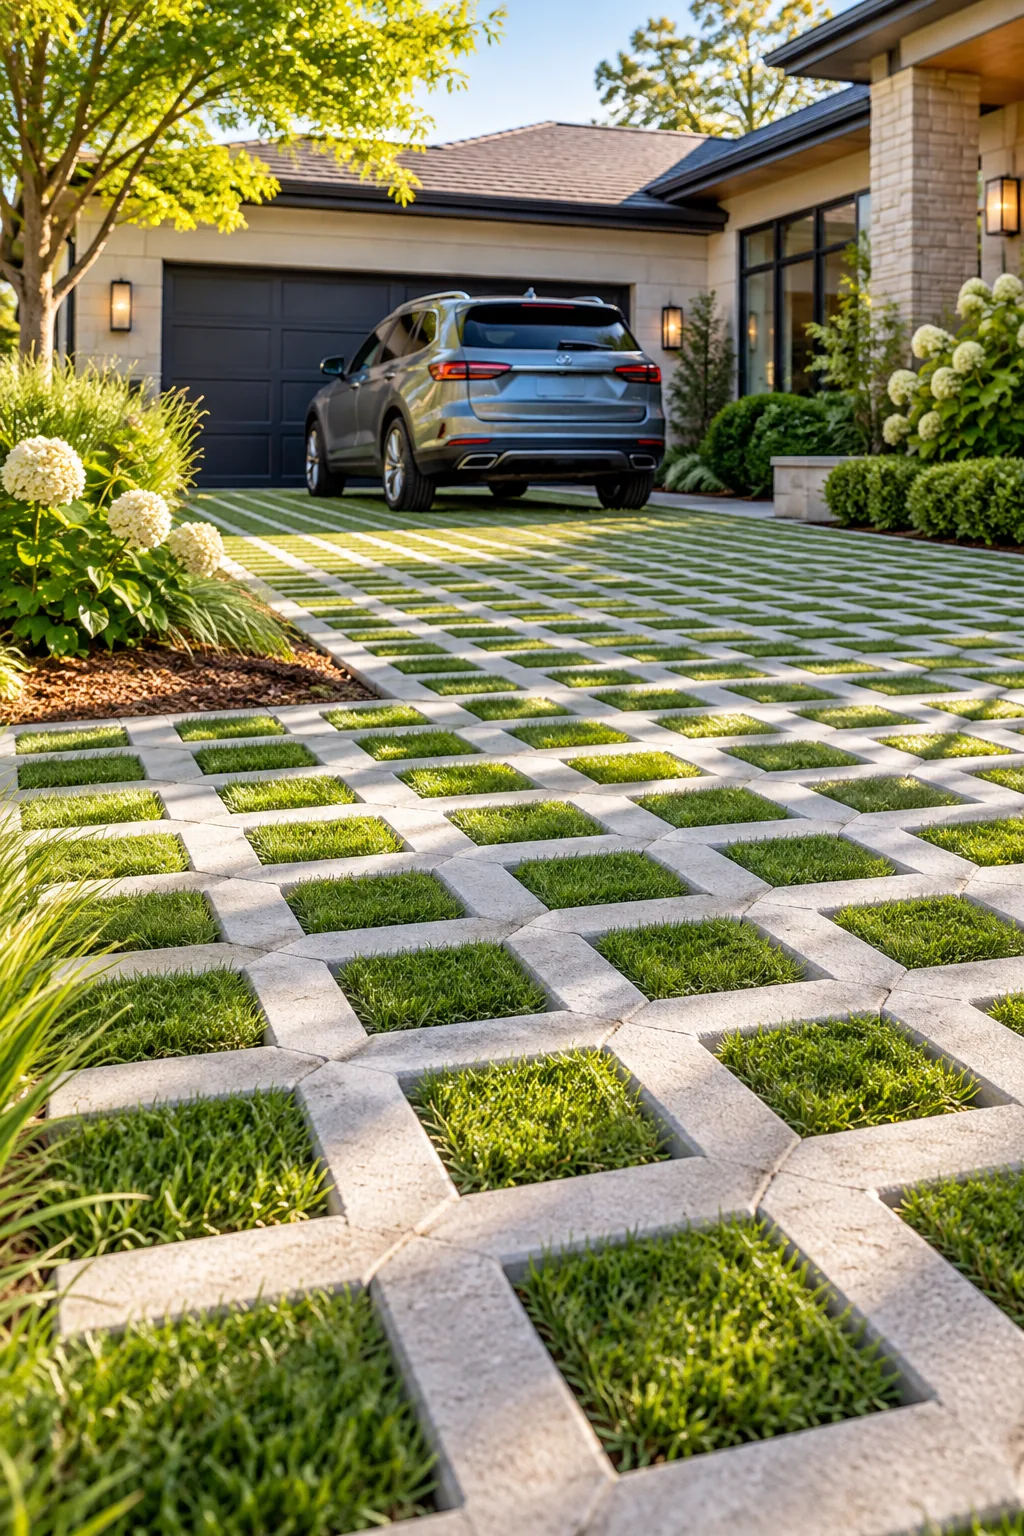
Permeable Turf Grid: Wide-spaced grid pavers allow vibrant turf to grow through, managing heavy stormwater runoff while softening the landscape.