
How to Build a Custom Patio with Cheap 12×12 Concrete Pavers
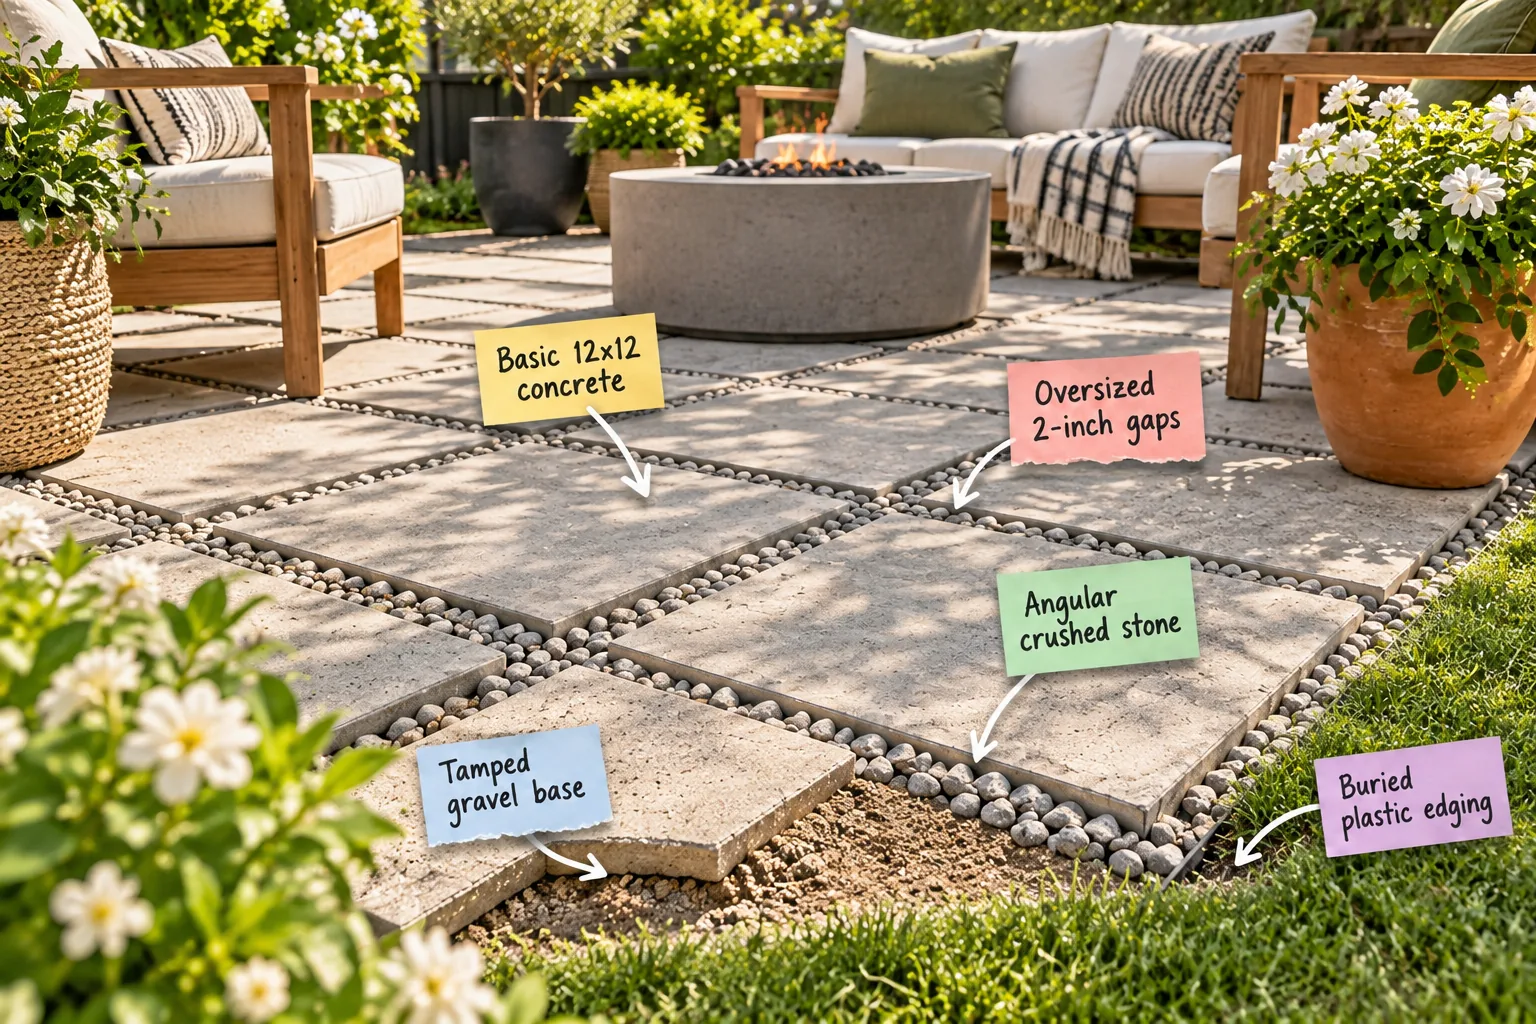
You can completely transform your backyard using our weekend patio material calculator and shopping list to turn basic concrete squares and crushed stone into a high-end outdoor living space. I will show you exactly how to calculate the gravel, stone, and edging you need to build a stable, custom-looking paver patio this weekend.
Building a Solid Tamped Gravel Base
The secret to a perfectly level surface is excavating four inches of topsoil and compacting a deep foundation. When I skipped this step on my first Austin home, my patio became a wavy, uneven mess after just one heavy spring rainstorm.
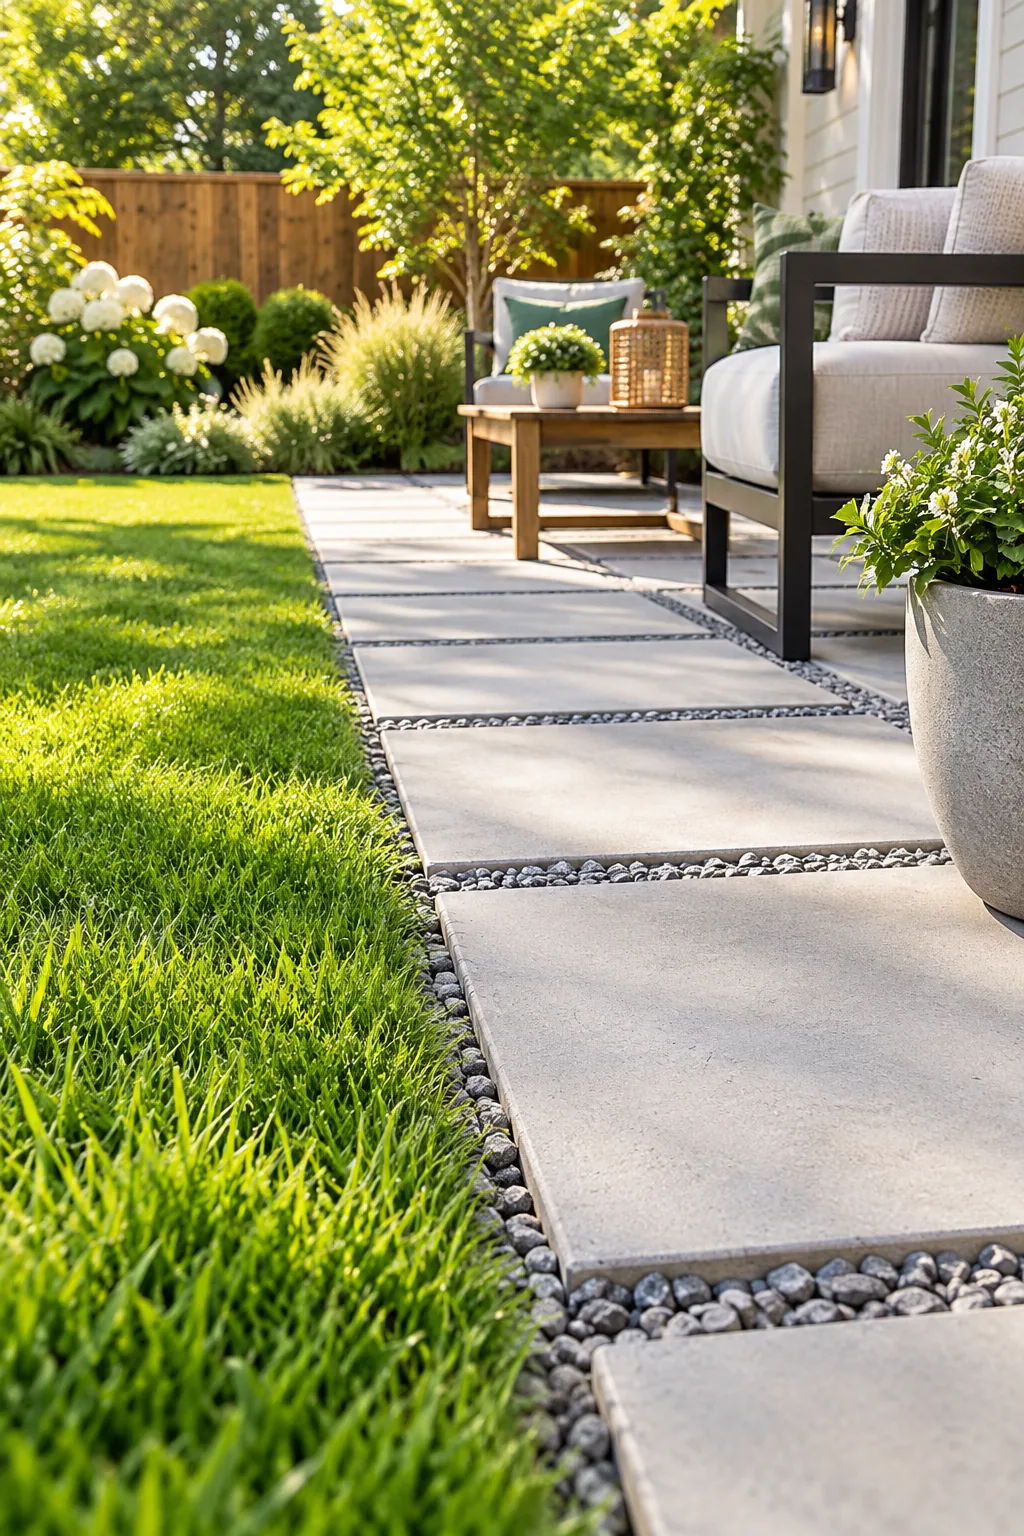
Tamping down a solid gravel base is absolutely non-negotiable because this hidden layer prevents winter frost heave and stops your individual 12×12 pavers from shifting or sinking. Creating this structural foundation requires three strict sequential phases to guarantee long-lasting stability.
- Dig down exactly four inches across the entire planned patio footprint to remove organic matter.
- Lay commercial landscape fabric to permanently separate the native soil from your new base.
- Add three inches of base gravel and compact it heavily with a steel hand tamper.
Compacting Native Soil Before the Base
Before you pour a single bag of gravel, you must compress the exposed dirt trench until it feels as hard as a sidewalk. Running a rented plate compactor over the bare native soil prevents the entire patio structure from settling unevenly over the years.
Leveling the Foundation for Proper Drainage
Standing water will quickly destroy any hardscaping project, so you must carefully grade your compacted gravel base to direct heavy rainfall away from your home. Always establish a subtle, invisible slope that drops one inch for every four feet of patio width.
| Patio Distance from House | Required Base Drop |
|---|---|
| 4 feet | 1 inch |
| 8 feet | 2 inches |
| 12 feet | 3 inches |
Installing Buried Plastic Edging
Before adding your decorative stone fill, you must stake heavy-duty plastic edging tightly around the entire perimeter so it sits completely flush with the surrounding soil line. This rigid boundary acts as a crucial retaining wall for your loose materials.
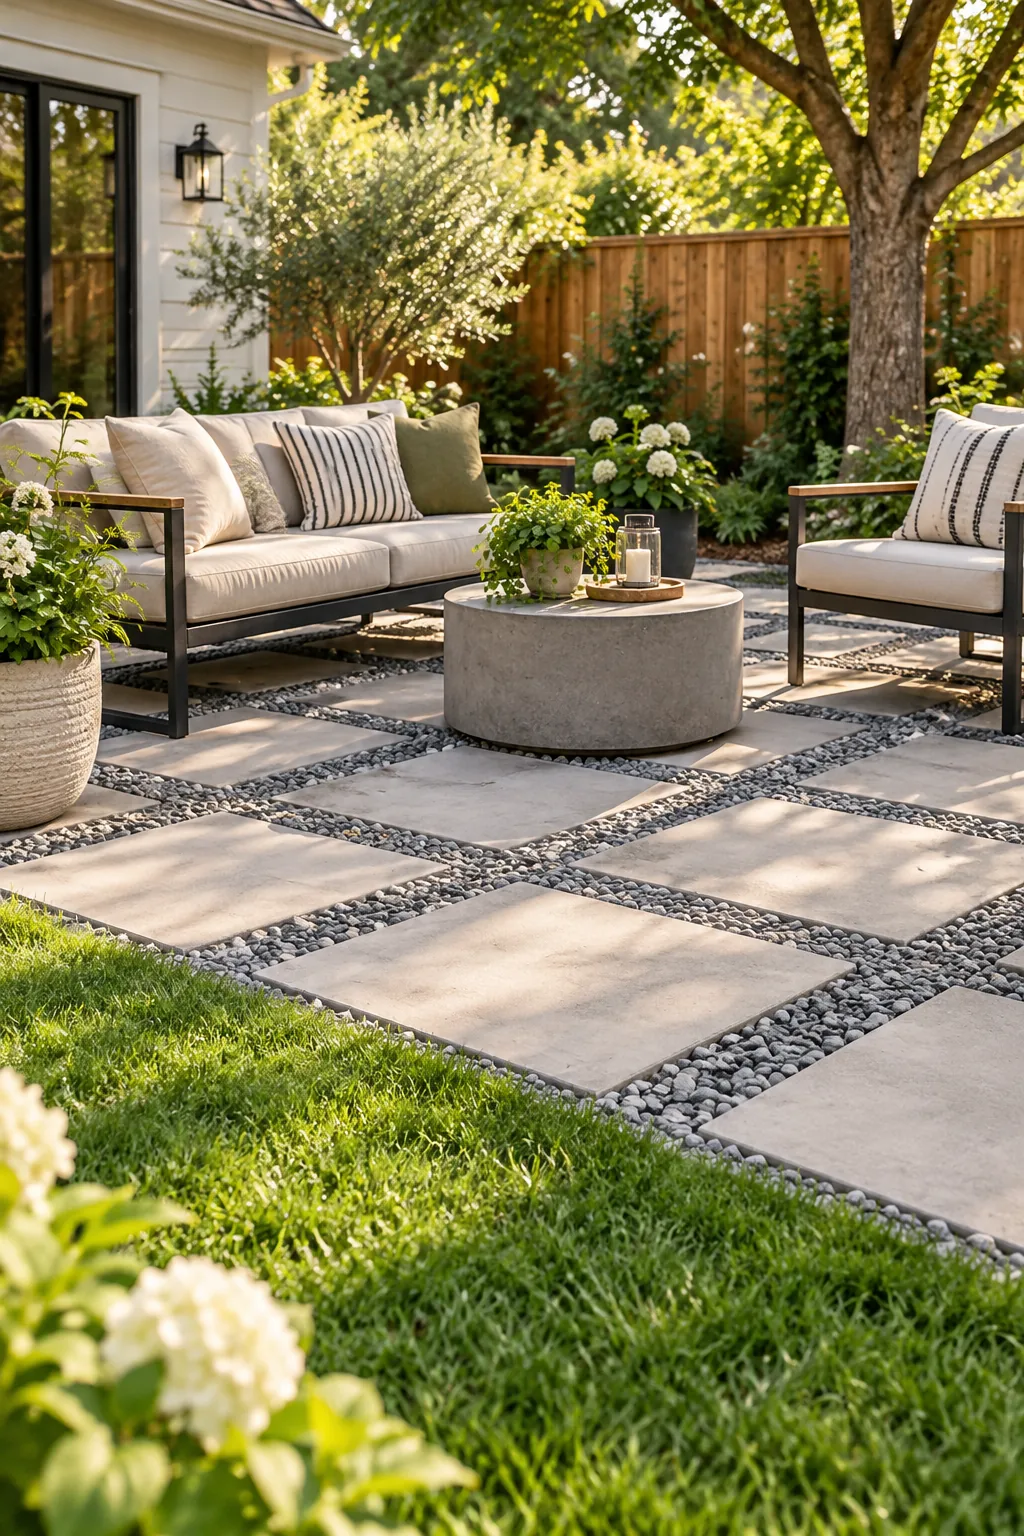
Even the lowest-profile plastic edging can sometimes catch the eye if the lawn is cut short. A simple landscaping trick makes the perimeter completely invisible while maintaining structural integrity.
Securing Edge Spikes in Hard Soil
Driving the required ten-inch steel landscape spikes through the plastic edging can be incredibly difficult in dry, compacted clay soils. Thoroughly soak the perimeter trench with a garden hose two hours before installation to soften the ground and prevent the plastic from bending.
Choosing Basic 12×12 Concrete Pavers
You can easily source standard 12×12 gray concrete step stones from the garden section of any local hardware store for just a few dollars each. These utilitarian blocks are readily available and completely weather-resistant.
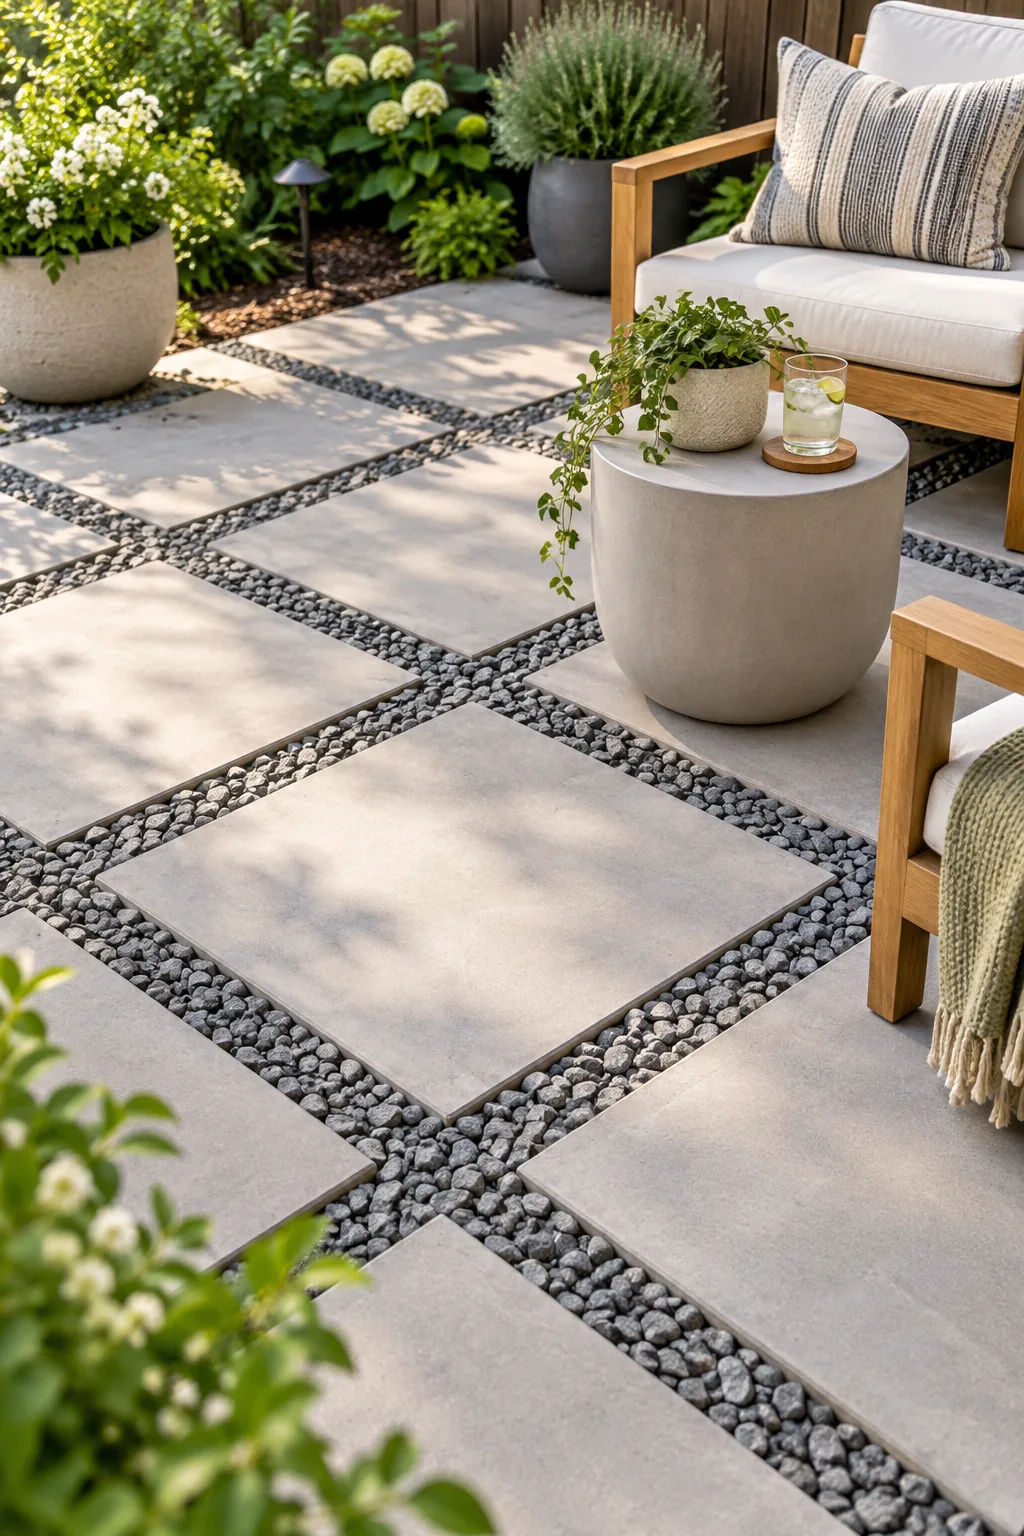
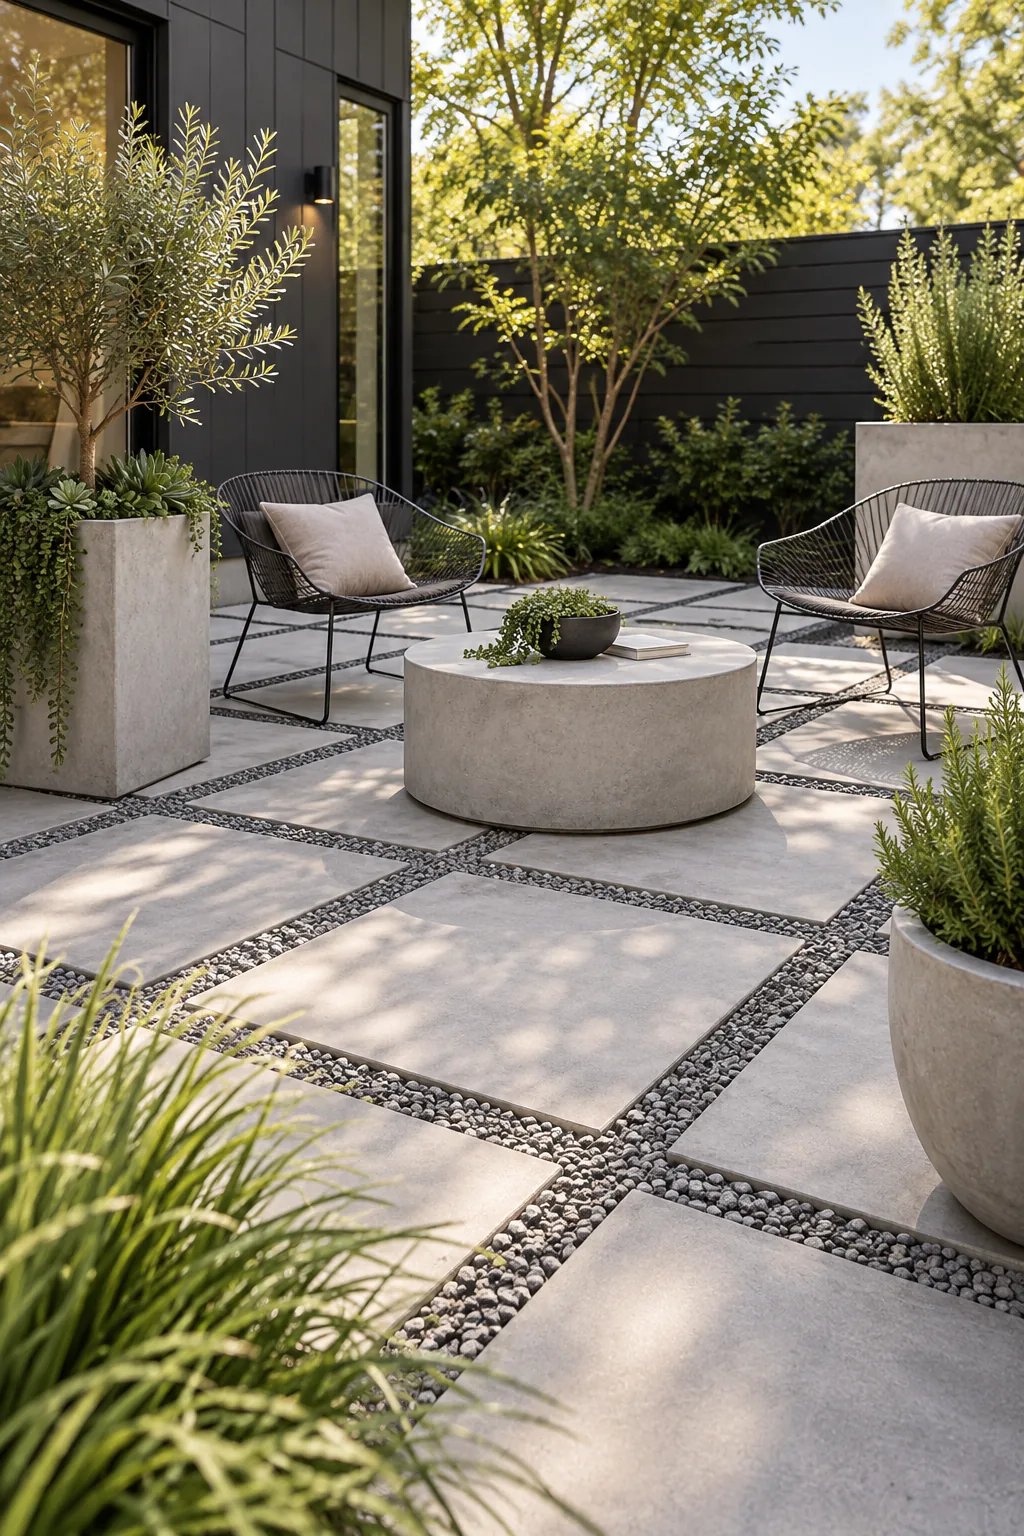
While these basic gray squares are the cheapest hardscaping option available, their simple geometric shape looks incredibly modern and custom when laid out with absolute mathematical precision across your yard.
Calculating Paver Layout and Dimensions
Planning your exact grid dimensions before purchasing materials prevents wasted money and heavy lifting. Always design your patio footprint in fourteen-inch increments to account for both the one-foot concrete squares and the mandatory two-inch decorative gaps between every single block.
Cutting Pavers for Custom Edges
If your backyard design requires a curved border or a precise fit against an existing foundation, you will need to trim your concrete squares. Renting a wet masonry saw guarantees clean, factory-straight cuts without cracking the inexpensive 12×12 blocks.
Setting Oversized 2-Inch Gaps
The ultimate design secret is using a scrap 2-inch wood block as a temporary spacer between every single paver. I used a simple cut-up 2×4 on my own patio, sliding it seamlessly down the rows to keep my measurements perfectly consistent.
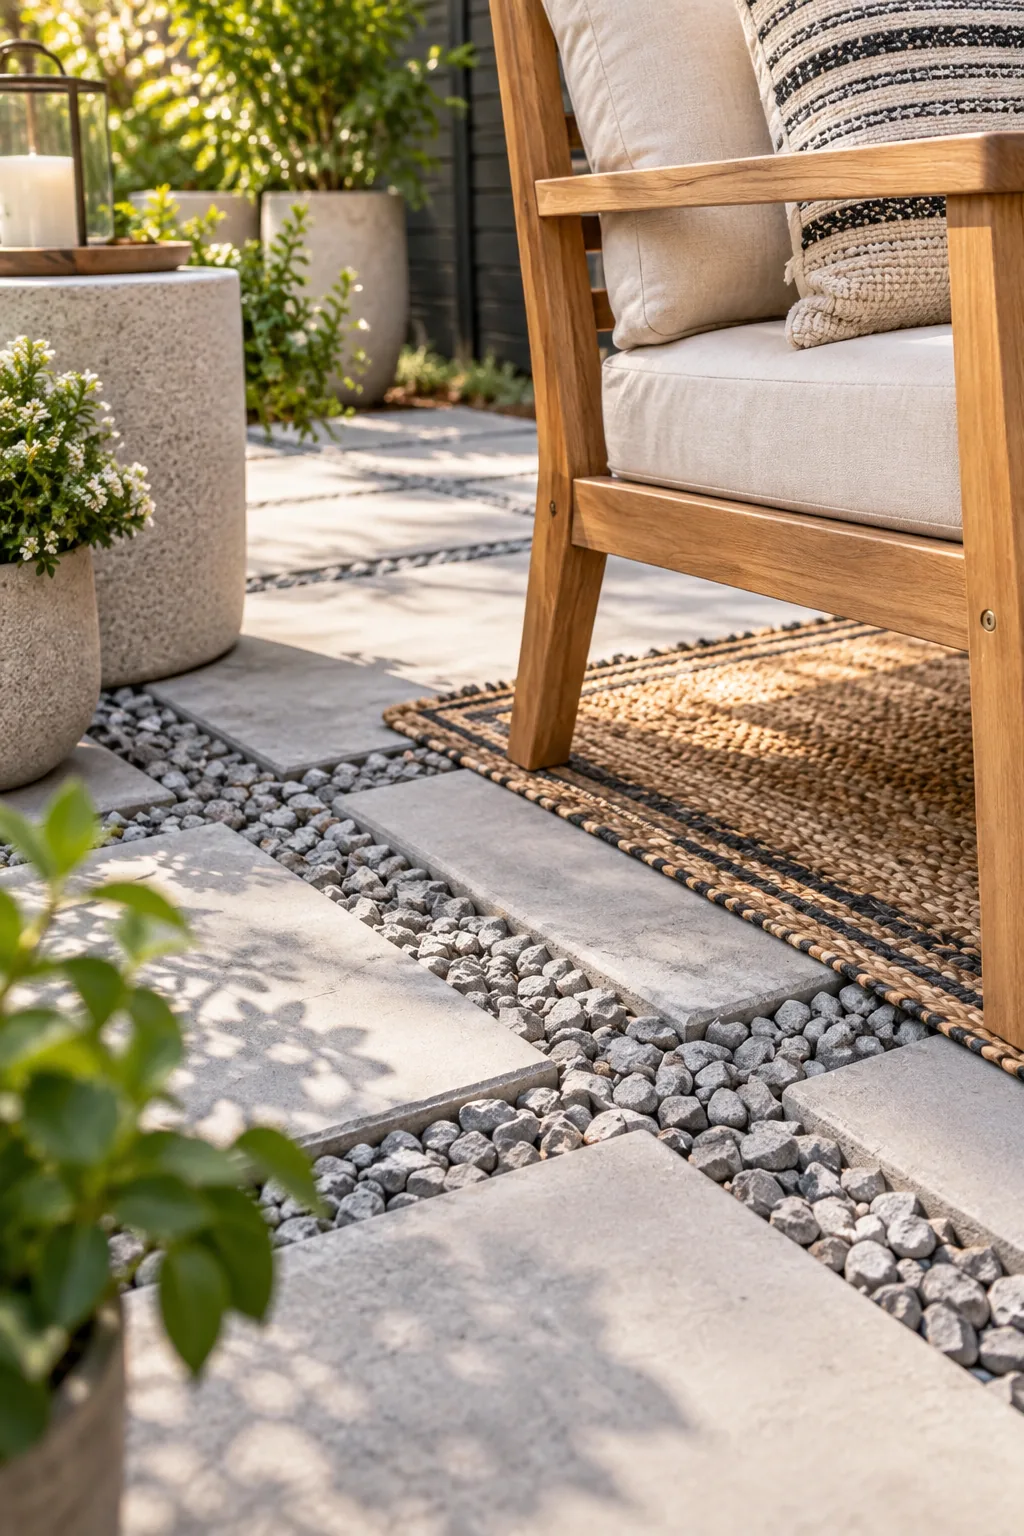
This exaggerated, oversized spacing instantly transforms budget materials into a custom architectural grid that looks intentionally designed rather than cheaply thrown together over a weekend.
Checking Grid Alignment with Mason Lines
Even a tiny measurement error will compound across a large grid, leaving your final row visibly crooked. Stretch a bright nylon mason line tightly across your patio boundaries to verify that every single concrete square sits perfectly straight and level.
Filling with Angular Crushed Stone
You must fill those wide two-inch gaps completely flush to the paver surface with angular crushed stone so the jagged edges interlock under pressure. This tight friction creates a solid, walkable surface that will not shift.
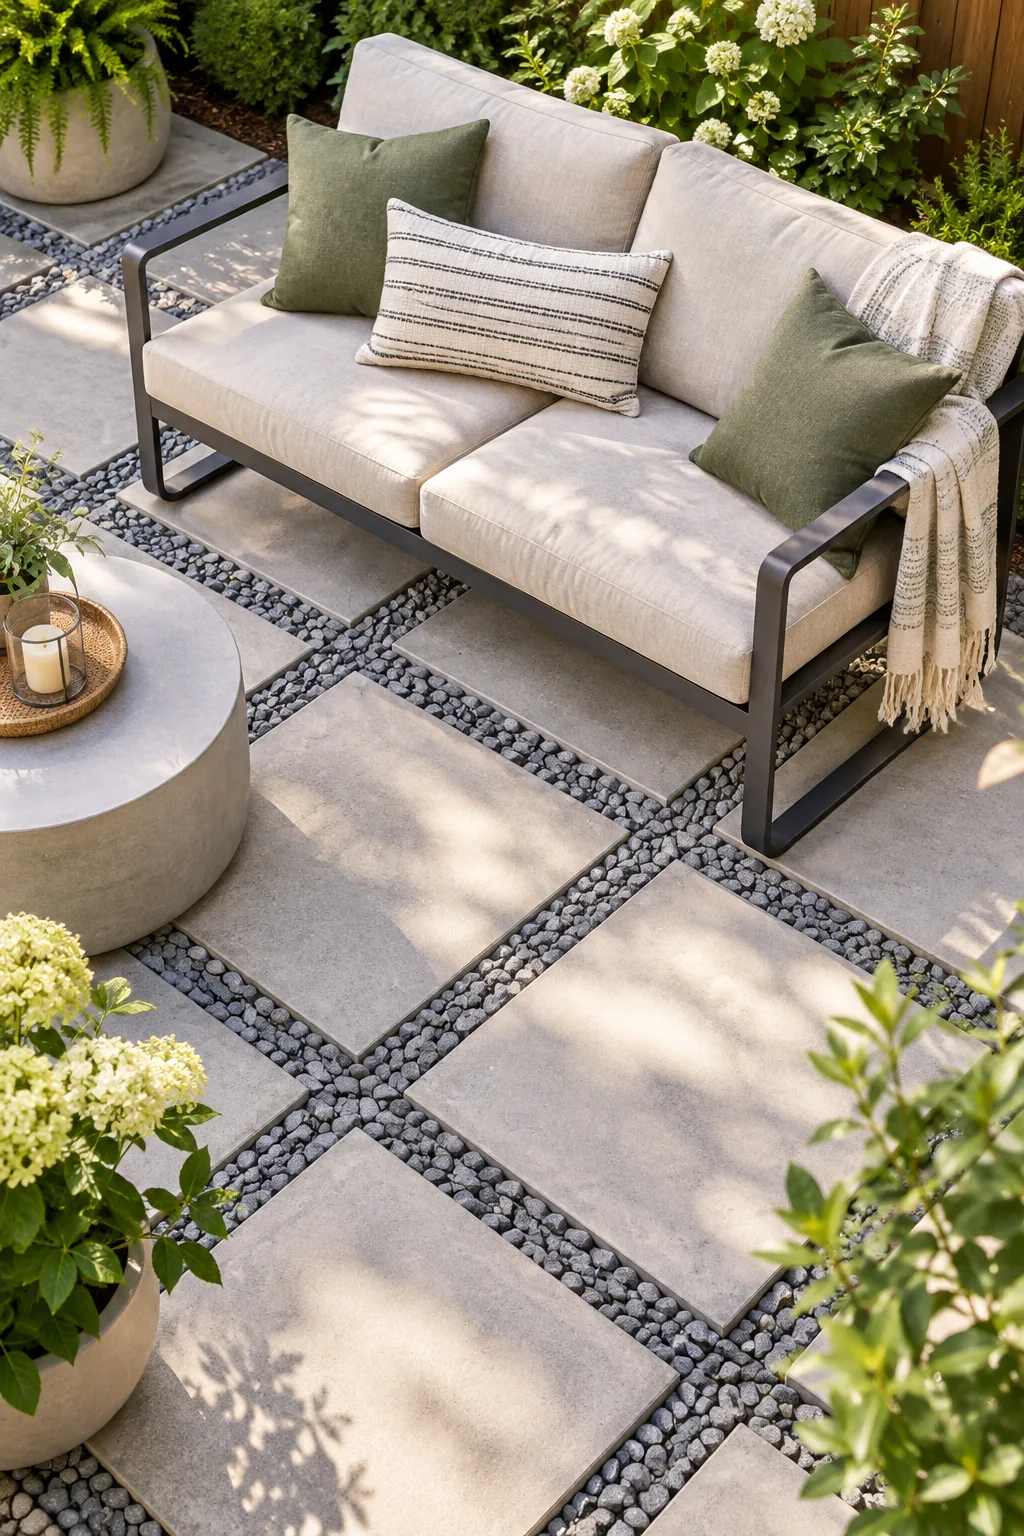
The biggest frustration with spaced paver patios usually comes down to buying the wrong bag of rocks in the garden aisle. Not all small stones are meant for walking paths.
Tamping the Surface Stone Lock
Once you sweep the crushed stone into the grid, you must settle the dust and force the jagged pieces to lock together. Lightly mist the entire patio with a hose, then run a hand tamper directly over the stone-filled gaps to consolidate the joints.
Sweeping Stone Dust for Final Polish
The bags of crushed stone will arrive covered in a fine, powdery layer of natural rock dust that dulls the color. Aggressively sweeping the finished patio with a stiff push broom forces this dust down into the joints, locking the jagged pieces even tighter.
Sealing Concrete Pavers Against Stains
Basic gray concrete is highly porous and will quickly absorb grease from outdoor grills or tannin stains from fallen autumn leaves. Applying a matte penetrating sealer with a simple foam roller protects your inexpensive squares while preserving their modern, raw aesthetic.
Stabilizing Furniture on a Spaced Patio
When furnishing your new grid, you must select outdoor pieces with wide feet or sled bases that easily bridge the stone gaps. I learned this the hard way when my favorite thin metal bistro chairs immediately sank deep into the crushed rock.
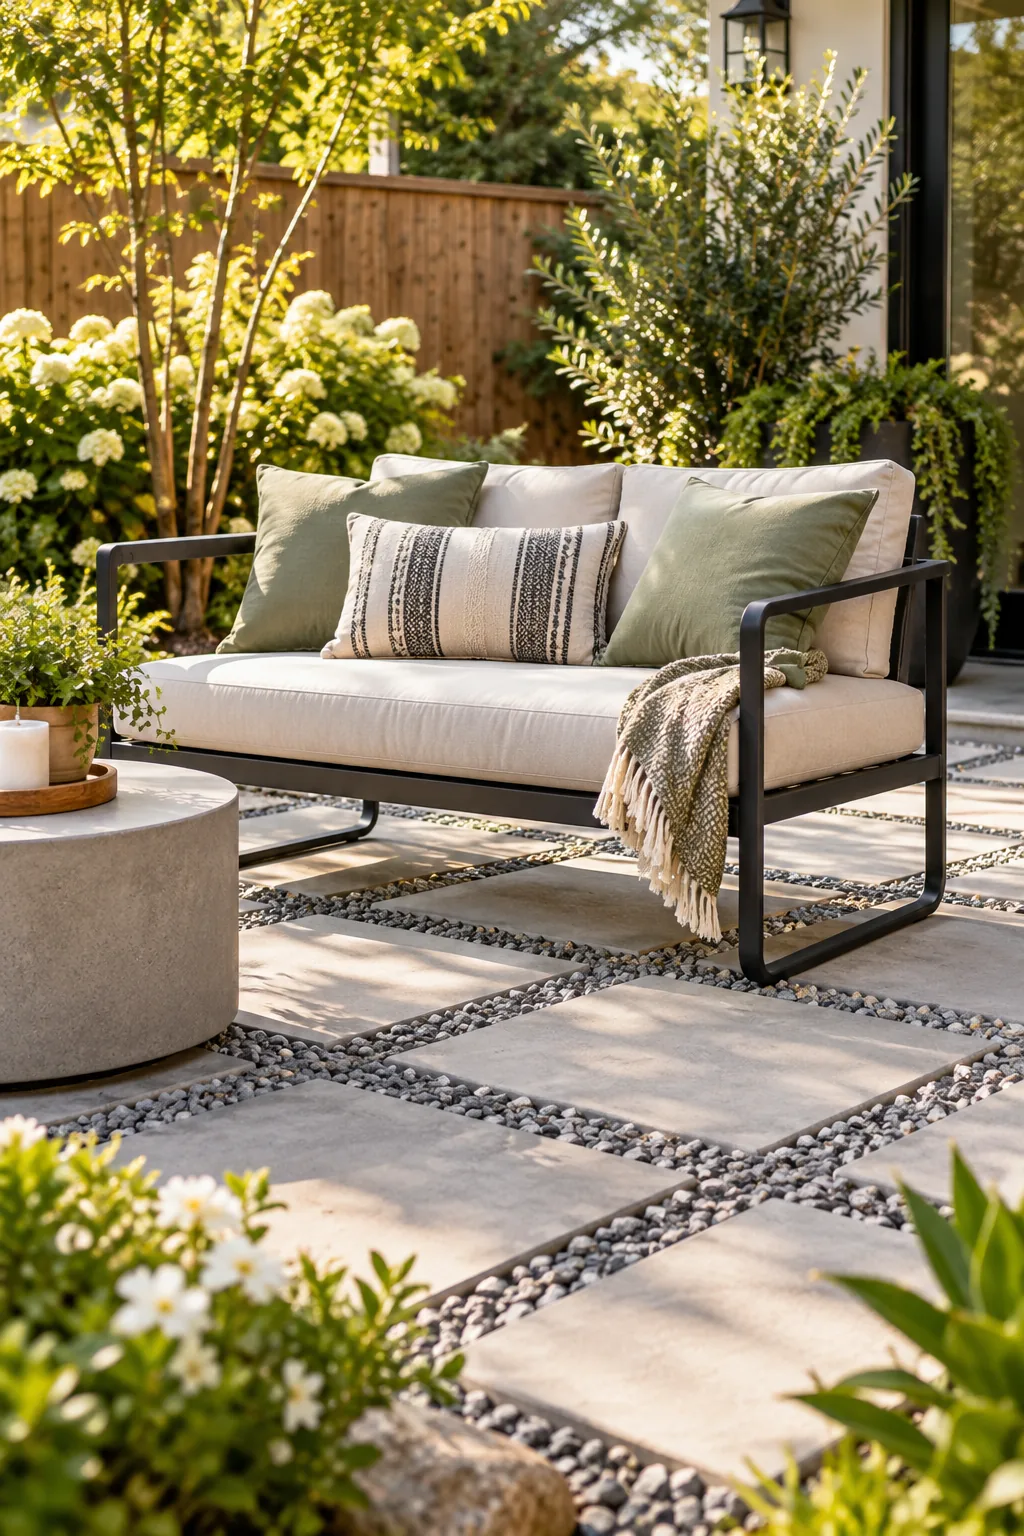
Position your heavy seating so the main structural legs rest firmly on the solid 12×12 concrete centers rather than hovering dangerously over the loose two-inch borders. This ensures a safe, wobble-free dining experience.
Selecting Fire Pits for Spaced Grids
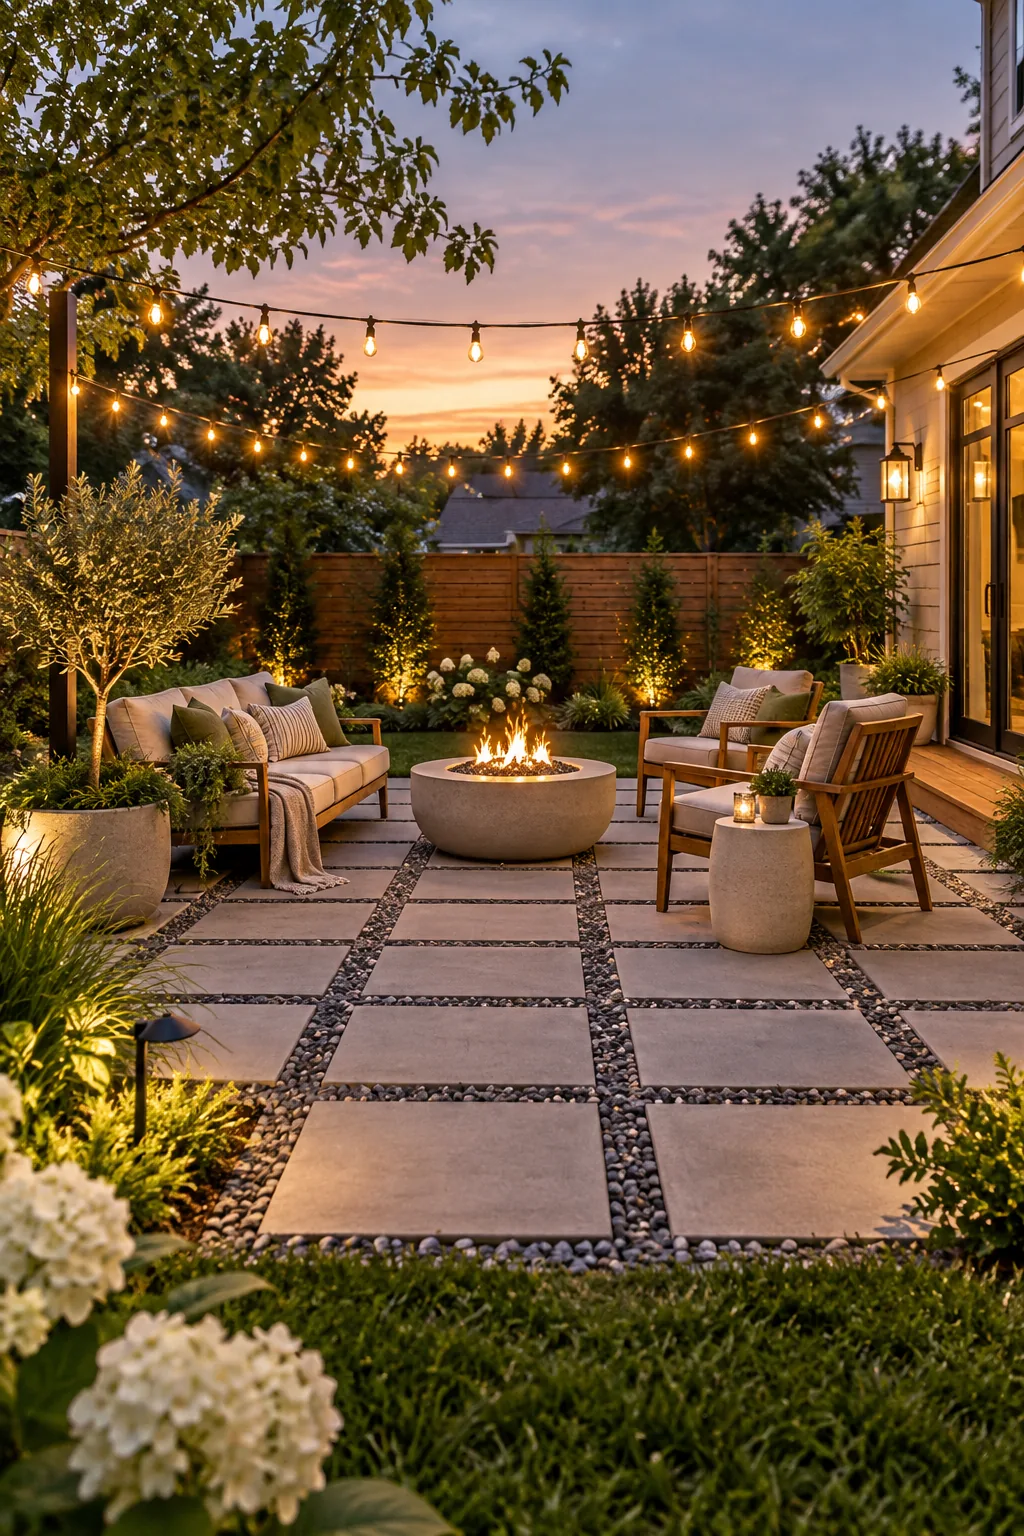
Adding a heavy steel fire pit requires careful placement to prevent heat damage to the crushed stone underlayment. Always center the bowl directly over a cluster of four concrete pavers, ensuring the radiant heat deflects safely off the solid masonry.
Preventing Weeds in Stone Gaps
To maintain those crisp, custom grid lines, always roll out commercial landscape fabric directly under the gravel base. I always overlap my fabric seams by at least six inches to thoroughly block aggressive Texas weeds from pushing upward.
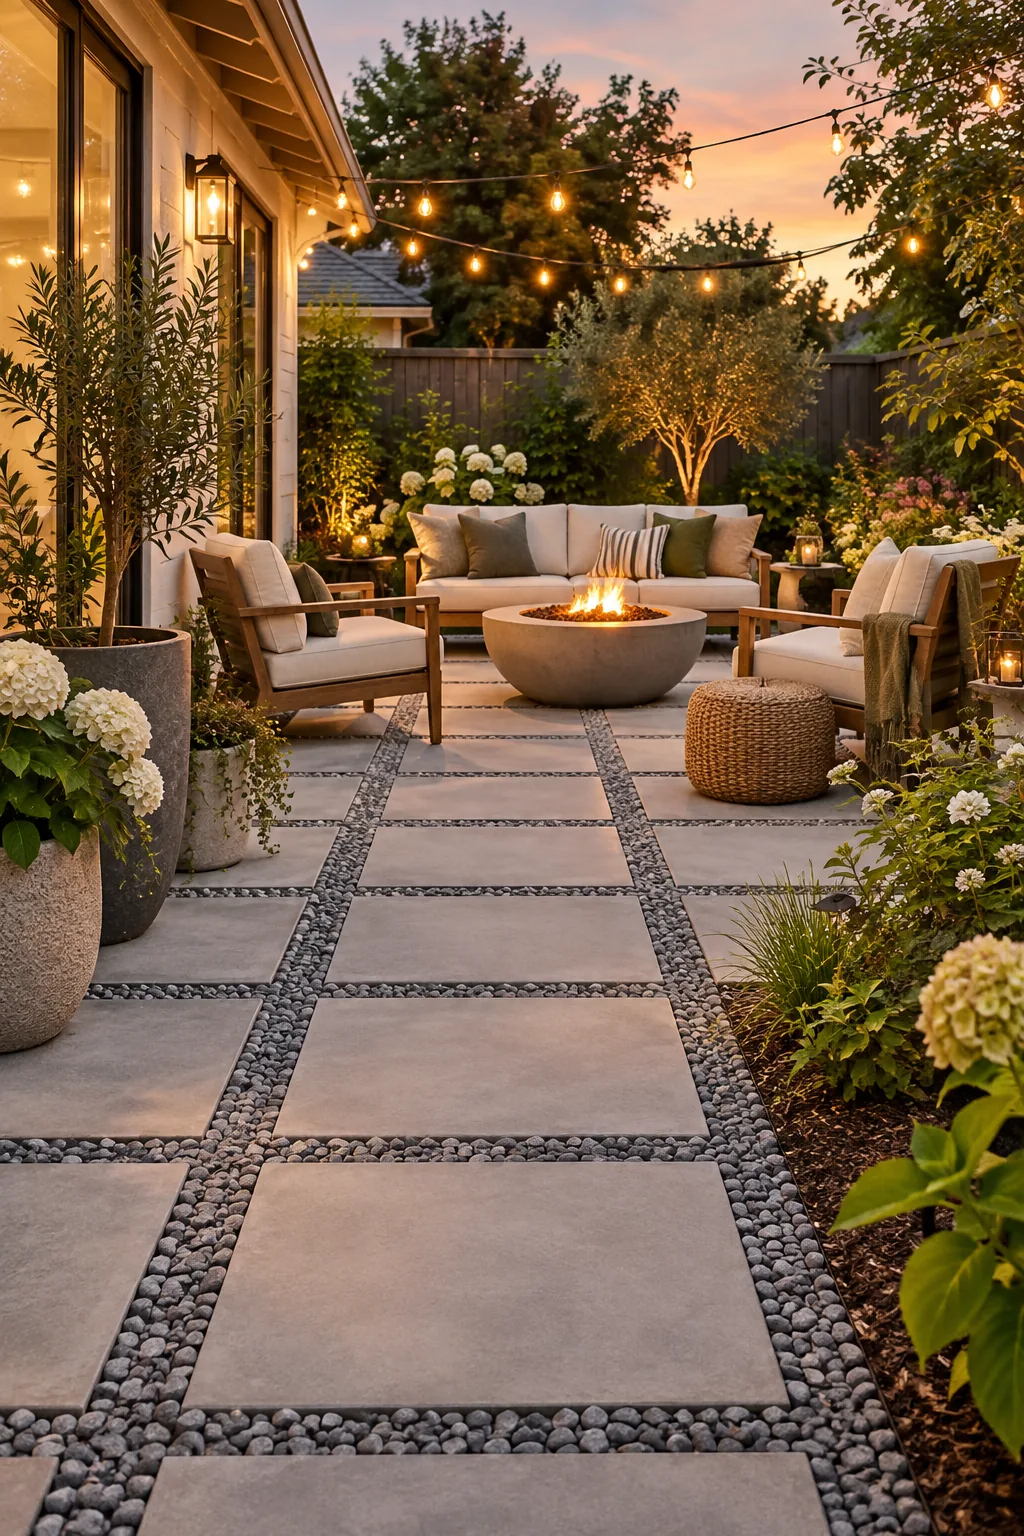
Even with a perfect underlayment, wind will inevitably blow stray dirt and seeds into the crushed stone from above. Simply spot-treat these shallow surface sprouts with boiling water to protect your clean architectural aesthetic without using harsh chemicals.
Maintaining the Crushed Stone Level
Heavy foot traffic and torrential rain will eventually cause the decorative stone joints to settle slightly below the concrete surface. Keep a single spare bag of angular crushed stone in your garage so you can easily top off any low spots each spring.
5 Ways to Style a Spaced Paver Patio
See how changing the stone color and furniture completely transforms this basic grid.
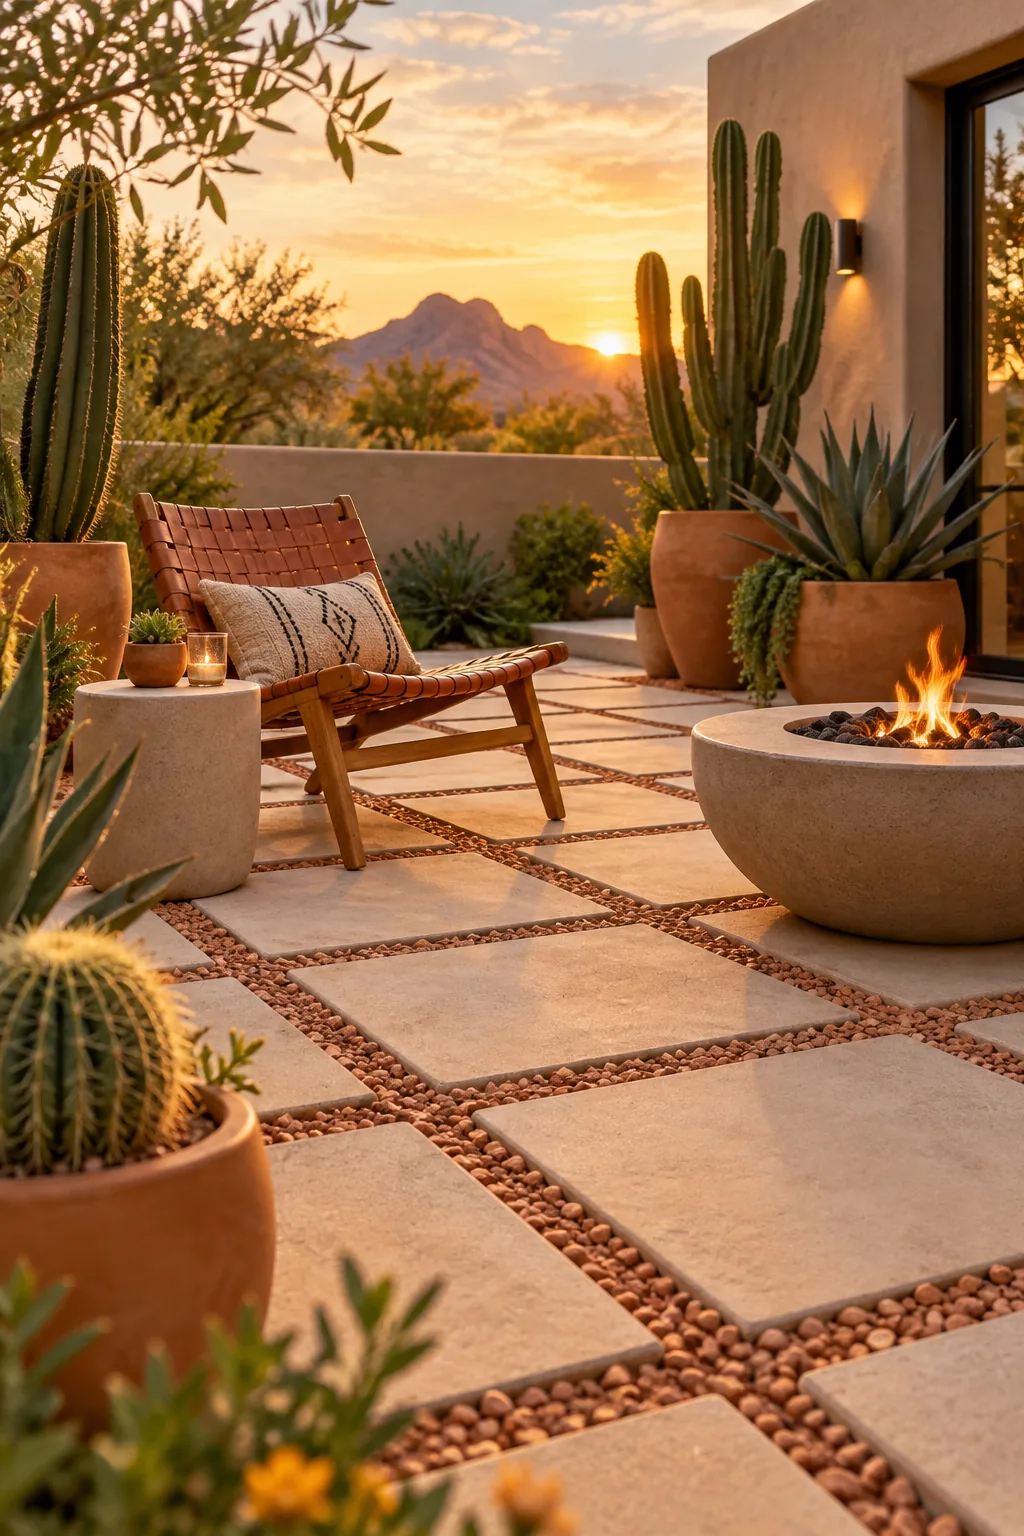
Warm Desert Modern: Swap gray concrete for warm beige pavers and terracotta stone to create a sun-drenched desert oasis.
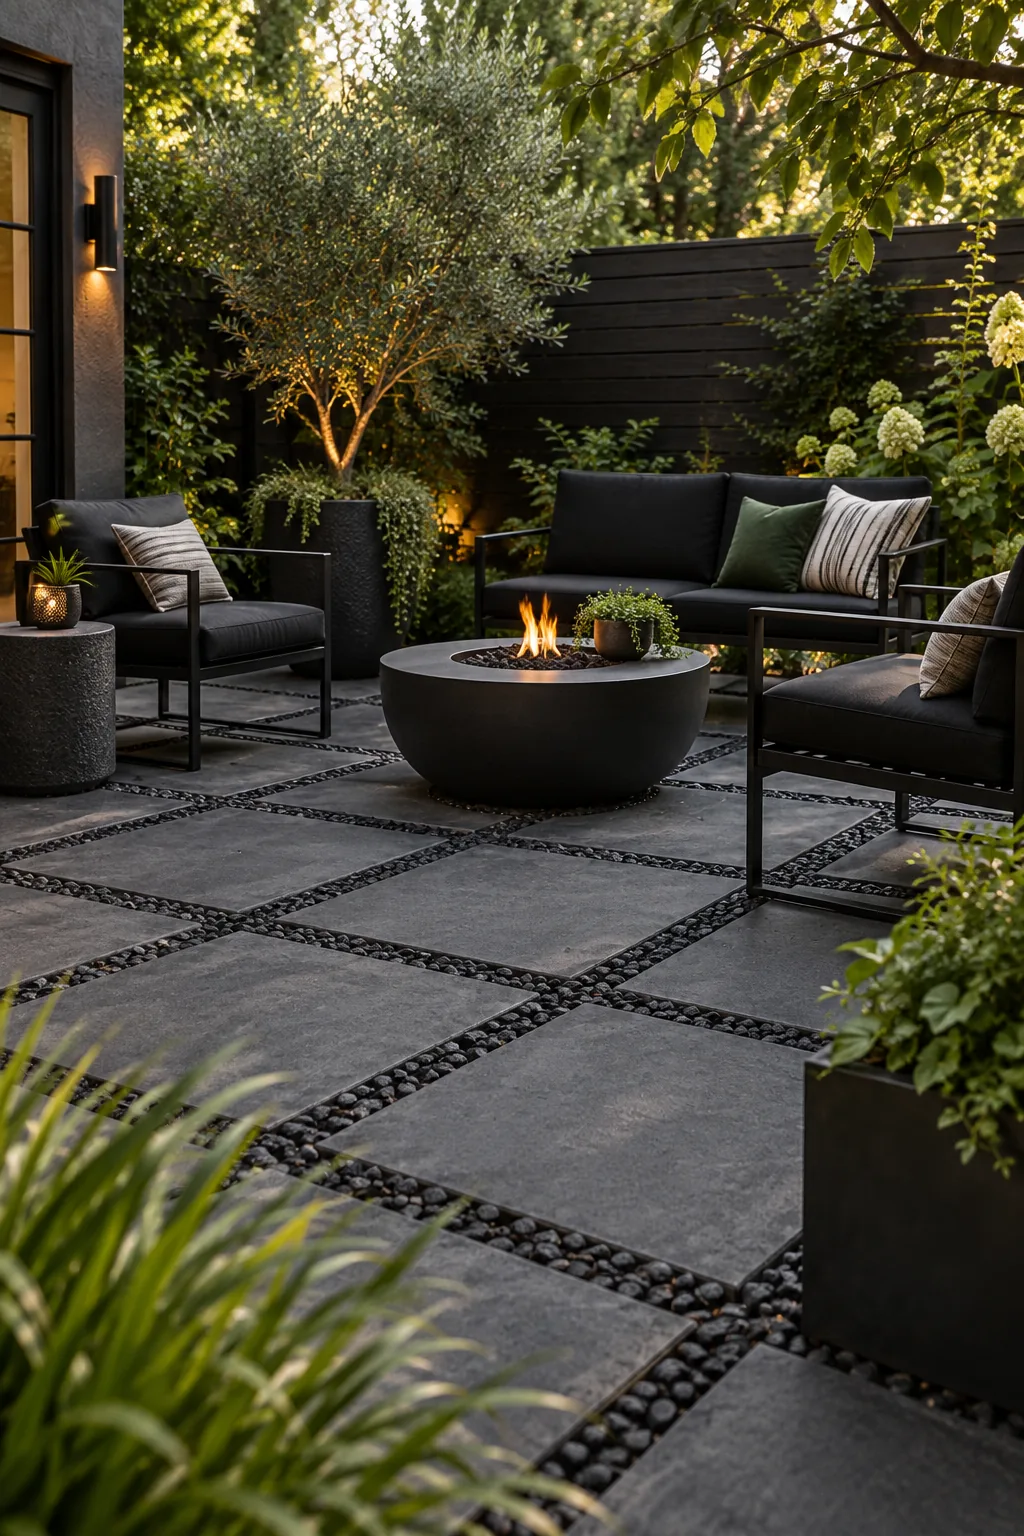
Moody Charcoal and Slate: Dark charcoal pavers paired with black basalt stone deliver a striking, dramatic foundation for modern furniture.
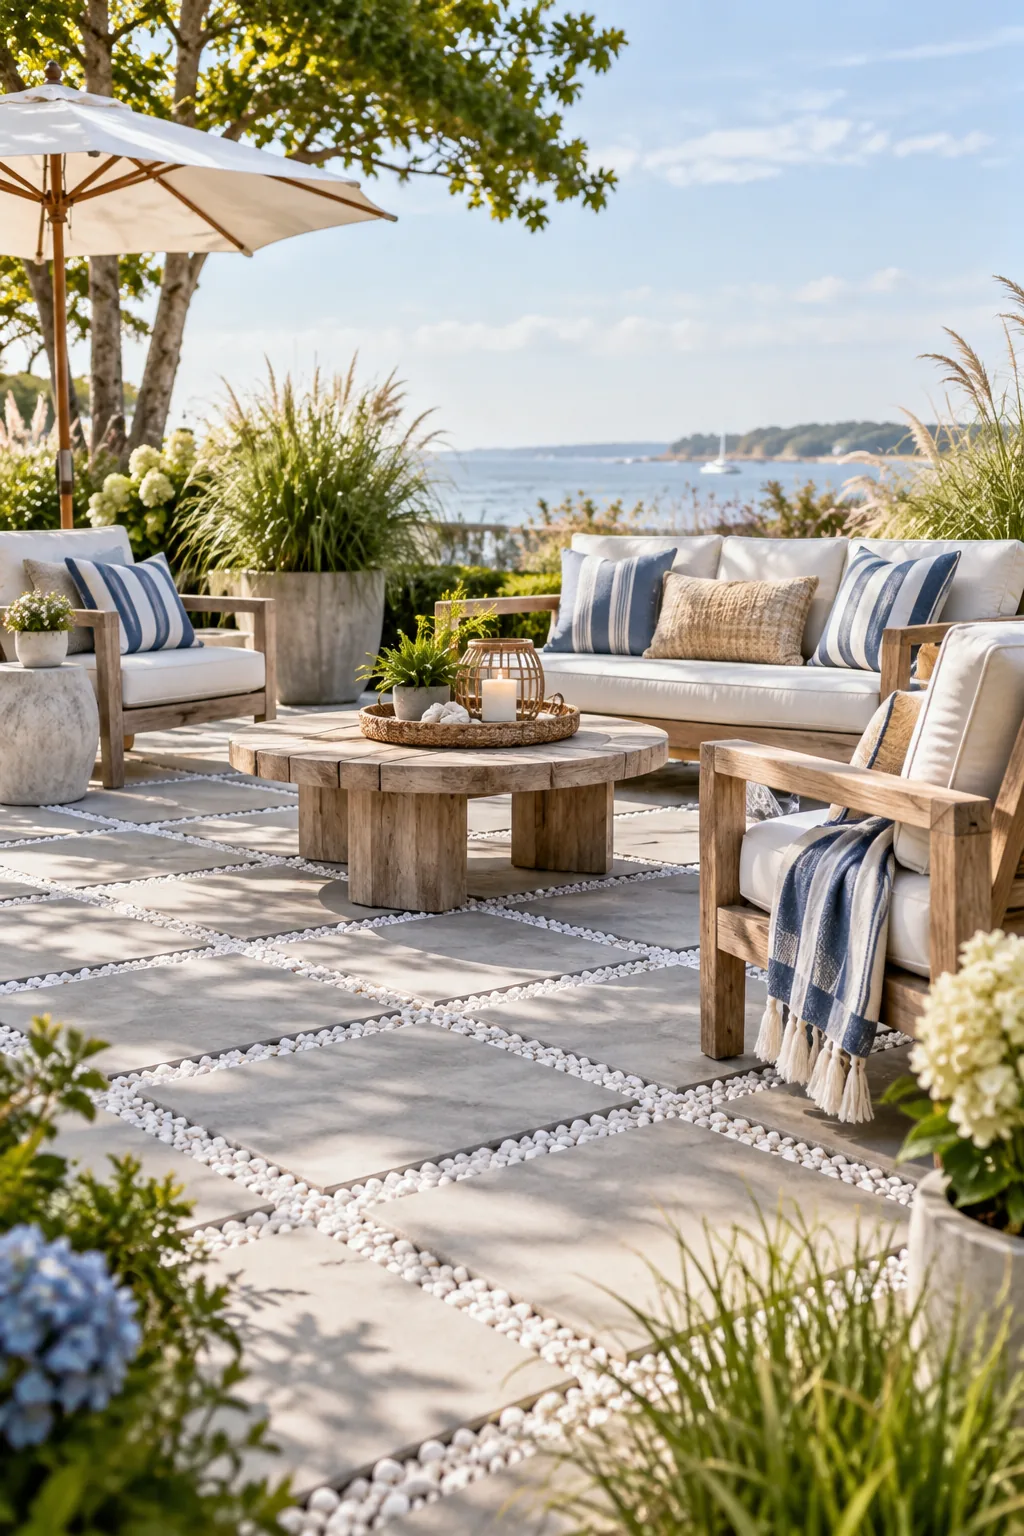
Breezy Coastal Retreat: Bright white crushed limestone between light gray squares instantly gives your backyard a breezy, beachside resort feel.
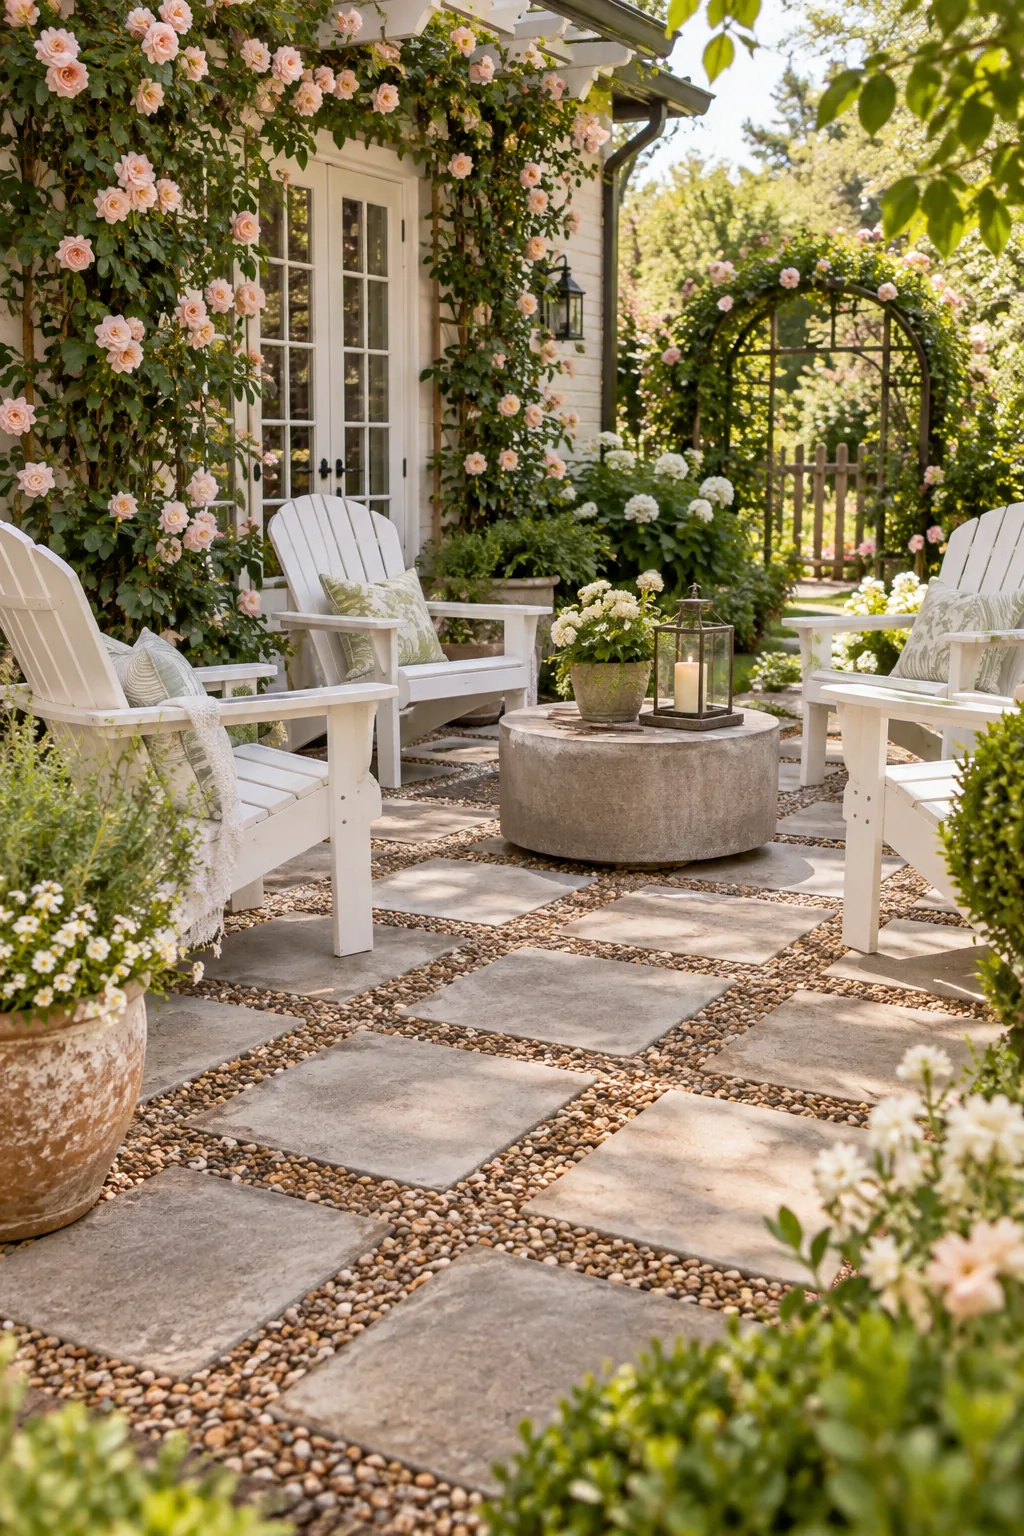
Classic English Garden: Warm, mixed-brown crushed stone softens the strict grid, blending beautifully with classic white seating and lush blooms.
Monolithic Urban Minimalist: Matching the stone color perfectly to the pavers creates a seamless, monolithic look ideal for small urban courtyards.
Your Weekend Patio Material Shopping List
Before hitting the hardware store, you need to calculate the exact material quantities required to complete your project without making frustrating mid-day return trips. Measuring your space accurately guarantees you only buy what you need.
Multiply your planned patio length by its width to find your total square footage, then use this simple formula to build your definitive weekend material checklist.
- 12×12 Concrete Pavers: Divide your total square footage by 1.3 to account for the oversized 2-inch gaps.
- Base Gravel: Buy one 50-pound bag of paver base for every two square feet of patio footprint.
- Crushed Stone: Plan for one 50-pound bag of angular stone per ten square feet of grid area.
- Plastic Edging: Measure the total outside perimeter in linear feet and add a ten percent overage.