Built-in Closet Framing Secrets: Custom Cut List & Formulas
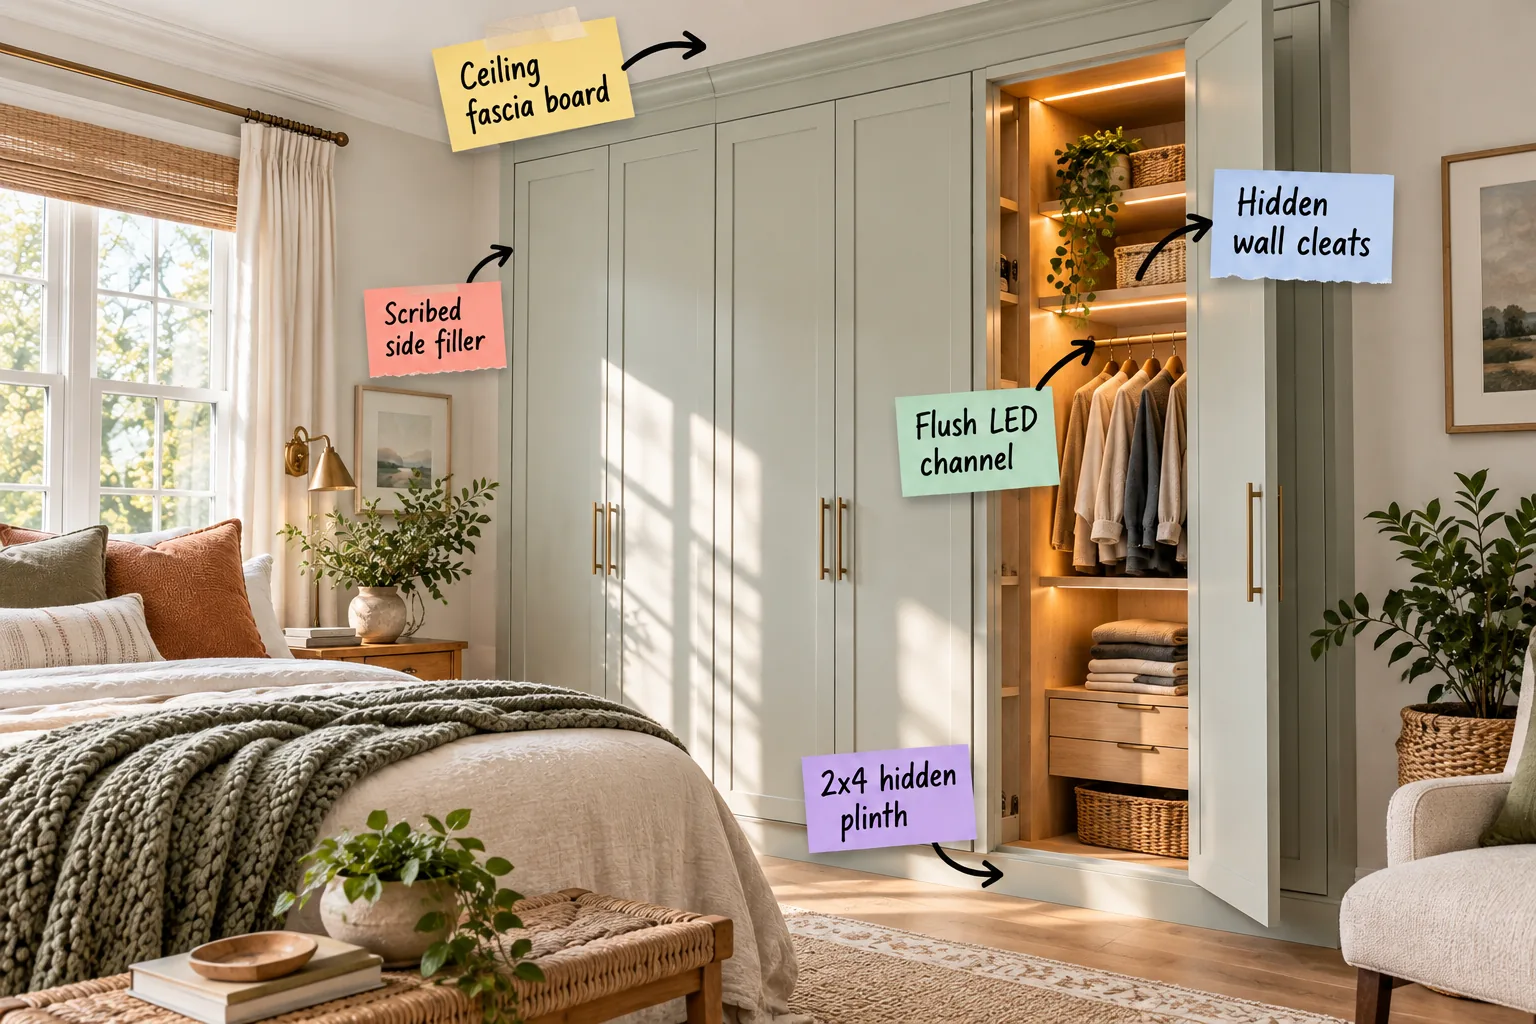
If you want to build a seamless floor-to-ceiling wardrobe, you need to master these hidden structural details before grabbing your custom framing cut list and measurement formula sheet. You will learn exactly how to calculate, cut, and install the hidden framing required for a truly custom built-in closet.
Building a Level Base with a 2×4 Hidden Plinth
Constructing a perfectly level foundation is absolutely critical for heavy cabinetry, so we always start by building a sturdy ladder base using standard 2×4 lumber. Recessing this hidden base by at least 1/2 inch lifts the cabinet box and provides a solid nailing surface for your decorative baseboard.
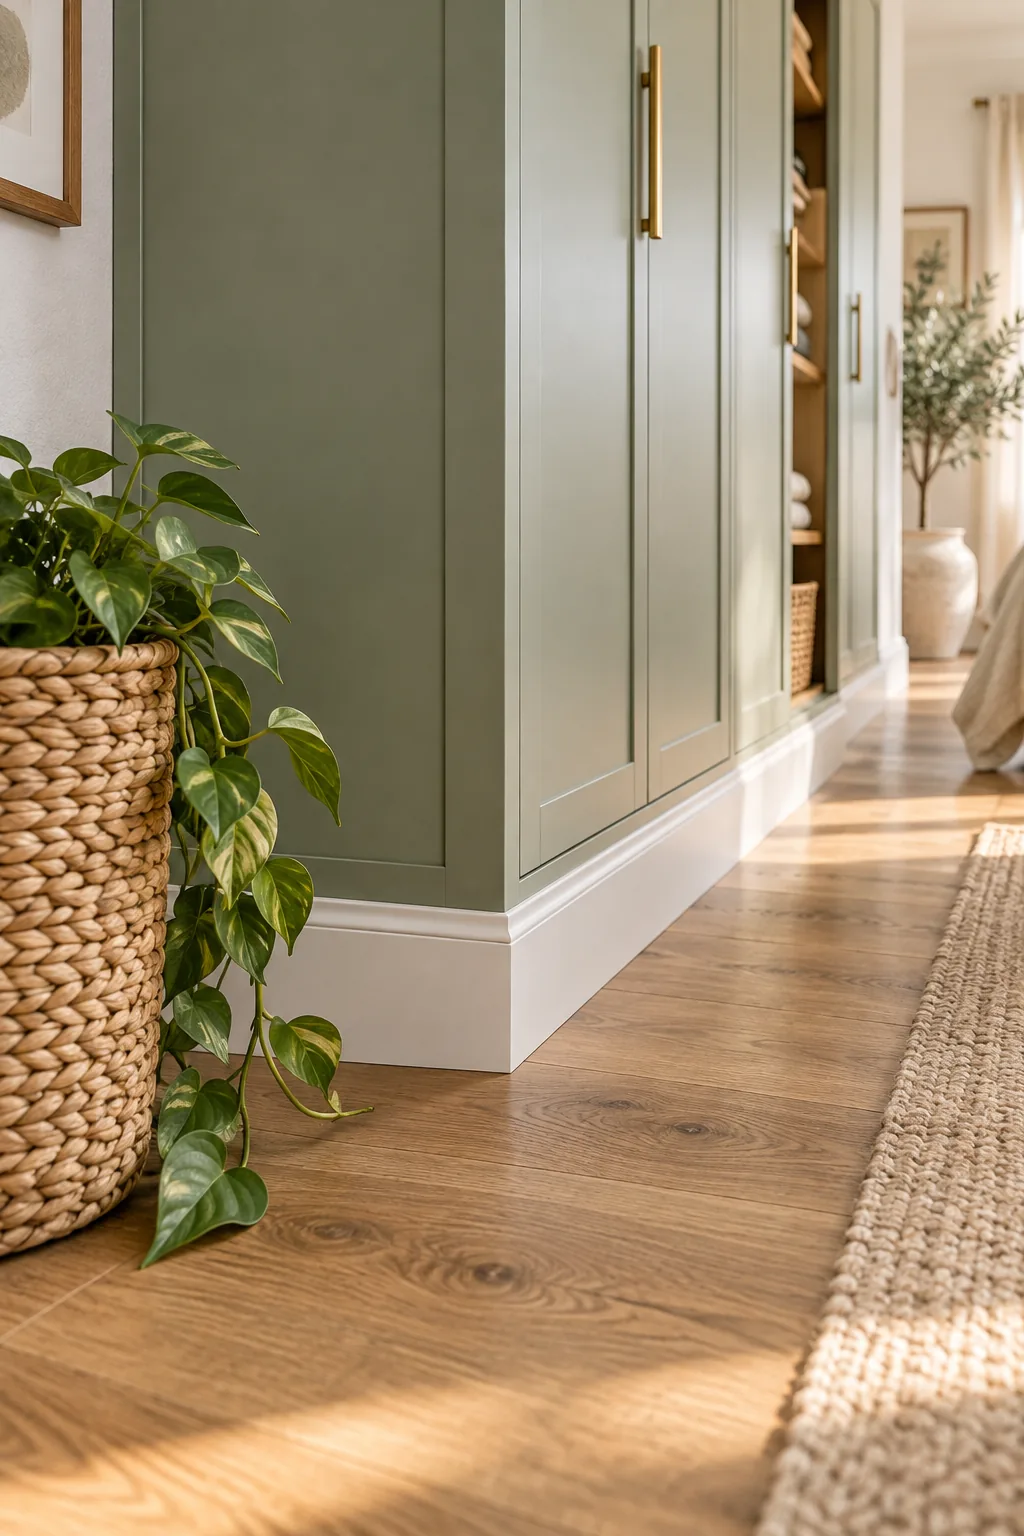
Once the wooden frame is fully assembled, you must level the entire plinth with cedar shims before securing it directly to your floor joists. This crucial structural step ensures your massive wardrobe will never sag, shift out of square, or crack the baseboards over time.
Securing the Plinth to the Floor Joists
Driving heavy-duty construction screws through the plinth and into the floor joists prevents the entire built-in assembly from shifting during daily use. You should always use a magnetic stud finder to locate the floor joists beneath your flooring, ensuring the base is anchored to solid wood framing.
Securing the Cabinet with Hidden Wall Cleats
Tall wardrobes require serious anchoring to prevent tipping, which is why you must install 1×4 pine cleats horizontally across the back interior of the cabinet box. These hidden wall cleats safely distribute the massive weight of heavy clothing directly into your home’s structural framing.
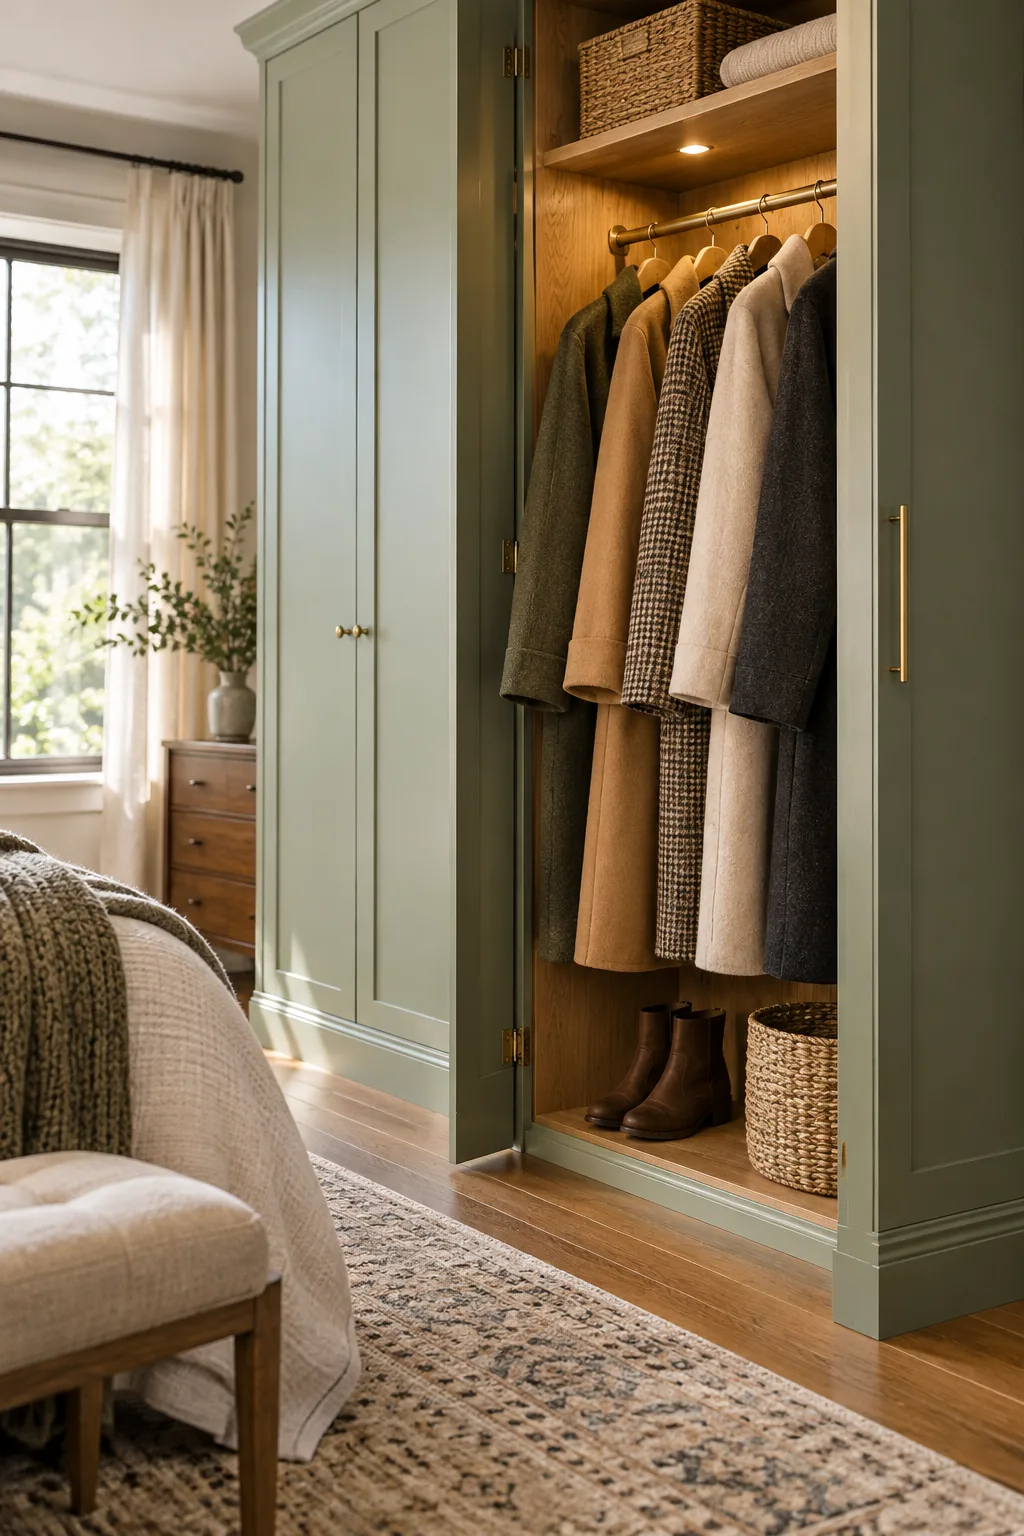
When I built my own bedroom closet, I learned the hard way that basic drywall anchors simply cannot hold a full winter wardrobe. You absolutely must drive 3-inch cabinet screws through these cleats and straight into the room’s wall studs for permanent, unshakeable stability.
Locating Wall Studs for Maximum Support
Finding the exact center of your wall studs is the most important step before driving any structural cabinet screws through your wooden cleats. Mark the stud locations on the wall with painter’s tape before sliding the massive cabinet boxes into place.
- Scan the drywall horizontally with a reliable magnetic stud finder to locate the hidden drywall screws.
- Mark each detected stud center clearly with a vertical strip of blue painter’s tape.
- Measure the distance between your tape marks to verify standard 16-inch or 24-inch framing spacing.
Flawless Edges Using a Scribed Side Filler
Because room walls are rarely perfectly plumb, scribing a 1×3 filler piece to match your wall’s exact imperfections creates a truly custom, built-in look. I once tried to skip this step in my guest room and ended up with a glaring, uneven shadow line that drove me crazy.
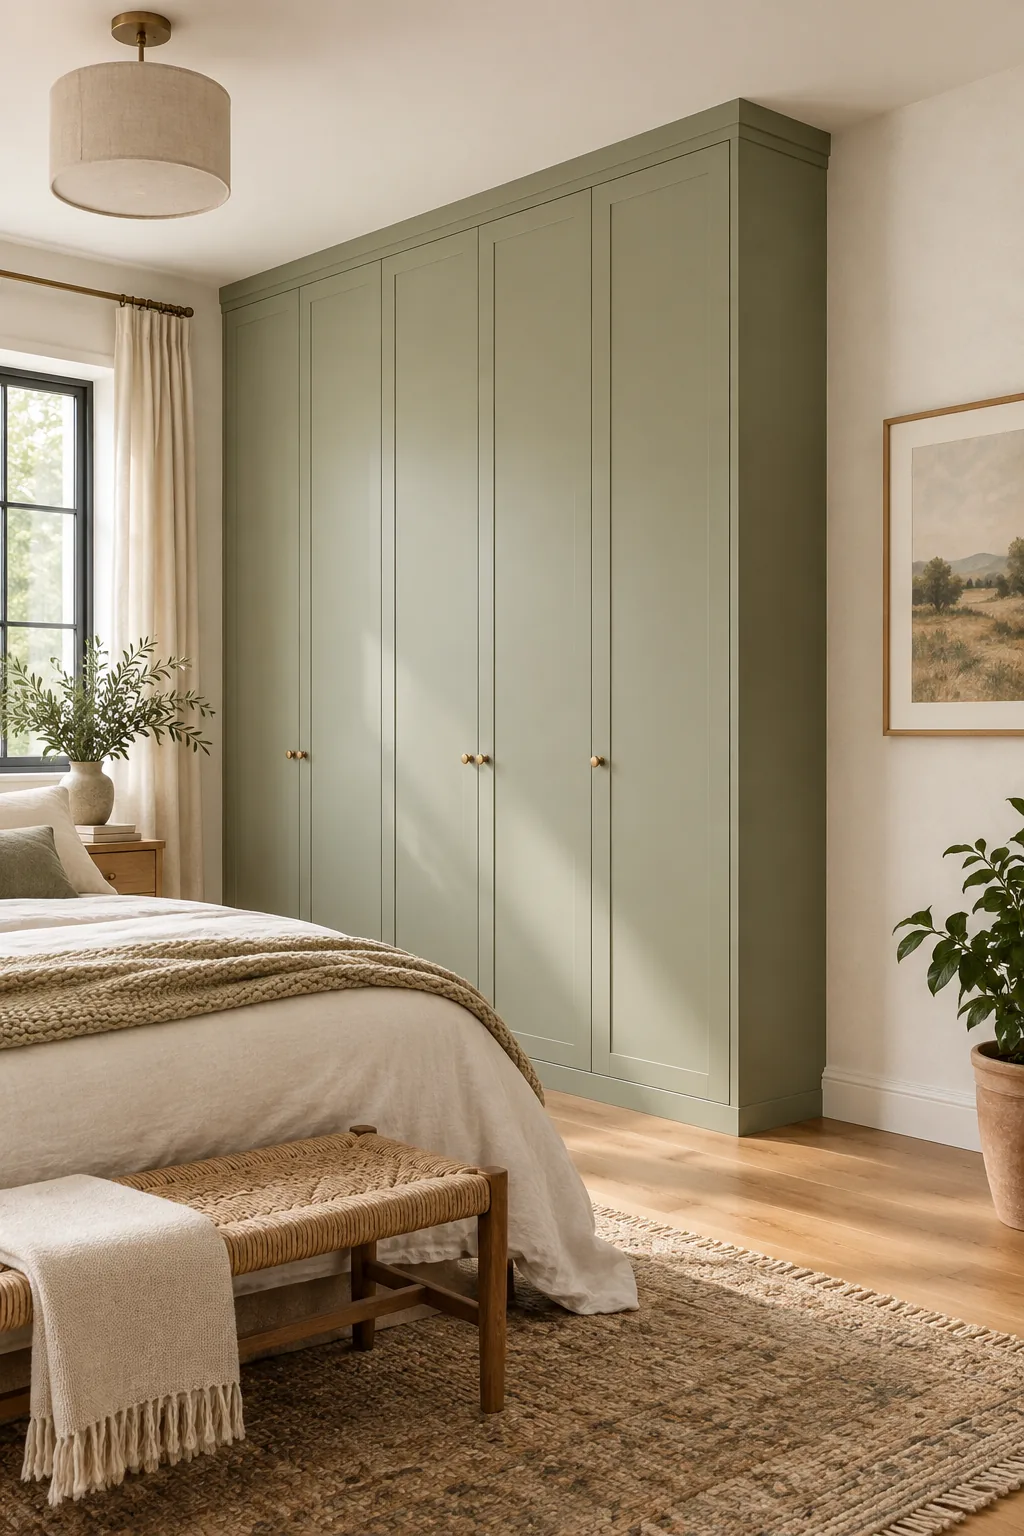
A tight scribe joint separates a professional built-in from a basic DIY project, so grab a simple compass to trace the wall’s unique contour. Taking the time to transfer the exact wall texture onto your trim piece guarantees a flawless transition into the drywall.
Cutting the Scribed Line with Precision
After tracing the wall contour onto your wooden filler strip, use a high-quality jigsaw equipped with a fine-tooth wood blade to make the intricate cut. Moving the saw slowly prevents the thin trim wood from splintering and leaves a clean edge for painting.
Seamless Integration with a Ceiling Fascia Board
Bridging the gap between the cabinet top and the ceiling with a 1×6 fascia board is the ultimate secret to achieving a true built-in look. If your ceiling drops more than 1/4 inch across the span, you will need to scribe the top edge of this fascia to match the slope.
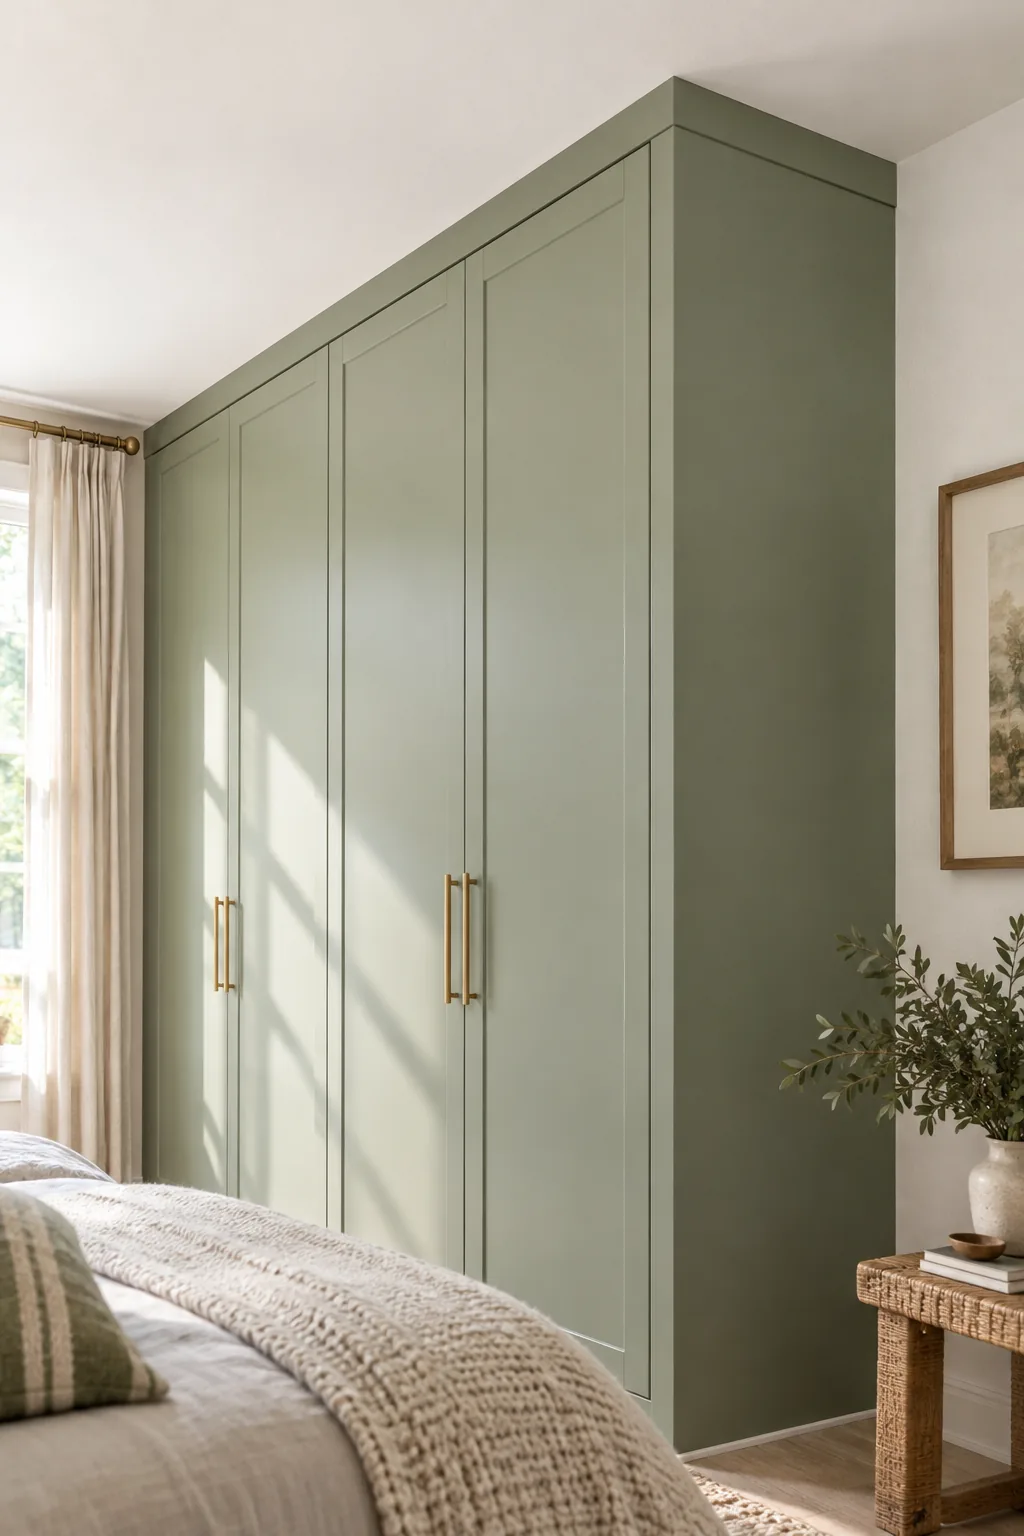
Attach this tailored fascia board flush with the cabinet face frame using high-strength wood glue and 18-gauge brad nails. This simple trim technique completely conceals the upper structural framing and creates a beautifully seamless transition from the wardrobe doors directly into your ceiling.
Accommodating Crown Molding and Ceiling Details
If your room features decorative crown molding, you must carefully cope the ends of the existing trim to wrap seamlessly around your new ceiling fascia board. Leaving a flat surface on the fascia provides the perfect backing block for nailing up the final pieces of matching crown molding.
Routing the Flush LED Channel for Shelf Lighting
Integrated lighting elevates the entire interior design, but you must route a groove for the aluminum LED channel before installing the wooden shelves. Using a compact router to cut a 5/8-inch wide by 1/4-inch deep groove ensures the light strip sits perfectly flush with the wood surface.
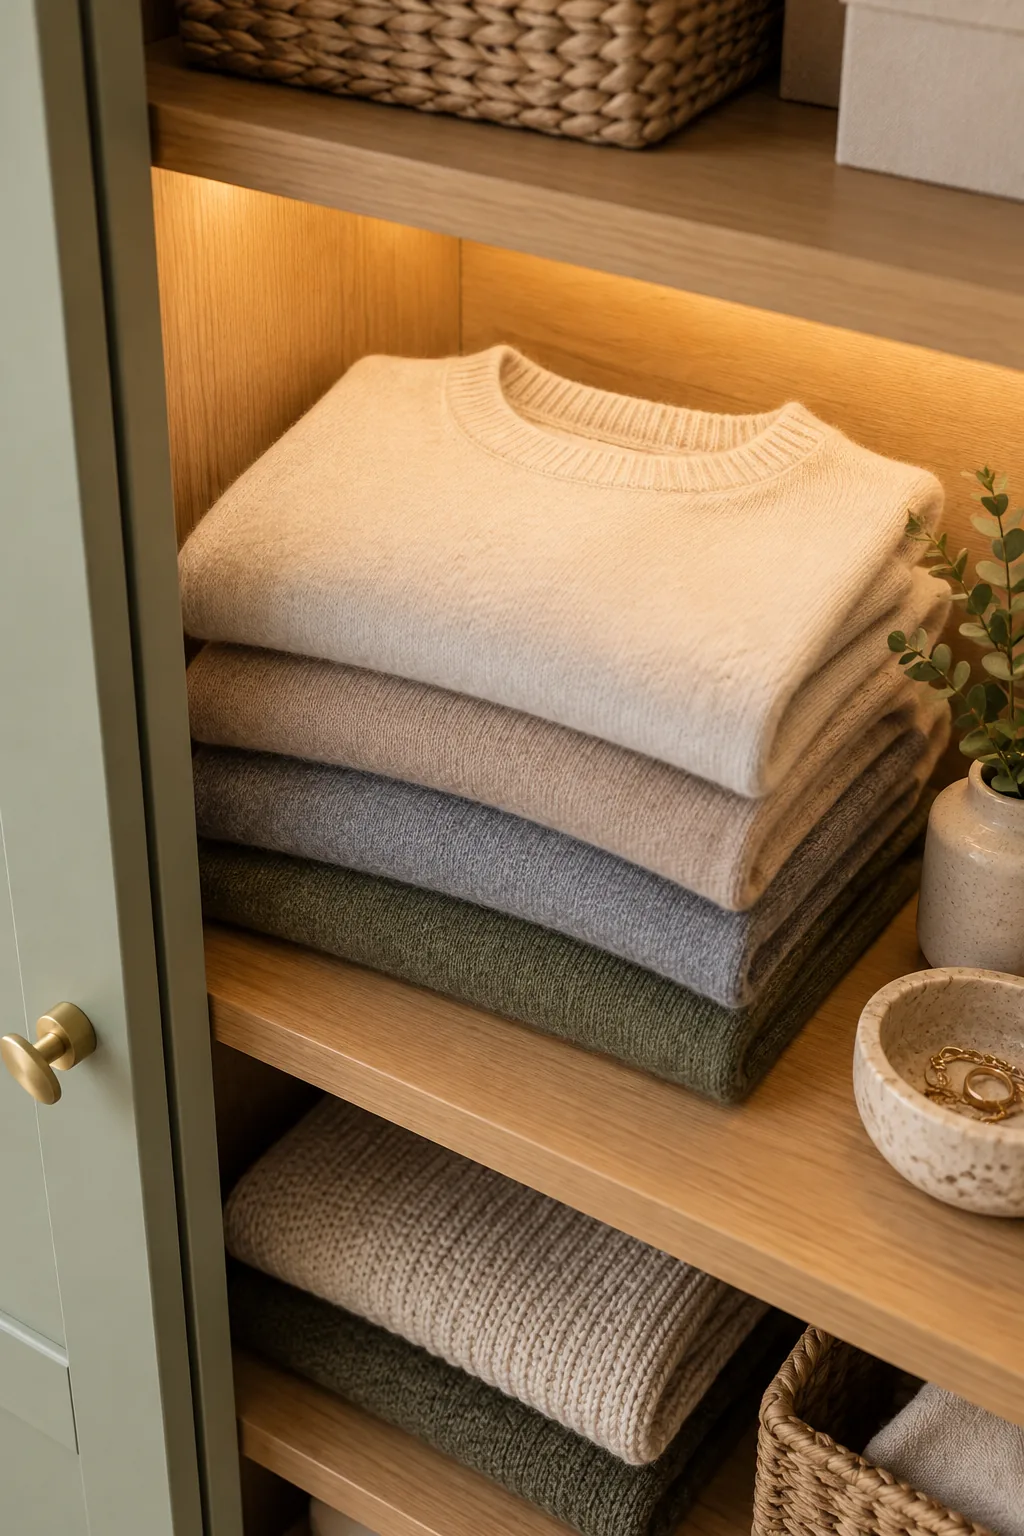
Press the metal channel firmly into the routed groove on the underside of your 3/4-inch plywood shelves before you begin the final cabinet assembly. This hidden lighting detail prevents clothing snags and delivers a high-end, diffused boutique glow to your organized wardrobe.
Hiding the LED Driver and Power Supply
Every built-in lighting system requires a bulky power supply transformer that must remain accessible for future maintenance without ruining the closet aesthetic. Build a false top above the highest shelf to conceal the LED driver, ensuring the electrical components stay hidden behind the ceiling fascia board.
Planning Door Clearances and Hinge Blocking
Adding 3/4-inch wood blocking behind the face frame is mandatory to give your European hinge plates a secure, flush anchor point. During my first major cabinetry project, I forgot this blocking and had to awkwardly retrofit tiny wood scraps just to get the heavy doors mounted properly.
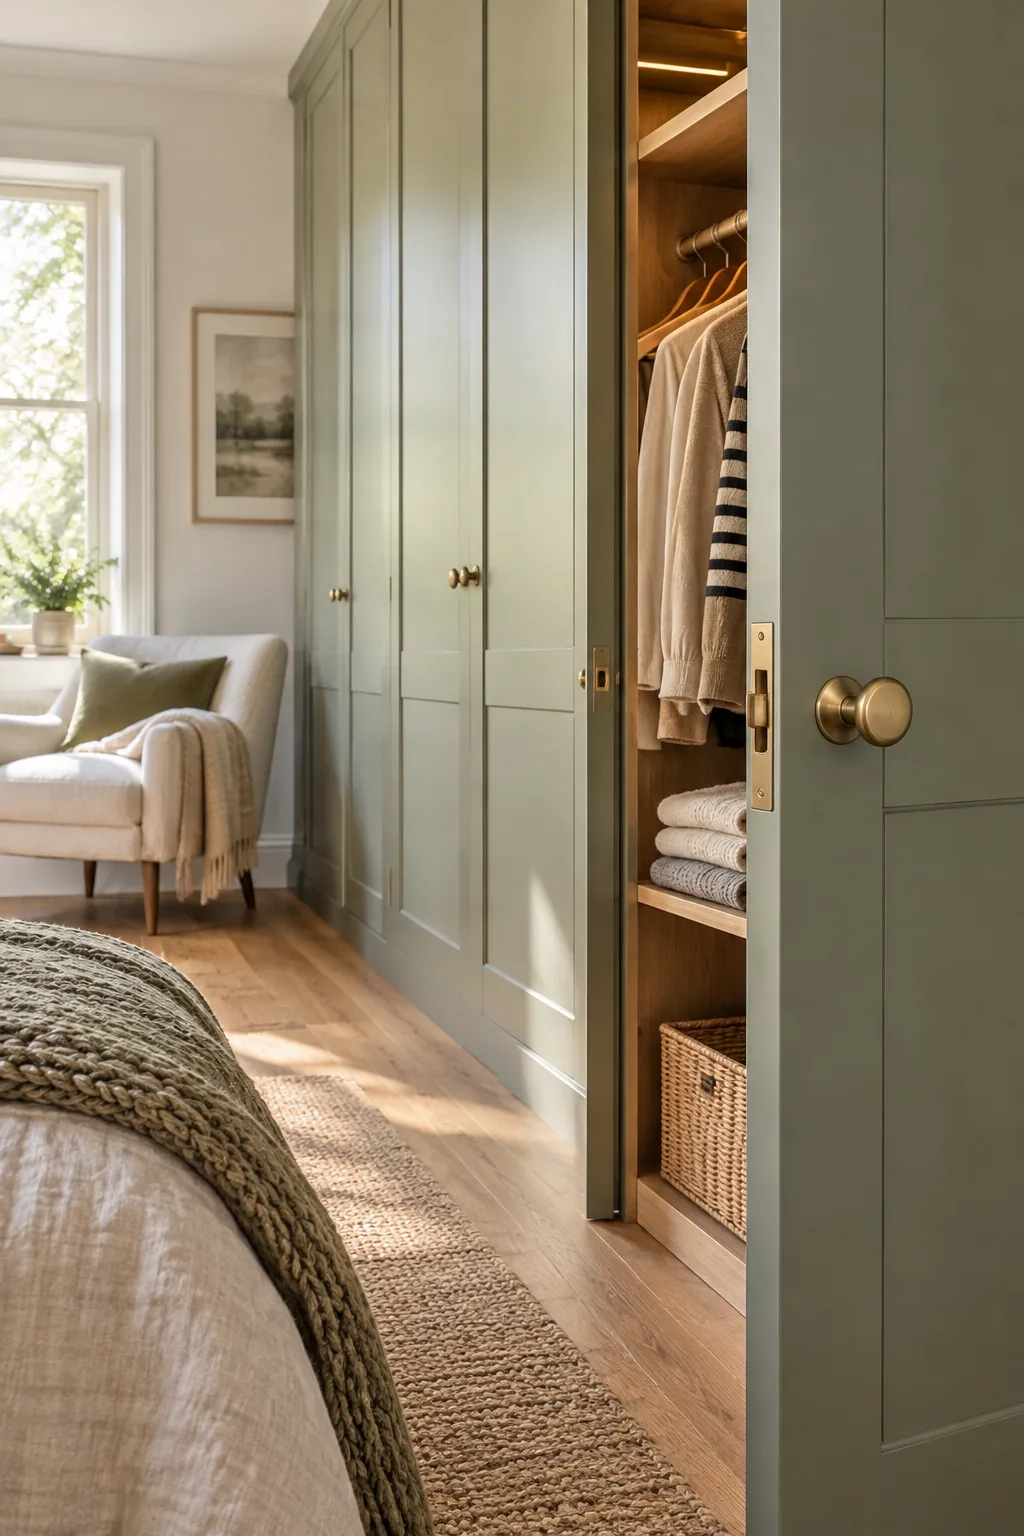
You must also carefully calculate your door widths to maintain a precise 1/8-inch clearance gap around the entire perimeter of inset doors. This millimeter-perfect spacing ensures your doors swing freely without ever scraping the side walls, ceiling fascia, or adjacent face frames.
Adjusting European Hinges for Perfect Alignment
Even with perfect framing and clearance calculations, large wardrobe doors will inevitably require minor tweaking once they are fully loaded with heavy mirrors or hardware. Use the three adjustment screws on your concealed hinges to shift the doors up, down, and sideways until the clearance gaps are perfectly even.
Prepping and Painting the Built-In Trim
A flawless paint finish hides all of the structural framing and transforms raw lumber into a cohesive, expensive-looking piece of furniture. Filling every 18-gauge brad nail hole with shrink-free wood filler and caulking the interior seams gives you that perfectly smooth, professional surface.
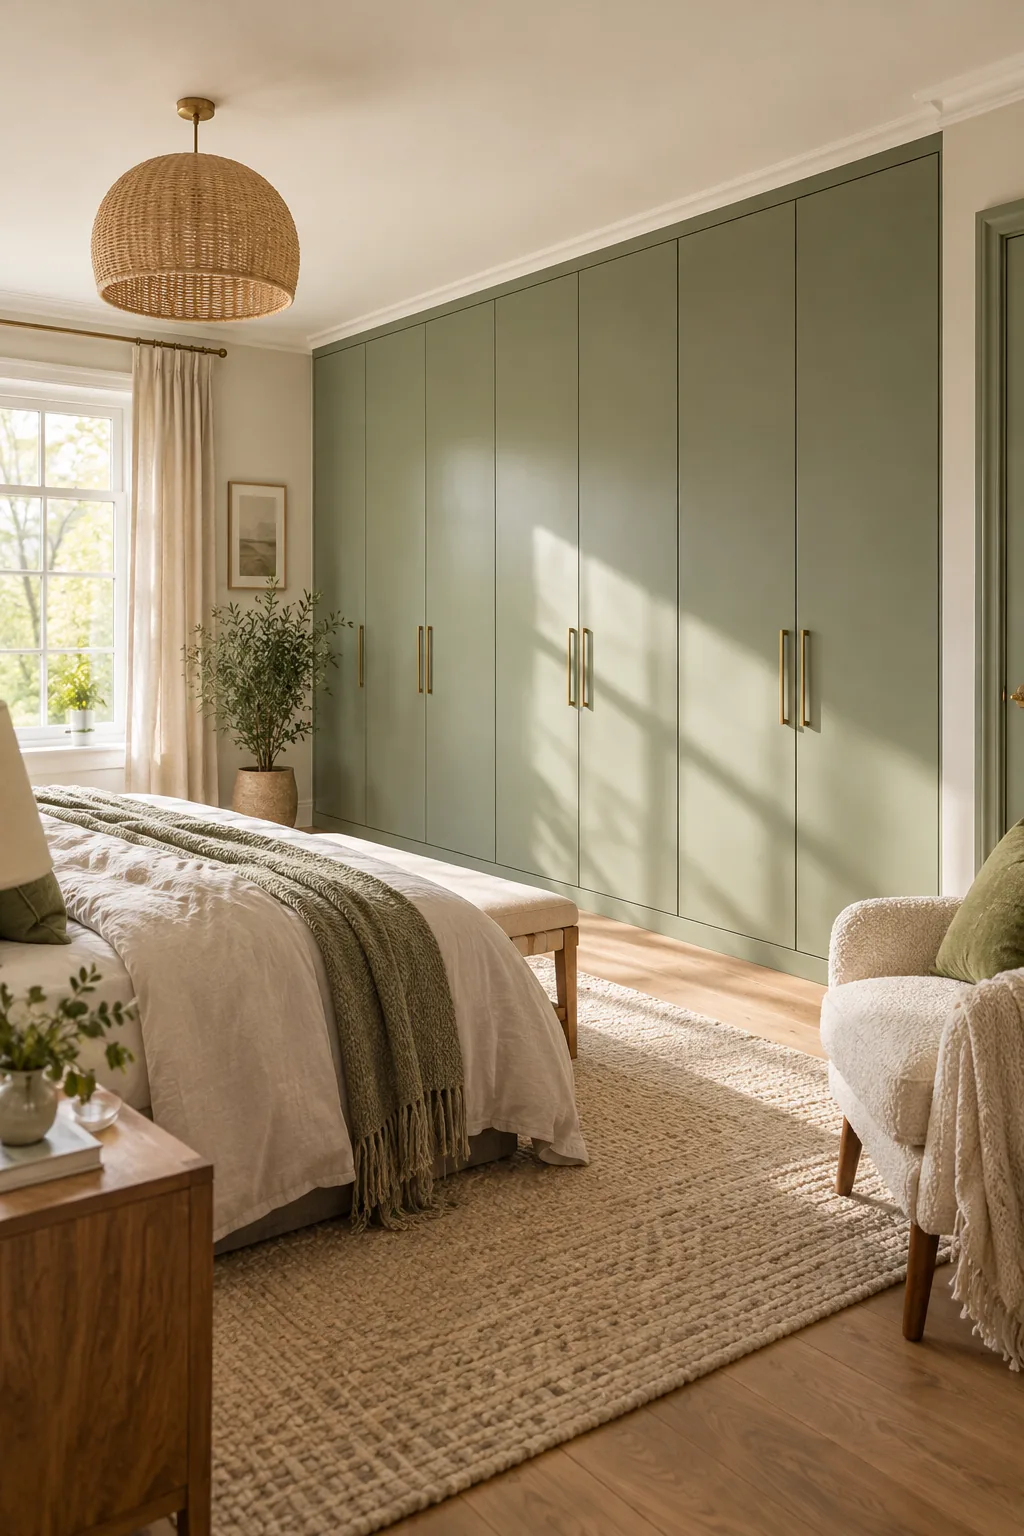
I always spend an extra day sanding everything with 220-grit paper before applying a high-quality stain-blocking primer to seal the raw wood grain. Finish the project with two generous coats of cabinet-grade satin enamel to create an incredibly durable surface that resists daily wear and tear.
Sanding Between Coats for a Glass-Like Finish
Applying a flawless cabinet finish requires lightly scuffing the primed and painted surfaces with a 320-grit sanding sponge between every single coat. Wiping the dust away with a clean tack cloth prevents tiny particles from ruining the final layer of your beautiful satin enamel.
Your Custom Framing Cut List and Formula Sheet
You are finally ready to calculate the exact dimensions for your hidden plinth, wall cleats, and scribed fillers using your room’s specific width and height. Download the framing cut list and measurement formula sheet below to get your final cabinet box sizes.
Use this exact measurement formula sheet to determine your final lumber dimensions before making a single cut.
| Structural Component | Measurement Formula | Required Material |
|---|---|---|
| Cabinet Box Height | Total ceiling height minus 1.5 inches | 3/4-inch Plywood |
| Cabinet Box Width | Total room width minus 1.5 inches | 3/4-inch Plywood |
| Hidden Plinth Base | Cabinet box width minus 1 inch | 2×4 Pine Lumber |
| Scribed Side Fillers | Remaining wall gap plus 1/4 inch | 1×3 Pine Trim |
| Hidden Wall Cleats | Interior cabinet width minus 1/8 inch | 1×4 Pine Boards |
| Ceiling Fascia Board | Total cabinet width exactly | 1×6 Pine Trim |
Before you print these formulas and head to the lumber yard, verify you have the precision tools required to execute these framing secrets.
Inspiring Built-In Closet Designs
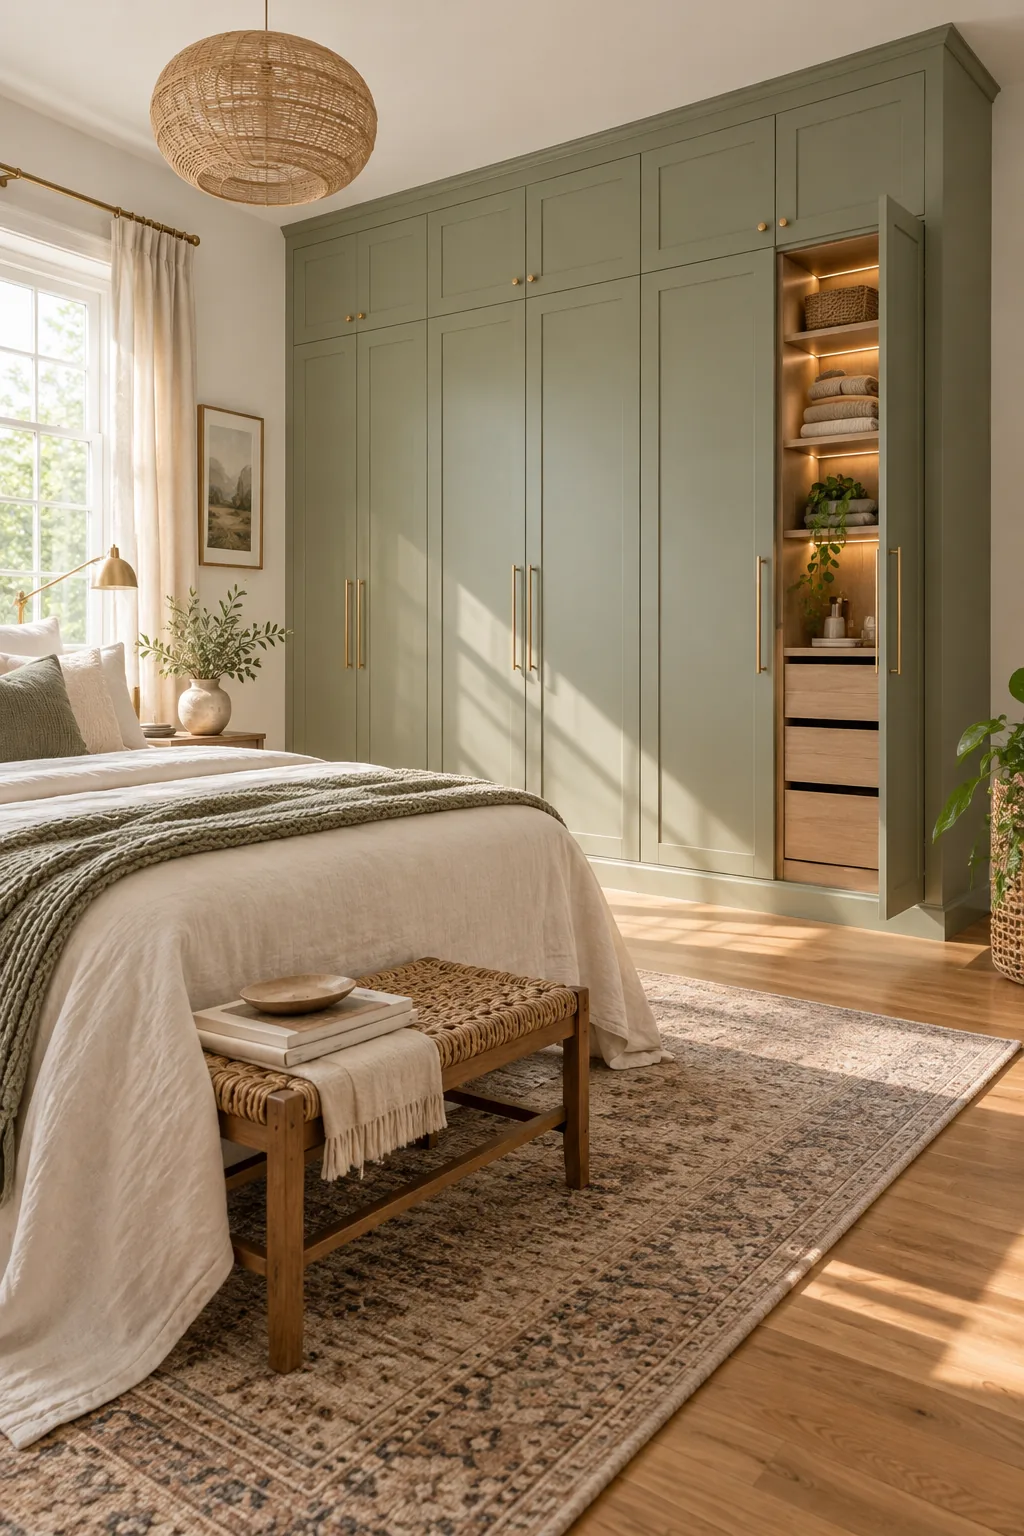
Explore how different paint colors and hardware choices can completely transform the same framing techniques.
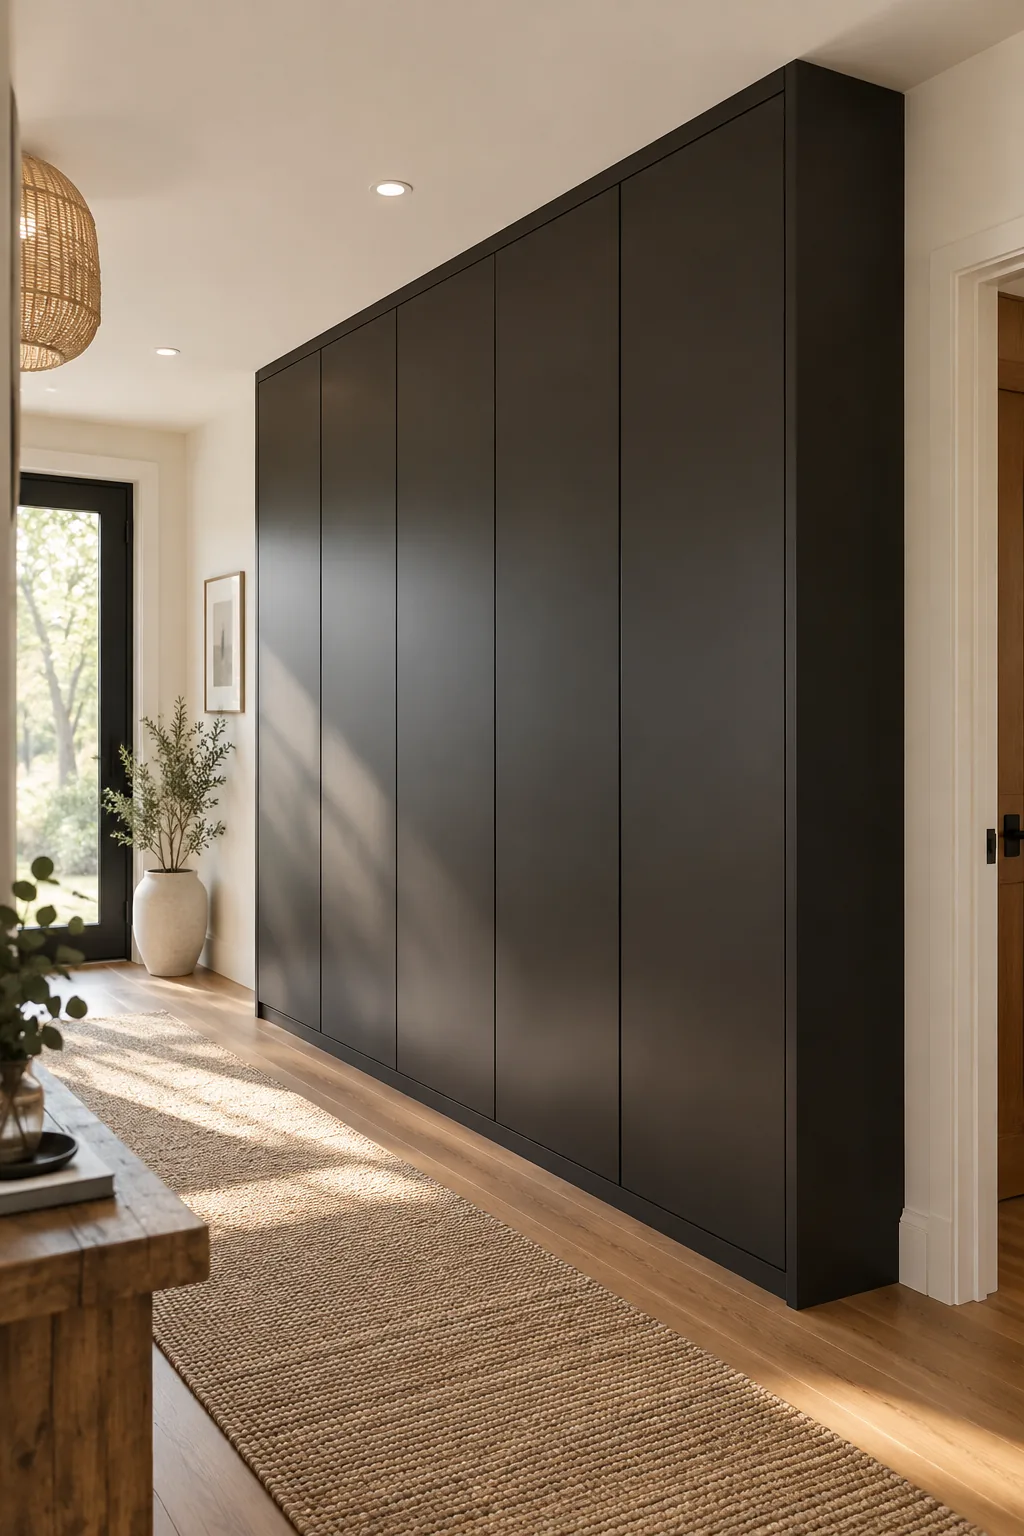
Minimalist Matte Black Hallway: Dark finishes create a striking architectural feature, while handleless push-to-open doors keep the hallway feeling uncluttered and spacious.
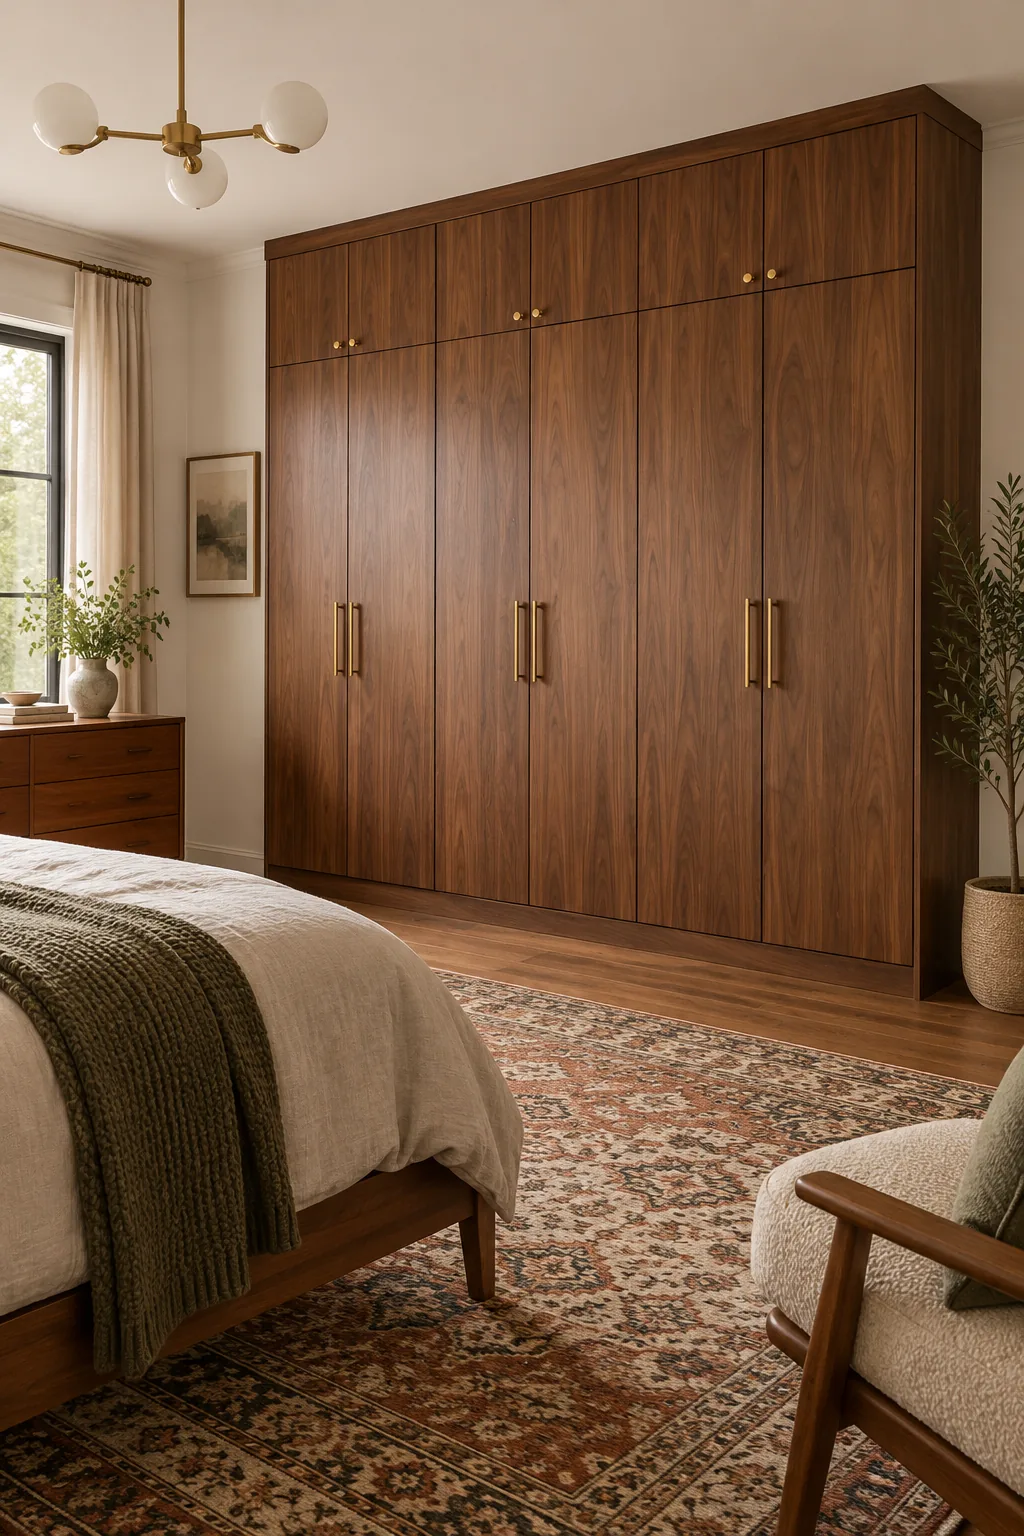
Mid-Century Warm Walnut: Rich walnut wood grain brings incredible warmth to a bedroom, pairing beautifully with unlacquered brass hardware and vintage textiles.
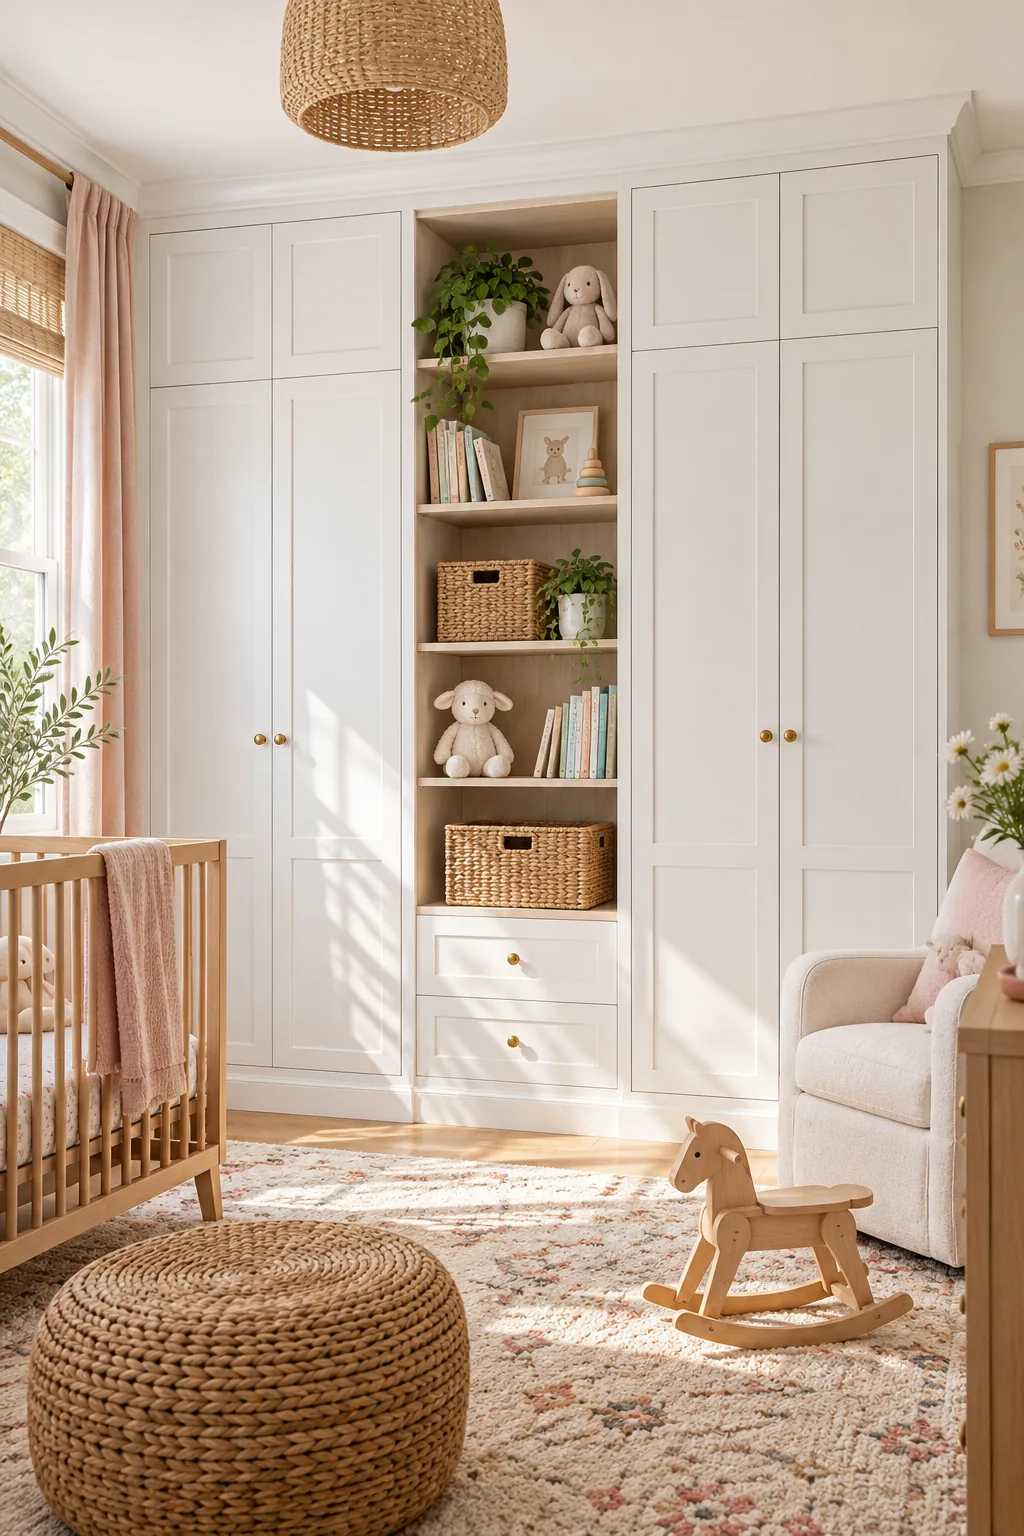
Crisp White Nursery Shaker: Classic white shaker doors offer a timeless look, while an open center bay provides easy access to nursery essentials and woven baskets.
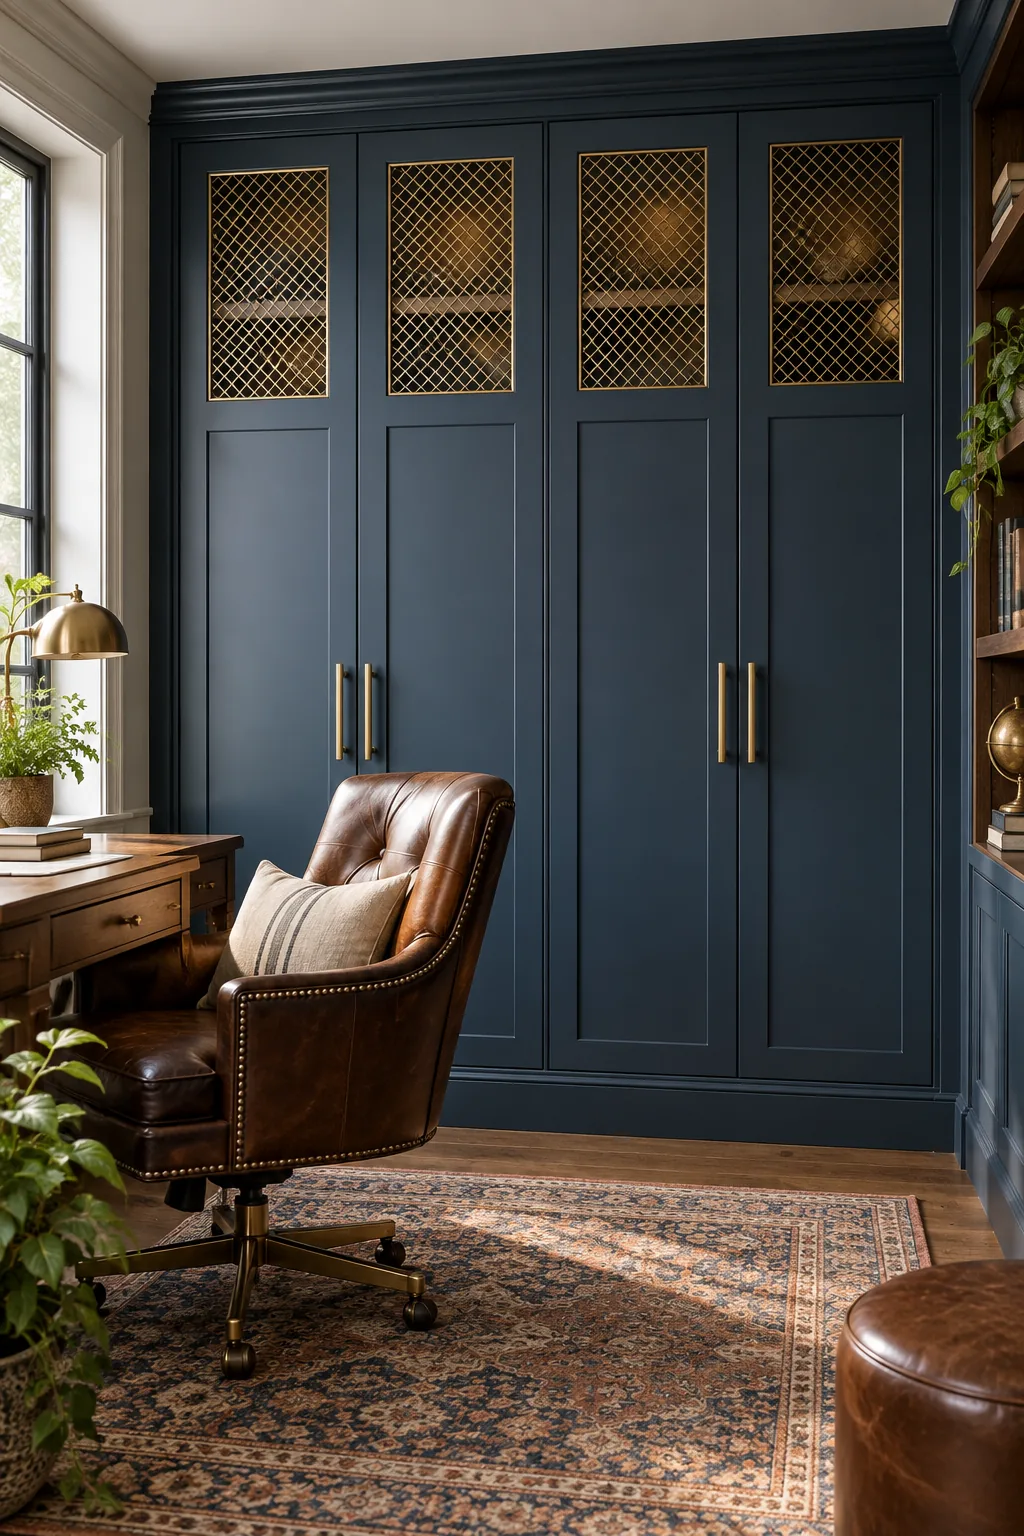
Navy Blue Office Built-In: Deep navy paint elevates the built-in to custom furniture status, and decorative brass grilles on the upper doors add a library-inspired detail.
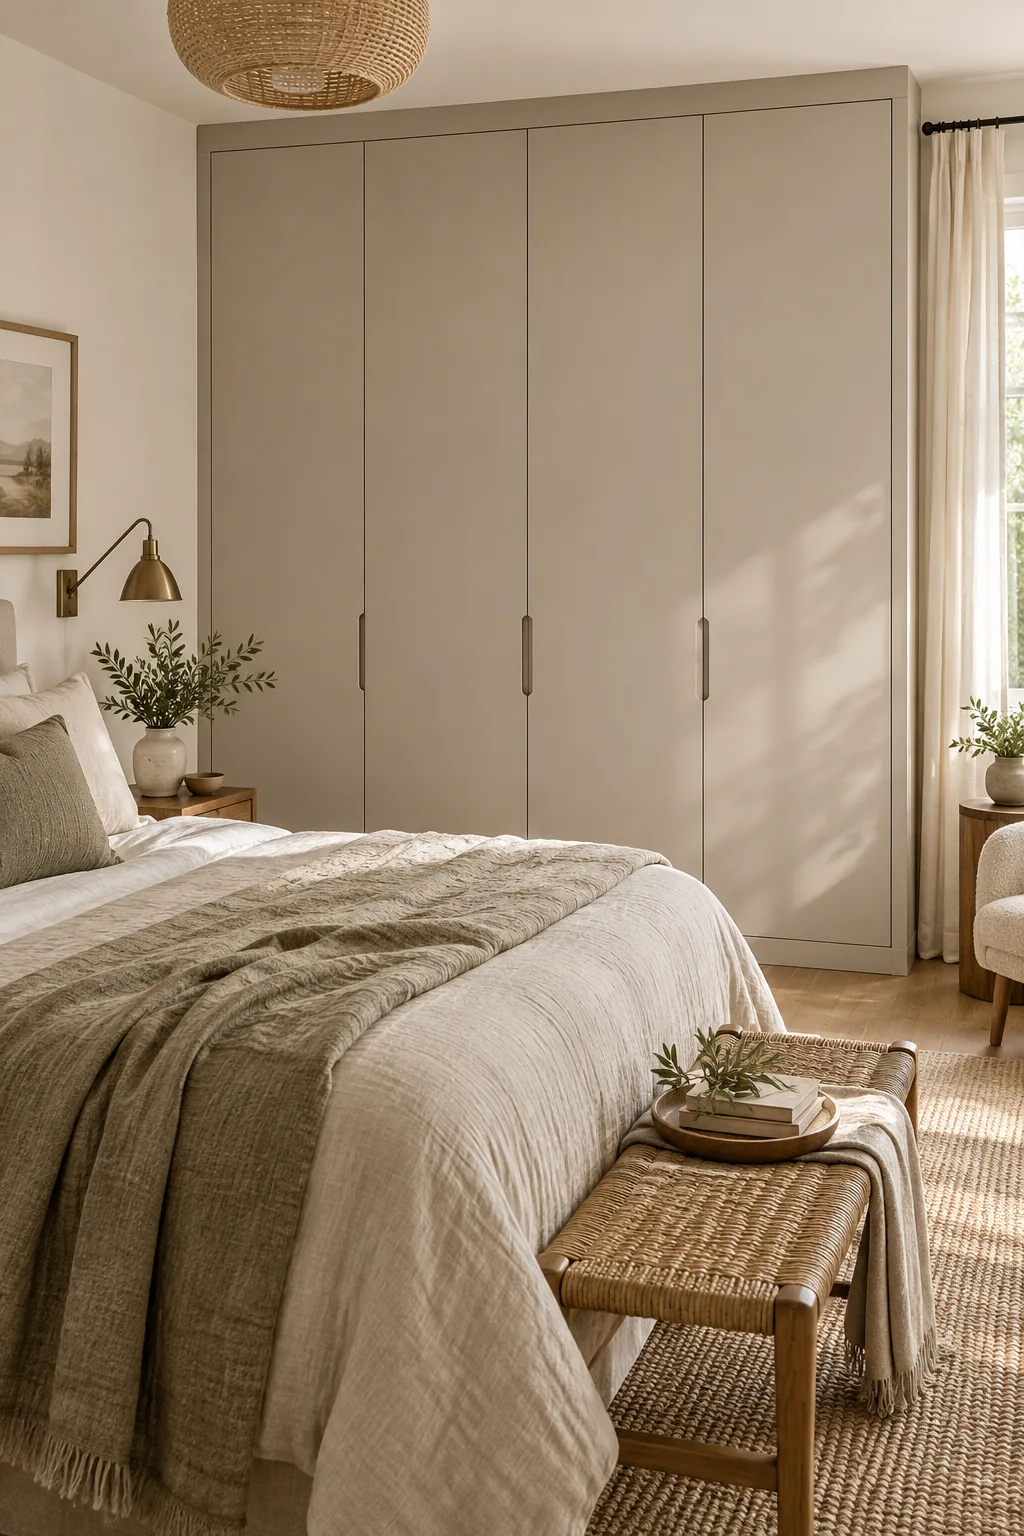
Soft Taupe Minimalist Guest: A muted taupe color palette and integrated finger pulls allow the wardrobe to blend quietly into the background of a restful guest space.